Azure CLI Commands
Overview
Azure CLI or Azure Command-Line Interface is a powerful tool designed to simplify the management of Microsoft Azure resources through a command-line interface. Azure CLI ensures efficient resource management by providing a scriptable means to interact with Azure services.
Azure CLI can be used to access a wide range of Azure services from virtual machines and storage accounts to databases and networking components. Let us explore the installation, basic commands, and key functionalities of Azure CLI in this article.
Installing Azure CLI
Azure CLI should be installed to be used from your machine. The installation process varies slightly depending on your operating system and there is also an option to use for containerized installations.
Windows Installation
Executable Installer:
- Download the Azure CLI executable installer for Windows from the official Microsoft Azure CLI website.
- Run the installer and follow the on-screen instructions provided by the installer.
Note:
Ensure that the installer is downloaded from the official website as it is more secure and stable.
PowerShell Installation:
Open the PowerShell with administrative permissions and past the following command, which automates the download and silent installation of Azure CLI on a Windows system without user interaction.
The command will download the 64-bit Azure CLI installer from the URL specified by the -Uri parameter and install the CLI on the machine.
macOS Installation
Homebrew is a package manager for MacOS and you can use Homebrew to install Azure CLI easily through the following command:
Linux or WSL Installation
Debian/Ubuntu (apt):
The Azure team provides a script with all the commands needed for the installation of Azure CLI in Debian/Ubuntu Linux. You can easily install the script and run it using the following command:
Security-conscious users are encouraged to review the script before execution to ensure transparency and verify that it aligns with their security practices.
CentOS/Fedora (dnf):
Start with importing the Microsoft Repository GPG keys(GNU Privacy Guard keys). GPG keys are cryptographic signatures that verify the authenticity and integrity of software packages. Importing these keys ensures that the packages you download are from a trusted source.
If you are using RHEL 9 or CentOS Stream 9, use the following command to add Microsoft Repository.
For RHEL 8 or CentOS Stream 8, you can change the URL to https://packages.microsoft.com/config/rhel/8/packages-microsoft-prod.rpm and the command configures dnf to retrieve Azure CLI packages.
Install the Azure CLI package using the following command.
openSUSE (zypper):
For installing Azure CLI through the zypper package, ensure that you have installed the Python3 package on your system. The Azure CLI is built on Python, and its package depends on Python3 for proper functionality. If you have installed Python on your system, use the following command to install Azure CLI.
Red Hat/Azure Linux (tdnf):
Install the trusted root certificates which are used to establish a secure connection between your system and the external repositories from which packages are retrieved.
Once the certificates are installed, proceed with the installation of Azure CLI using the following command:
Docker Container
If you prefer Docker, Azure CLI can also be used as a containerized application, providing an isolated environment for execution. Ensure that Docker is installed on your machine and is running in the background to execute the following command in your terminal.
This command pulls the latest Azure CLI image and runs it interactively, allowing you to execute Azure commands within the container.
Running Azure CLI as a containerized application offers several benefits:
- Docker containers encapsulate Azure CLI and its dependencies, providing isolation from the host system. Users can run Azure CLI as a Docker container without the need for local installations.
- Containers guarantee a consistent runtime environment, minimizing compatibility issues. Docker containers can be easily updated by pulling the latest image, providing an easier mechanism to stay current with Azure CLI releases.
Verify Installation
To check if the Azure CLI is installed successfully and its version, open a command prompt or terminal and enter the following command:
If the installation was successful, this command will confirm the currently installed version of Azure CLI on your system or will throw an error.
Using Azure CLI without Installing
You can also use Azure CLI through the Azure Cloud Shell, a browser-based shell provided on Microsoft Azure, with seamless interaction with Azure resources. Azure Cloud Shell is particularly beneficial for users who don't want to install Azure CLI on their local machines. You can use the Azure Cloud shell by following the steps:
-
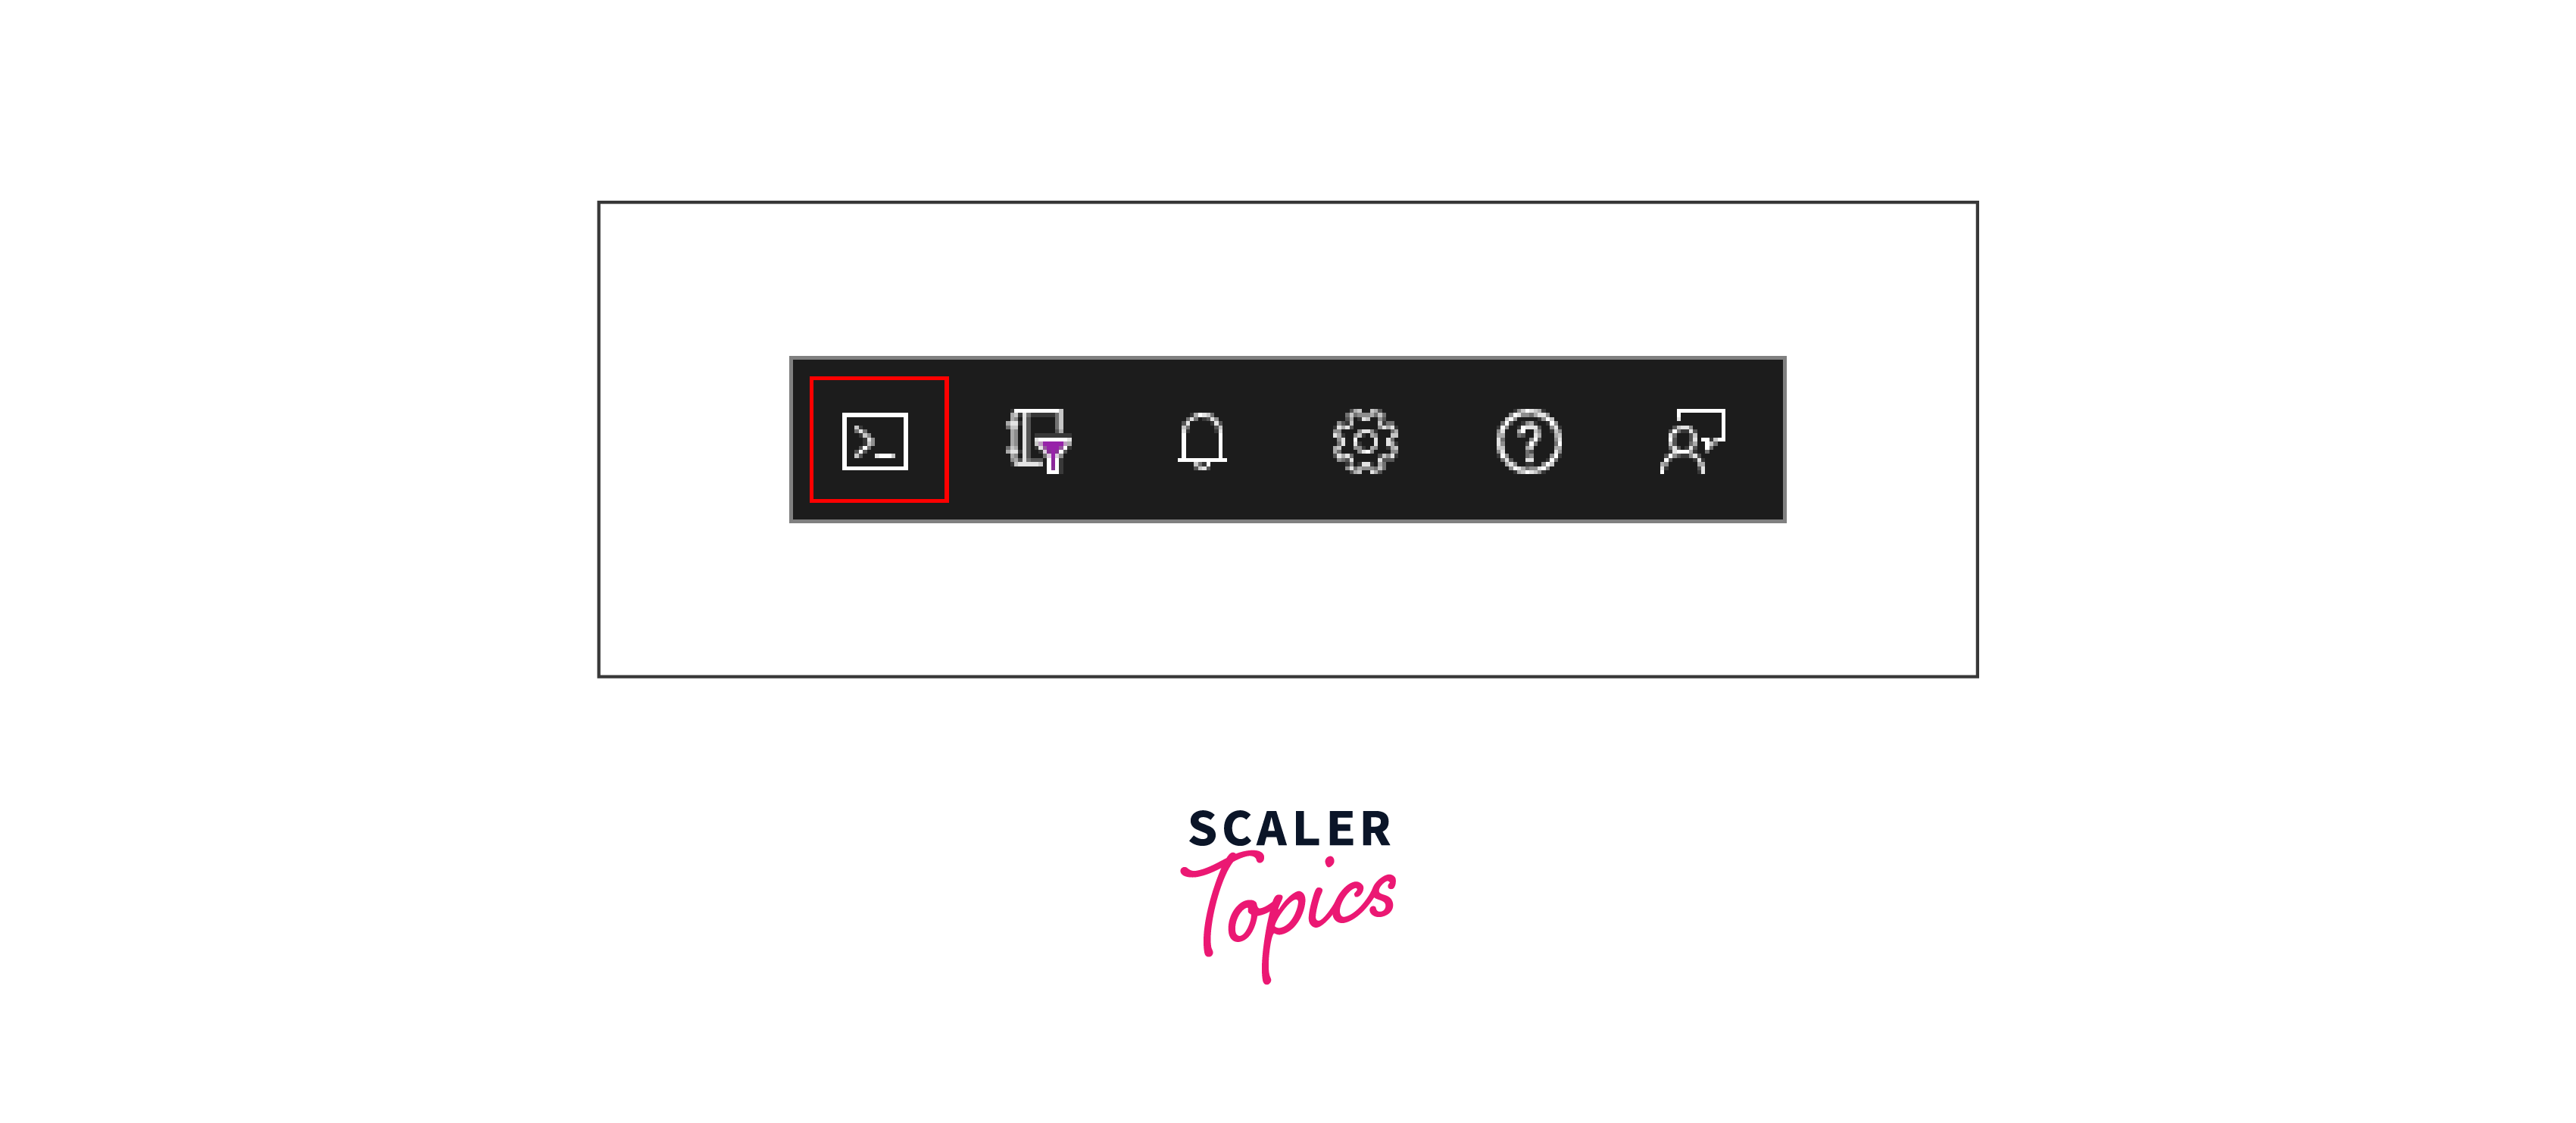
Open a web browser and log in to the Azure portal. Click on the Cloud Shell icon located in the top menu bar of the Azure portal. The icon resembles a command prompt.

-
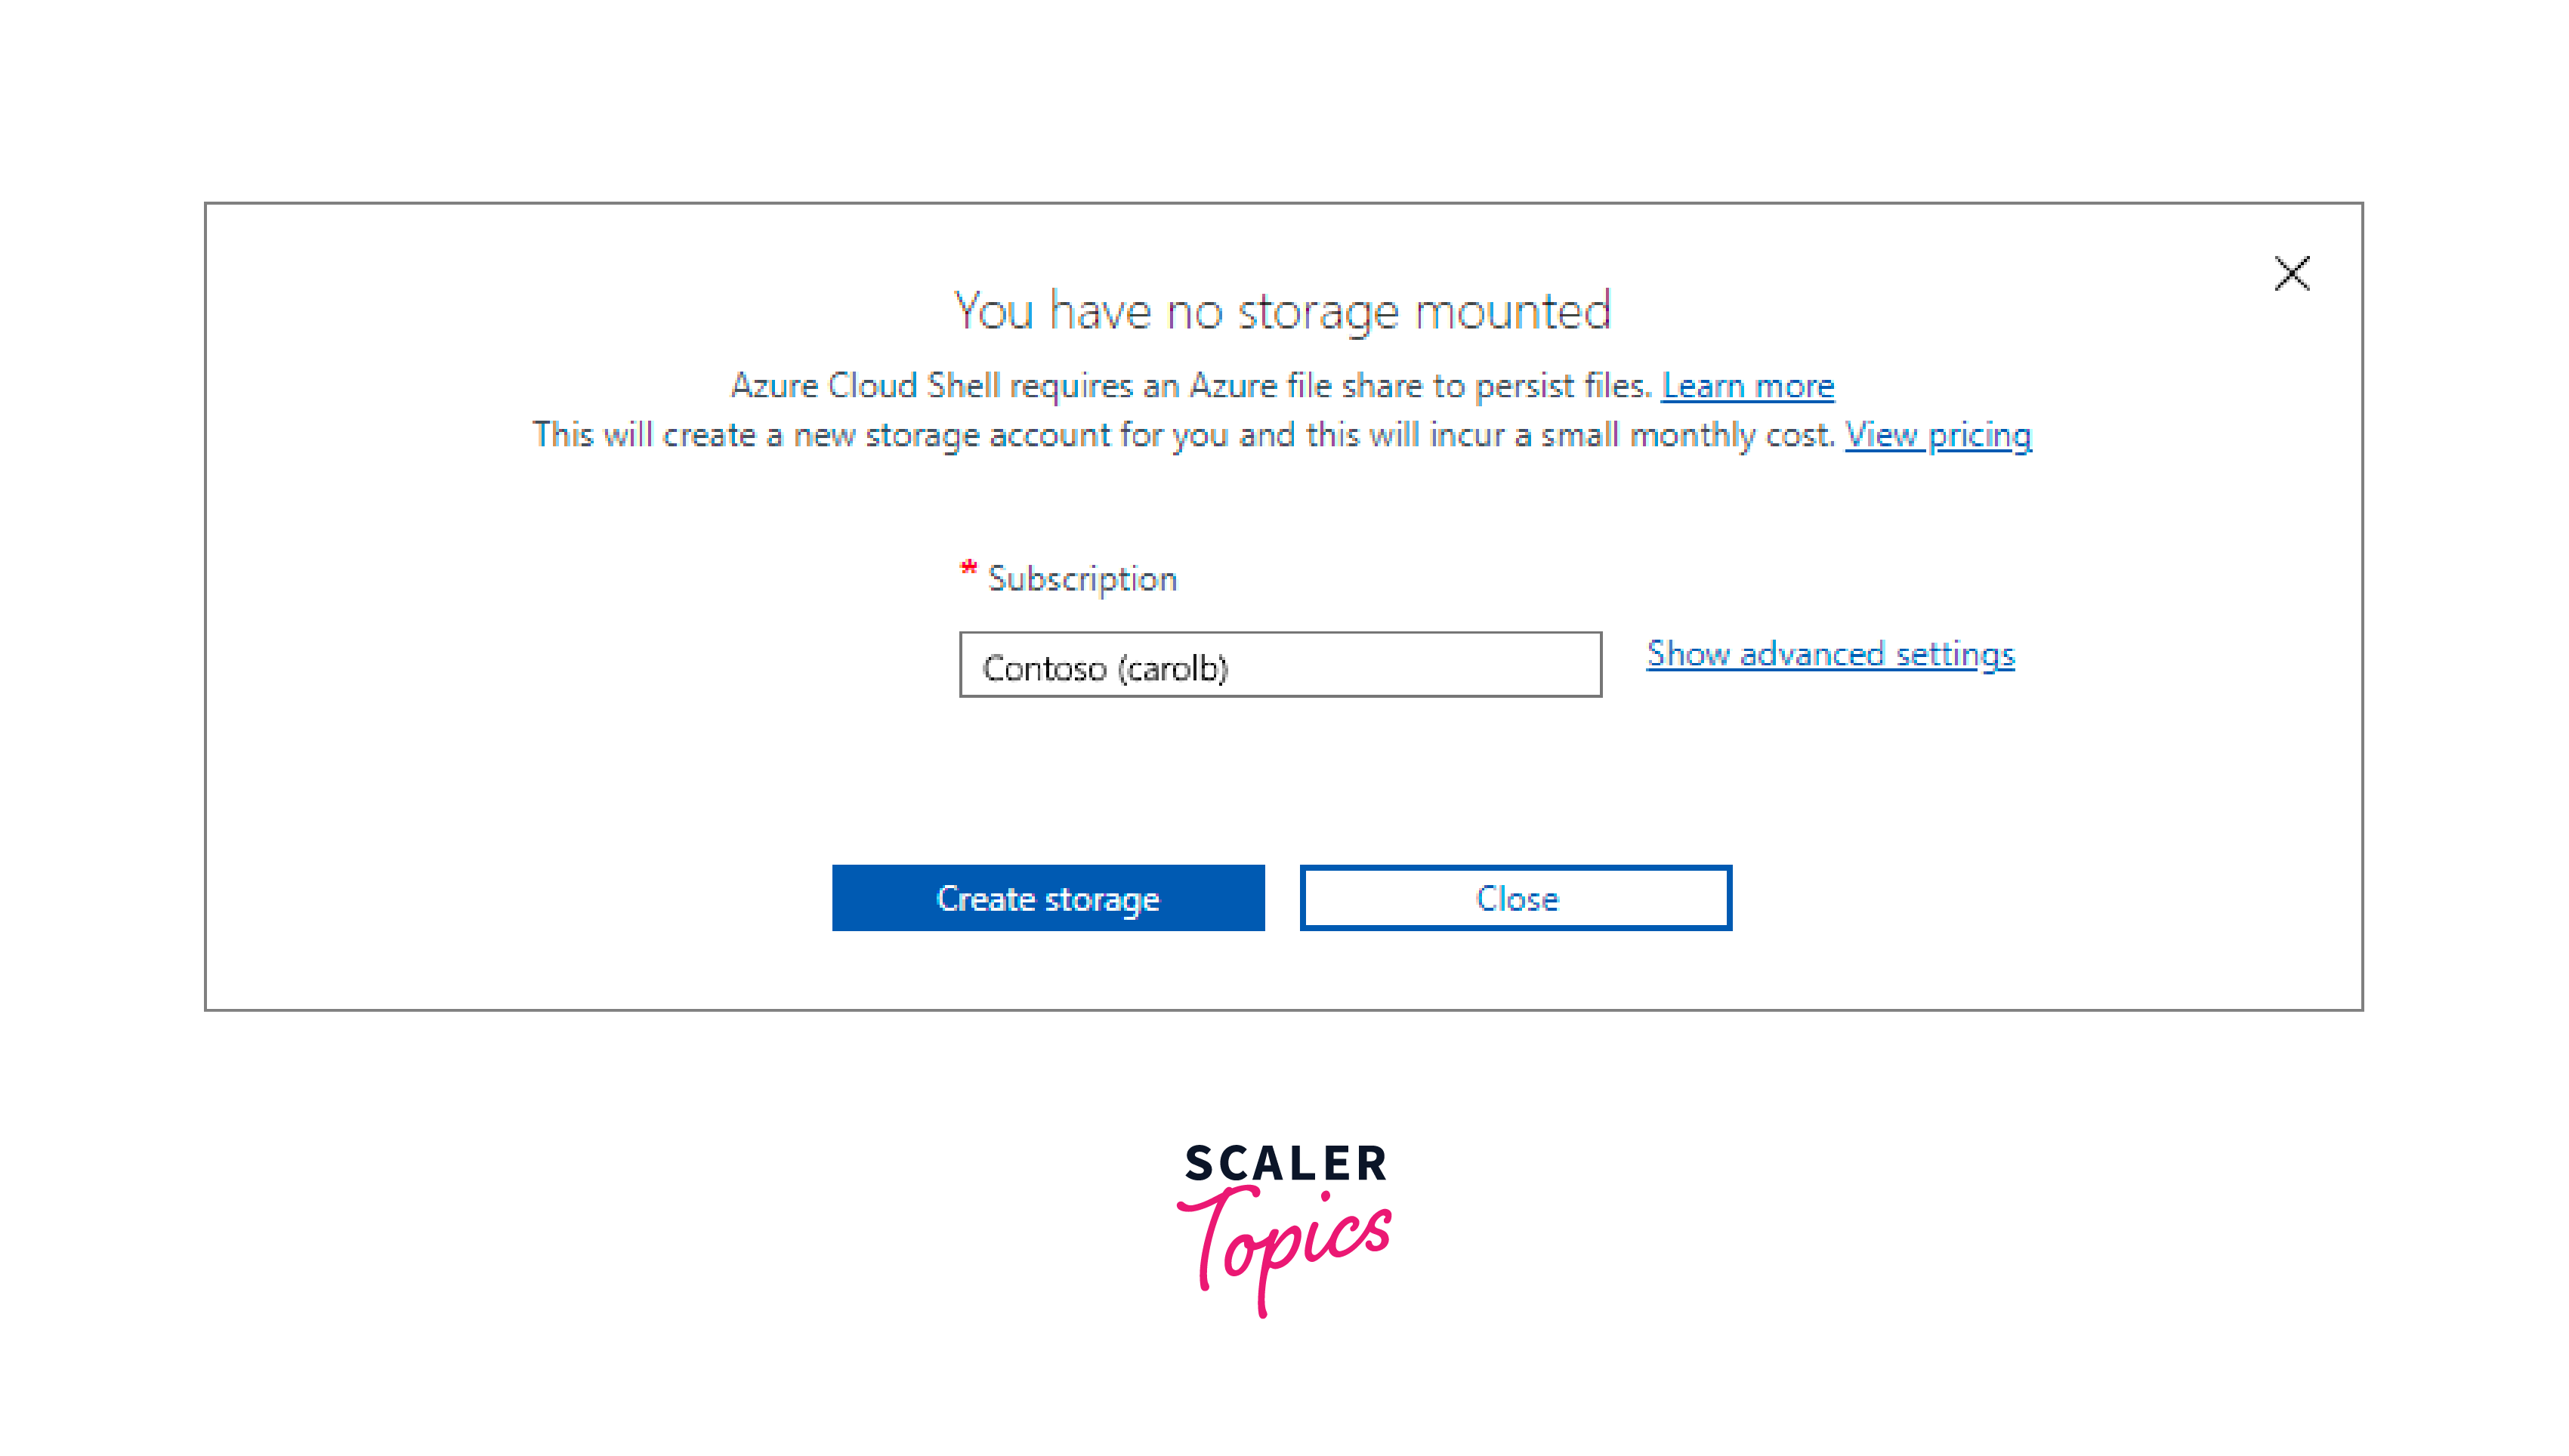
If it's your first time using Cloud Shell, you might be prompted to create a storage account to store your Cloud Shell files. You can click on the Create Storage button and Azure will configure it for you.

-
Once the setup is complete, you'll be presented with a command-line interface directly within your browser. Azure CLI is pre-installed and ready for use.

Users have the flexibility to choose between Bash and PowerShell environments within Azure Cloud Shell. The prefernce depends on whether you are more comfortable with Bash commands or PowerShell scripting language.
Azure CLI Command Syntax
Azure CLI commands follow a structured syntax to enable users to interact with various Azure services. The syntax is:
The az prefix precedes all commands. Groups and subgroups are used to categorize commands based on functionality. The command represents the specific action or task you are instructing Azure CLI to execute. Options are additional parameters or flags that modify the behavior of the command
Example Command:
The following command is used to create an azure virtual machine using the azure CLI.
In this example:
- az:
Initiates the Azure CLI command. - vm:
Specifies the group for virtual machine-related commands. - create:
Represents the specific command to create a virtual machine. - --resource-group:
Option indicating the target resource group for the virtual machine. - --name:
Option specifying the name of the virtual machine. - --image:
Option indicating the OS image to be used for the virtual machine. - --admin-username:
Option specifying the administrator username for the virtual machine. - --admin-password:
Option specifying the administrator password for the virtual machine.
Important Commands to Know on Azure CLI
az login
The first step to using Azure CLI is to initiate your Azure CLI session. Running the command, opens the browser for authentication with Azure credentials, allowing the CLI to establish a secure connection to your Azure account.
az account
The next step is to set your Azure subscription. The following command is used to show information such as subscription ID, subscription name, and tenant ID of your current subscription.
To change your current subscription, you can use the following command:
The subscription-name can be obtained from your Azure portal.
az init
This command helps initialize your Azure CLI environment. It prompts you to select a default subscription and configure basic settings. In the example, --location indiacentral sets the default location for resource deployment.
az config
This command enables you to configure Azure CLI settings. For instance, the following command is used to set the default location of resources to be managed or created in central India. You can also set the resource group using the defaults.group option or the output format for Azure CLI commands using the core.output option.
By configuring a default location, subsequent commands that require a location parameter will use the specified default value and you can also set the defaults.group option to ensure that newly created resources are automatically placed in the specified group.
az interactive
This command launches an interactive mode, providing a dynamic way to explore and execute Azure CLI commands. This mode supports tab completion, syntax suggestions, and inline help.
For users new to Azure CLI or those who want to learn commands in a hands-on manner, the interactive mode offers an efficient learning environment. It allows users to experiment with commands in real time, gaining practical experience in utilizing Azure CLI effectively.
In addition to specific command arguments, Azure CLI also provides globally available arguments that can be used across various commands to modify their behavior. Here are a few commonly used global arguments:
The --output argument allows you to specify the format of the command output. Options include json, yaml, and table. Using the --output table formats the output in a readable tabular layout.
The --query argument lets you filter and manipulate the command output using JMESPath queries. This is valuable for extracting specific information or customizing the presentation of results.
The {Name:name, Region:location} query specifies the JMESPath query to transform the output. It creates a new object for each item in the array with properties Name having the value of the original name and Region, having the value of the corresponding location property.
The --verbose argument provides detailed information about the command execution, including HTTP requests and responses. This can be useful for troubleshooting or gaining a deeper understanding of the operation.
The --debug argument is used for extensive debugging information. It displays additional details about the command execution process, aiding in diagnosing issues or understanding the inner workings of Azure CLI.
List of Other Useful Azure CLI Commands
| Command | Explanation |
|---|---|
| az resource list | Lists all resources within the default subscription. |
| az group create | Creates a new resource group, a logical container for resources, enabling you to manage and organize related resources. |
| az vm create | Deploys a virtual machine (VM) in Azure, allowing you to customize specifications such as OS, size, and network configurations during the creation process. |
| az vm start | Starts a specific virtual machine, ensuring that the VM is operational and ready to process requests or workloads. |
| az storage account create | Creates a new Azure Storage account, a scalable storage solution for various data types. |
| az storage blob upload | Uploads a file or data to a specified Azure Storage blob, facilitating the transfer and storage of content within the configured storage account. |
| az sql server create | Deploys an Azure SQL Server, a fully managed relational database service, allowing you to define server settings, administrative credentials, and other configuration parameters. |
| az sql db create | Creates a new Azure SQL Database, a database-as-a-service offering, within the specified SQL Server instance, allowing you to manage and scale databases efficiently. |
| az network vnet create | Establishes an Azure Virtual Network (VNet), providing a secure and isolated network environment for Azure resources, within a specified resource group and location. |
| az network nsg create | Creates a Network Security Group (NSG), enabling you to filter network traffic and implement security rules for inbound and outbound communications within an Azure VNet. |
Conclusion
- Azure CLI is a command-line tool for managing Microsoft Azure resources. It offers cross-platform compatibility and interactive mode.
- Installation involves downloading the appropriate package for your OS or using Azure Cloud Shell for a browser-based experience.
- Azure Cloud Shell allows users to manage Azure resources without local installations, offering a browser-based shell directly within the Azure portal.
- Commands like az login initiate Azure CLI sessions, while az group creates and az vm are used for resource group and virtual machine management, respectively.
- Commands such as az config and az init help configure and initialize Azure CLI settings, enhancing user customization and setup.
- Global arguments enhance the customization and optimization of Azure CLI command behavior. These arguments offer flexibility in formatting output and filtering results.
