How to Create Windows Virtual Machine in Azure
Overview
A virtual machine, or VM for short, is much like any regular physical computer you use, such as a laptop, smartphone, or server. It possesses a CPU, memory, storage space for your files, and the ability to access the internet if required. While the hardware components of your computer are physical and tangible, virtual machines (VMs) are generally thought of as software-defined computers or virtual computers within physical servers, existing entirely as code. In this article, we will learn how to create virtual machines on the Azure cloud platform. This article will discuss how to create vm in azure in azure.
Sign in to Azure
To use the Azure portal, you must have a valid Microsoft Azure account with a valid subscription.
Note:- If you don't have an Azure account, you can easily create a free one using the following link by simply entering your basic information and credit card details. You can use the Azure portal for free for 30 days, and after that, you are charged according to your plan.
Create virtual machine
Let's see how to create vm in azure portal:
- Search Virtual machines on the search tab at the top of the portal. Instead, you can find Virtual Machines by expanding on the three-dot menu
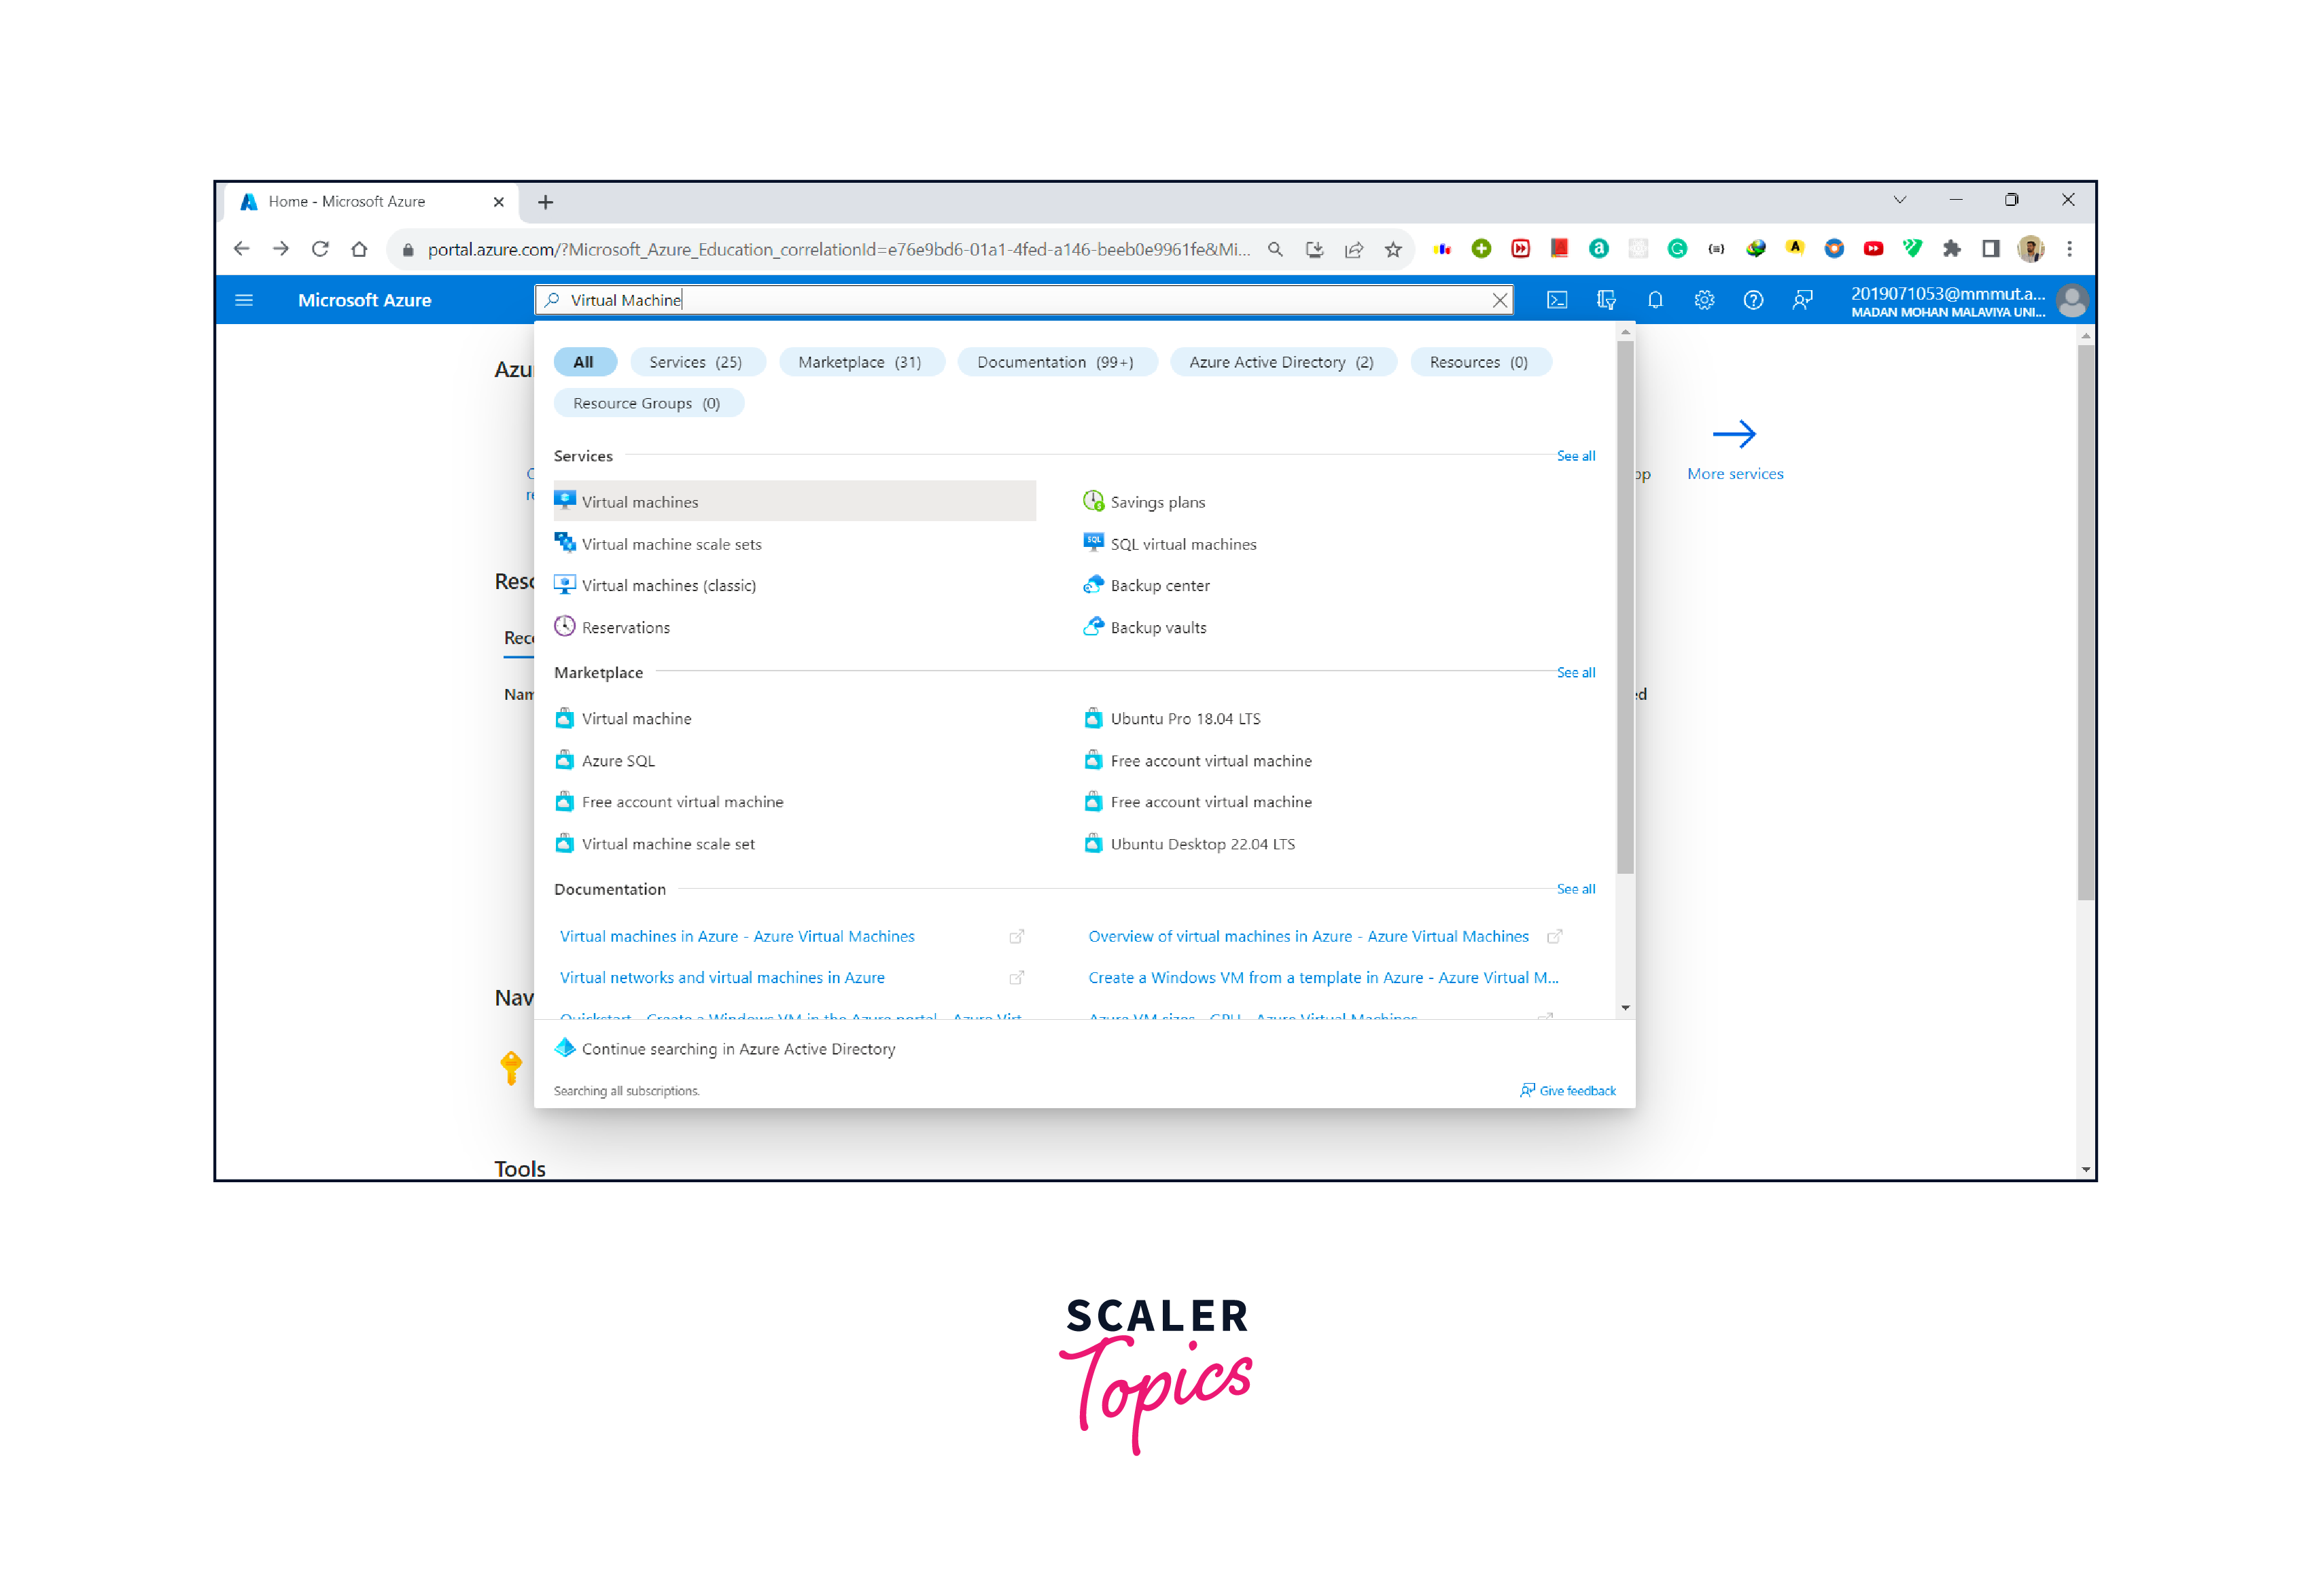
- Under Services, select Virtual Machines and then click on Create.
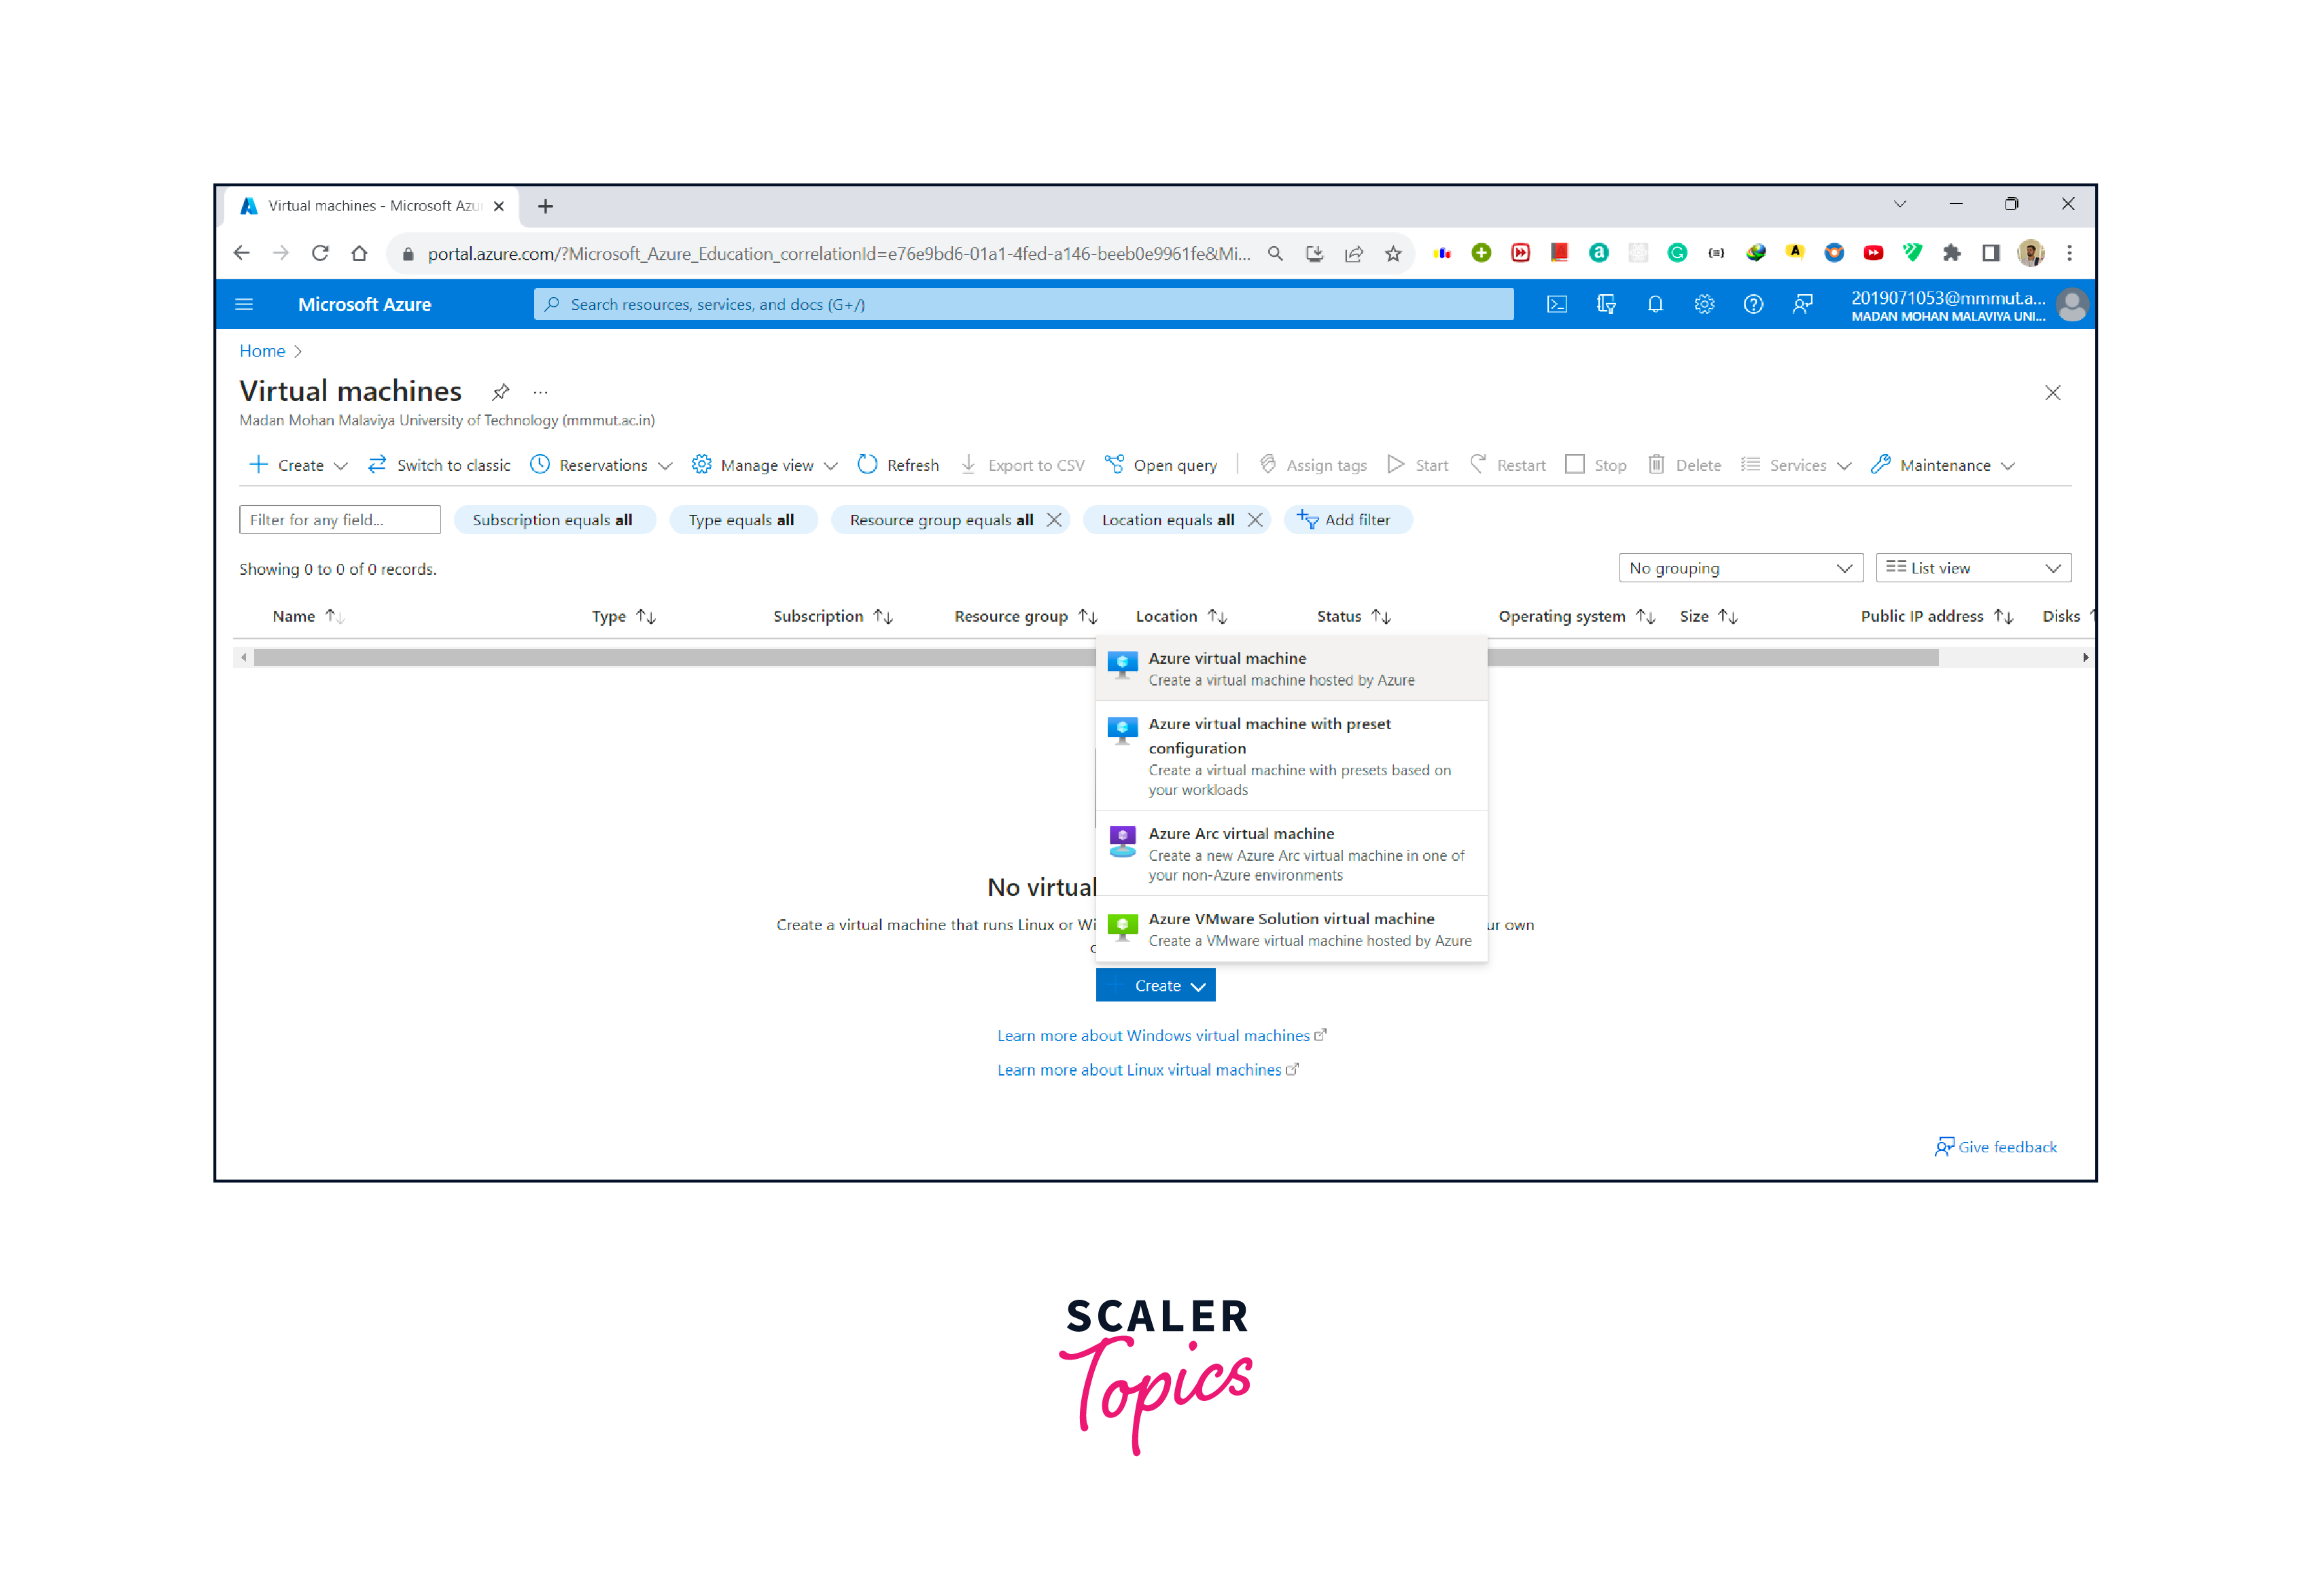
- Now you will be redirected to the Create a virtual machine page.
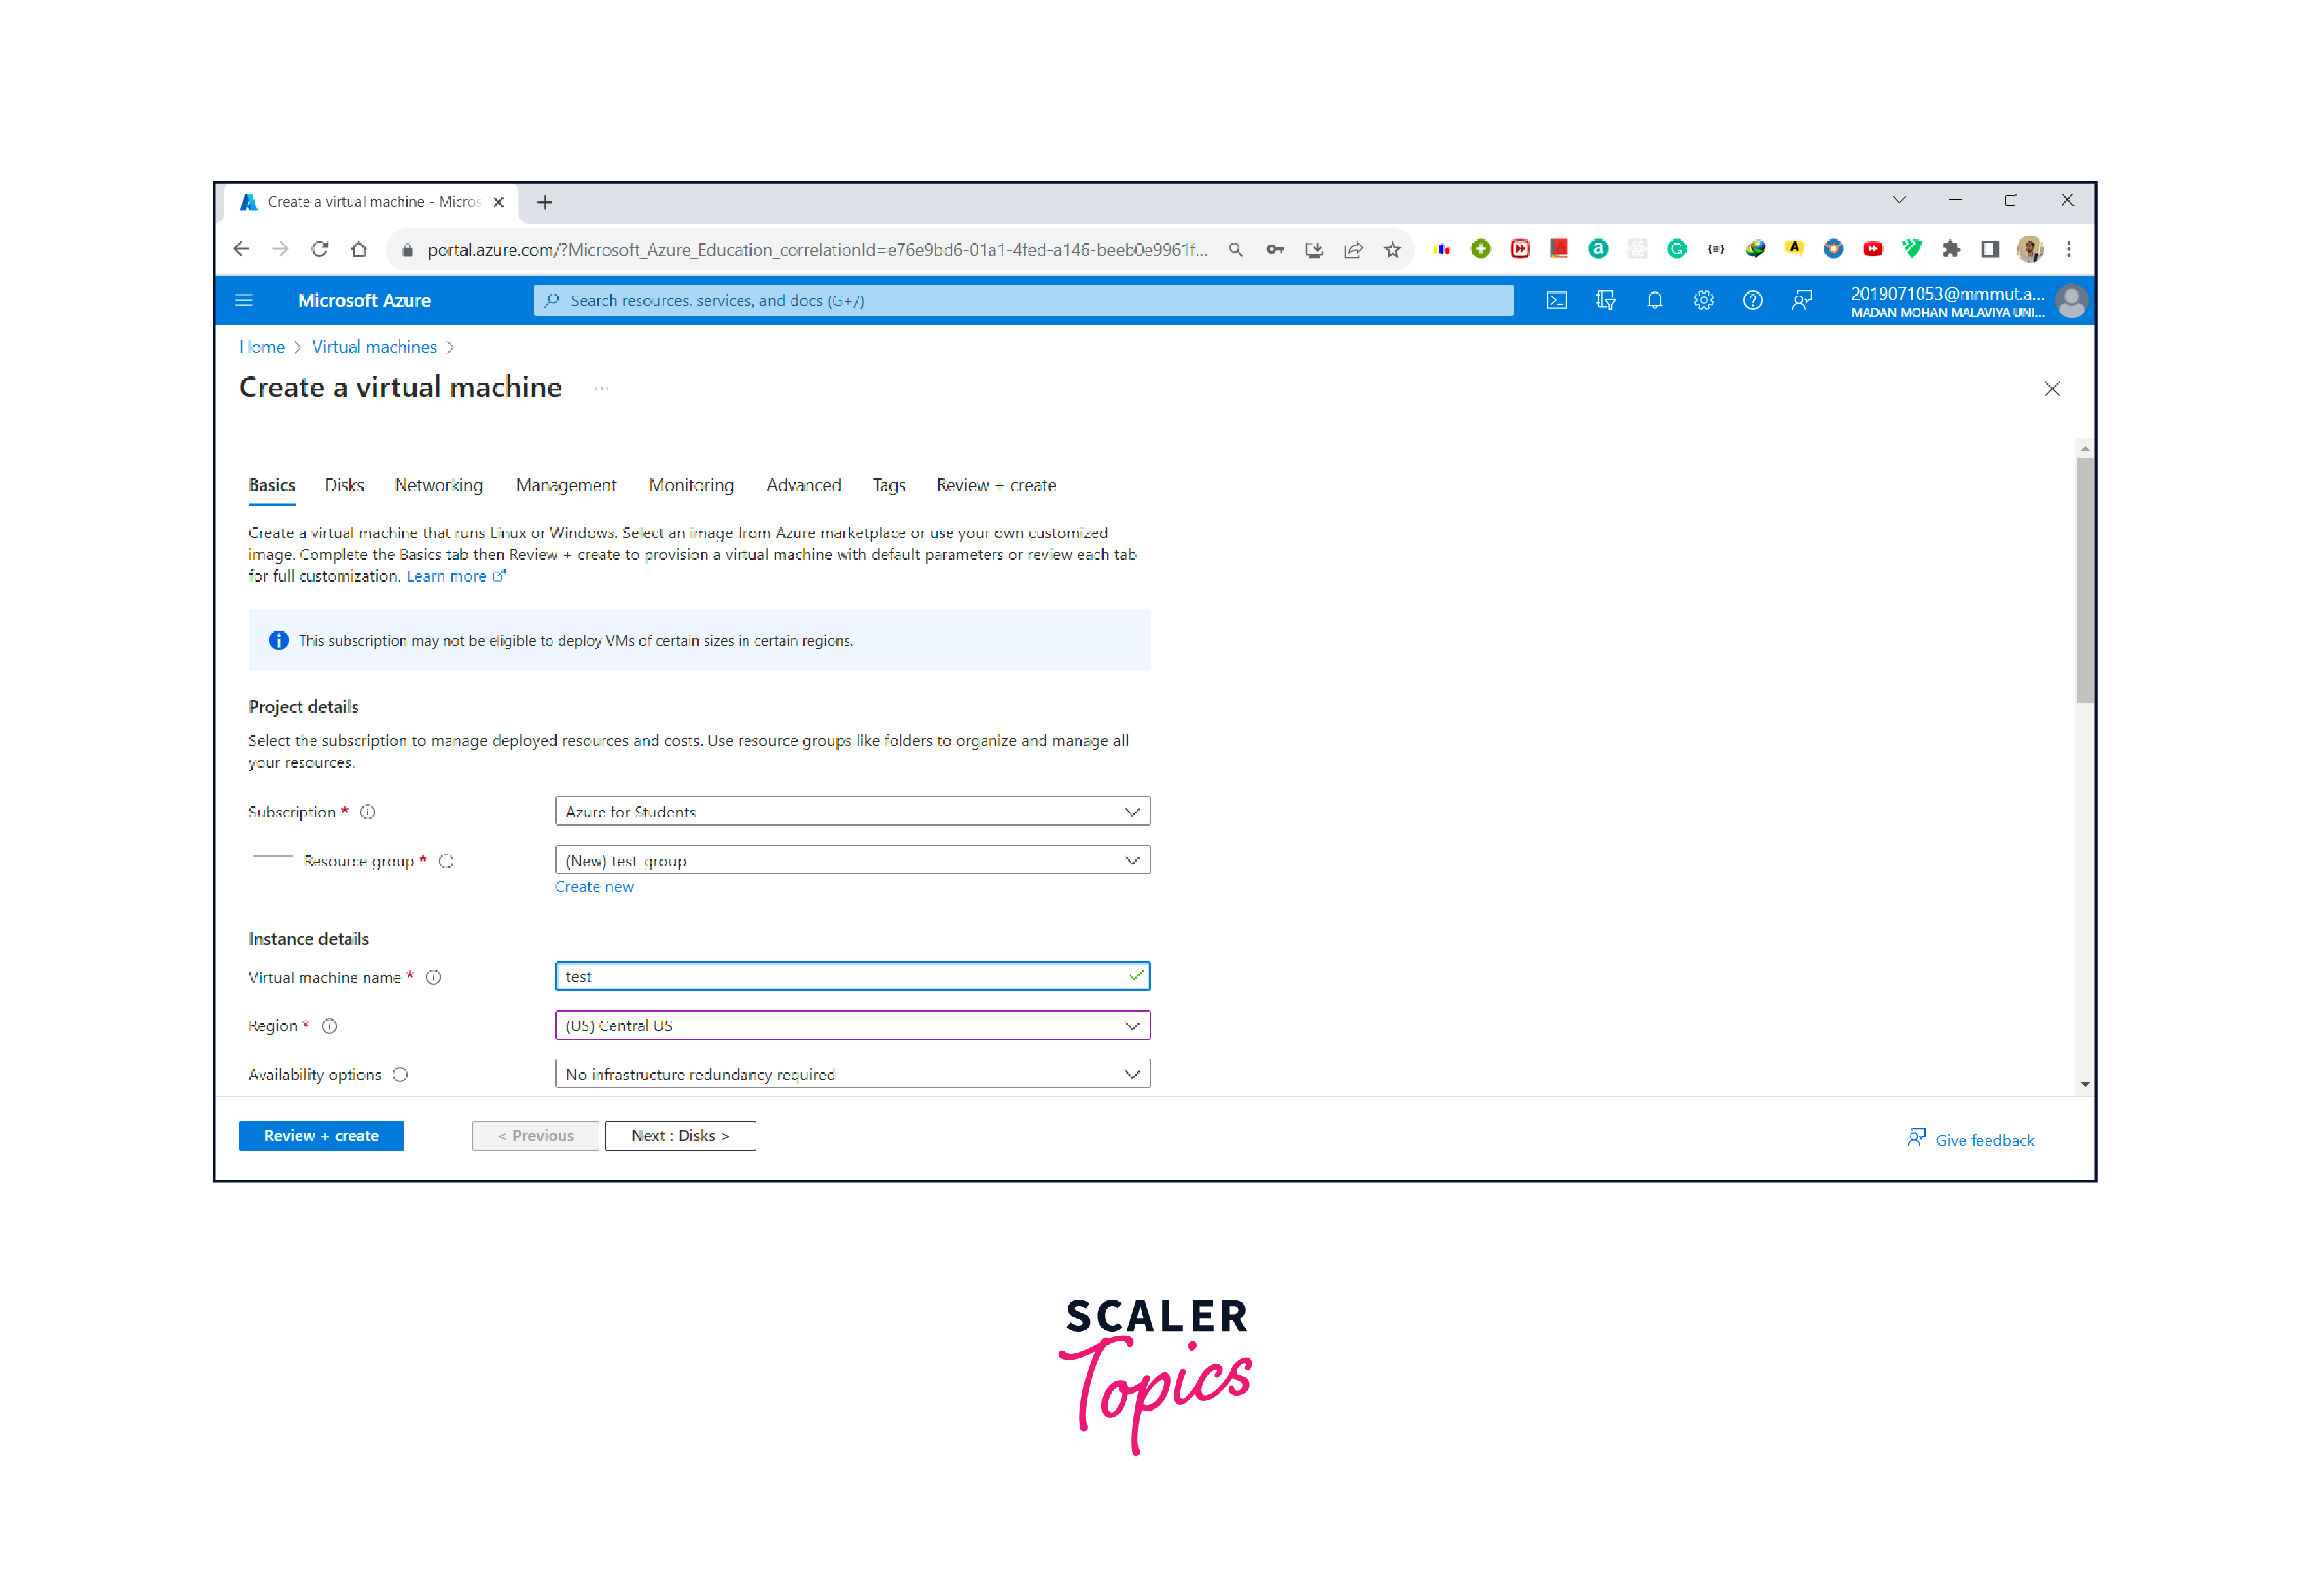
- Under Instance Details, name your virtual machine, and for Image, choose Windows Server 2022 Datacenter: Azure Edition -x64 Gen2. For the Region, you can select it according to your requirement.
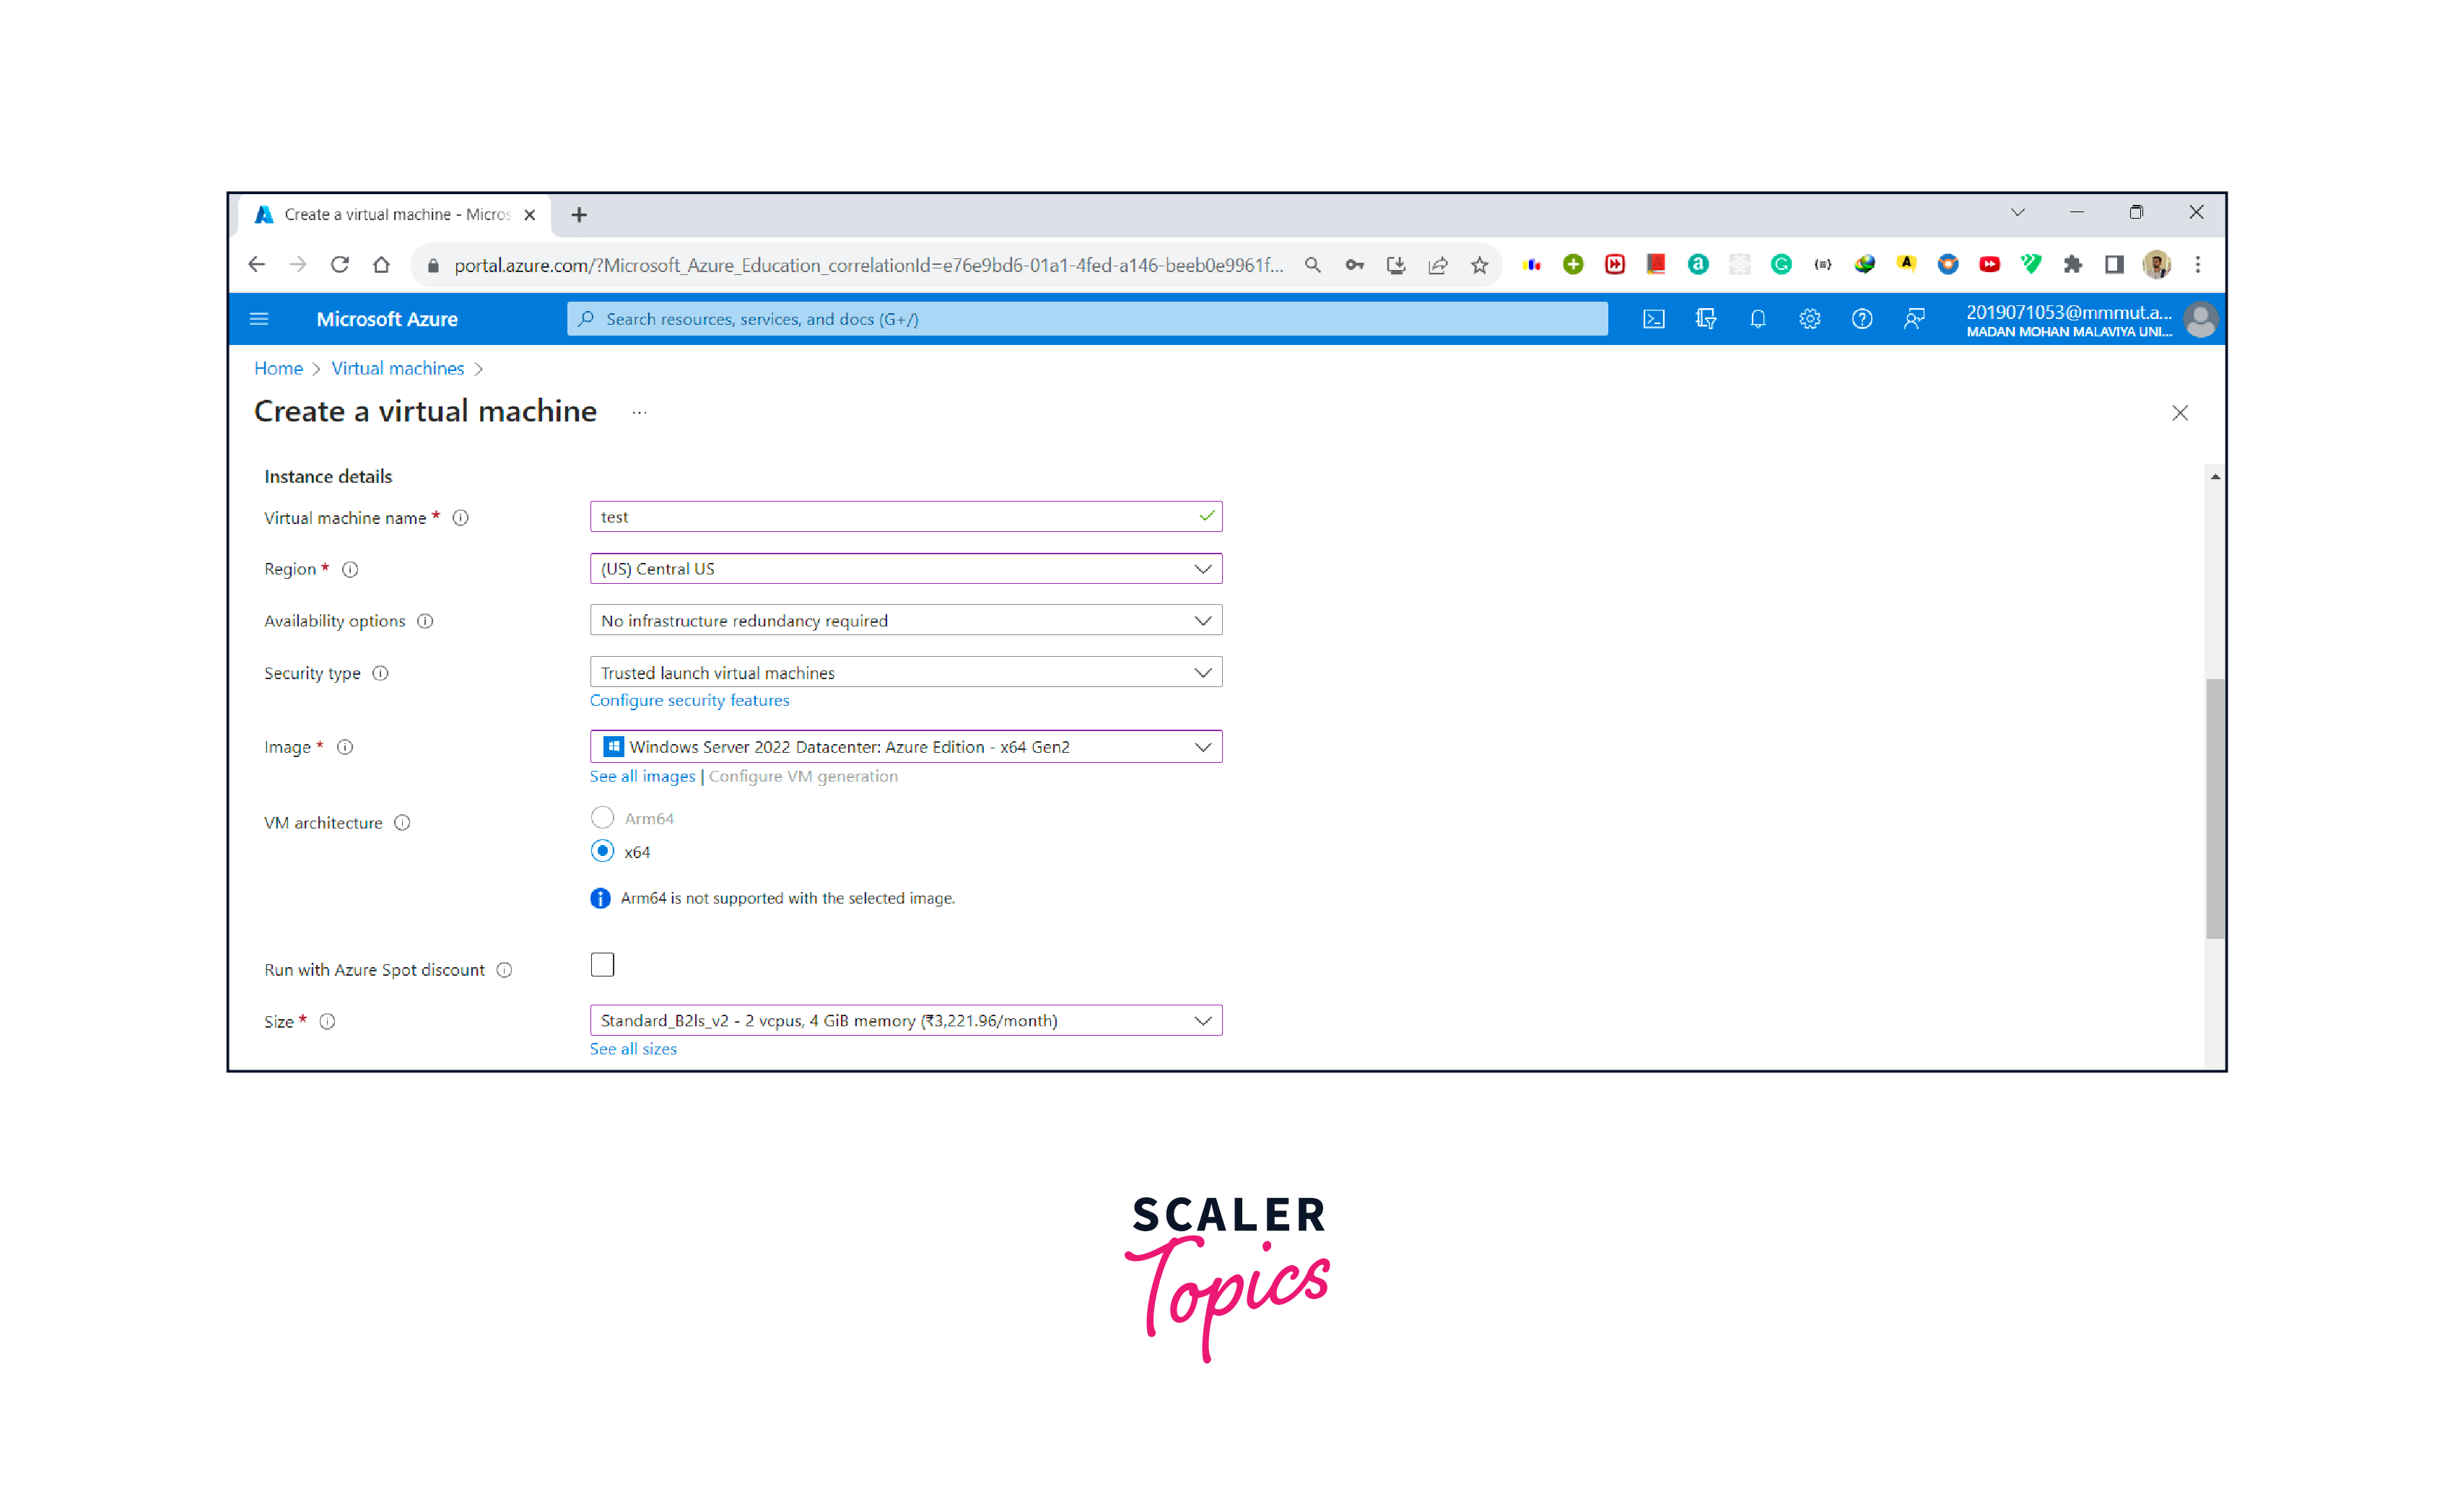
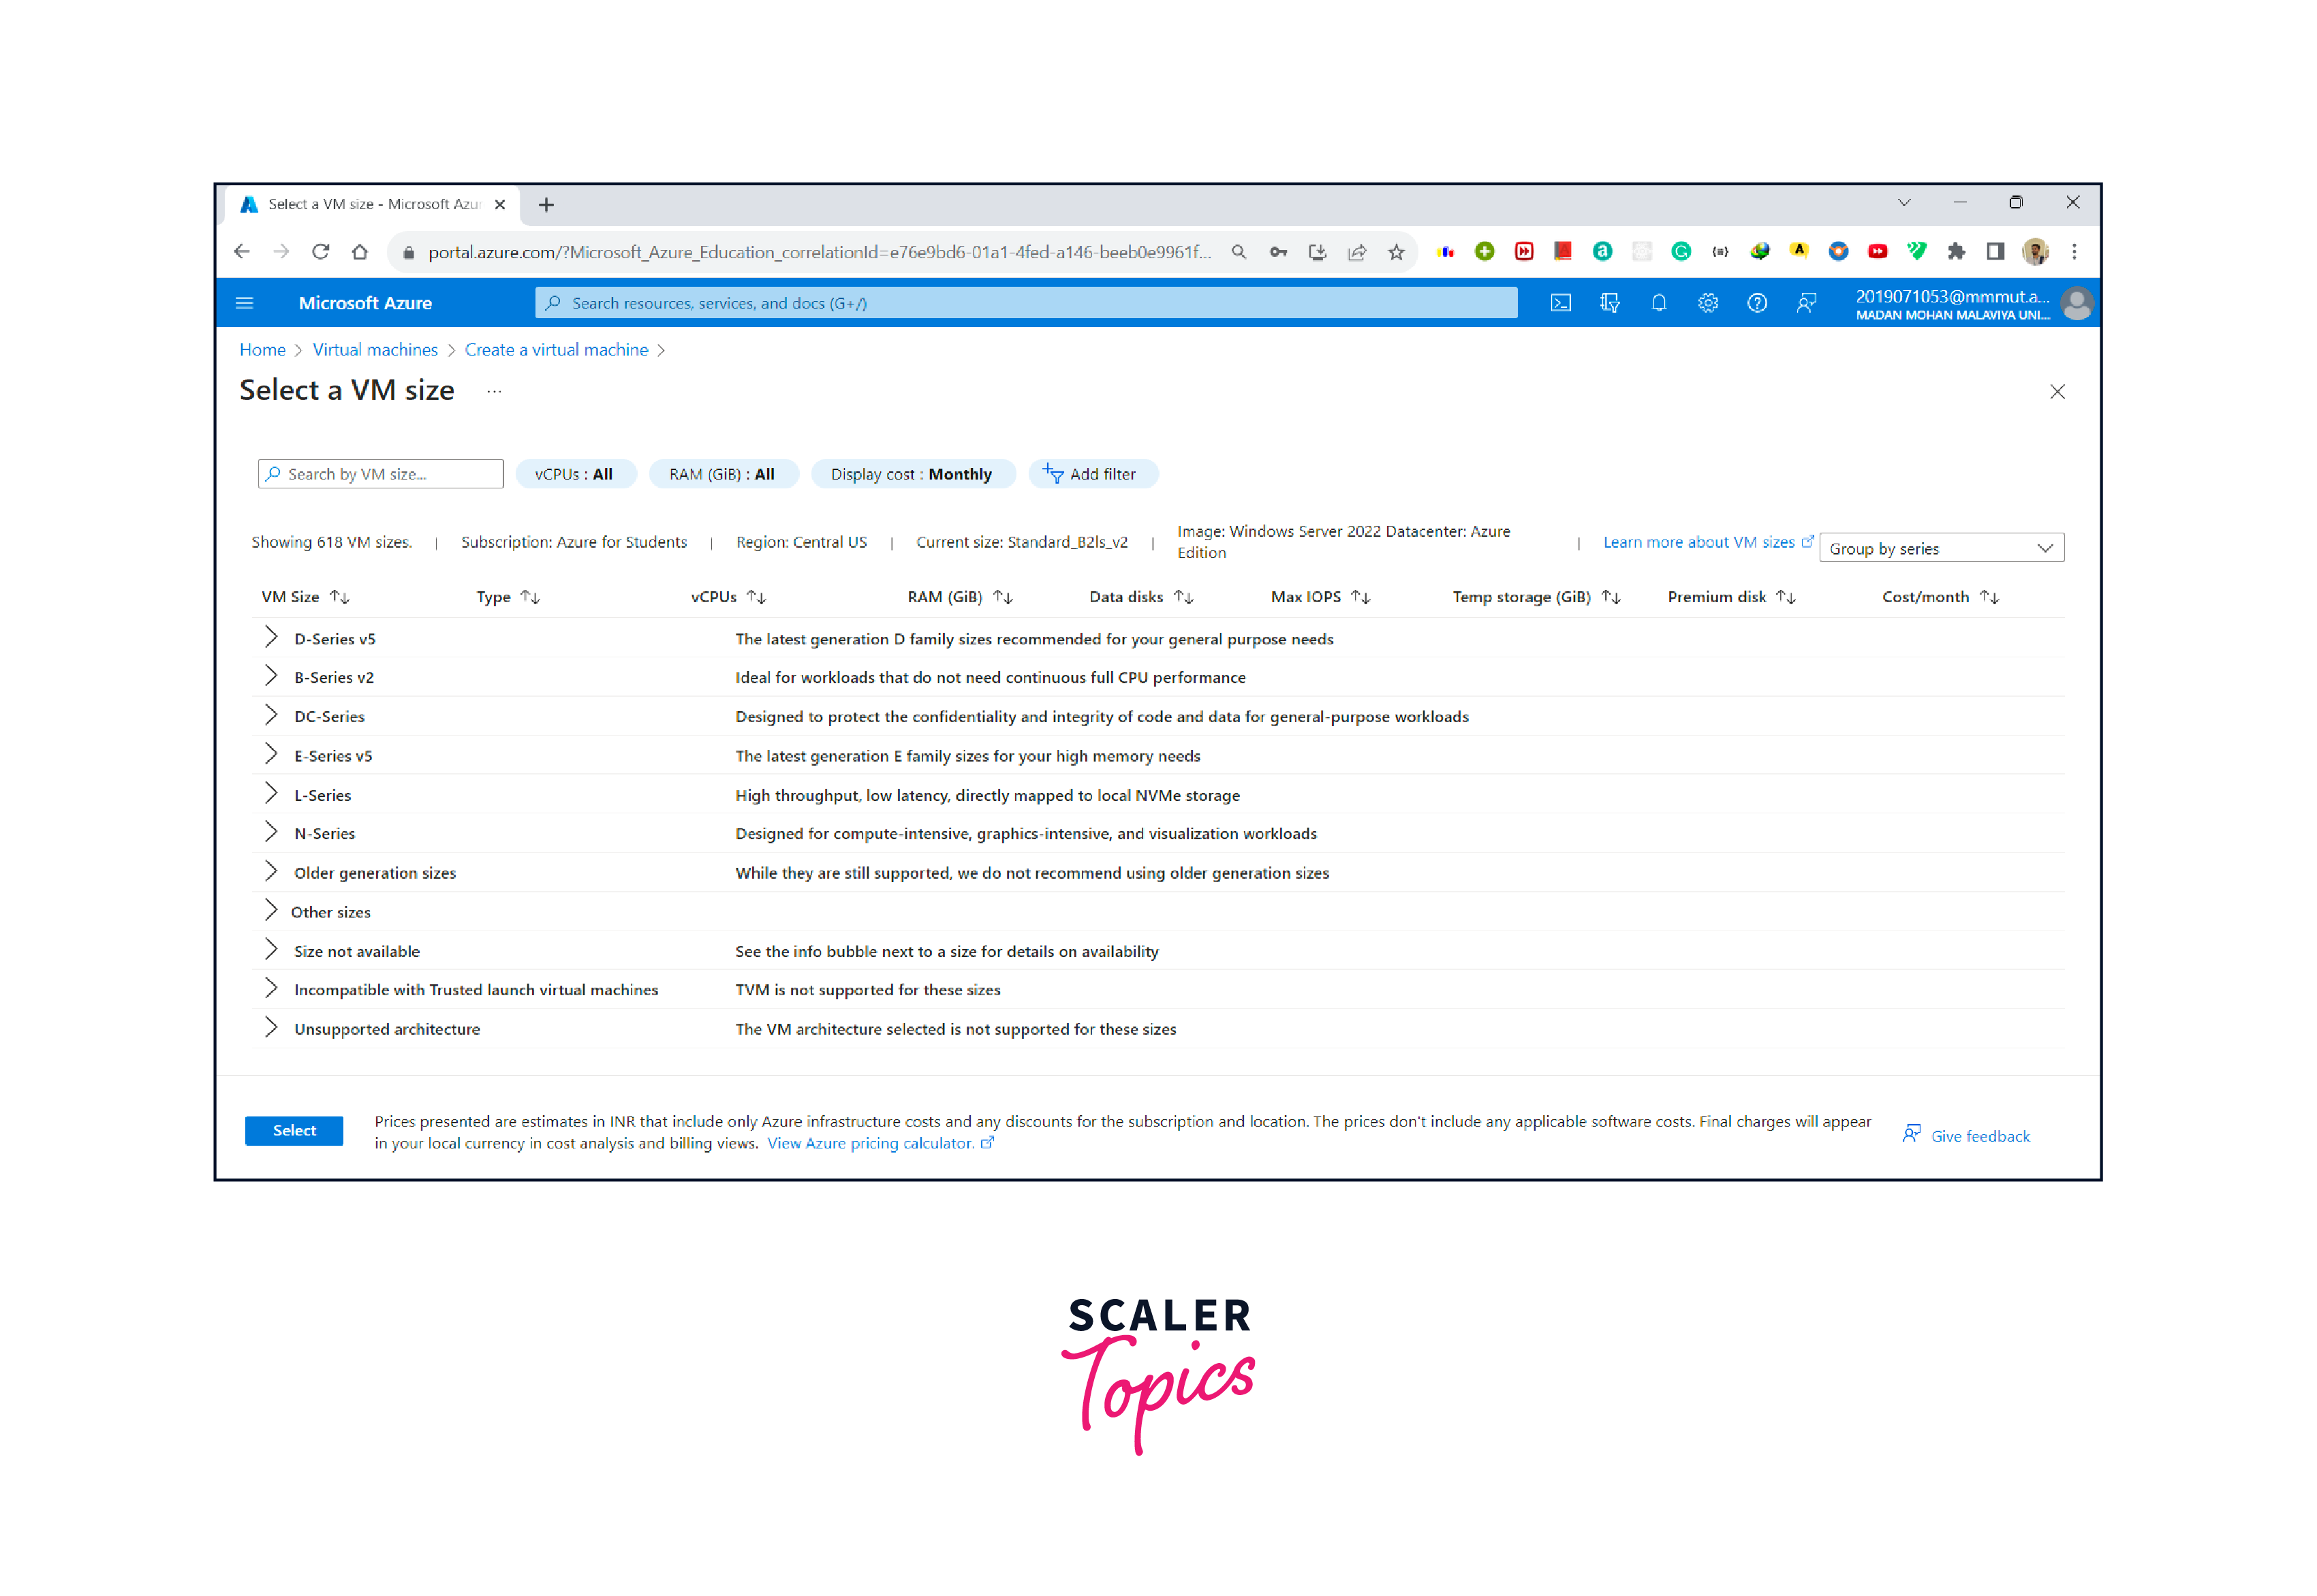
- Now choose the Size according to your need and budget. Here we use Standard B2ls_v2.
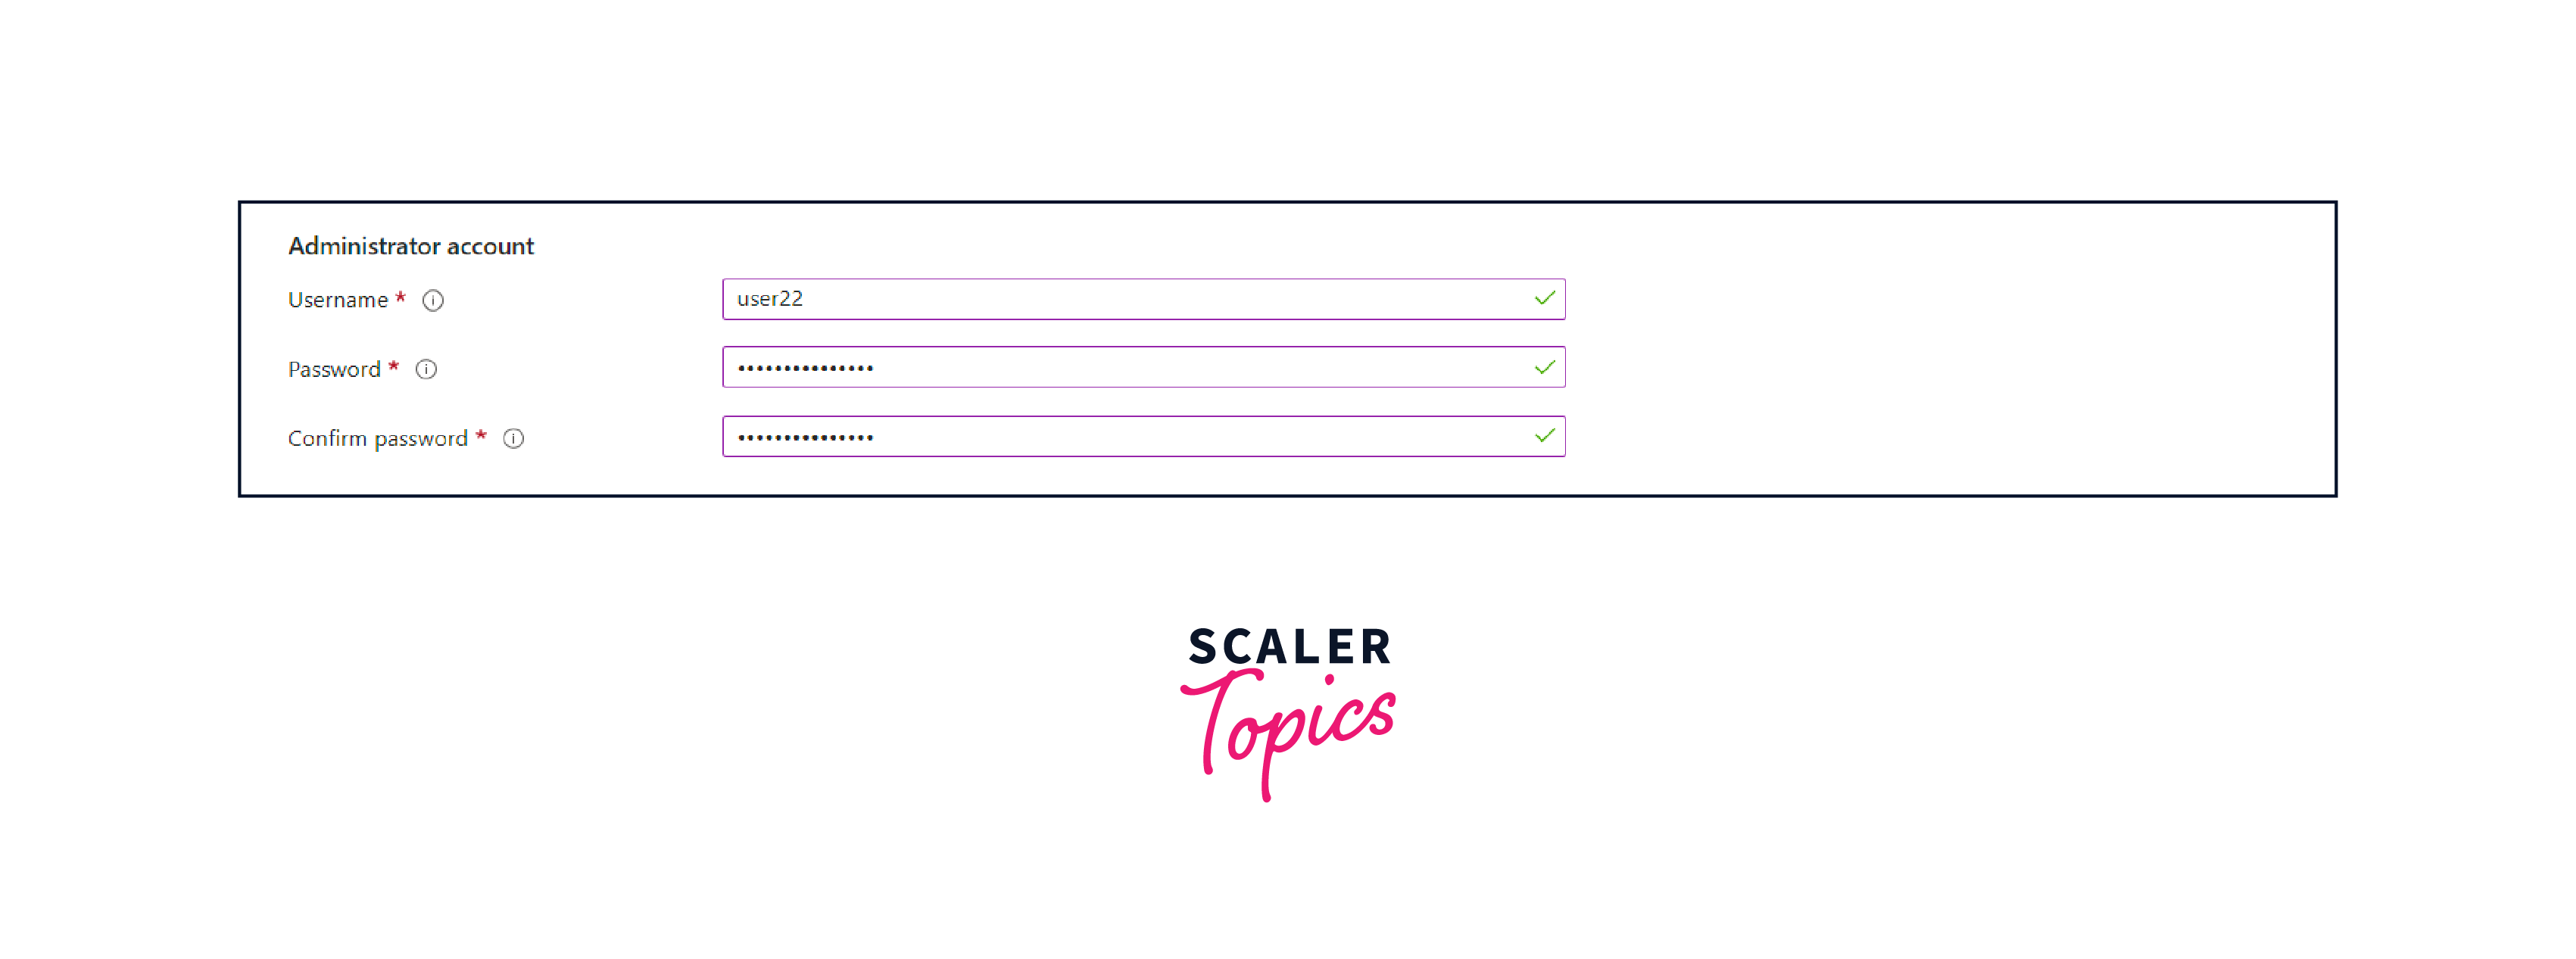
- Under the Administrator account, provide a strong username and password for your virtual machine.
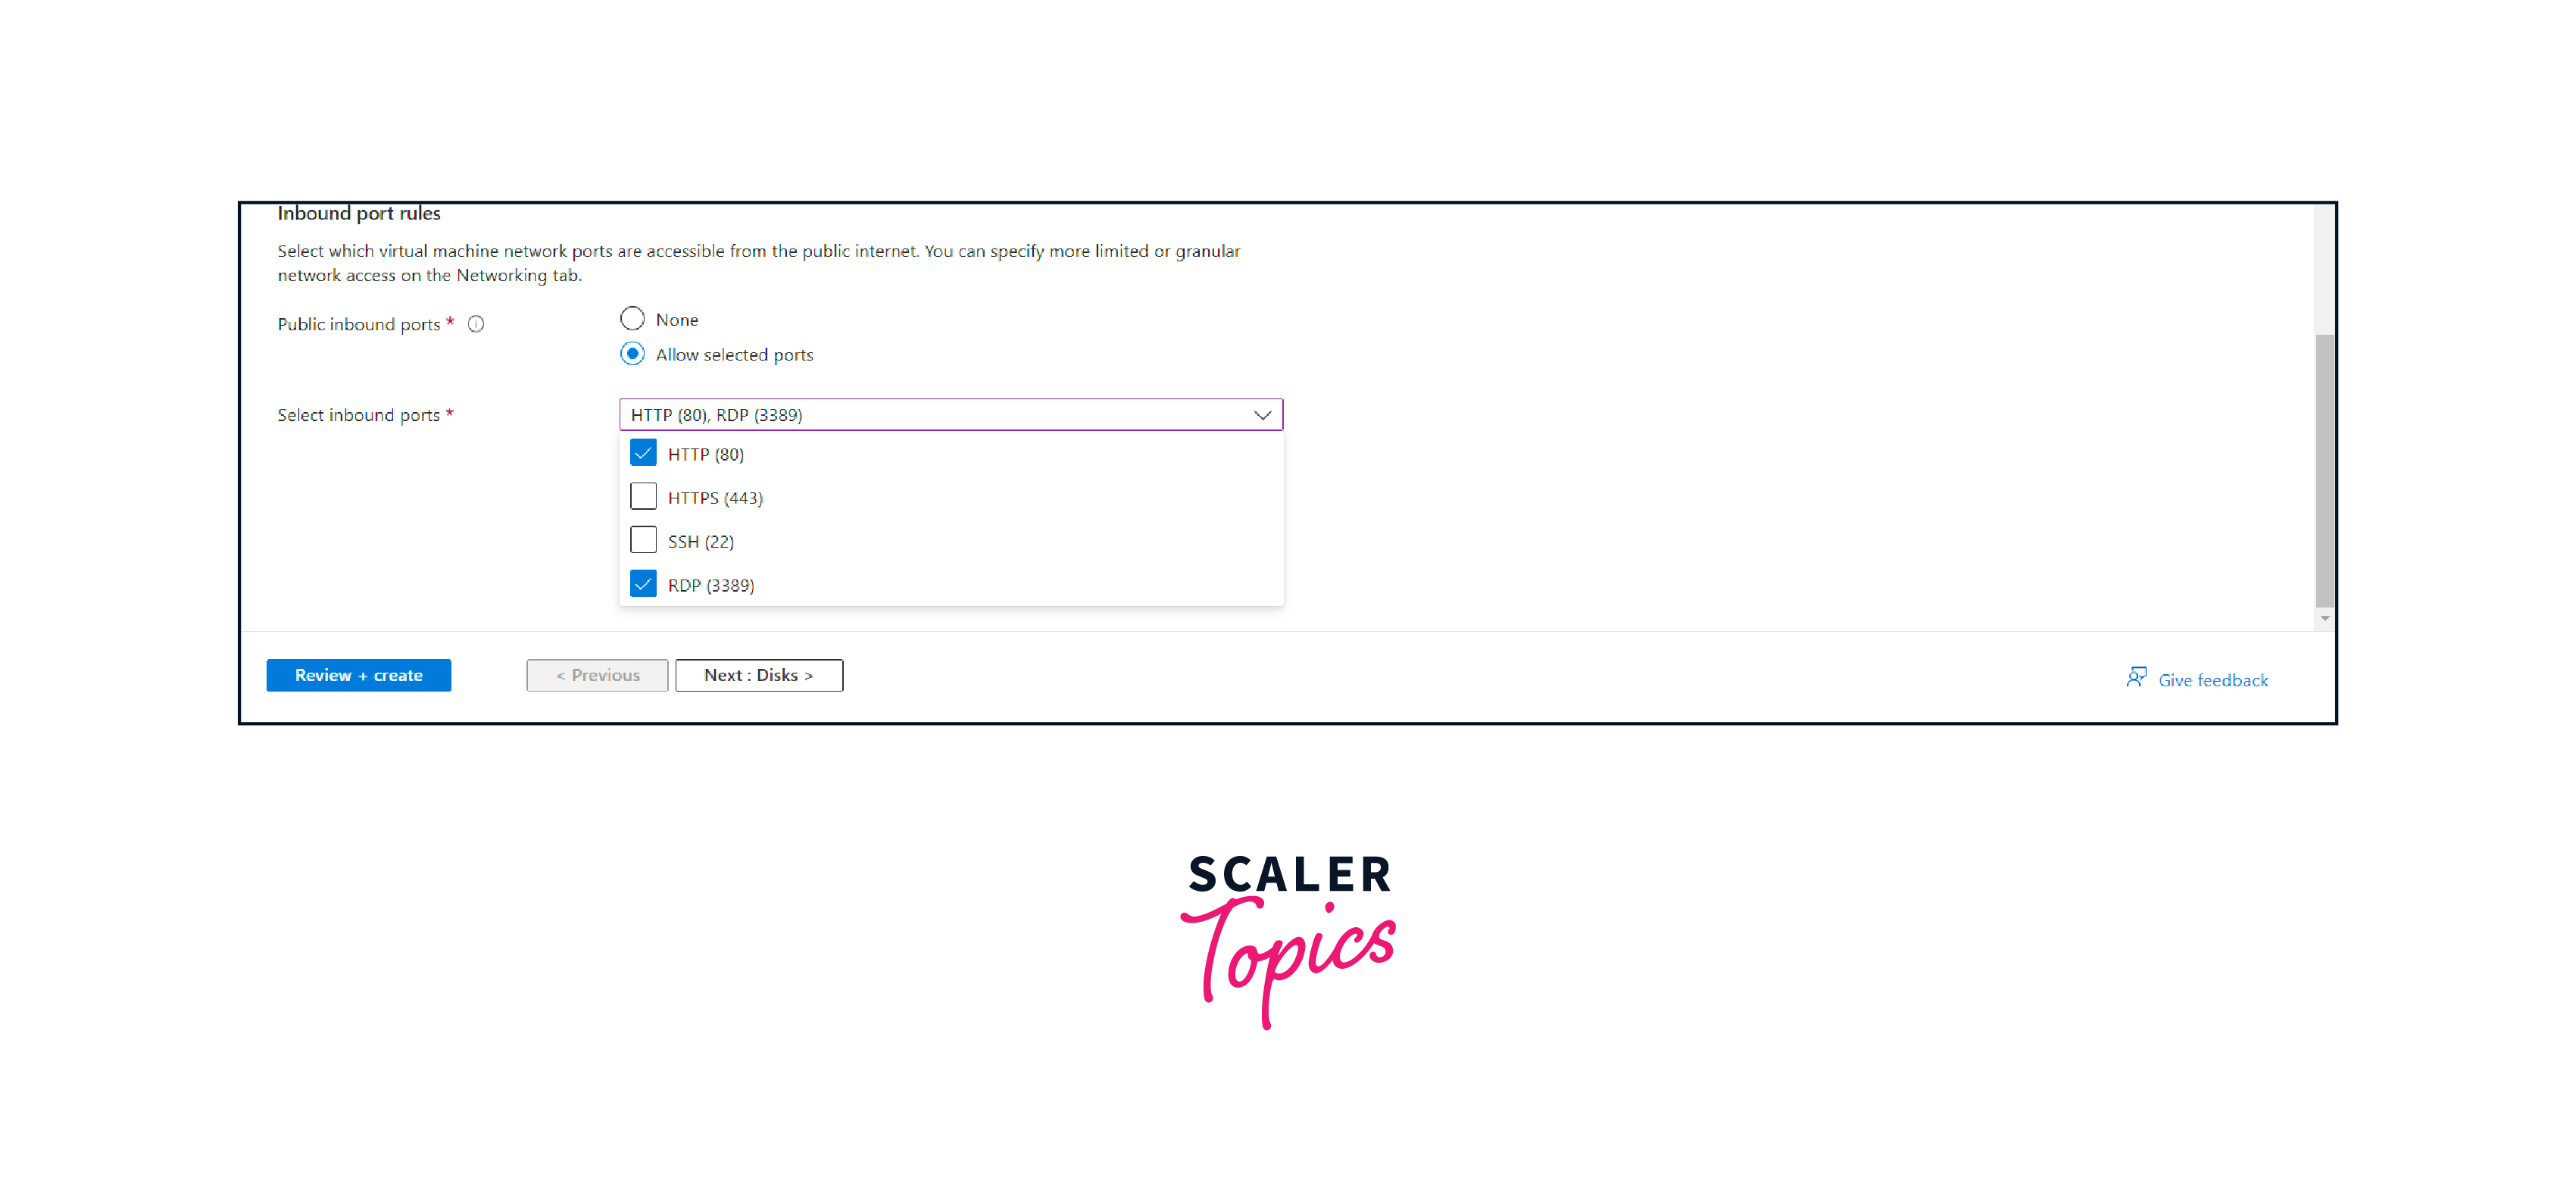
- Choose Allow Selected Ports under Inbound port rules, then choose RDP (3389) and HTTP (80) from the drop-down menu.
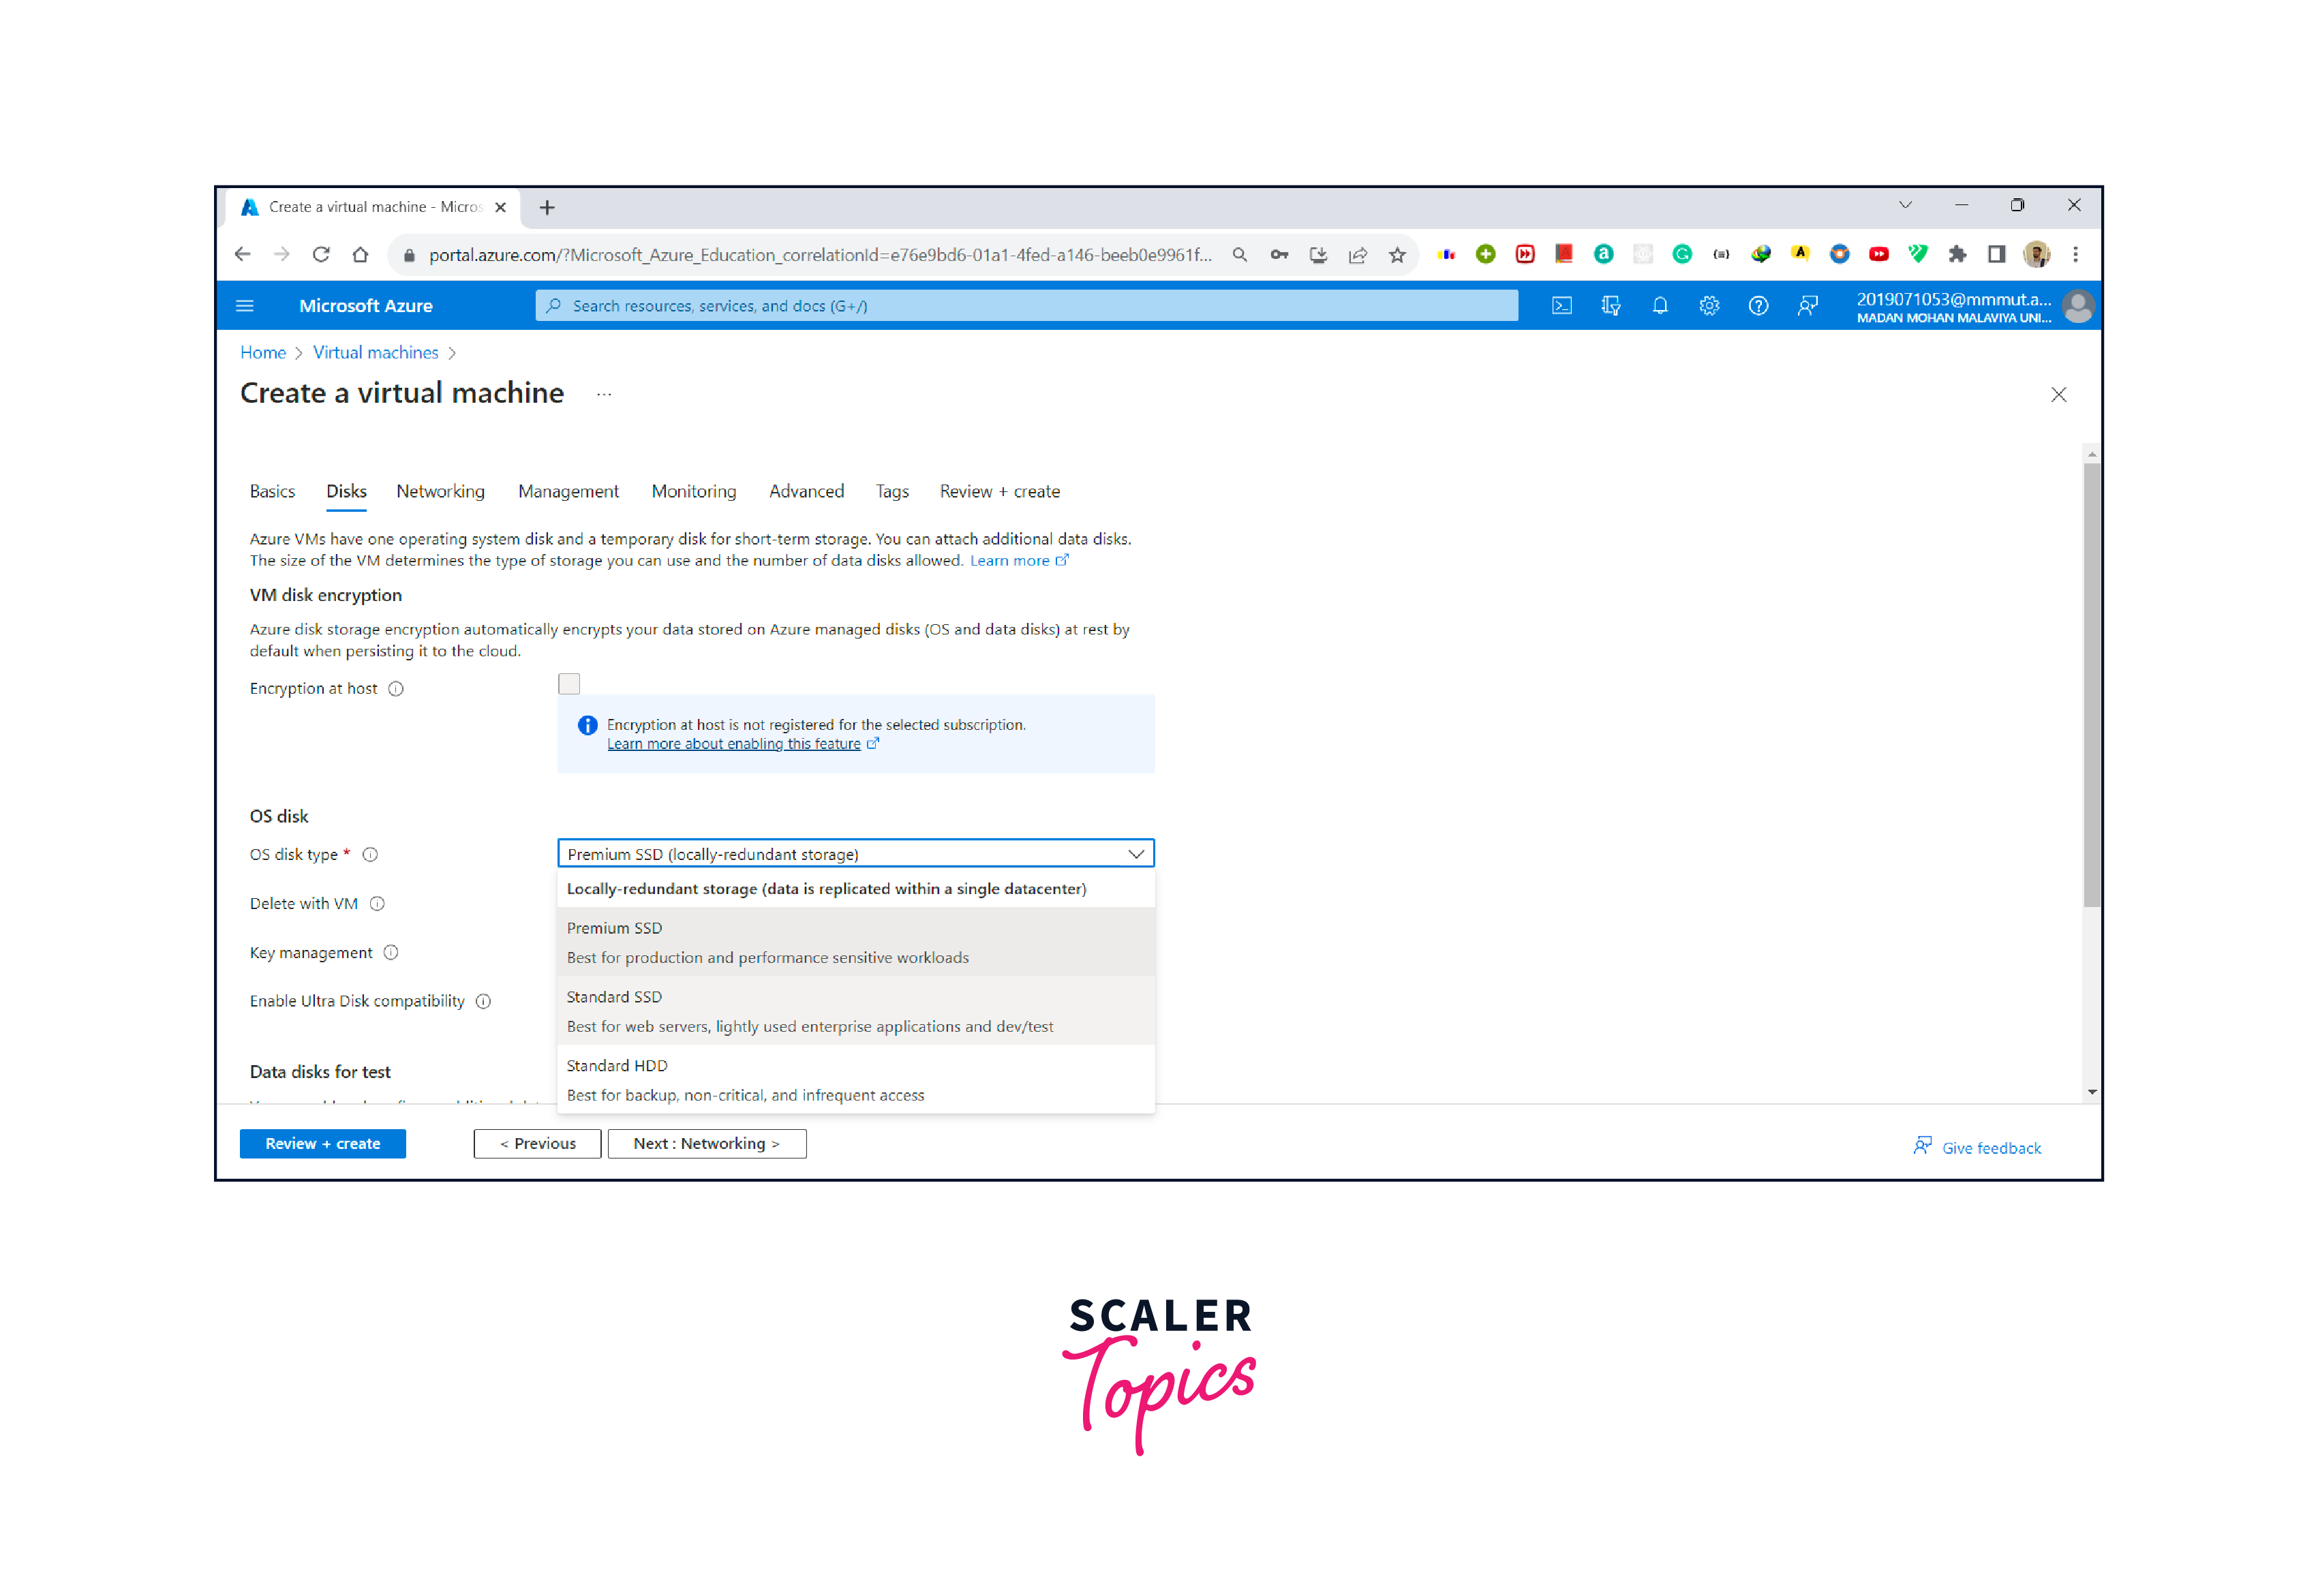
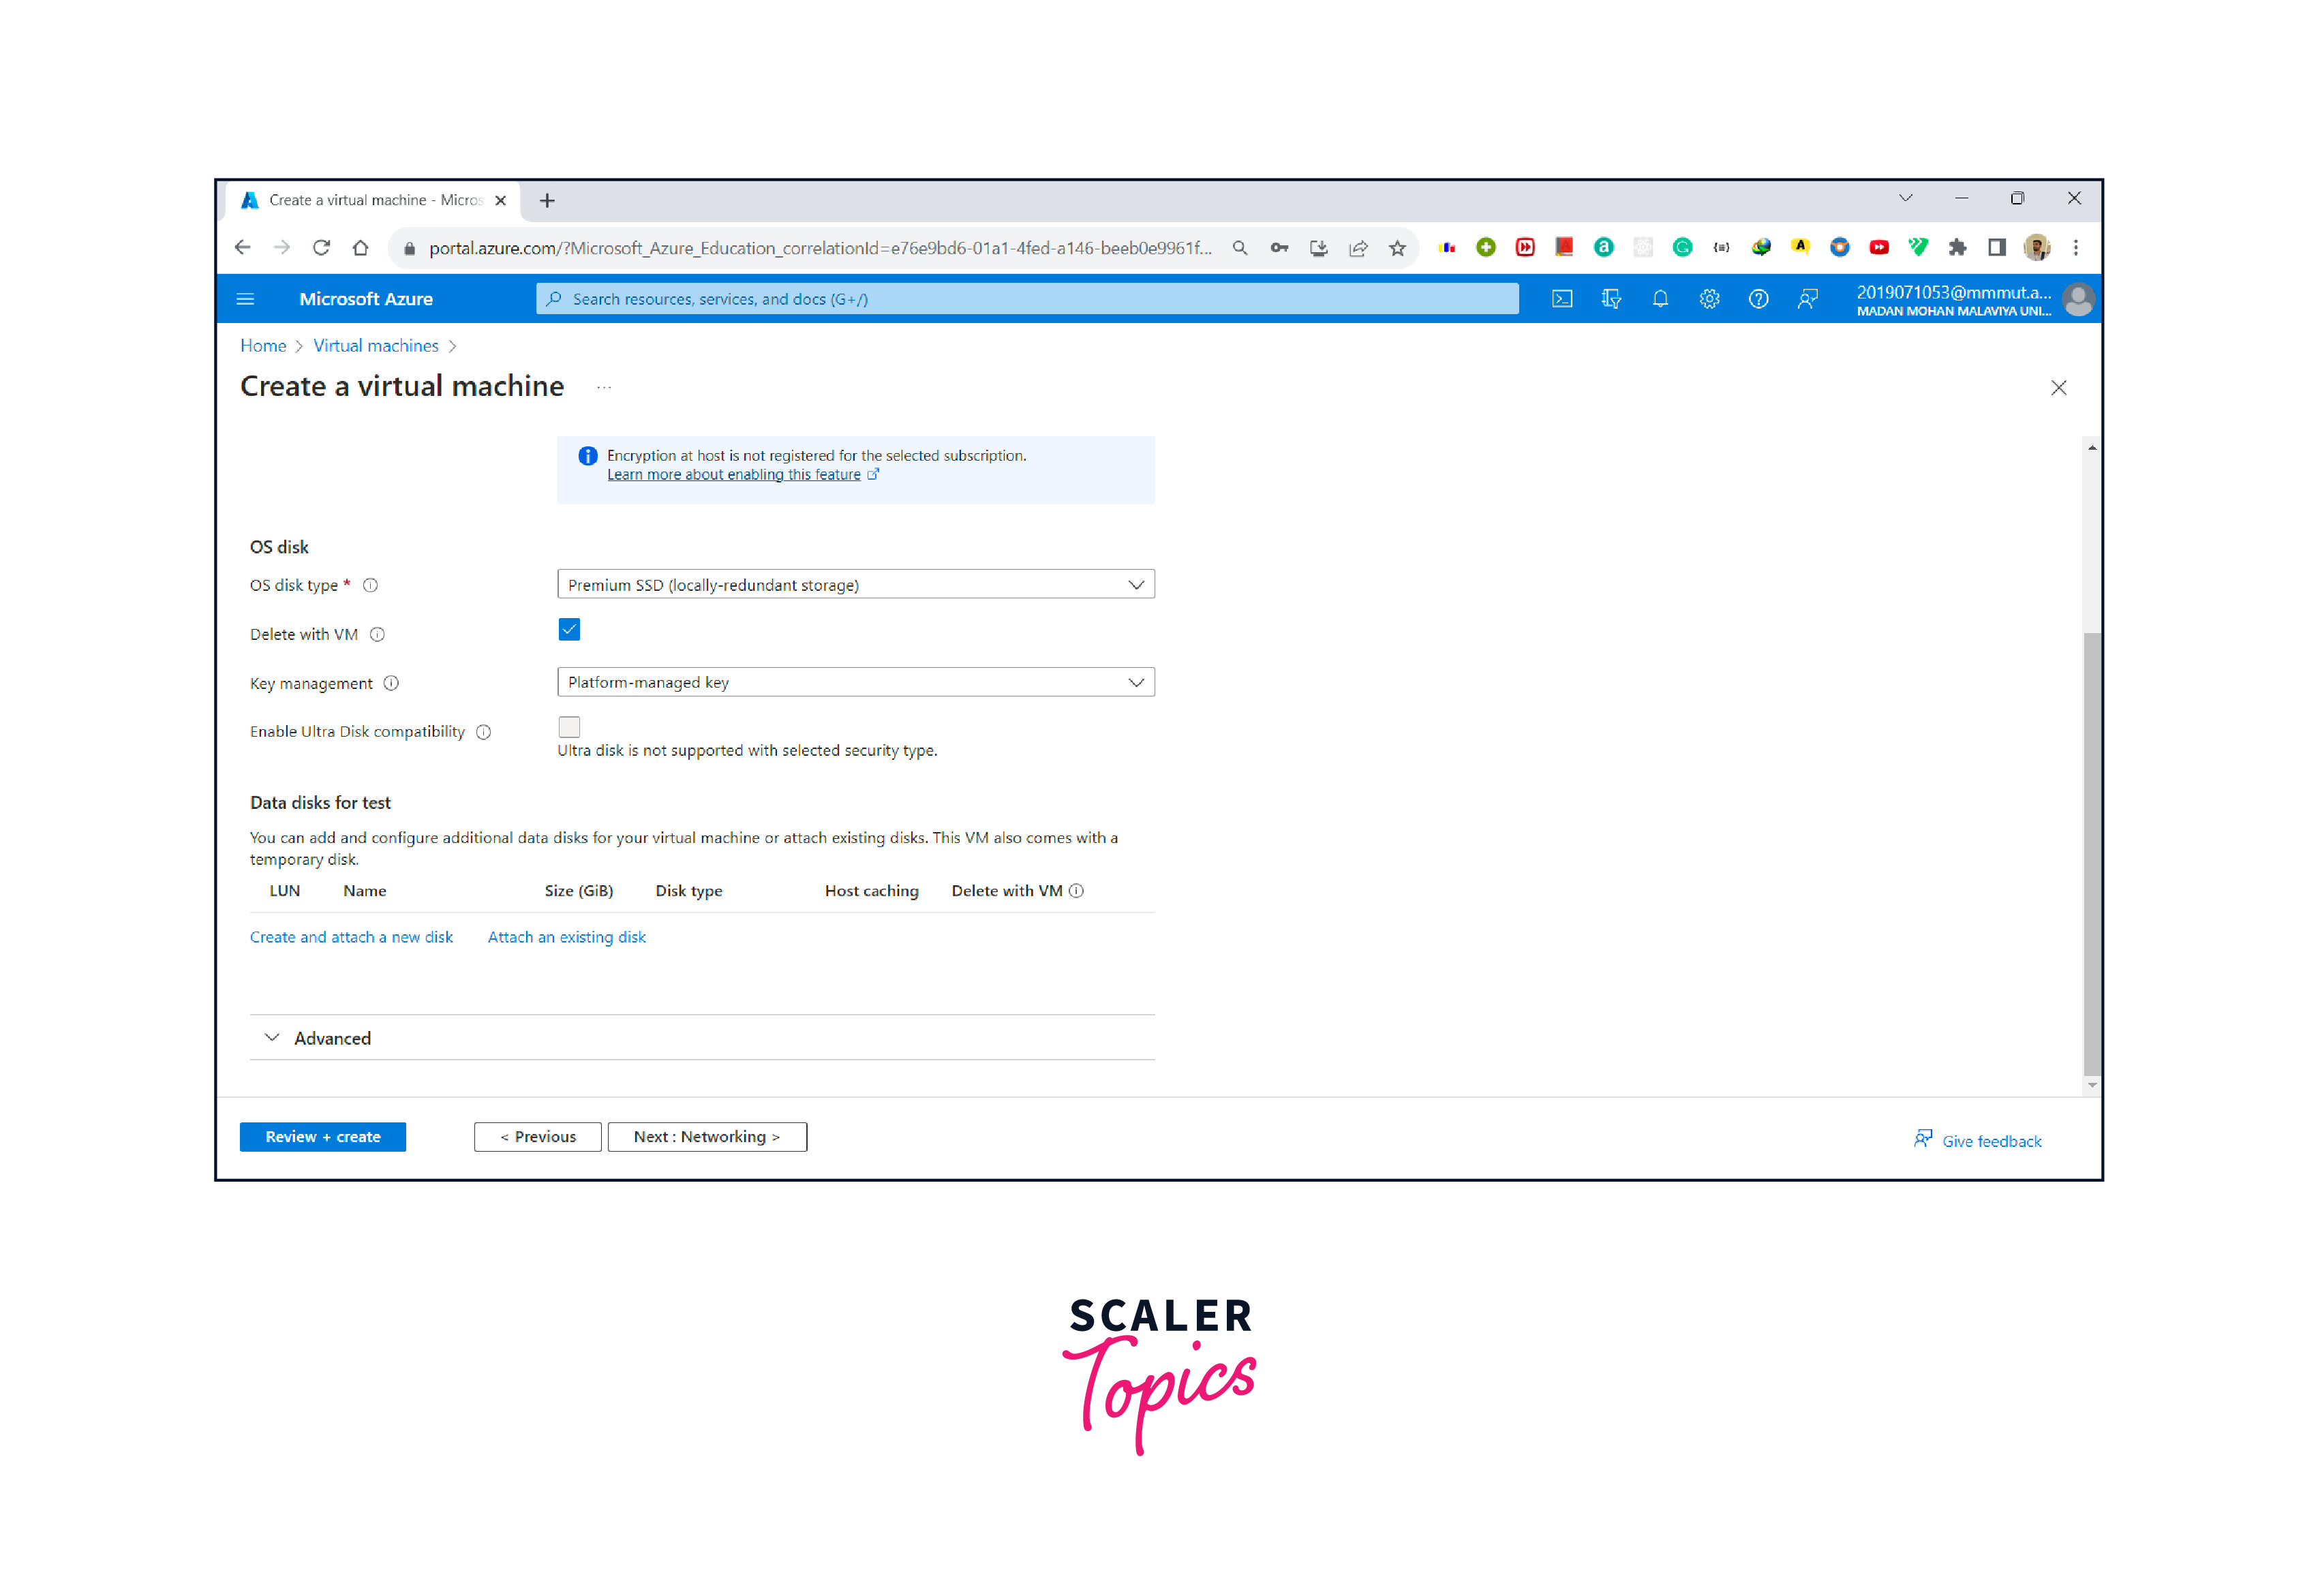
- Now click next, then under the Os disk, select Standard SSD, as we are creating this virtual machine for tutorial purposes. You can choose this according to your use case.
- Leave everything as default and click the Review + create button at the bottom left corner.
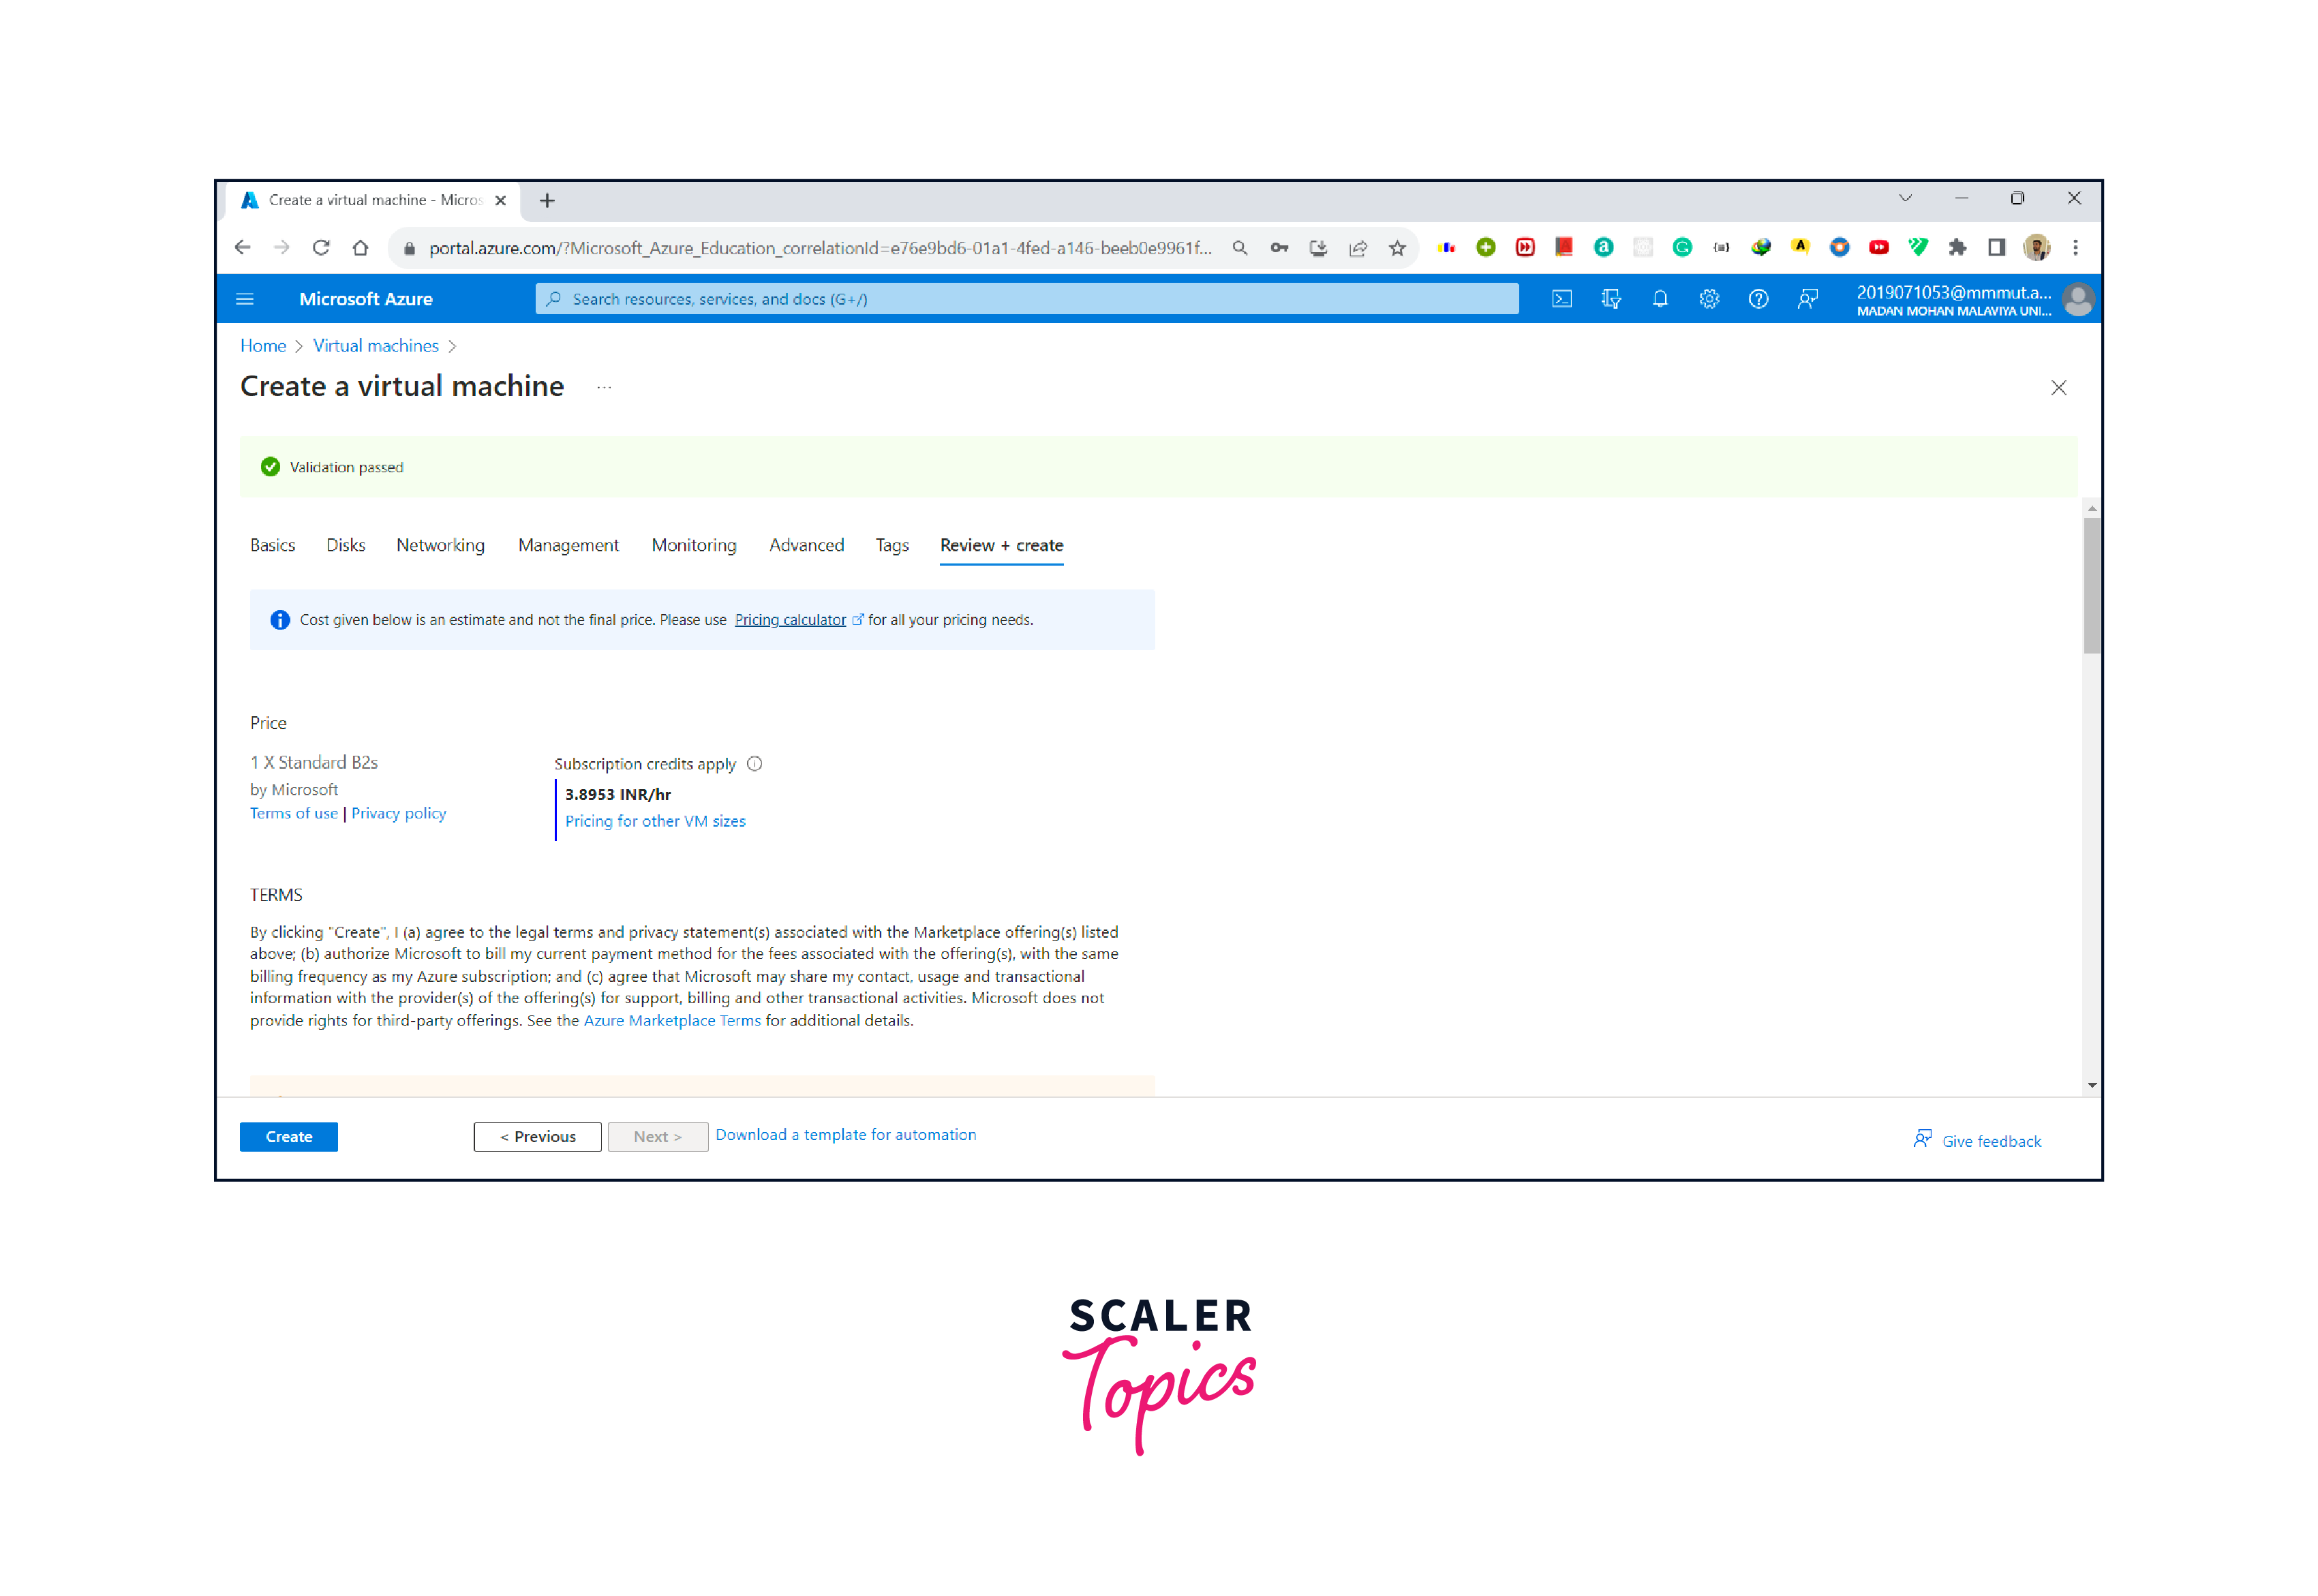
- After successful validation, click on the create button at the bottom left corner.
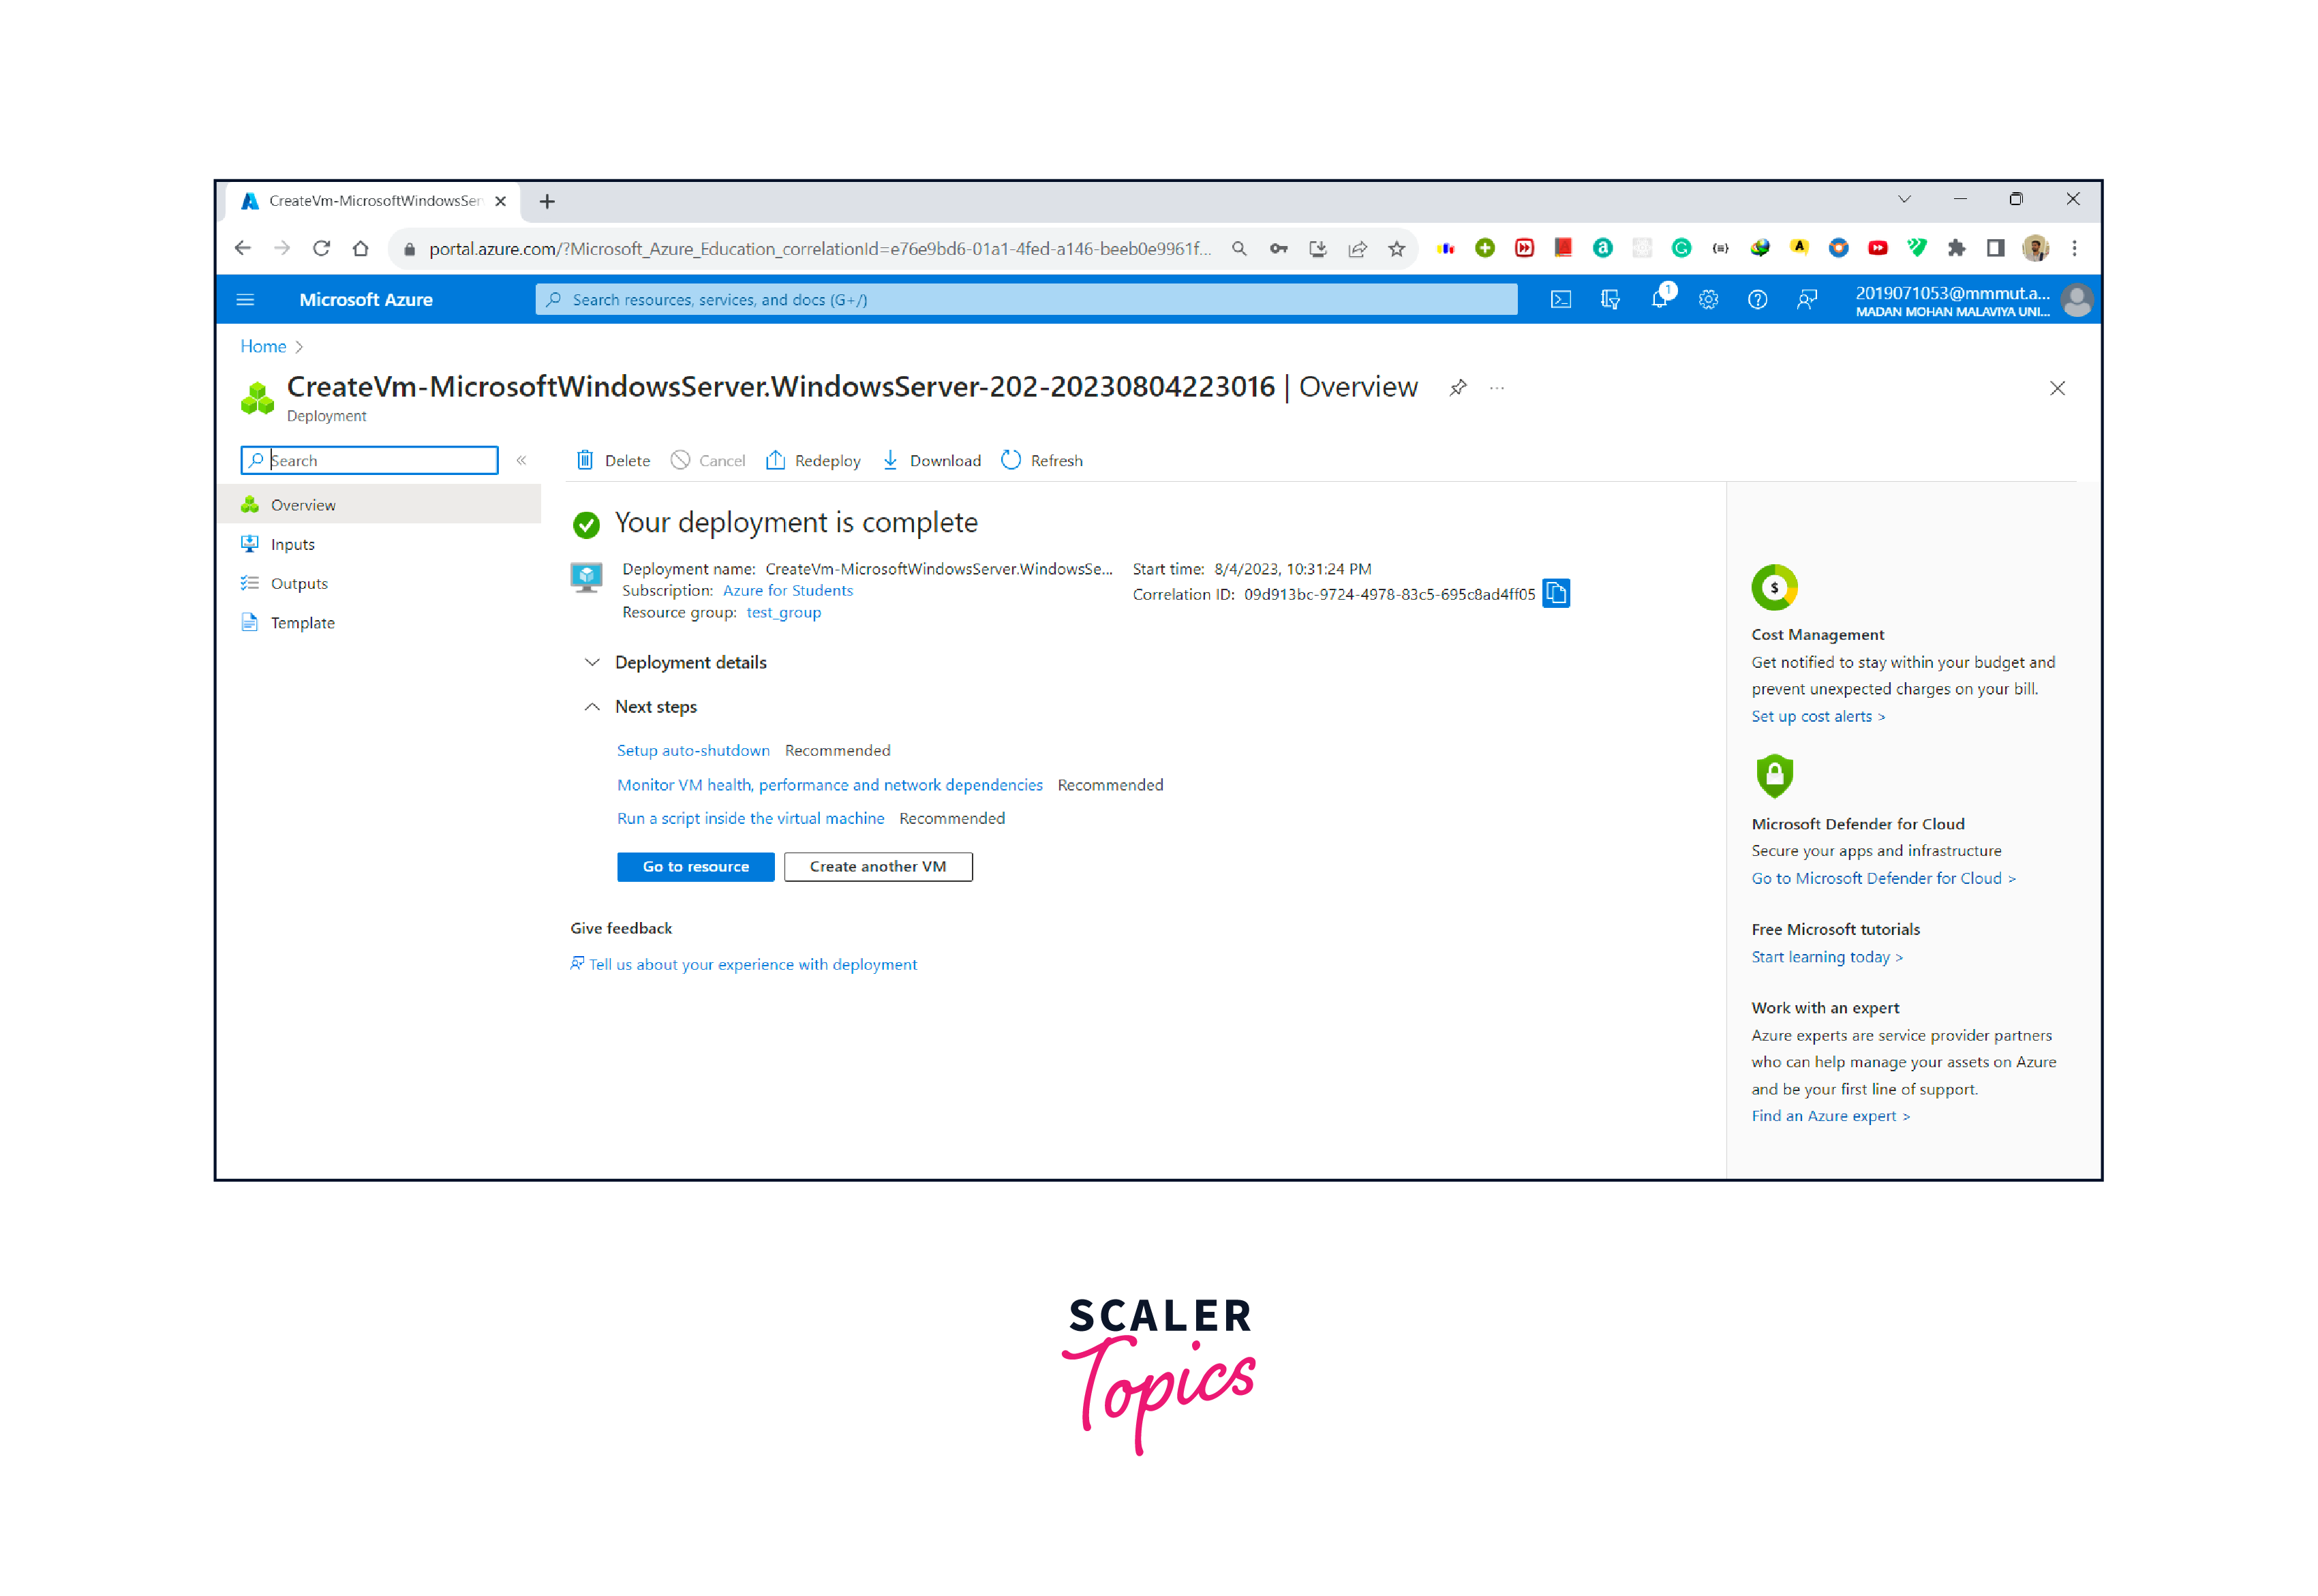
- When the virtual machine is successfully deployed, click the Go to resources button to view the dashboard of our virtual machine.
Connect to virtual machine
Now, let's create a virtual desktop connection to set up a way to control the virtual computer remotely. This tutorial will only discuss how to link up to your virtual computer from a Windows PC. If you use MAC Os, you must have an RDP client such as Remote Desktop.
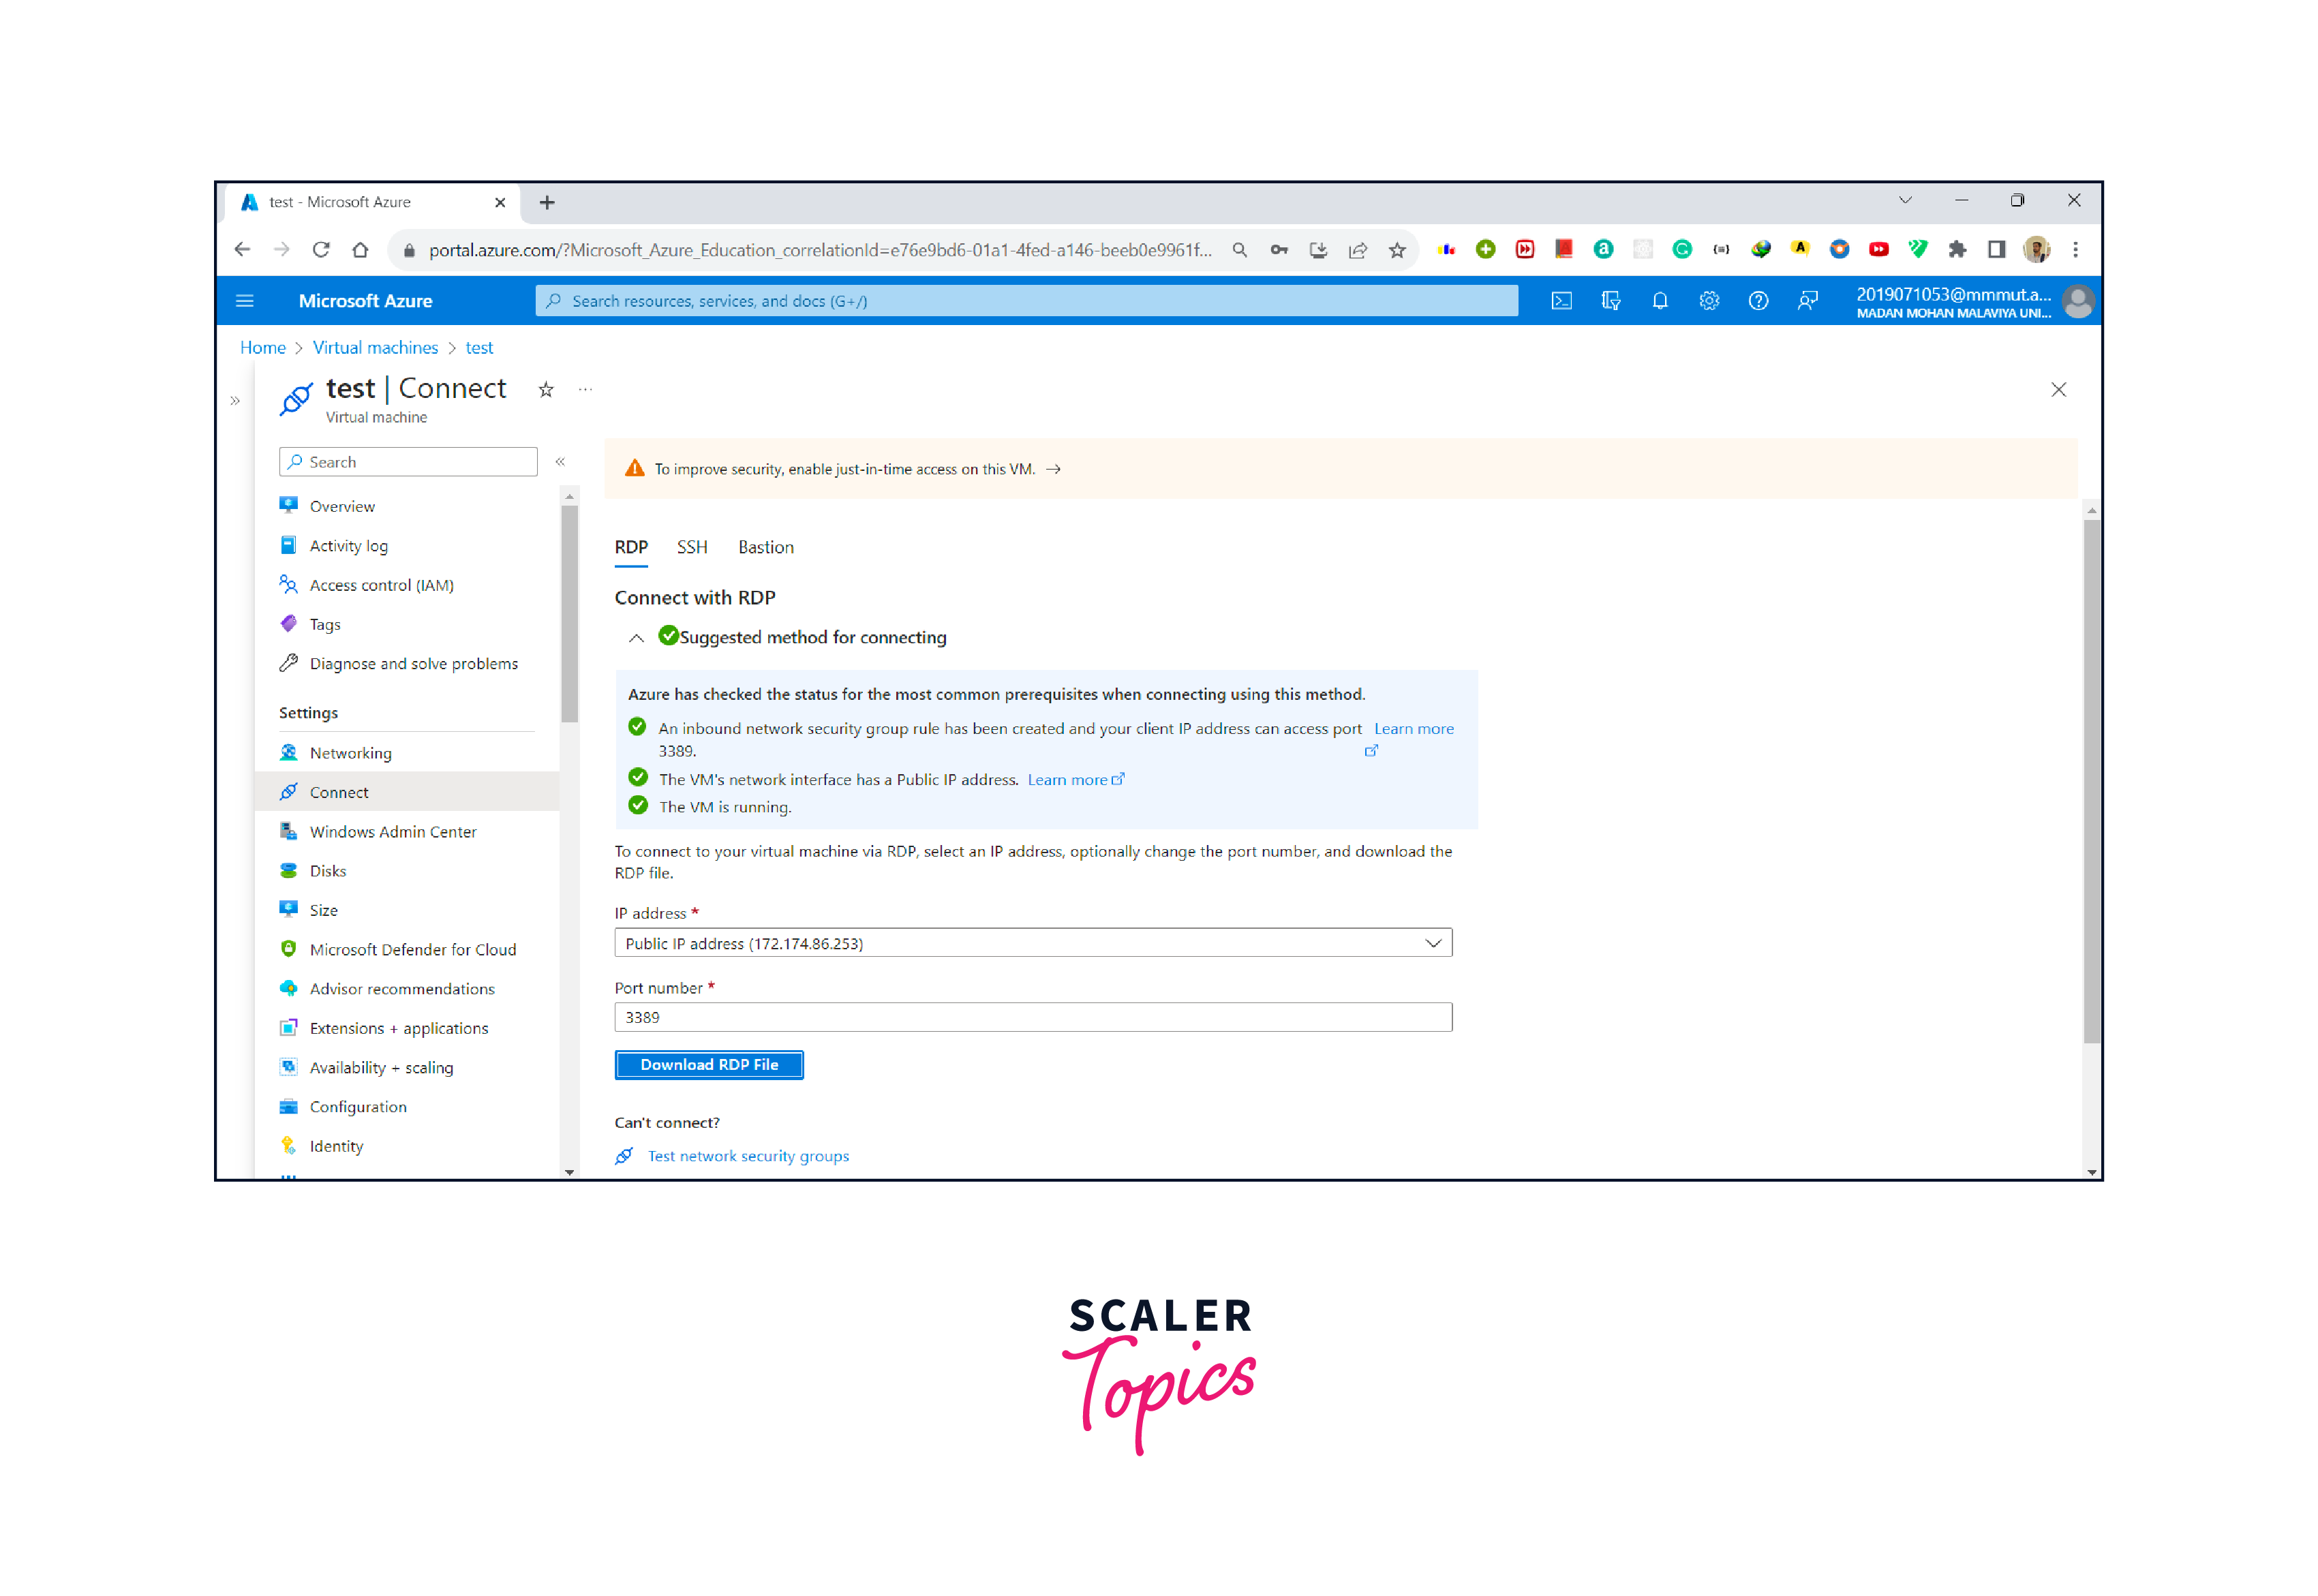
- Open the overview of the virtual machine and click on the Connect > RDP.
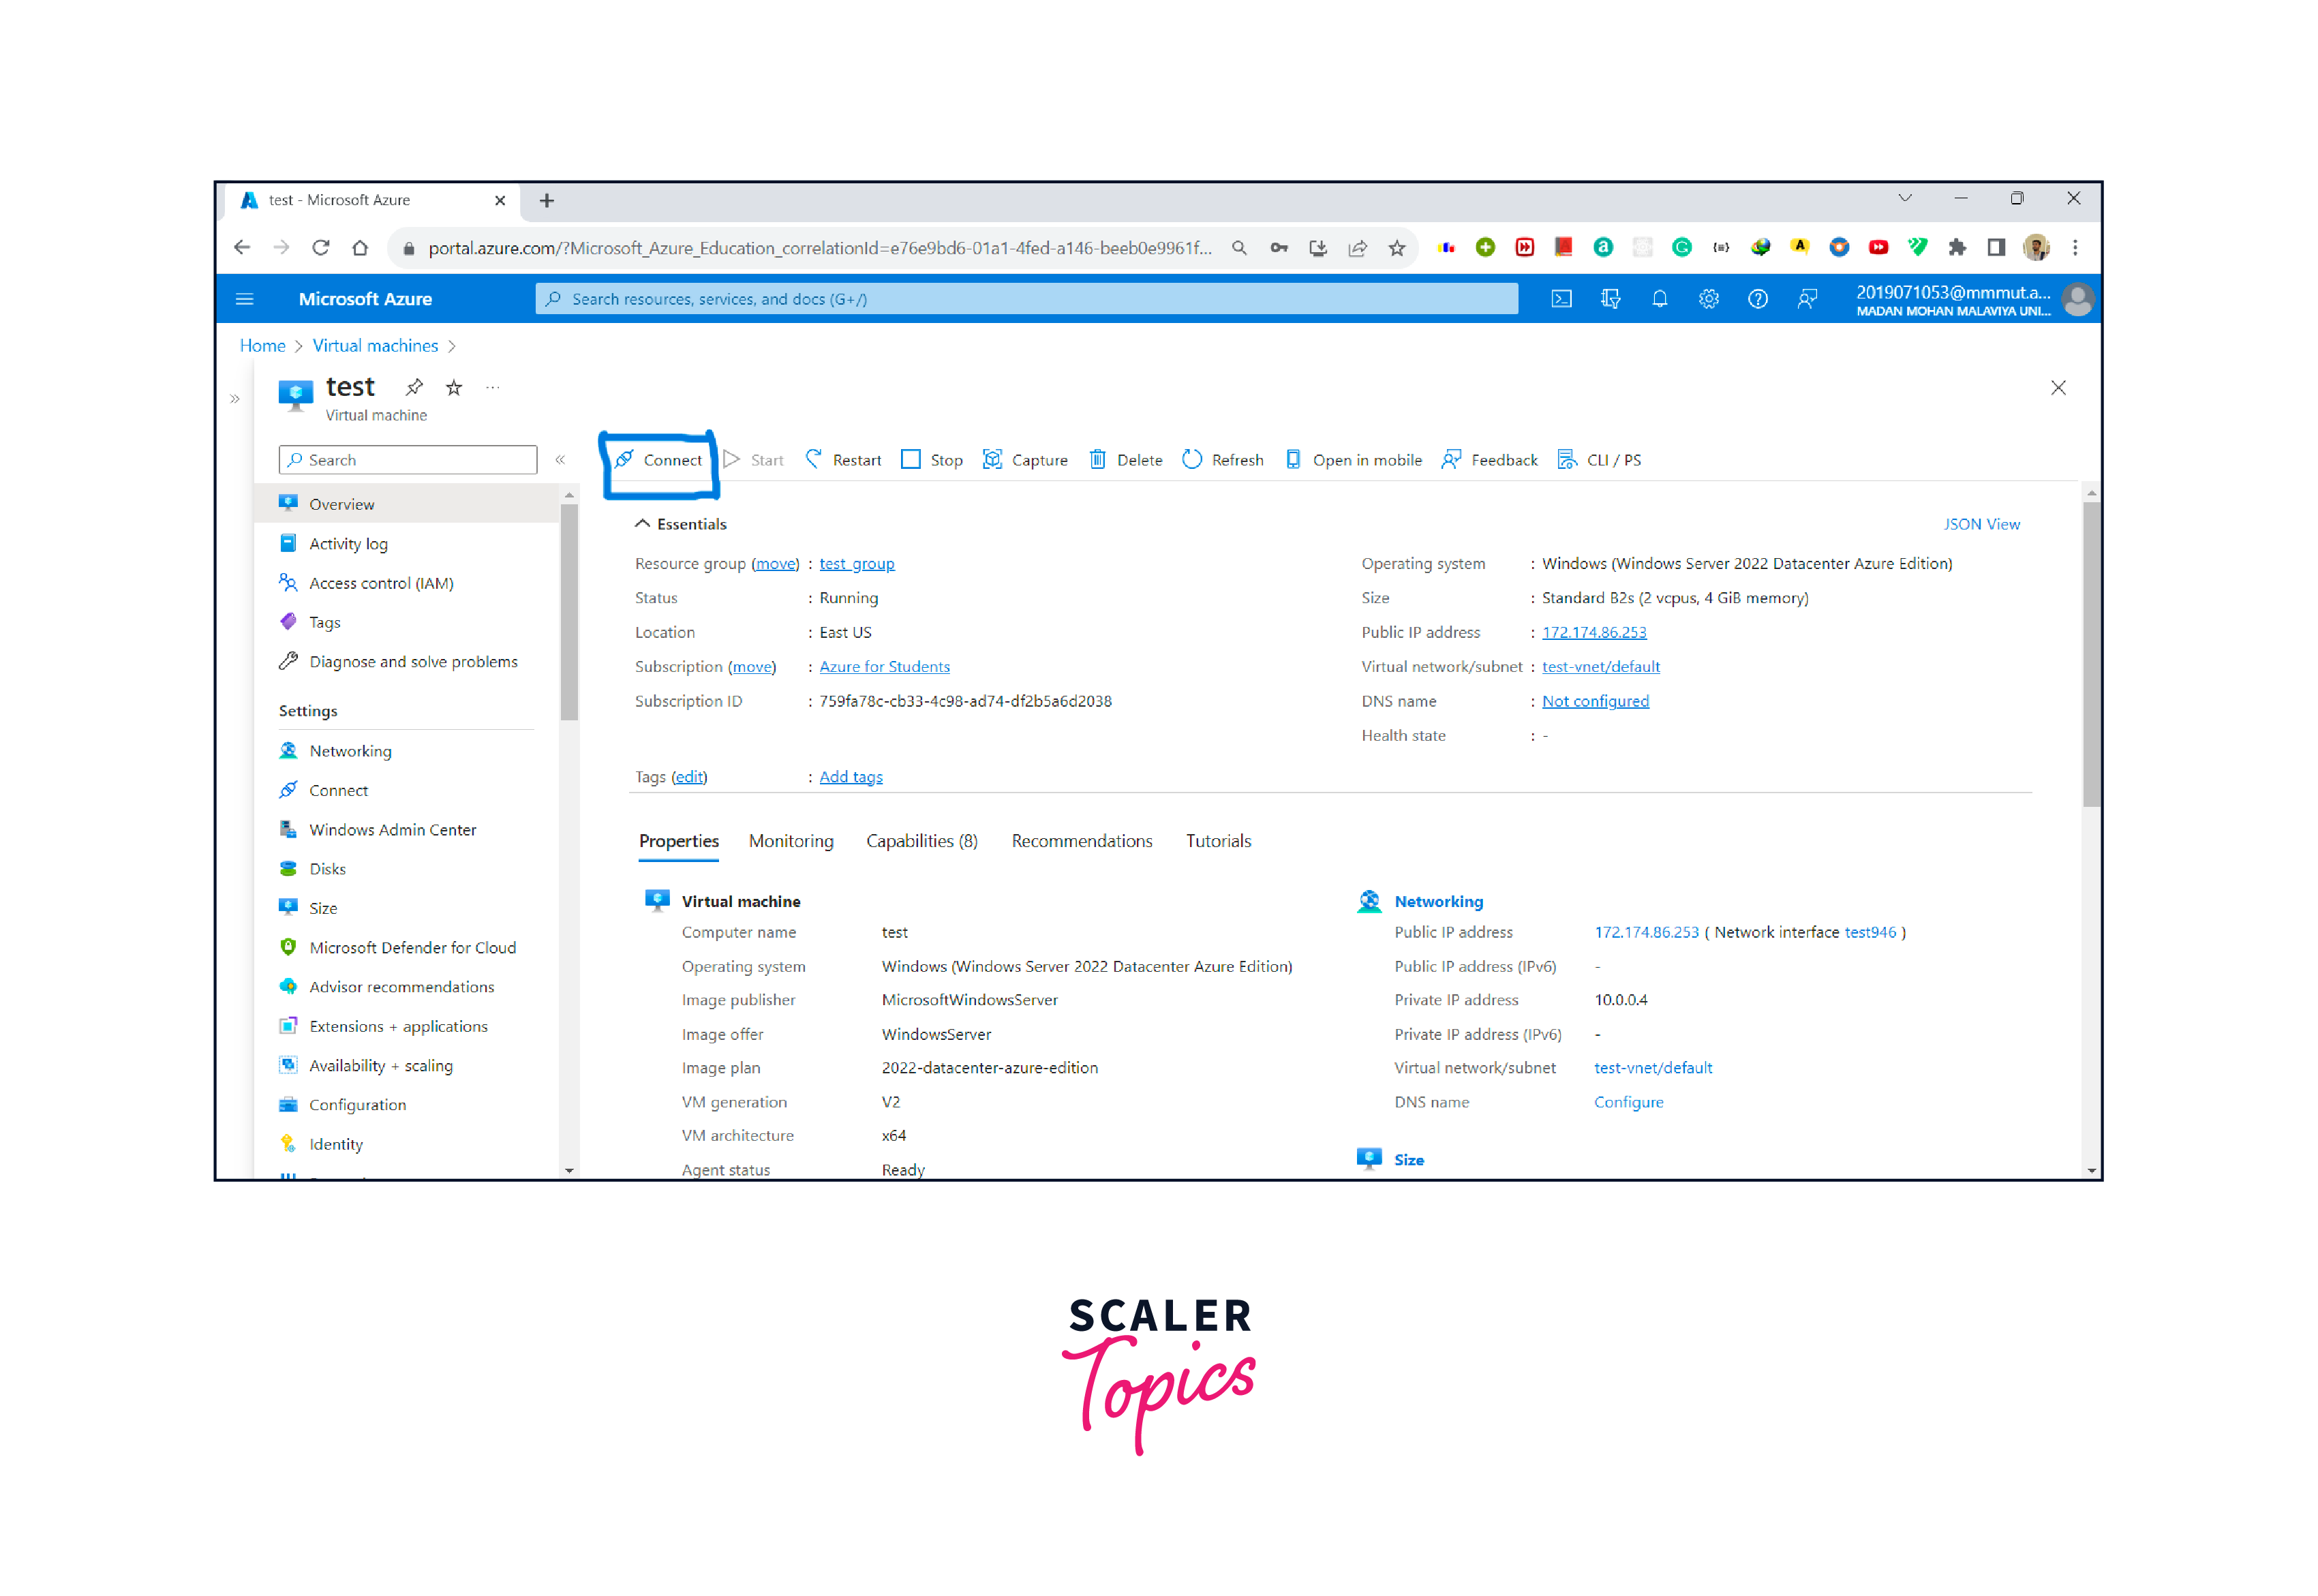
- Under the Connect with RDP, keep everything as default and click on the Download RDP File.
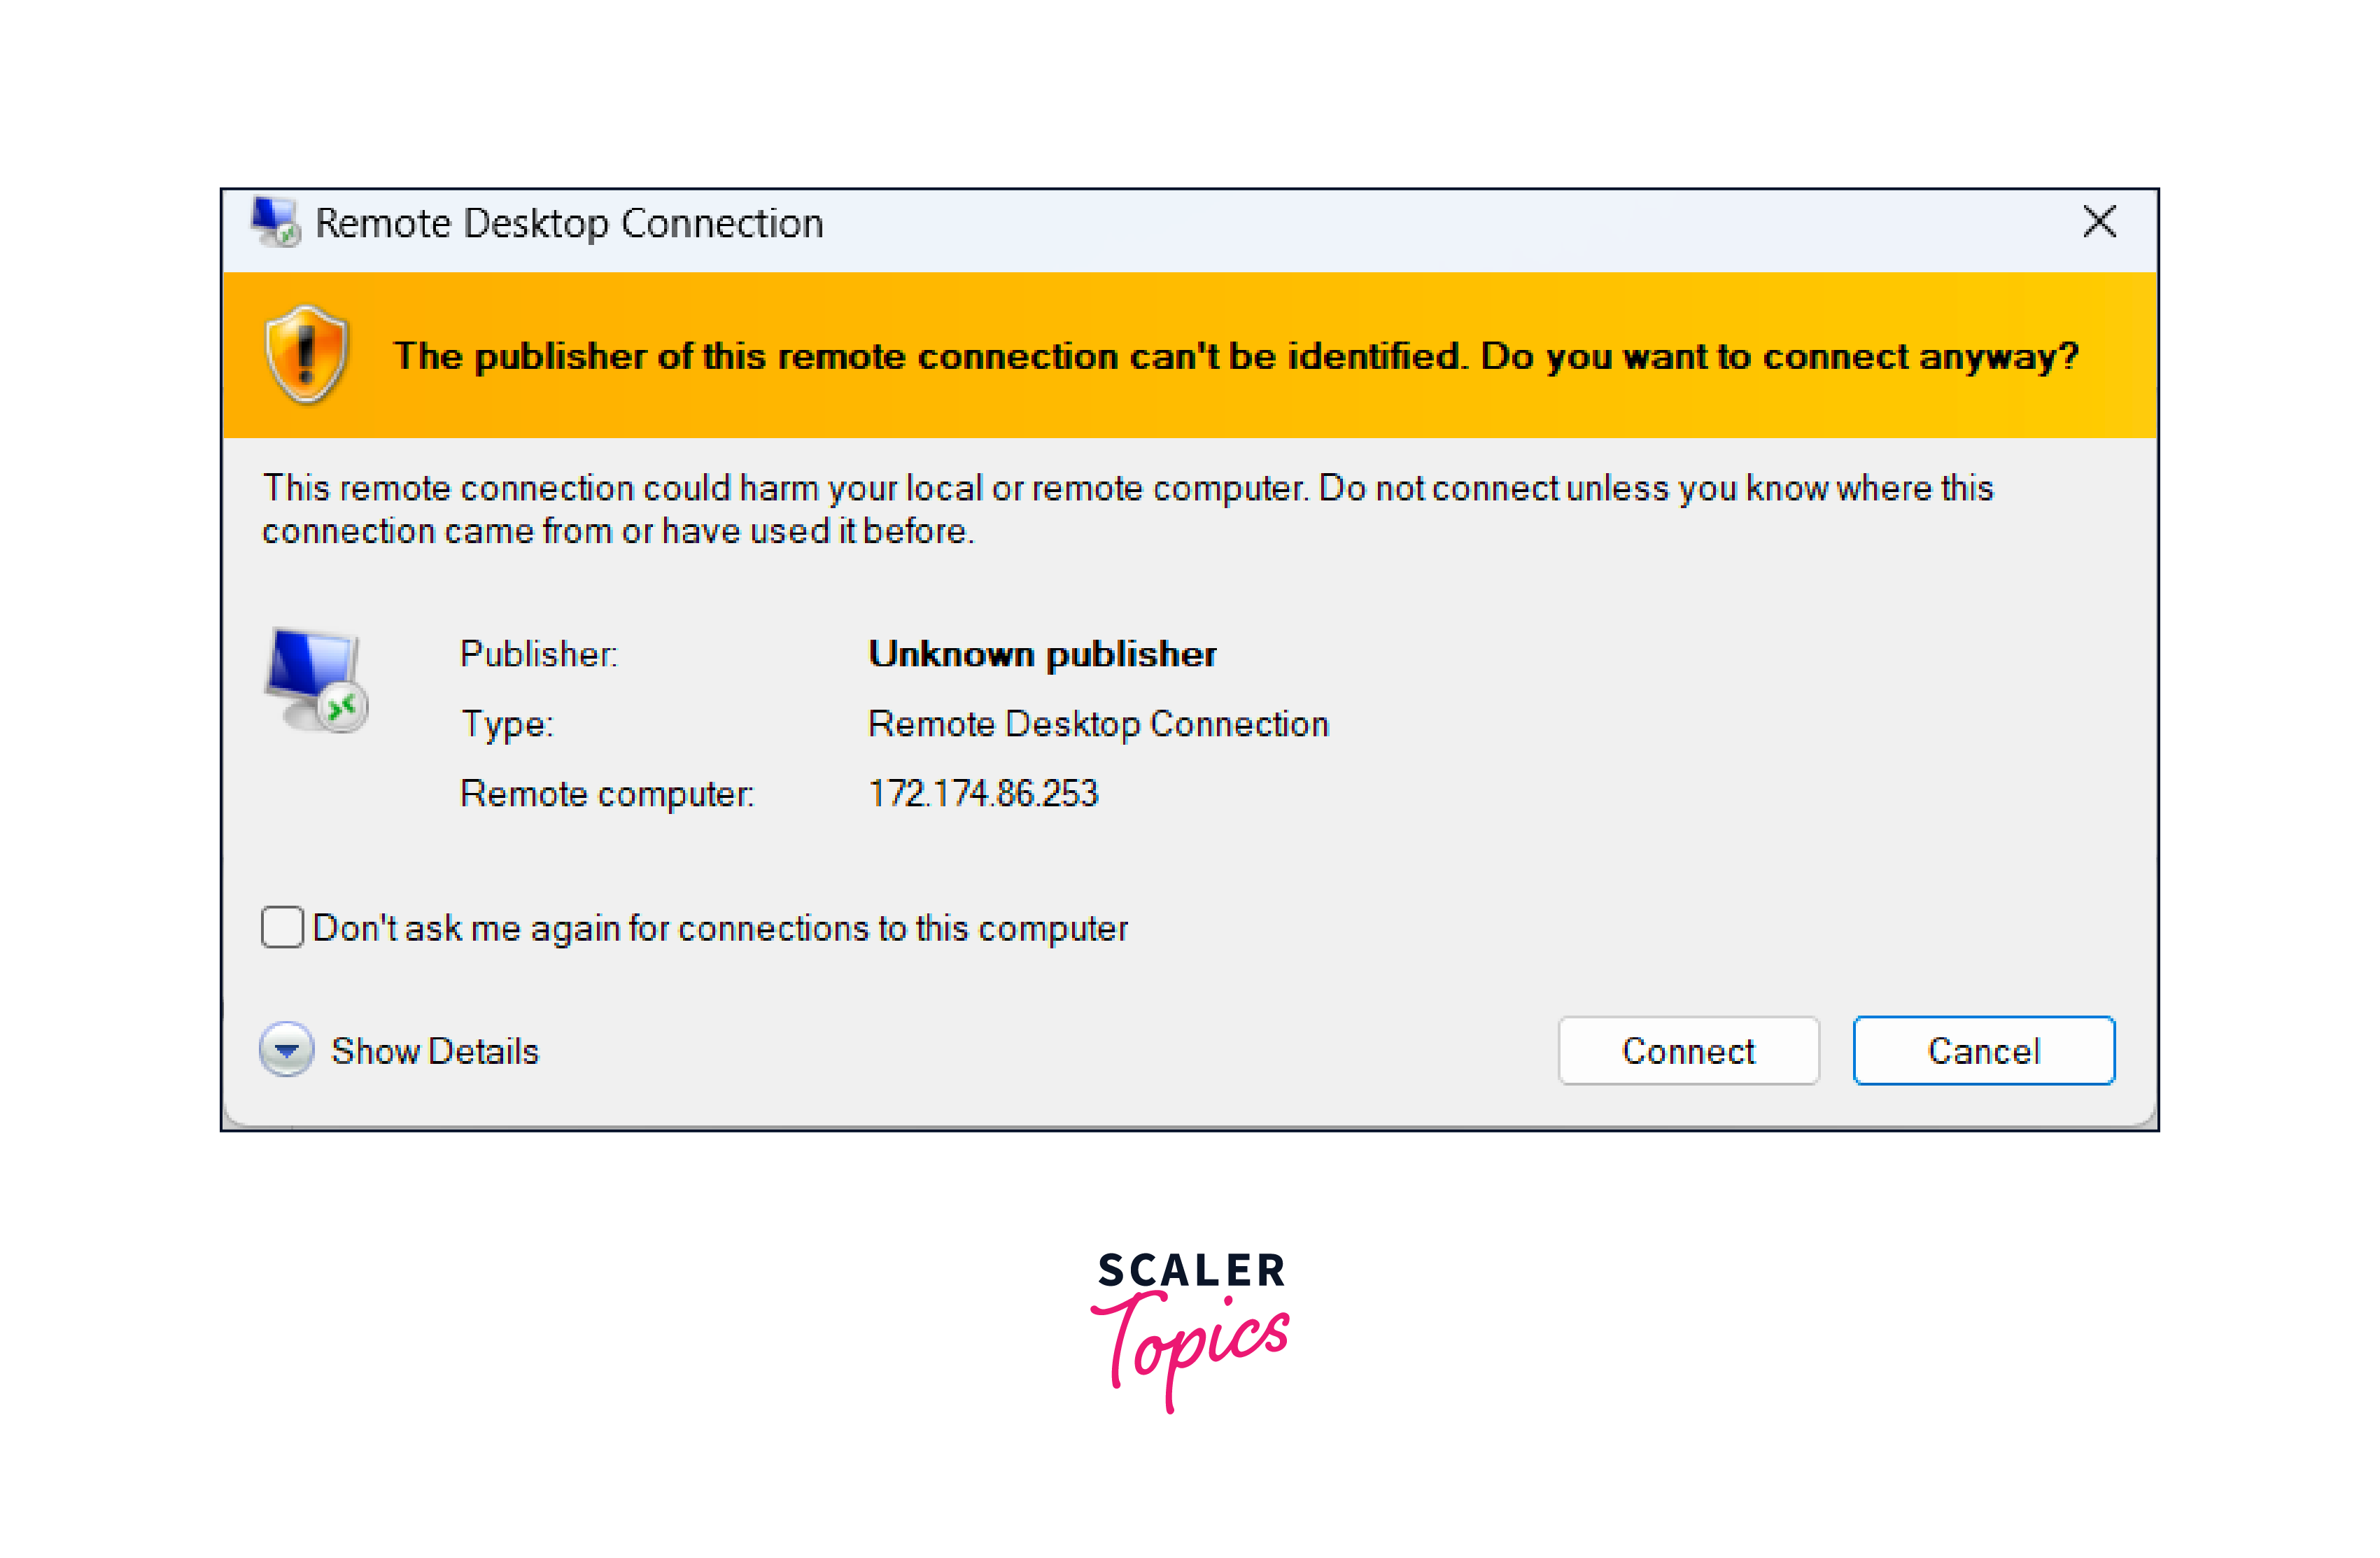
- Now, open the file and click on Connect when prompted.
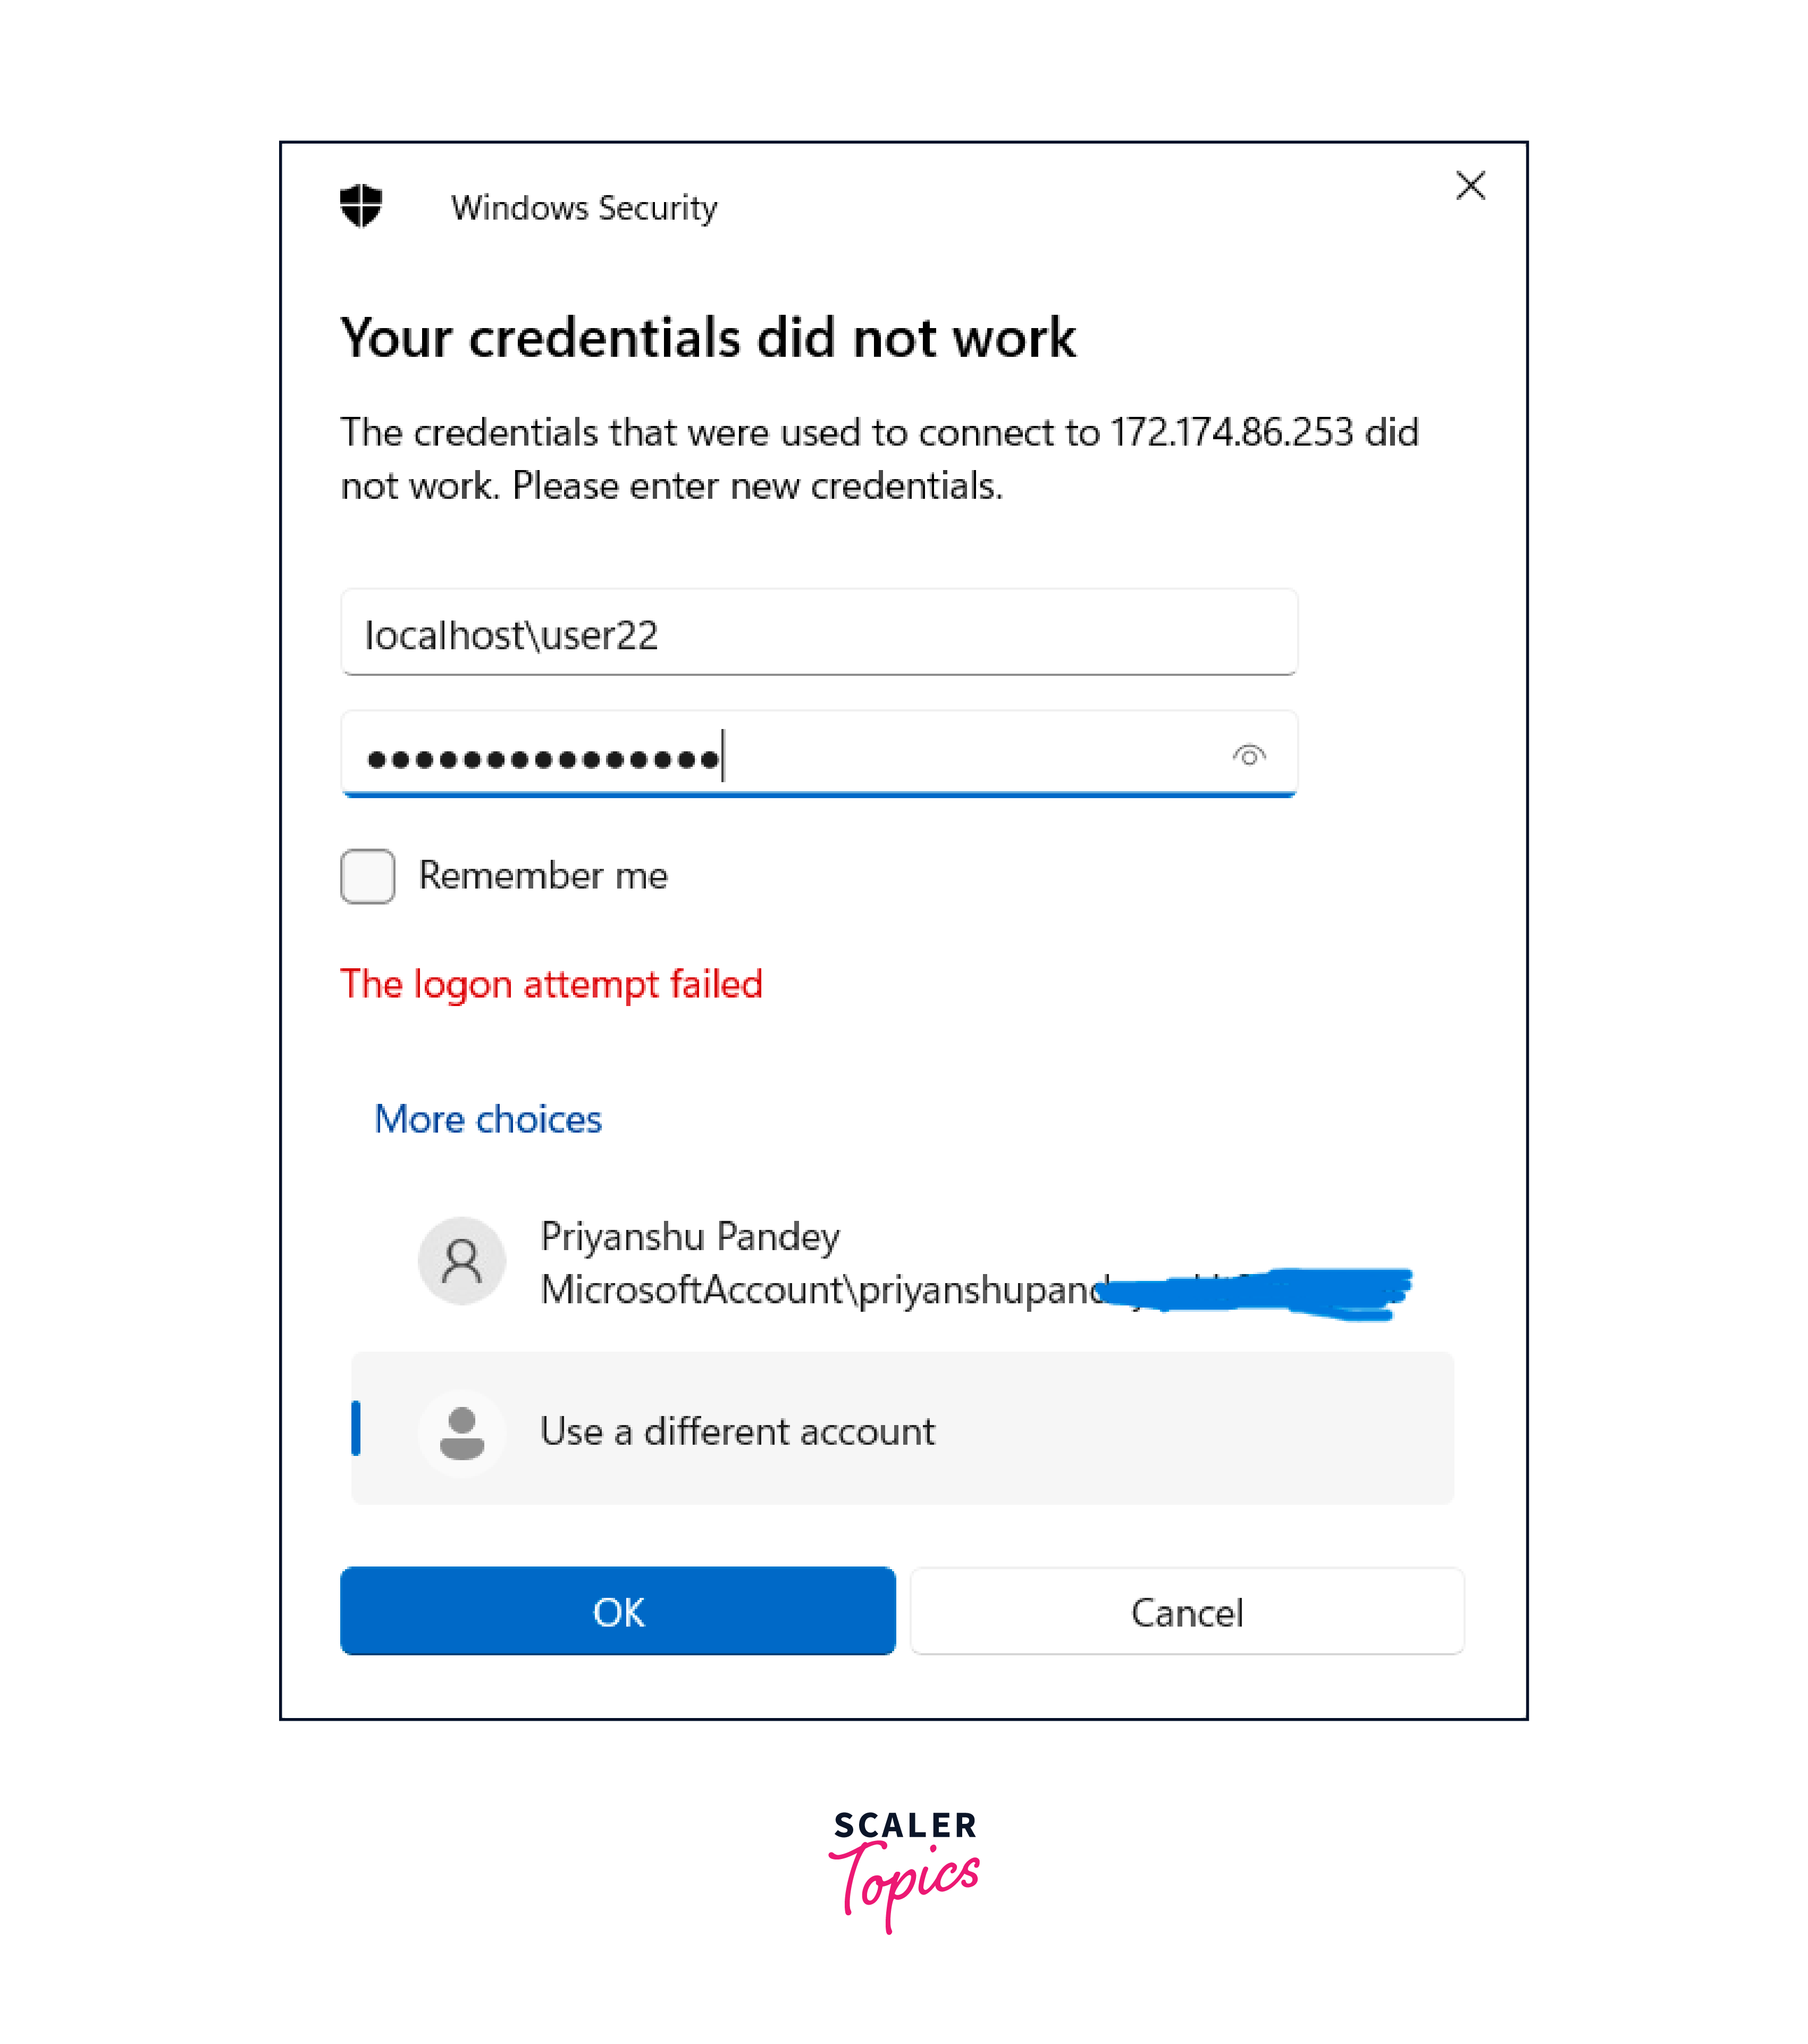
- Select More choices in the Windows Security window and then Use a different account. For username, type localhost\username, and for the password, enter the password you created for the virtual machine and then click OK.
- While signing in, you might get a warning about a certificate. Click on Yes or Continue to make the connection.
Install web server
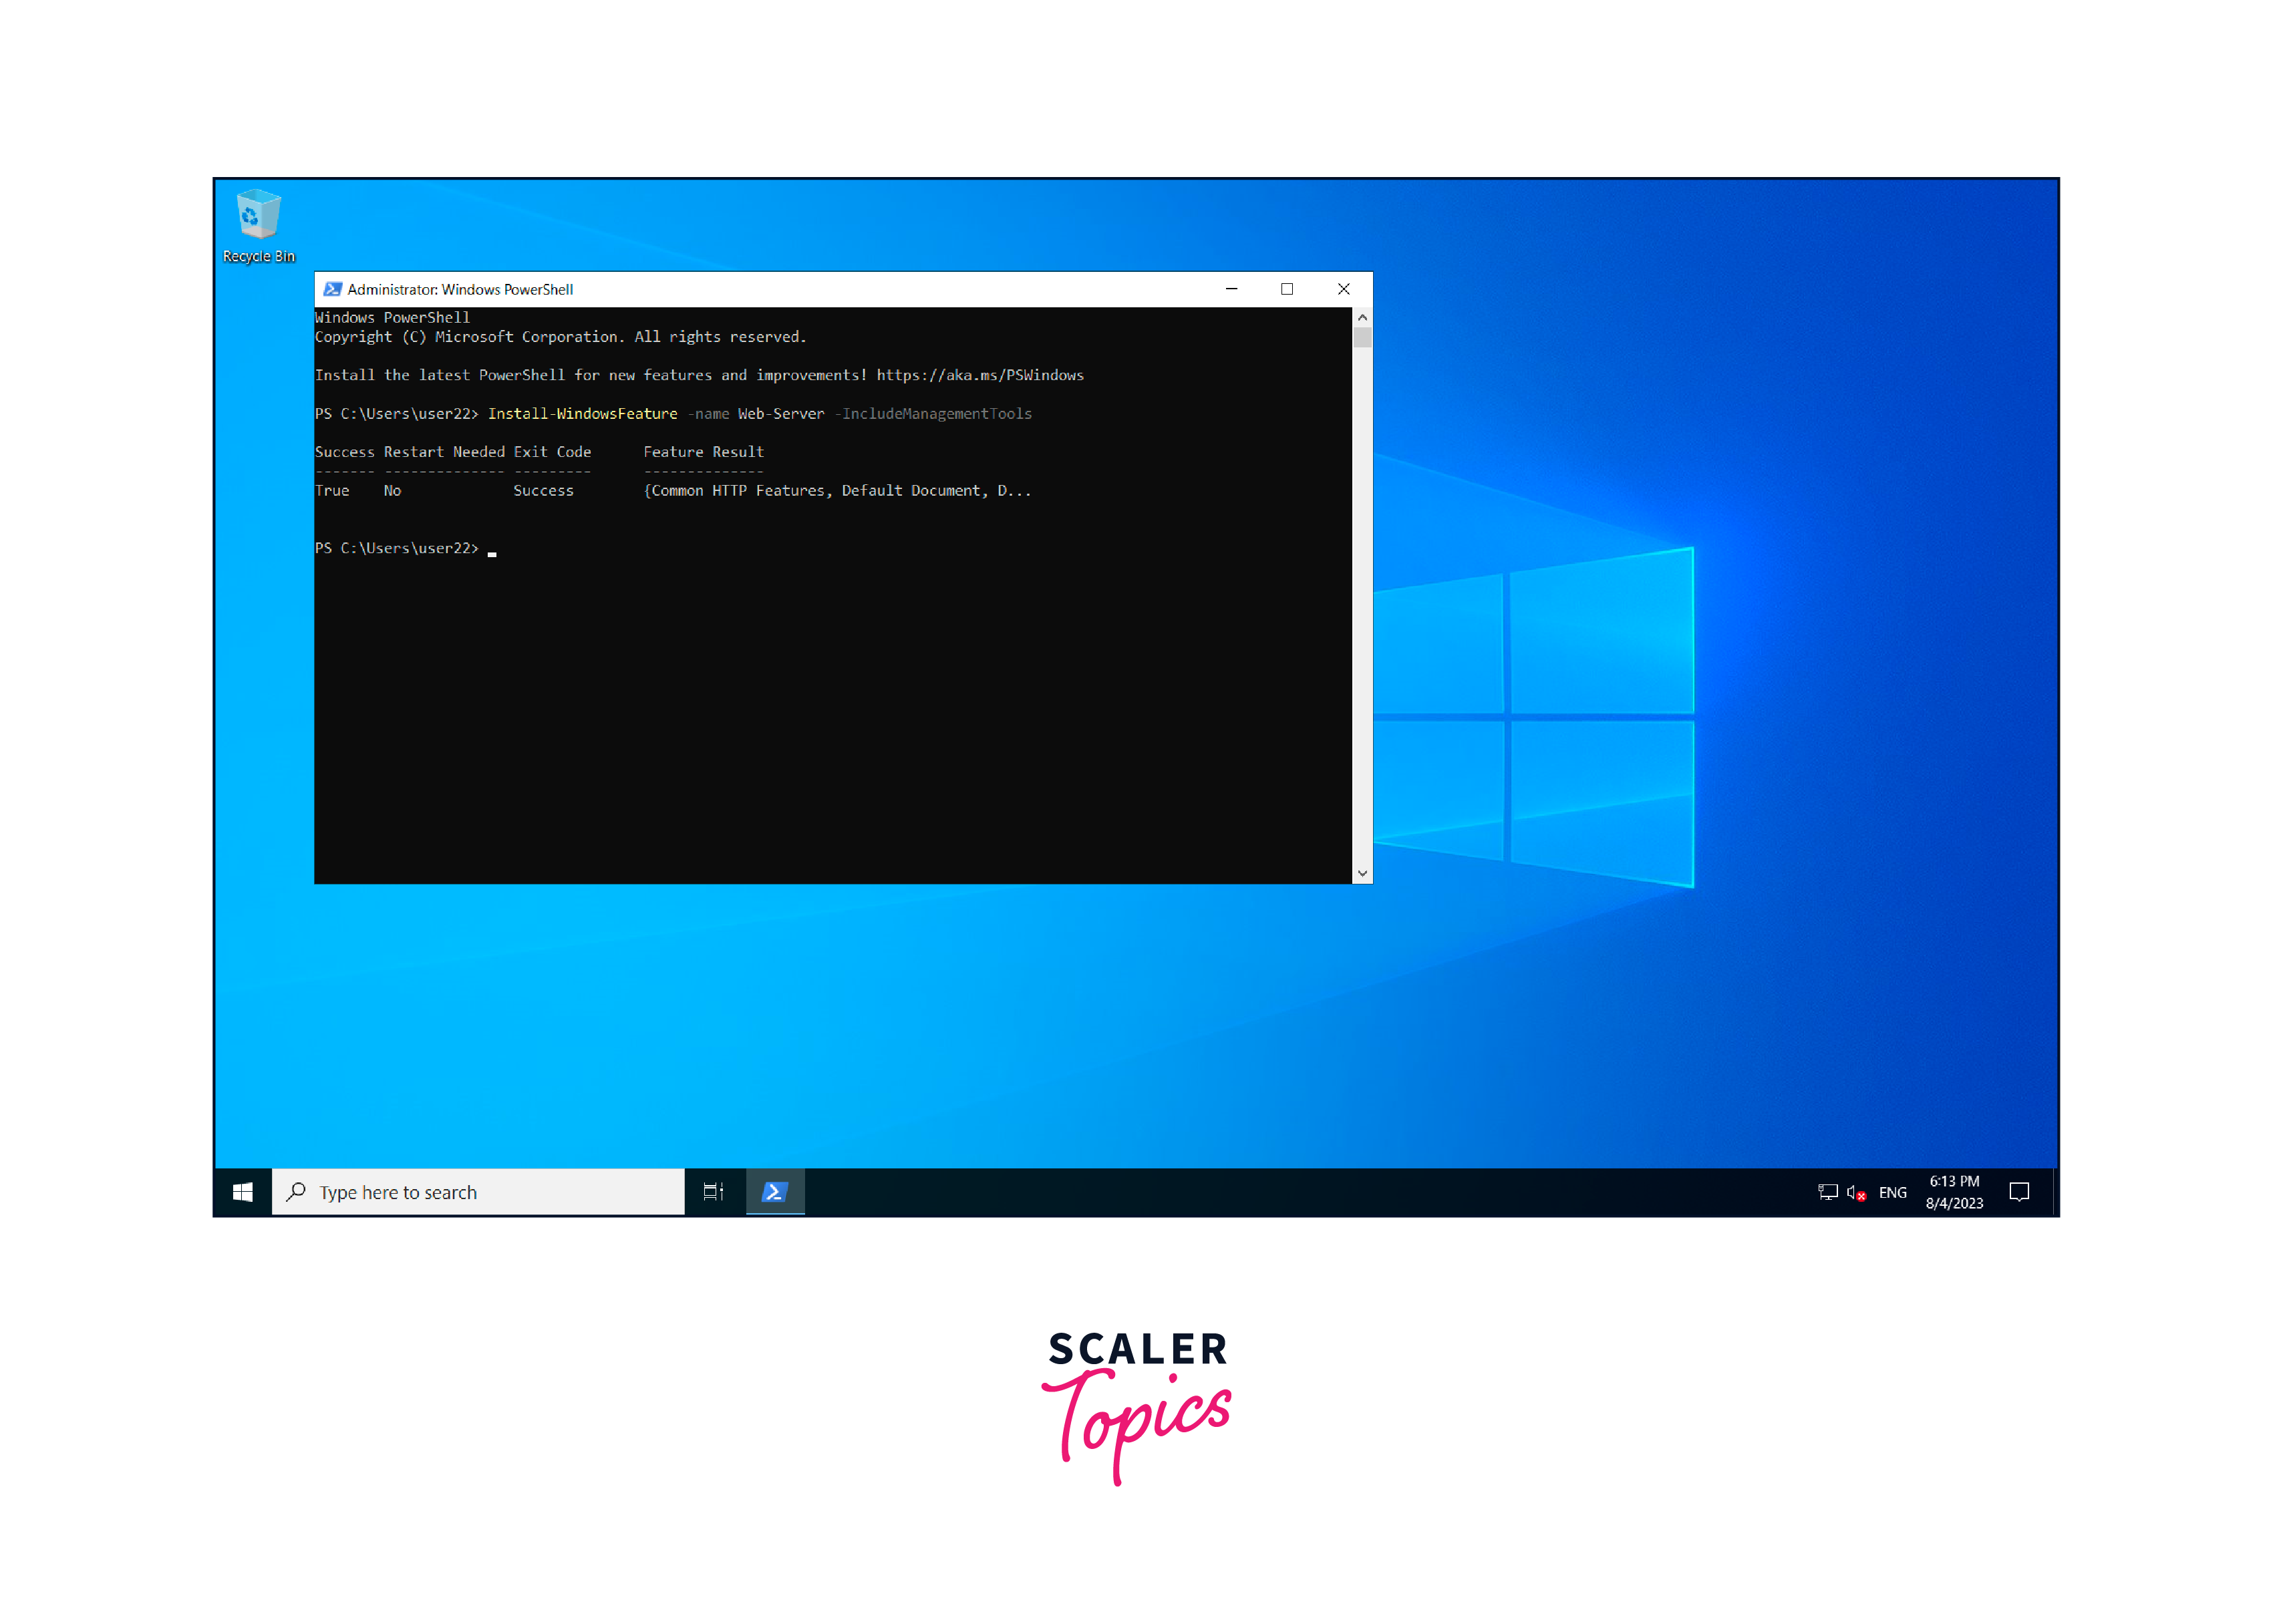
To install an IIS (Internet Information Services) web server on your virtual machine, open a PowerShell on your virtual machine and run the following command.
View the IIS welcome page
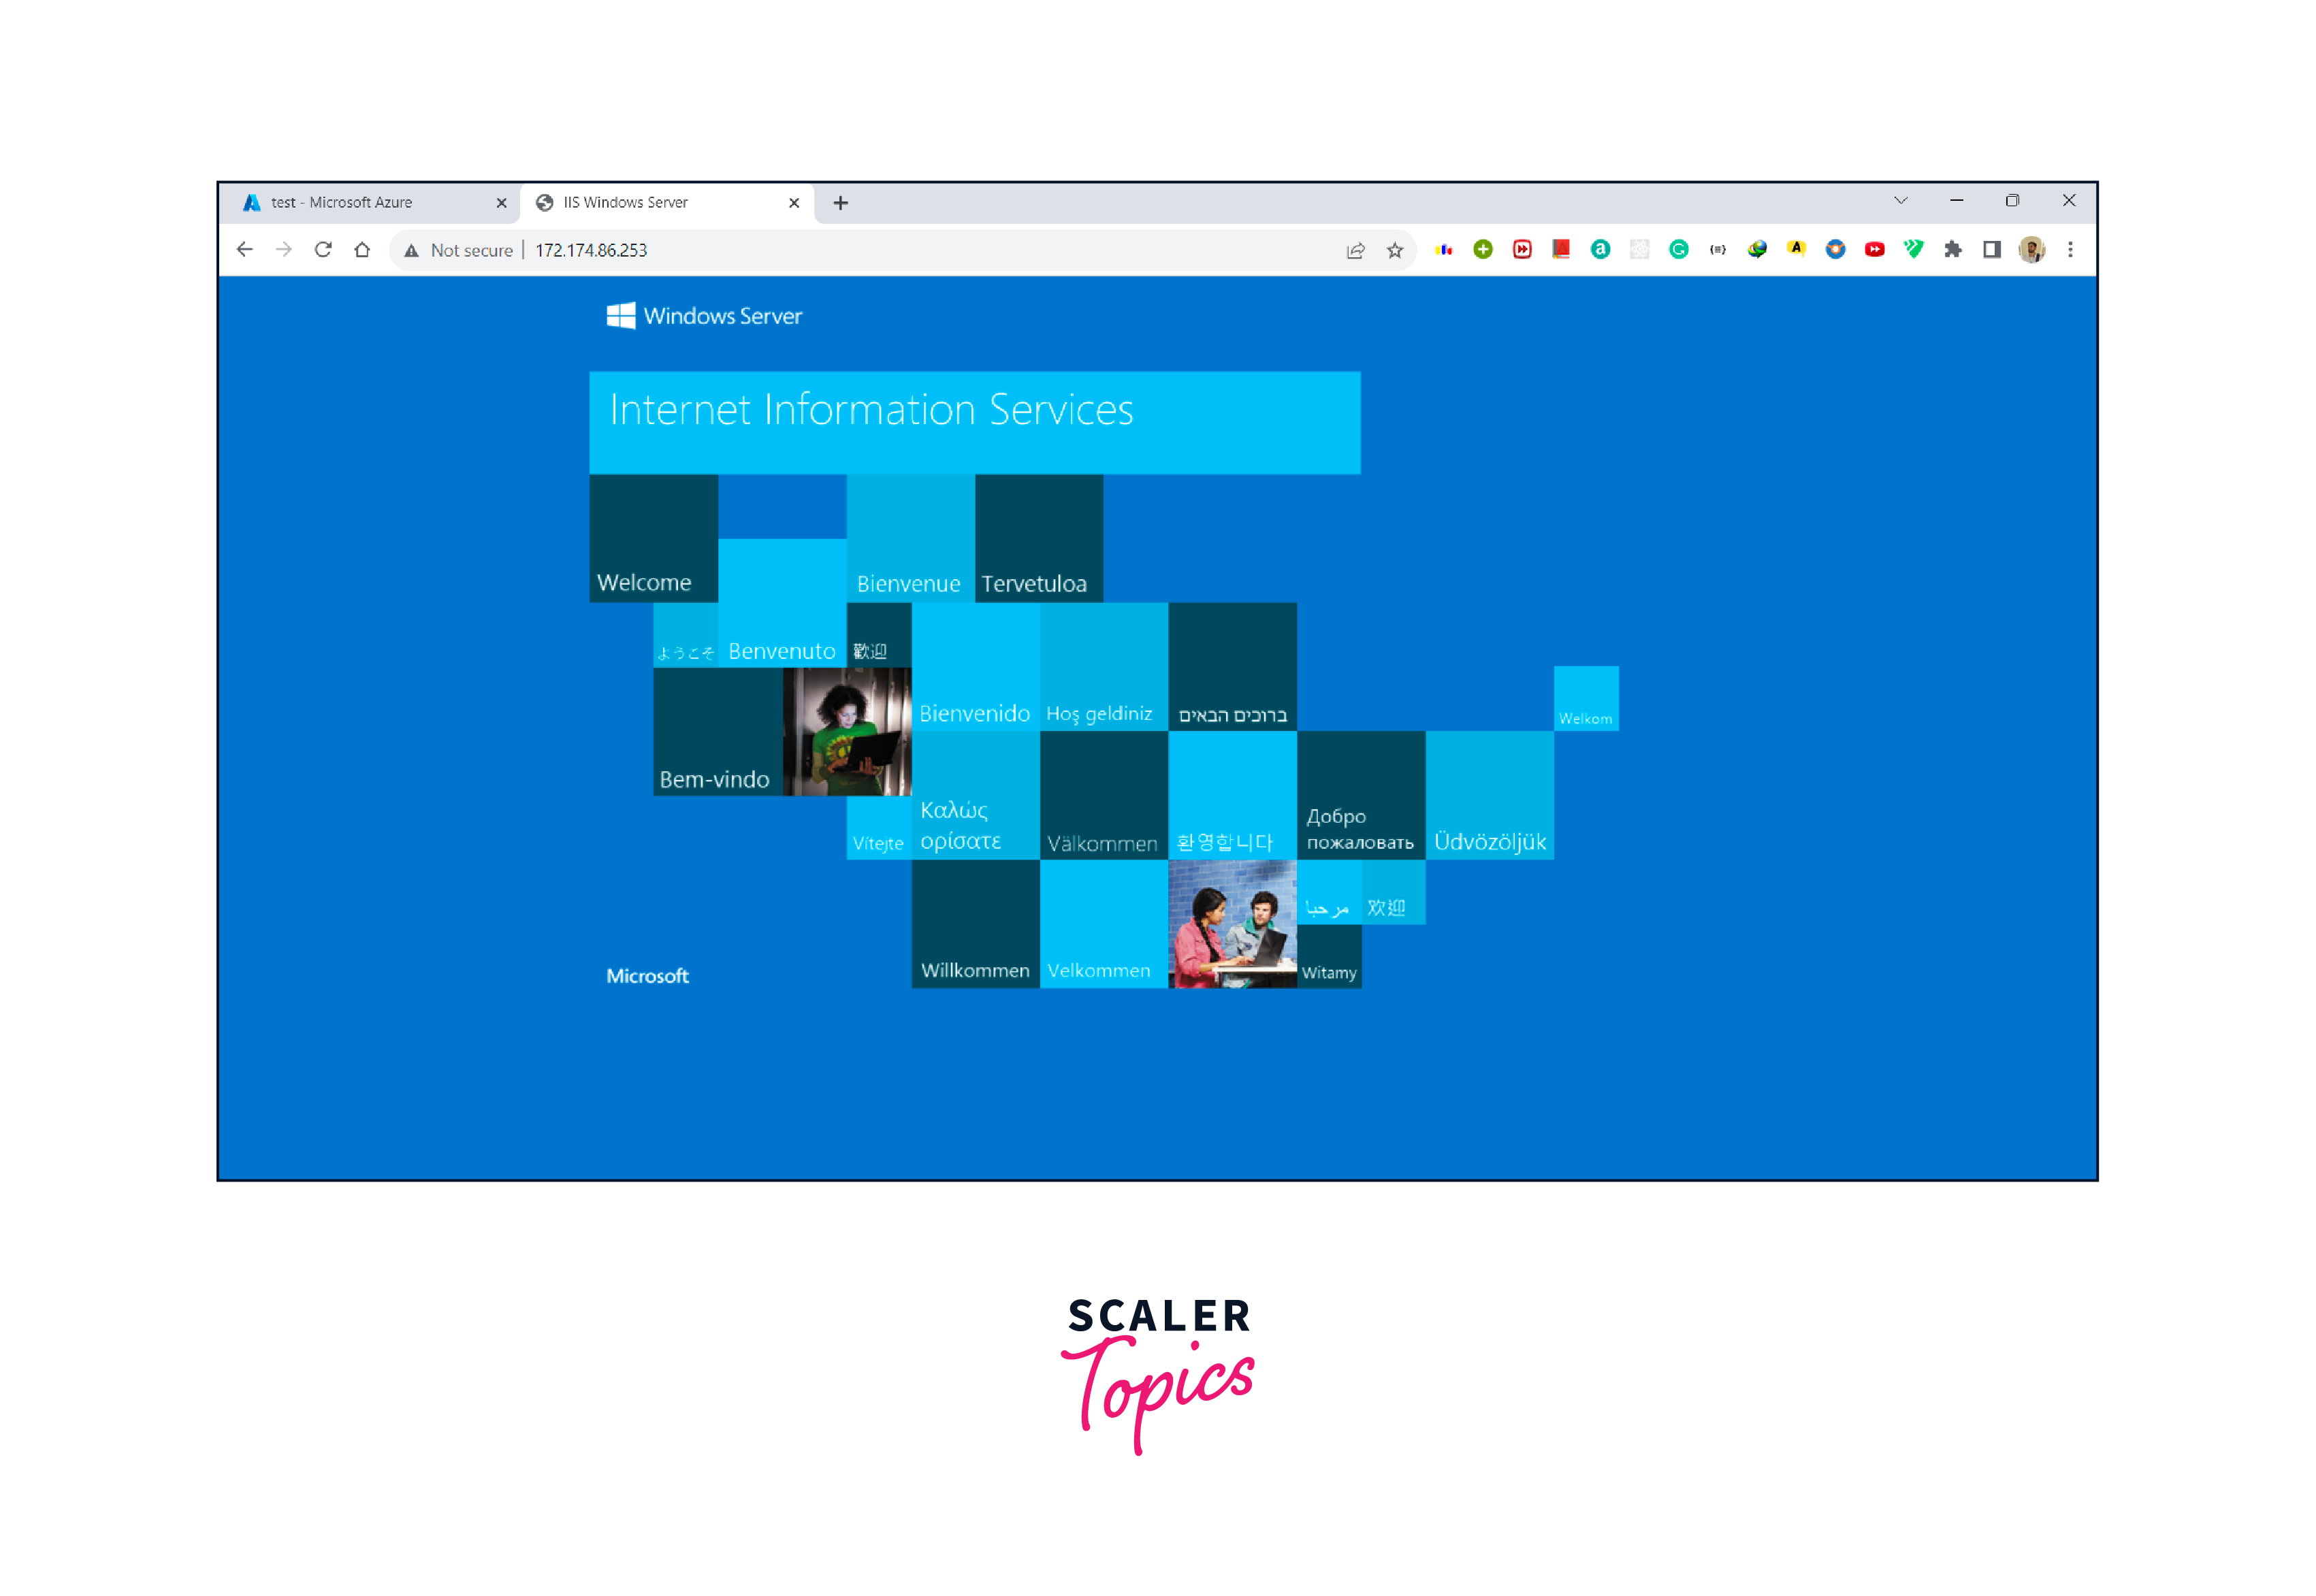
To view the IIS (Internet Information Services) web page, copy the public IP address from the virtual machine dashboard and paste it into the browser. The IIS welcome page will open like this on your browser.
Clean up resources
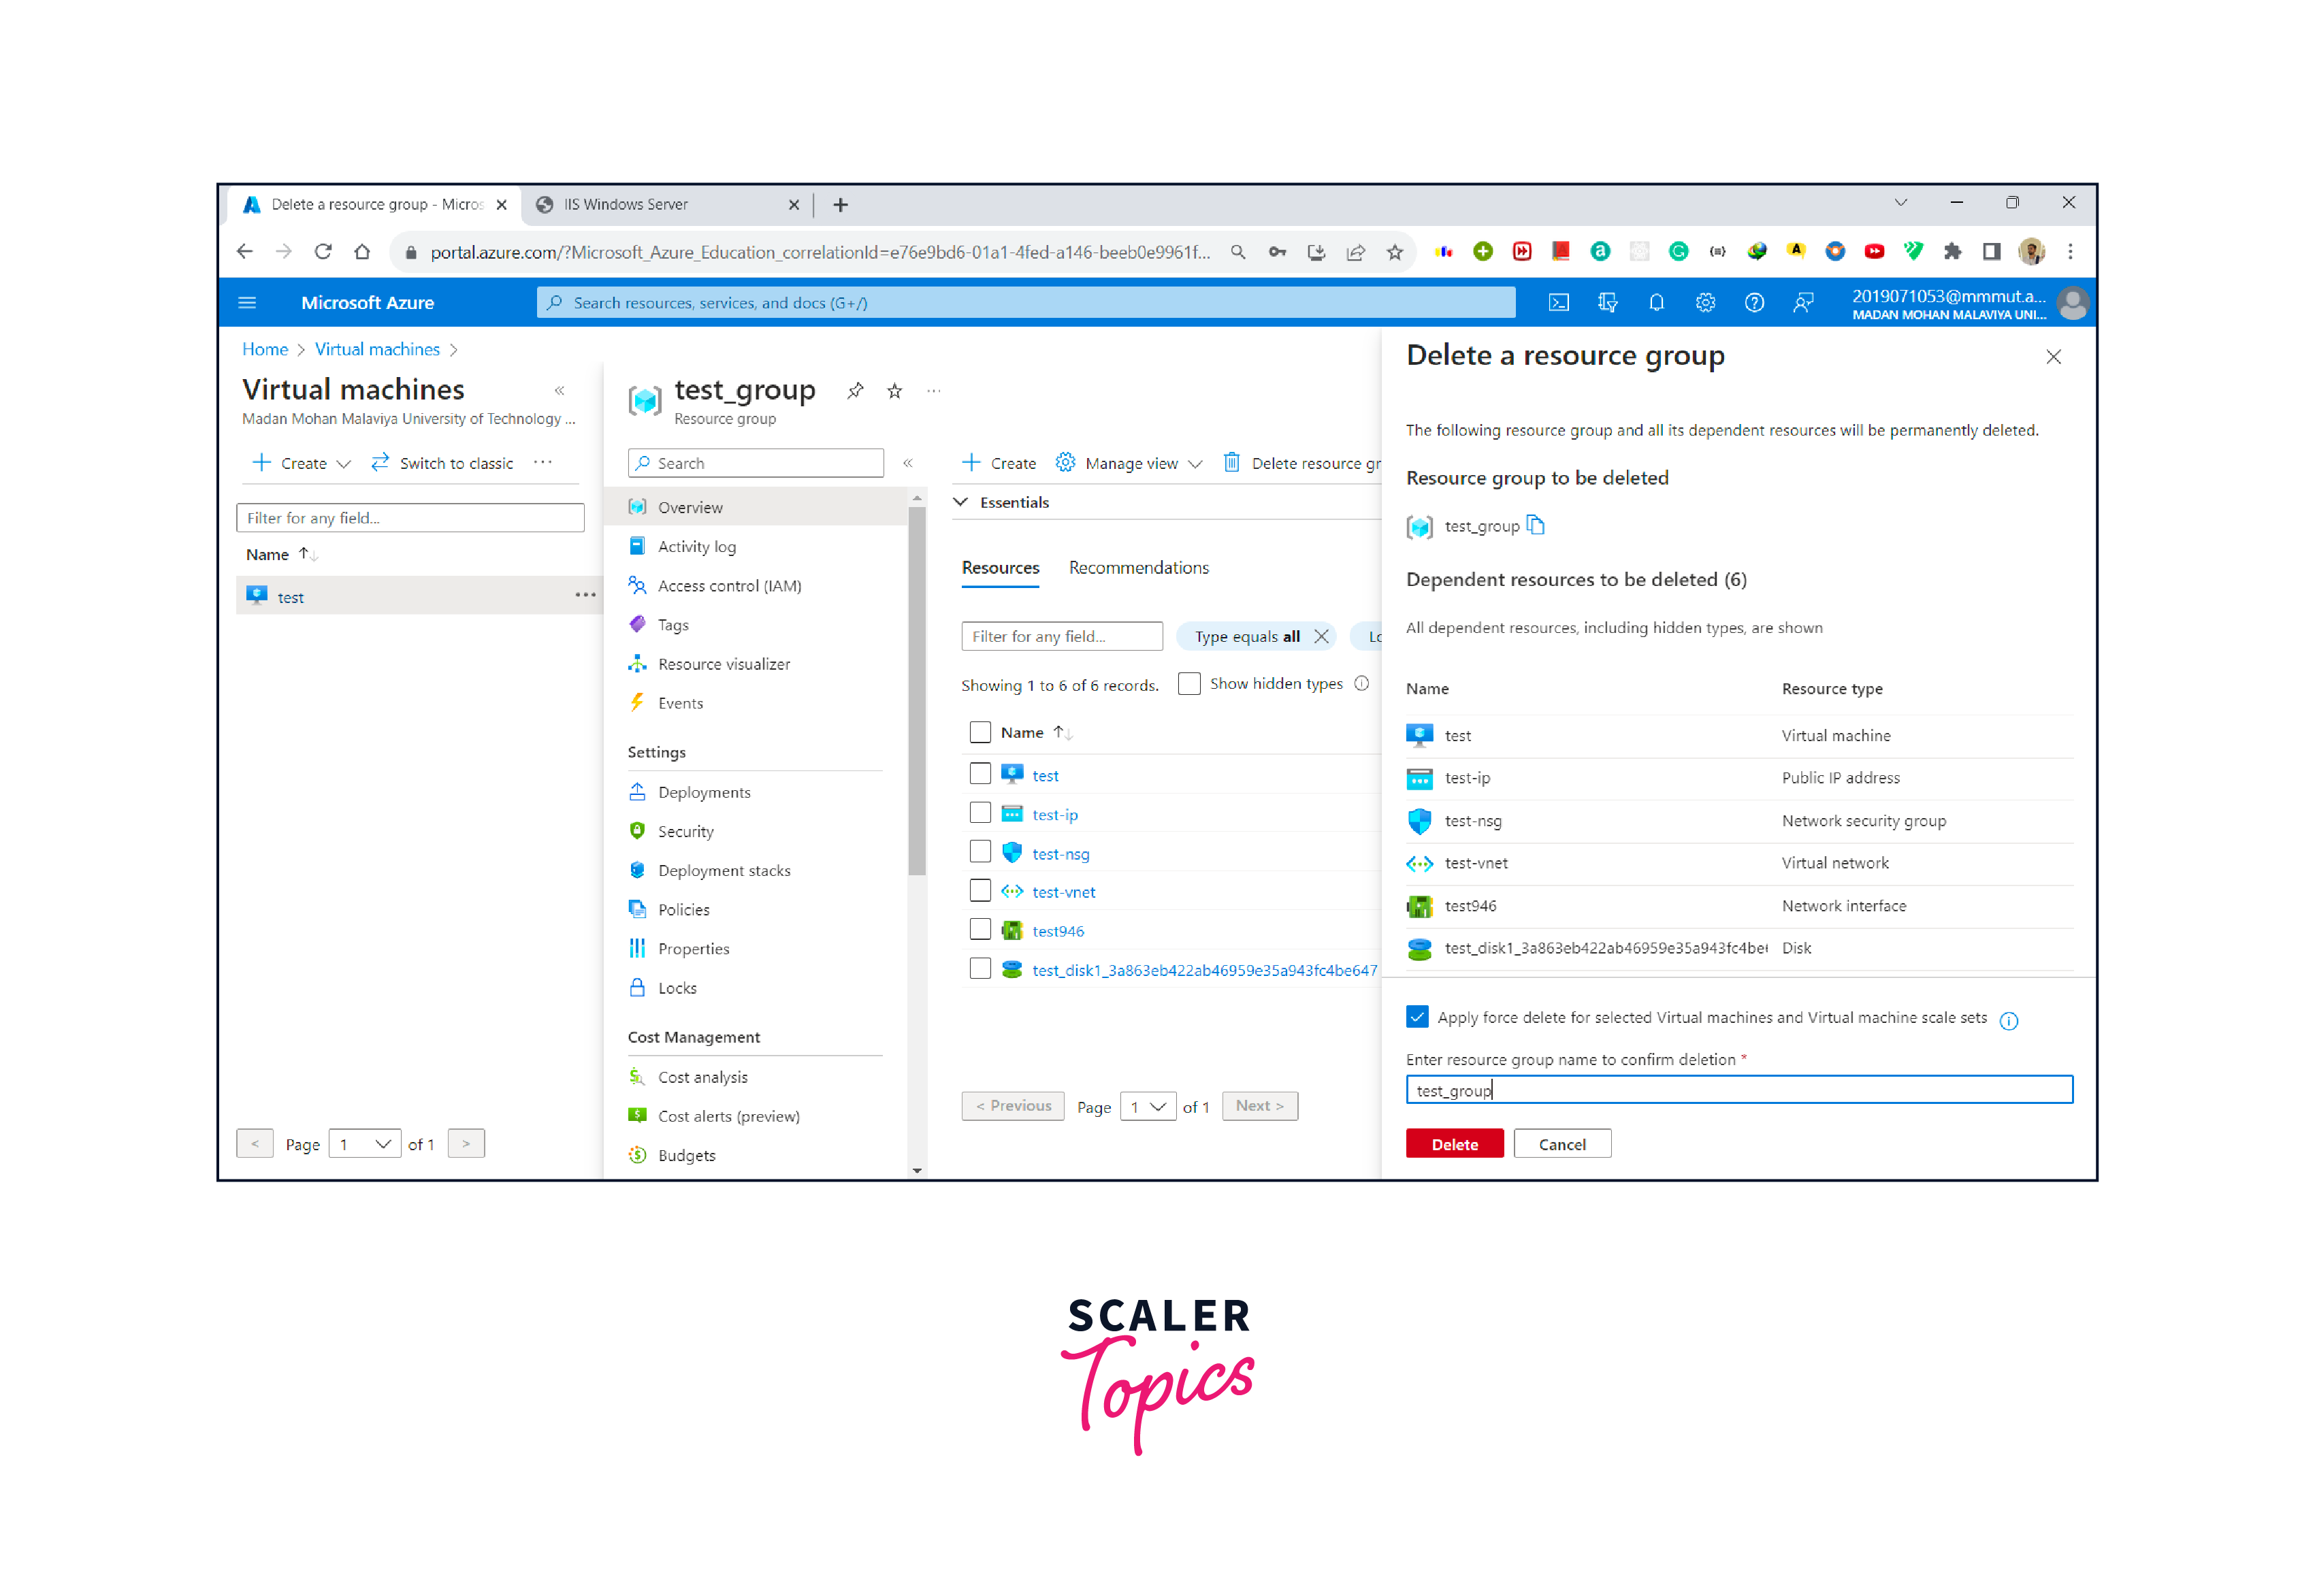
After knowing how to create vm in azure and done using it, you can remove the group, virtual computer, and everything linked to it.
- On the overview page of the VM, click on the link for the resource group.
- Choose the option to Delete the resource group at the upper part of the resource group's page.
- A new page will appear, cautioning you about deleting things. Type in the name of the resource group and click Delete to finish removing everything along with the resource group.
Conclusion
- A virtual machine, or VM for short, is much like any regular physical computer you use, such as a laptop, smartphone, or server.
- Azure Virtual Machine enables us to create and use virtual computers in the cloud, like a service where we don't need to worry about the physical stuff.
- You can easily create a free Azure account by simply entering your basic information and credit card details an you can also use the Azure portal for free upto 30 days.
- Once you've finished using the virtual machine you set up, you can delete the entire resouce group, which will release all associated resources.
- To install an IIS (Internet Information Services) web server on your virtual machine, run the following command:
Install-WindowsFeature -name Web-Server -IncludeManagementTools
