Linux Backup and Restore Commands Cheat Sheet
Overview
Backing up your Linux system is essential to ensure the safety of your data and the ability to recover in case of system failure or data loss. This cheat sheet provides a brief definition and example of the most useful and easy commands to restore and back up in Linux.
Introduction
In Linux, there are several commands and tools available for creating backups and restoring data. Let’s find out some of the easy and most used ways to restore and back up in Linux.
Linux System Backup and Restore Command Cheat Sheet
tar:
This Unix-like command creates and manipulates file archives. "Tape archive" is used for backups, compression, and directory archiving. Tar compresses several files and directories into a single archive file. tar supports It supports compression methods like gzip and bzip2.
The general syntax of the tar command is as follows:
To create a backup archive using tar, you can use the following command:
Here's a breakdown of the options used in this example:
- -c: Creates a new archive.
- -v: Provides verbose output, displaying details of files being archived.
- -f backup.tar: Specifies the name of the backup archive file.
This command creates a "backup.tar" archive file containing the directory's files and directories.
To extract files from a tar archive, you can use the following command:
Here, the -x option tells tar to extract files from the specified archive.
Now, let's consider an example to illustrate the usage of the tar command for backup:
Suppose you want to create a backup of the "/home/user/Documents" directory and store it in an archive file named "backup.tar". You can use the following command:
This command will create an archive file named "backup.tar" containing all the files and directories within "/home/user/Documents".

To extract the contents of the "backup.tar" archive, you can use the following command:
This command will extract the files and directories from the "backup.tar" archive and recreate them in the current directory and help you to create a backup in Linux.
rsync:
Remote Sync (rsync) is a popular command-line tool for file synchronization and backups. It helps synchronize files between directories or systems locally or remotely. rsync is efficient for backups since it just copies the differences between source and destination files.
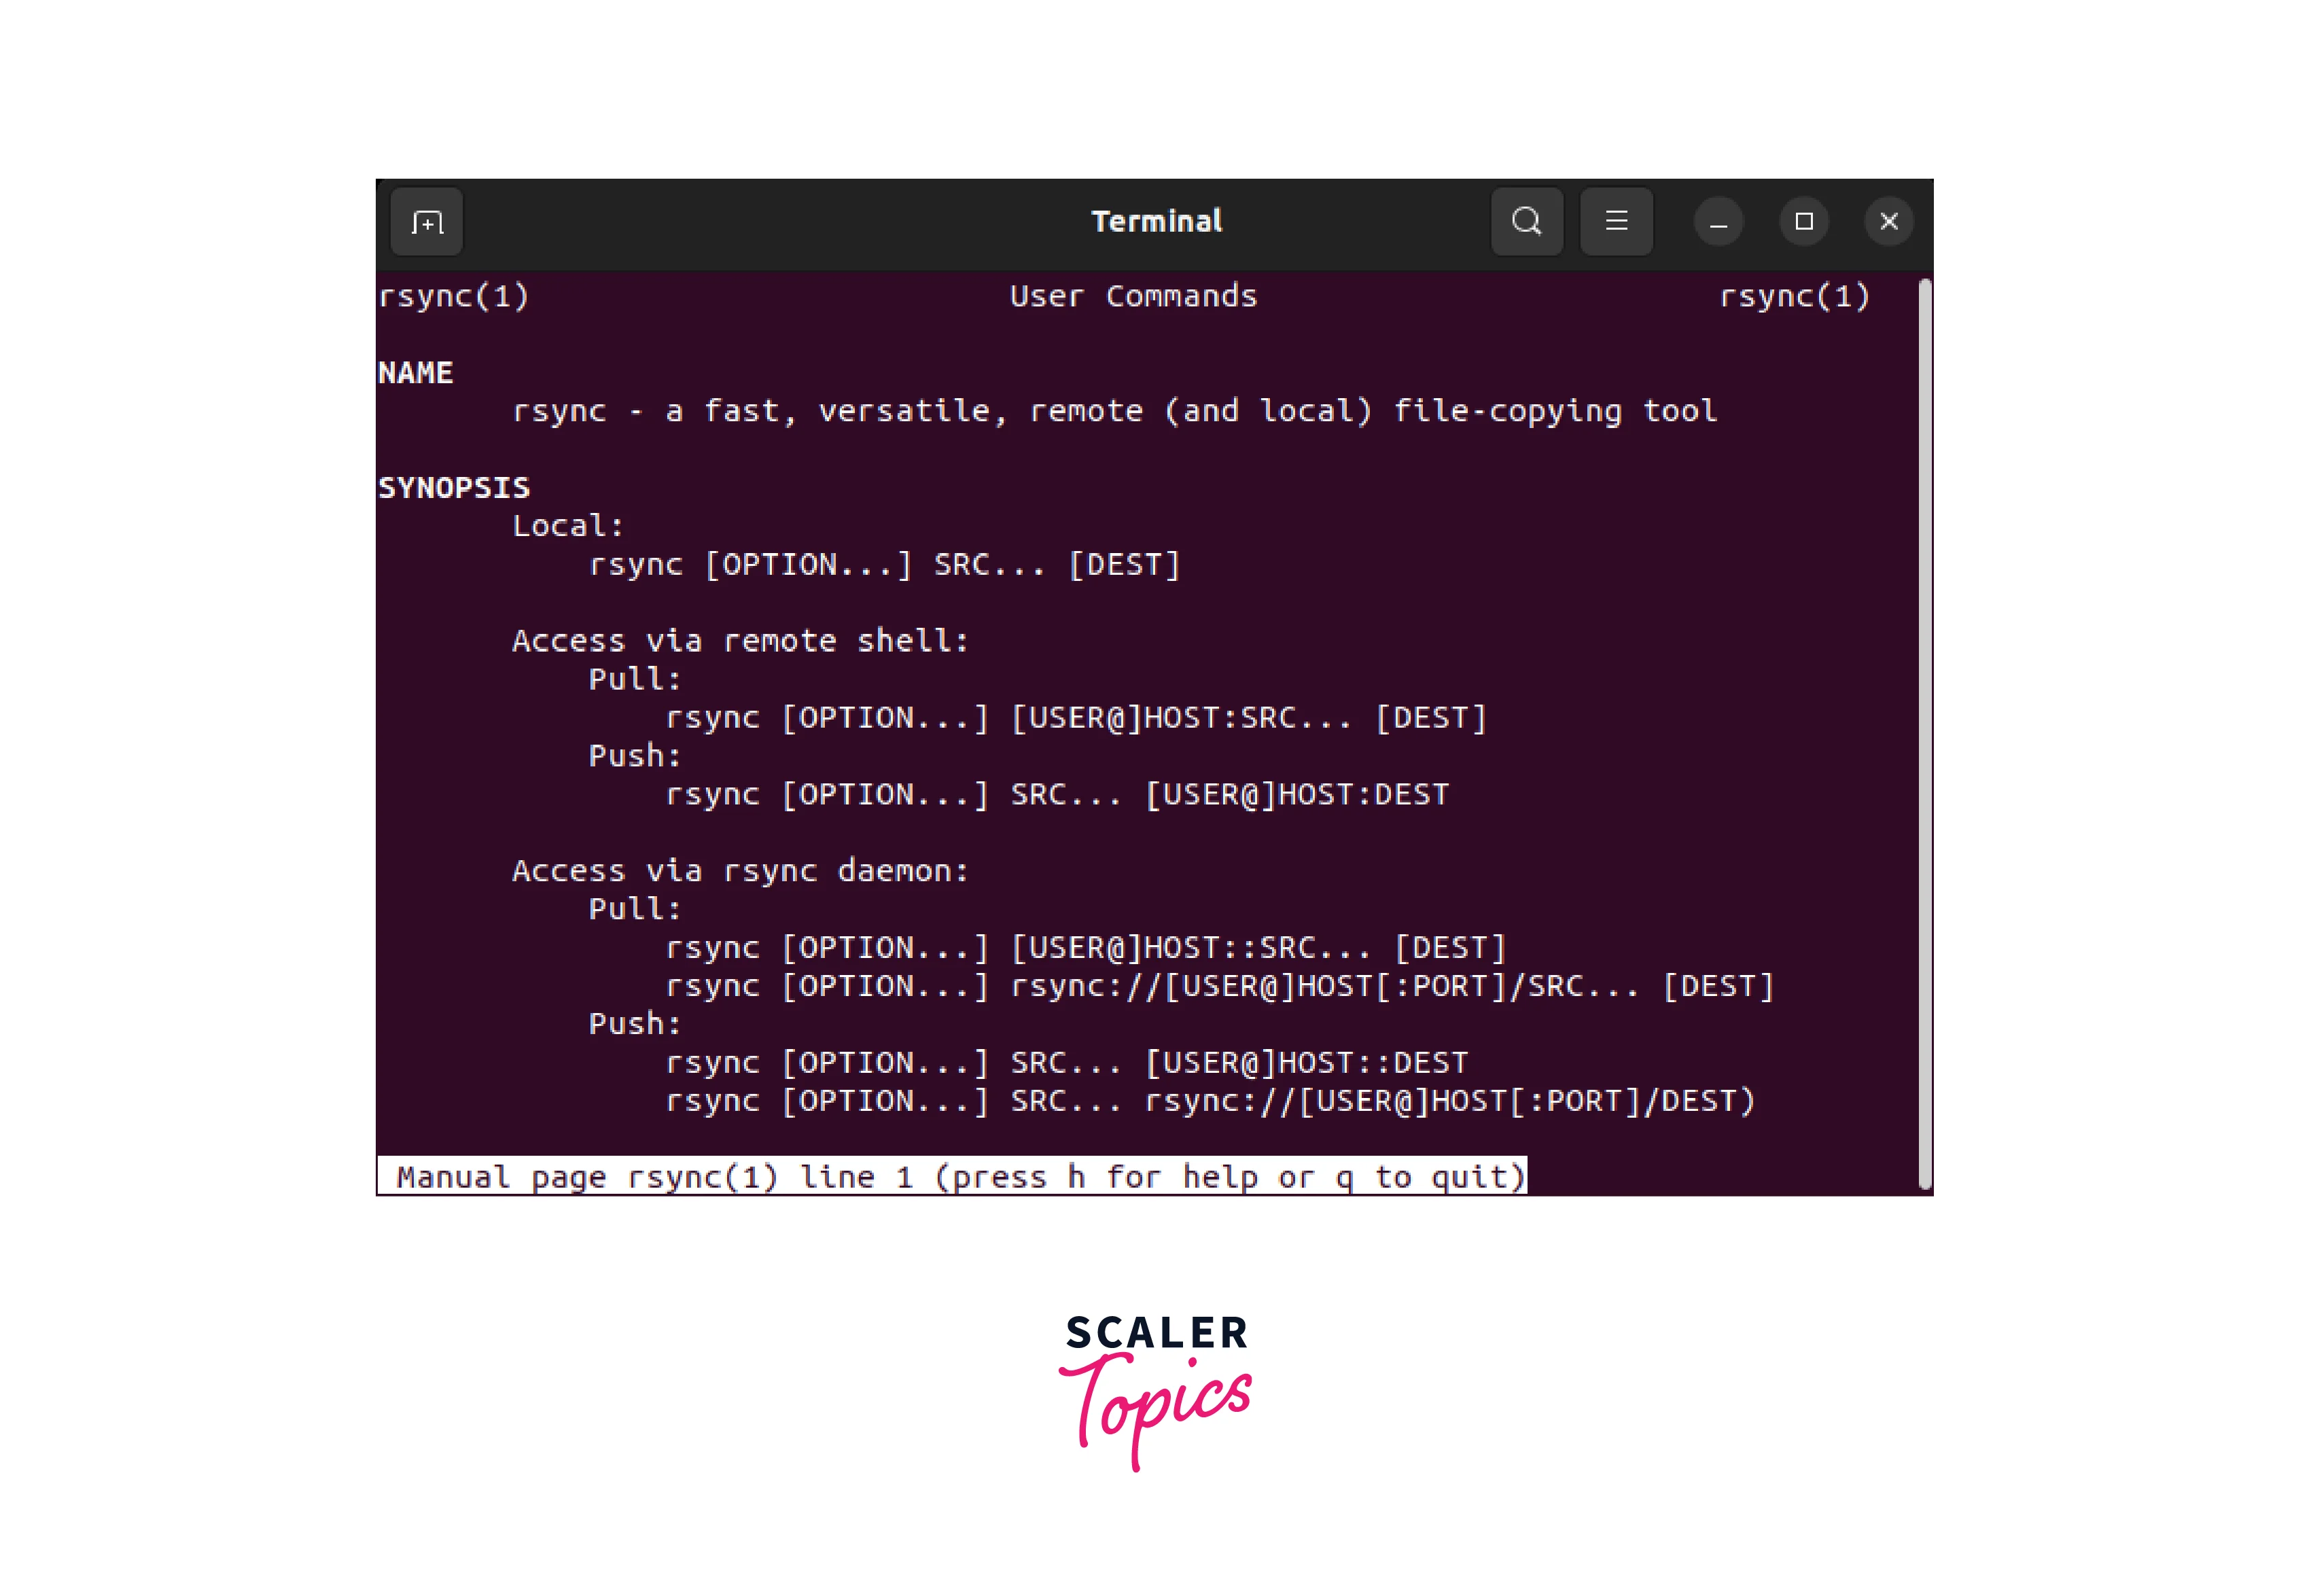
The basic syntax of the rsync command is as follows:
Here, "source" refers to the path of the files or directories you want to copy, while "destination" indicates the target location where you want to synchronize or backup the files.
Let's look at a rsync backup example. You want to back up your "Documents" directory to a remote server. You can SSH to the remote server at 192.168.0.100 using the username "user" and the backup directory "/backup".
To perform the backup using rsync, you can use the following command:
Let's break down the options used in this example:
-
-a or --archive: Preserves the permissions, ownership, timestamps, and recursive copy.
-
-v or --verbose: Provides verbose output, displaying details of the files being transferred.
-
-z or --compress: Compresses the data during transfer, reducing the network bandwidth usage.
-
--progress: Shows the progress of the transfer, indicating the percentage and speed.
-
-e ssh: Specifies the remote shell to use, in this case, SSH.
rsync will compare the files in the source directory ("/path/to/local/Documents/") to the files in the destination directory on the remote server ("user@192.168.0.100:/backup"). It then copies only the differences and updates the backup.
dd:
Data Duplicator (dd) creates disc images and backups. It can directly clone hard discs, partitions, and files. The low-level dd command is useful for disc clones, system backups, and forensic copies.
The general syntax of the dd command is as follows:
"If" and "of" refer to the input and output files or devices, respectively. Let's look at an example of "dd backup".
You want to back up a Linux system's "/dev/sda" disc. dd can do this. First, choose a backup image destination, such as an external hard drive mounted at "/mnt/backup/backup.img".
To create a disk image backup using dd, you can use the following command:
Now, let's break down the options used in this example:
-
if=/dev/sda: Specifies the input file or device, in this case, the disk device /dev/sda.
-
of=/mnt/backup/backup.img: Specifies the output file, which is the backup image file located at /mnt/backup/backup.img.
-
bs=4M: Sets the block size to 4 megabytes. This option helps improve the efficiency of the copying process.
-
status=progress: Displays the progress of the data transfer, indicating the current status.
This command will copy "/dev/sda" bit-for-bit to the output file using dd. This makes Linux backup easy, however, it may take some time depending on disc size and transfer speed.
cpio:
This powerful Unix-like tool creates and extracts archives. "Copy in, copy out" is used for file backups and archiving. cpio generates an archive from a list of files and extracts or copies it. It supports ASCII, binary, and "newc" archives.
The general syntax of the cpio command is as follows:
To create an archive using cpio, you can use the following command:
Here's a breakdown of the options used in this example:
-
find /path/to/directory -depth:
The find command is used to generate a list of files and directories in the specified directory. -depth ensures that the files are processed in a depth-first order. -
|:
The pipe symbol redirects the output of the find command to the input of the cpio command. -
cpio -o:
The -o option tells cpio to create an archive. -
> archive.cpio: Redirects the output of the cpio command to a file named "archive.cpio".
By executing this command, cpio will create an archive named "archive.cpio" containing the files and directories found in the specified directory.
To extract files from an archive using cpio, you can use the following command:
Here, the -i option tells cpio to extract files from the specified archive.
Let's consider an example to illustrate the usage of the cpio command:
Suppose you want to create an archive of all files and directories in the "/home/user/Documents" directory and store it in a file named "backup.cpio". You can use the following command:
This command will create an archive named "backup.cpio" containing all files and directories within "/home/user/Documents".
To extract the contents of the "backup.cpio" archive, you can use the following command:
This command will extract the files and directories from the "backup.cpio" archive and recreate them in the current directory and thus you can create a backup in Linux.
dump and restore:
These are two commands combined. Unix-like systems employ command-line programs to dump and restore to backup and restore file systems. They efficiently manage large-scale backups at the file system level. The dump command backs up a file system, and the restore command restores files and directories.
Let's consider an example to illustrate how dump and restore are used for backups and restores:
Suppose you have a system with a file system mounted at "/data" that you want to back up to a backup media, such as a tape drive. First, you would create a backup using the dump command:
In this example, We are backing up "/data" at level 0 ("-0"). Dump updates the incremental backup file "/etc/dumpdates" with the -u option. "/dev/tape" is the backup media.
Once the backup is completed, you can restore files from the backup using the restore command:
The-r option tells the restore command to restore the files and directories from the specified backup media ("/dev/tape" in this case). The -f option is used to specify the backup media file.
The restore command asks for the path to the files or directories you want to restore. Use "x" to restore the entire file system or specify files or folders. Linux backups use dump and restore.
ddrescue:
This command-line utility backup and recovers data from damaged storage devices. It reads and attempts disc problems to intelligently and efficiently recover data. ddrescue can help backup damaged or failing storage media.
An example of using ddrescue for backup:
In this example, "/dev/source" is the source disc or partition from which you wish to create a Linux backup, and "/dev/destination" is the destination disc or partition. "logfile" is the rescue and log file.
duplicity:
This command-line backup utility creates encrypted, incremental remote backups. "Full backups" and "incremental backups" optimize storage and backup times. Duplicity supports local file systems, FTP, SSH/SFTP, Amazon S3, Google Cloud Storage, and more for remote storage.

An example of using duplicity for backup:
In this example, "/path/to/source" is the Linux directory or files you wish to back up, and "destination_url" is the remote storage address. SSH/SFTP servers, cloud storage providers, and local directories are specified via the destination URL.
When executed, duplicity does an initial full backup of the source directory to the destination. Incremental backups save time and space by simply transferring and storing changes since the last backup. Encrypted backups protect data.
Conclusion:
-
Linux provides various command-line tools for creating backups and restoring data.
-
This Linux backup cheat sheet includes examples of tar, rsync, dd, cpio, dump, restore, ddrescue, and duplicity.
-
To preserve your data, choose the right backup command and backup often.