How to Use Camera in Flutter?
Overview
Camera integration has become a key element for creating engaging user experiences in the world of mobile application development. A full set of capabilities is provided to developers by Flutter so they can easily integrate camera capability into their projects. Flutter's camera capabilities open up a world of possibilities, from taking pictures and movies to enabling barcode scanning and augmented reality experiences. In this article, we'll explore Flutter's camera integration capabilities while also examining the best practices for building apps that are both aesthetically engaging and interactive.
Introduction
Every mobile device includes a camera app for taking photographs, recording movies, and a few more interesting features that are unique to each device. Assuming you want to implement camera features and access to your Flutter application, which is essential if you wish to create a customized user experience tailored to your app or add unique functionality to your app, you will have to implement the camera function on your own.
Flutter provides a package for iOS, Android, and the Web that allows access to the device’s camera. The camera package provides tools to get a list of the available cameras, display a preview coming from a specific camera, and take photos or videos.
In this article, we shall be learning how to access the device’s camera (on Android or iOS) with the camera package to take a picture and display it.
Setting Up Camera in Flutter
Packages Required
1. camera
The camera package is the most important package that we will be needing which allows access to the device's (android, iOS, Web) camera. The package has the following key features that one could make use of:
- Display live camera preview in a widget.
- Snapshots can be captured and saved to a file.
- Record video.
- Add access to the image stream from Dart.

Installing the camera package for our camera flutter project can be done by running the following command in your camera flutter project directory.
Alternatively, you can also add a line like this to your package's pubspec.yaml and run an implicit flutter pub get.
After these steps, we just need to import the package onto our project file by using the import statement.
There are a few precautions that you must take before actually starting to use the camera package in our camera flutter application. These are:
-
(For Android) Change the minimum Android sdk version to 21 (or higher) in your android/app/build.gradle file.
Also, to get the permission dialog for using the camera in your app, you have to add the following lines to your AndroidManifest.xml file:
-
(For iOS) Add two rows to the ios/Runner/Info.plist:
- one with the key Privacy - Camera Usage Description and a usage description.
- and one with the key Privacy - Microphone Usage Description and a usage description.
If editing info.plist as text, add:
Alongside the camera package, we shall also be needing a couple more packages which are as follows.
2. path_provider
The path_provider package is a Flutter plugin for finding commonly used locations on the filesystem. In our case, we shall be using it to find the correct path to store the captured images.

Installing this package onto our camera flutter application can be done by following either of the two given steps.
-
Run this command in the project directory
-
Alternatively you can also add a line like this in your package's pubspec.yaml and run an implicit flutter pub get
After these steps, we just need to import the package onto our project file by using the import statement.
3. path
The path package is a comprehensive, cross-platform path manipulation library for Dart. The path package provides common operations for manipulating paths: joining, splitting, normalizing, etc. It helps in creating paths that work on any platform.

Installing this package in our camera flutter application can be done by following either of the two given steps:
-
Run either of these commands in the camera flutter project directory
Or
-
Alternatively, you can add a line like this to your package's pubspec.yaml and run an implicit dart pub get,
After these steps, we just need to import the package onto our project file by using the import statement.
After installing all the above-mentioned packages onto our camera flutter project, our pubspec.yaml file shall look like this:
Getting a List of Available Cameras
A device could have multiple cameras, for instance, a mobile phone has at least two cameras, the rear and the front. So to make use of the right one we need a list of all the available cameras for use on the device.
To get the list of all the available cameras for use on the device, we can use the camera plugin which provides us with the method availableCameras().
Make sure to call the availableCameras() method inside an async function as it has to await retrieving the available cameras of the device.
Ensure that plugin services are initialized so that the method availableCameras() can be called before runApp().
This can be done by using the following line,
Also to get a specific camera from the list of available cameras, for example, say the first one we can use
Creating and Initialising the Camera
Once we have selected a camera for our camera flutter app, we need to initialize a CameraController. The camera controller class is responsible for establishing a connection to the device’s camera that allows you to control the camera and display a preview of the camera’s feed. The controller will help you access the different functionalities of the camera, but before using them, you have to initialize the camera. We can follow the given steps to create and initialize a camera controller,
-
Create a StatefulWidget with a companion State class.
-
Add a variable to the State class to store the CameraController.
-
Add a variable to the State class to store the Future returned from CameraController.initialize().
-
Create and initialize the controller in the initState() method.
-
Dispose of the controller in the dispose() method.
CameraController takes two values CameraDescription and ResolutionPreset.
- CameraDescription defines the properties of a camera device. The values that we get from availableCameras() will be used here to initialize a camera of our choice.
- ResolutionPreset affects the quality of video recording and image capture. If a preset is not available on the camera being used a preset of lower quality will be selected automatically. ResolutionPreset has the following values to it.

Try avoiding going to a higher resolution if it freezes your camera.
Using a CameraPreview to Display the Camera’s Feed
Once our camera is all set up we use the CameraPreview widget from the camera package to display a preview of the camera’s feed. We must wait until the controller has finished initializing before working with the camera. Therefore, we must wait for the _initializeControllerFuture() created in the previous step to complete before showing a CameraPreview. This is exactly when and why we should be using a FutureBuilder.
You can also include a feature to toggle between your available cameras, the rear and the front. You can use the code to achieve this feature.
Take a Picture with the CameraController
We can use the CameraController to take pictures using the takePicture() method, which returns an XFile, a cross-platform, simplified File abstraction. On both Android and IOS, the new image is stored in their respective cache directories, and the path to that location is returned in the XFile.
Before taking a picture, we need to follow two steps:
- Ensure that the camera is initialized.
- Construct a directory and define the path.
- Use the controller to take a picture and ensure that it returns a Future<XFile>.
This will allow us to capture the image using CameraController and save it to the given path.
Record a Video with the CameraController
A general video recording activity can be broadly divided into two categories:
- Starting Video Recording
- Stopping Video Recording
Starting Video Recording
For video recording in our camera flutter project, we shall follow a similar approach to that of taking a picture with the plugin.
- Check if the camera controller is initialized.
- Construct a directory and define the path.
- Start recording using the camera controller and saving the video on the defined path and ensure that it returns a Future<XFile>.
Optionally we can also include a feature that shows the timer indicating the length of the video recording.
Stopping a Video Recording
Before stopping the recording, we must first make sure the camera controller is initialized. After which we can simply stop the video recording using the camera controller. With these two simple steps, we can stop the ongoing video recording.
- Check if the camera controller is initialized.
- Stop video recording using the camera controller.
Also, stop the timer once we are done recording the video.
Advanced Camera Functionalities
1. Capture Quality Selector
As we already read and implemented, the ResolutionPreset can be used to define the quality of the camera view.

Keep in mind that to change the quality of the camera view, you have to reinitialize the camera controller with the new value.
2. Zoom Feature
The camera plugin comes with a method called setZoomLevel() which can be used on the camera controller to set the zoom level of the camera. The zoom level is only changed for the selected camera.
Before determining the zoom level, we should know the device camera’s minimum and maximum zoom levels. We can get the minimum and maximum zoom level of the camera using the getMaxZoomLevel() and the getMinZoomLevel() methods on the camera controller.
We can use the setZoomLevel() method in the following manner,
Keep in mind that the supplied zoom value should be between 1.0 and the maximum supported zoom level returned by the getMaxZoomLevel. Otherwise, the camera controller shall throw a CameraException when an illegal zoom level is supplied.
3. Exposure Level Control
We can set the exposure offset value of the camera using the setExposureOffset() method on the controller and passing the exposure value. The exposure levels are only defined for the selected camera.
Before determining the exposure level, we should know the device camera’s minimum and maximum exposure offset levels. We can retrieve the minimum and maximum exposure values of the camera supported by the device by using the getMinExposureOffset() and the getMaxExposureOffset() methods on the camera controller.
The supplied offset value should be in EV units. 1 EV unit represents a doubling in brightness. It should be between the minimum and maximum offsets obtained through getMinExposureOffset and getMaxExposureOffset respectively. The camera controller shall throw a CameraException when an illegal offset is supplied.
When the supplied offset value does not align with the step size obtained through getExposureStepSize, it will automatically be rounded to the nearest step. Returns the (rounded) offset value that was set.
We can implement the setExposureOffset() method in the following manner,
4. Flash Mode
We can set the camera’s flash mode using the setFlashMode() method and pass a FlashMode value. The possible flash modes that can be set for a device's camera are,
- off:
Do not use the flash when taking a picture. - auto:
Let the device decide whether to flash the camera when taking a picture. - always:
Always use the flash when taking a picture. - torch:
Turns on the flashlight and keeps it on until switched off.
Using these values we can switch between the flash modes available for the device's camera.
This is how we can change the flash mode in our camera flutter app,
5. Focus Mode
We can set the focus mode for the device's camera using the setFocusMode() method on the camera controller. It has two mode values which are,
- auto:
Automatically determines focus settings. - locked:
Lock the currently determined focus settings
We can use this feature in our camera flutter app by following the below example,
These were some of the advanced camera features that are provided by the camera plugin for developing and using camera functionalities in Flutter applications.
Example App
This is a sample app that opens the camera and once the user clicks on the floating action button it displays the captured image on the screen.
The app should essentially ask for permission to access the camera and take pictures and videos.

The Floating Action button allows the user to click the photo
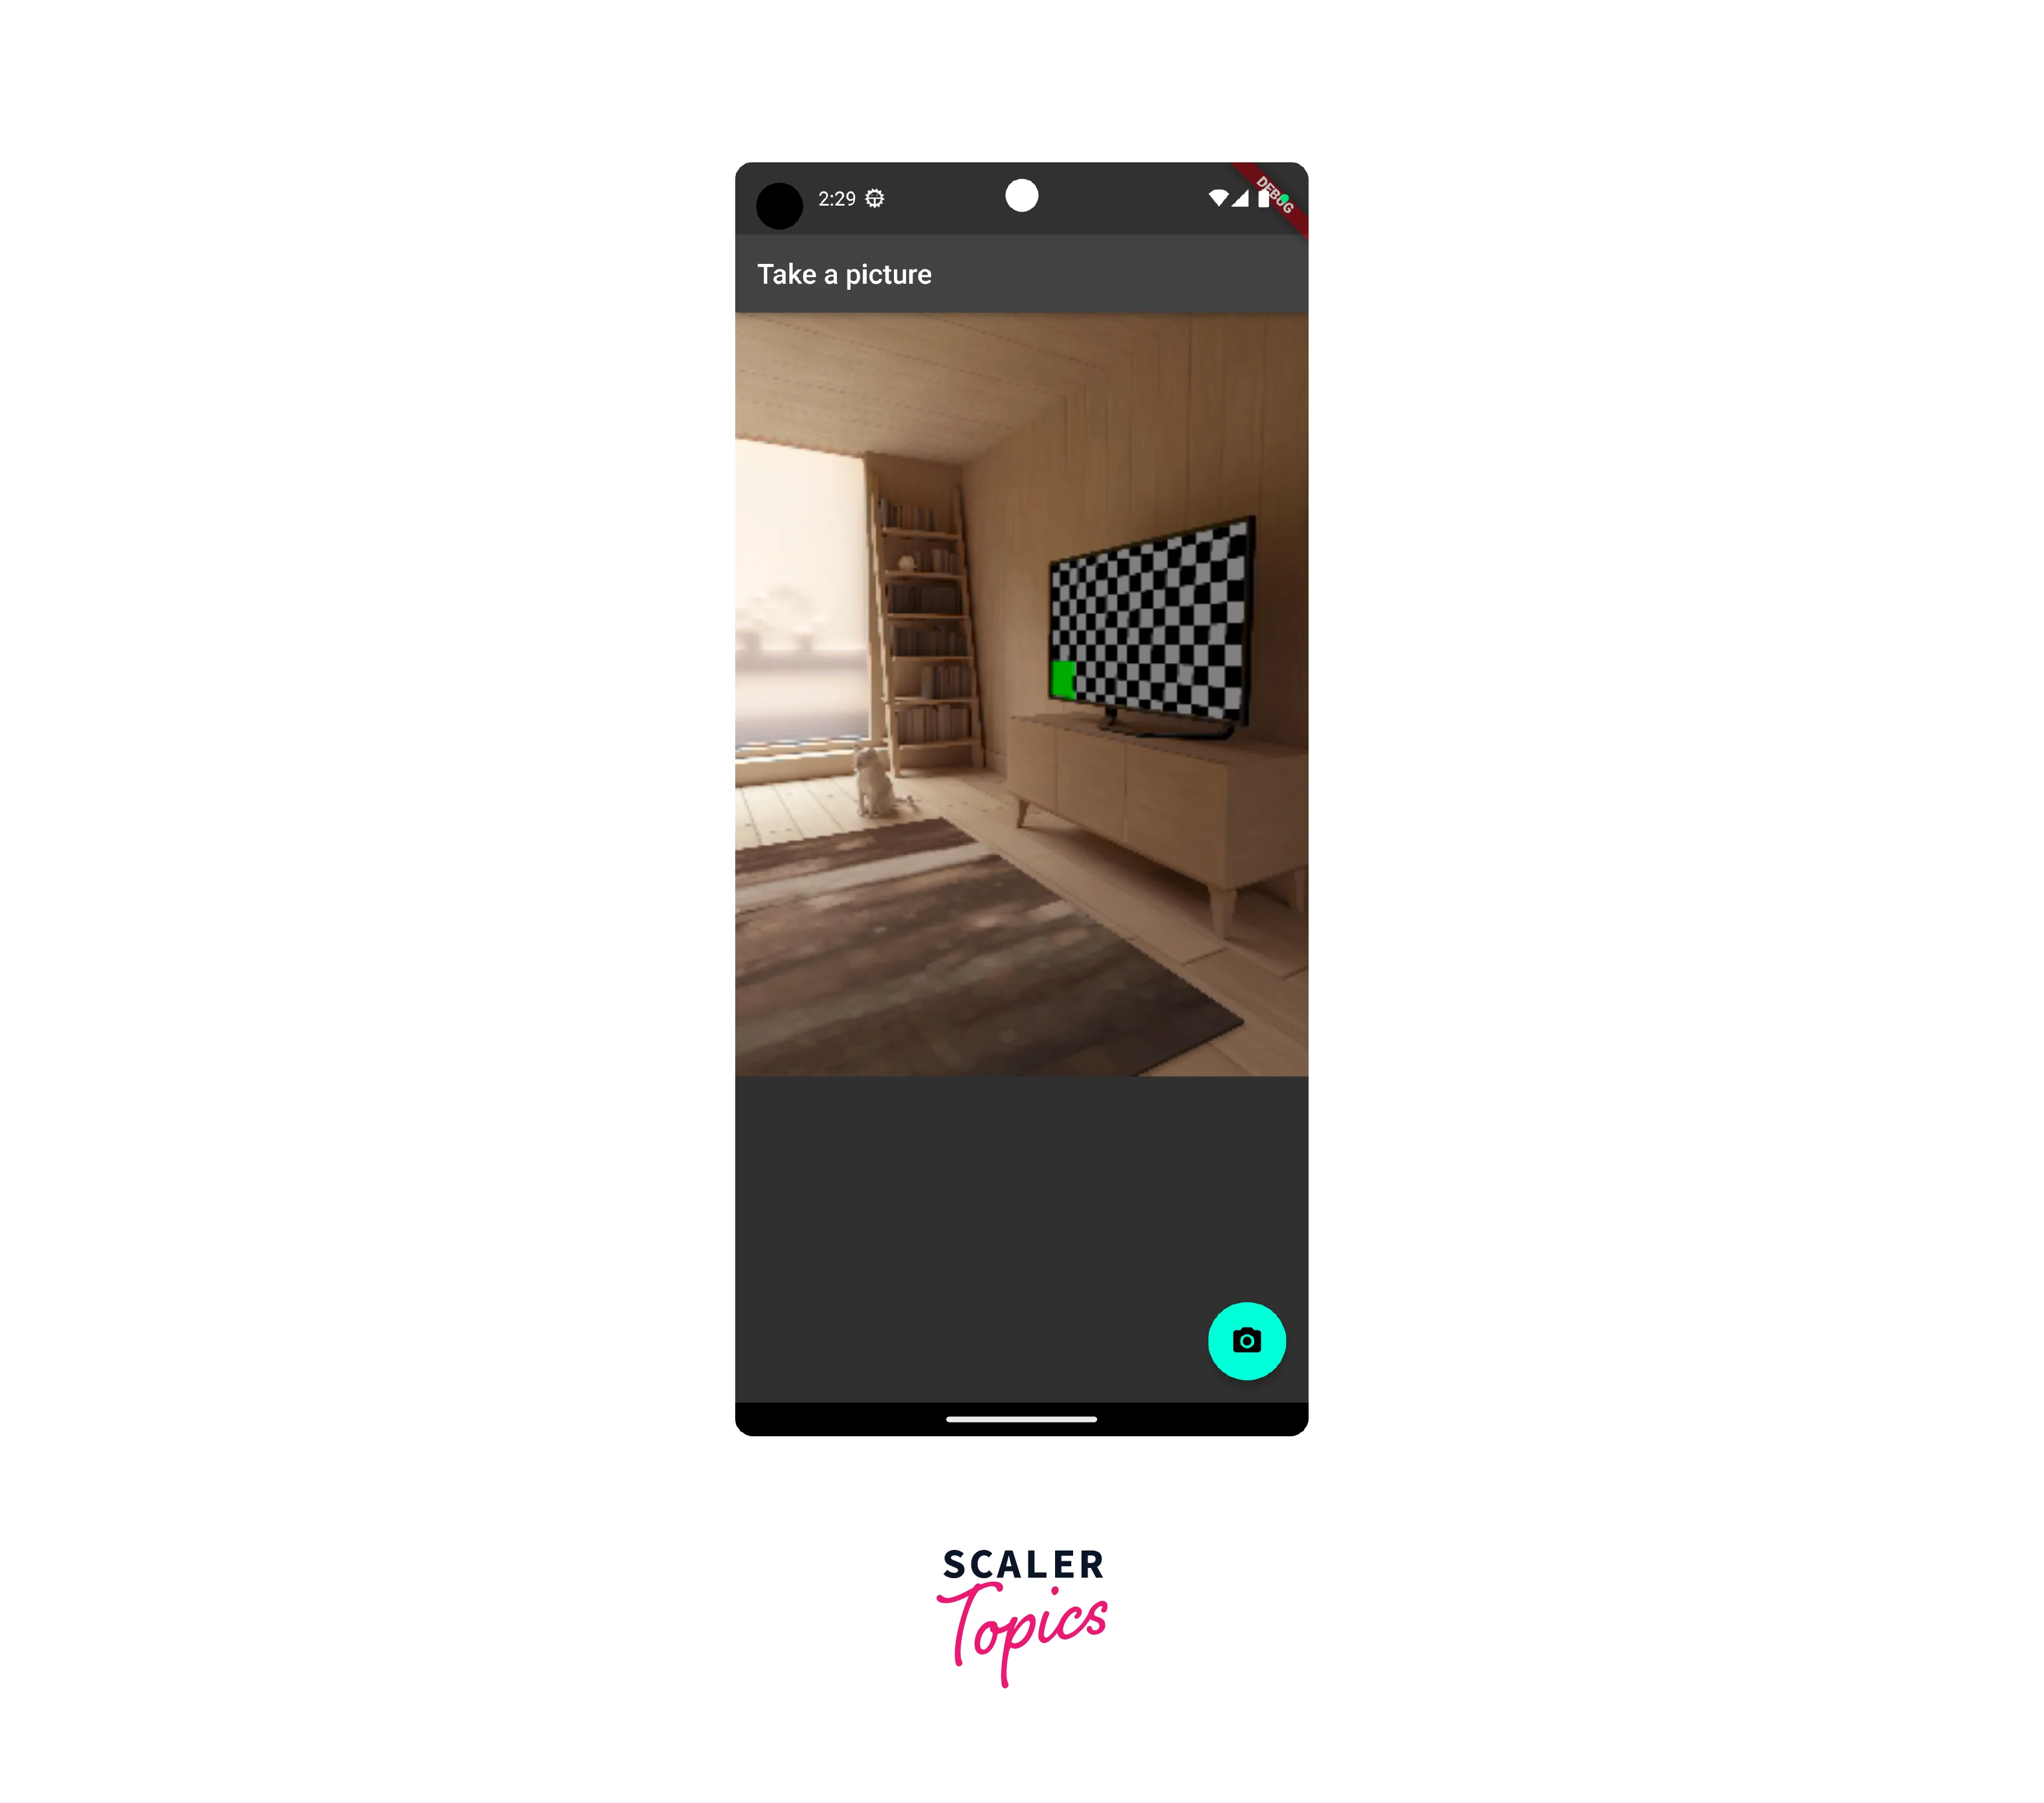
Once the photo is clicked, it is displayed on the screen.

Best Practices
1. Using try/catch blocks while taking pictures:
It is good practice to wrap the takePicture() operations in a try/catch block to handle any errors that might occur.
2. Using a suitable ResolutionPreset value:
Going for a higher ResolutionPreset value could end up freezing your camera.
3. Stretched camera preview:
You should always use the aspect ratio of the camera preview that is accessible using the CameraController. The CameraController returns the aspect ratio value as (height : width), but the AspectRatio widget requires it in the format (width : height), hence it is achieved by taking the reciprocal of the preview aspect ratio.
In our camera flutter app, we have used the CameraPreview widget which takes care of the Stretched camera preview problem itself. This is another better and easier alternative to using Aspect Ration.
Conclusion
- The camera plugin provides us with a live camera preview in a widget.
- Various features of a camera are provided in the plugin such as Focus Mode, Resolution Preset, Zoom Levels, etc.
- Recording a video can be made simpler by splitting it into two parts, start recording and end recording.
- The path_provider package allows us to set a custom location for captured images.