How to Create an HTML Contact Form

Embarking on the journey of creating HTML contact forms opens up a world of possibilities for seamless communication on your website. This article explores the creation of HTML contact forms, covering the necessary steps from structuring the HTML form with input elements to enhancing its visual appeal with CSS styling. We will also see a few examples showing data accuracy, and validations along with variations like transparent backgrounds, rounded forms, and more.
Steps to Create an HTML Contact Form
HTML Code
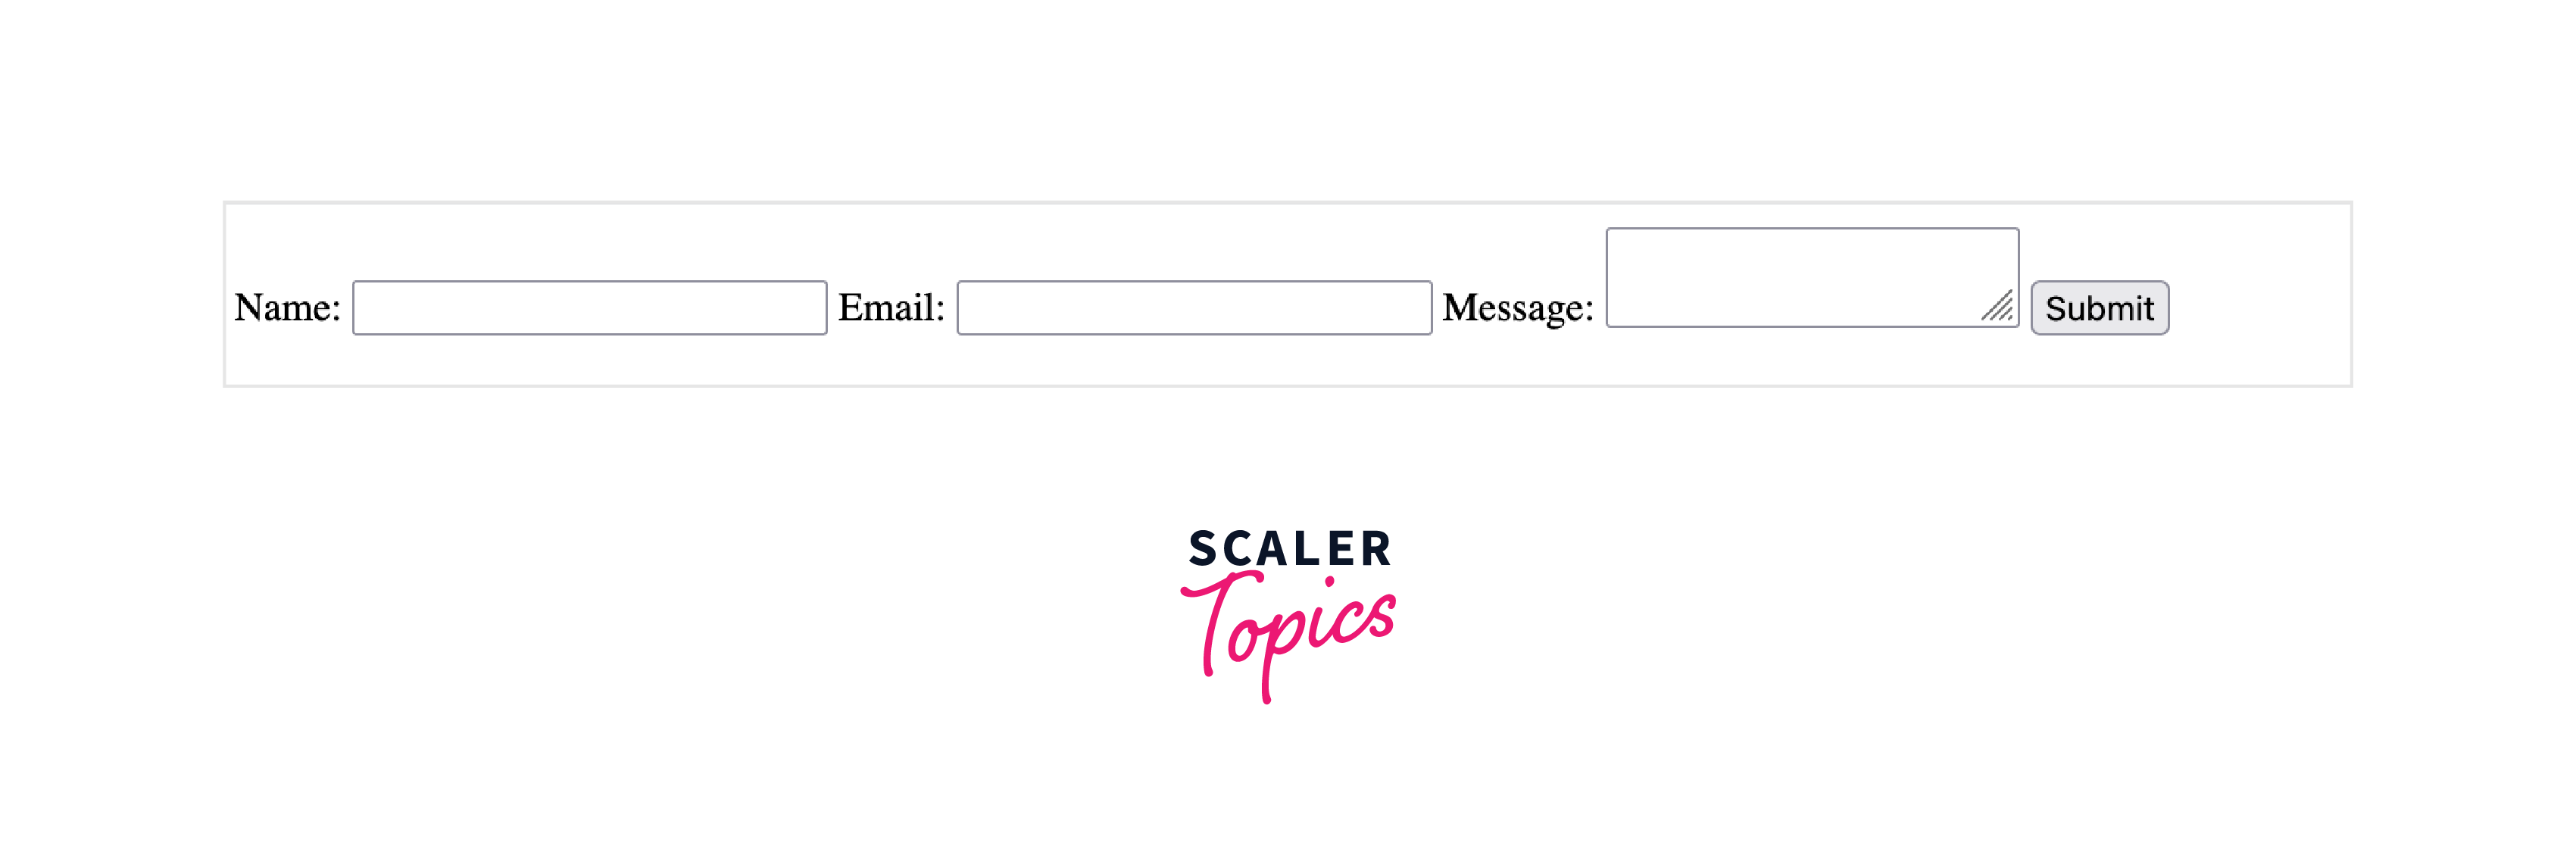
The first step for creating an HTML contact form includes creating the HTML code for a basic contact form. This form shows necessary information like Name, Email, and Message. Two input types are used here:
- Text: This field is used for concise input like names and emails.
- Textarea: This field is used for lengthier text, mainly used for messages.
Once the HTML markup code is written, we'll proceed to enhance the form's appearance using CSS for styling.
Output:
Style with CSS
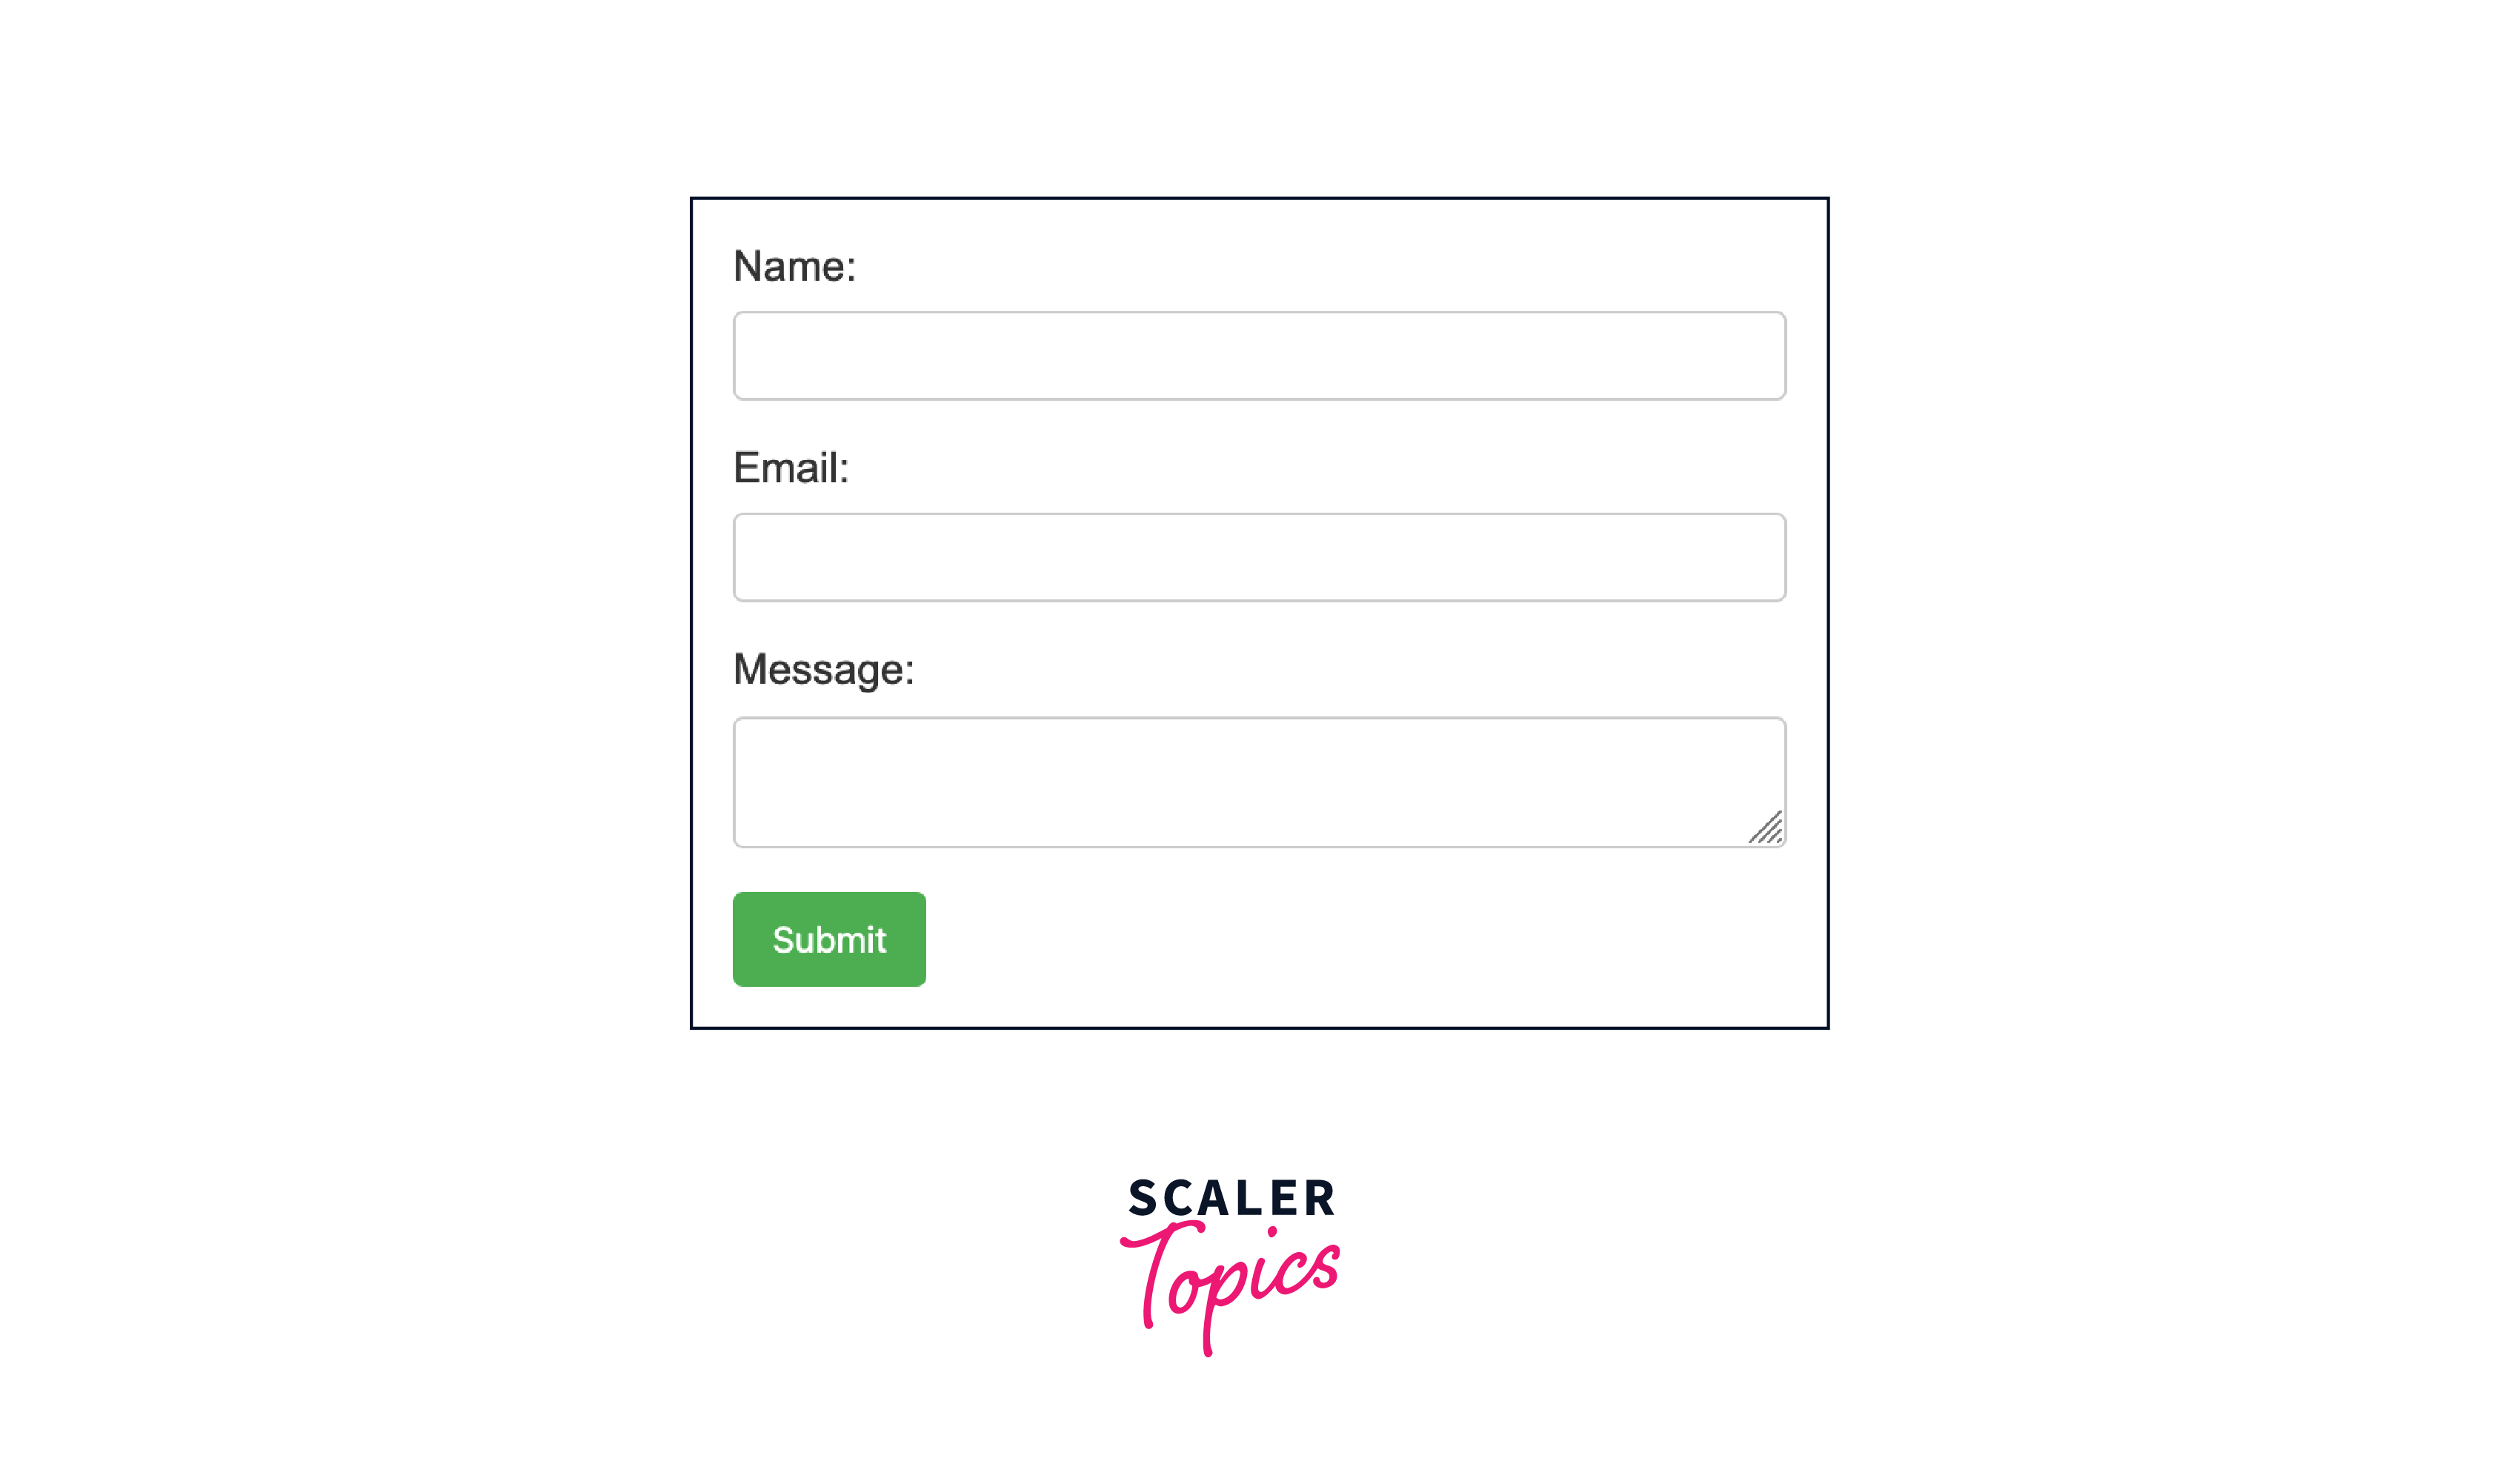
Now, let's develop a CSS file to define the form's style, including elements like background color, font family, and font size. We will include the CSS styling in HTML code to enhance the visual appeal of our contact form:
Output:
Add Text Input Fields
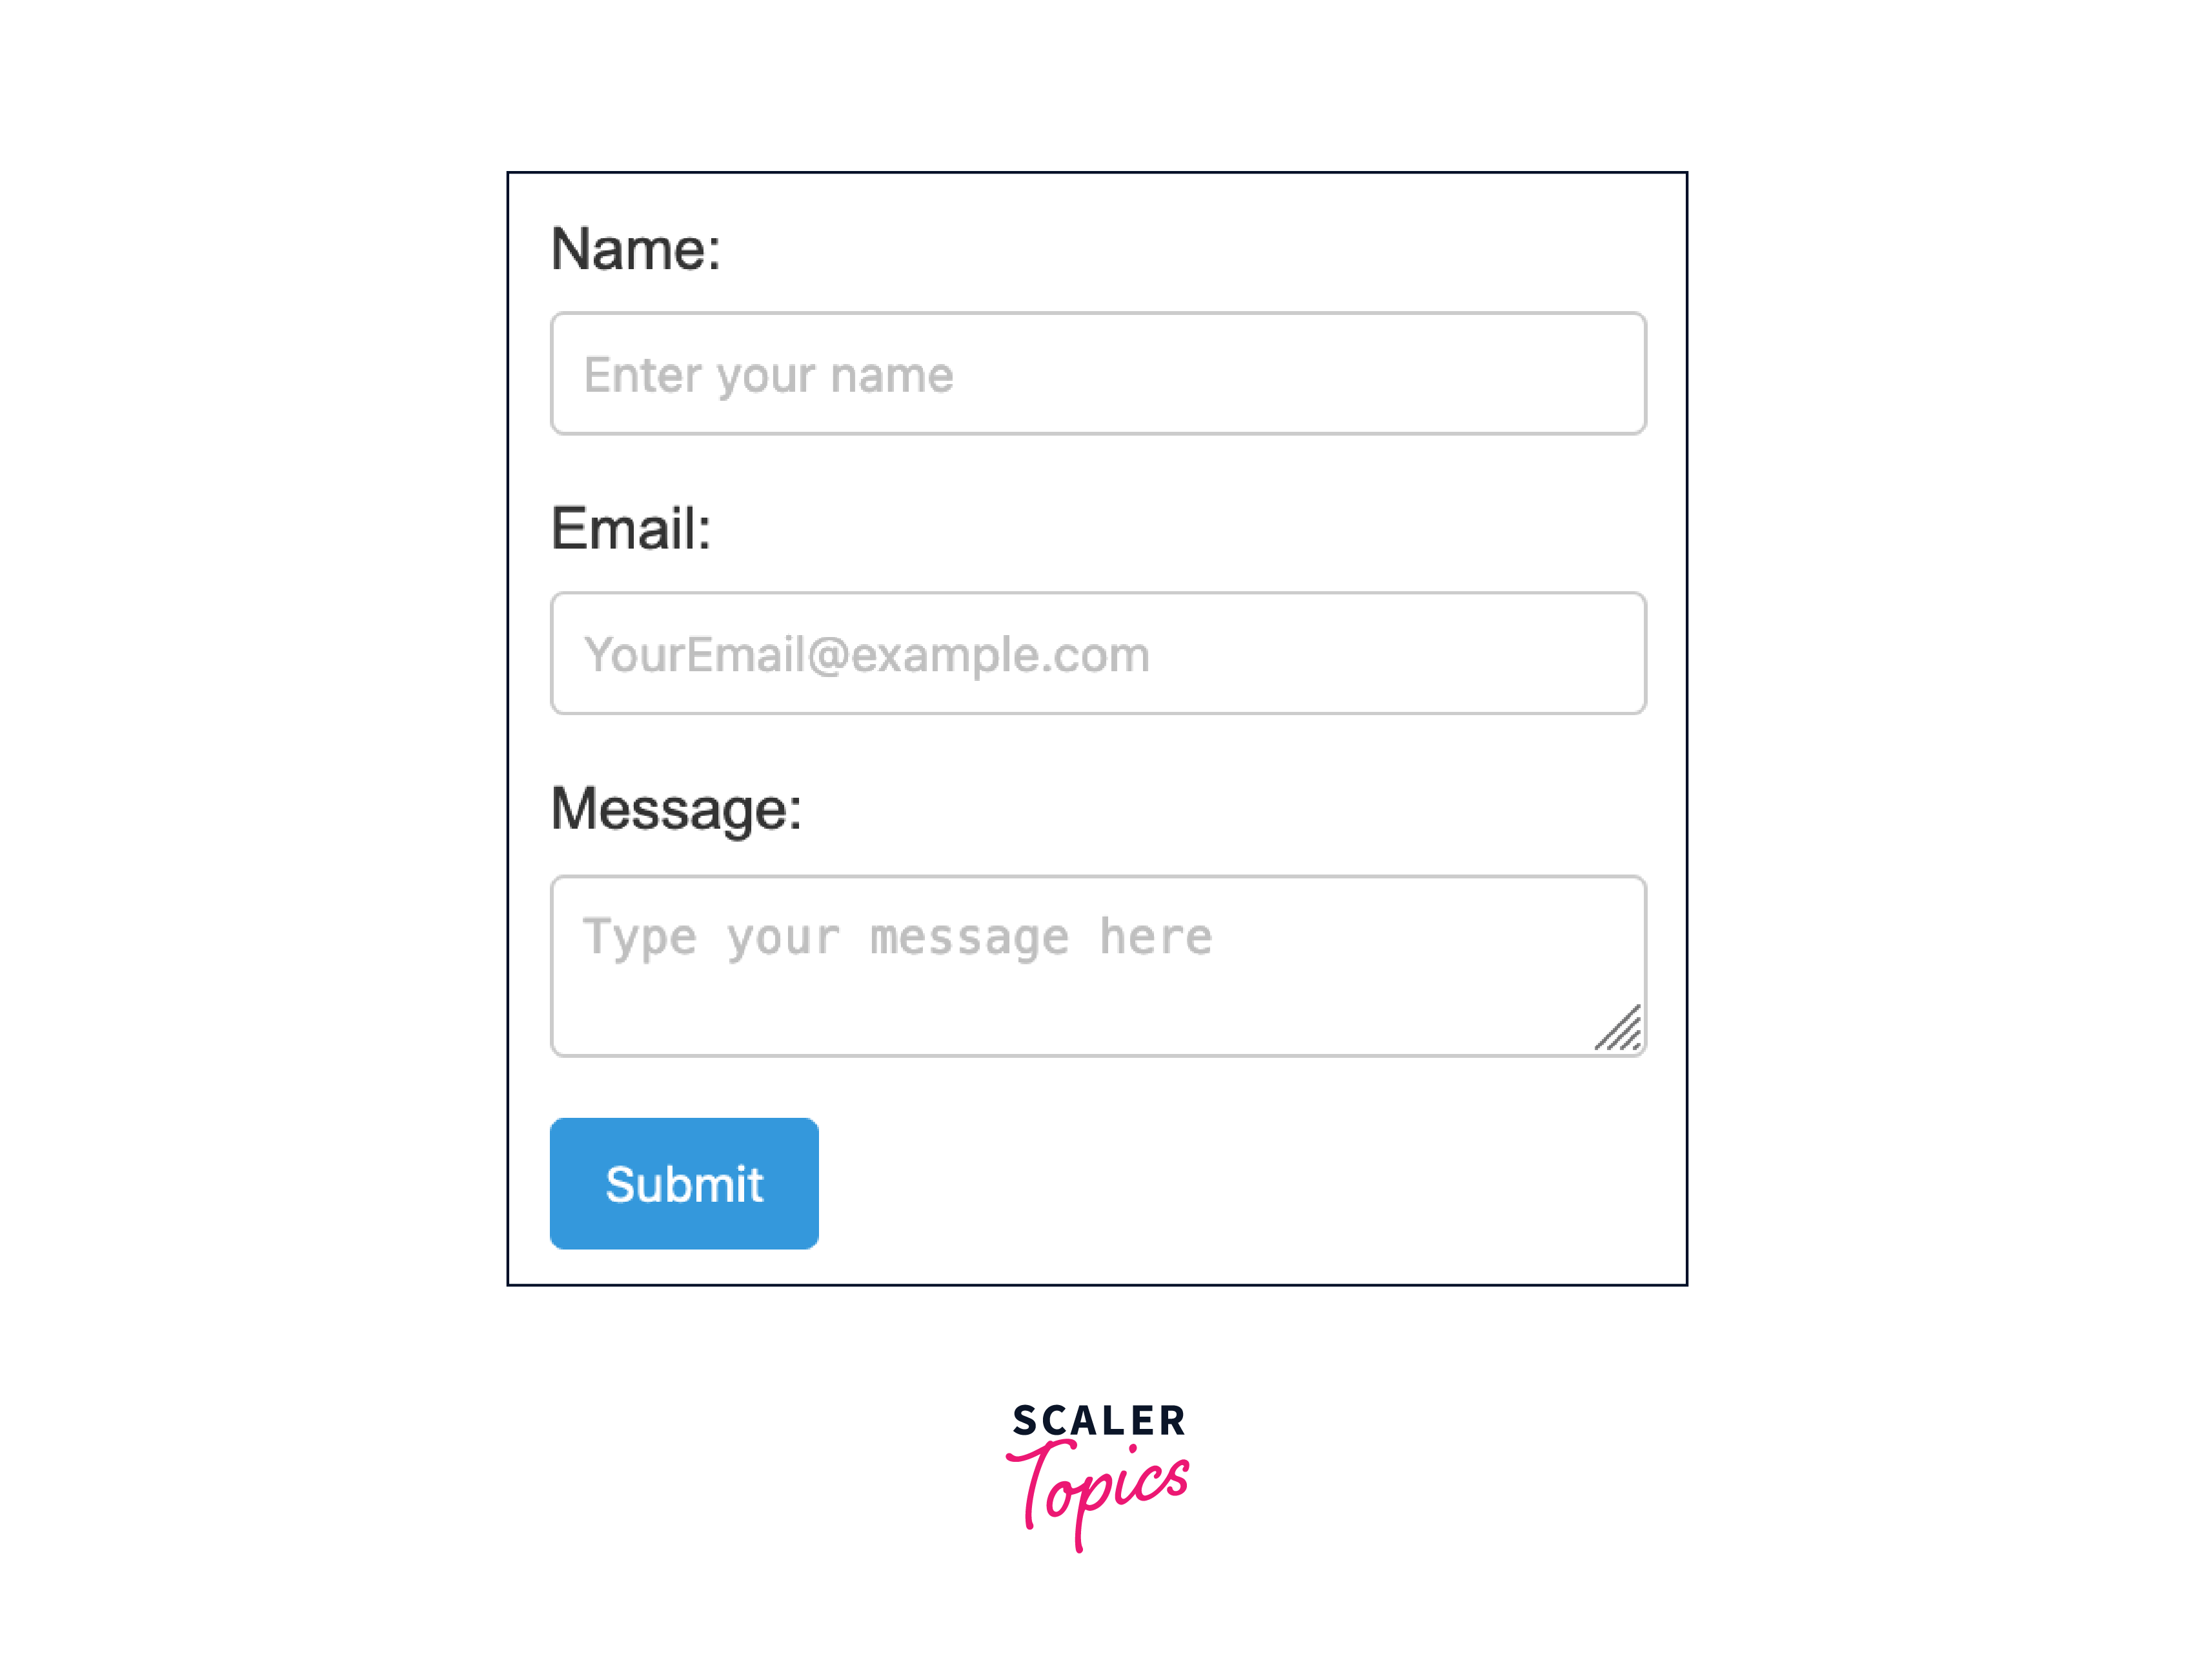
We have used text input fields to capture specific data types. We can explicitly define the expected data type for each field, such as using <input type="email"> to assist browsers in the potential auto-validation of submitted emails.
Here's the updated code:
Output:

Now, the email input field is explicitly defined as <input type="email"> for potential automatic validation as shown above in the output.
Add PHP Script
Next, let's explore the integration of a PHP script for processing a website's contact form. Furthermore, for an improved user experience, you may contemplate employing jQuery to validate fields and exhibit error messages after form submissions.
Output:
Examples of HTML Contact Form
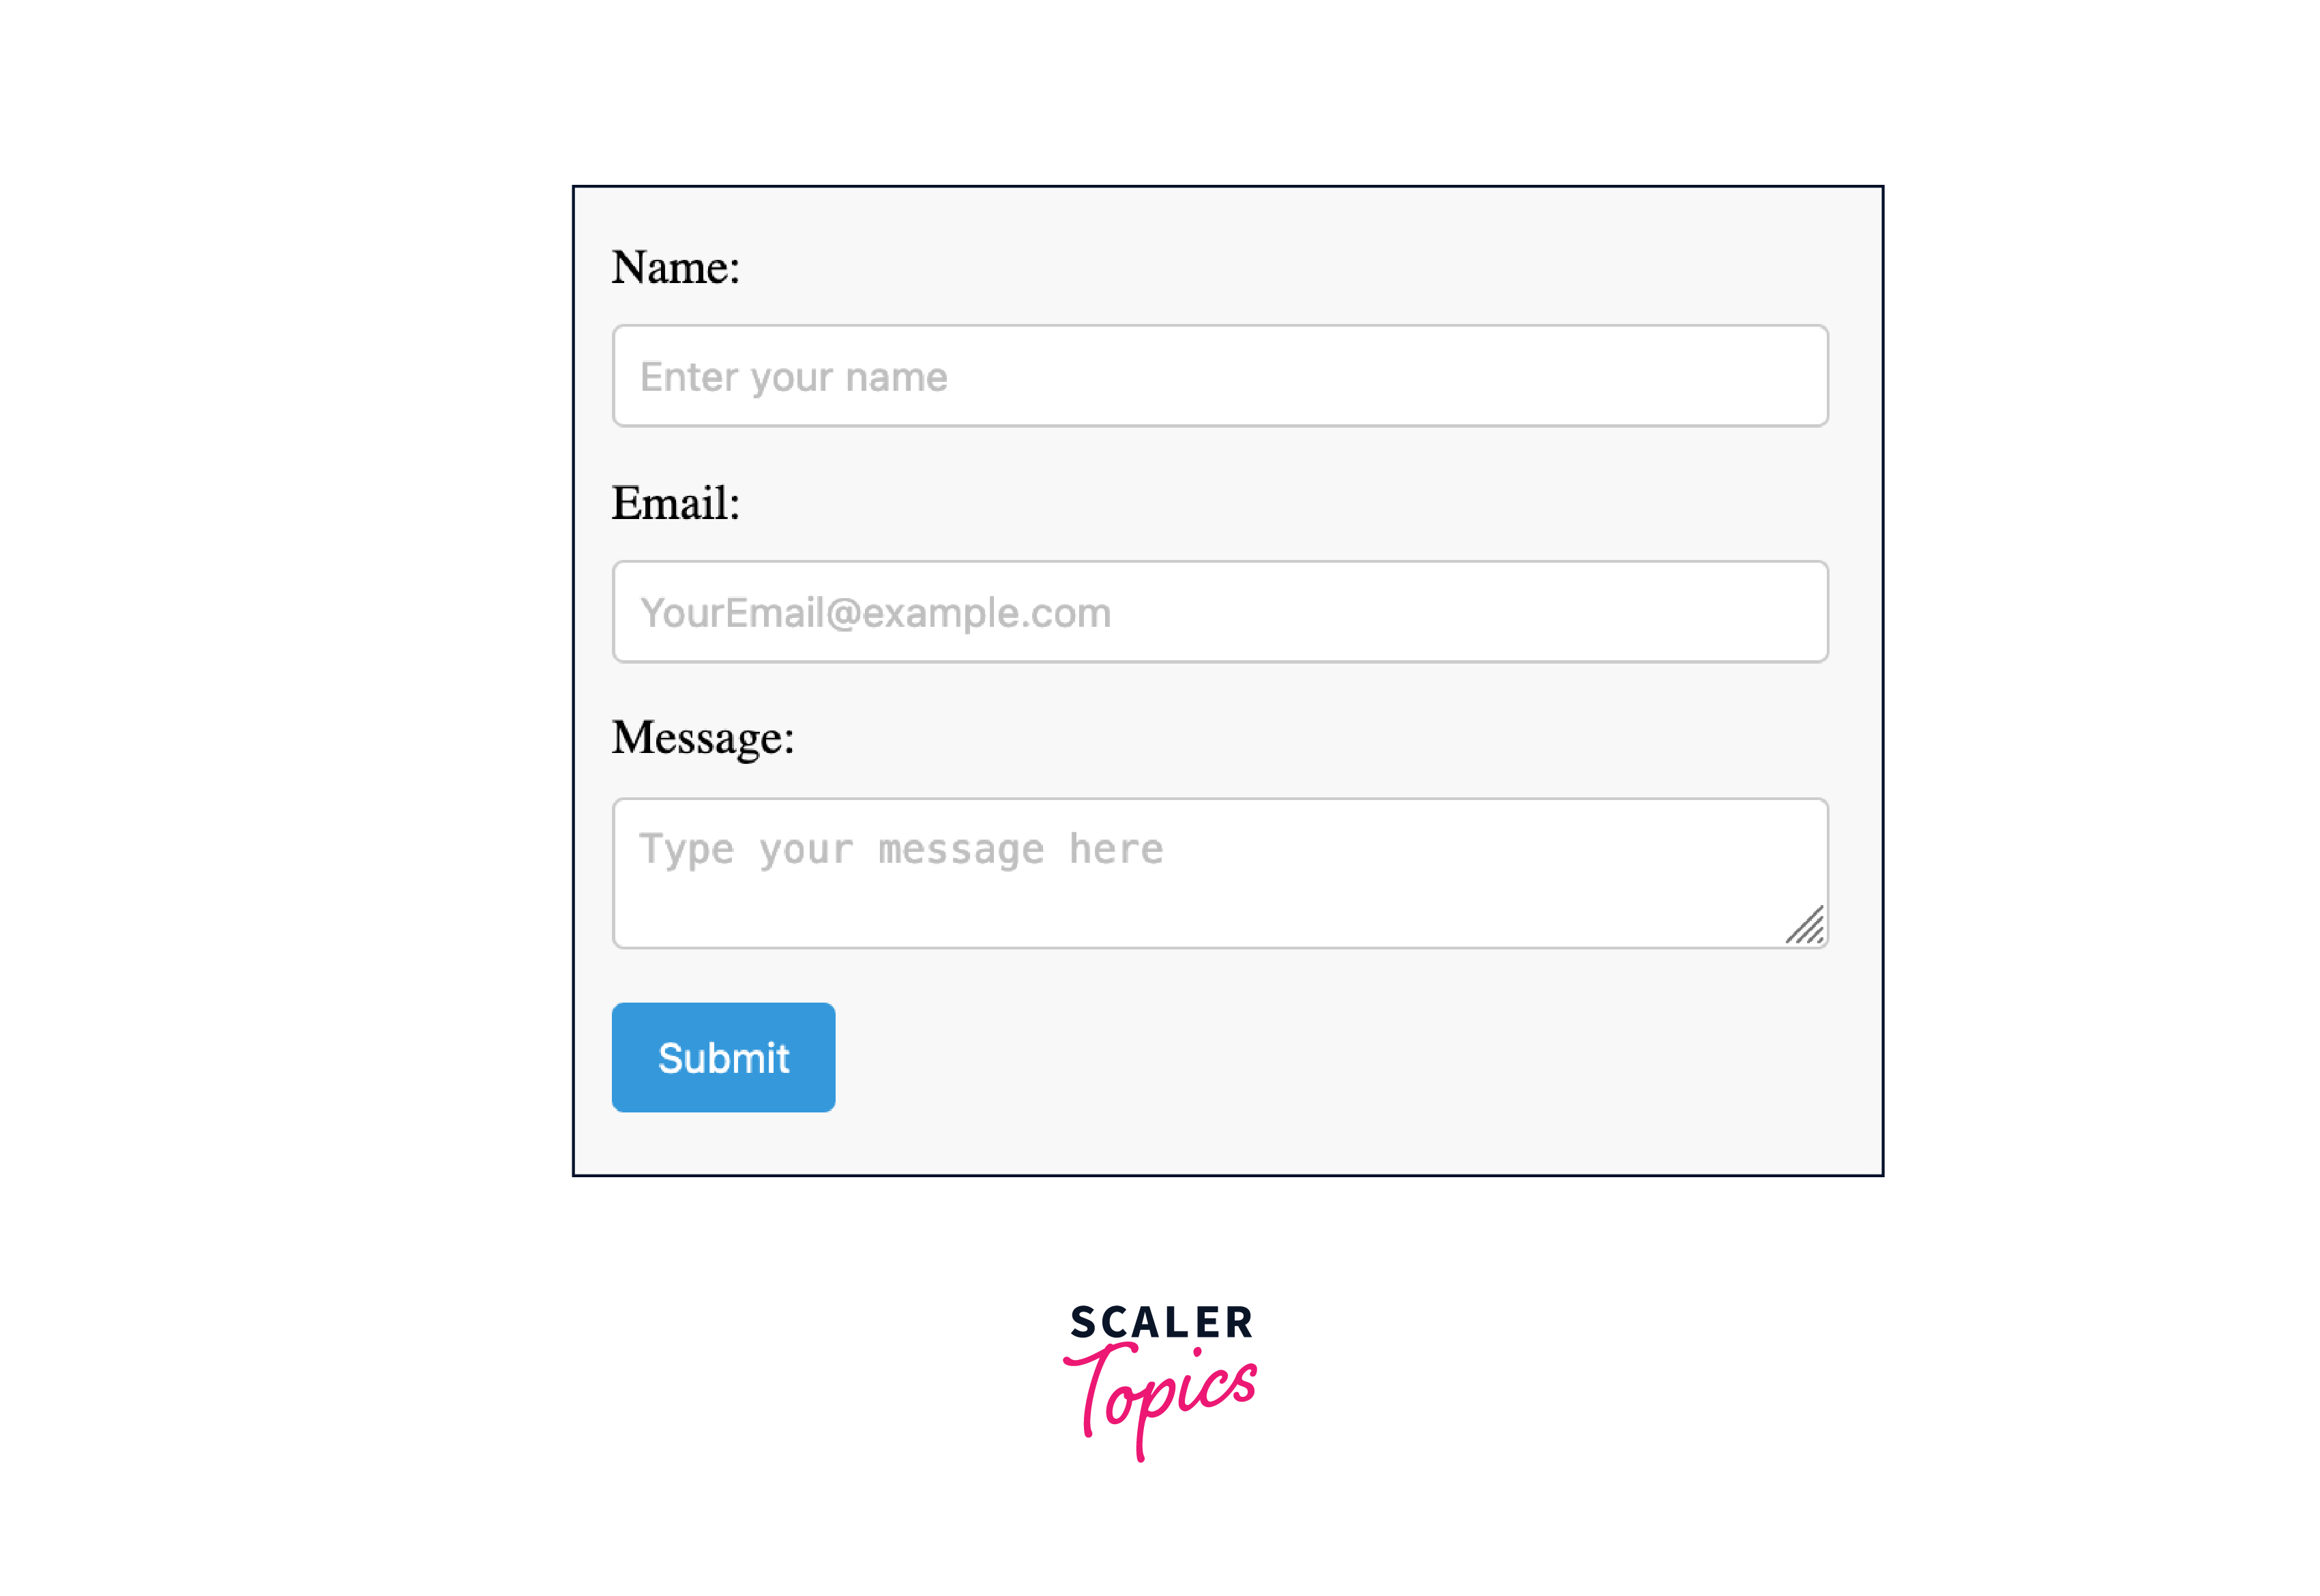
Let's see a simple example of HTML Contact Form with placeholder text:
Output:
Next, let's see an example of a transparent background contact form:
Output:

Let's now check an example of a contact form having round corners with gradient background color:
Output:
Adding form validation is an essential step to improve data accuracy and ensure that users provide the required information in the correct format.
- Client-Side Form Validation:
Client-side validation occurs in the user's browser before the form is submitted to the server. This helps provide instant feedback to users.
Output:
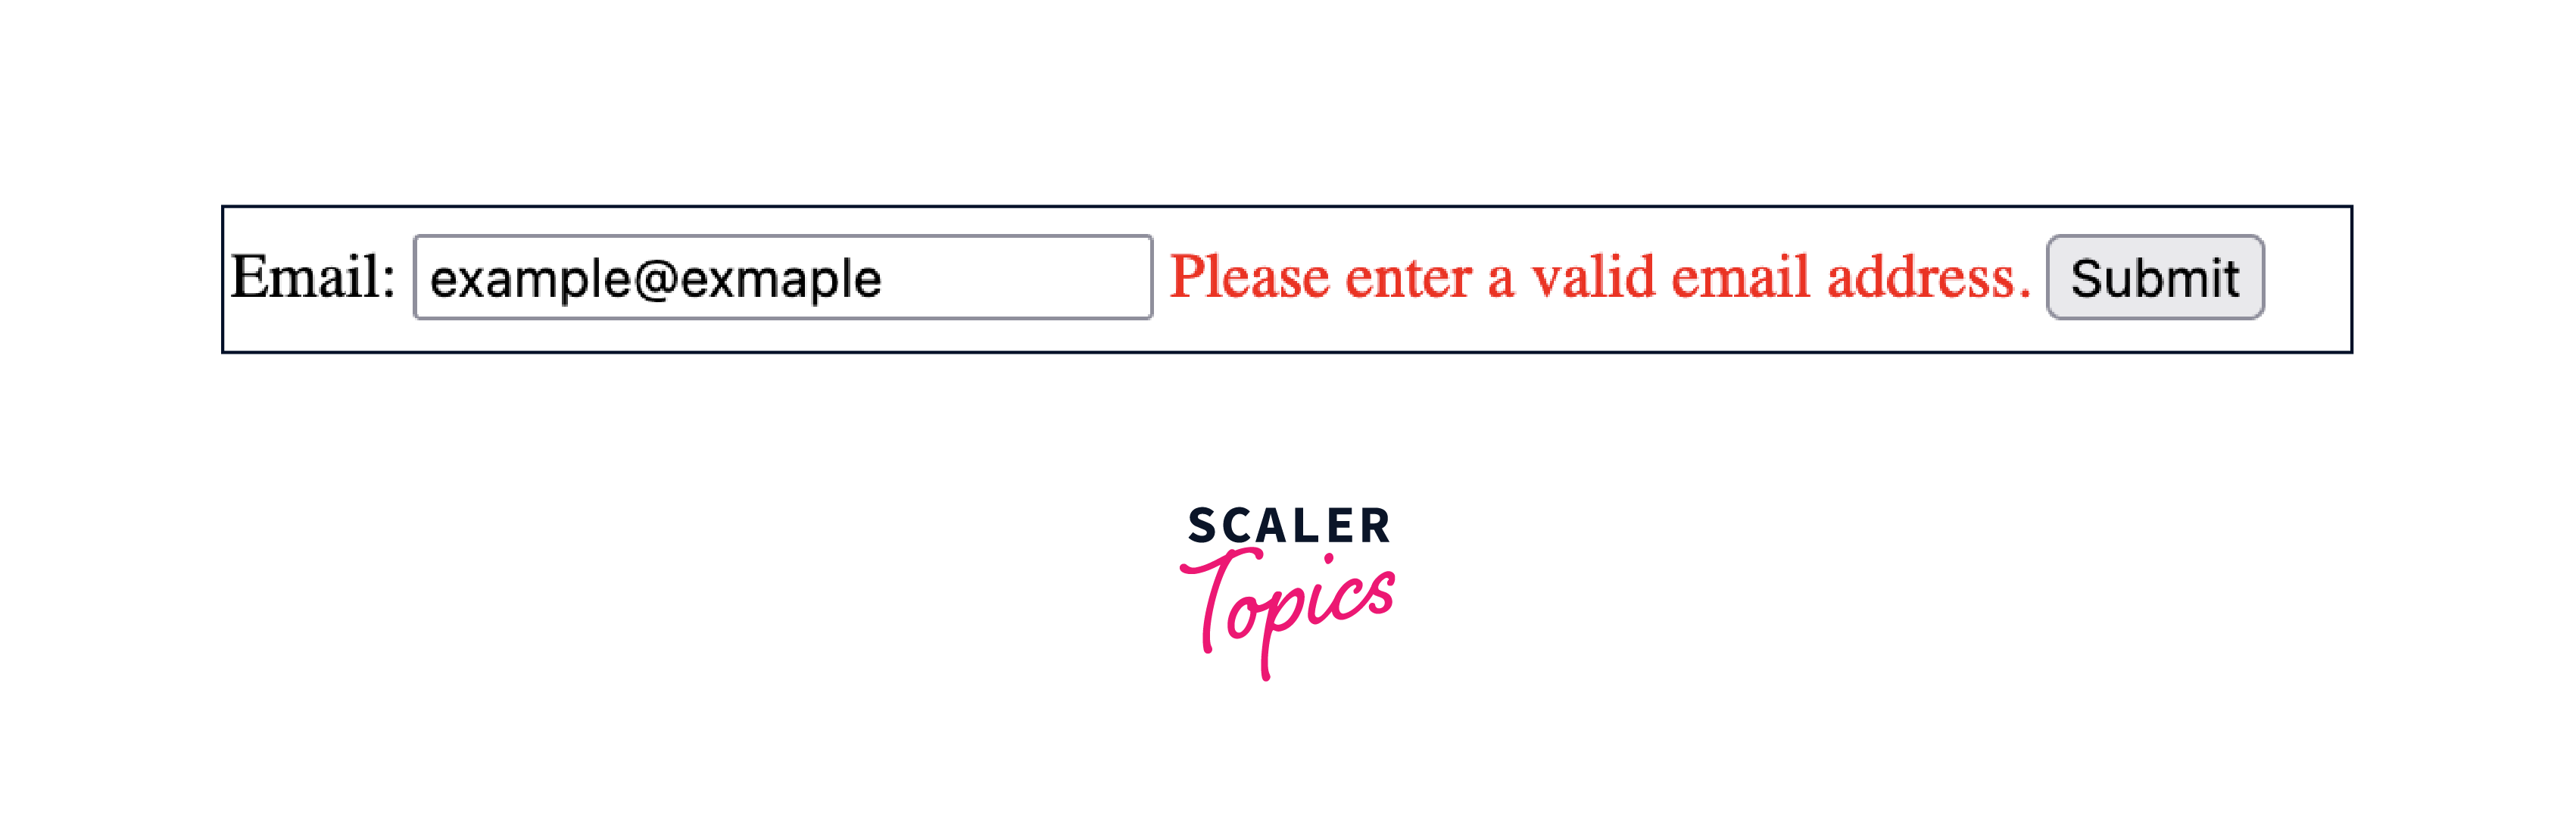
In the above example, the validateForm function is called when the submit button is clicked to check if the email entered is valid using a regular expression. If not, it displays an error message.
- Server-Side Form Validation:
Server-side validation is crucial for security and data integrity. Client-side validation can be bypassed, so server-side validation acts as a second point of defense.
It checks if the submitted email is valid using the filter_var function. If not, it echoes an error message.
HTML Form Field Examples
HTML Form Tag
When creating HTML website forms, it's essential to enclose them within the FORM tags. There are various parameter options available, with the most common ones being:
-
Action: This parameter allows you to specify where the form should go once it is submitted. Essentially, it refers to the filename of a script responsible for reading and processing the submitted form data.
-
Name: It's recommended to assign a name to your form. This name is a unique identifier for your form on a given page.
-
Method: The value of this parameter should be either POST or GET. It's generally recommended to use POST, as GET attaches the form data to the page URL, which is often considered insecure.
Here's an example of the HTML Form tag:
Output:

HTML Label Field
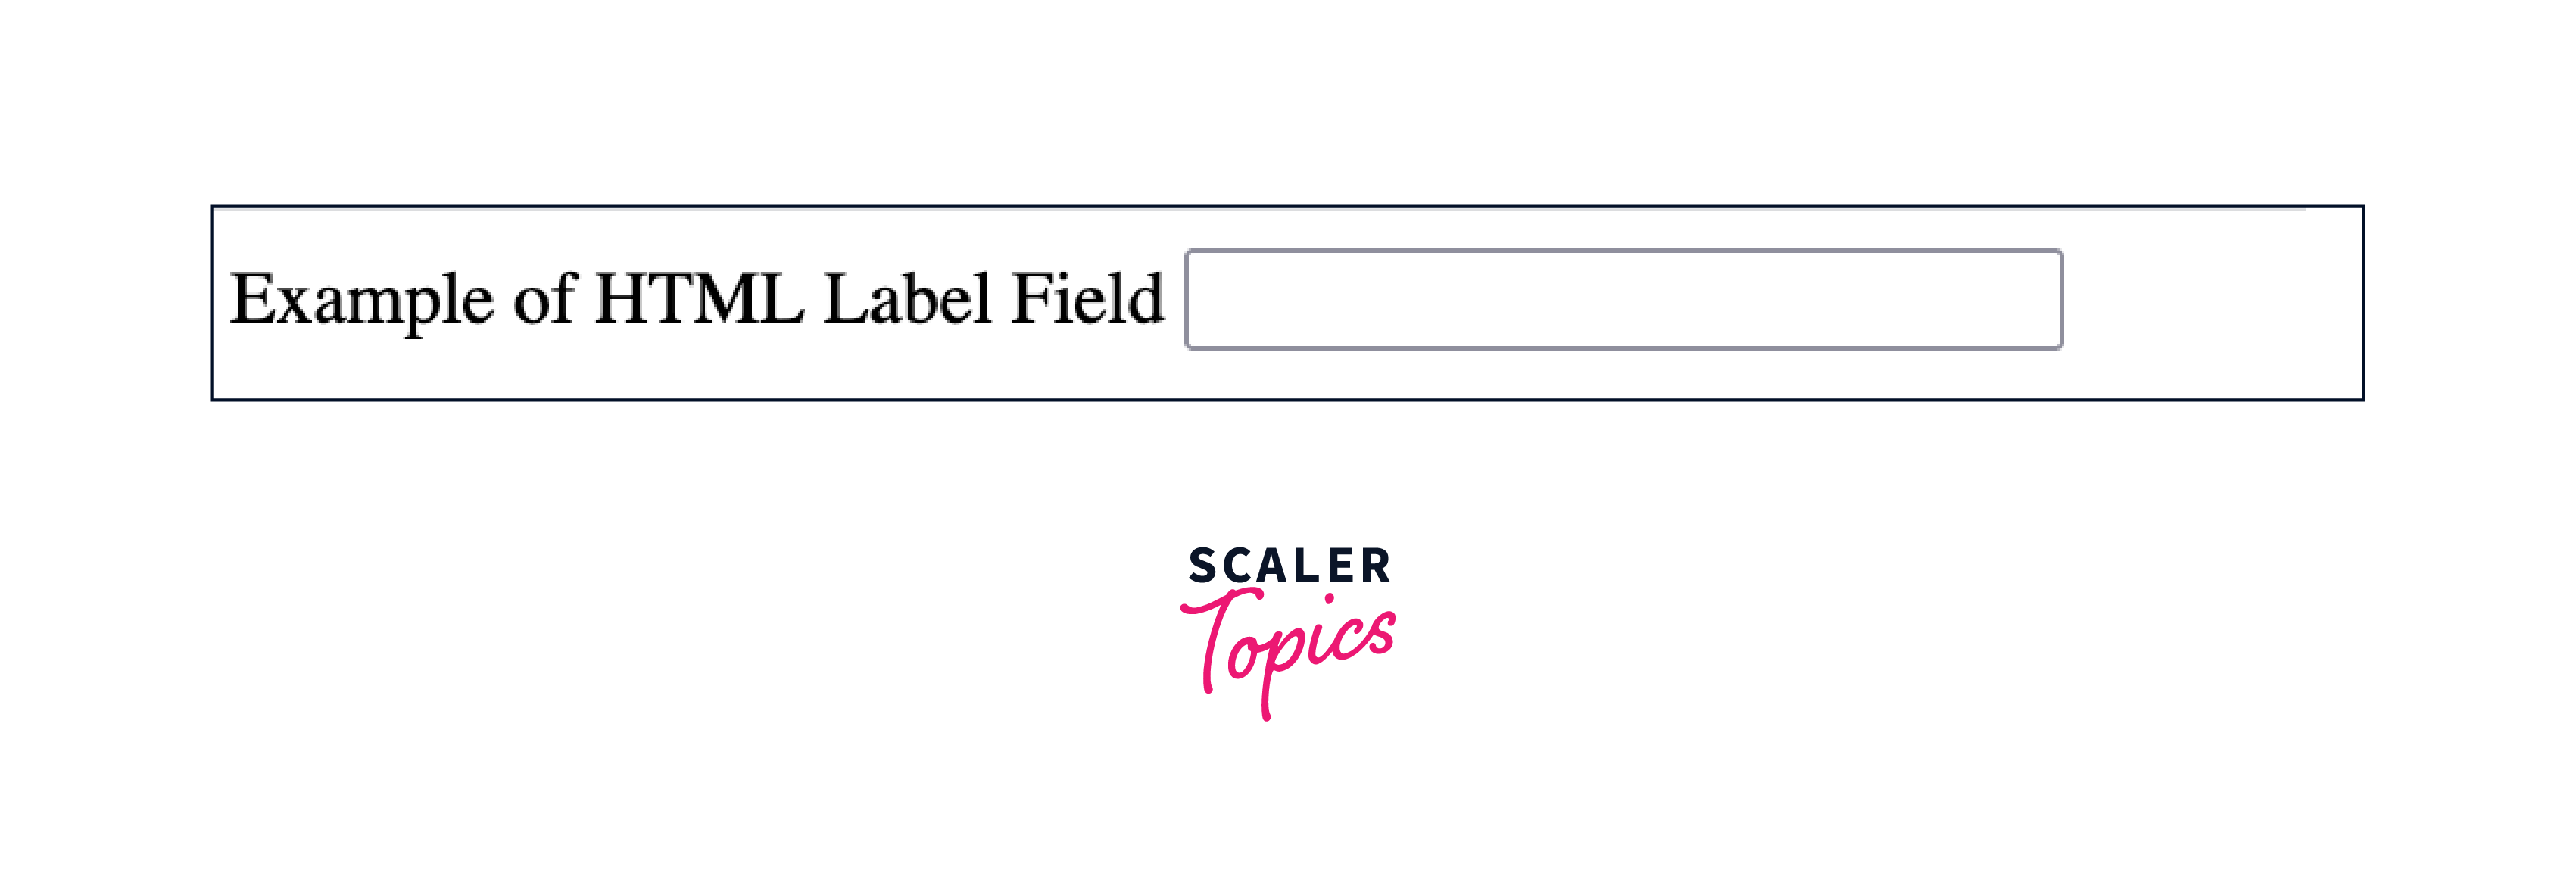
The label field in HTML is used as a text that when clicked focuses on the associated form element. To direct the label to a specific field, you should include the target element's ID within the label element's "for" attribute, as shown below:
Output:
HTML Text Field
The text field is the most commonly form element on the web. The text field is extensively used for capturing concise text inputs.
Output:

HTML Textarea Field
The multi-line text field, commonly known as a textarea, is designed to accommodate larger blocks of text, making it suitable for capturing messages for your website.
Here's an example of a basic textarea field within a form:
Output:

The rows and cols attributes allow you to specify the initial number of rows and columns for the textarea.
HTML Email Field
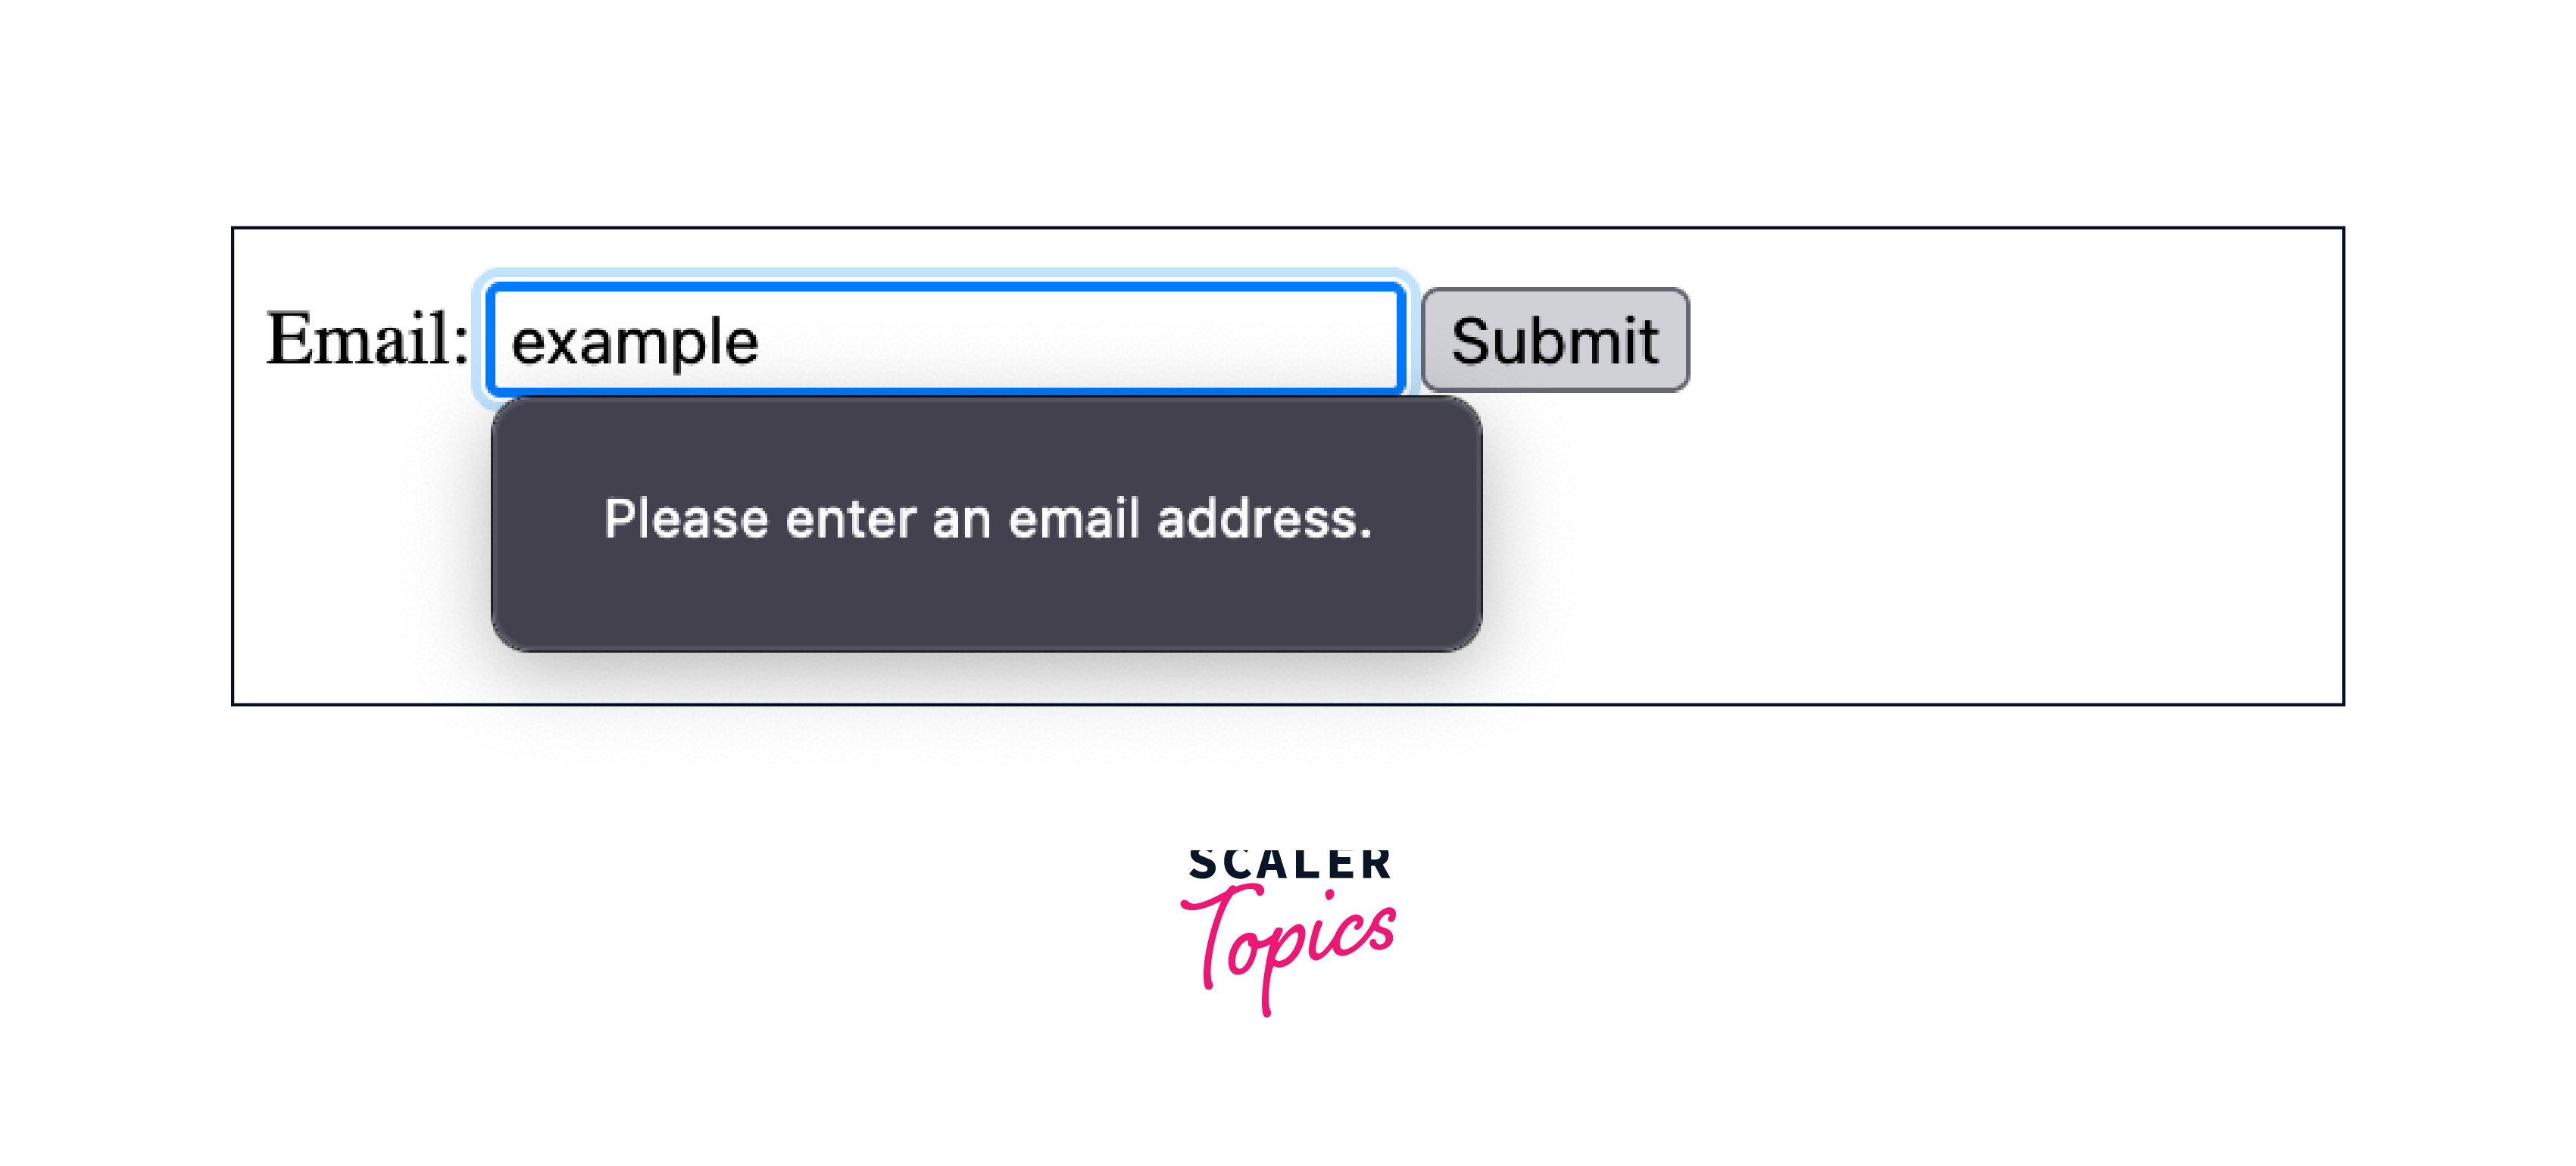
Certain HTML fields come with built-in validations, and the email input field is the most common example. It enforces the requirement of a valid email address, preventing submission until a proper email format is entered.
To experience the validation in action, you can try submitting the form by entering regular text instead of a valid email address. The field will prompt you, indicating the need for a valid email address.
Here's an example of an email input field:
Output:
HTML Checkboxes
When you want users to select one or more items from a concise list, checkboxes are the most suitable choice.
Output:

In this example, the form provides checkboxes for users to choose among different fruits. Each checkbox corresponds to a specific fruit, allowing users to make multiple selections if needed.
HTML File Upload
You can use a special type of HTML field called file to be able to send you a file through your website. For this, you need to add this tag enctype="multipart/form-data".
Output:

HTML Password Field
If you want users to input a password in a form, you can use the password field type. It works like a regular text field, but it hides the characters you type with asterisks, keeping the information secure.
Output:

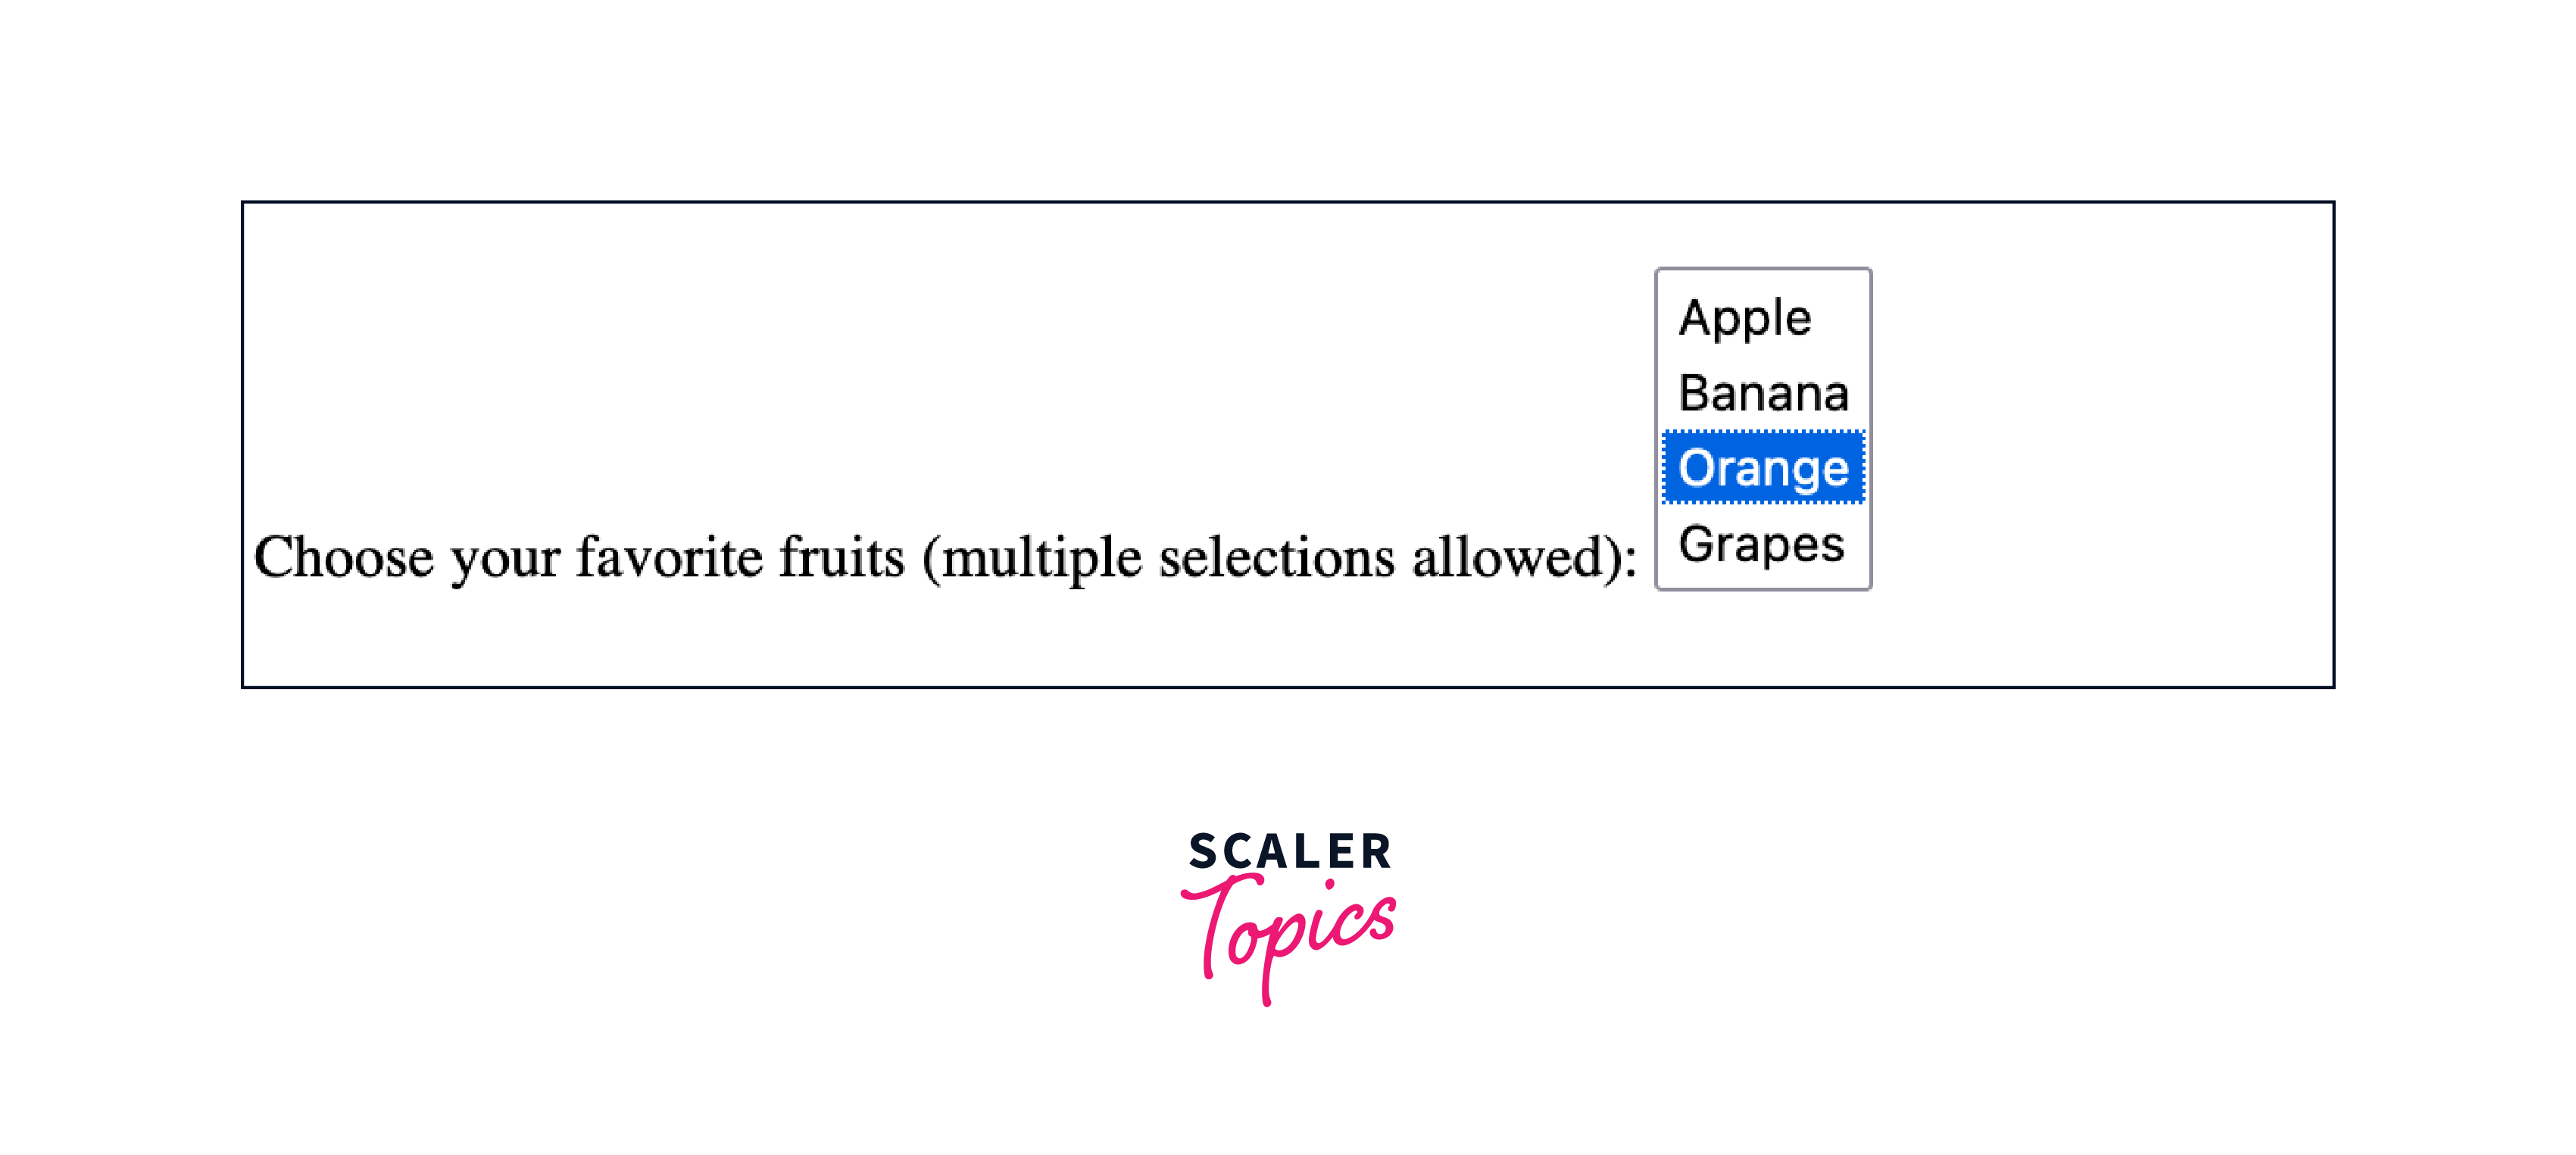
HTML Drop Down Menus
If you want users to choose something from a list, you can use a drop-down list, also called an option select, or a select field. Usually, only one option can be chosen, but you can change this to allow multiple selections by adding the word "multiple" to your select tag.
Output:
HTML Submit Buttons
Every form should have a way for users to send the information they entered. This is typically done using an HTML button. The button is a special type of input field, specifically of type submit. To decide what the button says, you can use the value parameter.
Output:

HTML Reset Buttons
If you want users to reset a form to its original state, you can use the input type called reset. Similar to the Submit button, you use the value parameter to set the button text. Reset buttons aren't used very often, but they can still be helpful in certain situations.
Output:

A Few Tips Before Creating a Contact Form
- Clarify the Purpose: You should determine the specific information you need from users.
- Keep it Concise: You should avoid unnecessary fields that may overwhelm users. To ensure a seamless experience, you can just include essential information such as name, email, subject, and message to encourage quick submissions.
- Have User-Friendly Design: You should ensure that your form is easy to navigate, with clear labels for each field.
- Include Validation: You can prevent submission errors and incomplete entries by incorporating validation checks like verifying email formats to enhance data accuracy.
- Include a Captcha: You can also integrate a captcha or anti-spam feature to protect your form from automated submissions.
- Confirmation Message: You can also provide users with a confirmation message upon successful form submission in sort of some message display or mail confirmation.
When developing forms, it is crucial to prioritize accessibility. Utilize semantic elements such as <label> to establish proper associations. Enhance compatibility with assistive technologies by incorporating ARIA attributes like aria-required and aria-describedby. Ensure there is sufficient color contrast and design visible focus styles to facilitate keyboard navigation. As a best practice, regularly test forms with screen readers to identify and address potential accessibility issues. Adhering to these practices contributes to creating a more inclusive web experience for all users, including those with diverse abilities.
Conclusion
- In this article, we saw how to use HTML tags such as <form>, <input>, and <button> to create dynamic and interactive web forms.
- We saw that we can use input types like <input type="email"> for enhancing user experience along with placeholder attributes.
- We saw how we can input fields such as checkboxes, file uploads (<input type="file">), passwords, and drop-down menus (<select>) for diverse data capture.
- We can use <label> tags for clarity, and maintain a logical layout to streamline user interaction.