How to Create a Slider using HTML and CSS?

Overview
Sliders are a set of frames, wherein each frame can be traversed respectively. Frames in Sliders can be images, videos, or even HTML elements (as in the case of testimonials or reviews). Sliders are present on several modern-day websites. Sliders are used by a developer when they have to convey information related to the website but do not want it to take much space.
For example, let's say a developer is developing a product website, then they might want to showcase their testimonials or reviews to the user so that they can trust them and buy their product. The developer can create a slider where users can navigate and read each review easily. The same can be done with product images as well, where a developer can create a slider of product images so that the user can have a 360-degree view of the product.
Pre-requisites
We will learn how to create a basic CSS image slider using HTML, CSS, and Javascript. To fully grasp what is going on and what we are doing, there are certain concepts, that you should know beforehand. Let's have a look at them.
- HTML: You should have a basic knowledge of HTML, such as elements and tags. We would be using a variety of tags and elements for creating a slider, so you should know what is the role of each tag or element in our slider.
- CSS: We will use CSS extensively for creating the slider. You should be aware of several intermediate concepts of CSS such as stacking, z-index, position, and animations. These all will be required when creating the slider.
- Javascript: You should be aware of basic javascript such as the variable declaration, for-loop usage, and DOM manipulation. These would be used for manipulating the slider and creating the effect.
Once, you are familiar with all these concepts, let's create a slider. We will be going step-by-step exploring each concept and why are we doing what we are doing.
Step 1: Create the Basic Layout of the Image Slider using HTML Code
Let's create the basic skeleton of our slider. Sliders are a set of frames as we told you above. We will be creating a CSS image slider.
First, we will create the parent div that will contain slider images and functionality. We will also add certain styling such as background changing color and adjusting the height and width of the parent div.
Code
Once, this has been done, let's move on to the next part.
Step 2: Add Prev and Next Buttons
Sliders have two buttons previous and next. These are used to traverse through frames of sliders. We will add basic buttons to our parent div. These buttons will help the user navigate through the images of the carousel. For simplicity, we will be using < and > as button text which will depict the previous and next respectively.
In addition to adding basic HTML buttons, we would also be styling them a bit so that they are vertically center aligned w.r.t center div. This is done so that scrolling through the slider becomes easier. We will use relative positioning to vertically align the buttons.
Code
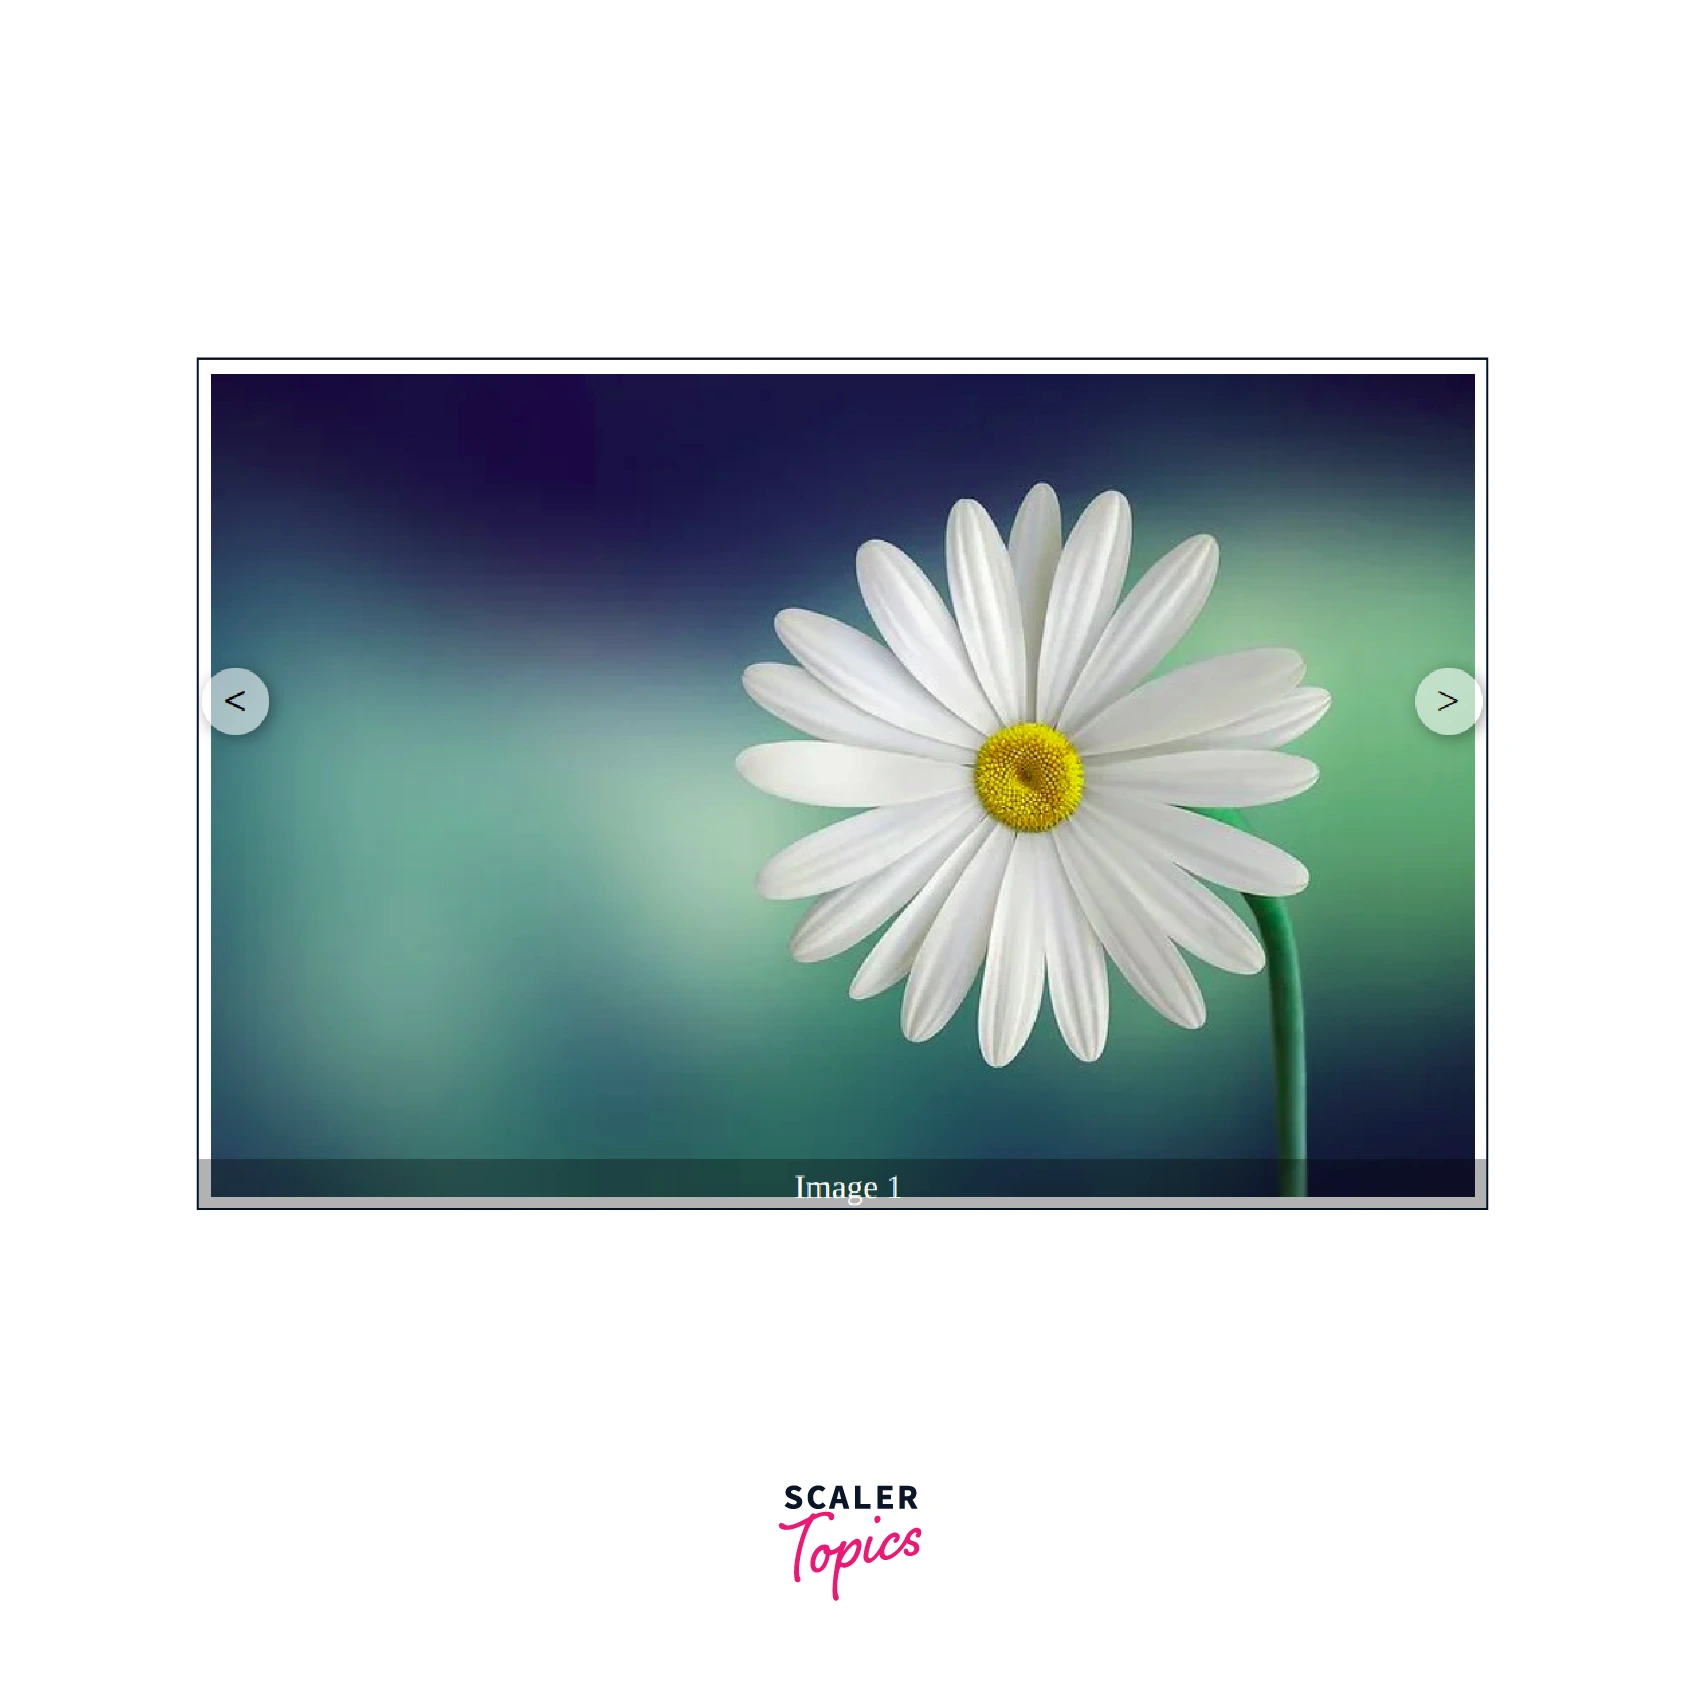
Output

Step 3: Add the Required Images and Text to the Slider
Once we have added buttons, now it's time to add images. We will be using flower images to create a CSS image slider. The images will be stacked onto each other with the help of position and z-index. Since we need only one image to be visible, we will use a main class and set its display to visible. The rest images will have their display hidden to prevent them from appearing to the user.
The Slider will also have text which will display which image the user is currently accessing. It will help the user to get an idea of how many images are present in the carousel and their order.
Code
Output
Step 4: Activate the Two Buttons using JavaScript Code
We have created our slider class and added all images to it. Now we need to activate the previous and next buttons. We will be using javascript.
First, we need to add an event listener to these buttons. Every time, a user clicks on to previous or next button, an action should be taken corresponding to that button. So how are we going to do it?
We have used the main class to depict which image should be visible to the user. We need to control which image will have this class. Every other image will be hidden and only the image with the main class will be visible to the user. We will use DOM Manipulation to achieve this. DOM Manipulation will help us to remove the main class from an existing image and add it to a new image.
Now to determine which image should have the main class we will use the event listeners of the previous and next buttons. First, we need to get all the images present in the slider. We can see that the parent slider-carousel has images div. We can get this by using query Selector in DOM. Now once we have all image div we need to select the right one and add the main class to it. The rest will have no main class and hence will be invisible to the user. We can initialize a variable that will point to 0 initially. This variable will tell us which image is currently visible to the user. Every time the user clicks next or previous we will increase or decrease the value of the variable accordingly. If the value is 0 and the user clicks on the previous we will change the value to (number of images div- 1). Similarly, if the variable is at the last image and the user clicks next, we will change the value to 0.
Code
Output

Congratulations, you have created CSS Slider using HTML, CSS, and Javascript.
Slide Show Functionality
Our Slider is currently using manual control to work. This means, that until the user clicks on the previous or next button, the image won't change. However, most of the sliders present online do not work like this. They have a slide show effect which allows them to change frames automatically after a set time has passed.
We can do that too in our slider. Using javascript, we can use the setInterval function that will automatically call the next function after a set time. This will help the slider to work automatically and change the slider after a set time has passed.
Code
Output
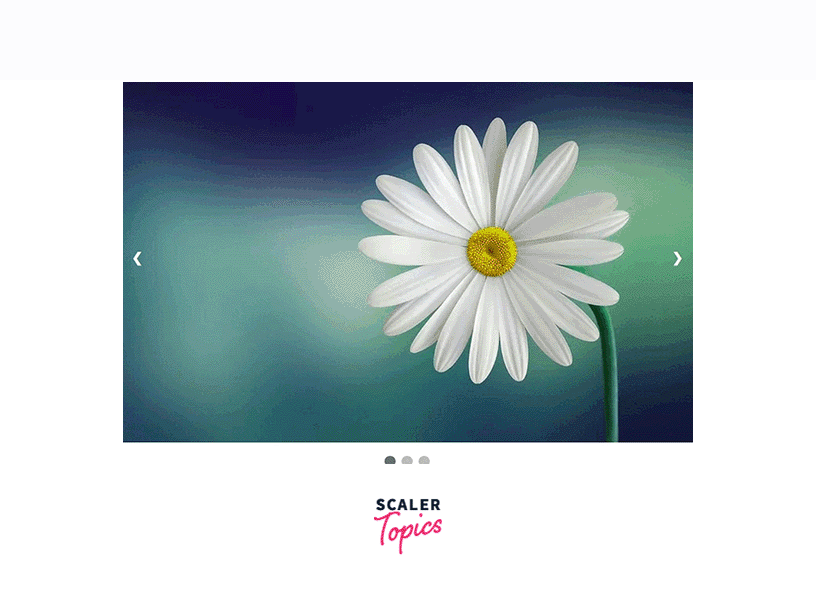
The Navigation Dots
Apart from using caption or Image text in your slider, you can also use navigation dots. Navigation dots works similarly to text or caption. They tell the user which frame they are currently accessing. Navigation dots are used in many modern sliders as they are convenient and easy to build. Navigation dots are mostly radio buttons.
A benefit of using navigation dots is that it allows the user to access any frame of the slider without any issue. Unlike the common slider where the user has to access each image one by one, navigation dots allows the user to visit any frame or image by clicking on the navigation dot corresponding to that image.
The basic principle behind the navigation dots is similar to that of slider images. The current image will have a corresponding navigation button that will have an active class. Once the image changes, the active class will be transferred or added to the current image and current navigation dot.
Code
Output

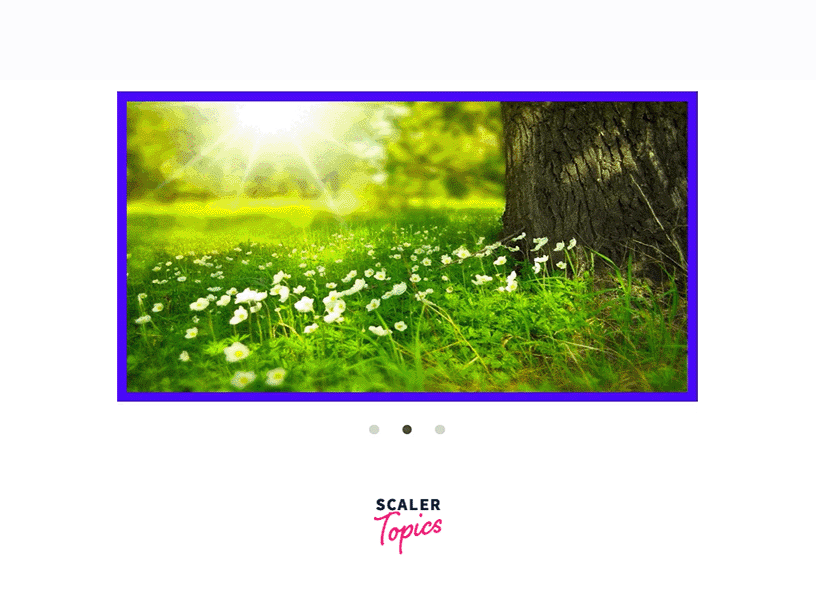
Alternate Example
Sliders created using Javascript are good as long as javascript is enabled in the browser. As soon as the user turns the javascript off, the slider will no longer work since it uses javascript to achieve slider functionality.
It is not necessary to use javascript for making sliders. You can even make a slider using HTML and CSS only. All you have to figure out is how you will work when the user will click on the previous or next button. A slider created using HTML and CSS will use less browser memory and will work even if javascript is disabled in the browser.
You can use attributes and their properties to make an active class. For the navigation button, you can create an active class that works when the button or dot is clicked. This works similarly to that in Javascript, however, instead of using DOM manipulation, we will be using CSS functionality such as target, etc to achieve this.
We have created a sample slider for you using HTML and CSS. We have used pseudo-active classes such as check to determine which navigation dot the user has clicked most recently. Then corresponding to that we show the image to the user. For every image, we have set margin and padding, since we are not hiding the images.
Code
Output
Conclusion
- Sliders are a set of frames, wherein each frame can be traversed respectively.
- They are used in many modern-day websites to show reviews or testimonials.
- To make a slider the user should be aware of concepts such as HTML tags, CSS concepts such as stacking, positioning, etc, and basic javascript such as variables and DOM manipulation.
- Sliders work by having an active class that has its display on. The rest of the frames have their display turned off. When a user navigates via a button or dots, we change the element that will have the active class using DOM manipulation.
- If the user does not have javascript enabled in the browser, then the slider will not work.
- You can use just HTML and CSS to create Slider. This will save browser memory and computational time. It will also work in every browser that supports HTML and CSS.