OpenCV cv2.imshow() Method
Overview
A function that is used for displaying a picture in a window is the cv2.imshow() method. In this blog, we will learn about the cv2.imshow() function in OpenCV that displays an image in a new window. It takes two parameters: the name of the window and the image to be displayed.
Syntax of cv2.imshow() Method
Here is the syntax of the cv2.imshow() method is
Parameters of cv2.imshow() Method
Let's see the detailed explanation of the parameters available in the imshow() method in OpenCV.
The Parameters in the imshow() functions are the window name and the image name.
-
window_name: It is the user-defined name of the window for which the image is going to be displayed. It's just a prompt to the image-displaying window.
-
image: The image is a NumPy array that contains the pixel values of the image. This image is going to be displayed in the generated window.
Return Value of cv2.imshow() Method
Now we will see the return value of the cv2.imshow() method.
The cv2.imshow() in the OpenCV module doesn’t return anything. It is capable of displaying the image only and it doesn’t do any other actions. It just displays the image only.
Exceptions in cv2.imshow() method:
The cv2.imshow() method is a commonly used function in OpenCV for displaying images on the screen. However, there are some situations where this method may not work as expected. Here are some common exceptions that you may encounter while using the cv2.imshow() method:
-
cv2.error: OpenCV(4.5.3) error: (-215
failed) size.width>0 && size.height>0 in function 'cv::imshow' This error occurs when the size of the image that you are trying to display is invalid or zero. To resolve this issue, check the size of your image and make sure it is greater than zero.
-
cv2.error: OpenCV(4.5.3) error: (-215
failed) src.dims <= 2 in function 'cv::imshow' This error occurs when you try to display an image with more than two dimensions. To resolve this issue, you can either reshape your image to have only two dimensions or use a different method to display the image.
-
cv2.error: OpenCV(4.5.3) error: (-215
failed) !ssize.empty() in function 'cv::imwrite' This error occurs when you try to save an image using the cv2.imshow() method instead of the cv2.imwrite() method. To resolve this issue, use the cv2.imwrite() method instead to save your image.
-
cv2.error: OpenCV(4.5.3) error: (-215
failed) channel == CV_MAT_CN(dtype) in function 'cv::cvtColor' This error occurs when you try to display an image with an invalid color space or format. To resolve this issue, make sure that the color space and format of your image are valid and supported by OpenCV.
-
cv2.error: OpenCV(4.5.3) error: (-215
failed) depth == CV_8U | | depth == CV_16U || depth == CV_32F in function 'cv::imshow' This error occurs when you try to display an image with an unsupported data type. To resolve this issue, make sure that the data type of your image is either CV_8U, CV_16U, or CV_32F.
-
DisabledFunctionError : cv2.imshow() is disabled in colab, because it causes Jupyter sessions to crash. see https://github.com/jupyter/notebook/issues/3935
As a substitution, we may use
By using this command in the google colab, you can access the imshow() method.
By understanding these common exceptions, you can debug issues that may arise when using the cv2.imshow() method in OpenCV.
How does the OpenCV cv2.imshow() Method Work?
Now we are going to see the exact working of the cv2.imshow() function in OpenCV.
- When we are trying to work with computer vision related, most of the time it becomes necessary to display the resulting image in a window.
- To display an image by initializing a window, we can use the function called the imshow() method in the OpenCV module.
- The imshow() method mainly takes two parameters, one is "window_name" and another is "image".
- The "window_name" parameter is the name of the window within which the image is going to display.
- The parameter "image" is the path of the image to be displayed in the window.
- The window initialized using the imshow() to display the image is displayed until any key is pressed on the keyboard using the cv2.waitkey() method.
- The output window is created using the imshow() method in the OpenCV module to display the image that can be simply destroyed using the destroyAllWindows() method in the OpenCV module.
- The imshow() method in the OpenCV module displays the given image in a window as an output but it doesn’t return anything to the console.
Displaying an Image Using cv2.imshow()
Now we are going to see how the cv2.imshow() function is implemented in Python.
To display an image using cv2.imshow(), we first need to read the image using the cv2.imread() function. This function reads an image from a file and returns a NumPy array of the pixel values.
- In this example, we are going to load the image using cv2.imread().
- Then display the image using cv2.imshow().
- The first parameter to cv2.imshow() is the name of the window, which we have set to 'Image'.
- The second parameter is the NumPy array containing the image.
- After displaying the image, we use cv2.waitKey(0) to wait for a key press. This function waits indefinitely for a key press. Once a key is pressed, we use cv2.destroyAllWindows() to close all open windows.
Image used:
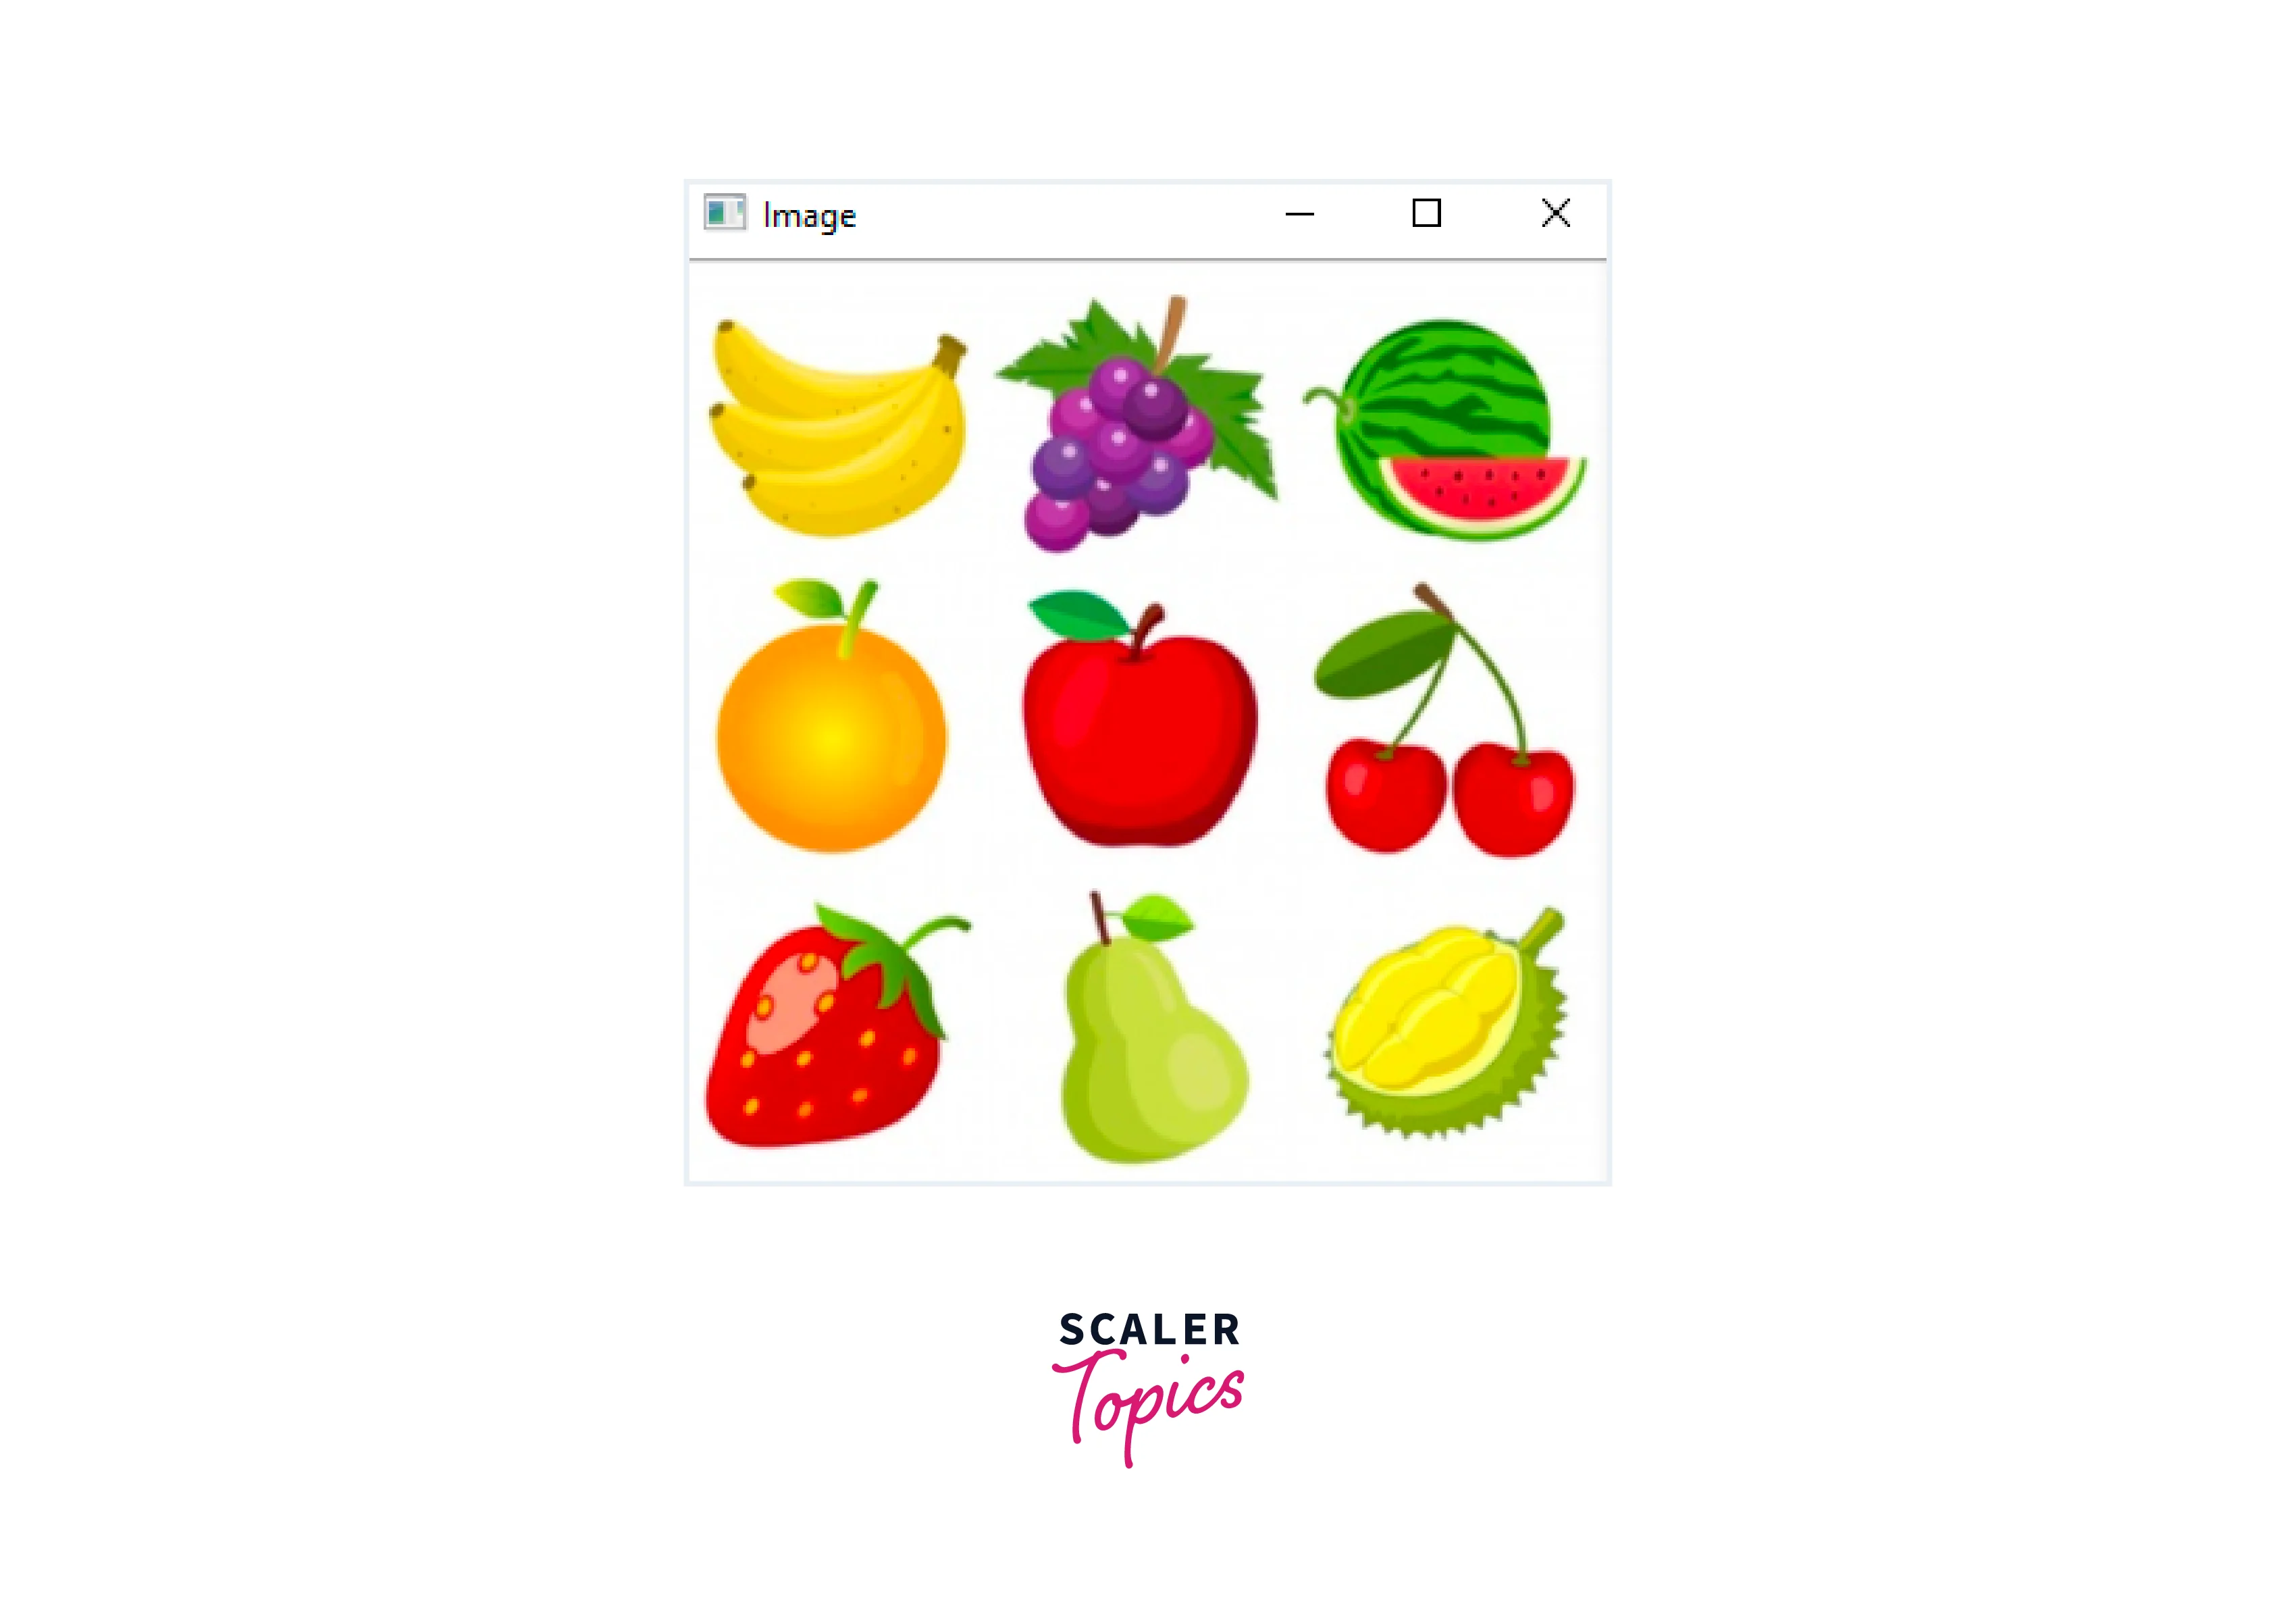
Output:
Examples
Example 1: Display Image Using cv2.imshow()
In this example, we read an image from the system and display that image in the defined window.
cv2.waitKey(0) is required to keep the Python program running at this statement so that the image window remains visible. If the cv2.imshow() statement is not provided, then it executes in a fraction of a second and the program closes all of the windows it initialized, making it nearly impossible to view the picture on the window.

Example 2: Show Image Using numpy.ndarray with OpenCV
In this example, we use cv2.imshow() to display an ndarray as an image. We create a numpy array with the shape (300, 300, 3) to represent a 300x300 picture with three color channels. The starting value is 125, resulting in a mid-grey color.
Output:

- The imshow() function is developed to be used with the waitKey() function and destroyAllWindows() functions.
The waitKey() Method in OpenCV is a Keyboard-Binding function.
- It only accepts one argument, which is the time (in milliseconds) for which the window should be shown.
- The program continues if the user pushes any key inside this period.
- If the value 0 is used, the program will wait endlessly for a keystroke.
- You may also configure the feature to recognize certain keystrokes on the keyboard, such as the Q or ESC keys.
- The destroyAllWindows() will destroy all of the windows that we initialized.
Conclusion
- In this blog, we have discussed how to use cv2.imshow() to display images in a window. We have seen how to read an image using cv2.imread(), display it using cv2.imshow()
- Adjust the window size using cv2.namedWindow(). With these techniques, you can display the image using Python in computer vision projects.