How to Add A Navigation Drawer in Flutter?
Overview
In Flutter, a Navigation Drawer is a UI element intended to offer simple access to app navigation and other tasks. Typically, when a user touches on a hamburger icon in the app bar, it appears as a panel that slides in from any of the edge of the screen. A set of menu items, icons, or any other widgets that offer quick access to various areas of the app or carry out particular functions can be found in the Navigation Drawer.
When to Use a Navigation Drawer?
-
Large app with many features:
A Navigation Drawer can make it simpler for users to find and access the screens and features they need in your app if it has many of them.
-
Multi-level navigation:
A Navigation Drawer can improve user experience by offering a simple and organised way to access all the various levels of navigation if your app has several levels of it, such as nested menus or submenus.
-
Consistent app navigation:
A Navigation Drawer can be a wonderful approach to guarantee that all screens have the same navigation options and are simple to use if you want to provide consistent navigation throughout your app.
-
Mobile app design:
Apps for Android and iOS frequently employ the UI design pattern of Navigator Drawers for mobile apps. A Navigation Drawer can be a smart option if you want to stick to known design patterns and provide a recognisable user experience.
How to Add a Basic Navigation Drawer in Flutter?
- Create a new Flutter project or open an existing one.
- Open the lib/main.dart file and import the necessary packages:
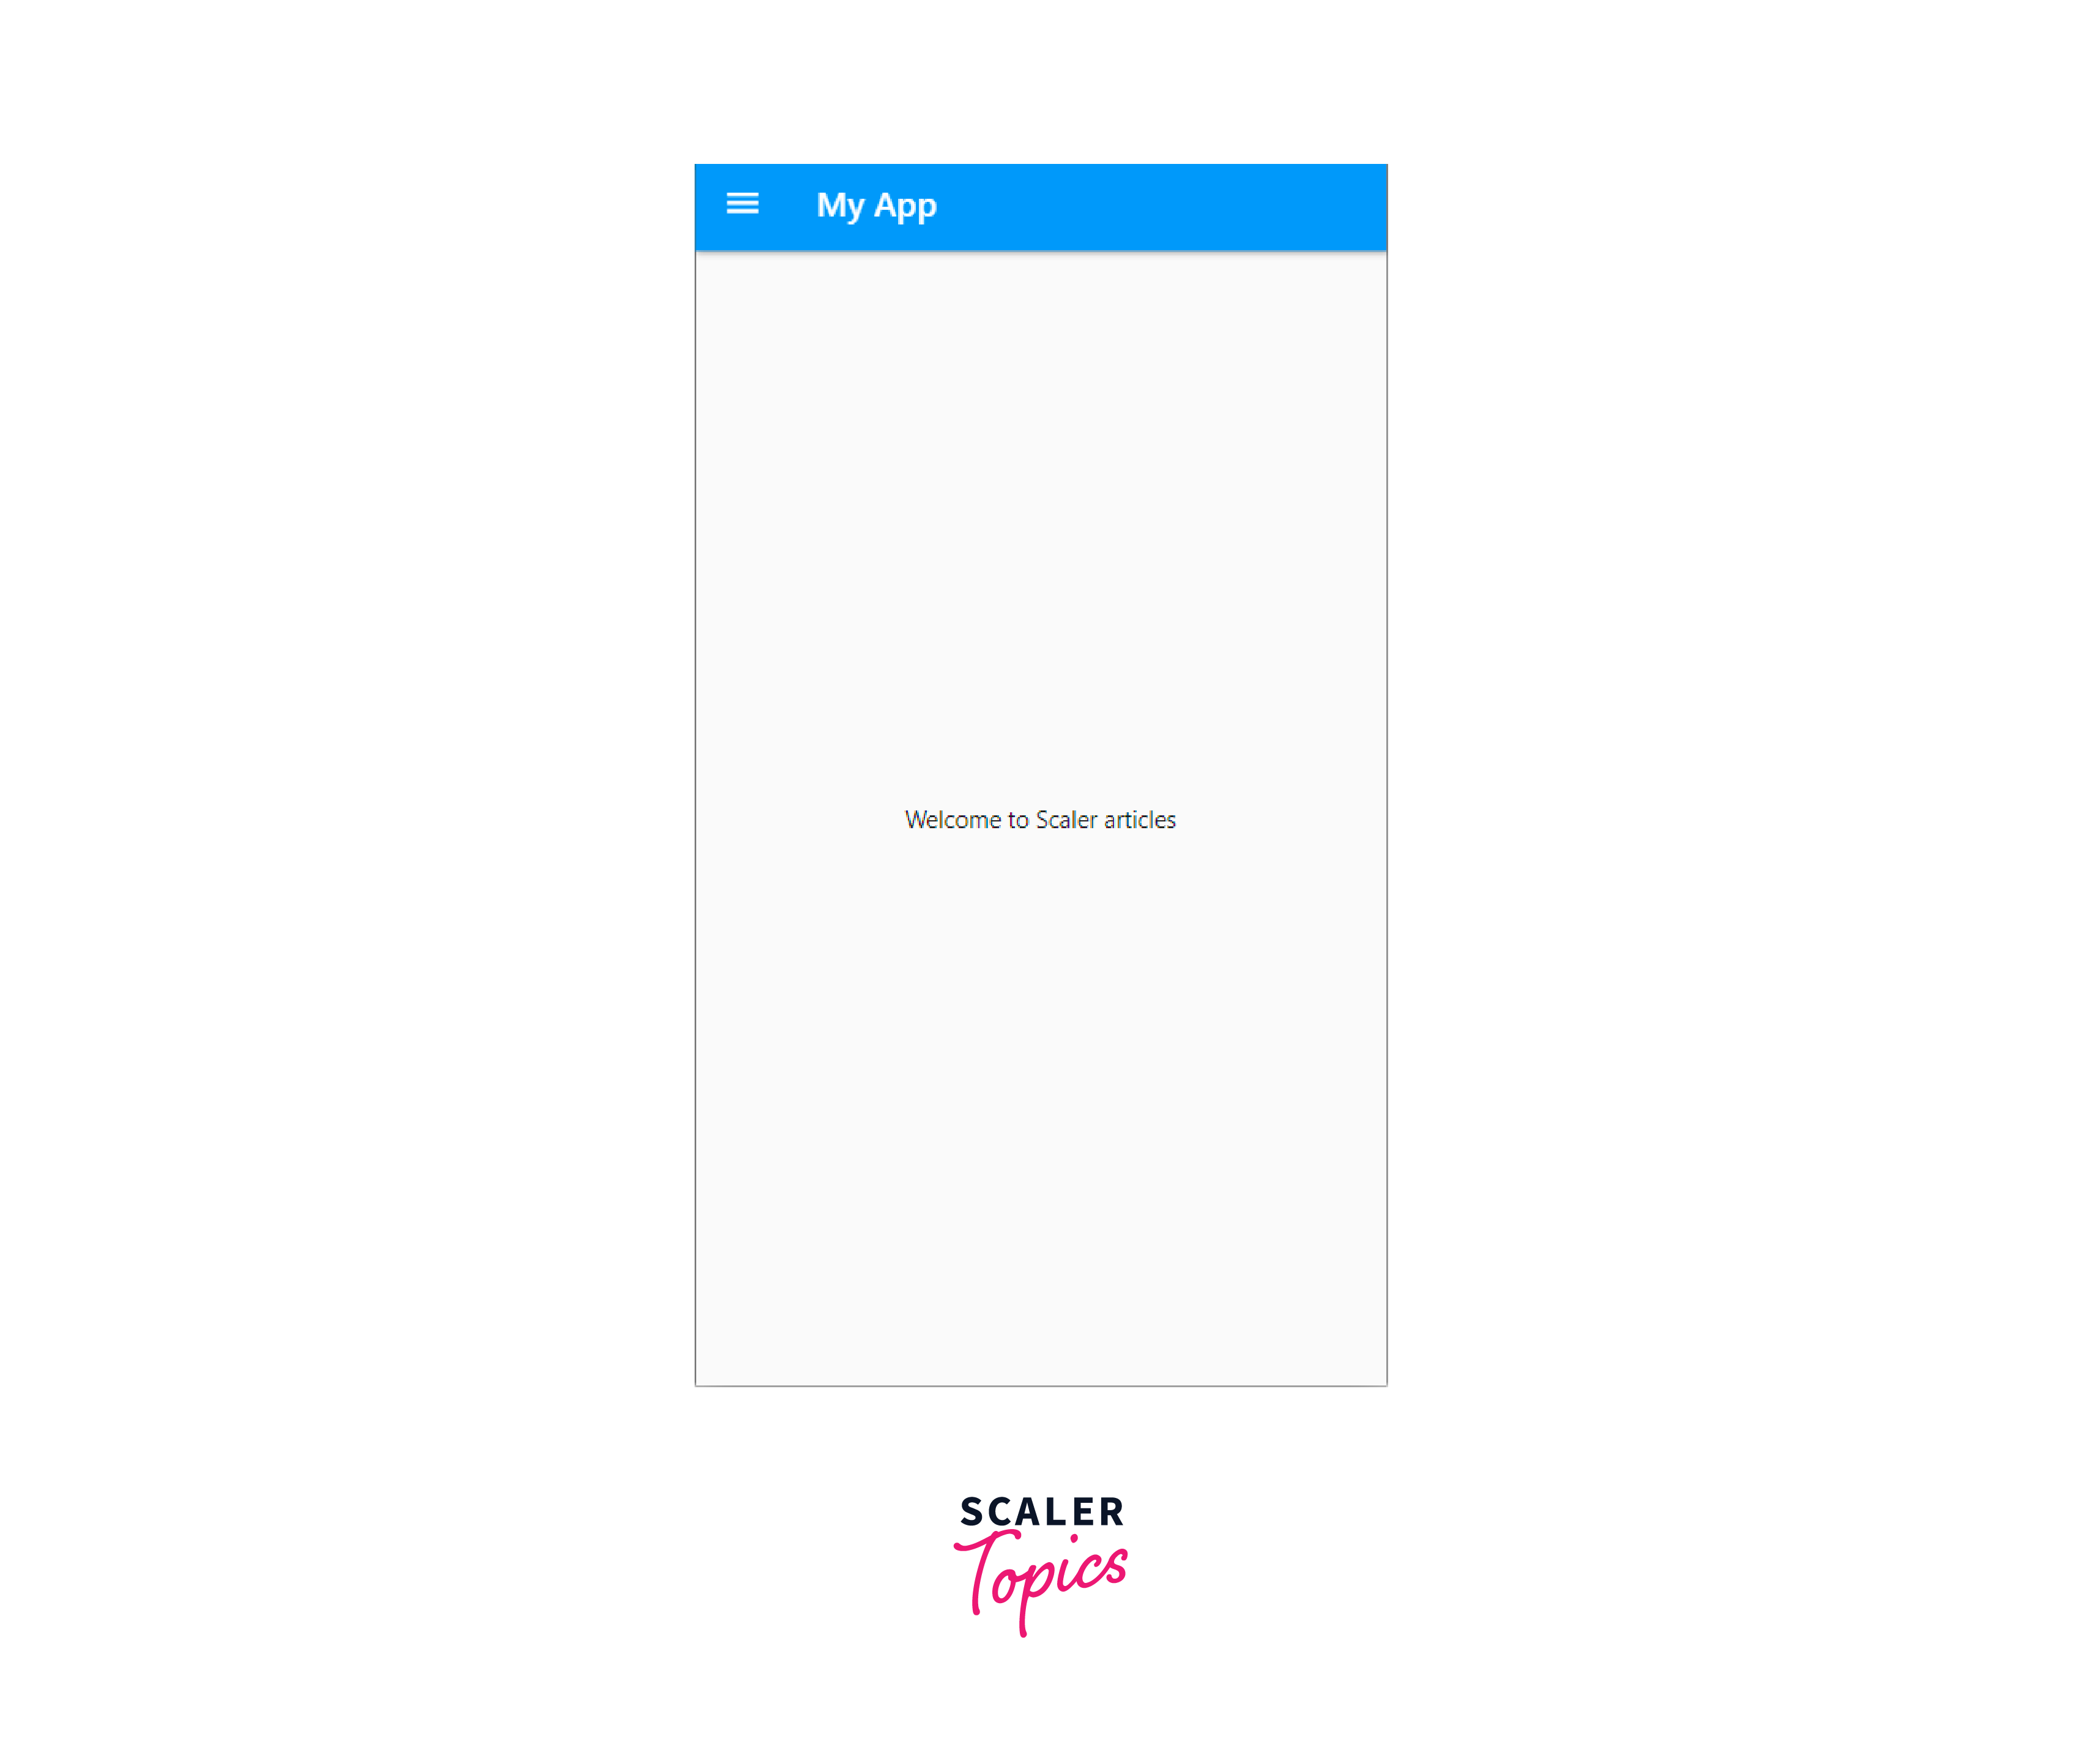
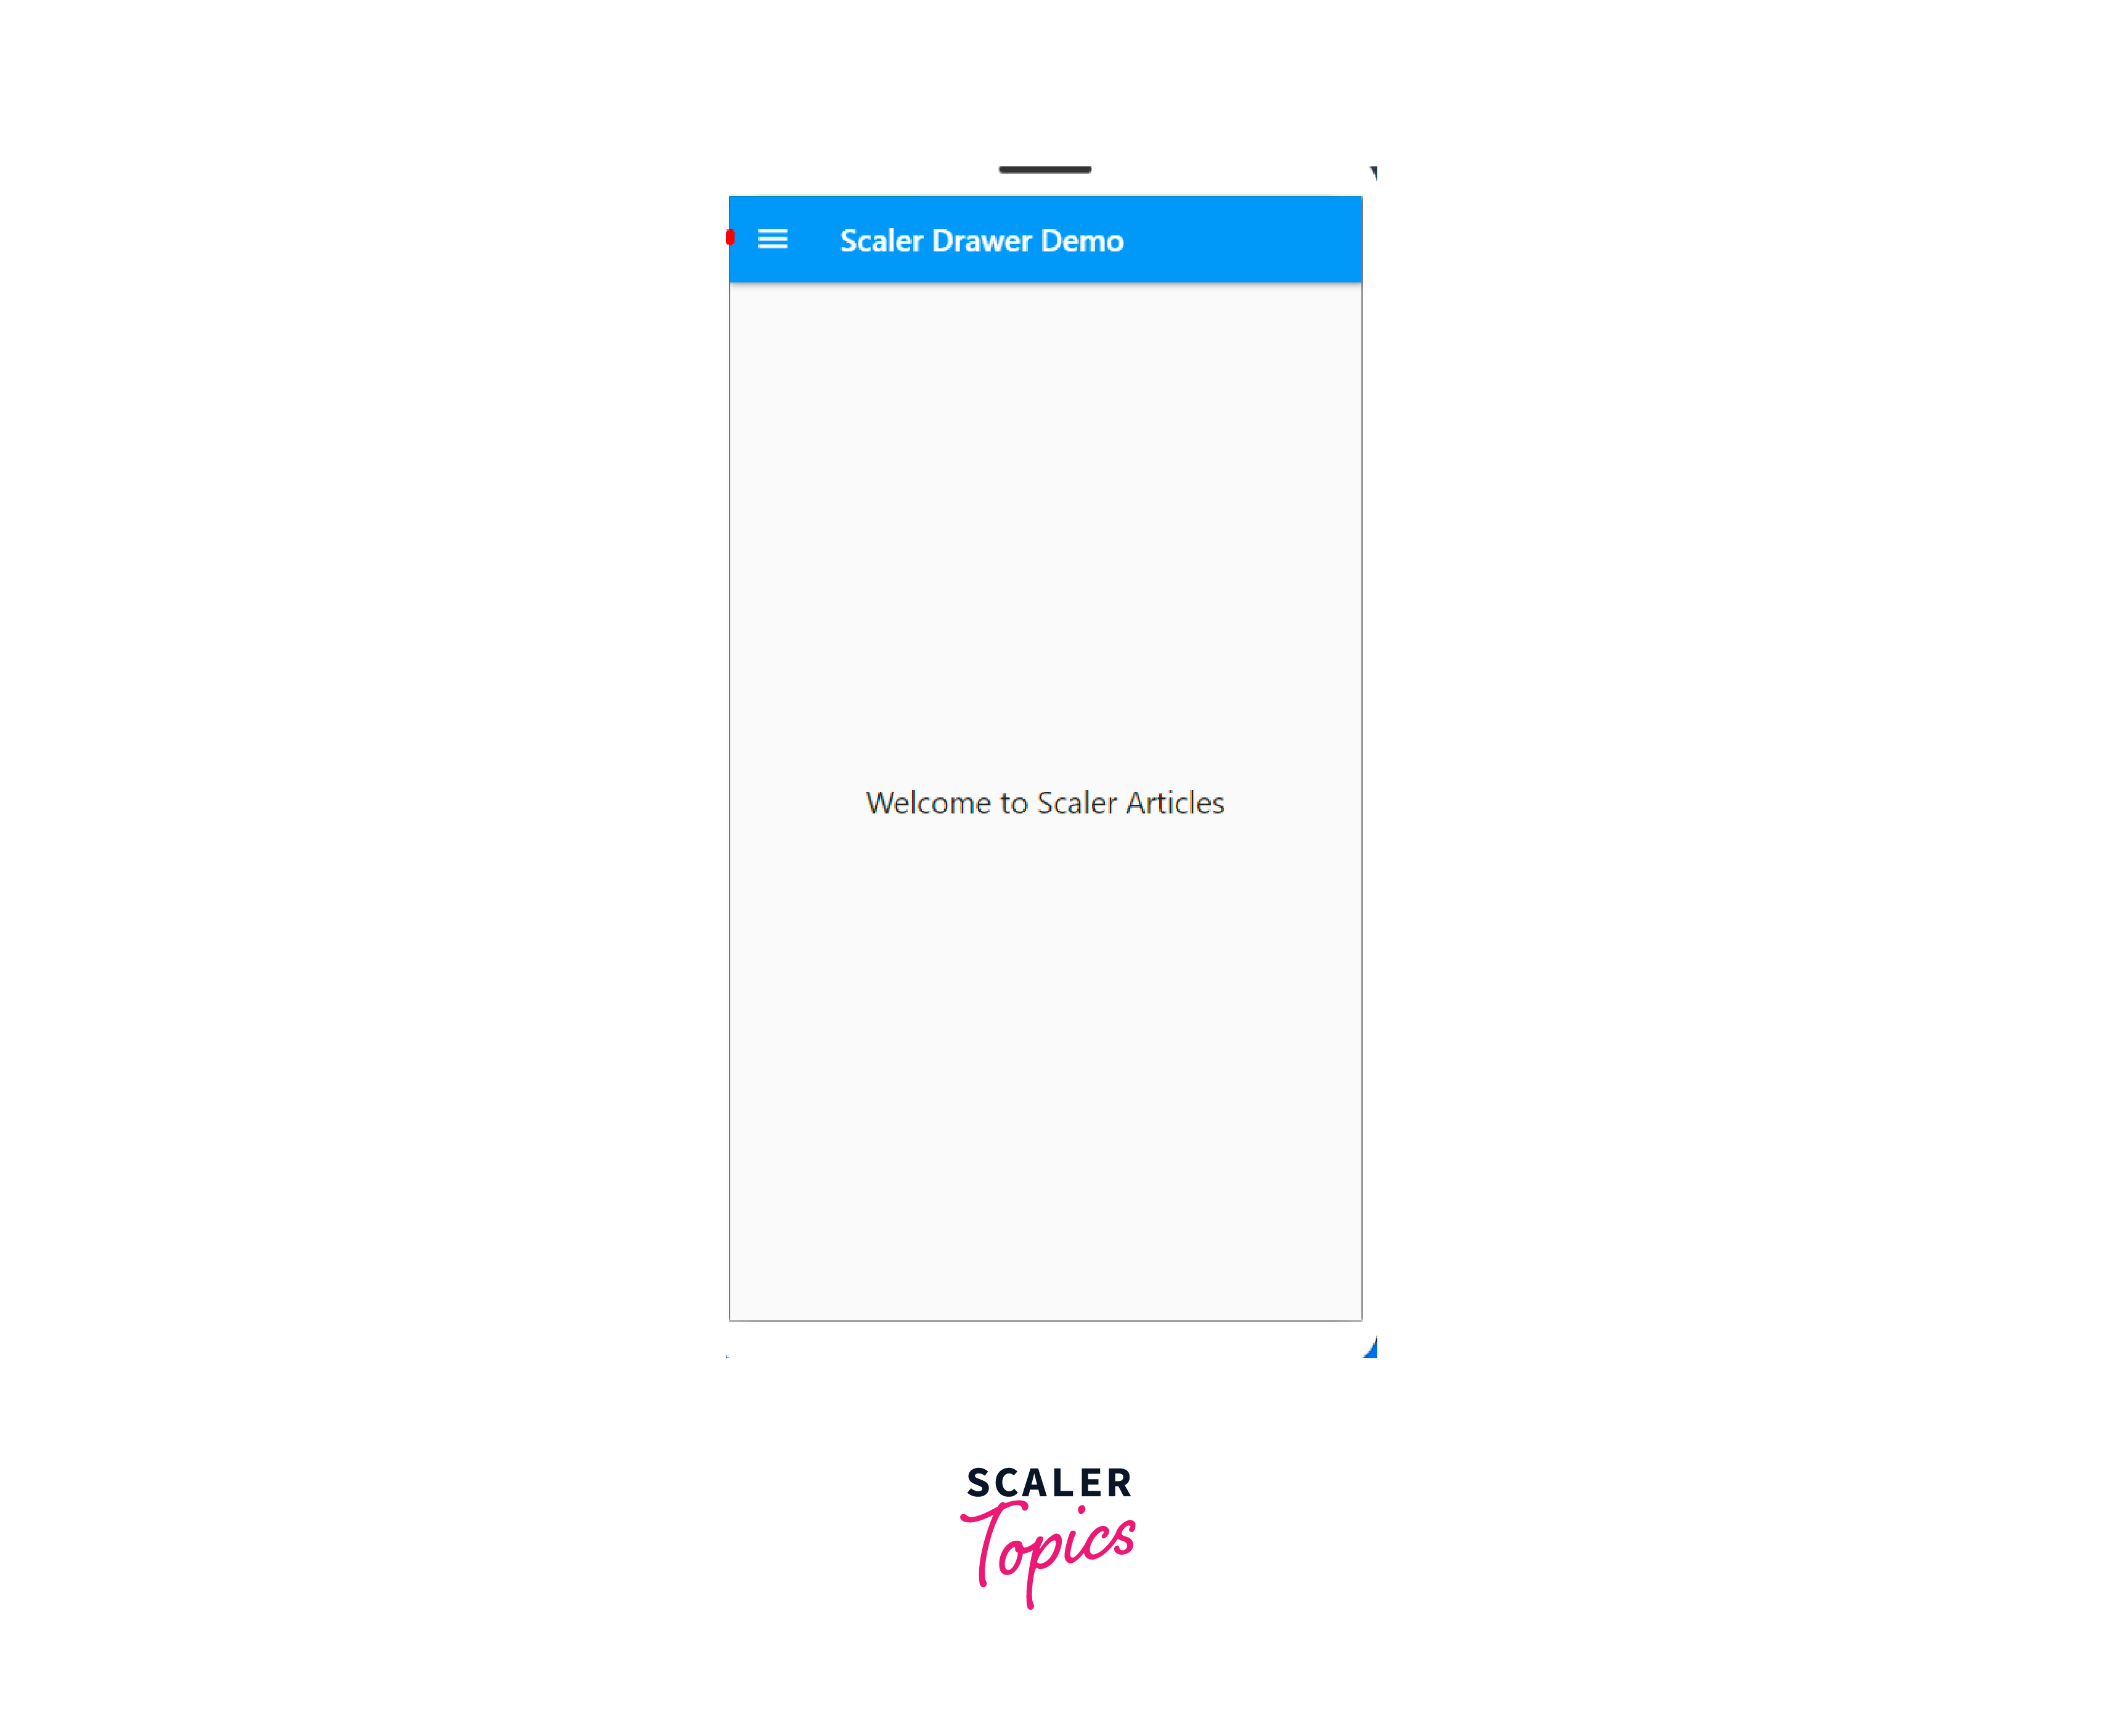
- Create a new Scaffold widget in the build method of your MyApp class:
- Add a Drawer widget to the Scaffold by setting its drawer property:
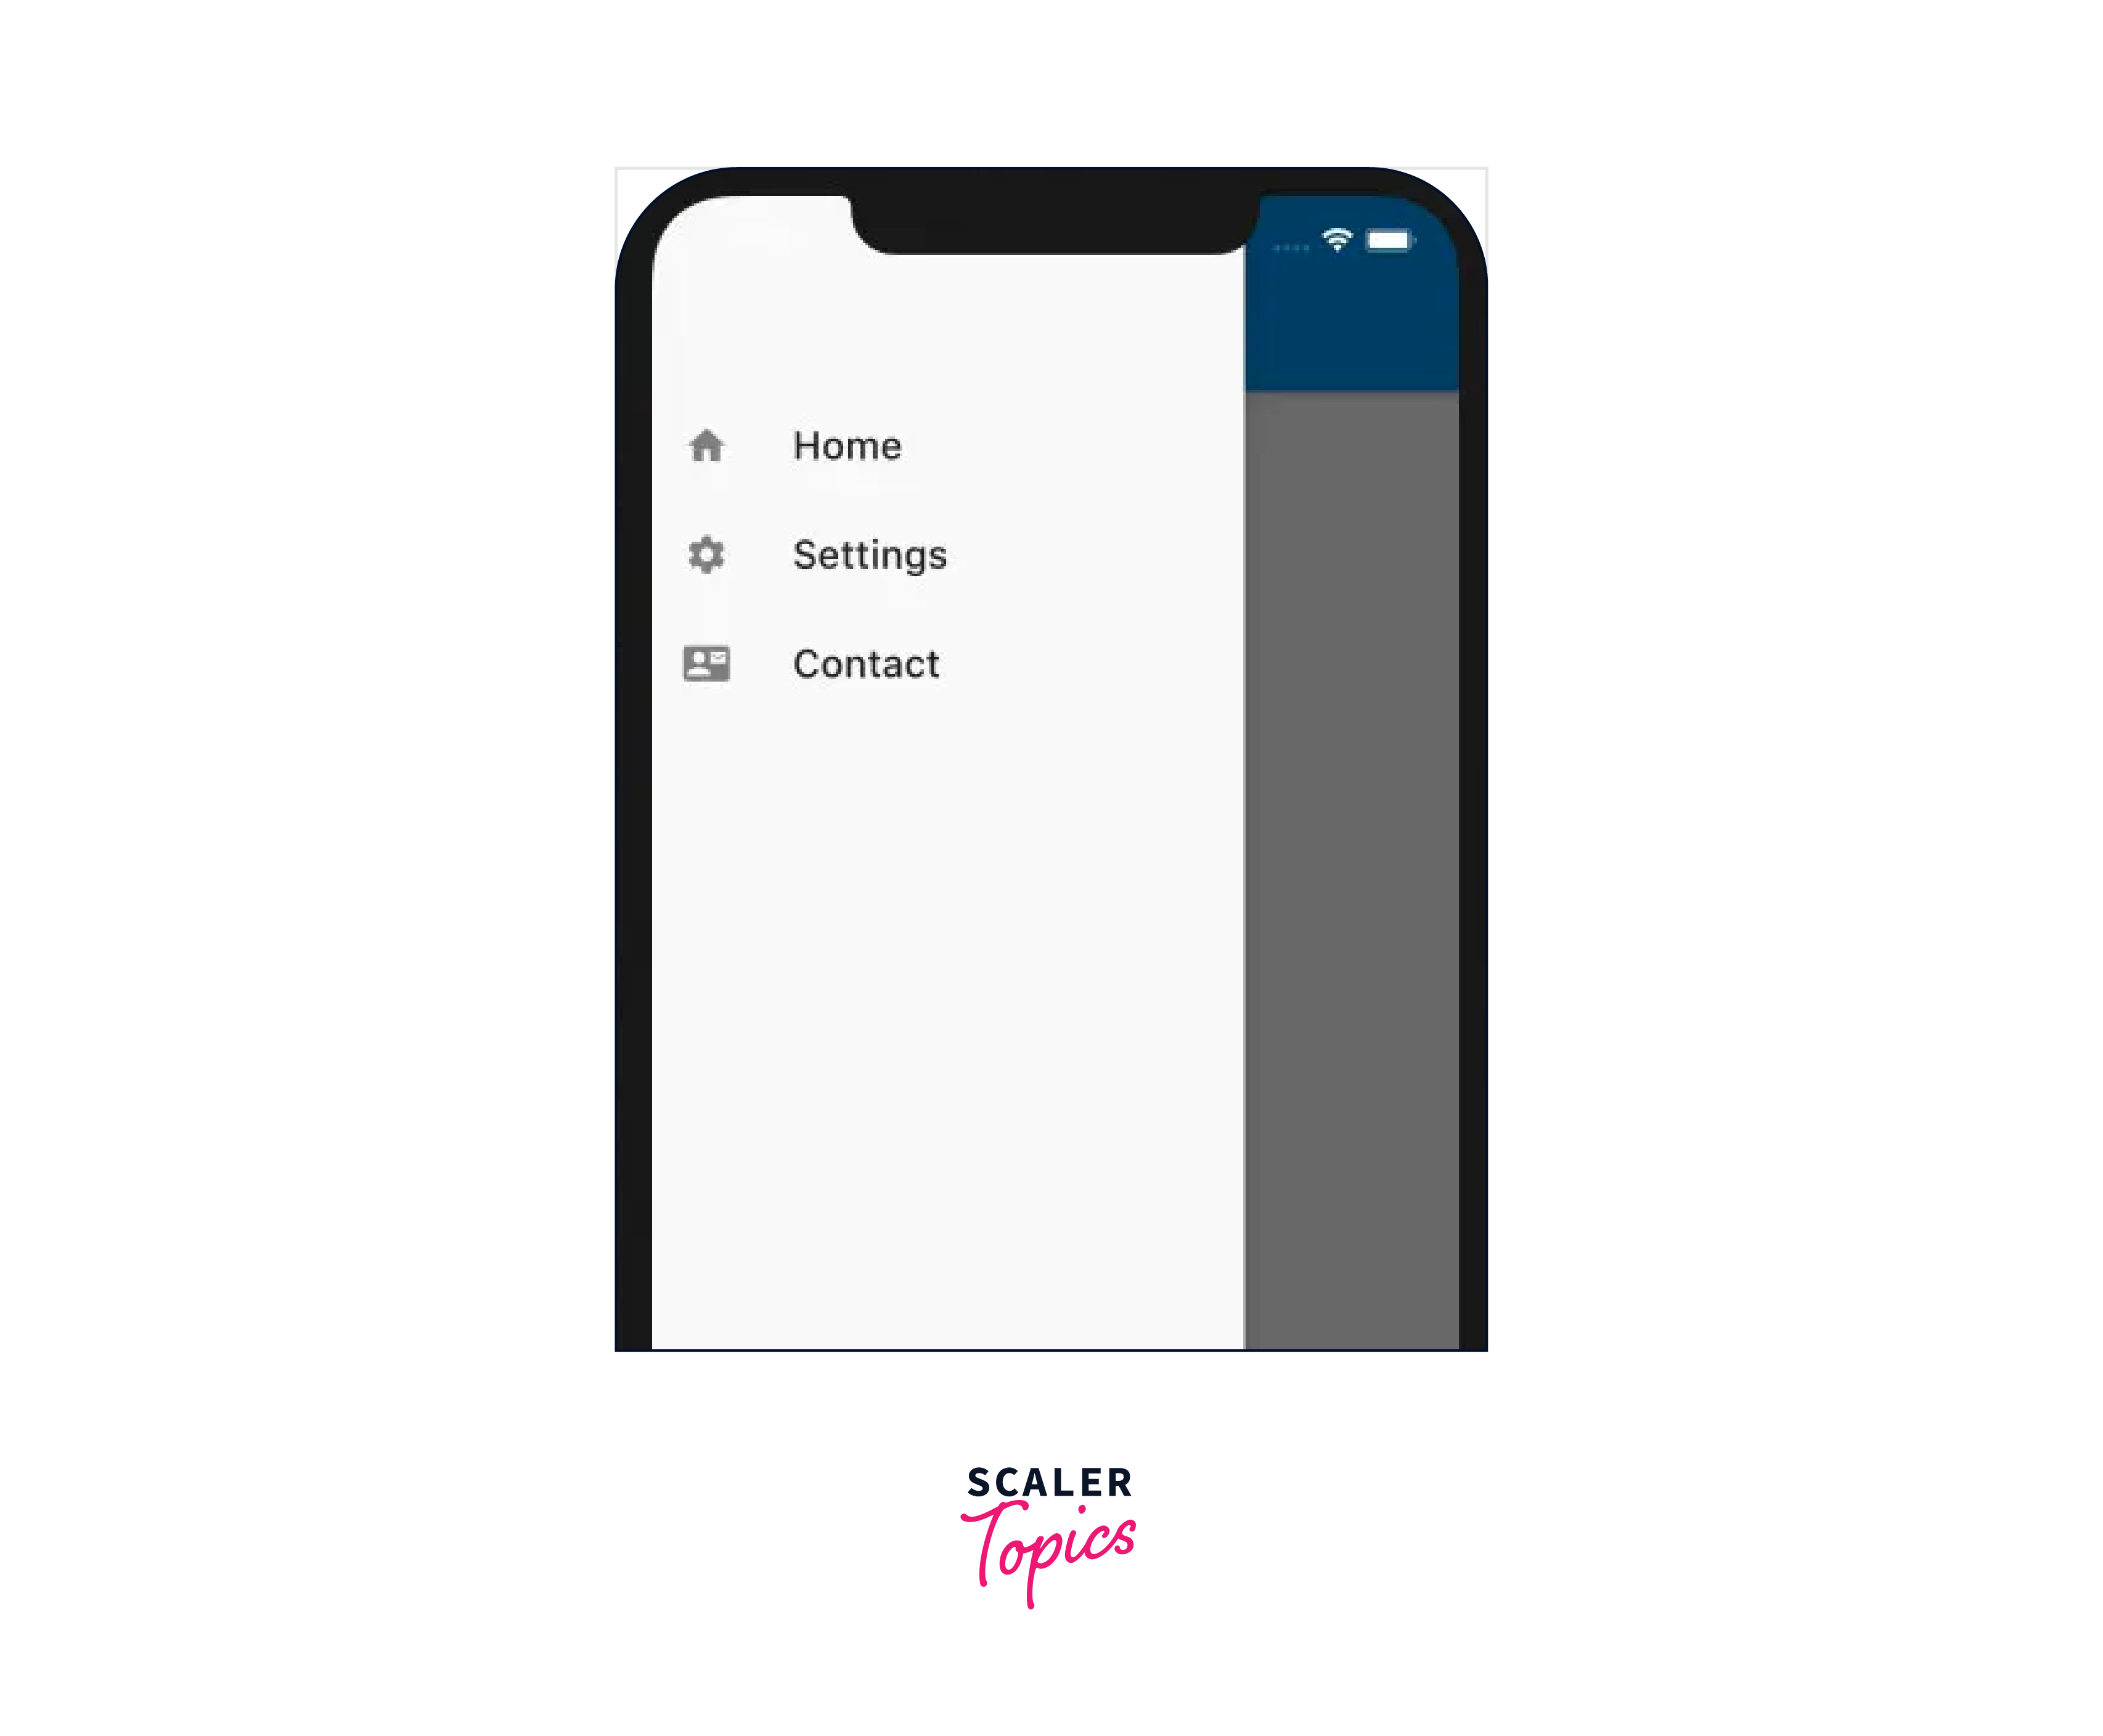
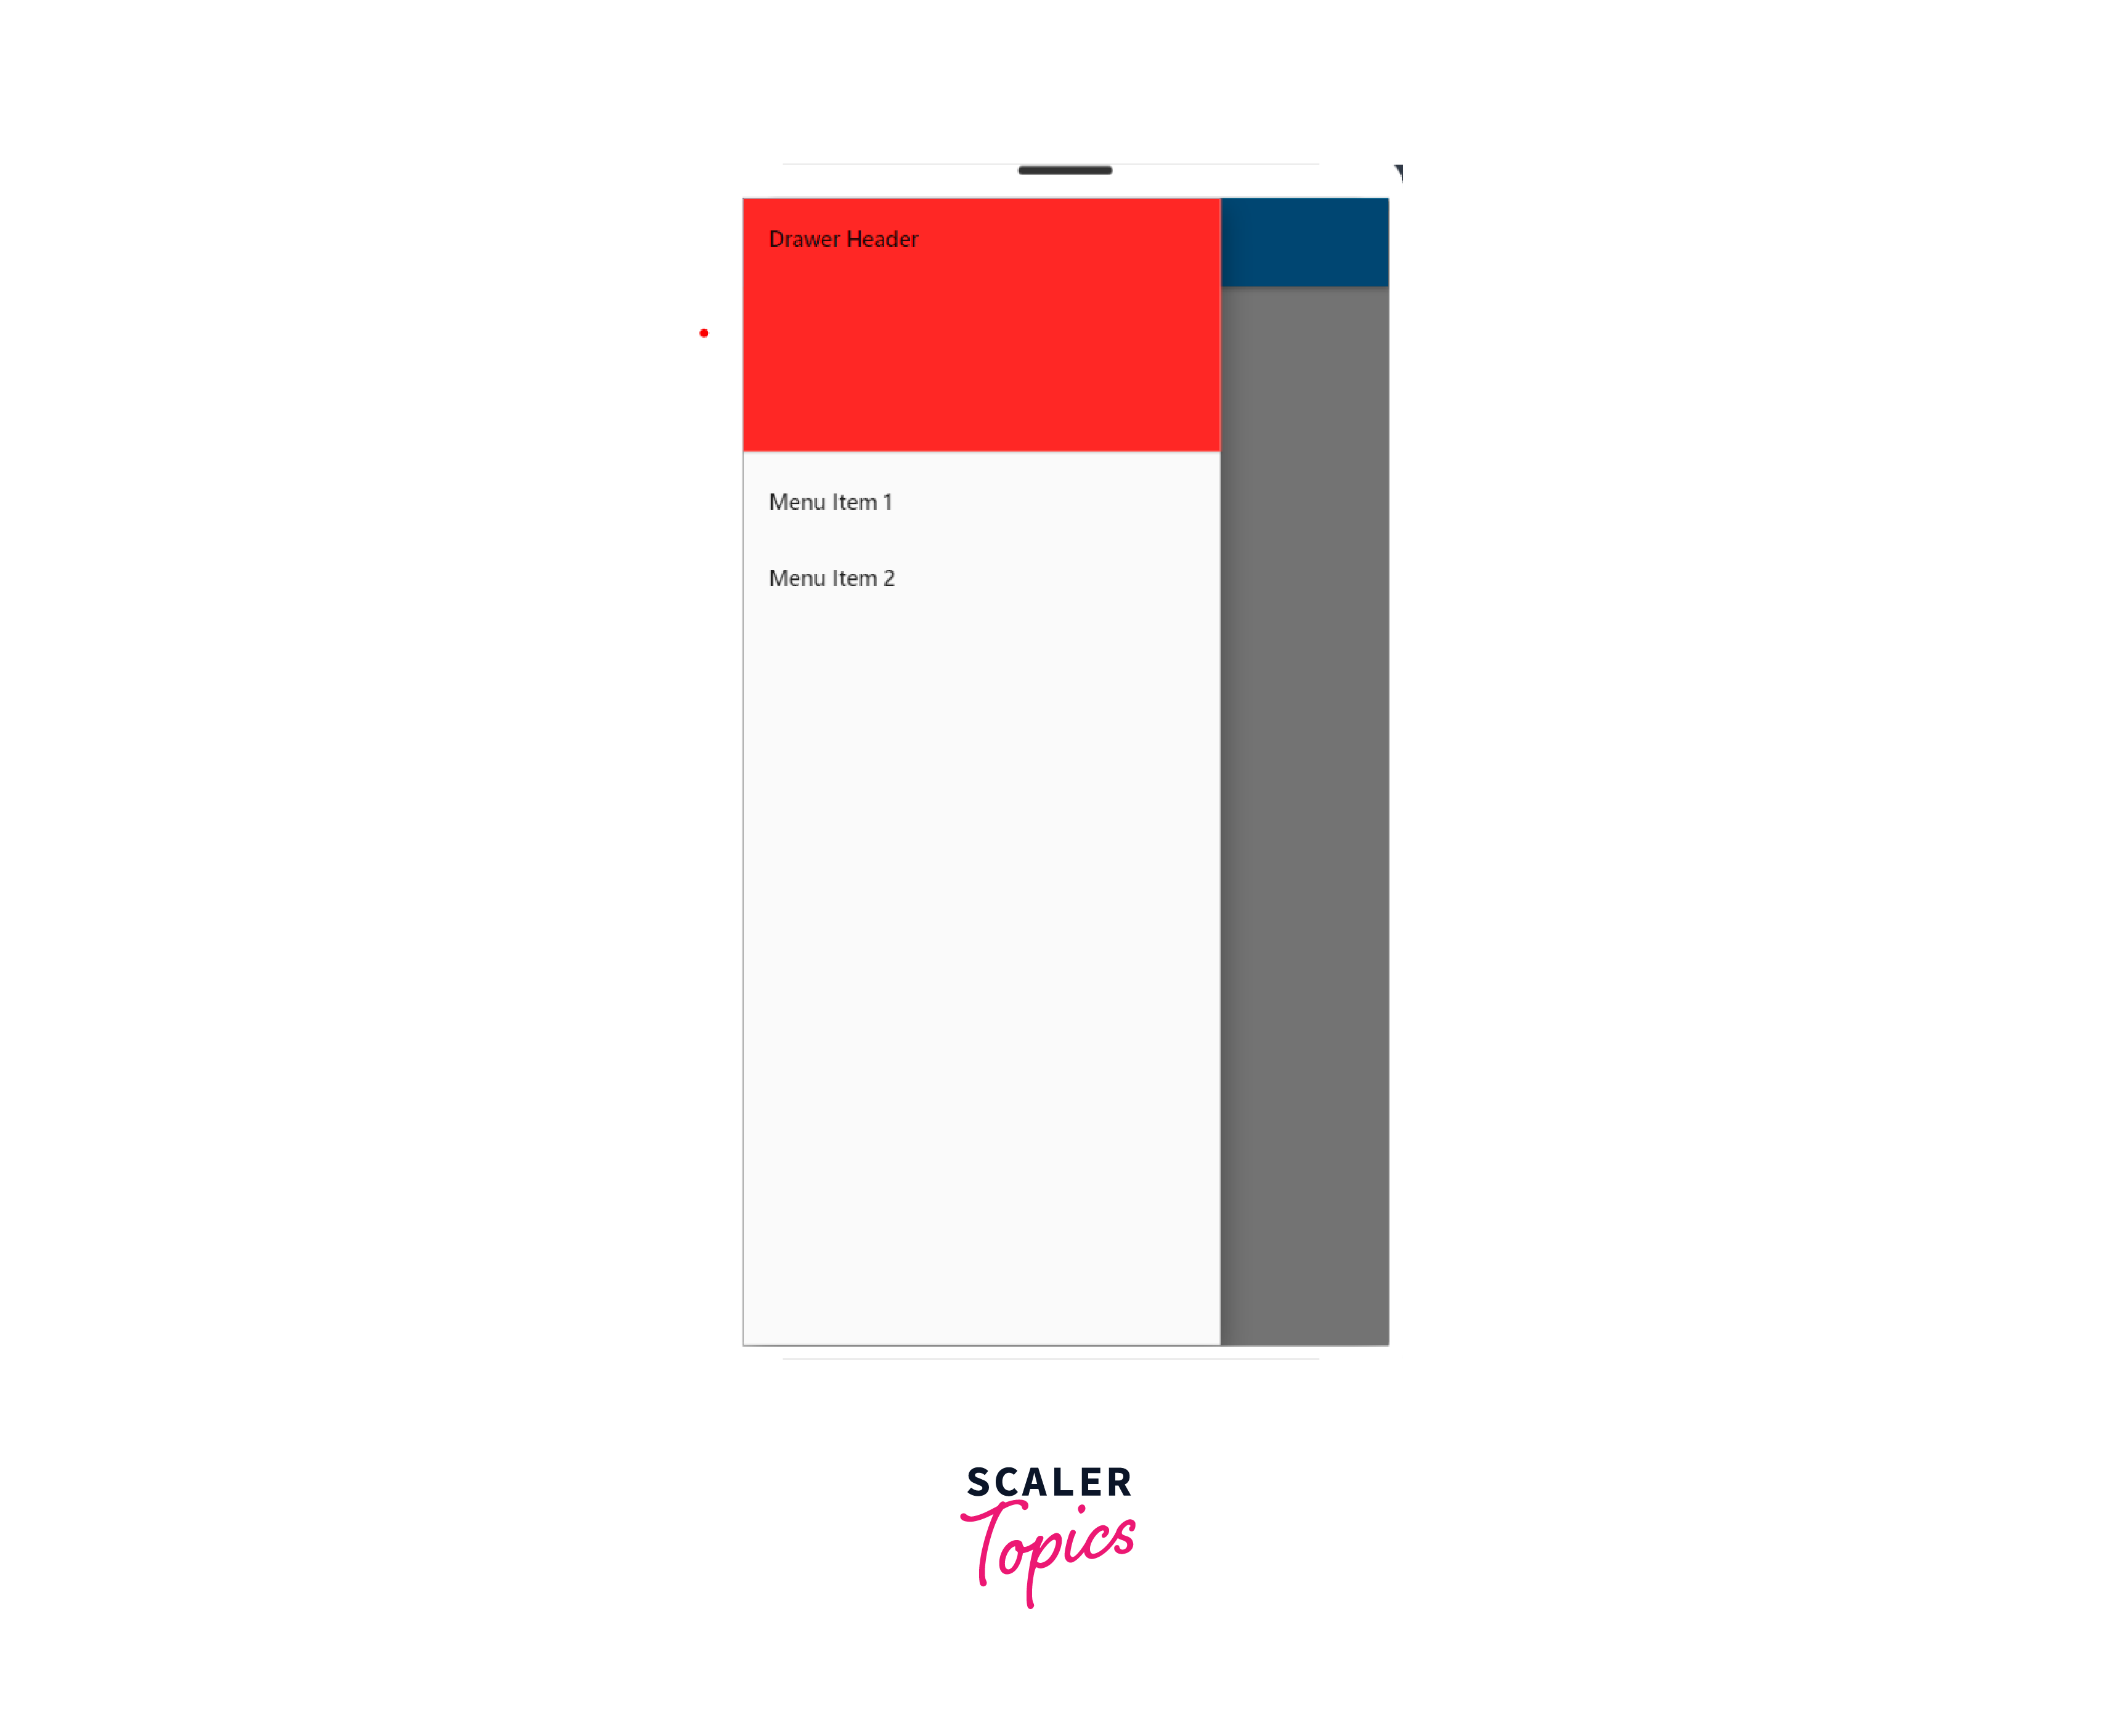
- Customize the Drawer as desired, such as adding a DrawerHeader or changing the ListView to display different menu items.
- Implement the onTap function for each ListTile to navigate to a new screen or perform a specific action.
 click on the 3 lines on the top right corner you get this :
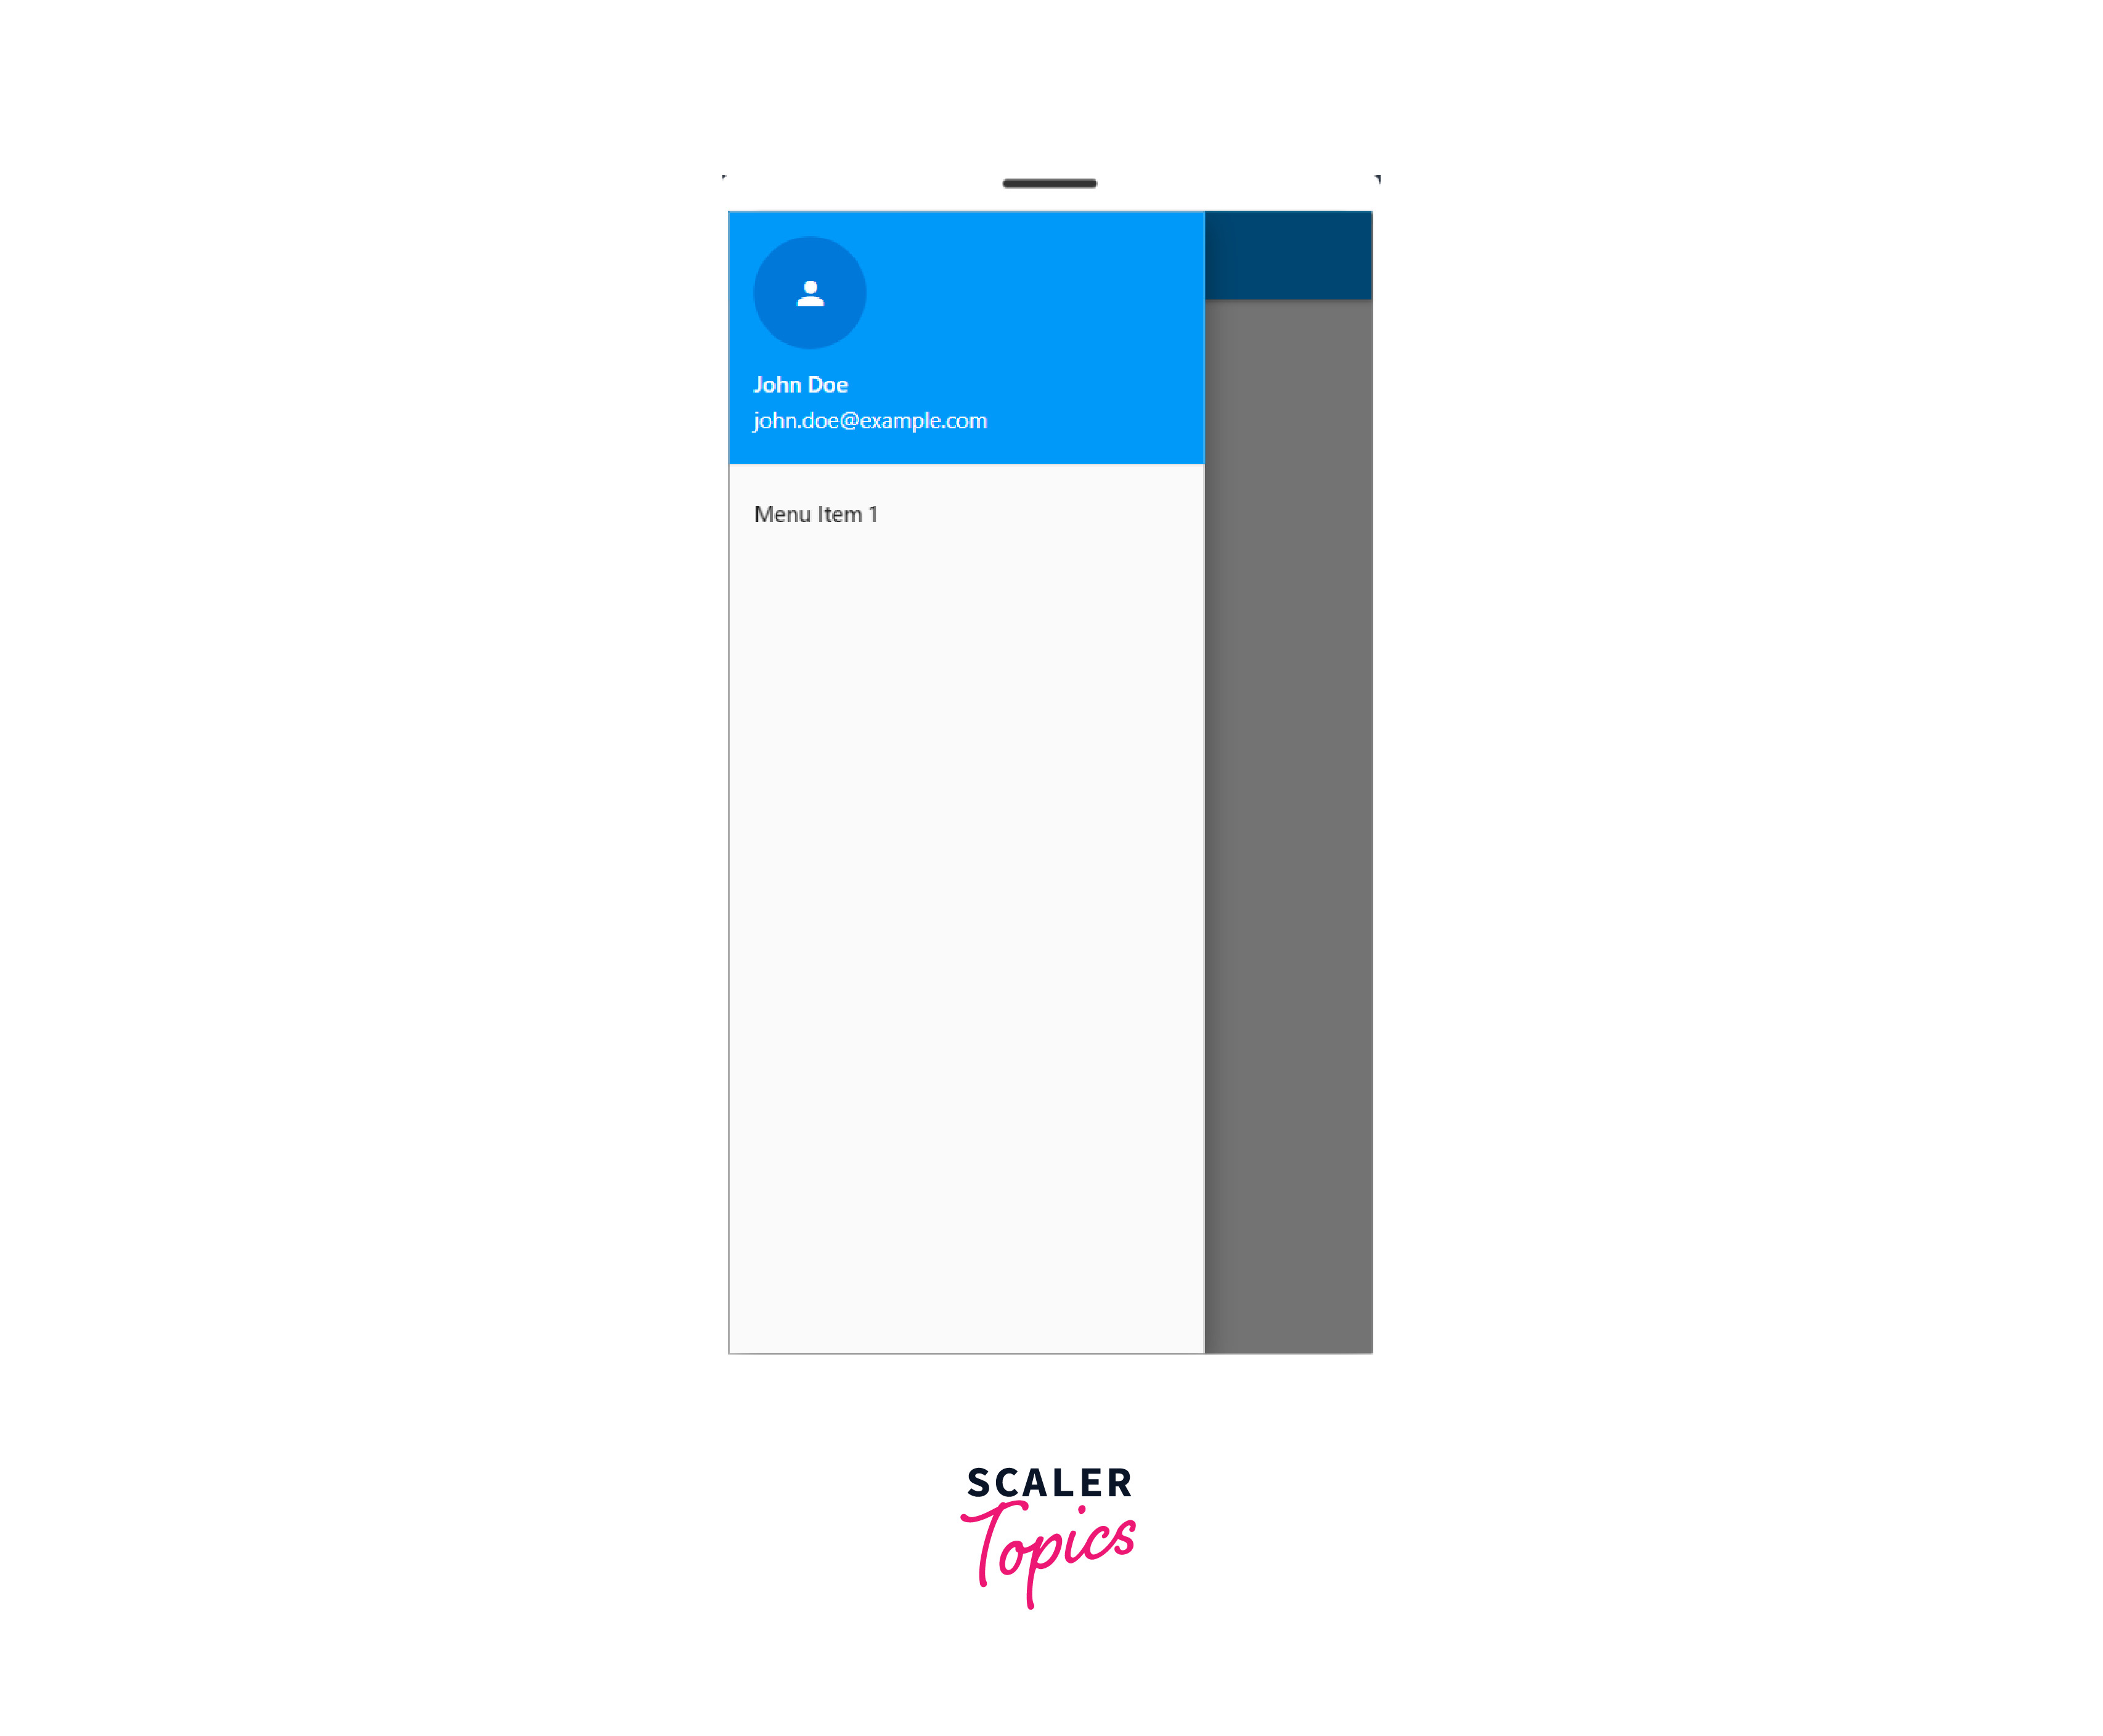
Displaying User Details in Navigation Drawer Header
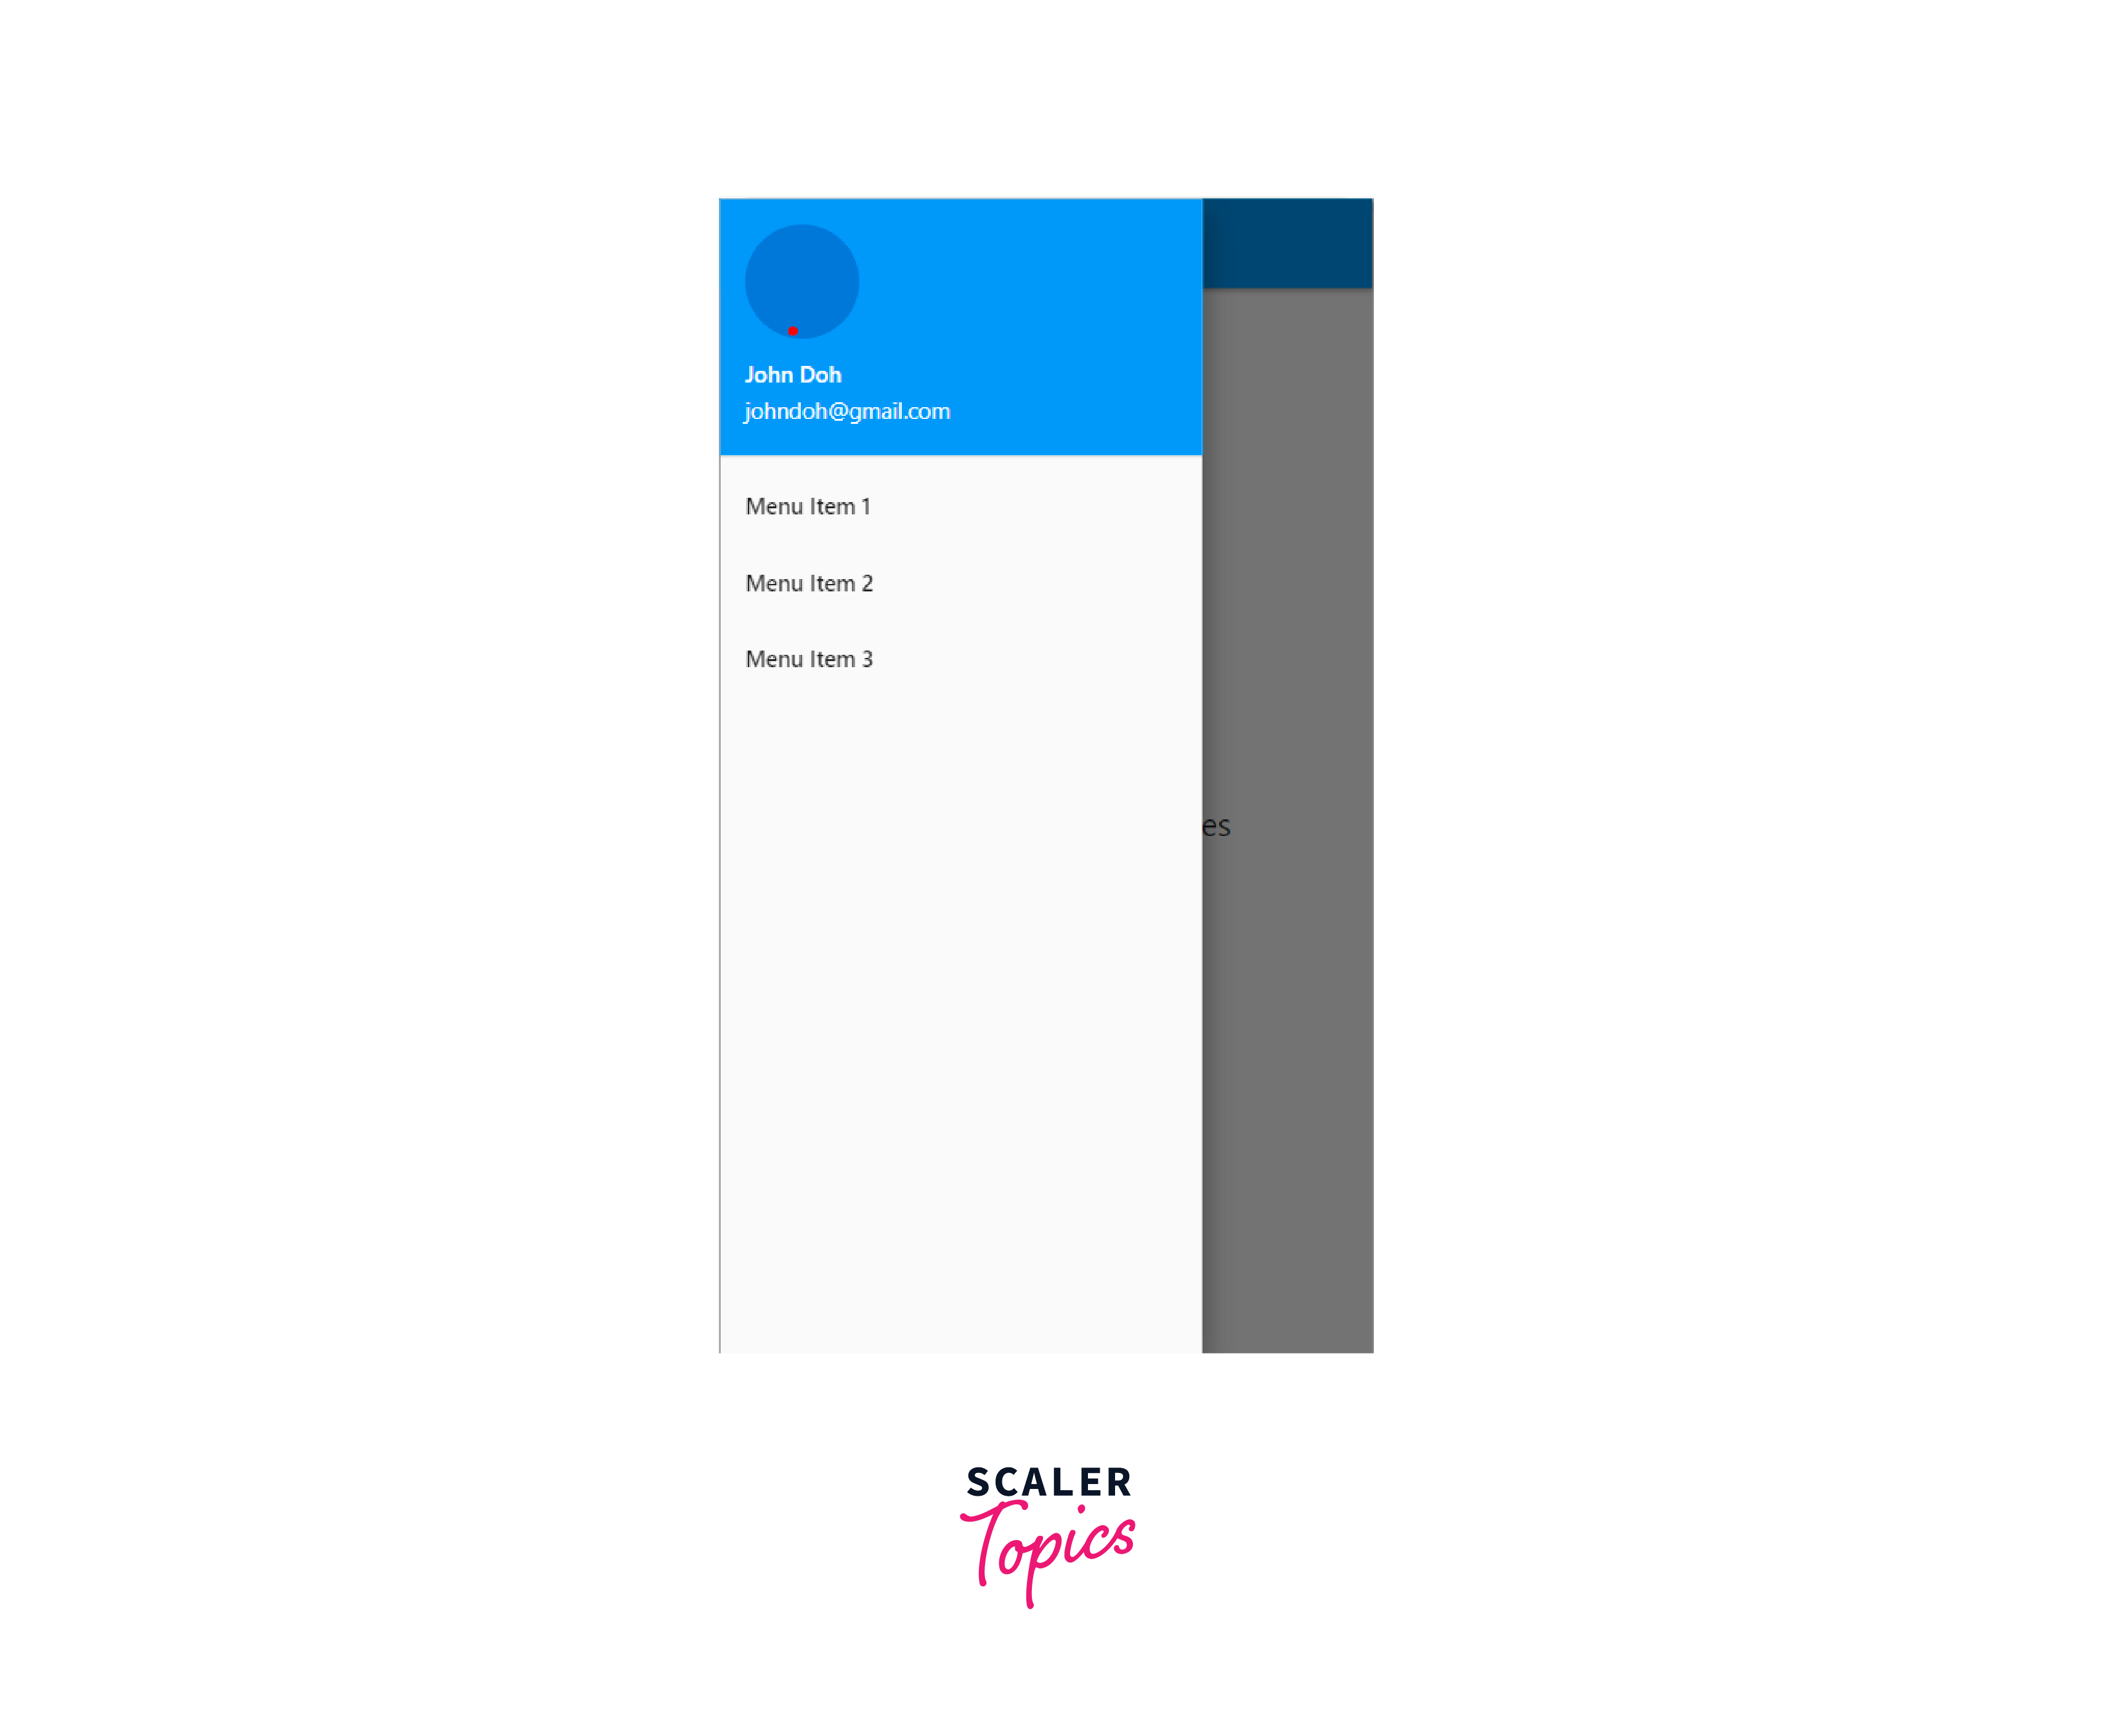
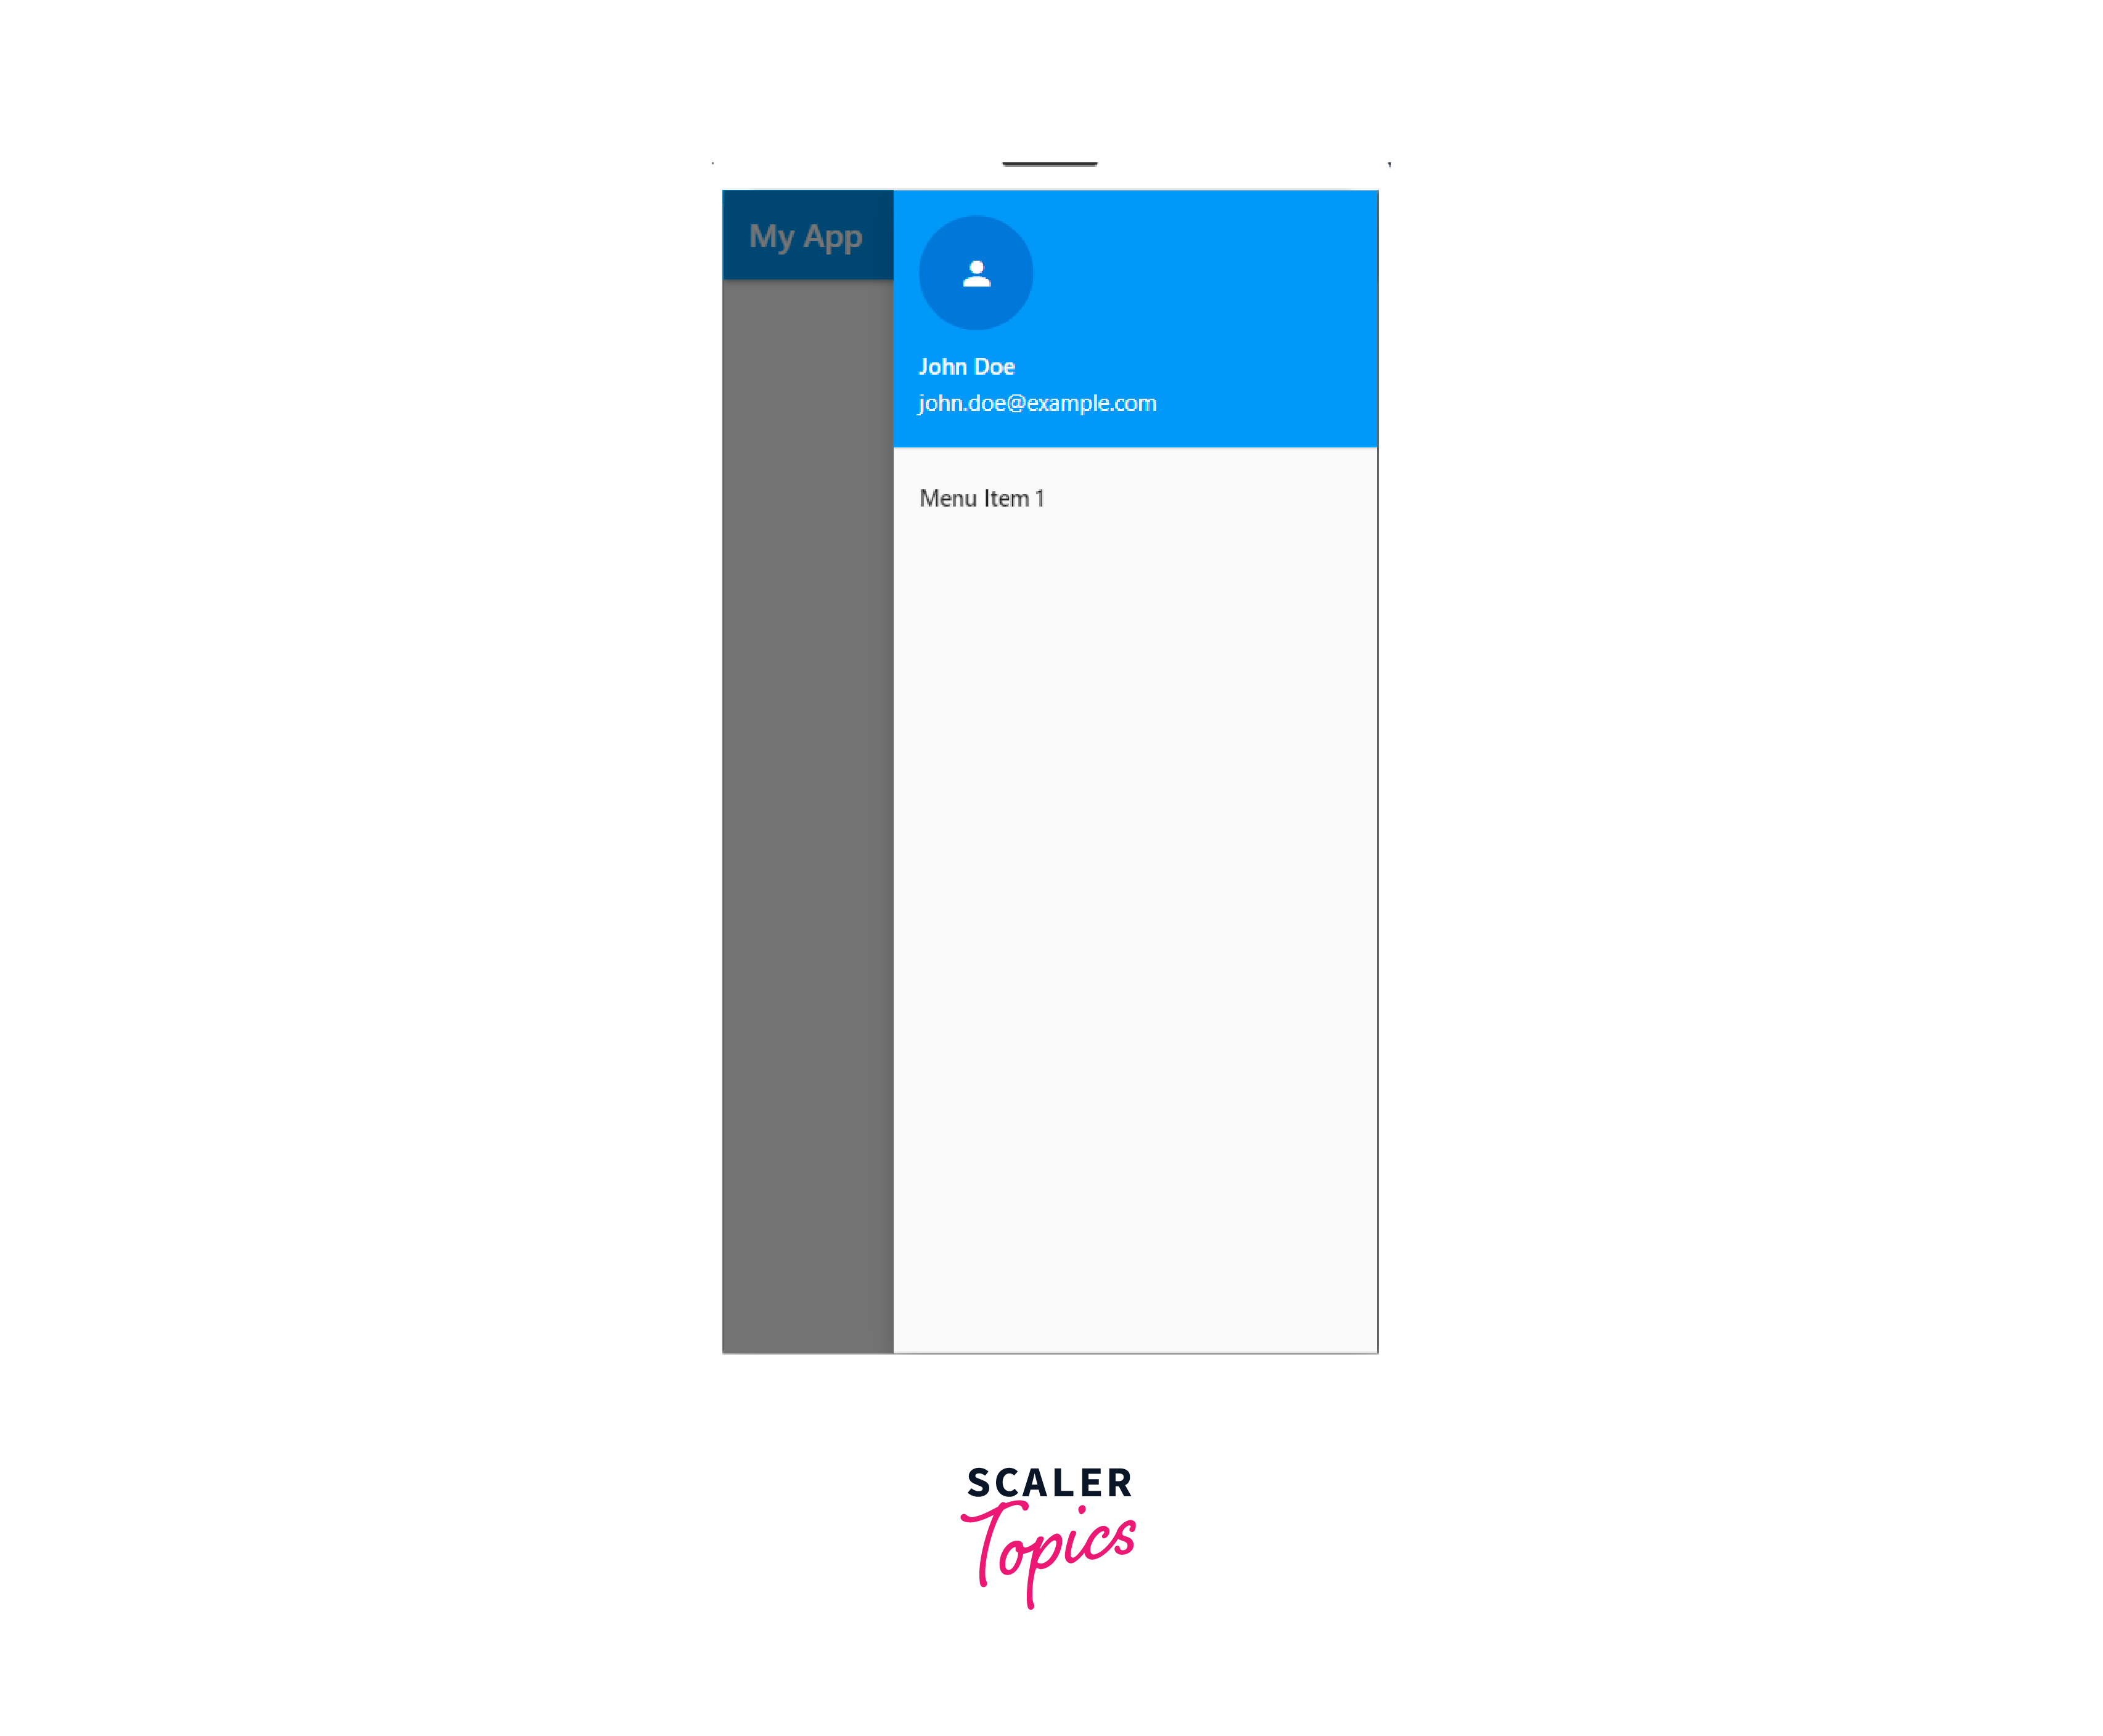
- In your Scaffold, give the Drawer widget a UserAccountsDrawerHeader widget. User information like name, email, and profile picture may be conveniently shown using the UserAccountsDrawerHeader widget:
- Set the accountName, accountEmail, and currentAccountPicture attributes to display the user's name, email address, and profile image, respectively, to personalise the UserAccountsDrawerHeader as desired.
- If you want to display multiple user profiles in the UserAccountsDrawerHeader, you can use the otherAccountsPictures property to display additional profile pictures. This property takes a list of CircleAvatar widgets, each displaying a different profile picture.
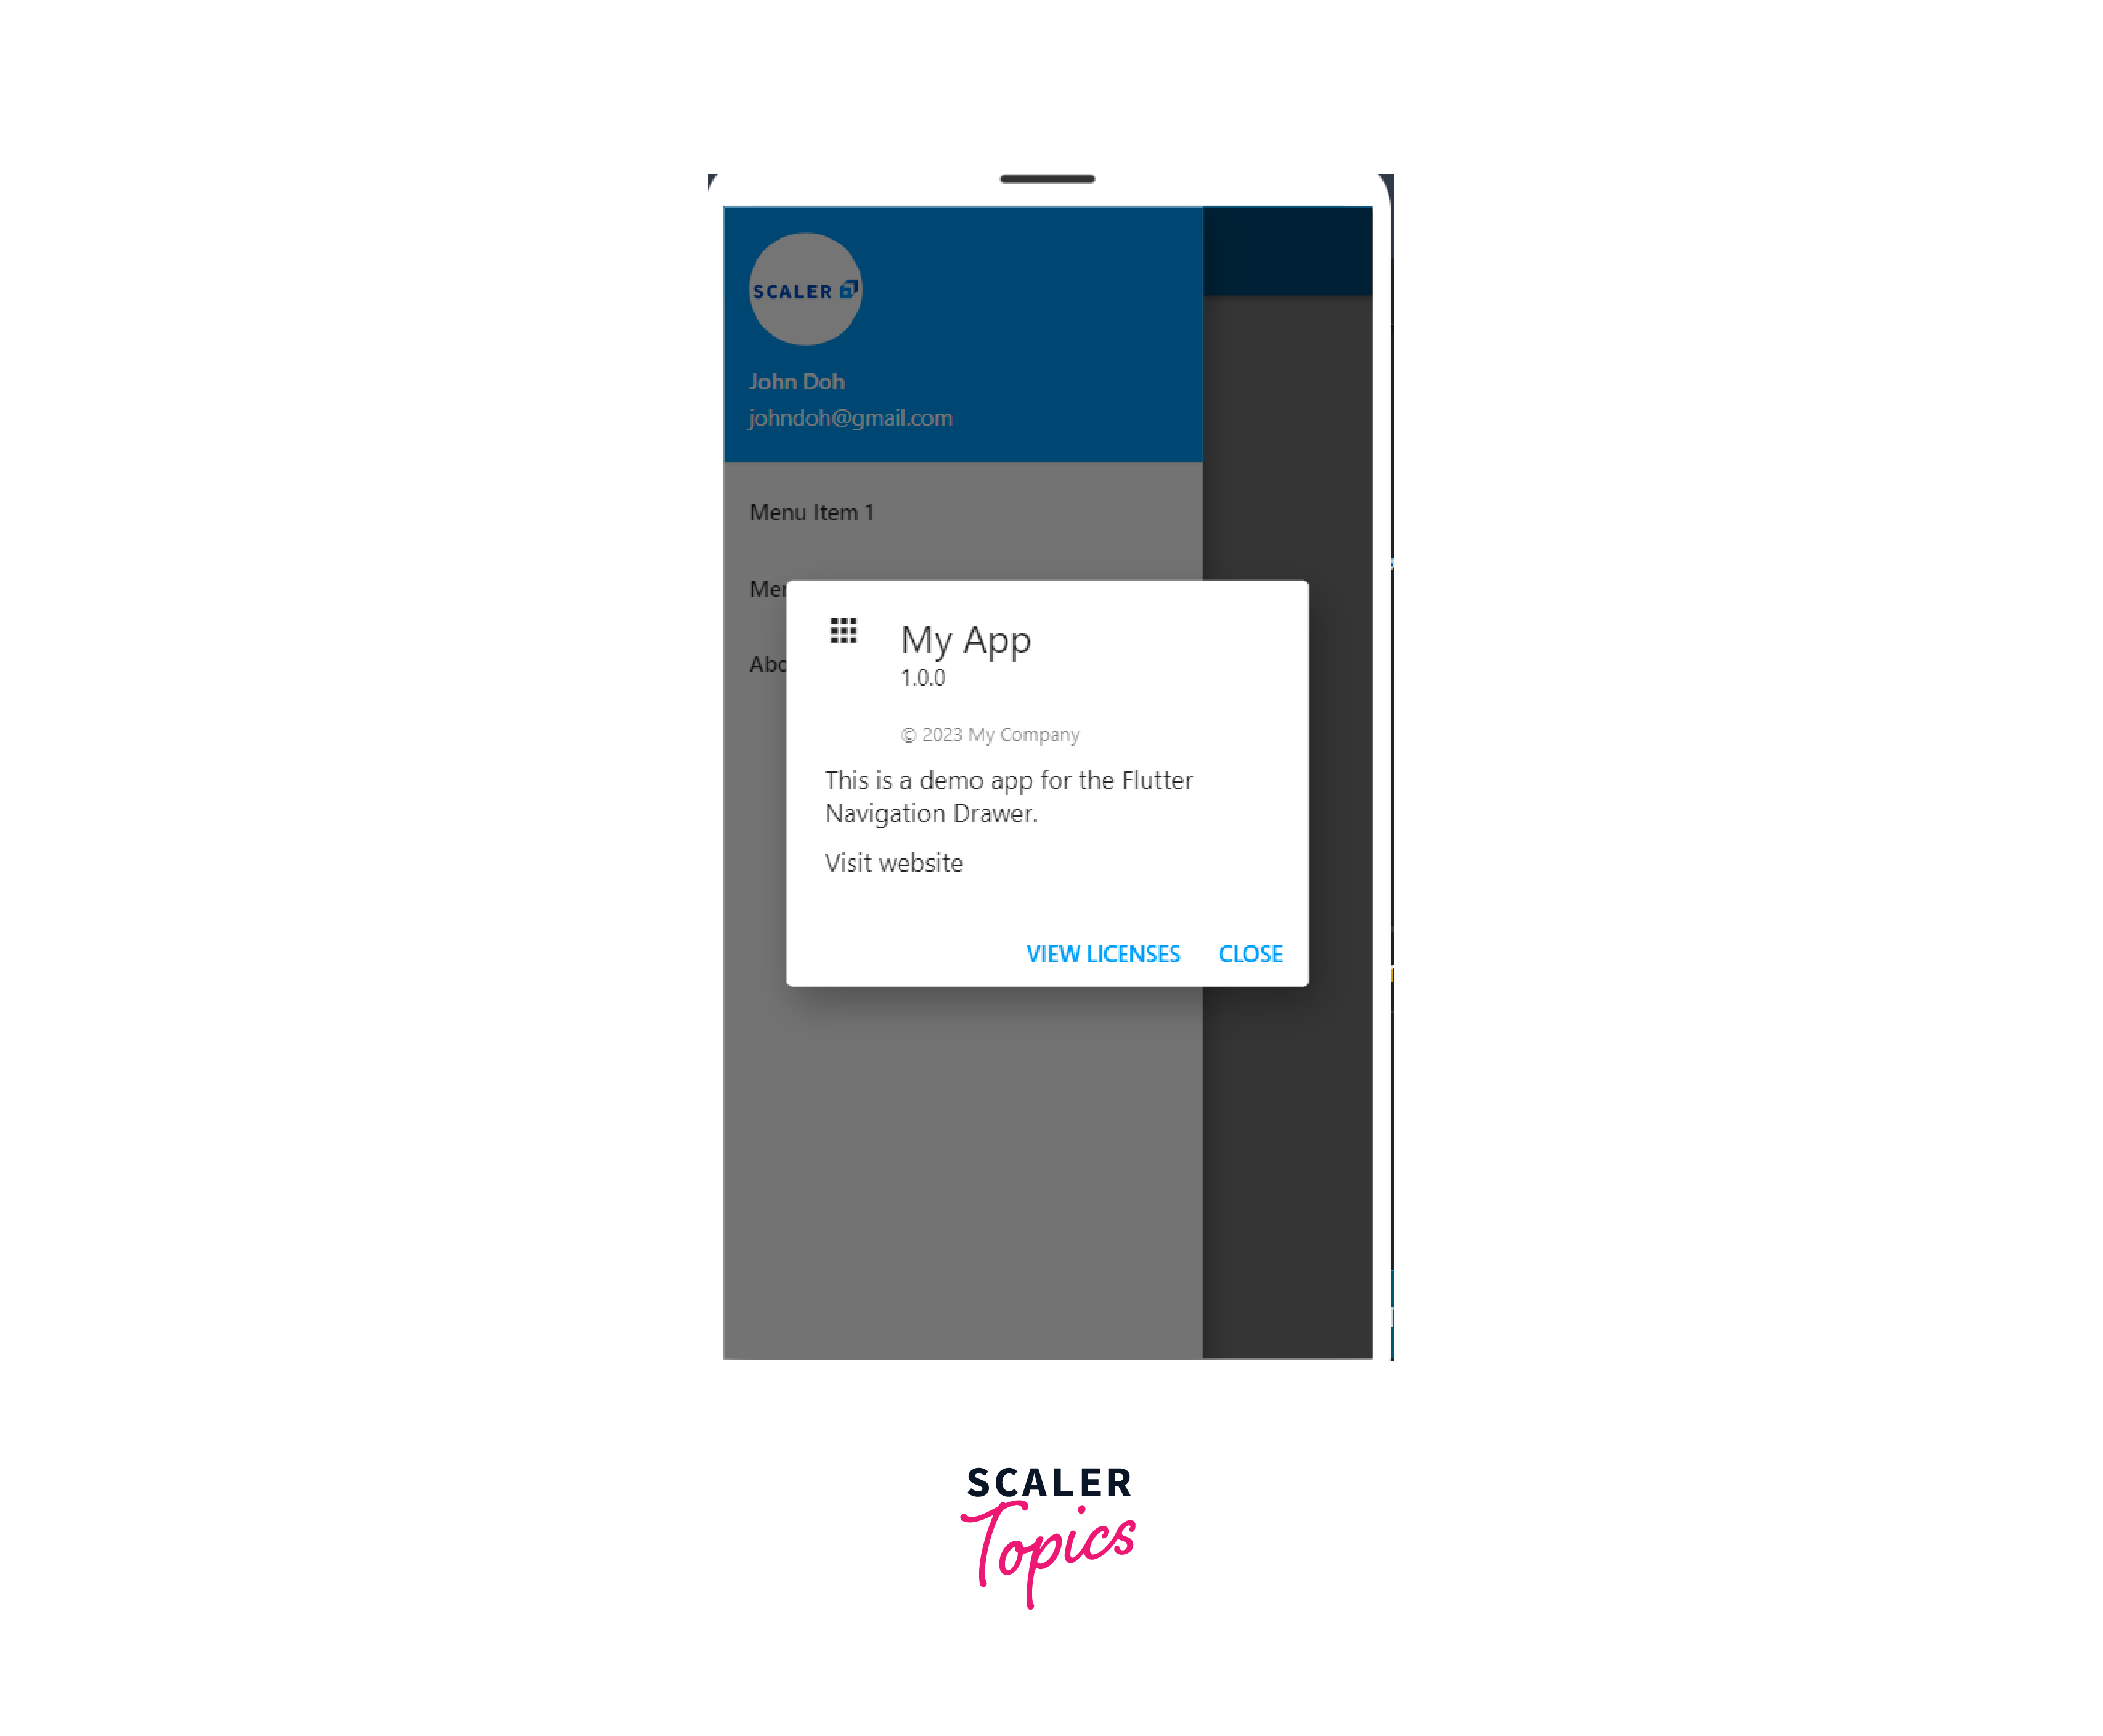
Displaying AboutListTile
The AboutListTile is a pre-built widget in Flutter that provides a standard about section for an app in the Navigation Drawer. It typically displays the app name, version number, and copyright information. To add an AboutListTile to your Navigation Drawer, you can follow these steps:
-
Import the package: url_launcher/url_launcher.dart file to launch a URL when the user hits the AboutListTile's "Visit website" link.
-
Add an AboutListTile widget to the ListView of your Drawer:
-
To display the app name, version number, icon, and copyright information, respectively set the applicationName, applicationVersion, applicationIcon, and applicationLegalee attributes on the AboutListTile.
-
The aboutBoxChildren property also allows you to create child widgets to display additional app-related data.
-
Finally, implement the onTap function for the GestureDetector widget to launch a URL when the user taps on the Visit website link. In this example, we use the launch() function from the url_launcher package to launch the URL.

if you click on about my app we get :
Opening Navigation Drawer Programmatically
- Create a GlobalKey < ScaffoldState > instance in your widget class. This key will be used to get access to the ScaffoldState object:
- Wrap a Builder widget around your Scaffold widget. The Scaffold widget is not immediately accessible in the widget tree when your widget is generated, hence this is required. The Scaffold widget is made available and a new widget subtree is created by the Builder widget:
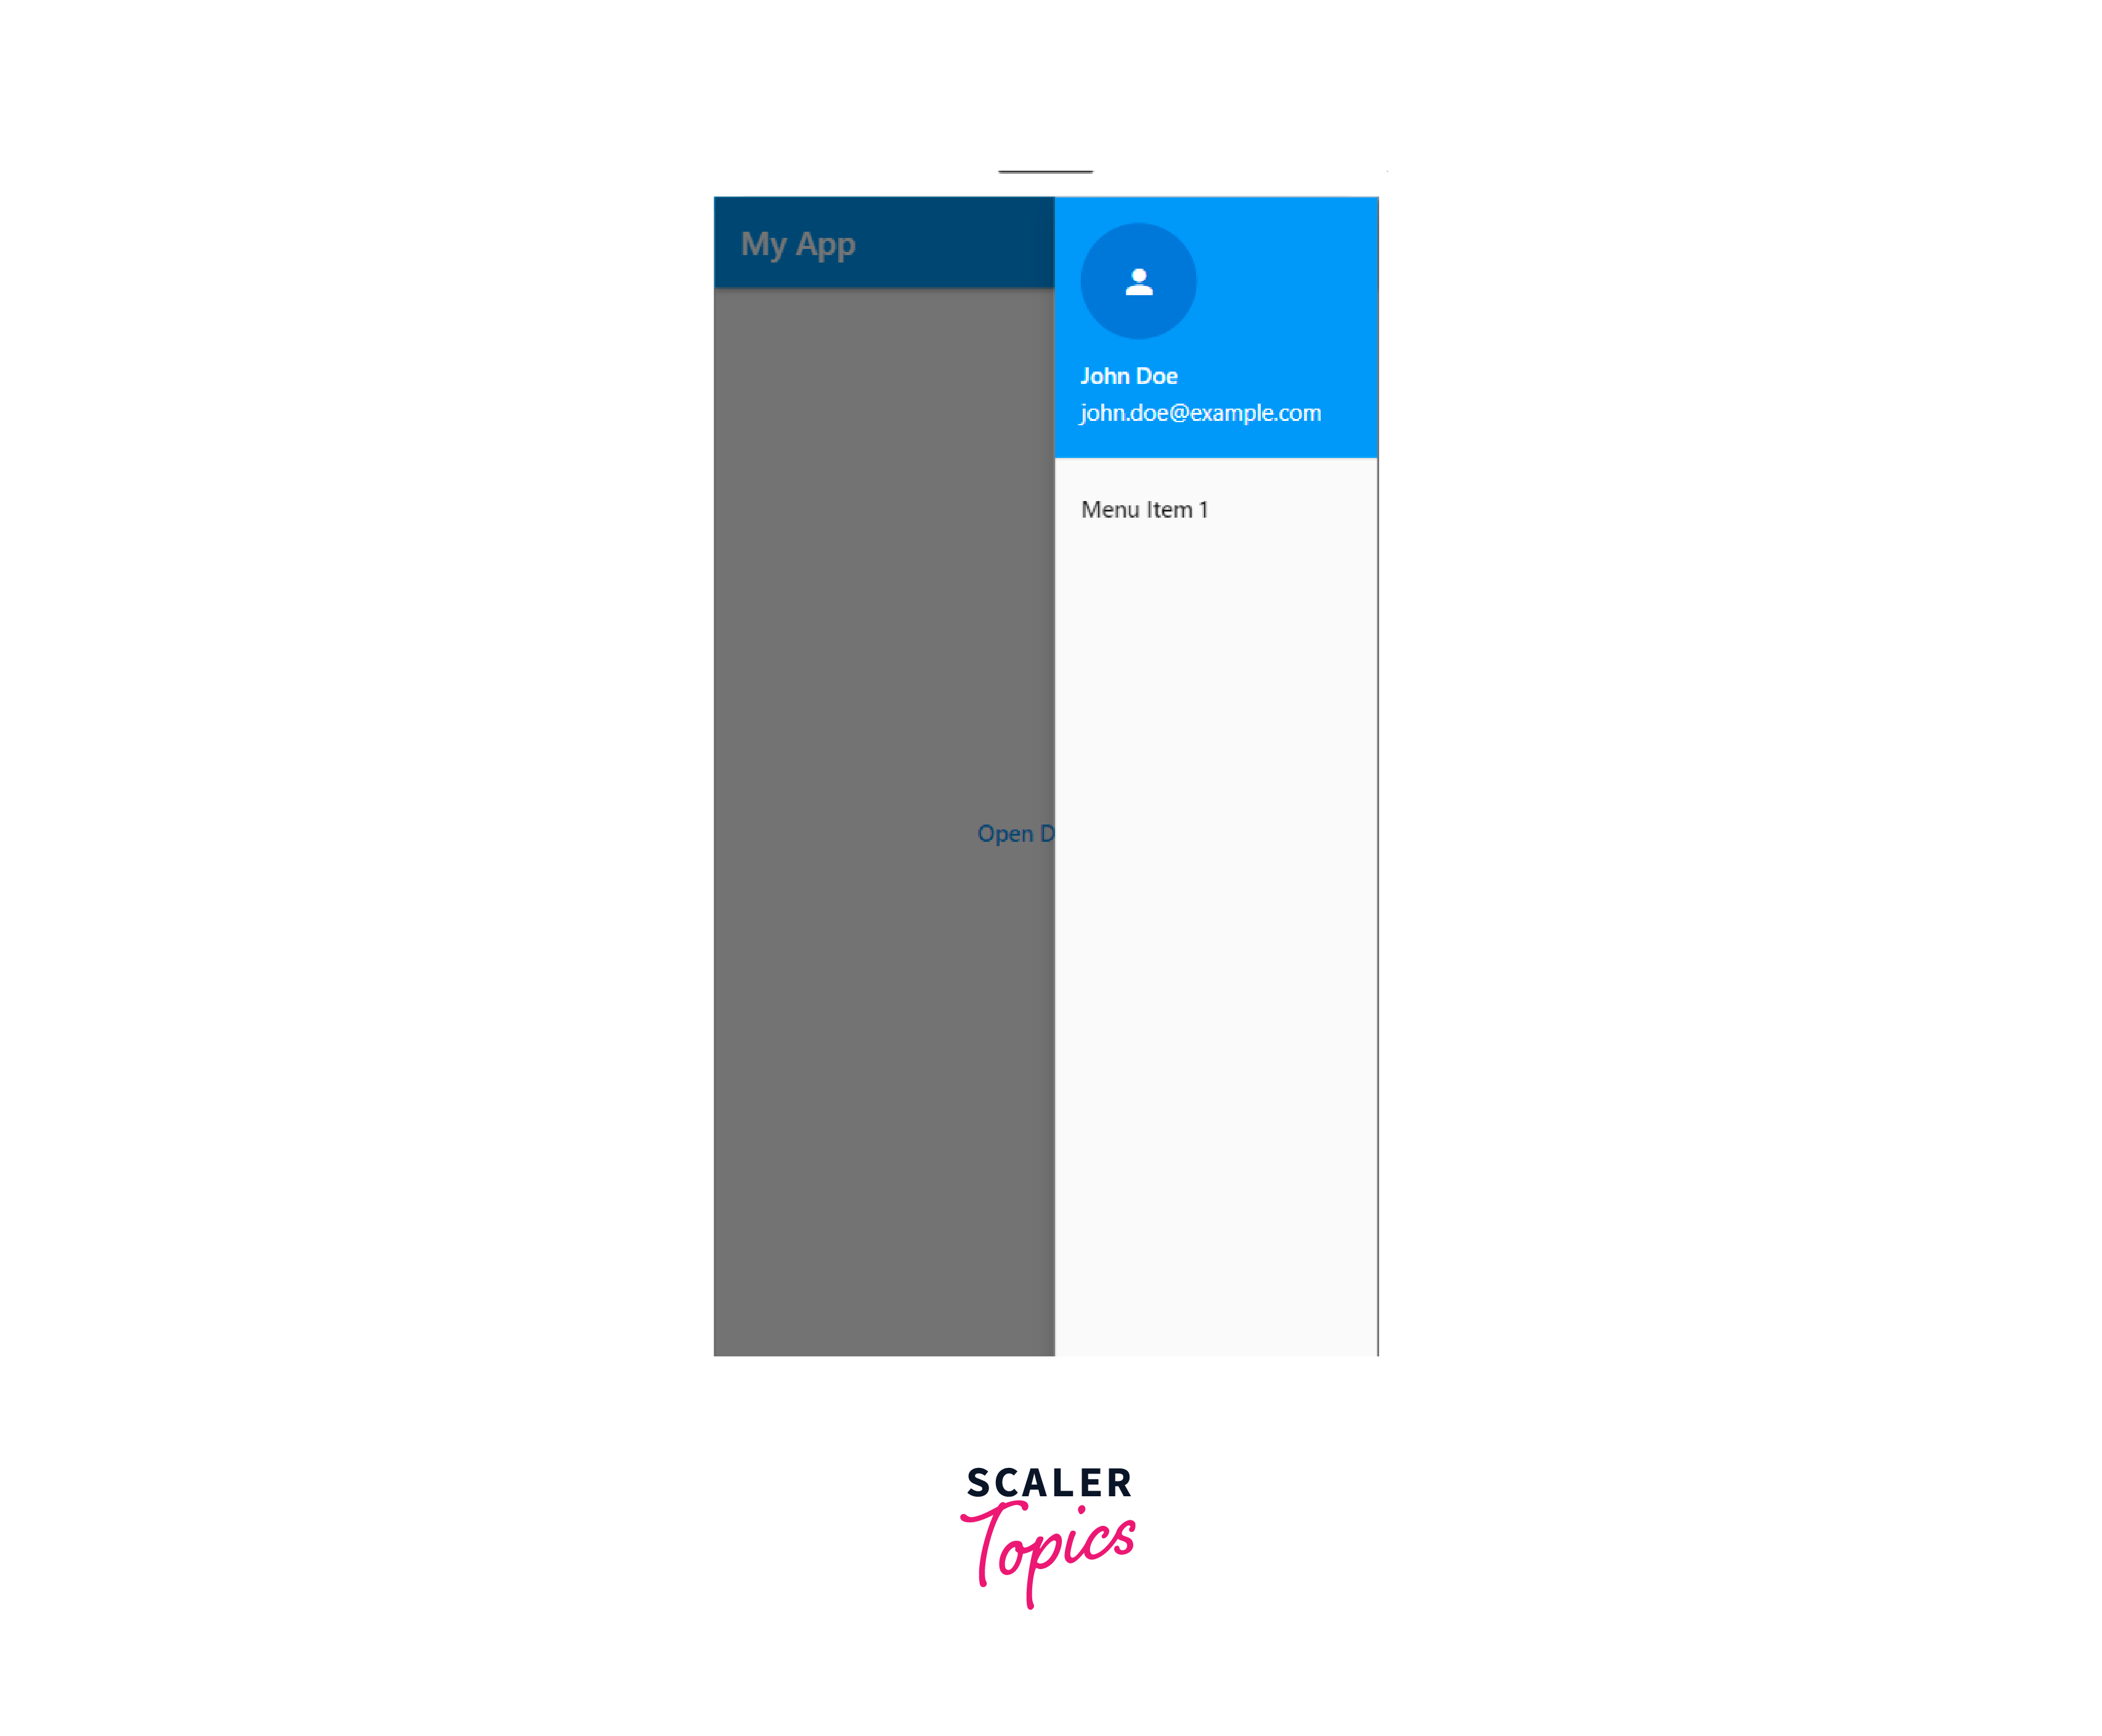
- Implement the Scaffold.of(context).When a user hits a button or makes another action in your app, you may use the openDrawer() method to open the Navigation Drawer.
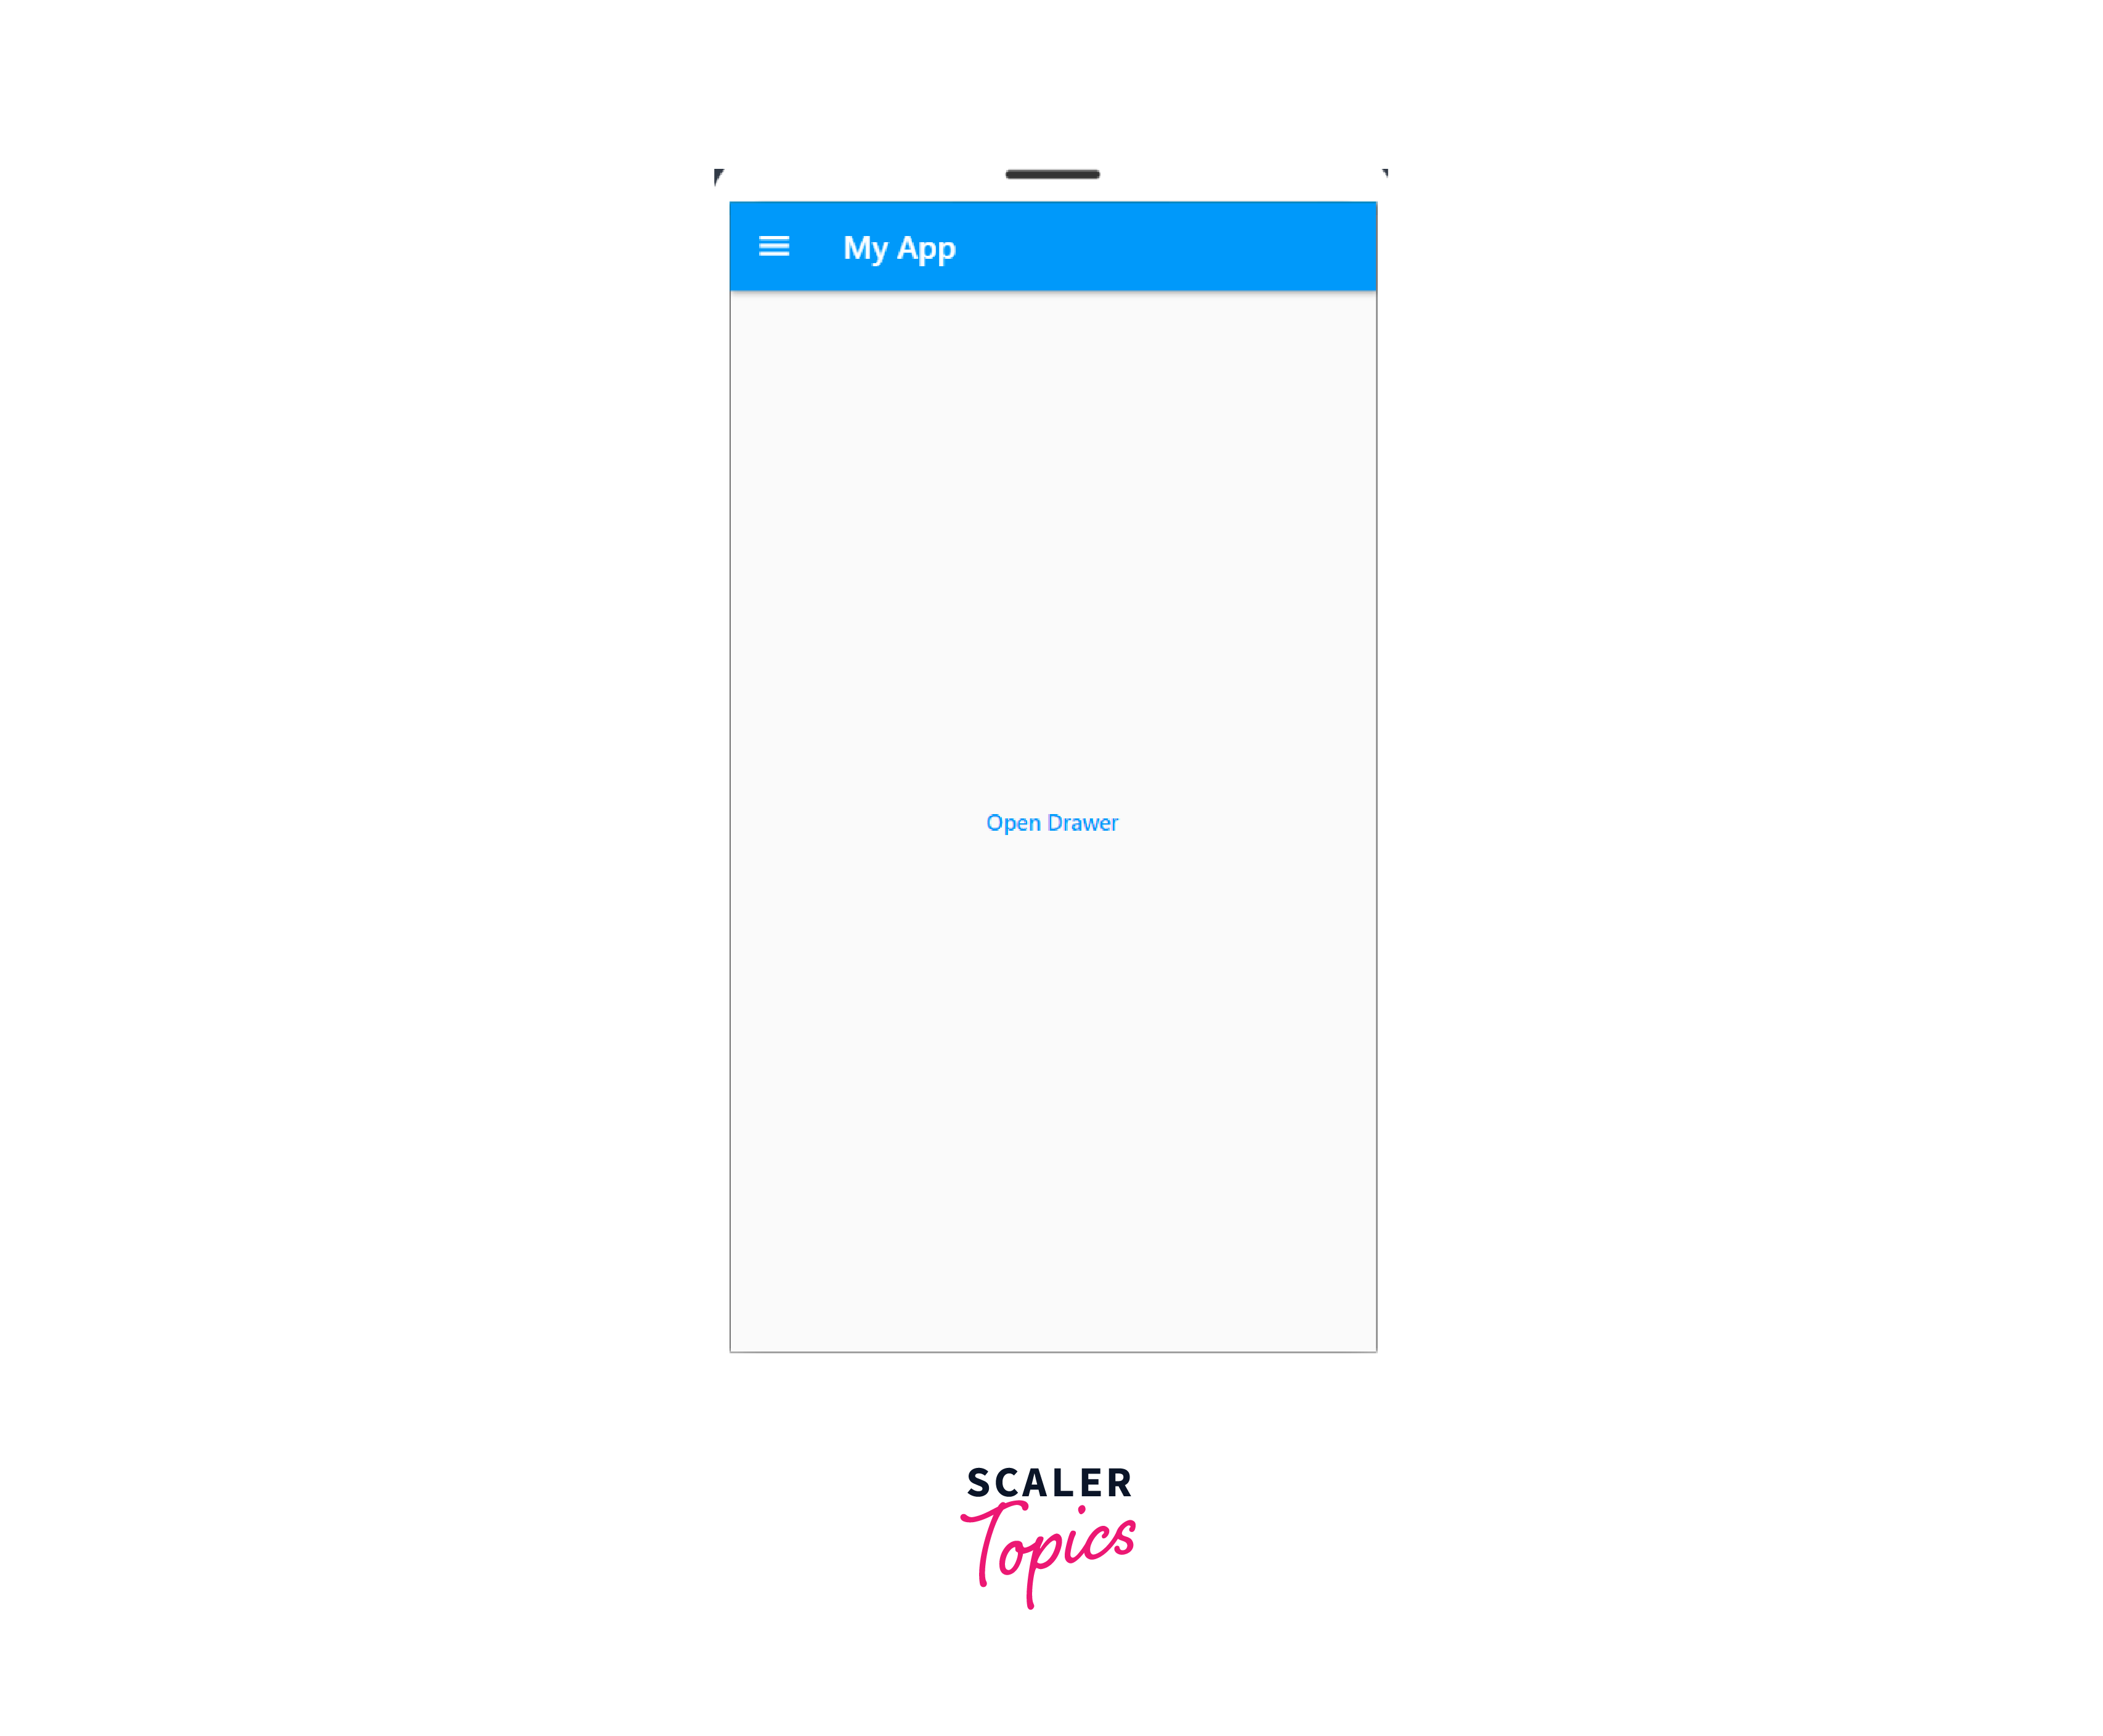
Click on Open Drawer to get
Opening a Navigation Drawer from the Right Side
-
Replace the drawer property with the endDrawer property in your Scaffold widget:
-
Include a button or other UI component in your app that causes the Navigation Drawer to open. In this illustration, a TextButton has been added to the Scaffold's body.
-
Use the Scaffold.of(context).openEndDrawer() method to open the Navigation Drawer when the user taps on the button or performs some other action in your app.
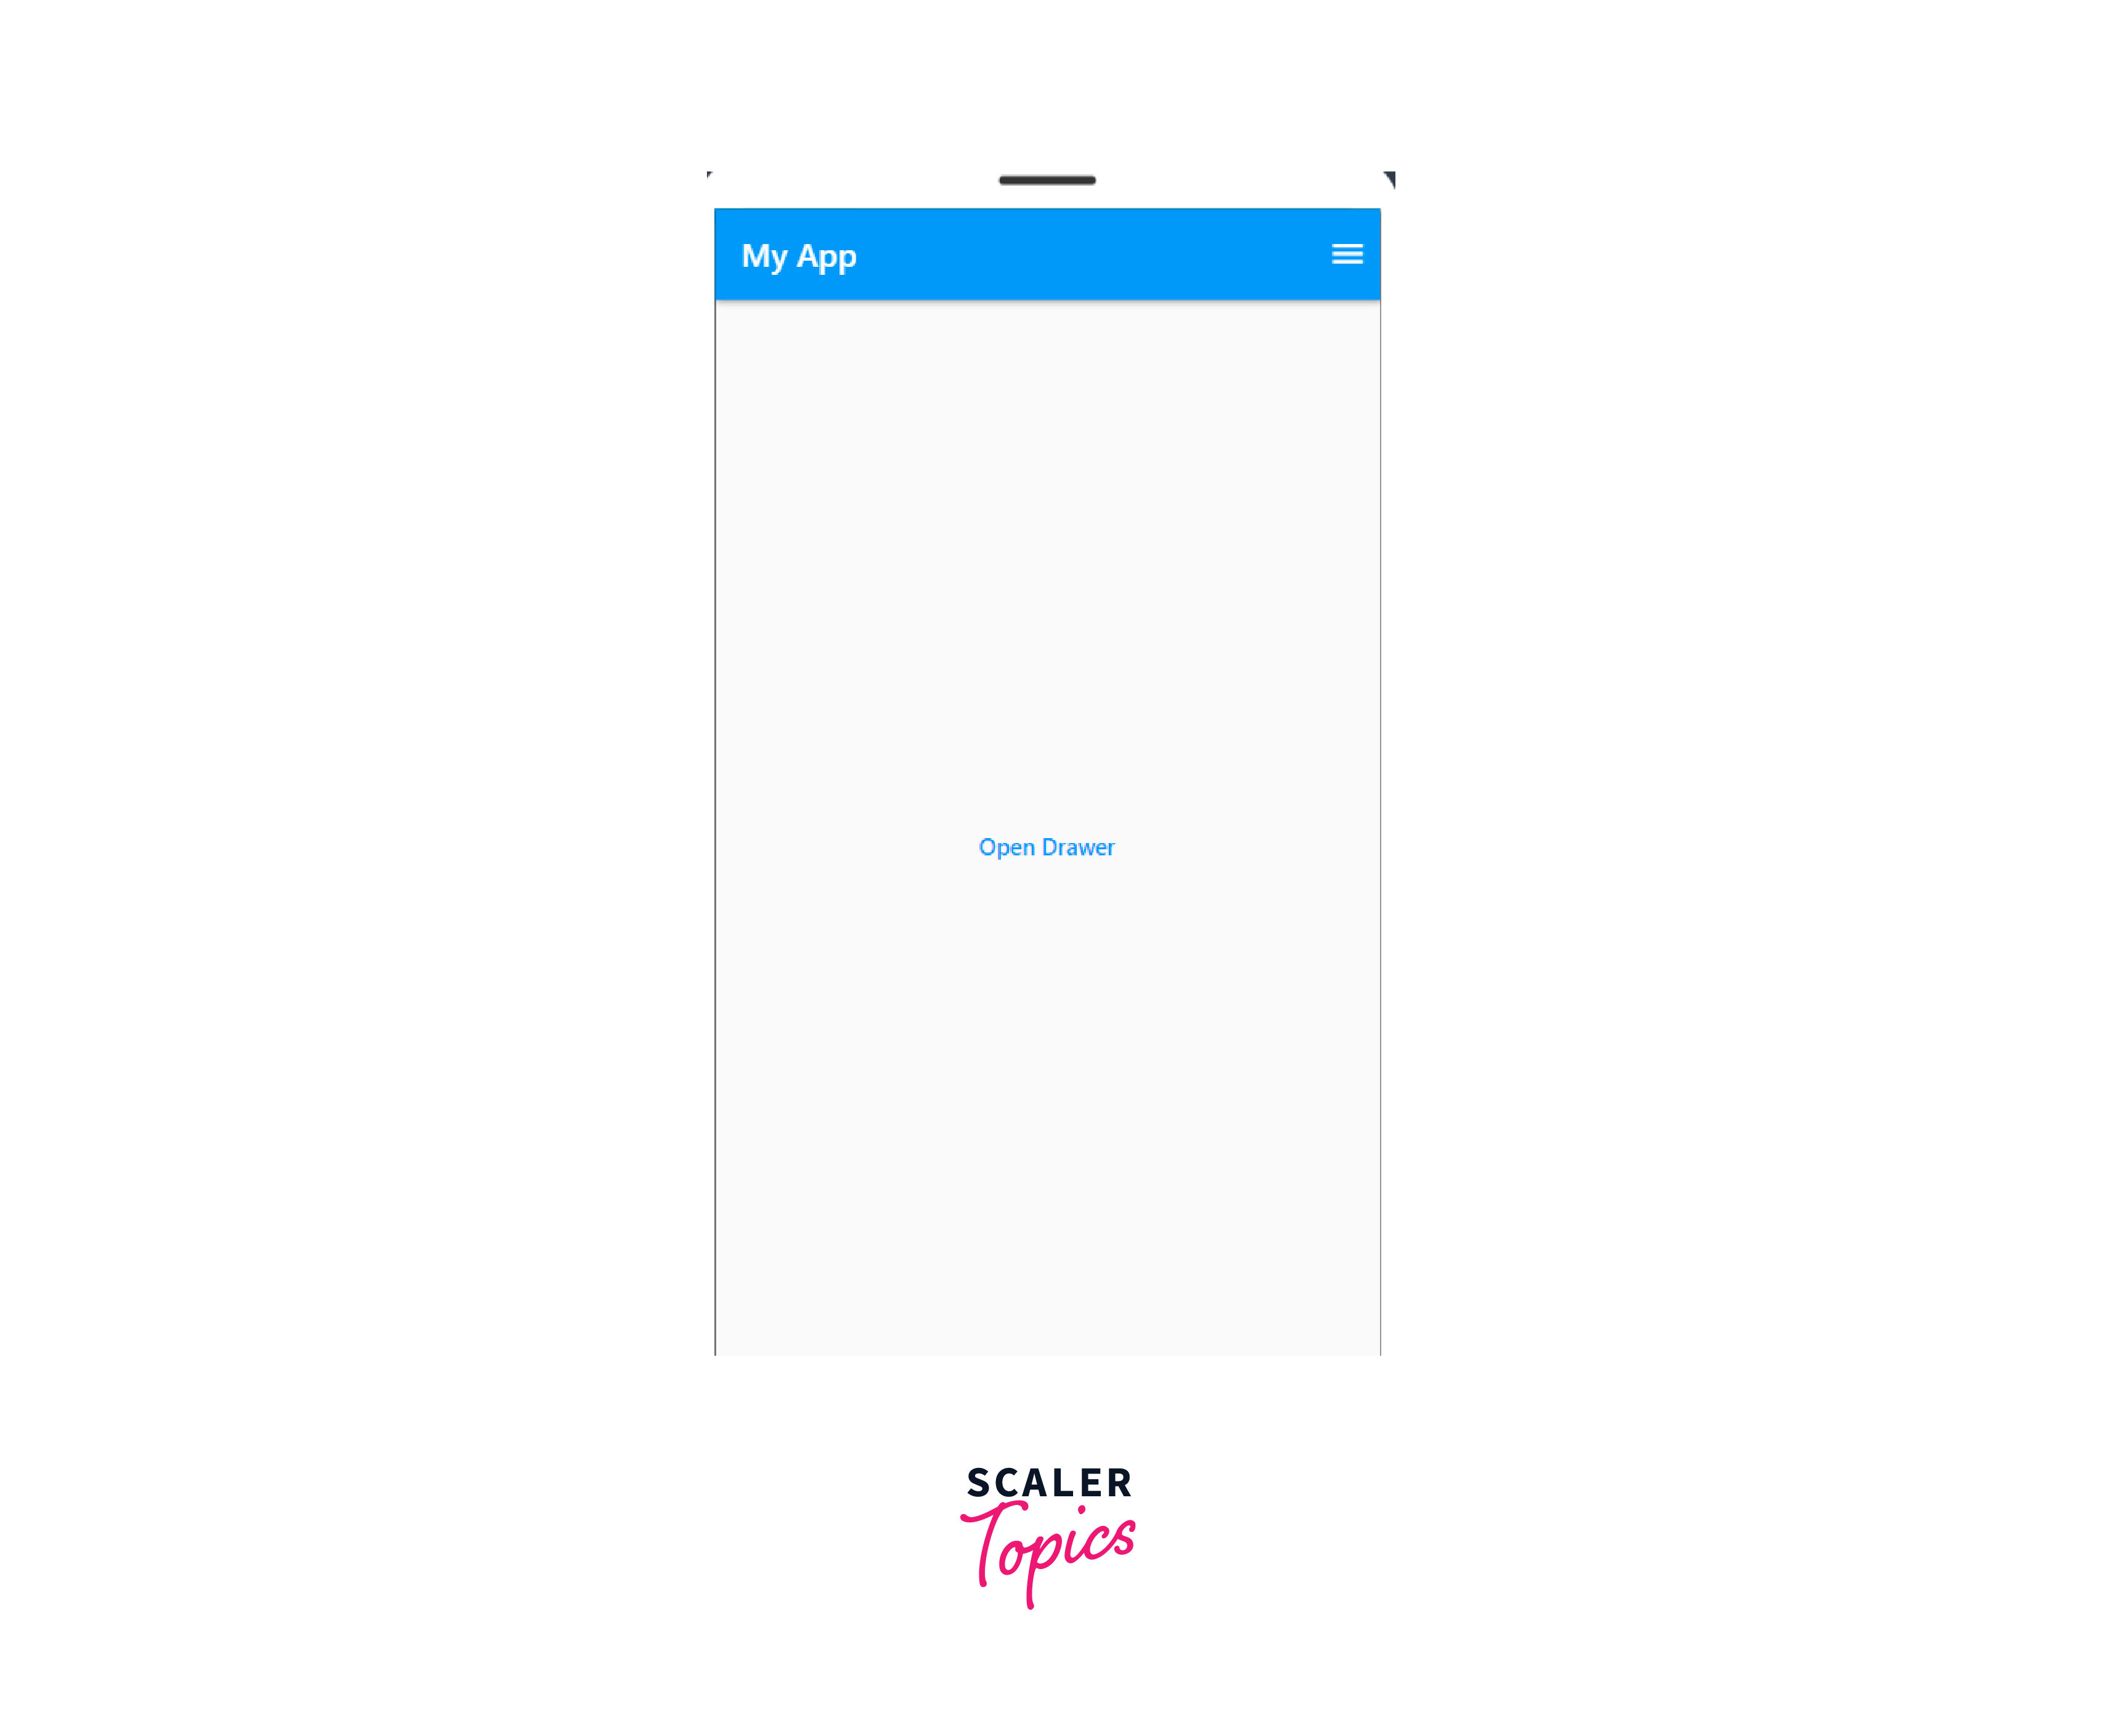
Notice that the drawer is in the right hand side
Controlling Navigation Drawer Width
Using the scaffold widget's drawerWidth parameter, you may modify the width of the Navigation Drawer in Flutter. This is how you do it: Set the drawerWidth property of the Scaffold widget to the desired width of the Navigation Drawer:
Use the drawerWidth property to set the width of the Navigation Drawer. In this example, we've set the width to 200.When you open the Navigation Drawer using the Scaffold.of(context).openDrawer() method, it will be displayed with the width that you set in the drawerWidth property.
Notice that the width is reduced a bit
Example App
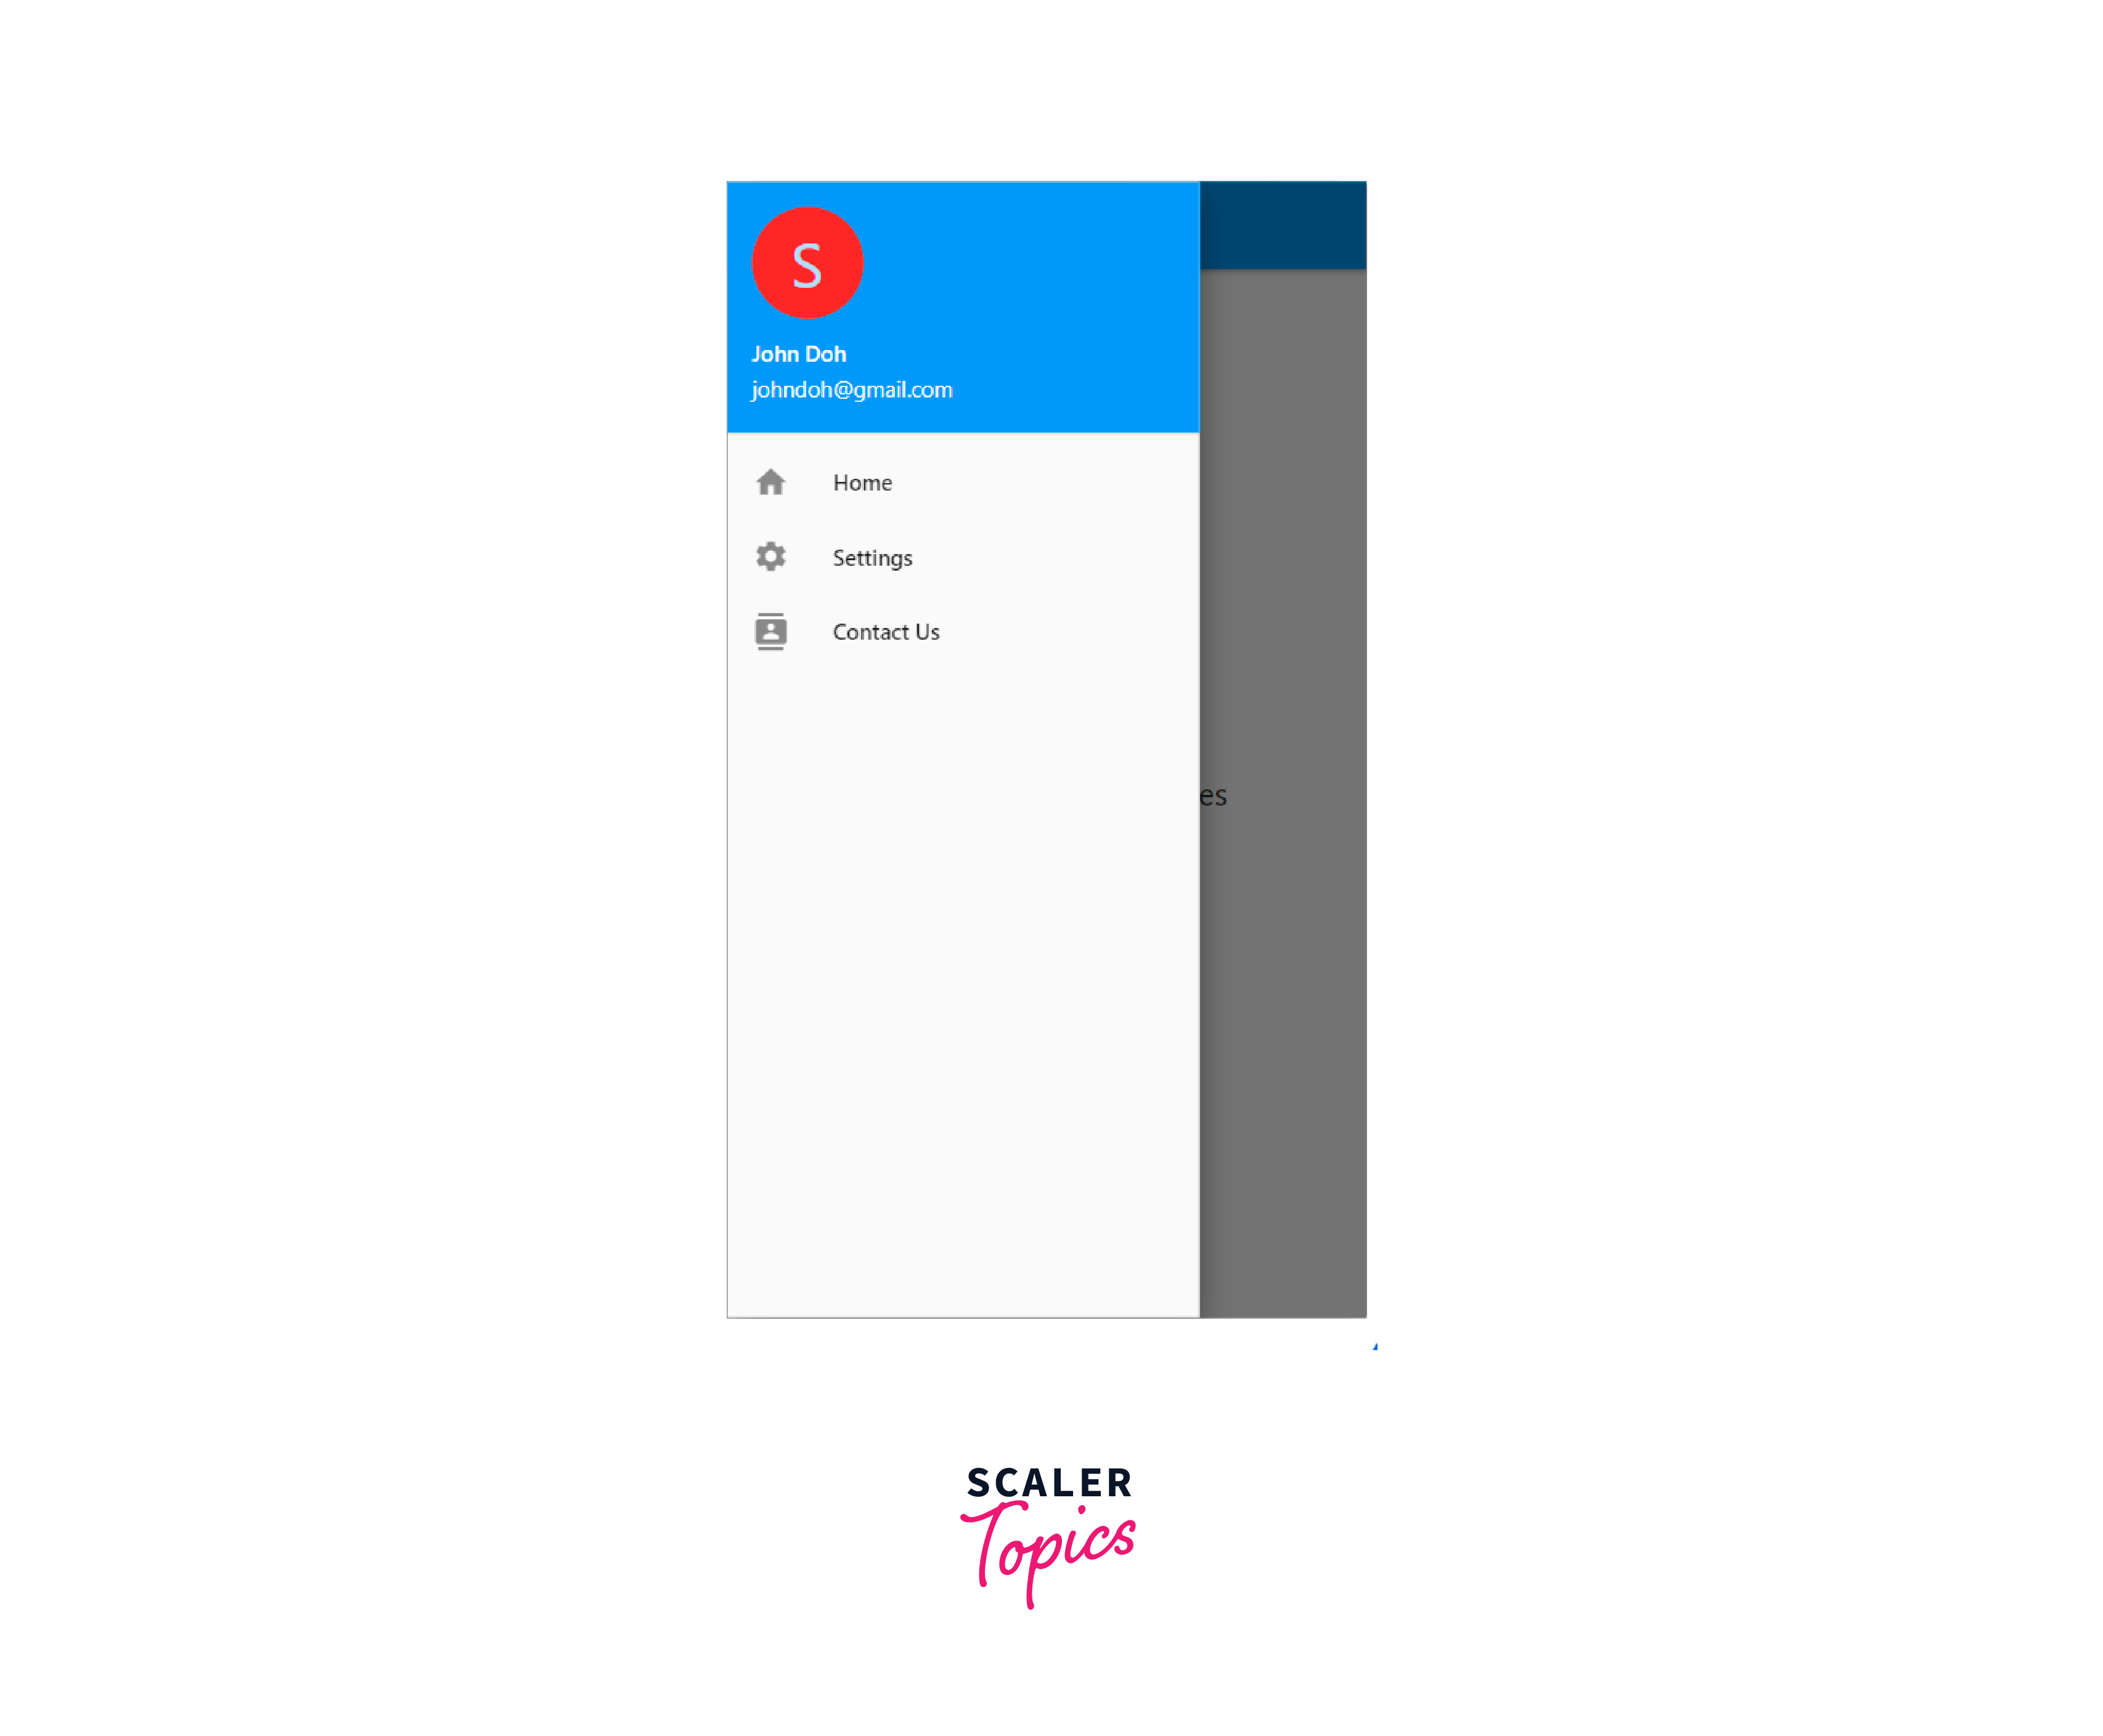
The 3 lines on the top-right corner when clicked will reveal the drawer, the drawer is nothing but a screen above the current screen, and when the options inside the drawer are tapped it does a Navigator.pop() that returns to the demo page. The ListView is used for displaying the drawer items with proper fonts and Text icons and also display the text. The Drawer widget helps to create the drawer.
Conclusion
- A Drawer Widget offers Access to various locations and features offered by your application. On the top of the scaffold, it is symbolized by three horizontal, parallel lines. The link to various routes in the Flutter app is navigated using a horizontal movement from the edge of the scaffold.
- The drawer can be customizable to any width by setting up its drawer width property.
- Drawer can be implemented on either side of the edge of the screen.
- ListView allows Developers to add many Lists to the drawer and also lets Developers add user account information too.