How to Install and Configure Linux SSH?
Introduction
Secure Shell (SSH) is a cryptographic network protocol that provides a secure way to access and manage remote systems. It allows users to securely connect to a remote server or device over an unsecured network, such as the internet. SSH encrypts all communication between the client and server, protecting sensitive data from unauthorized access.
This article will walk you through the process of installing and configuring SSH on a Linux system, specifically Ubuntu. It covers both setting up the SSH server and the SSH client. By following these steps, you'll be able to enable SSH in Linux and establish secure connections to remote systems and manage them remotely.
Prerequisites for Installing SSH on Ubuntu
Before installing SSH on Ubuntu, make sure you have the following prerequisites:
Ubuntu Linux System: Ensure that you have a Ubuntu Linux system up and running. SSH can be installed on various Ubuntu versions, including Ubuntu 22.04, Ubuntu 20.04, and others.
Administrative Access: You need administrative or root access to the Ubuntu system. This is required to install packages and modify system configurations.
Internet Connection: Ensure that your Ubuntu system is connected to the internet. The installation process requires downloading packages and updates from the Ubuntu repositories.
Setting Up Linux SSH on Ubuntu Linux
To set up Linux SSH in Linux and enable SSH in Linux Ubuntu, follow the below-mentioned steps:
Install SSH Server
Step 1.: Open a terminal on your Ubuntu system. You can do this by searching for "Terminal" in the application launcher or by using the shortcut Ctrl+Alt+T.
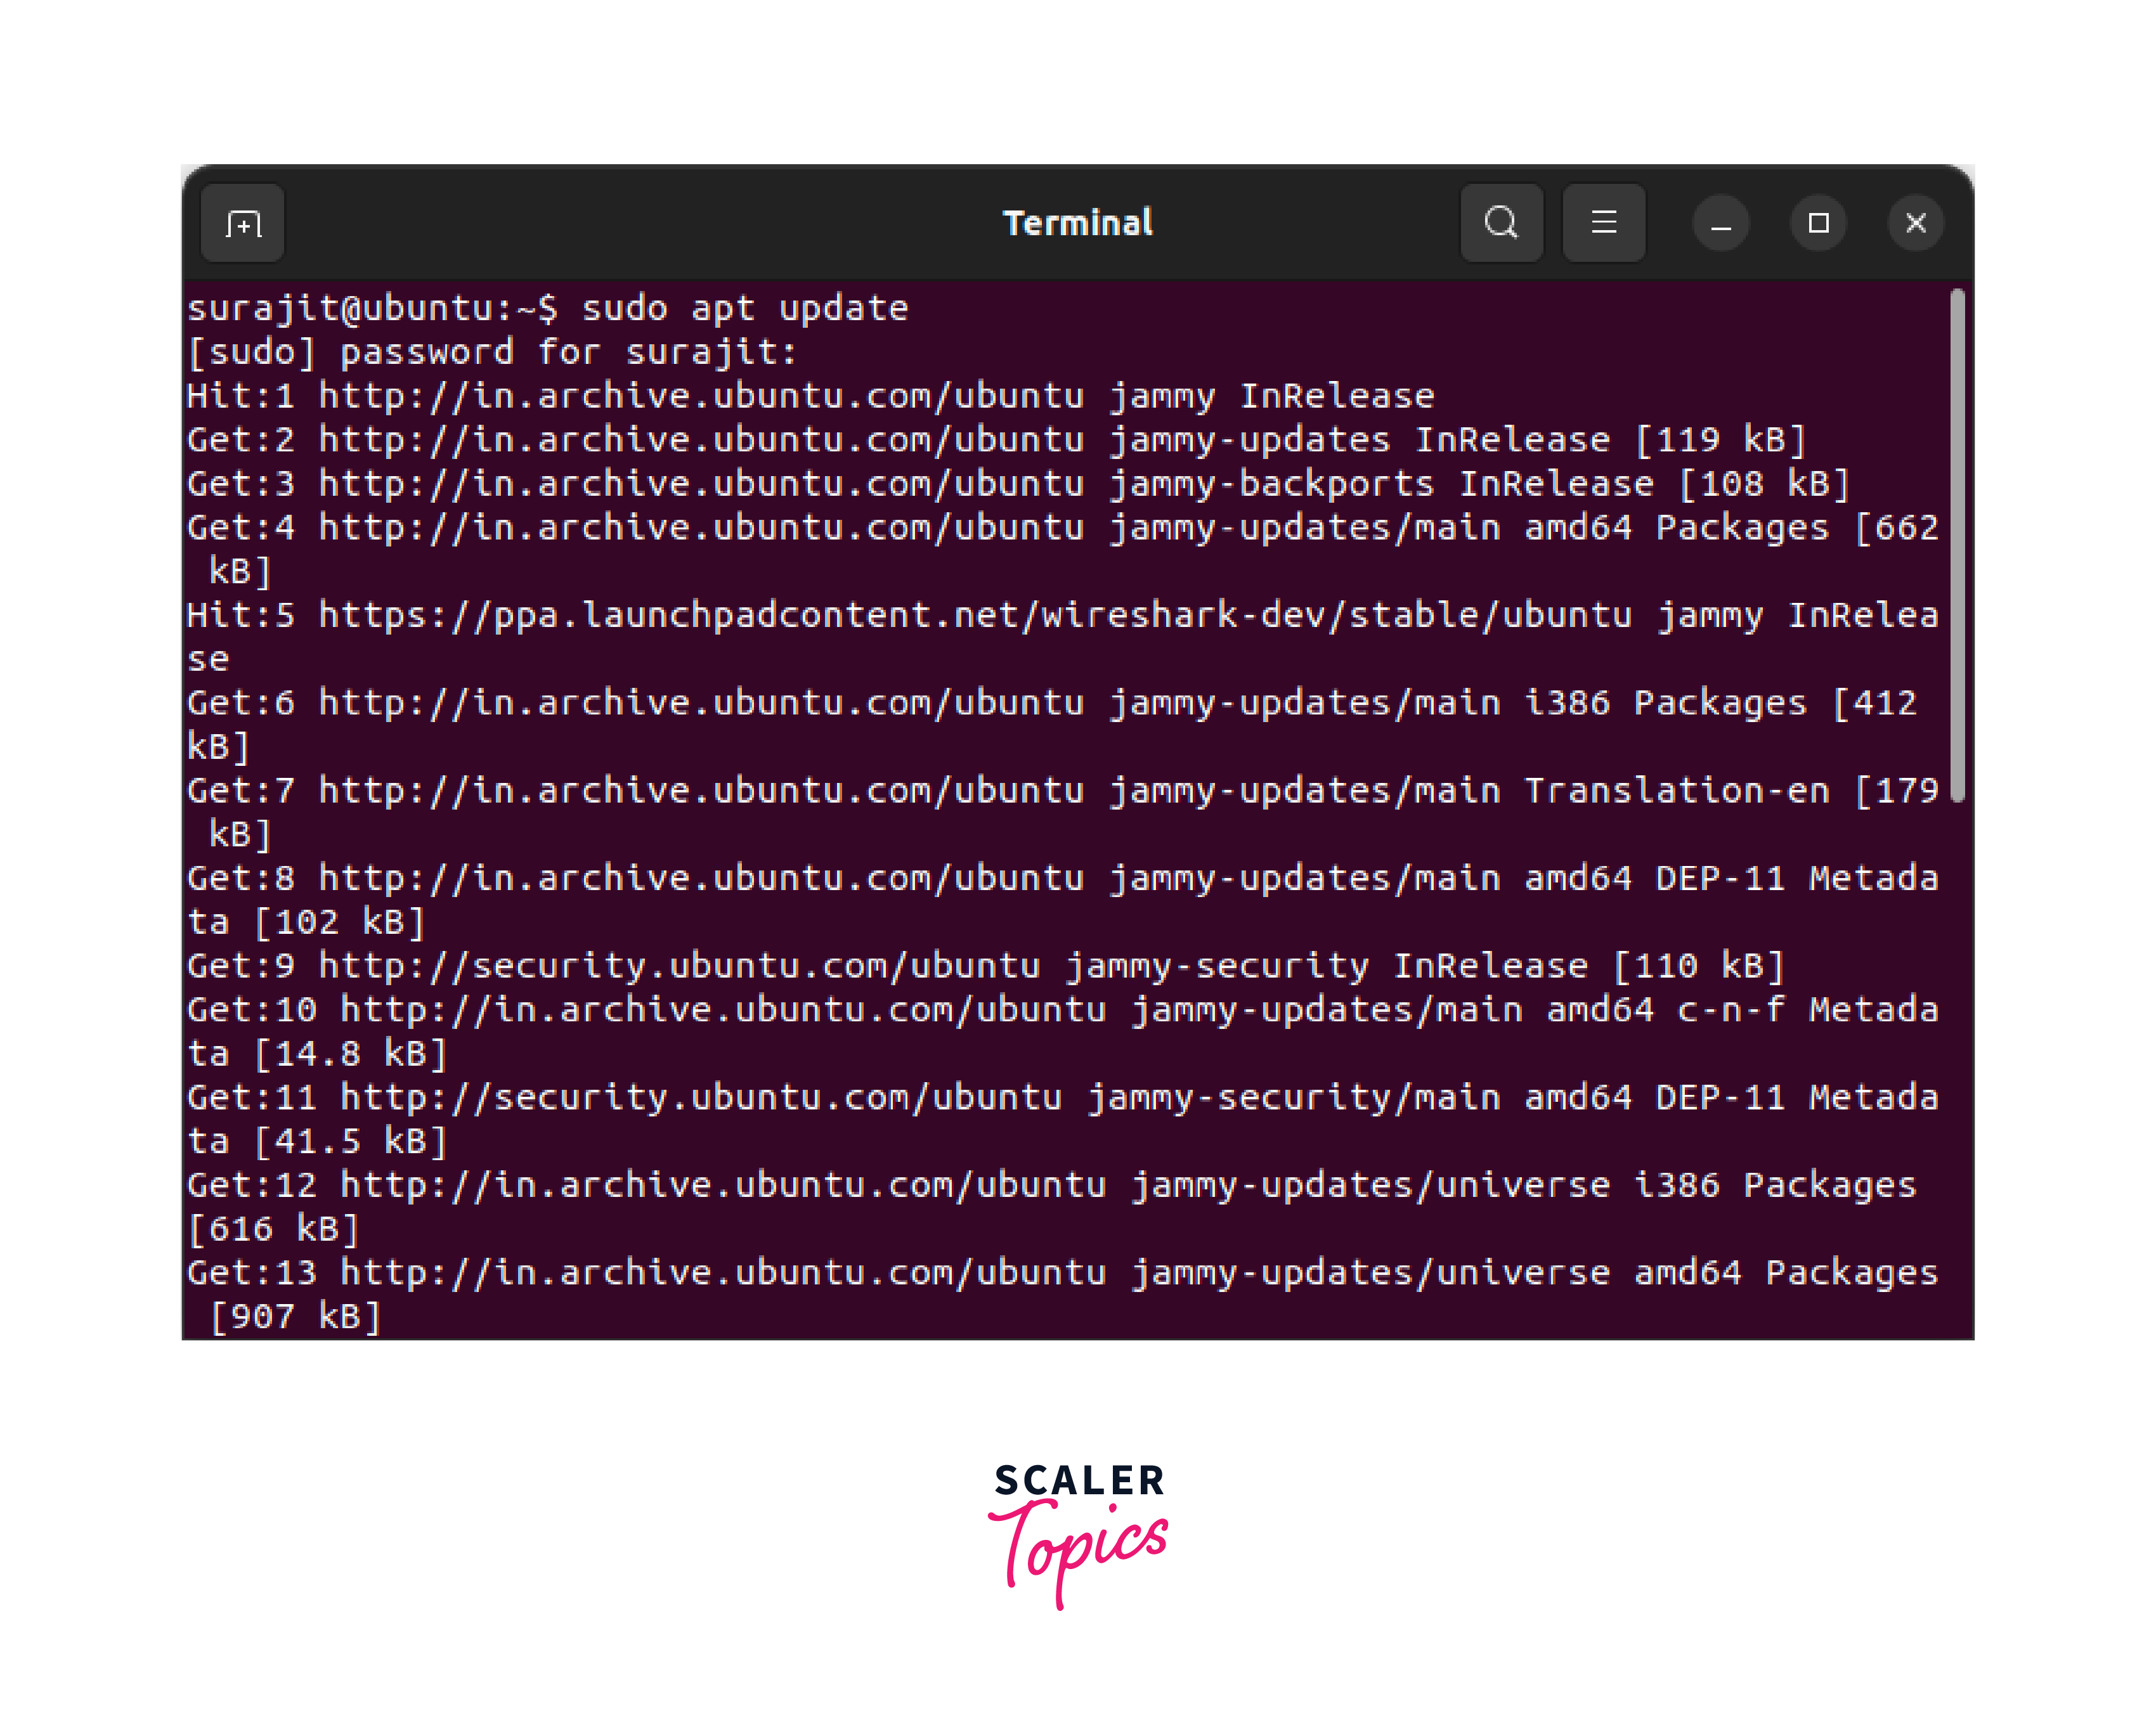
Step 2.: Before installing SSH or any new application in the system, it's a good practice to update the package lists to ensure you have the latest versions of packages. Run the following command in the terminal:
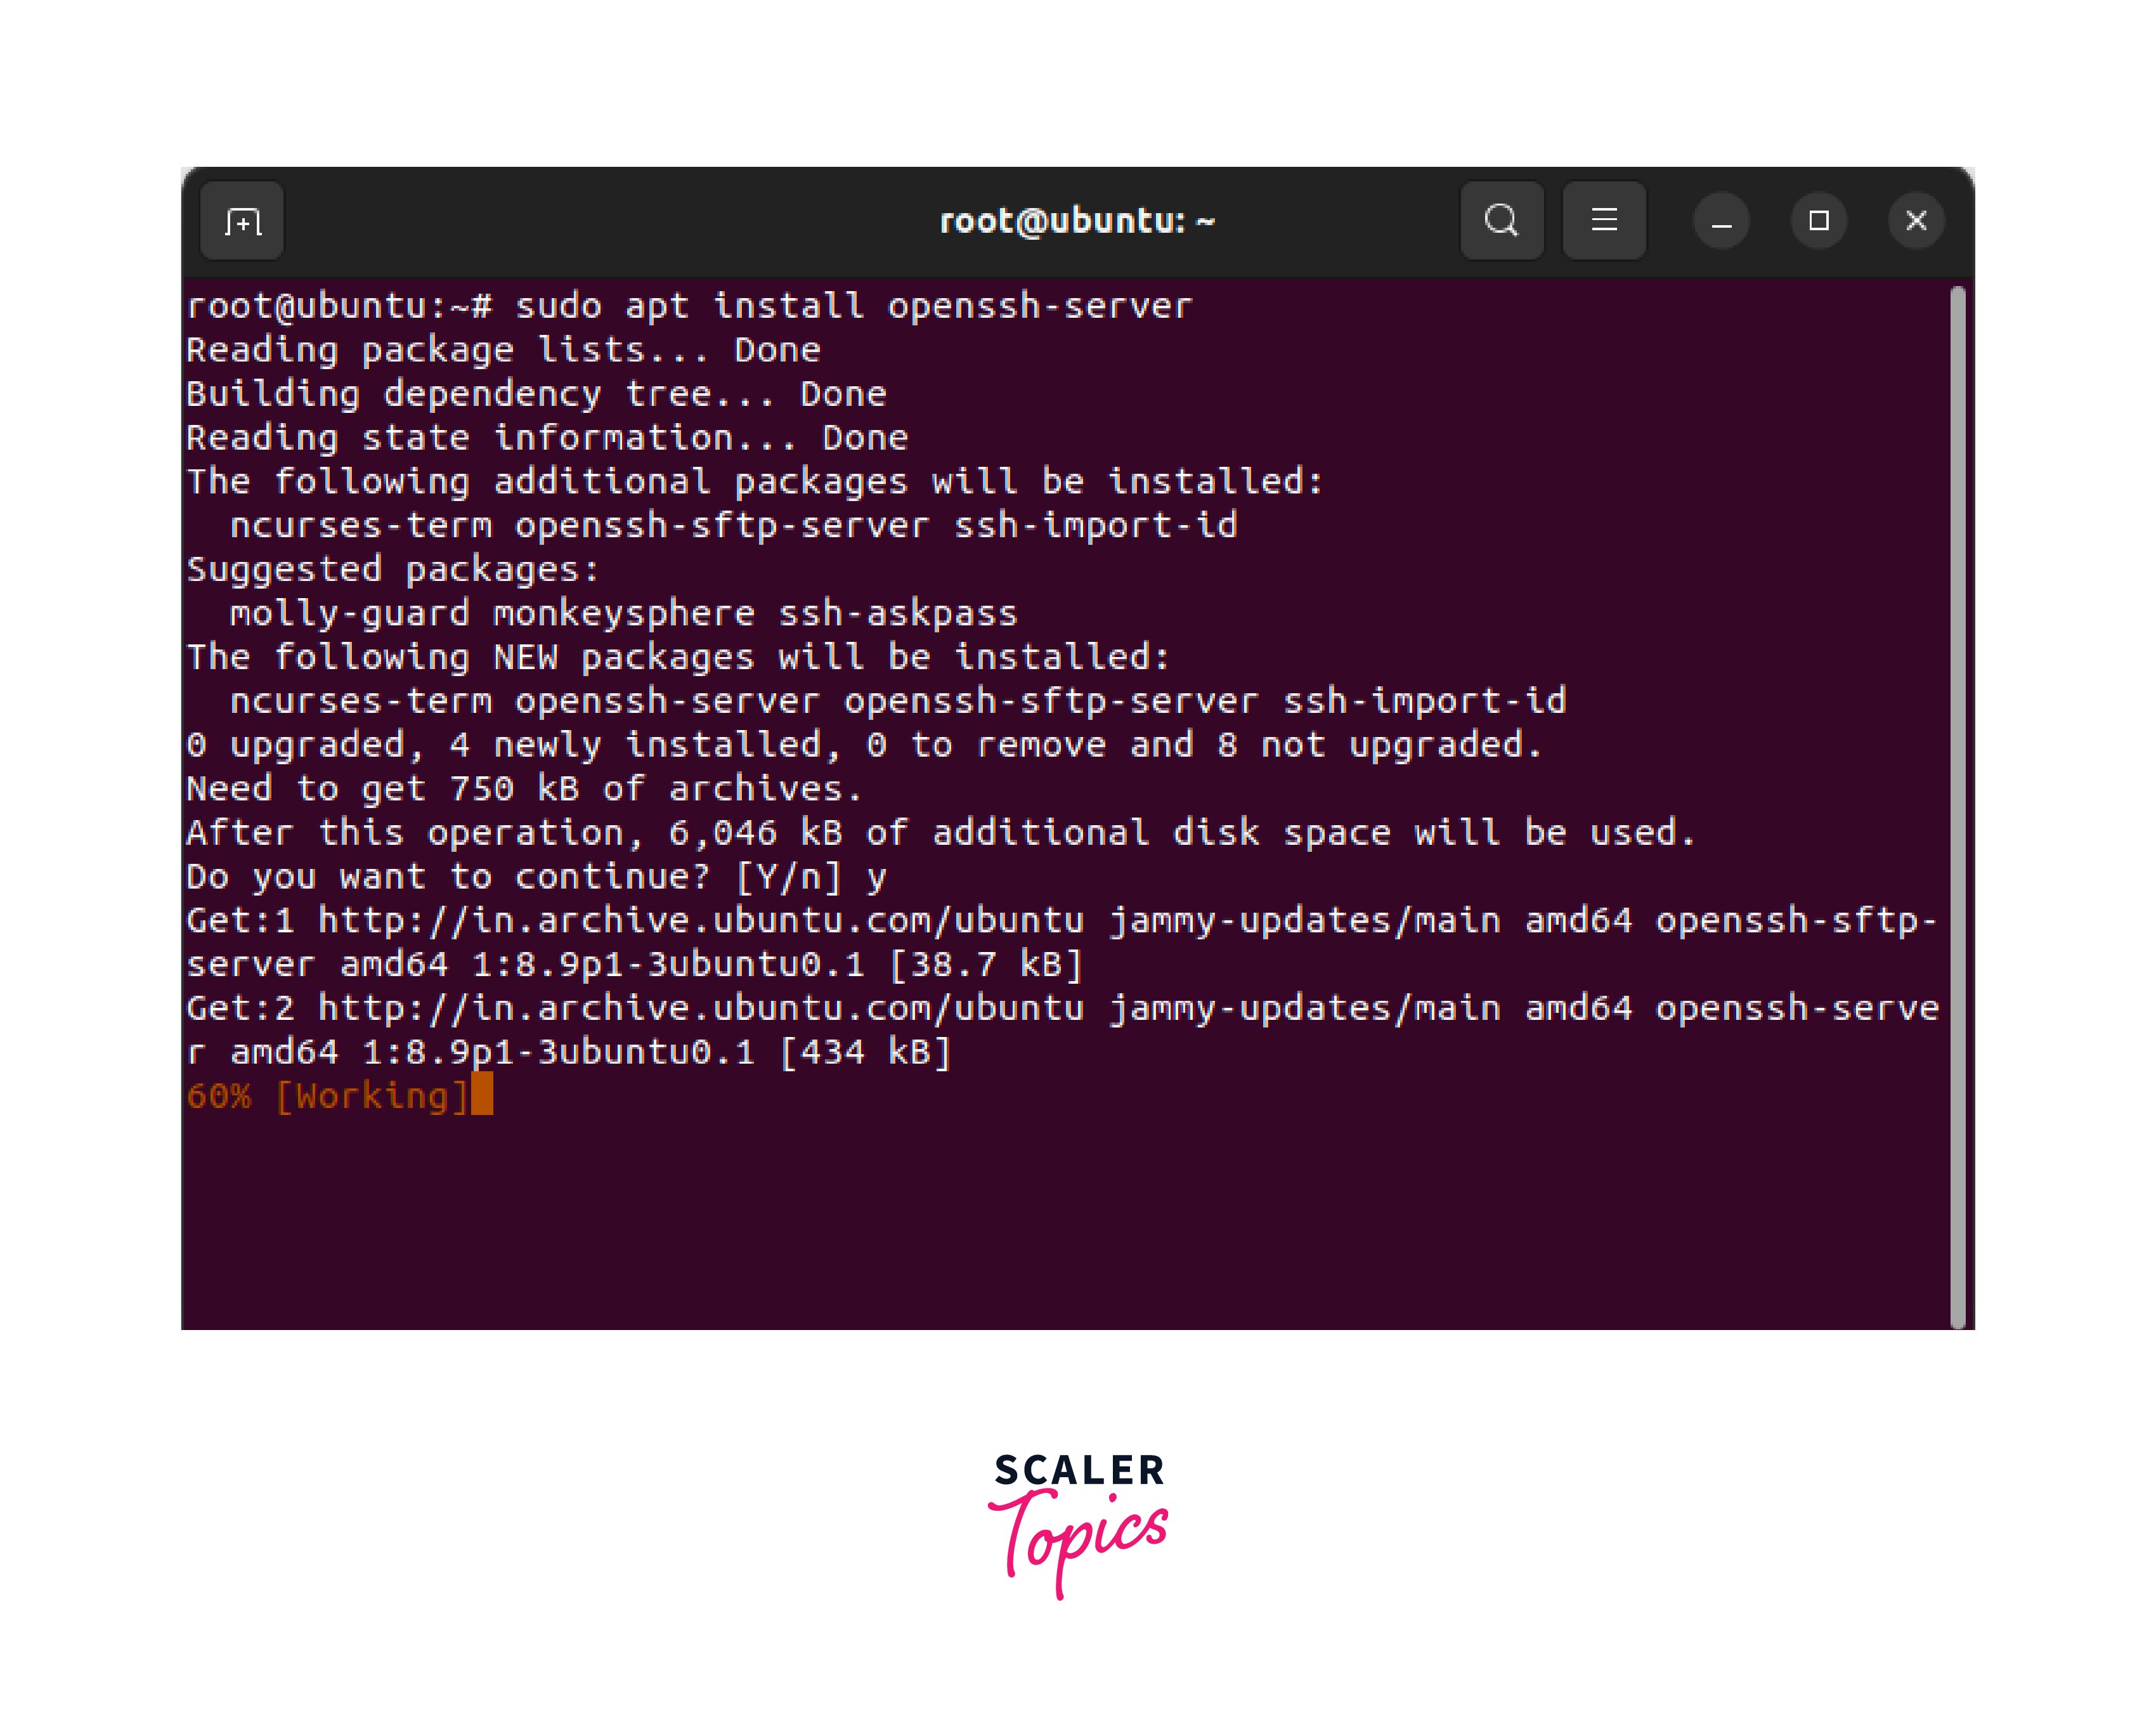
Step 3.: For Installing SSH server, Use the package manager, apt, to install the SSH server package called openssh-server. Run the following command in the terminal.
Verify SSH Server Status
Once the installation process completes, the SSH server should start up on its own automatically. By executing the following command, you will be able to verify its current status and enable SSH in Linux.
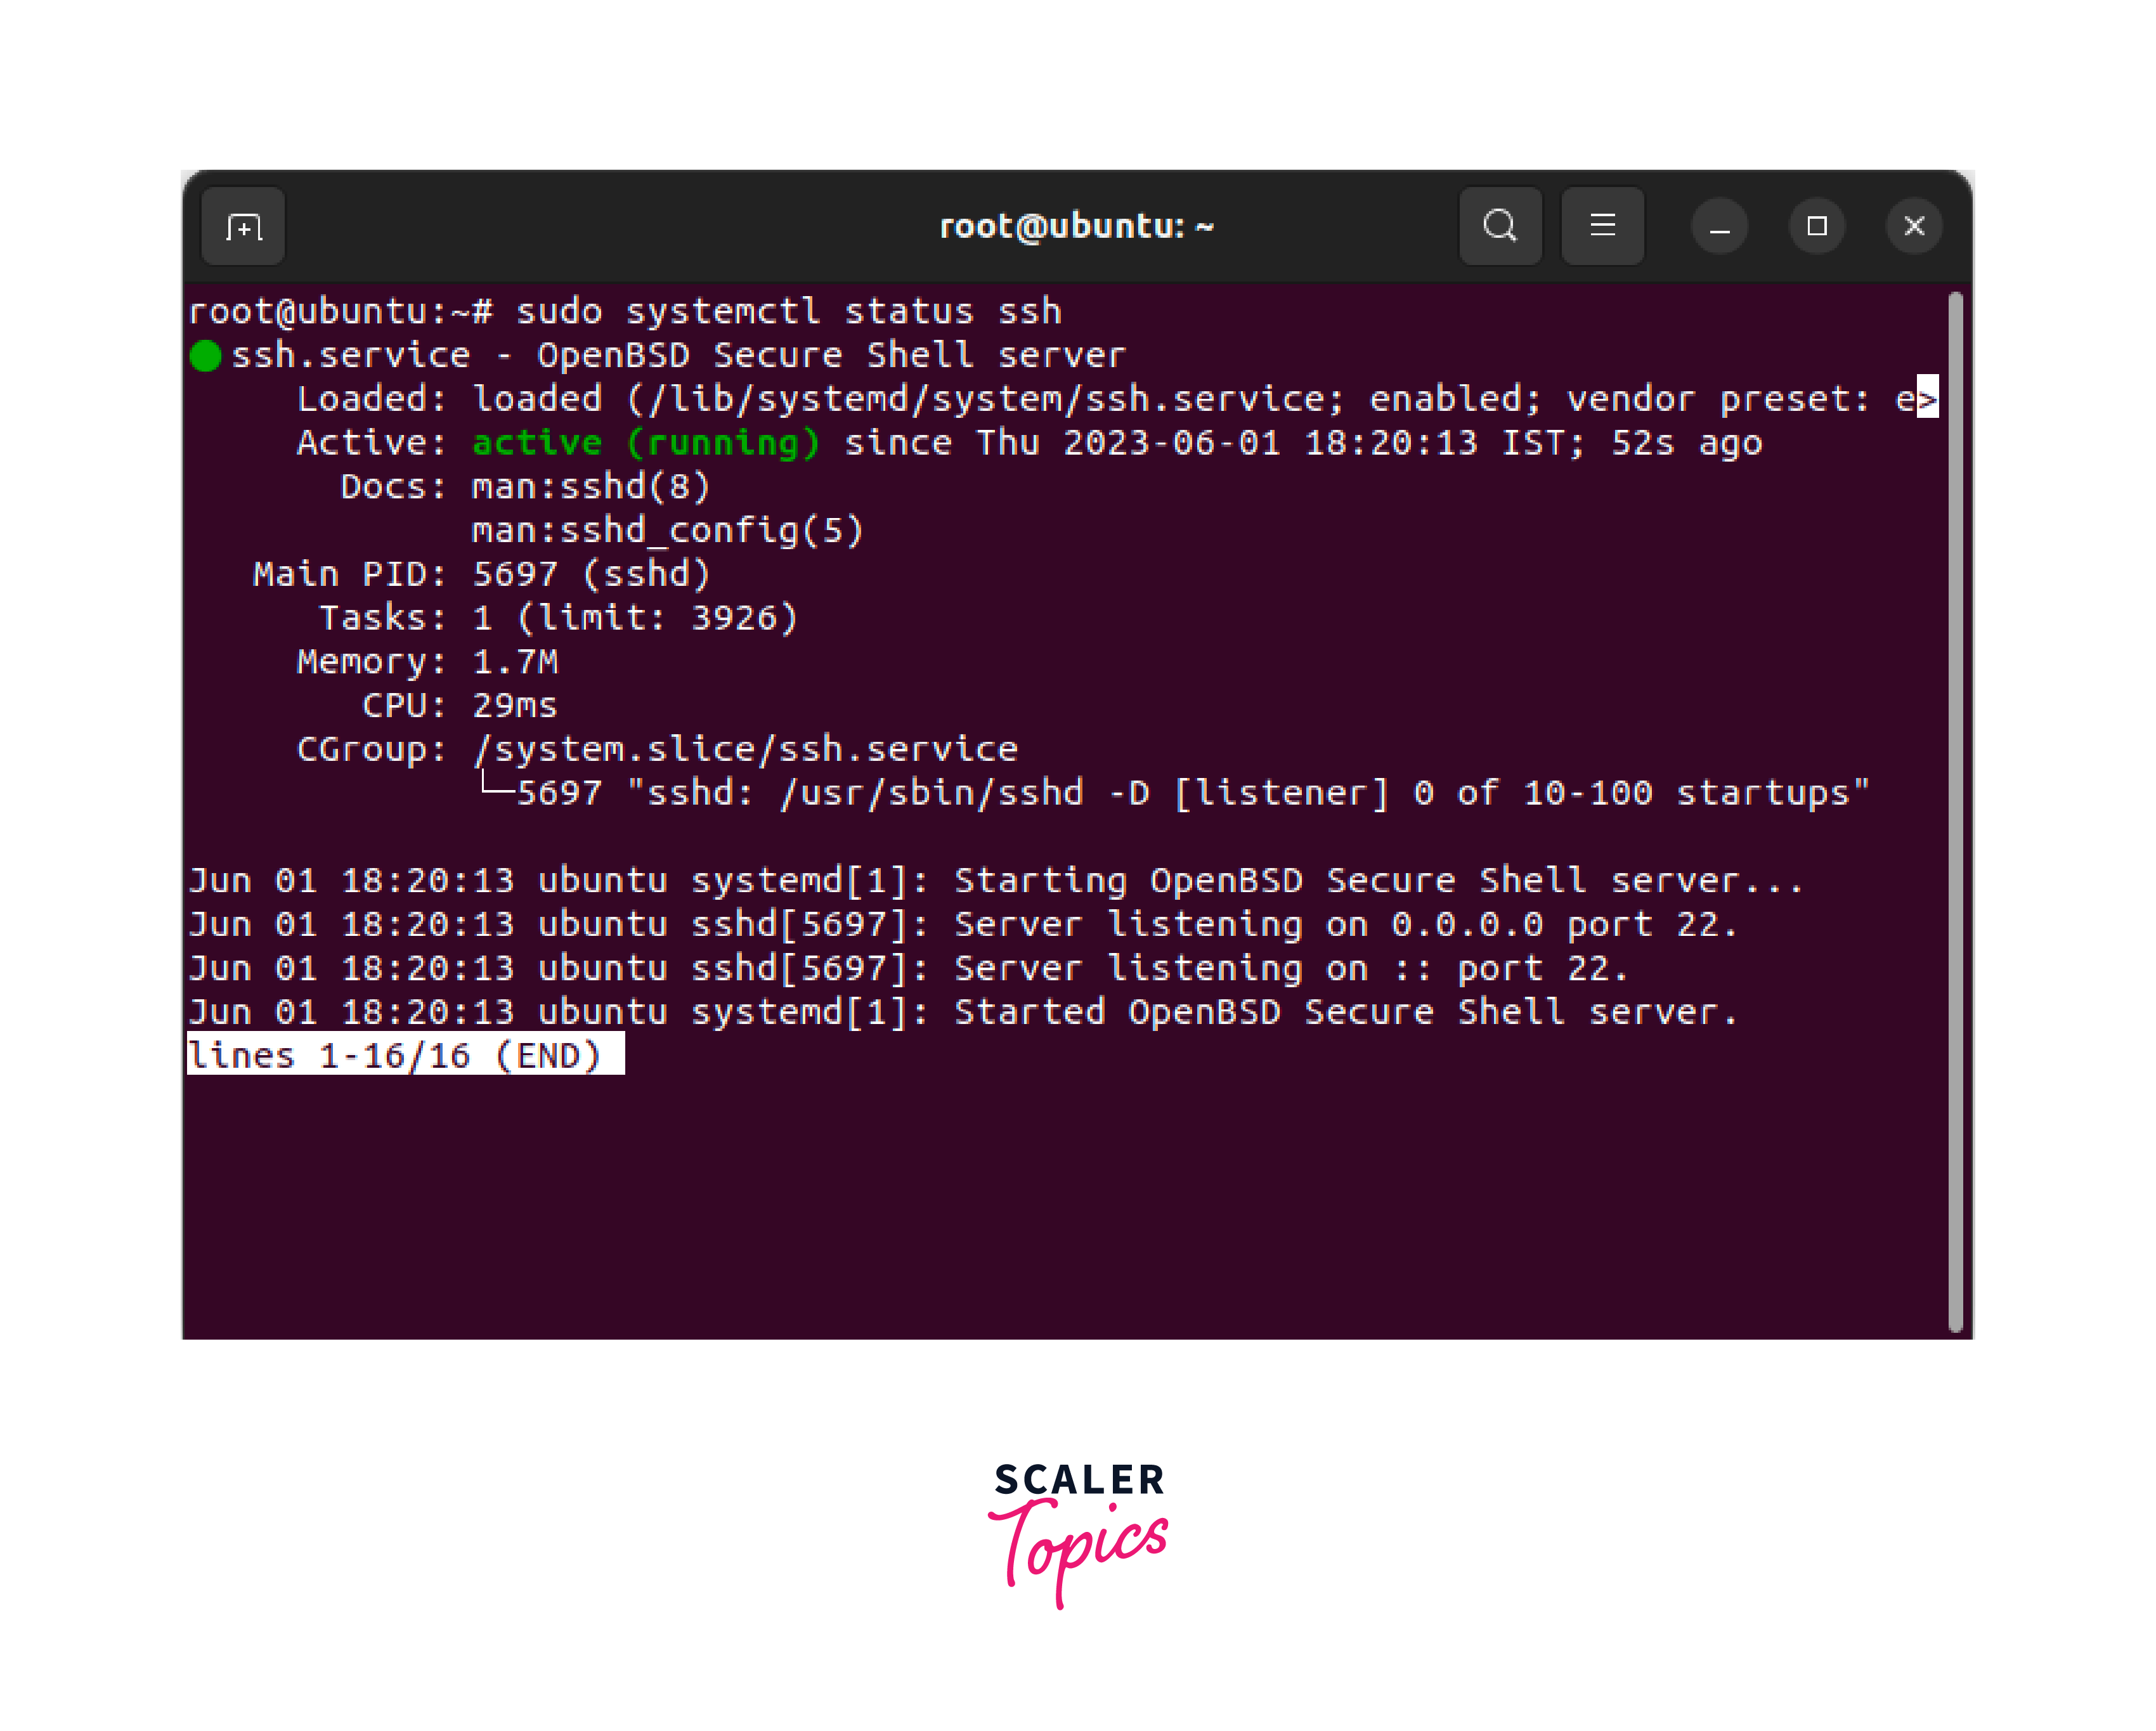
This command will display information about the SSH service, including whether it is active and running.
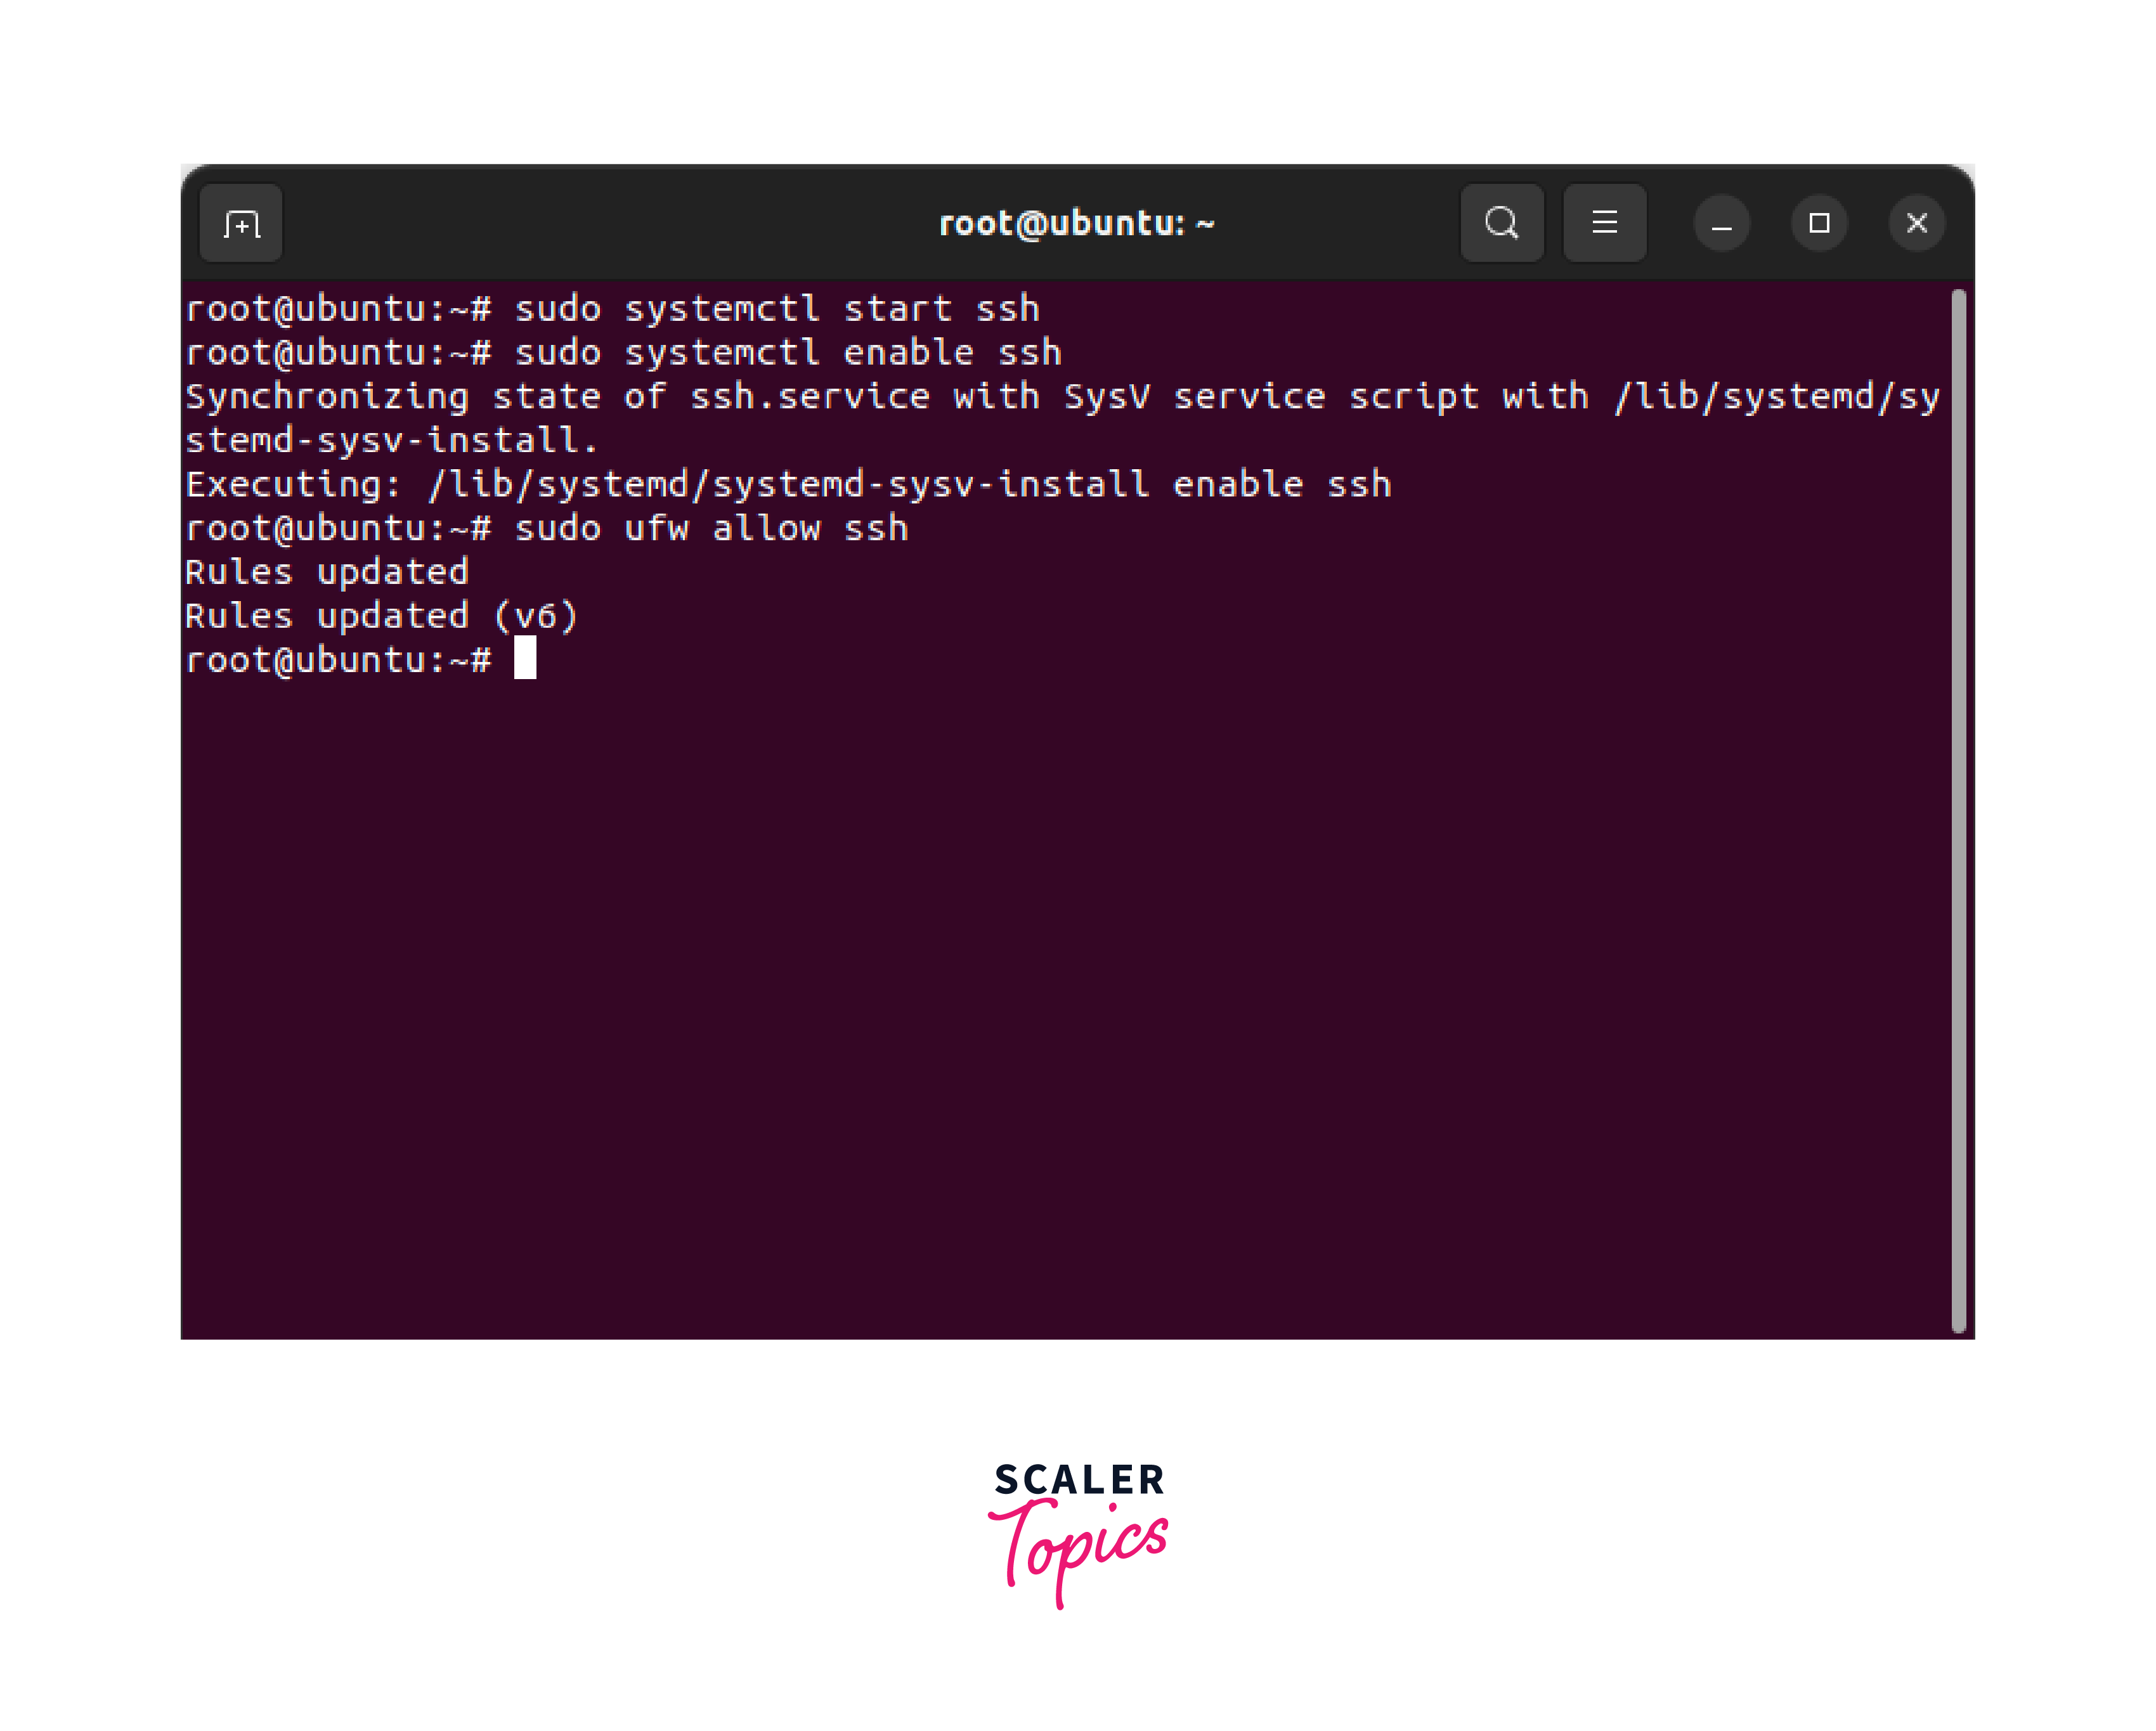
If the status shows that the SSH service is active and running, you can proceed to the next step. Otherwise, you can start the SSH service manually using the following command.
Enable SSH on System Startup
Execute the following command in order to ensure that the SSH server starts up automatically each time the machine boots up.
Allow SSH Through the Firewall
Ubuntu's UFW, which stands for "Uncomplicated Firewall," is enabled by default. If you are using a firewall, you will need to configure it so that SSH connections can pass through it. In order to enable SSH in Linux, you will need to run the following command.
Test SSH Connection
You can verify that the SSH configuration is correct by connecting to your own machine with the local host address (the loopback address). To proceed, type the following command into the terminal.
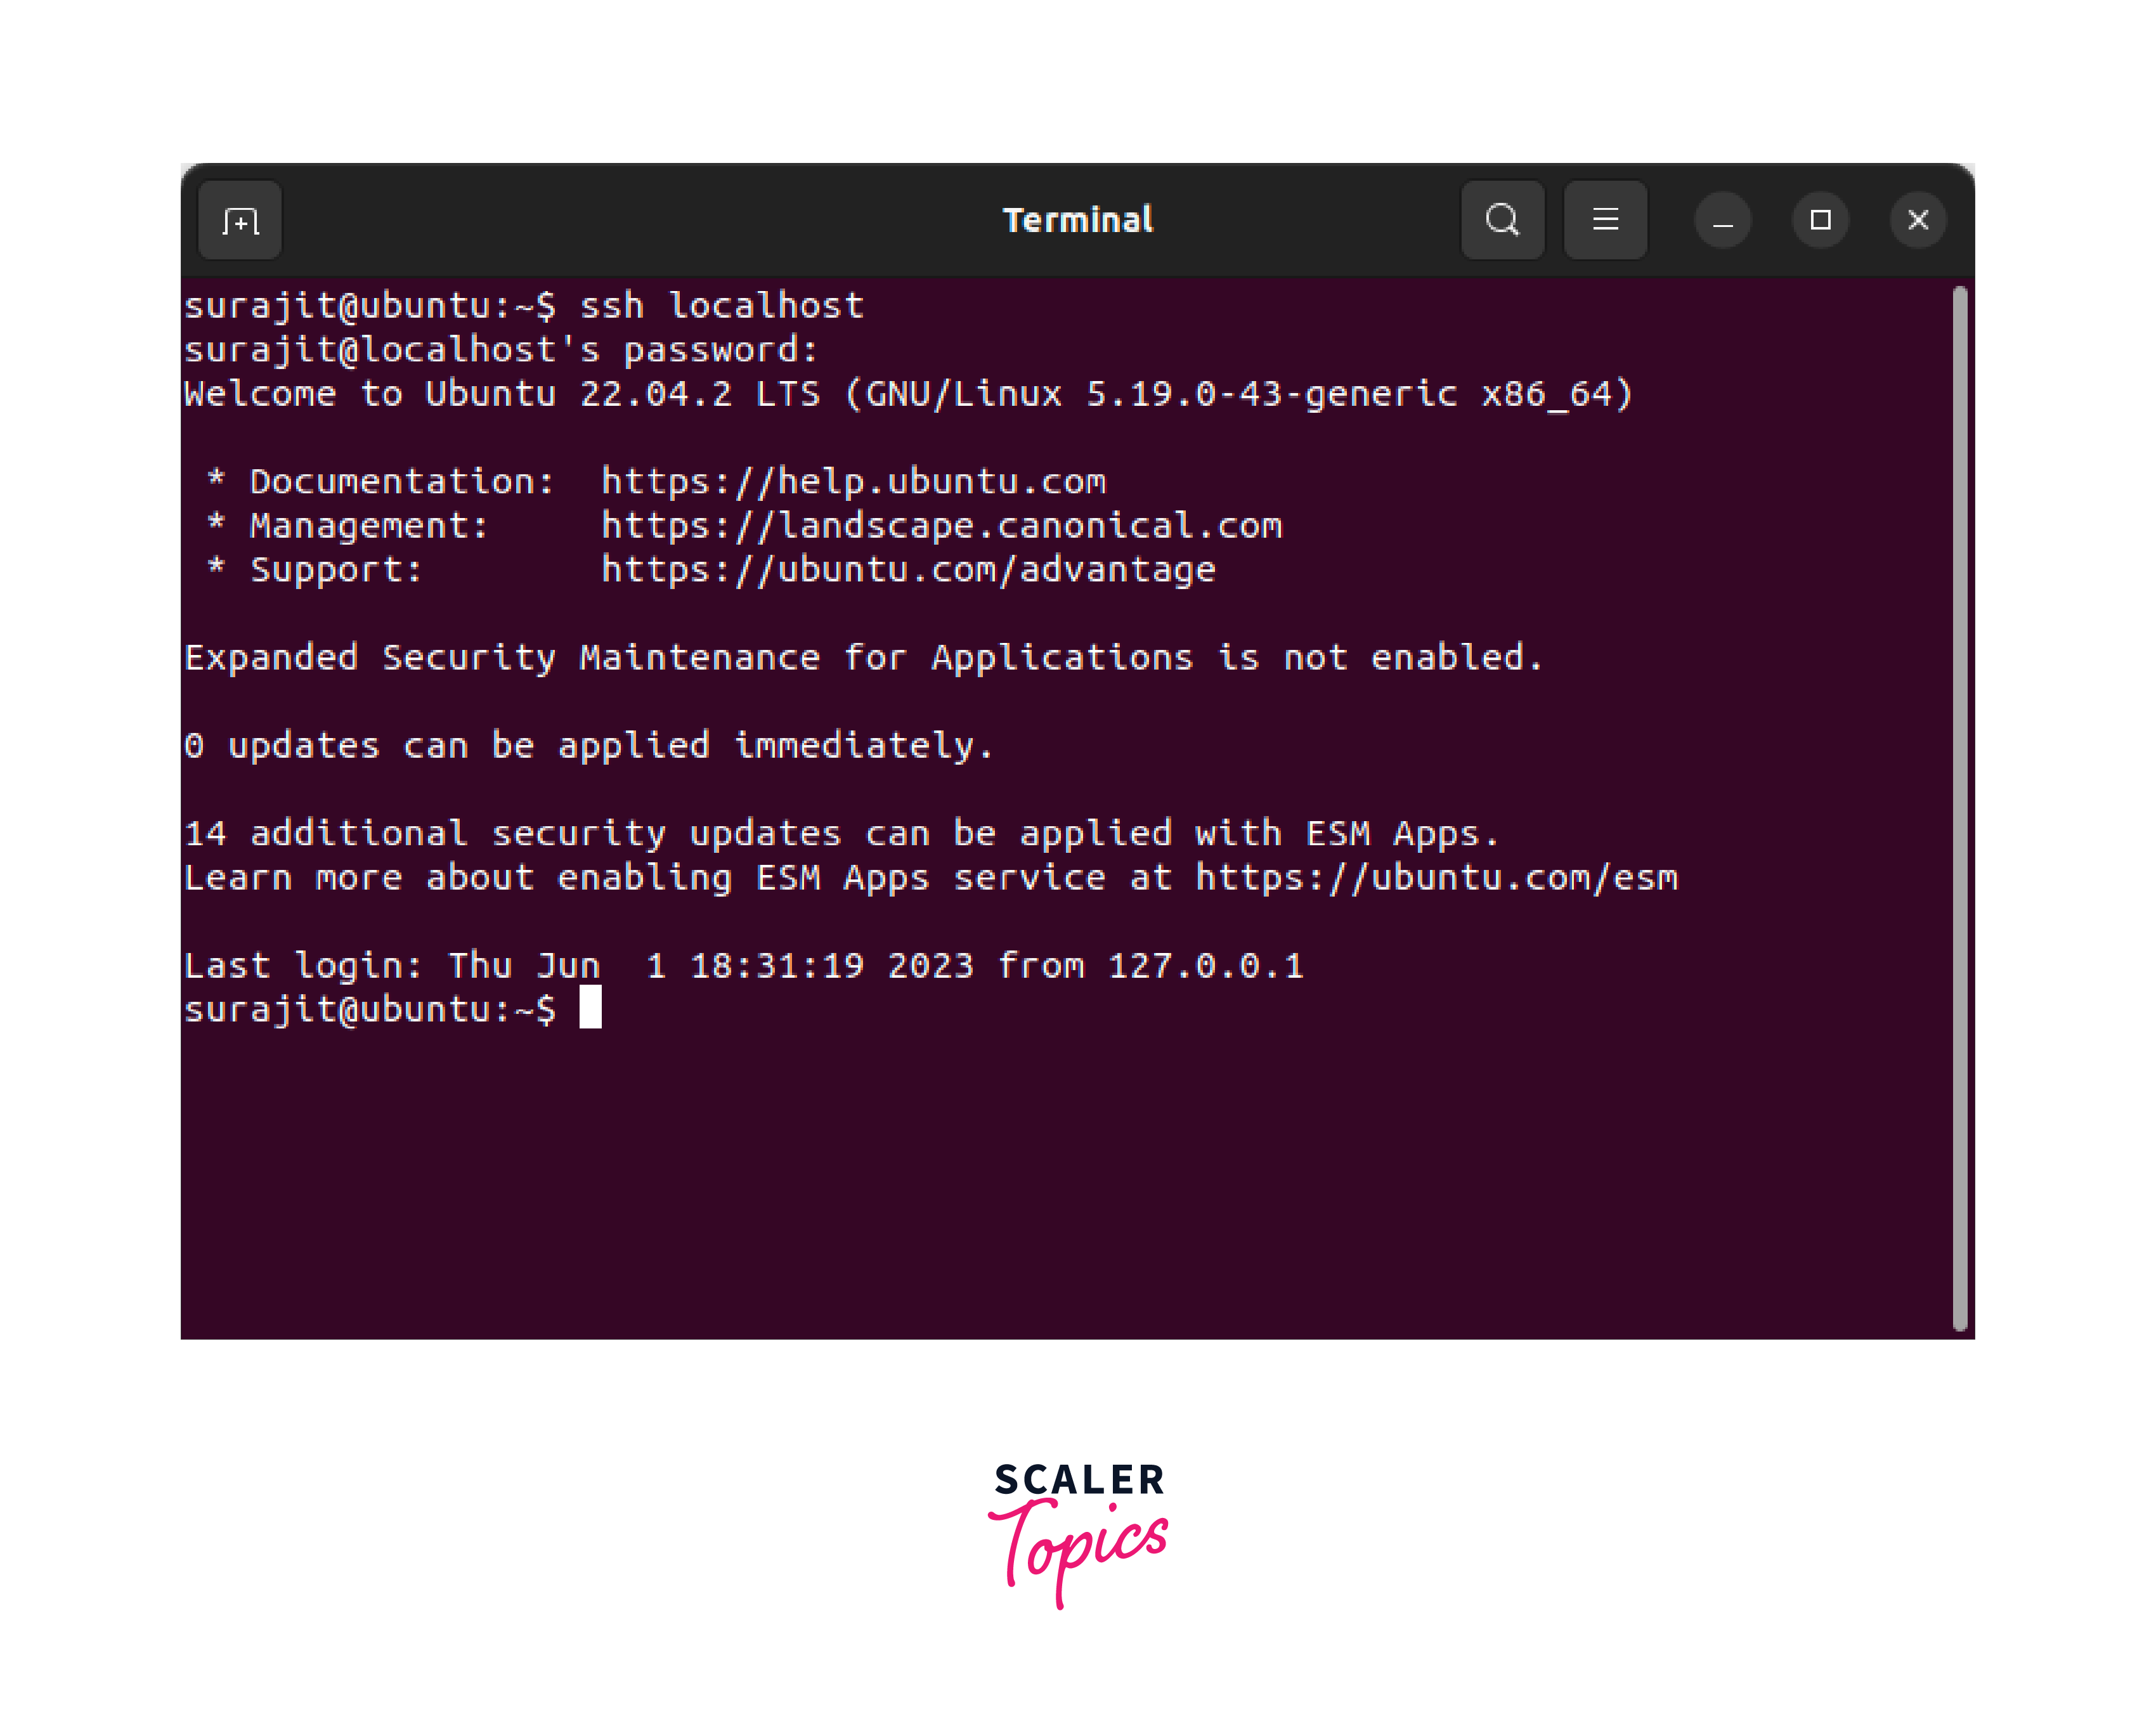
If the connection is successful, you will be asked to enter your username and password, and then you will be logged into your own system over SSH. You can terminate the SSH session by typing the exit command into the terminal.
Now, you have completed the installation of SSH on your Ubuntu Linux machine successfully. You can now connect to your Ubuntu system using SSH from a remote location securely.
Setting Up SSH Client on Linux
Setting up an SSH client on Linux allows you to connect to remote systems securely. Here are the detailed steps to set up an SSH client on Ubuntu Linux.
Step 1.: On your Ubuntu Linux computer, open the terminal application. You can normally locate it in the application menu, or you can use the keyboard shortcut ctrl+alt+t to open it.
Step 2: The SSH client is often pre-installed on most Linux distributions by default. In order to check whether it is already installed, simply execute the following command into the terminal.
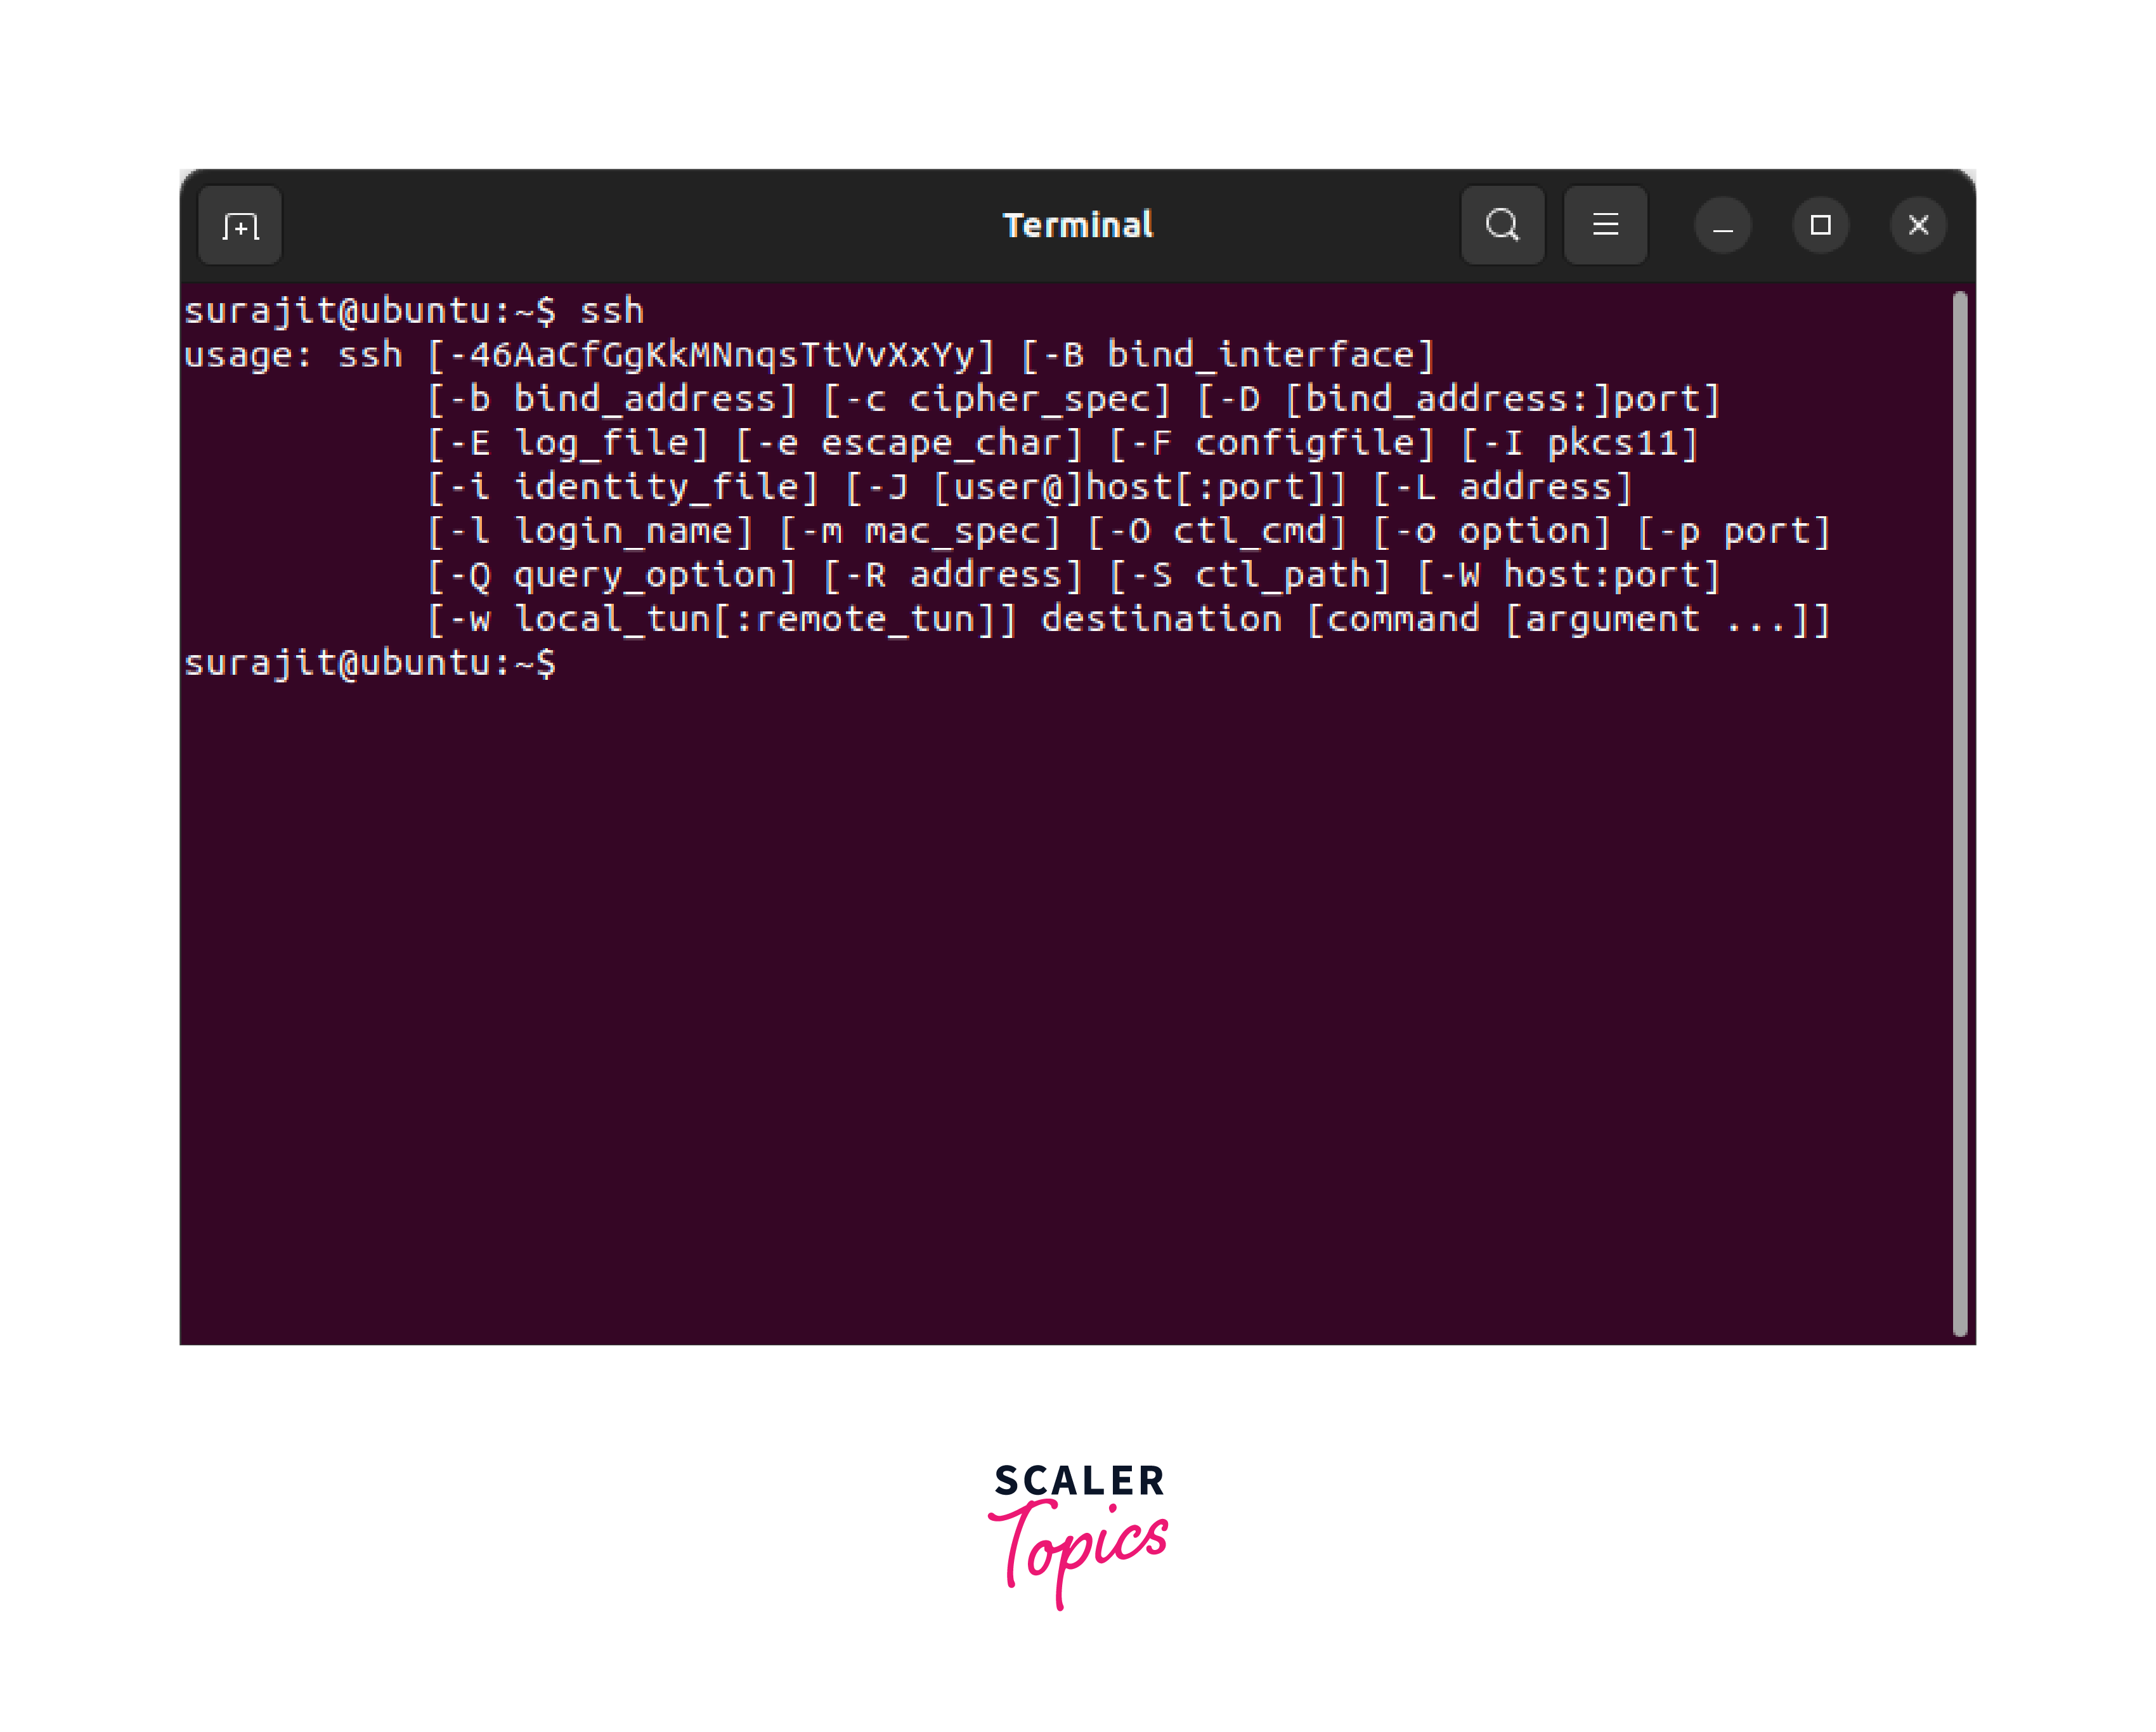
If the SSH client is installed, you will see the SSH prompt along with instructions regarding its usage. If the SSH client is not installed, you will get an error message saying "command not found," which indicates that you need to install it.
Install the SSH Client
You can install the SSH client on your computer if it has not already been done so by utilising the package manager that comes with your Linux distribution. The following is a list of commands for common package managers.
Ubuntu/Debian-based distributions (apt):
Fedora/RHEL-based distributions (dnf/yum):
Arch Linux-based distributions (pacman):
Adjust the package manager commands based on the specific package manager used by your Linux distribution.
Verify SSH Client Installation
Once the installation process is finished, execute the below-mentioned command to check and make sure that the SSH client was installed properly.
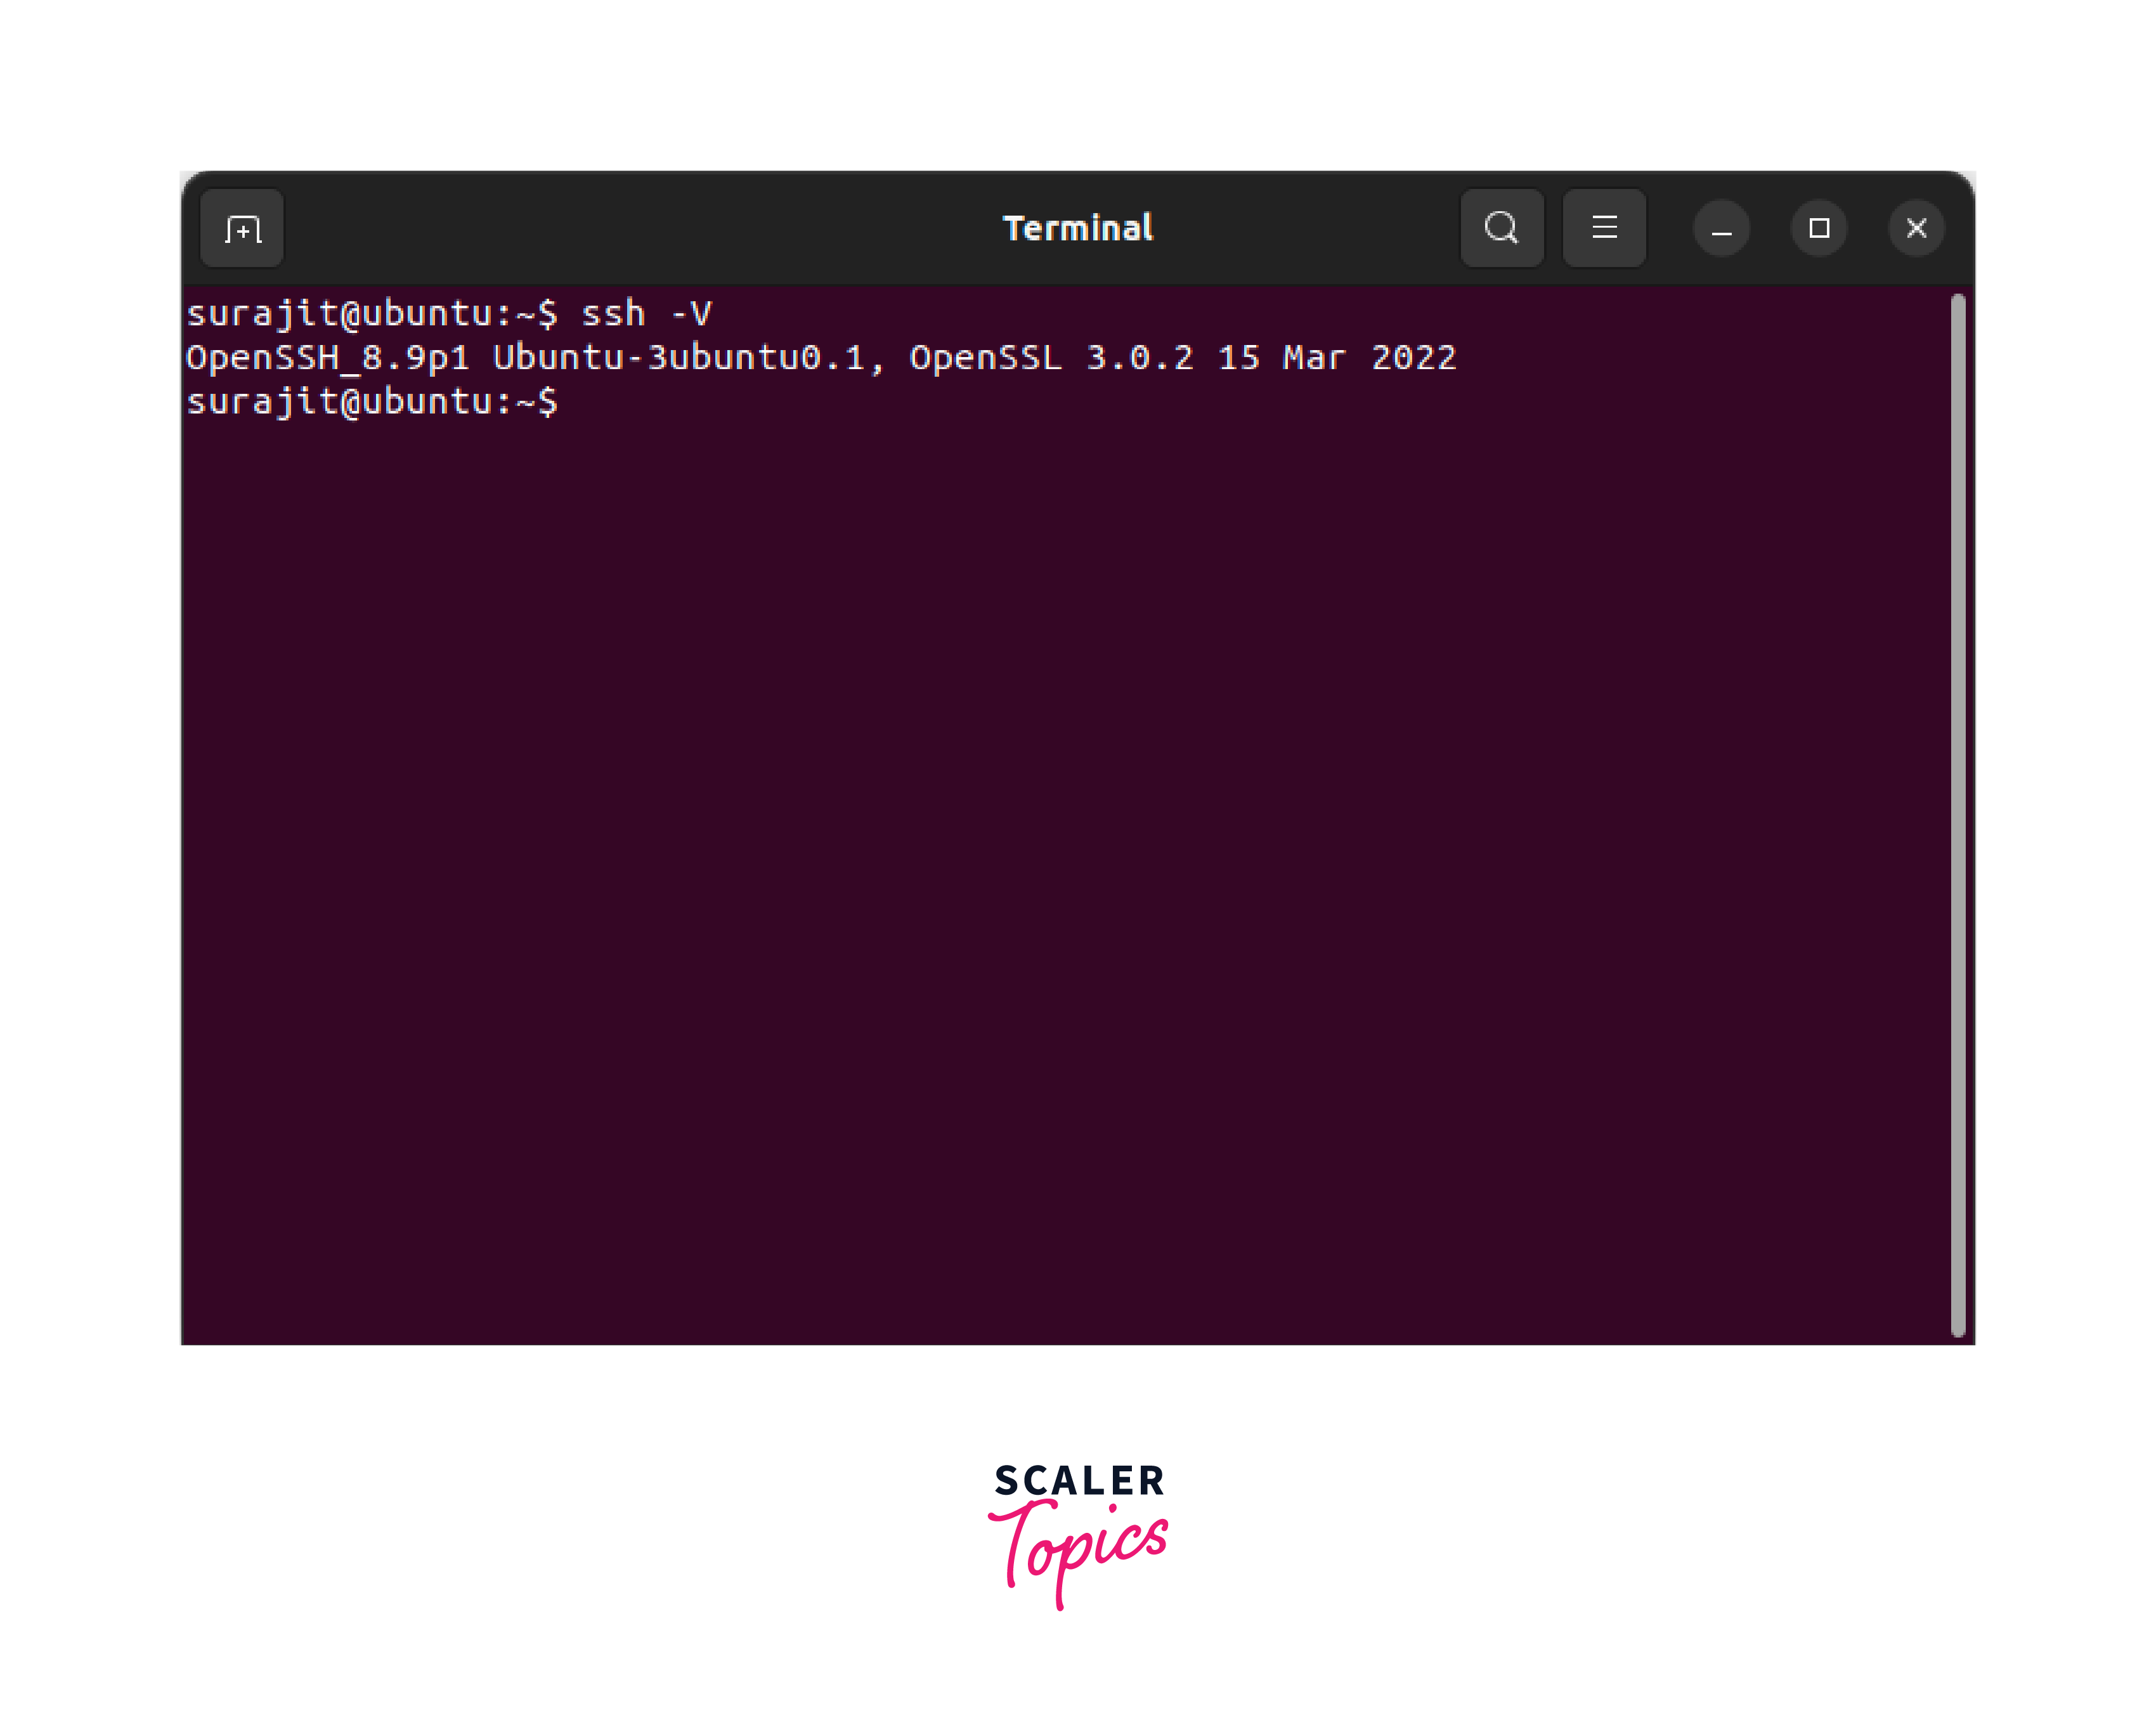
This command will display the version of the SSH client installed on your Linux system.
Connect to a Remote System
In order to use SSH to connect to a remote system, you need to have the username as well as the IP address or hostname of the remote system. The following command is a generic format for the syntax of the SSH, used to connect.
Replace username with the actual username on the remote system and remote-ip with the IP address or hostname of the remote system. As an example:
If this is your first time connecting to the remote system, you might be asked to verify the authenticity of the host before you are allowed to continue. To proceed, type "yes". After that, you'll be asked to enter your password. It is expected that you will be able to log into the remote system via SSH as soon as you submit the correct password.
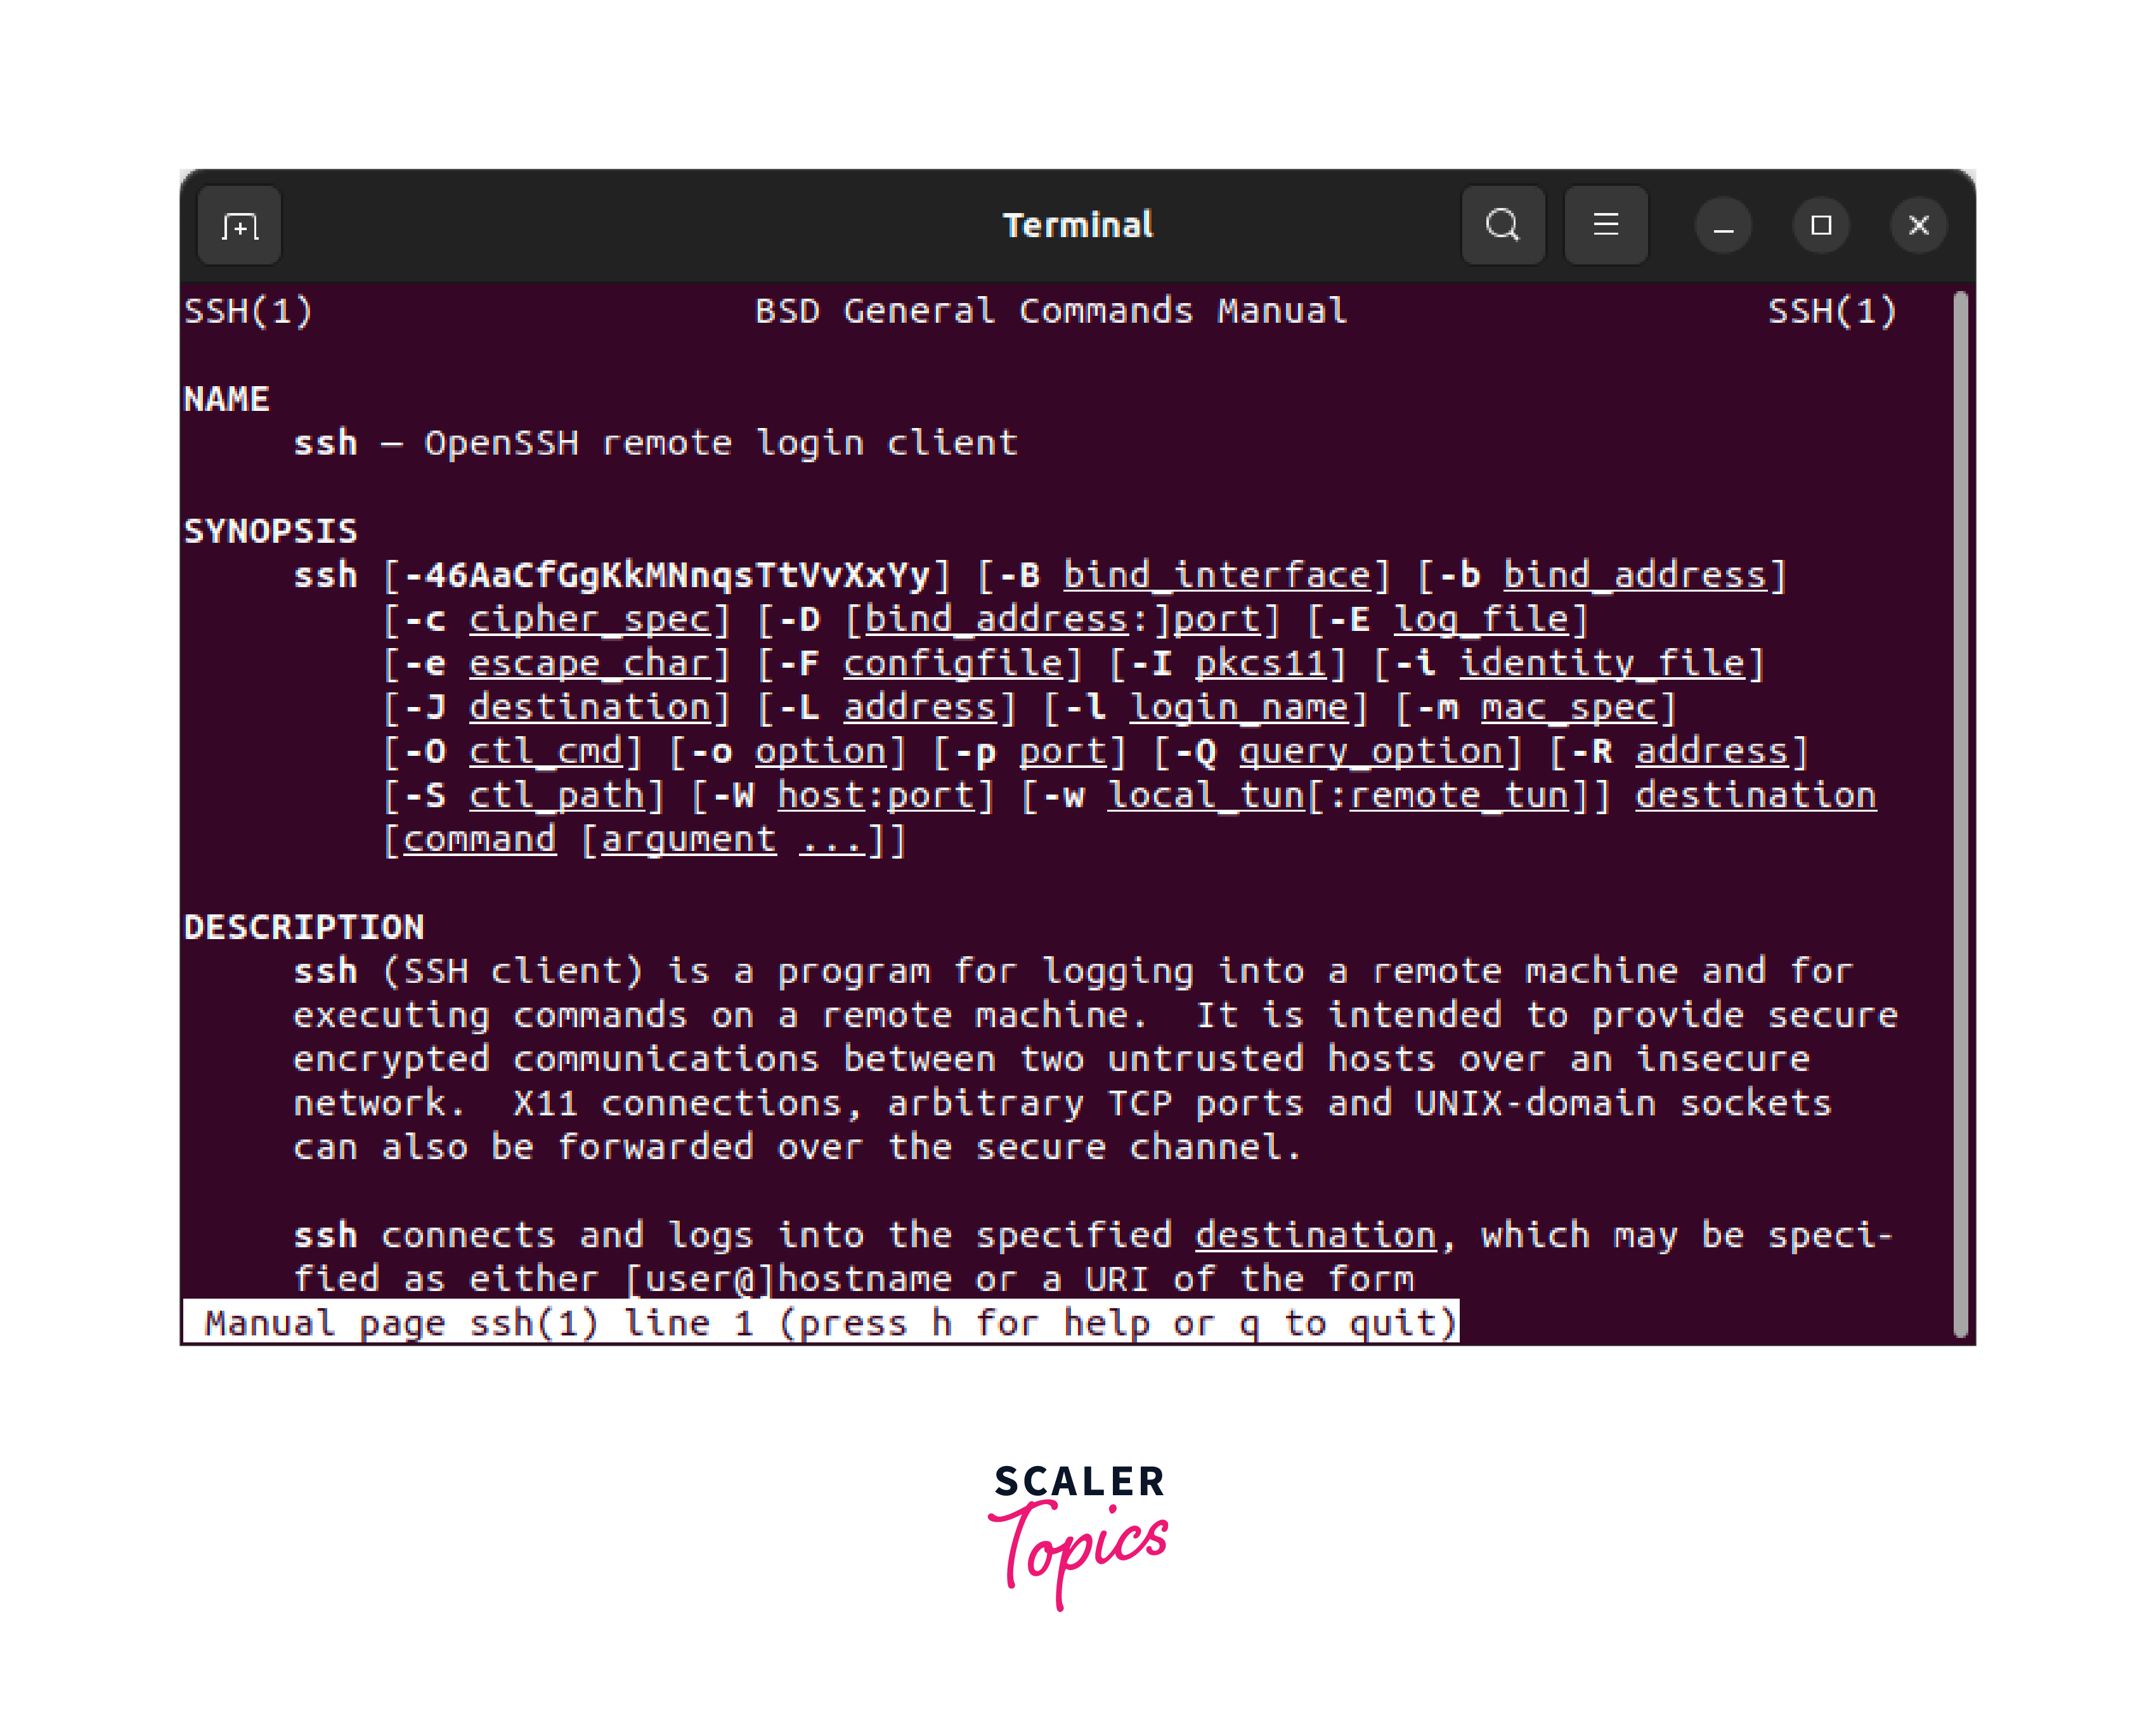
Note: You can also use additional options with the SSH command, such as specifying a different port or using SSH key authentication. Refer to the man ssh pages for more information on these options.
Therefore, if you follow these steps, you will be able to successfully install the SSH client on your Linux machine. You can now use it to connect securely to remote systems and manage them remotely using SSH.
Conclusion
-
This article provides detailed setup instructions of Ubuntu Linux SSH installation and configuration to enable SSH in Linux.
-
SSH server setup requires updating package lists, installing the openssh-server package, validating server status, activating SSH on system startup, permitting SSH over the firewall, and testing the SSH connection.
-
The article explained how to check if the SSH client is installed, install it if necessary using package managers like apt, dnf, or pacman, verify the installation, and connect to a remote system using the SSH command with the correct username and IP address or hostname.
-
This article also shows how to install and configure SSH on Ubuntu Linux for secure remote access and management.