Integrate React with NodeJS Express
Overview
The MERN (MongoDB, Express, React, NodeJS) stack, which uses Javascript for both the backend and frontend and a document-oriented or non-relational database (MongoDB), meaning it's structured like JSON rather than a big Excel sheet like SQL databases, is very popular for creating full stack applications.
To create a MERN stack application, it is necessary to link our backend ie express with our frontend reacts, and create an express react linkage.
Introduction
To generate HTML dynamically, the MERN stack leverages Express for the backend, which is often used in conjunction with a view engine like Pug or EJS. The MERN stack, however, poses a challenge. You cannot use those view engines because React uses JSX to render the frontend code, so you must find a new approach to render backend data for the client. You might advise utilizing JSX as your backend view engine, however, that wouldn't be the best choice because you would lose a lot of the functionality that React offers.
What is Frontend?
In web development, the term "frontend" refers to the client-side portion of a web application or website that users interact with directly. The front end is responsible for the visual and interactive components of the website, including the layout, design, and user interface elements.
In other words, the frontend is part of the web application that users see and interact with within their web browser. It includes HTML, CSS, and JavaScript, which are used to create and style the webpage and add interactive elements such as buttons, forms, and animations.
What is Backend?
The backend is responsible for handling tasks such as:
- Authentication and authorization: verifying user credentials and determining access levels.
- Data processing and storage: processing and storing data received from the frontend and serving it to the frontend when requested.
- Server-side scripting: running server-side scripts to perform dynamic tasks such as generating web pages and interacting with databases.
- API development: creating and managing APIs that allow frontend and backend applications to communicate with each other.
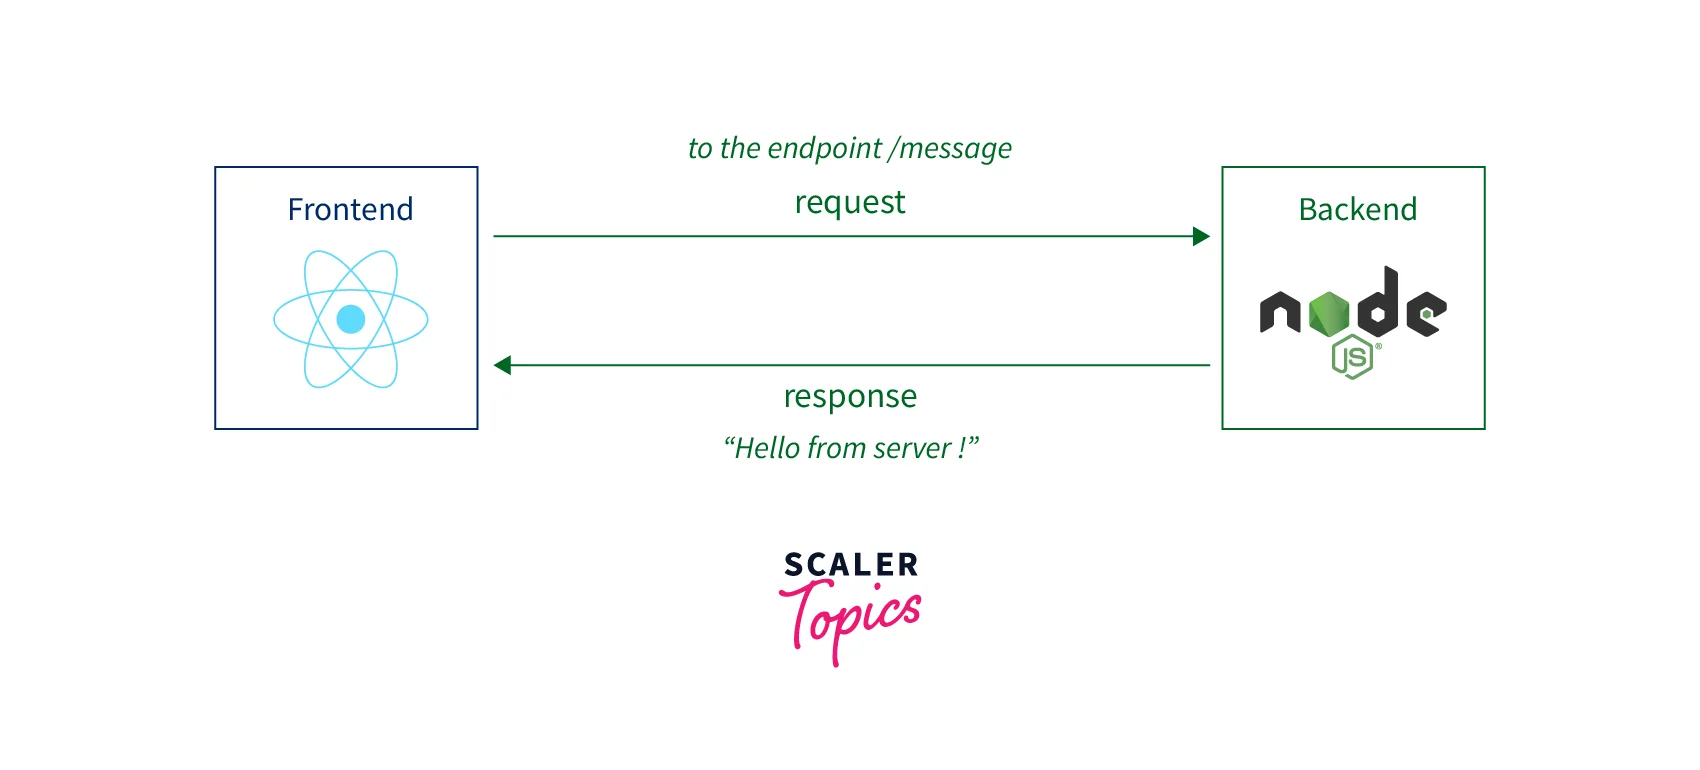
The front end and back end can be joined in several ways. We will use an API (Application Programming Interface) endpoint that is exposed from the backend in this tutorial's front end. Our front end and back end will function in tandem in this manner. We will use express.js in our express react linkage.
Prerequisites
Node.js must be installed on your computer. The usage of Node Version Manager is the simplest method for installing Node.js. You can install, update, and switch between several Node.js versions with this bash script.
The following command can be used to install the most recent version of Node.js after nvm has been installed:
By using the following command, you may determine the Node.js version:
Installing Node.js will also install npm (Node Package Manager) on your system. You can check the version of npm by running the following command:

Install Node.js and check versions of node and npm
Project Setup
1. Building the Frontend React Application
The backend code will be placed in the server folder and the frontend code in the client folder. To build the front-end application, we'll utilize create-react-app.
We'll start by building a React application. Run the following command in your terminal to build a React application.
If something similar is stated:
After that, press Y and enter. This program will generate boilerplate code for a React app in the client folder.
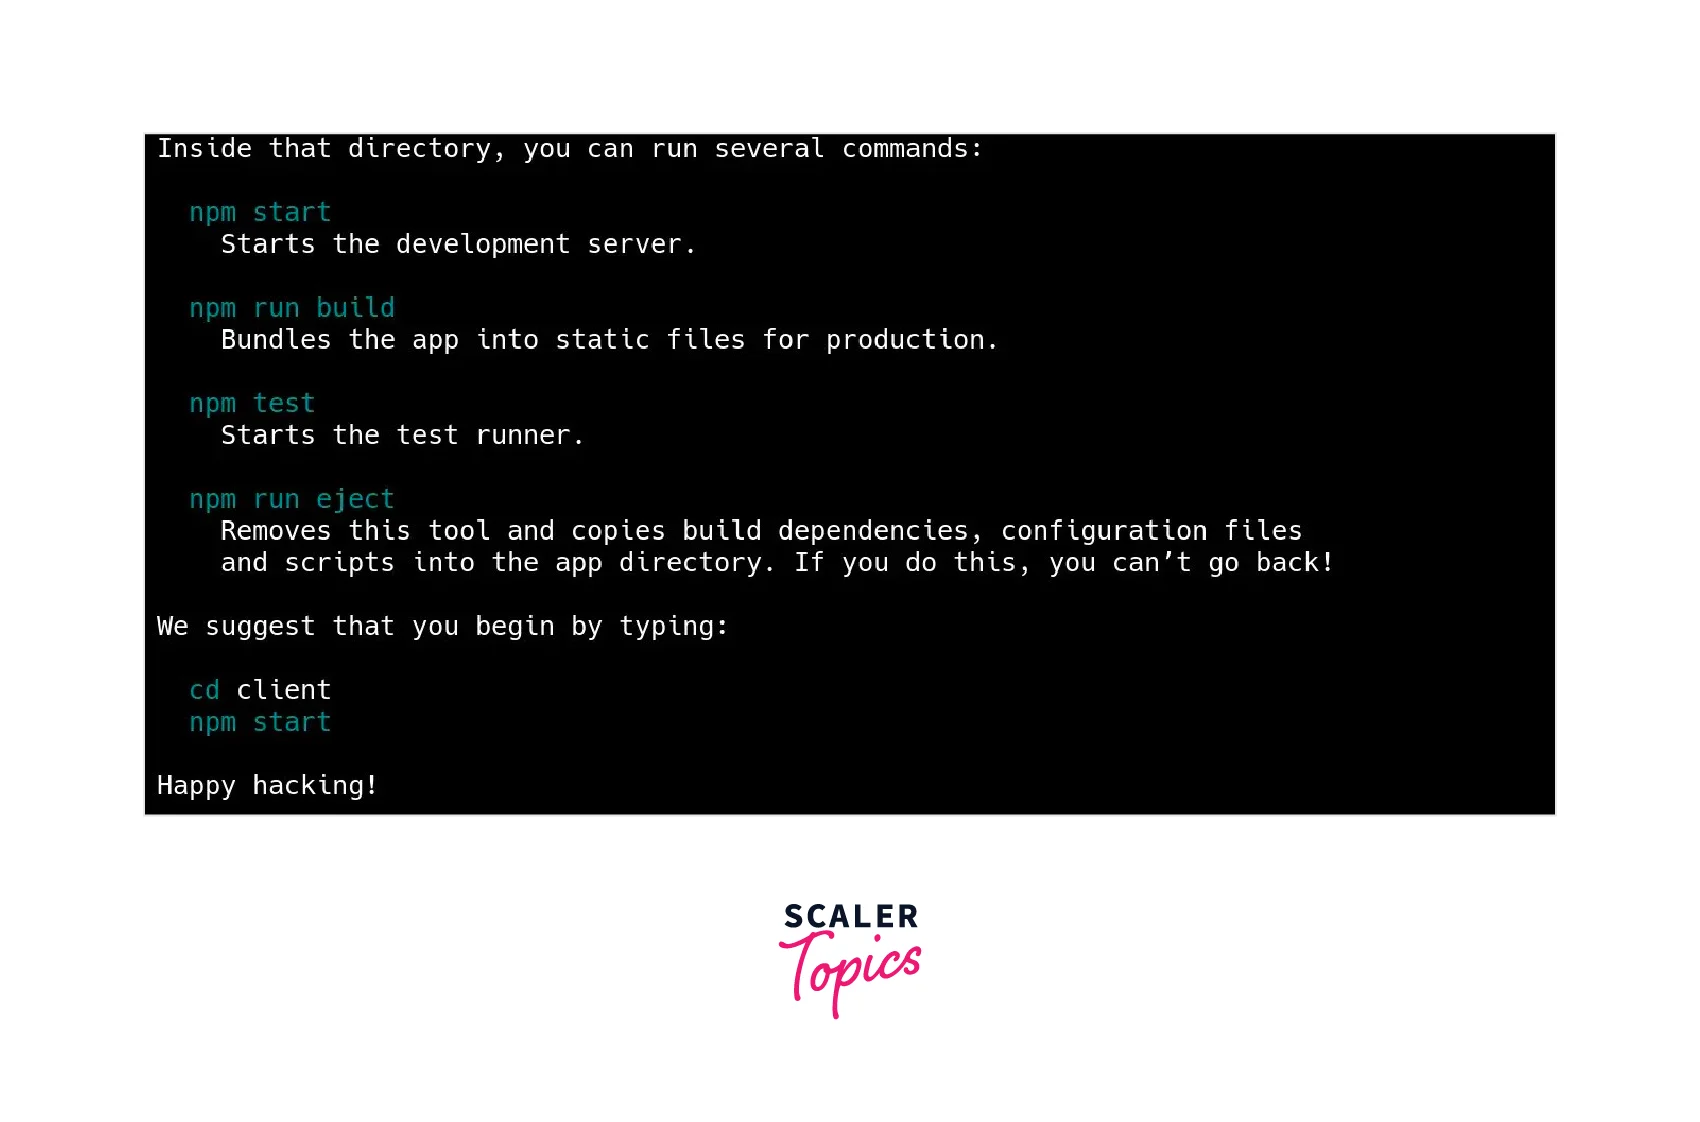
After react app is created
The React application will launch with this command on port 3000.
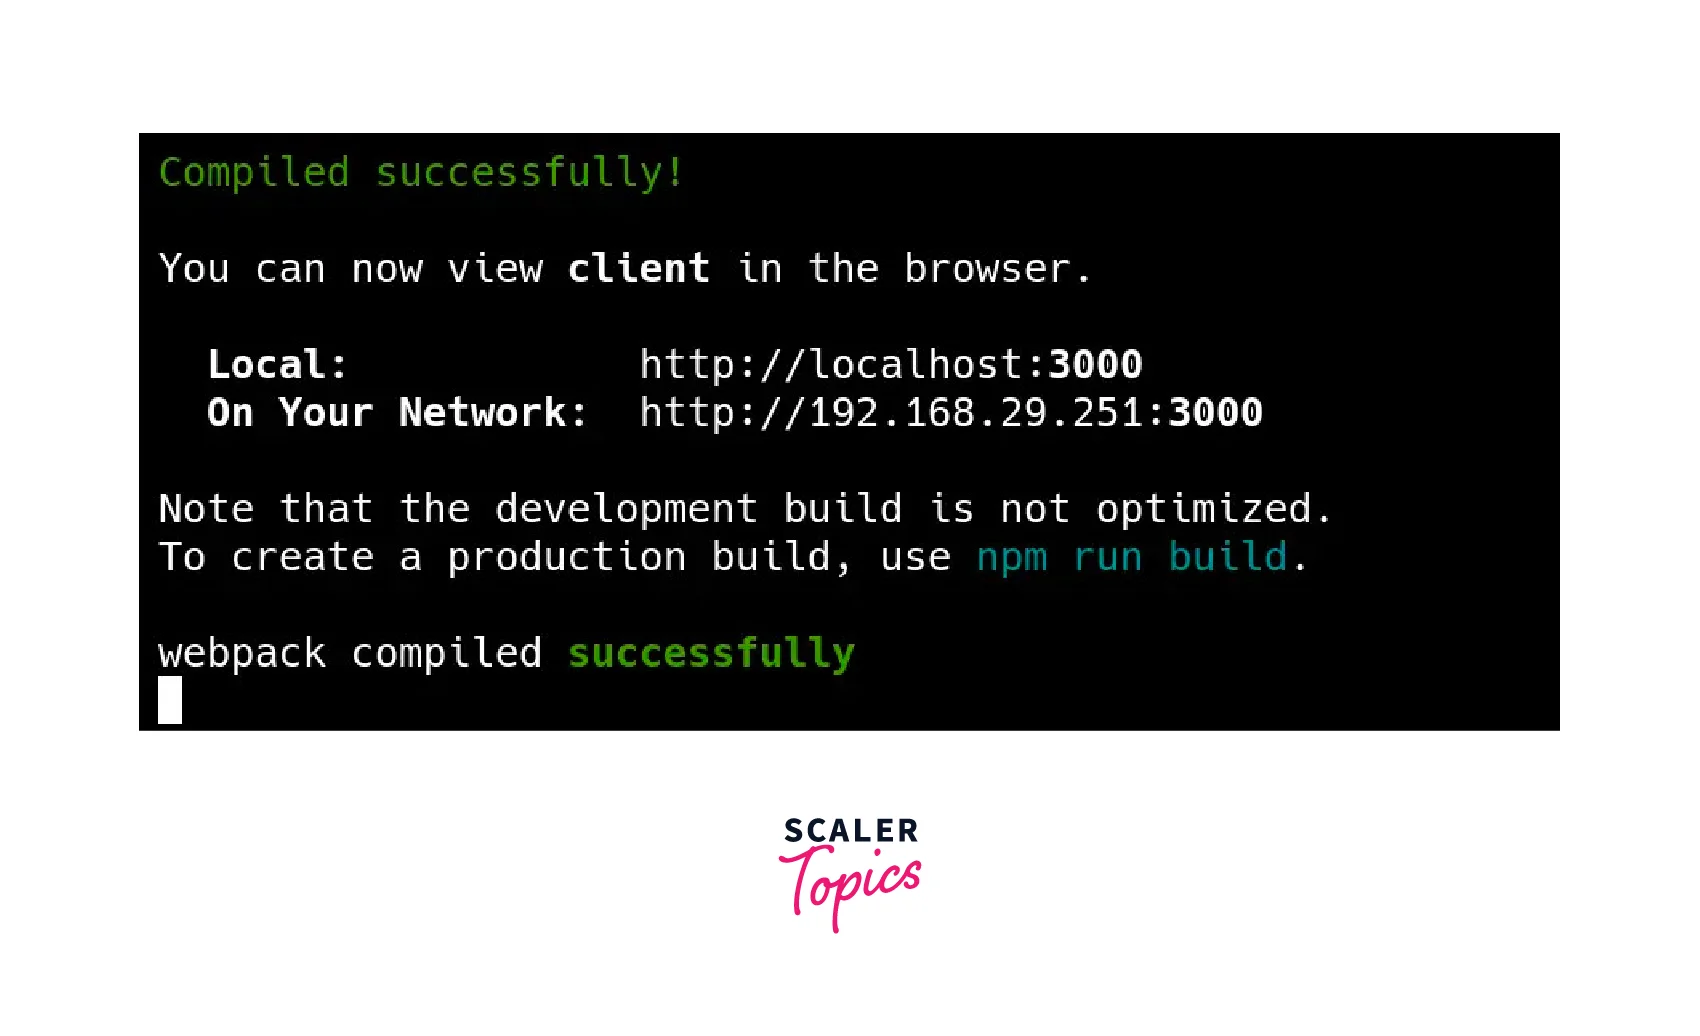
React app started on port 3000
Visit http://localhost:3000 in your browser to see the React application running as follows:
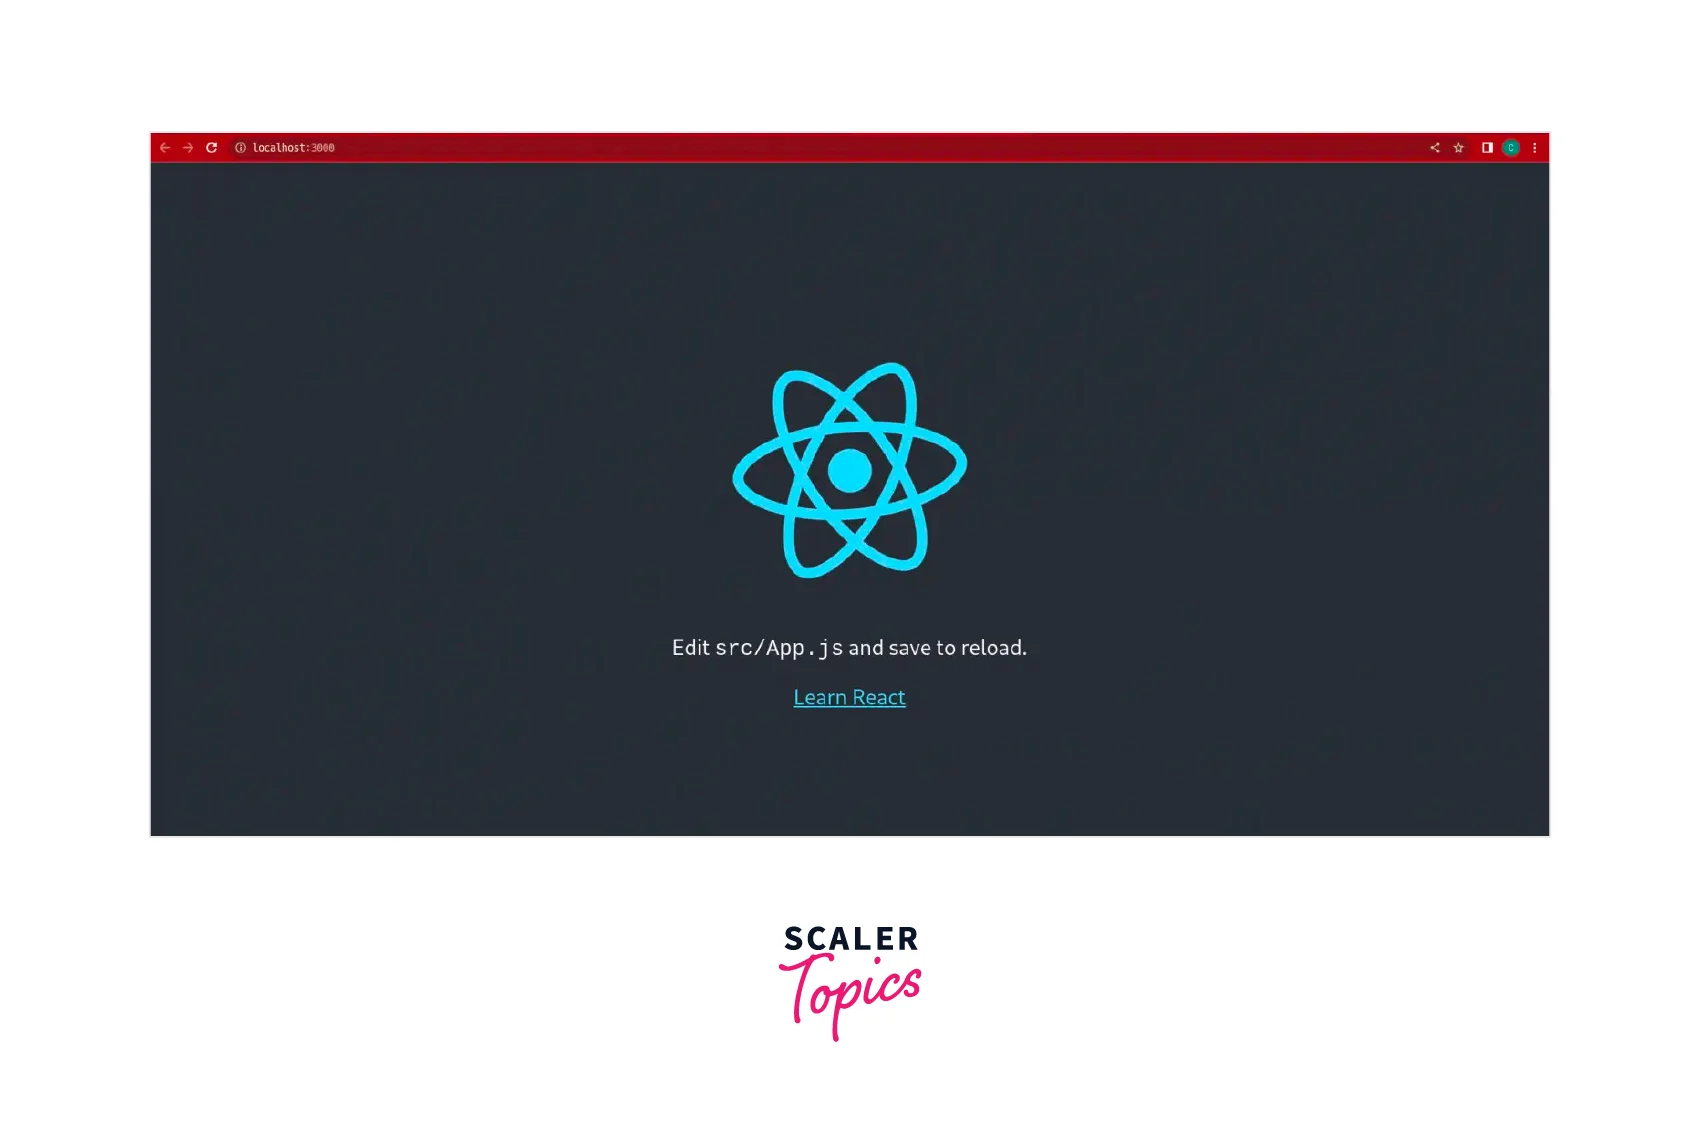
React app in the browser
2. Building the Backend Node.js server
Installing the dependencies
Open a new terminal and start a Node.js project in the server directory you just made.
Note: We are using npm init -y to initialize the project without any prompts. If you want to initialize the project with prompts, you can use npm init.
Installing the application's necessary dependencies is the next step.
We will set up nodemon as a development dependency for our needs.
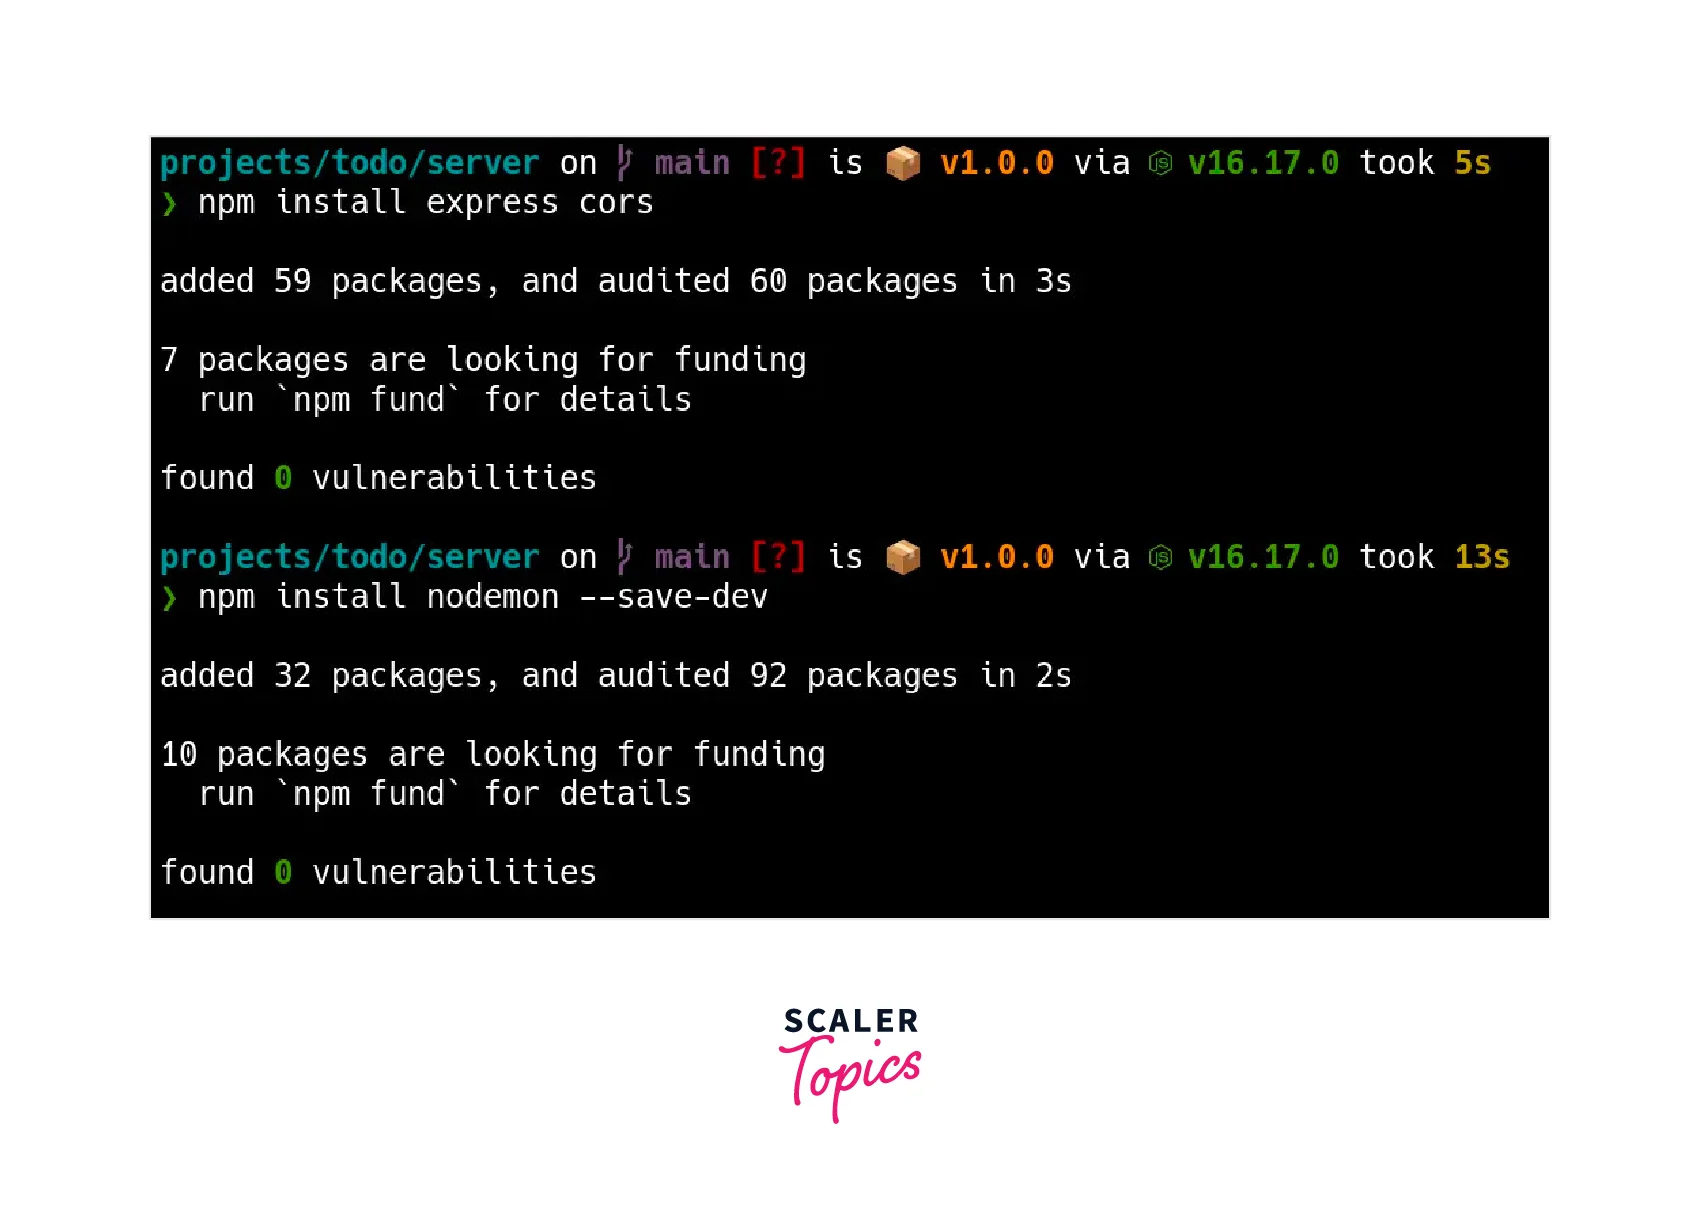
Install server dependencies
To start the server, we will lastly add a start script to the package.json file.
At this stage, the dev and start scripts have been added to the package.json file, and all of the dependencies have been installed. Let's start the server creation process right away.
Creating the server
Start by adding a new server.js file to the server folder.
1. Import express and cors
Here, we're importing the express and cors modules using the built-in Node.js function need(), which allows you to include other modules in your application.
2. Create an Express application
Create an Express application by using the top-level express() function, which is exported by the express module.
To support cross-origin requests, we use cors. The Cors middleware is added to the Express application using app.use(). Express's built-in middleware method express.json() is used to parse incoming requests with JSON payloads.
3. Create a GET route
Now, we'll build a JSON endpoint with the message Hello from server! that returns messages. To construct a GET route, we are using app.get(). It needs two justifications:
- The endpoint's path, which in this case is simply /message.
- The callback, which may be a single middleware function or an assortment/series of several.
We are using res.json() to send a JSON response because we are returning a JSON object.
Note: GET is one of the HTTP methods, as said. More information on HTTP methods can be found here.
4. Start the server
We will use app.listen(), which accepts two arguments, to launch the server.
- The port that the server will run on. It is 8000 in our situation.
- When the server starts, a callback function is invoked, and in our example, it just logs the server's running message.
This is how the finished server.js file will appear:
Open a terminal and enter the following command to launch the backend server:
This command will start the server on port 8000.
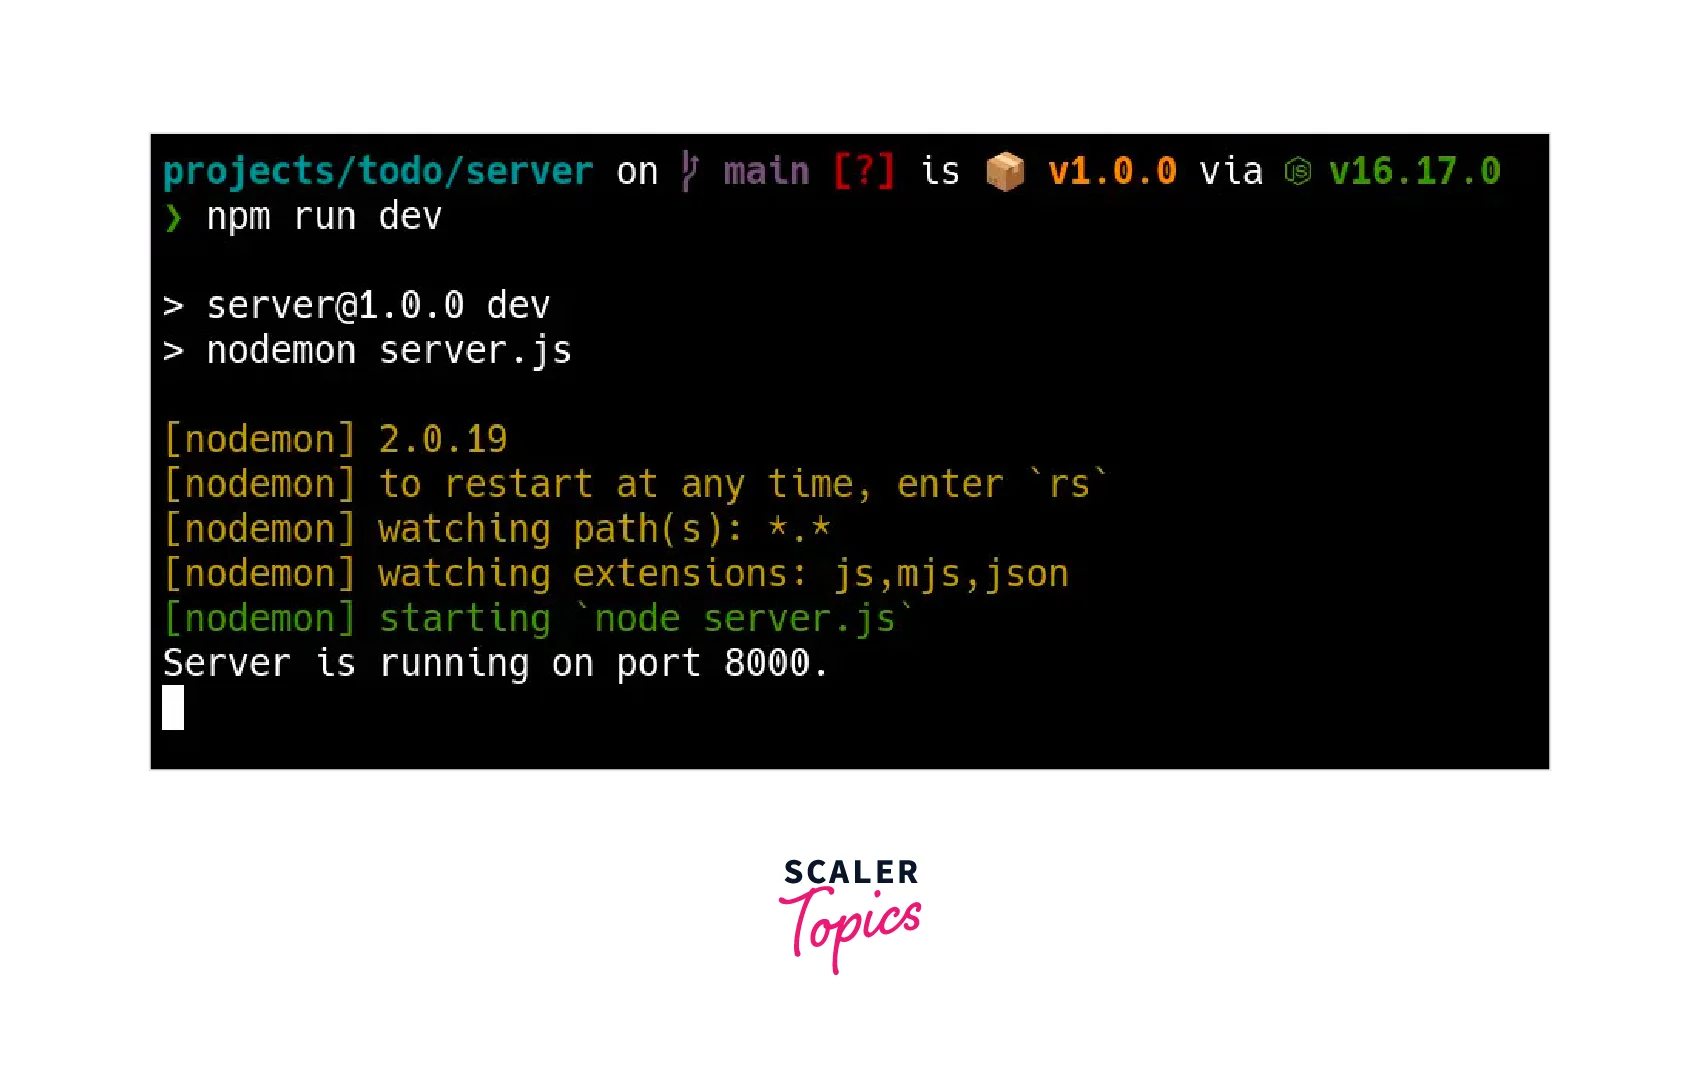
Start the server on port 8000
Open your browser and navigate to http://localhost:8000/message to view the JSON object the server returned to verify that it is functioning.
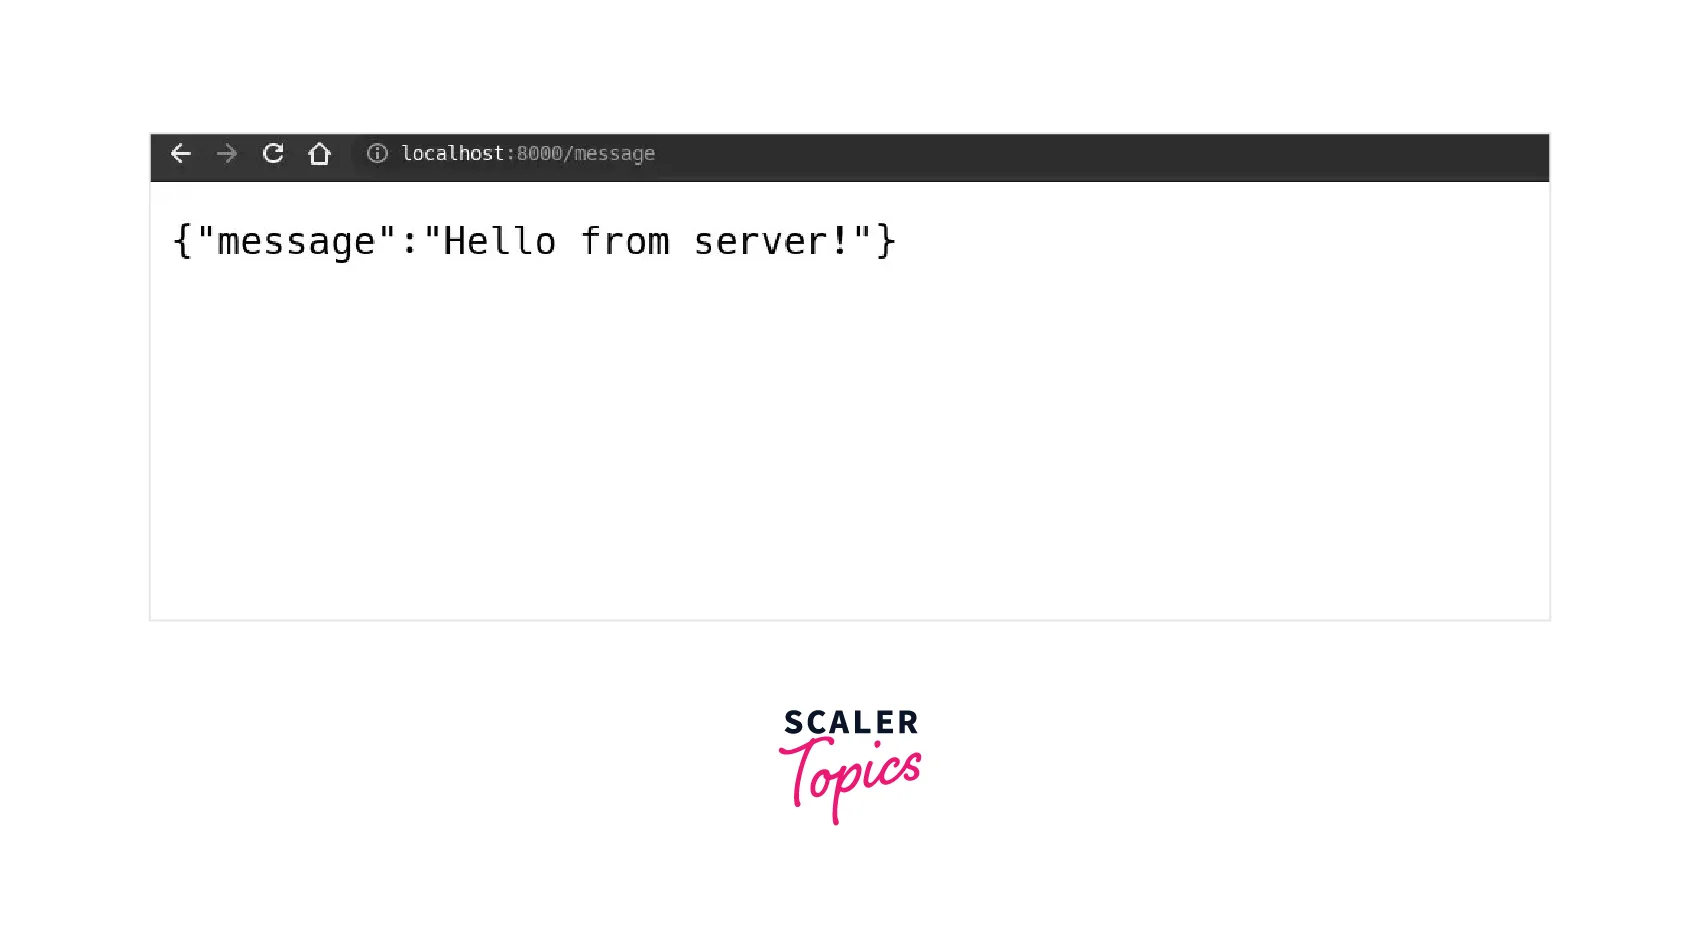
endpoint for /message in a browser
3. Connect React with Node.js
In our express react amalgamation, replace the existing code by opening the App.js file in the src folder and adding the following.
The message state variable is now being rendered in the h1 tag. "Hello from server!" will appear on the screen when you open your browser and go to http://localhost:3000/.
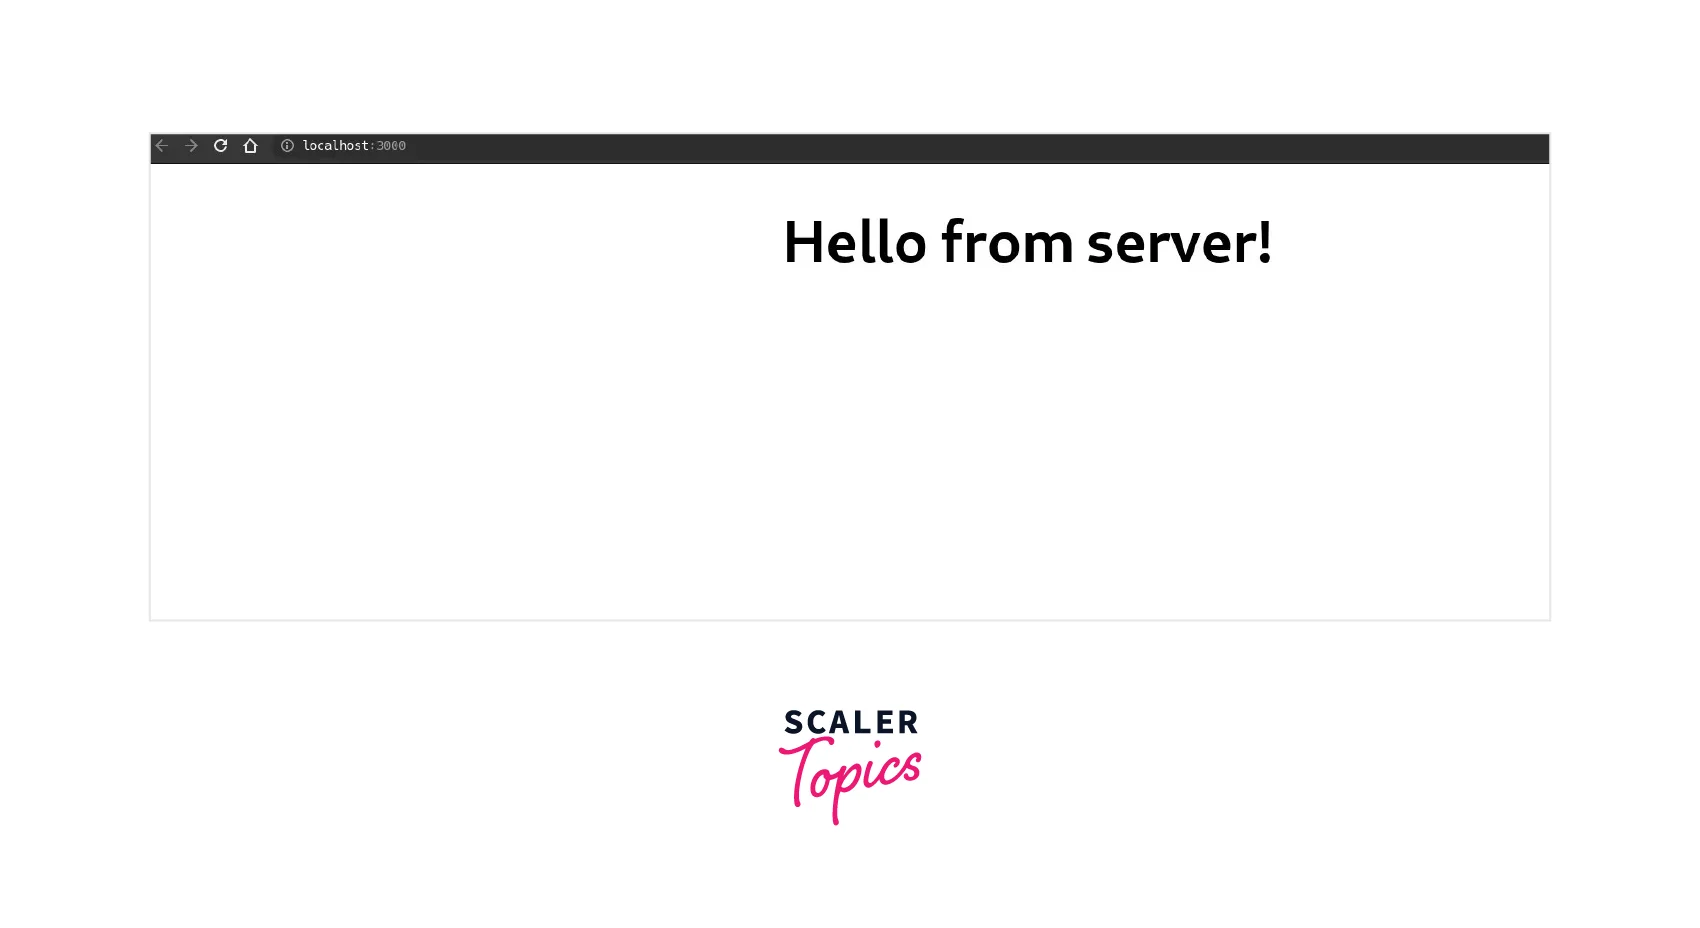
The final react app connected with the backend
The project structure is shown in the following overview.
:::
Integrate React production into Node.js Project
Integrating React production into a Node.js project involves several steps. Here are the general steps to follow:
Create a React application:
You can create a new React application using the create-react-app command. This command sets up a new React project with all the necessary dependencies and files.
Build the React application:
After creating the React application, you need to build it using the npm run build command. This command will generate a build folder with optimized static files that can be served from a Node.js server.
Serve the React application using Node.js:
To serve the React application, you need to create a Node.js server and configure it to serve the static files generated by the build command. You can use a simple Express server for this purpose.
Configure routing:
If you're using React Router, you need to configure the server to handle client-side routing. This involves adding a catch-all route that serves the index.html file for all non-static requests.
Test the application:
Once the server is configured, you can start it and test the application by visiting the URL of the server in a web browser.
Here's a code example of how you can serve the built React application using a simple Express server:
With this setup, you can serve your React application from the Node.js server and handle client-side routing using React Router.
Configuring a New Route in the Express API
To create a new route in an Express API, we use the express.Router() method to create a new router object. A router object is a middleware that can be used to group related route handlers together.
Once we have created a router object, we can define our route handlers using the METHOD functions provided by the router. For example, to create a new GET route for the path /users, we would use the get() method:
Finally, we add the router to our Express application using the app.use() method.
To configure a new route in an Express API, you will need to follow these steps:
- Open the file where you define your Express application. This is usually called app.js or server.js.
- Use the express.Router() function to create a new router. This allows you to group together a set of routes that are related to each other.
- Define your new route using the router's METHOD functions (such as get, post, put, delete). For example, to create a GET request for the path /users, you would use the following code:
- Within the route function, you can include any code you need to handle the request and generate a response. This could include querying a database, rendering a template, or sending back JSON data.
- Finally, add the router to your application using the app. use() method, and specify the path prefix that should be used for all the routes defined in that router. For example:
This would make all the routes defined in the router available under the /api path. So, the /users route would be accessible at /api/users.
Conclusion
Some main takeaway points from the article above are:
- Express is a popular and flexible Node.js framework that provides powerful server-side capabilities for building web applications.
- React is a popular JavaScript library for building user interfaces with a focus on modular, reusable components.
- Integrating Express with React allows you to build full-stack web applications that can handle both server-side and client-side rendering.
- By combining Express and React, you can take advantage of the strengths of both frameworks to build robust, scalable, and maintainable web applications.
- Express can provide a backend API for your React frontend, allowing you to interact with databases, authenticate users, and handle other server-side tasks.
- You can use tools like Webpack and Babel to bundle and transpile your React code and integrate it with your Express server.
- Integrating Express with React also allows you to take advantage of middleware like Redux, which can help you manage the state of your application across different components and screens.
- However, integrating Express with React can also add complexity to your development process, and may require additional configuration and setup.
- It is important to carefully plan and architect your application to ensure that your Express and React components work together seamlessly and efficiently.