Mongoose with Express JS
Mongoose, a Node.js-specific MongoDB Object-Document Mapping (ODM) library, streamlines MongoDB interactions in Express.js apps by defining data schemas and models. Prerequisites include Node.js, npm, MongoDB, Express.js, and Mongoose. This powerful combo facilitates scalable web app development, enabling quick prototyping and data insertion with Monk, eliminating the need for explicit schema design.
Prerequisites
Before using Mongo Express, there are a few prerequisites that you need to have in place:
Node.js and npm:
You should have Node.js and npm (Node Package Manager) installed on your system. You can download and install the latest version of Node.js from the official Node.js website. For a detailed tutorial, follow this scaler article. Apart from this, your system should have MongoDB, Express.js, and Mongoose preinstalled.
Once you have these prerequisites in place, you can start using Mongo Express (MongoDB with express.js) to interact with your MongoDB database and build scalable web applications.
REST API with Express and Mongoose
Install the Necessary Dependencies
The only thing we require to begin this project is a blank folder with an initialized npm package. Thus, let's make one!
Run the next command in a blank folder:
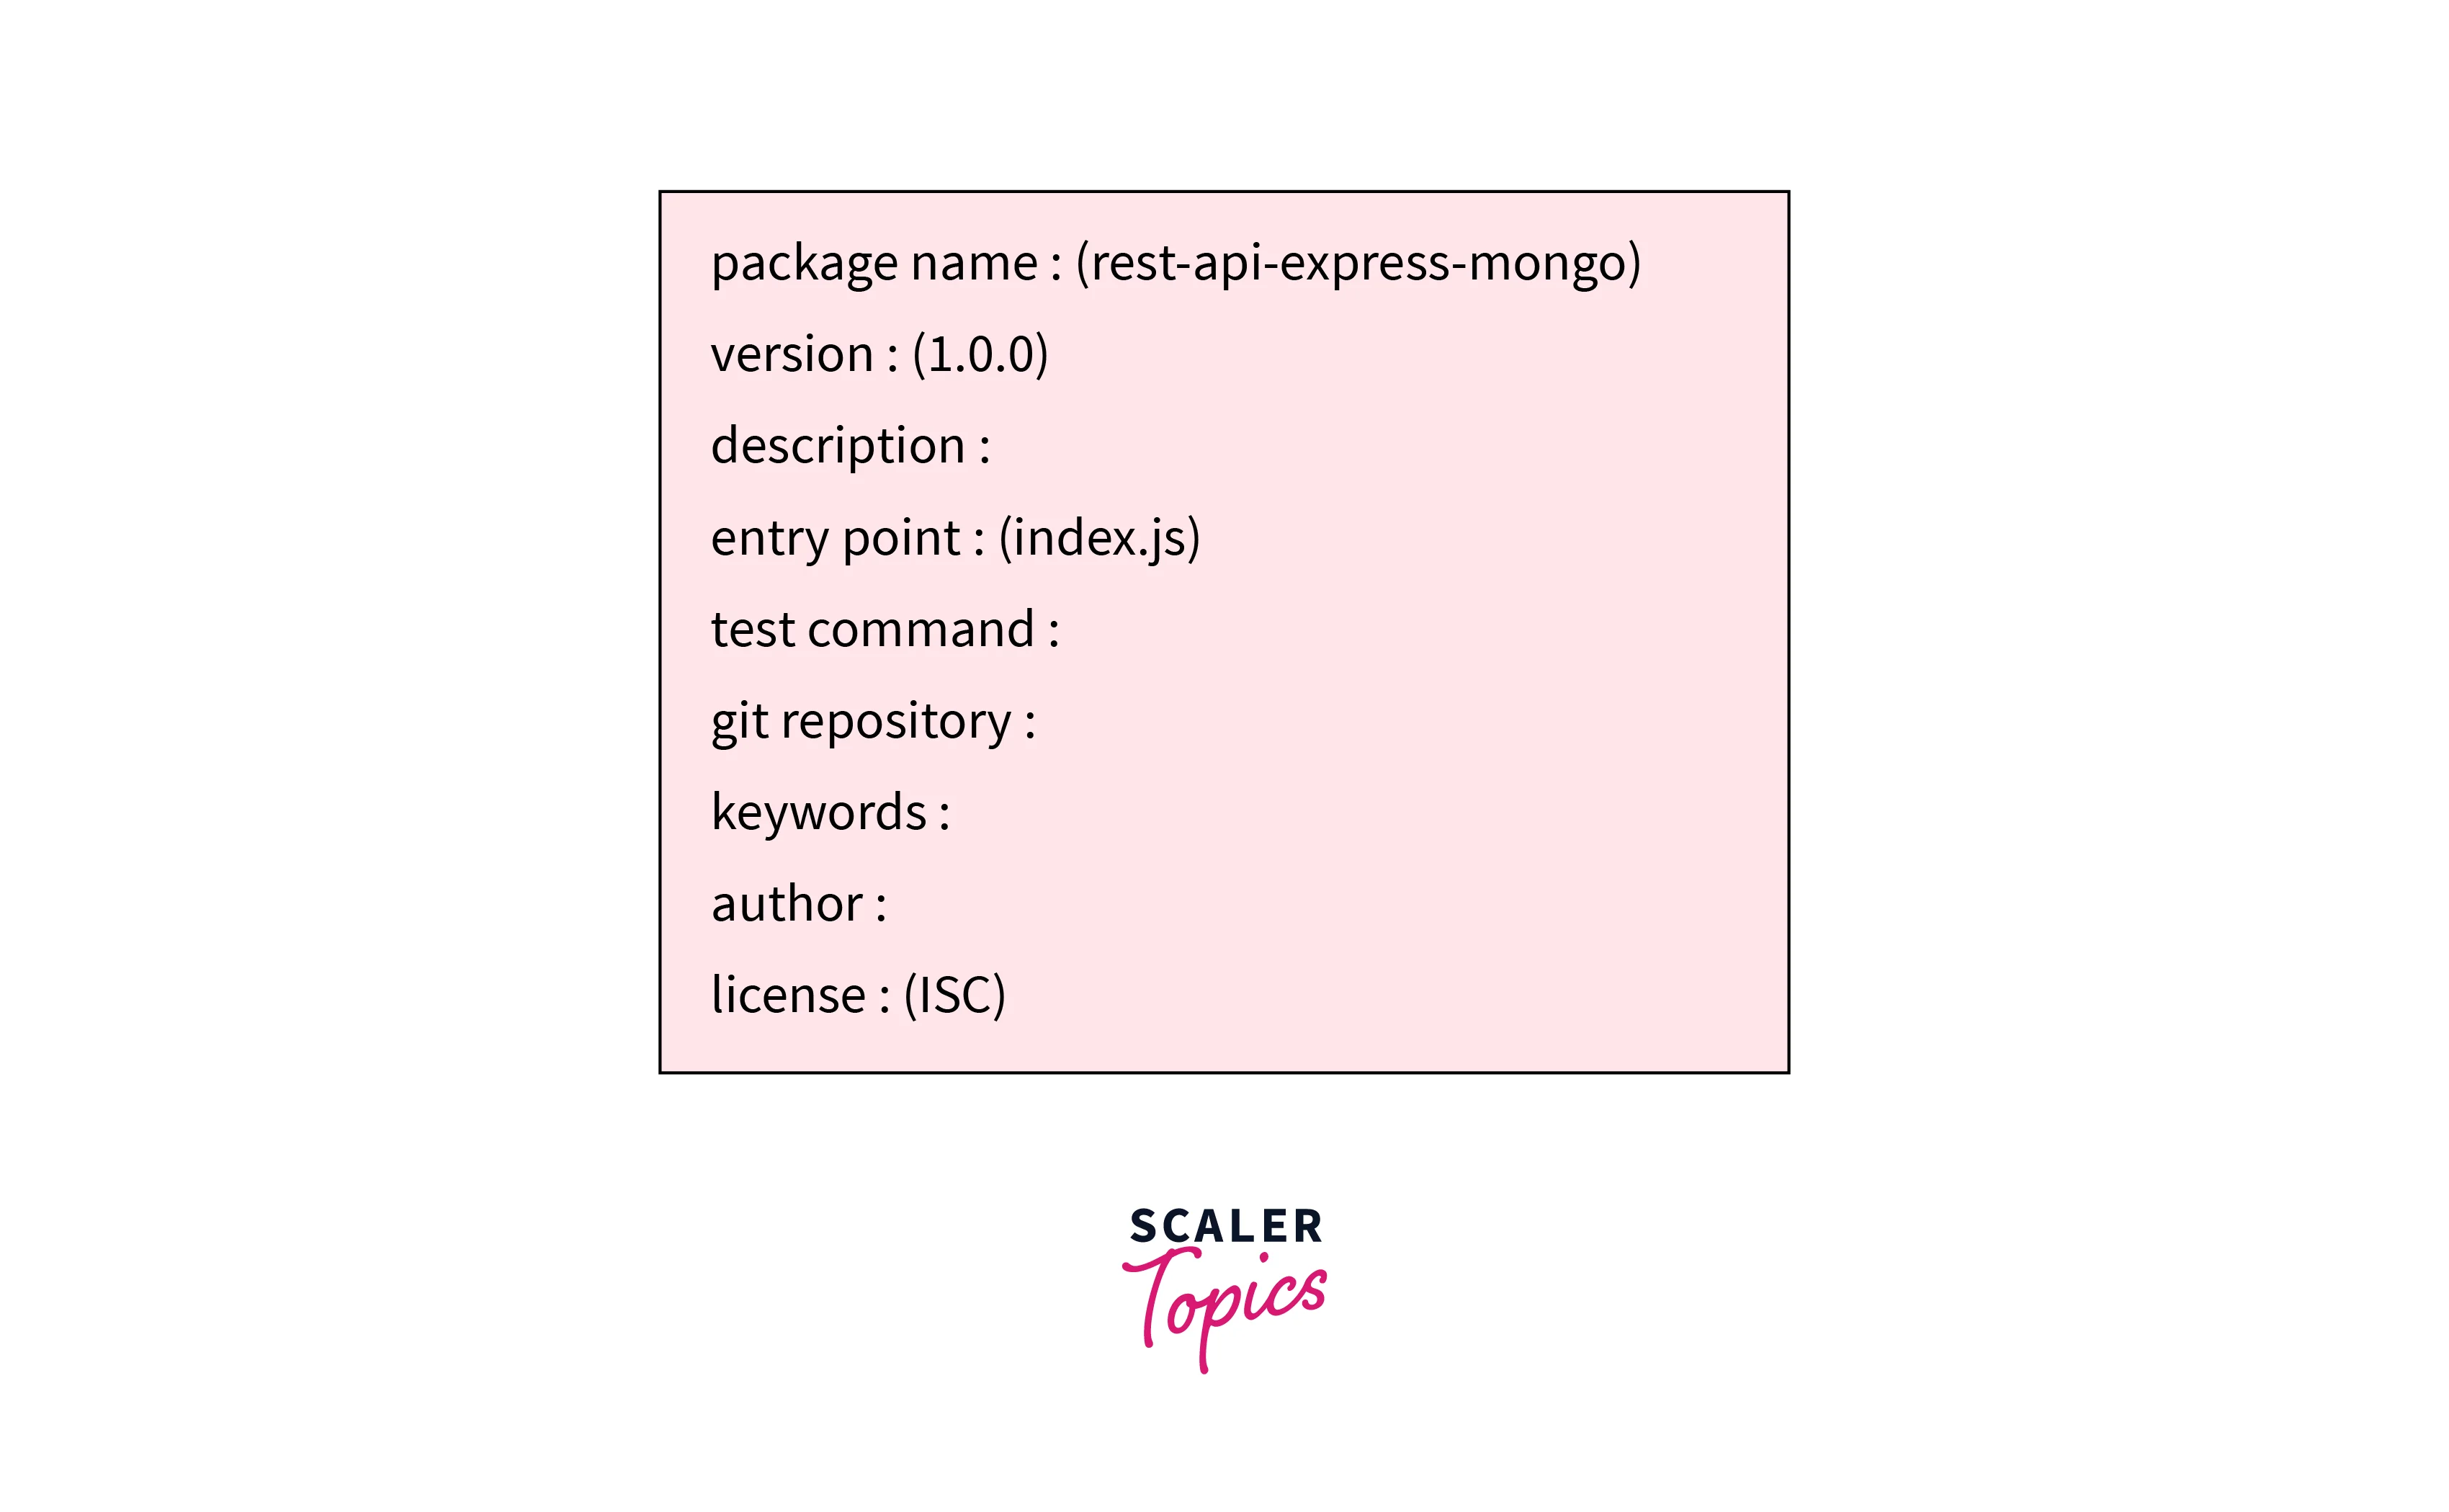
You will be prompted by this command to enter several details, including the name of your project, its author, its repository, and more. A package.json file will then be created and placed in that folder.
package.json file:
All the scripts, such as those for running or testing the app, are contained in this Package.json file, along with a list of all the dependencies.
A few dependencies need to be installed right now.
Optionally, you may also want to install additional packages depending on your project requirements, such as body-parser for parsing JSON data, dotenv for managing environment variables, or cors for handling Cross-Origin Resource Sharing (CORS) issues.
For example:
With these dependencies installed, you can start building your REST API with Express and Mongoose.
Basic Express Server
First, you will need to install Node.js and npm (Node Package Manager) on your computer if you haven't already done so. You can download and install Node.js from the official website. You can follow the detailed scaler topic article here
Once Node.js is installed, open a command prompt or terminal window and create a new directory for your project. You can do this by running the following command:
Change into the new directory:
Now you can create a new Node.js project using the npm init command. This command will prompt you to enter some information about your project, such as its name, description, version, and so on. You can use the default options for most of these settings, but make sure to set the entry point to index.js, which will be the main file for your Express server.
Once you've created the new project, you can install the Express framework using npm:
Next, please create a new file called index.js in your project directory, and open it in your code editor. This will be the main file for your Express server.
Inside index.js, you can start by requiring the Express module and creating a new instance of the express application:
Now you can define some routes for your application using the app.get() method. For example, here's how you can define a simple route that returns a "Hello, World!" message when you visit the homepage of your server:
Finally, you can start your Express server by calling the app.listen() method and specifying the port number to listen on. For example, you can listen on port 3000 like this:
That's it! You should now have a basic Express server up and running. When you run the index.js file with Node.js, your server will listen on port 3000 and respond with a "Hello, World!" message when you visit the homepage at http://localhost:3000/.
Setup Mongoose
Tip:
We must substitute the name of our database for the test in the connection string.
We'll then install Mongoose using npm:
By the way, Mongoose is an abstraction layer on top of MongoDB, much like Express is an abstraction layer on top of Node and that’s why developers prefer mongo express combination. At the top of the JavaScript file that starts the server, we'll declare a dependency on Mongoose and call it's connect() method. Before passing in our connection string, we'll make sure it has our password:
Index.js:
In this case, we're importing the Mongoose package and using it to establish a connection to our database, which we've named acmedb but you can rename it whatever you like. Don't worry if you haven't established the database; Mongoose will do it for you.
We may wait till the promise is resolved before launching our Express server because the connect method provides a promise.
Make sure there are no errors by running the server once more.
After successfully establishing a connection between our server and the database, it is now time to build our first model.
Mongoose Model
In a REST API, a Mongoose model is used to define the schema of a data object and to interact with the database. Mongoose is an object data modeling (ODM) a library that provides a schema-based solution to model application data and provides a high-level API for querying the database.
To use a Mongoose model in a REST API with Express and Mongoose, we typically follow these steps:
- Define a schema for the data model using Mongoose. The schema defines the structure of the data object, including its properties and data types.
- Create a Mongoose model using the schema. The model represents the data object in the database and provides methods for querying and updating it.
- Use the Mongoose model in the route handlers to interact with the database. For example, we can use the model's find(), findOne(), create(), updateOne(), and deleteOne() methods to perform CRUD (create, read, update, delete) operations on the data object.
Every piece of data is kept in a single document in a NoSQL environment. Moreover, a collection can be used to group several documents of the same type. Model is a class that enables us to communicate with a particular database collection.
We must specify a schema before we can define a model. Schema instructs the model on how to format our document. Although the document structure in the NoSQL realm is variable, mongoose aids us in maintaining more consistency in our data.
We might have a blog API, let's say. We will, therefore, undoubtedly use a Post model. The fields that can be added to a single document are contained in the post model's schema. We'll have a title and content field in this example.
So let's create a file named Post.js and add a new folder called models to our project.
models/Post.js:
Here, the mongoose is being used to build a schema. Define the fields and data types in the schema. Finally, using the newly constructed schema, we use Mongoose. modelcreateuild a new model.
Get All Posts
We can do this by generating a new file named routes.js that will house our Express routes.
Routes.js:
Although this time, we wish to use the express.Router, we still need to import express. The routes can be registered and used in our application (in index.js).
We can now start building the first Express route that does things! Make a route that can retrieve a list of the current postings.
Routes.js:
Here, we import the Post model and use the router.get function to establish a new GET route. The route handler, which specifies what information should be delivered to the client, and the route destination will both be accepted by this method. In this instance, we'll use our model's search function to retrieve all of our posts, and then use the res.send method to convey the data.
We must use await to wait until the action is complete because getting documents from the database is asynchronous. Thus, be sure to mark your function as async. The data can then be sent to the client once it has been fully fetched.
Our routes can now be added to our index.js
Index.js:
First, we import the ./routes.js file to get all the routes, and register it with the app.use the method with the prefix of /api, So, all of our posts can be accessed in /api/posts. Let's try to run our server and fetch the /api/posts URLs.
Now, our server has sent us an empty array. This is because we haven't yet written a post. Thus, why not make one?
Create Post
In a REST API, a POST endpoint is used to create a new resource on the server. For example, if we have a blog application, we can create a POST endpoint to allow users to create new blog posts.
To create a POST endpoint in a REST API with Express and Mongoose, we typically follow these steps:
- Define the route handler function for the POST endpoint in the Express app.
- Use the Mongoose model to create a new resource in the database.
- Return a response to the client indicating whether the resource was successfully created or not.
We must acknowledge POST requests from /api/posts to create a post.
Routes.js:
Here, we're generating a fresh Post object and filling in the fields with data from the request's body attribute. The client request data, including the body, are contained in the req object.
Next, we must use the save function to save our record. We must use async/await syntax because saving data is likewise asynchronous.
Express doesn't know how to read the request body by default. So that we can parse them in every request, we need to implement middleware. Our request body will then be accessible to our route handlers via req.body in this manner.
Index.js:
Let's try out the new function we made to create posts!
Get Individual Post
We must set up a new route using the GET technique to retrieve each post.
Routes.js:
We are registering a new route in this instance with the destination /posts/
Awesome, try using our HTTP client to fetch a single blog article.
It appears to be operating, but there is one problem.
Our server will break if we take this route and supply the incorrect ObjectID. And it's not working because our application stops operating when we fetch a single post with an ObjectID that is invalid.
To avoid this, we can wrap our function in a try/catch block, allowing us to send a specific error message if the client requests a piece of data that isn't present.
Routes.js:
Now, even if we attempt to fetch a post that isn't there, our server still acts appropriately.
Update Post
To update a post in a REST API with Express and Mongoose, we typically follow these steps:
- Follow the steps discussed above.
- Create a route in Express for handling update requests for a post. We can use the router.put() or a router.patch() method to create a new route that listens for handle requests on a specific URL.
- In the route handler, use Mongoose to find the post by ID and update it using the findOne() method.
- If the post is successfully updated, return a 200 status code and the updated post object in the response. If the post is not found, return a 404 status code with an error message.
- If there is an error while updating the post, return a 500 status code with the error message.
- A good approach could be to mount the route on a URL prefix in the Express app using the app.use() method. This makes the route accessible from the web and allows clients to send PUT requests to it.
PATCH is typically the HTTP method of choice for performing an update operation on a single record. Thus, let's make one!
Routes.js:
Our update post route resembles the get single post route in many ways. Based on the id, we search for a post and, if it doesn't exist, we throw a special error. This time, though, we also update every field of the post object by filling it with the information the client gave in the req.body.
We also want to give the client the updated post data while saving our post object with the save method.
Now, we can run a PATCH method to our /api/posts/<OBJECT_ID> endpoint.
Delete Post
To create a delete post REST API with Express and Mongoose, we need to follow these steps:
- Follow the steps discussed above.
- Create a route in Express for handling delete requests for a post. We can use the router.delete() method to create a new route that listens for DELETE requests on a specific URL.
- In the route handler, use Mongoose to find the post by ID and delete it using the findOne() method.
- If the post is successfully deleted, return a 200 status code and the deleted post object in the response. If the post is not found, return a 404 status code with an error message.
- If there is an error while deleting the post, return a 500 status code with the error message.
- A good approach could be to mount the route on a URL prefix in the Express app using the app.use() method. This makes the route accessible from the web and allows clients to send DELETE requests to it.
By following these steps, we can create a robust and scalable REST API for deleting posts with Express and Mongoose.
Our final step is to implement the delete functionality to complete the CRUD feature.
Routes.js:
In the delete post route, we just run the delete operation directly to the database with the deleteOne method and pass the document id. And we return nothing to the user.
Conclusion
- Setting up the Mongo Express project involves installing Mongoose and configuring it to connect to the MongoDB database.
- The first step is to install Mongoose using npm, which can be done with the command "npm install mongoose".
- Once Mongoose is installed, it can be used to connect to the MongoDB database by providing a connection string and options to the "mongoose.connect" method.
- In an Express.js application, it's common to create a separate module for handling database connections, which can be used across different parts of the application.
- Mongoose schemas can be defined in separate modules and imported into the main application code.
- To use Mongoose with Express.js, developers can create a middleware function that sets up a connection to the database and passes it on to subsequent middleware functions and routes.
- With Mongoose, it's also possible to define middleware functions that run before or after specific events, such as saving or updating a document.
- Overall, setting up Mongoose with Express.js is a straightforward process that provides developers with a powerful and flexible solution for working with MongoDB databases in their web applications.