Sequelize with Express JS
Overview
Building quick, scalable network applications can be done quickly in Node.js. It facilitates the unification of application development into one language. Javascript is omnipresent in the NodeJS paradigm, making it a friendly platform for the software industry and businesses. Express and a node.js framework that is versatile and essential can be used to build mobile and online applications with a variety of capabilities. It involves building routing tables, setting up middleware, and dynamically producing HTML pages by passing arguments into pre-built templates. More extensive SQL databases will be challenging to handle, but you can recover them with the aid of sequelize. An object-relational mapper called Sequelize translates object syntax into database schemas.
Introduction
Sequelize is an Object Relational Mapper based on Node.js that makes working with databases like MySQL, MariaDB, SQLite, PostgreSQL, and others accessible. By exposing the data as objects, an object-relational mapper may carry out tasks like managing database records. Existing database schemas can be updated using Sequelize's robust migration process. Overall, Sequelize reduces development time and guards against SQL injections while offering good support for database synchronization, eager loading, associations, transactions, and database migrations.
By removing the minute differences between various SQL implementations, Sequelize lessens complexity. Additionally, it has an integrated middleware that enables specific customization to remove errors from any field. With the use of Sequelize's c promise-built library, users may better manage exceptions and unanticipated outcomes. Also, it challenges all the intricate join operations and teaches the user how the connections between "objects" work. Last but not least, the sync database on a modified model will modify or automatically build tables by the needs of the user.
Setup Express Web Server
The first step to start working with sequelize will be to set up your development environment. Make sure Node.js is installed on your computer before we start. Run the command node -v in your terminal to see if Node.js is installed. It would return your version if Node.js was installed on your computer. If nothing comes back, you will have to install Node.
So if your system does not have Node.js, you will have to Install the latest LTS version for your OS. This can be completed with the help of the Node.js installer provided on the official Node website.
Along with Node, NPM (Node Package Manager) will also get installed. To manage our node packages, we employ NPM.
The next step is to make a folder. By entering the command mkdir followed by the folder's name in your terminal, you can accomplish this. To access your folder, type cd followed by the name of the folder you just created. Any editor of your choice is acceptable.
Run the following command on the terminal after opening the folder in our editor: npm init. You will be required to You will be expected to answer a few questions after running this command, although the majority of them are not significant. Run the command
instead, if you wish to skip answering these questions. Following the completion of the questions, a JSON file will be produced.
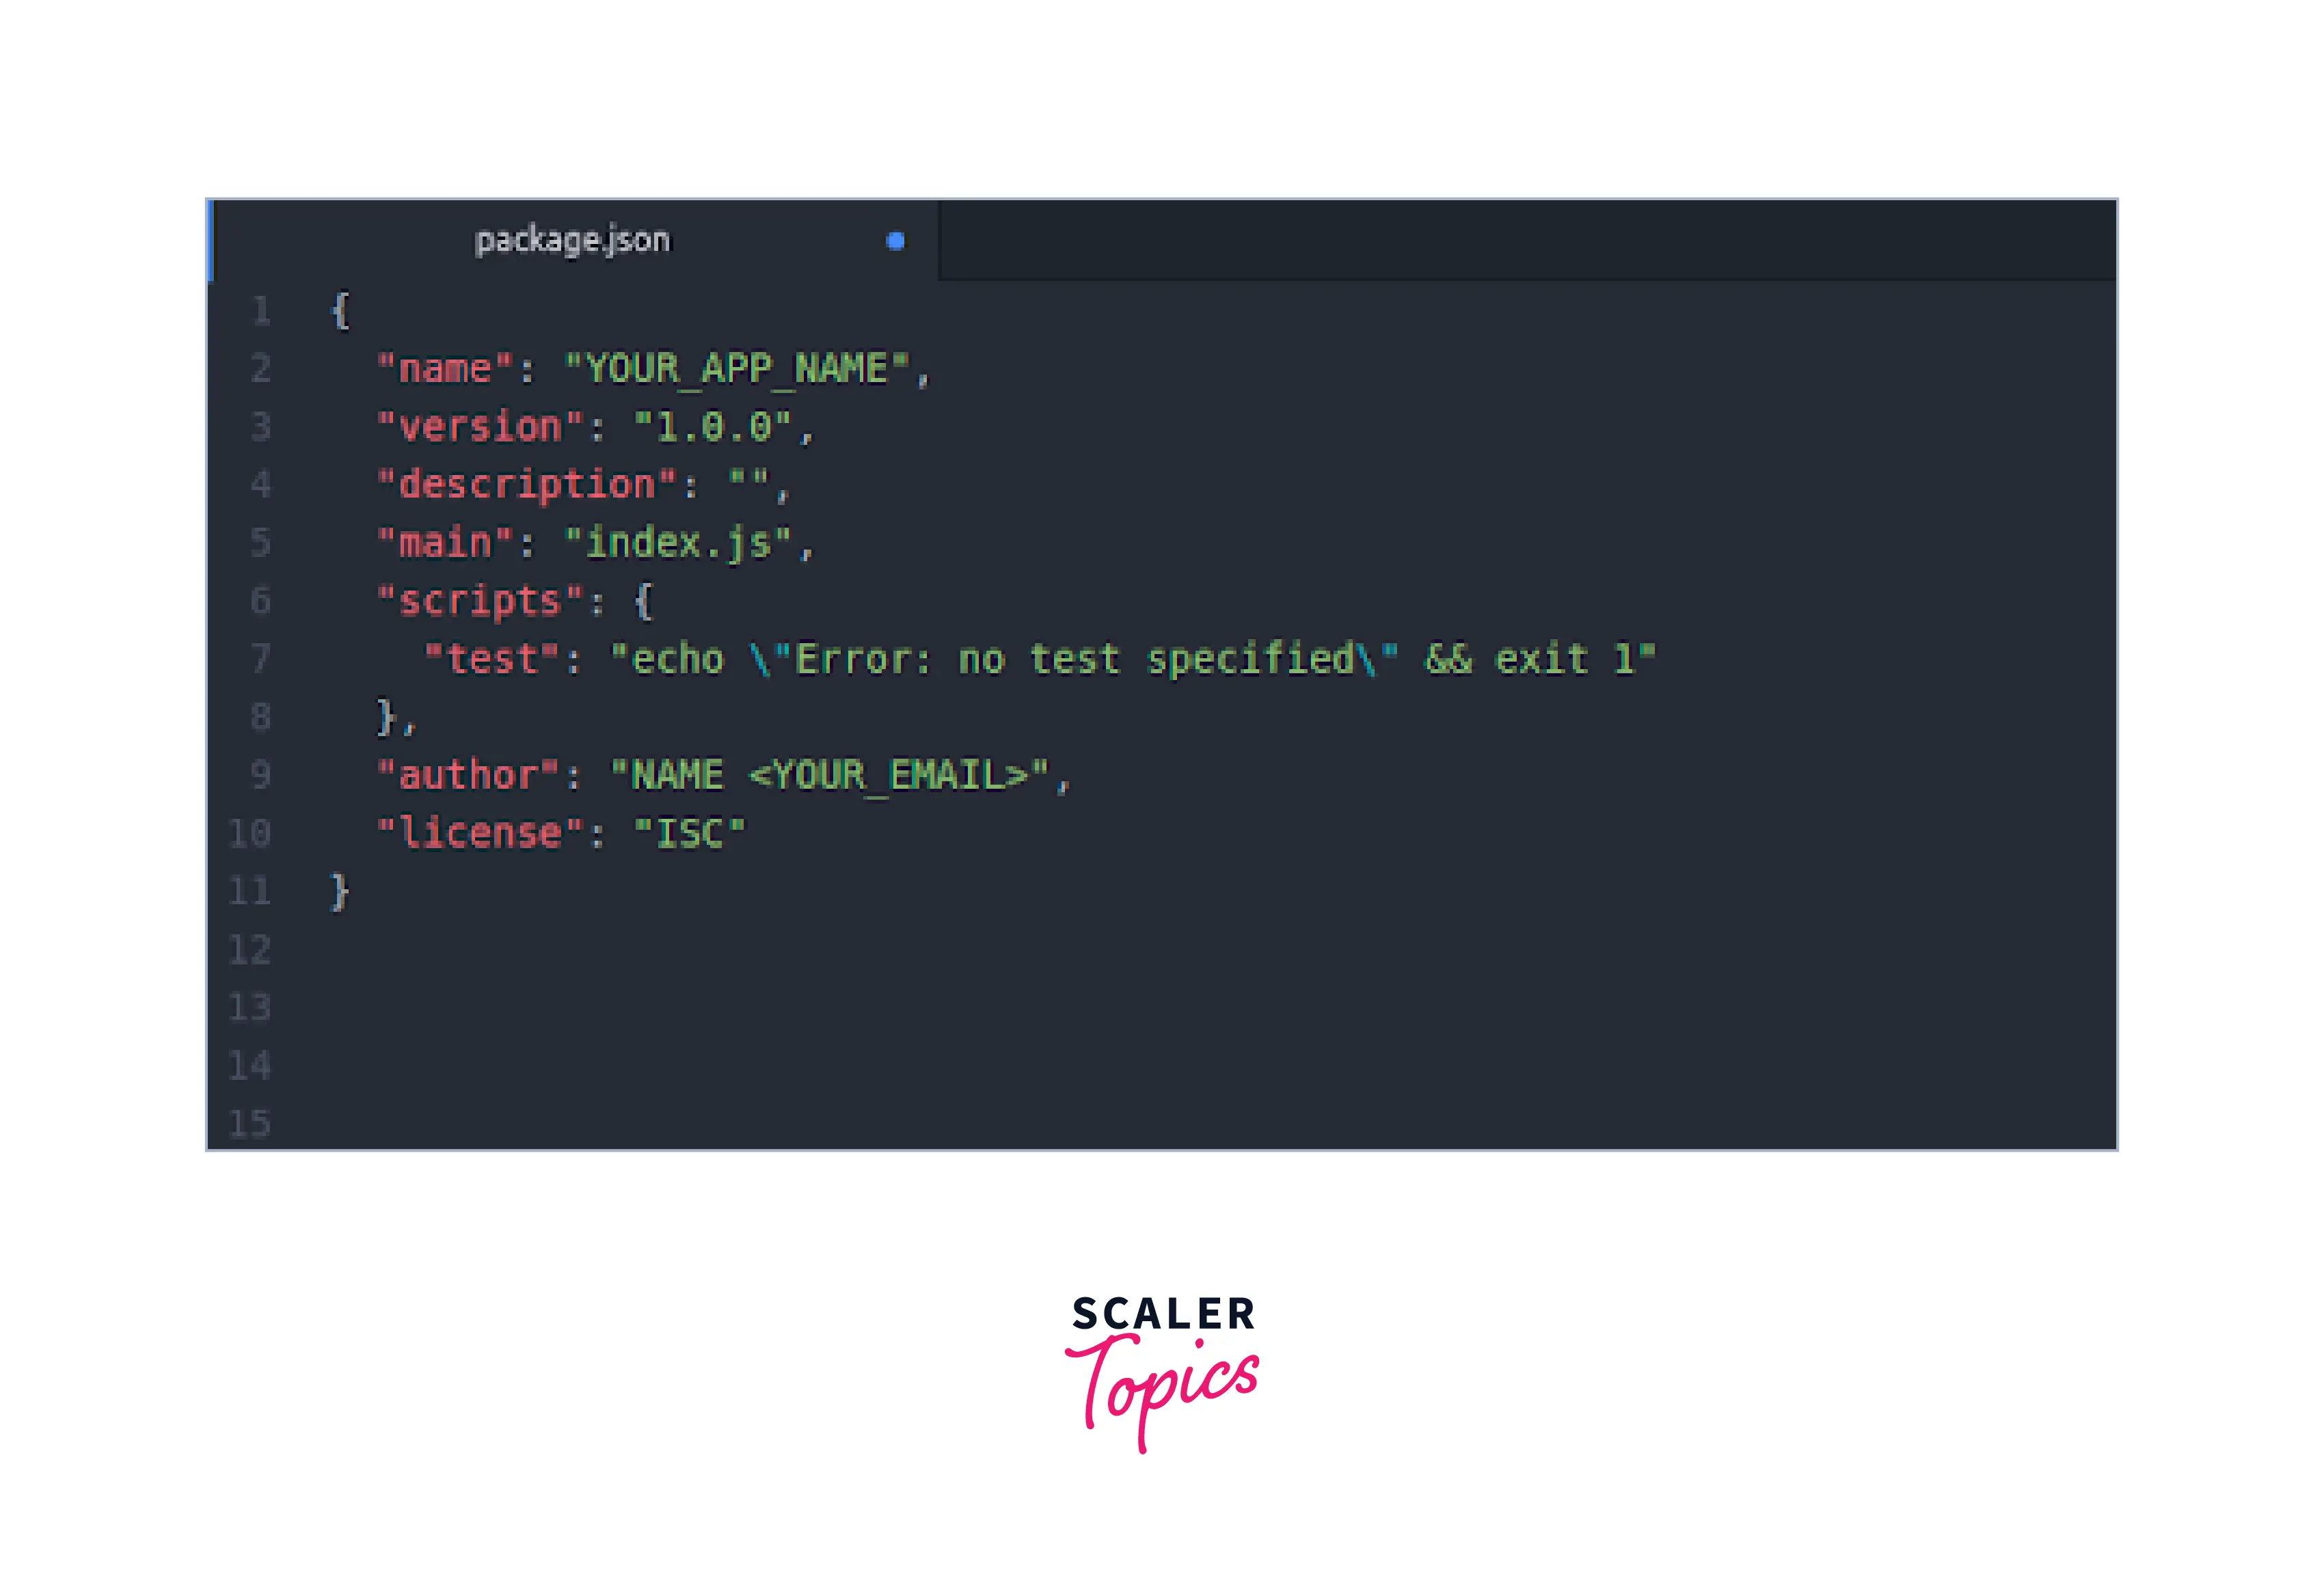
The package.json file contains metadata about your program, along with some basic information about it. Additionally, it will handle all of your application's dependencies. The NPM (Node Package Manager) will also manage any extra packages that you add.
By typing the command given below in the terminal, we can install Express.js.
As a result, the Express.js framework will be installed, and the node_modules subdirectory will also be created. All of Express.js's dependents, as well as the dependencies of those dependencies, are located in this folder.
You can also install nodemon as a development dependency with the following command.
Now in the index.js file, write the below code :
To run the code use the below command :
The above code works: on port 3000, this application launches a server and waits for connections. When a request is made to the root URL (/) or route, the app answers with Hello, World! It will return a 404 Not Found response for all other paths.
Configure MySQL Database & Sequelize
Finally, we can use npm to install Sequelize and our preferred database. We will only install the MySQL driver as we will be working with the MySQL database. To enable the support for database connectivity, run the following command in the application root directory.
Initialize Sequelize
You must establish a connection stream between Sequelize and the active MySQL Daemon to connect to a database. Create a database.js file in the config directory and place it inside the application root's config directory. For further information on how to import Sequelize, construct an instance with authentication information, and export it so that it can be used to create a database connection, see the following code sample.
The index.js file, which is the main file used for starting and controlling the node server, must import the code that was added to the database.js file earlier. Look at the following code to learn how to import the database.js file and create the database connection.
By default, Sequelize uses the same connection for all queries and keeps the connection active at all times. You can provide the following command to terminate the connection if necessary.
The constant db, which contains the Sequelize object, was established in the index.js code.
Define the Sequelize Model
The core of Sequelize is the model. It is an abstraction that symbolizes a database table. The name of the table, the count of columns, and the data types of the columns are just a few of the information that a model might provide about a table.
A model can have a unique name. It doesn't have to be the same as the name of the table. For a model, it is advised to maintain a singular name (such as Post), although a table might have a plural name (such as app_posts).
There are two ways to express a model:
- By calling sequelize.define()
- By extending the Model class and calling init()
Create a file called Book.js in the model's directory and a directory entitled models.
Sequelize utilizes the library inflection to pluralize the model name and applies it as the table name when a table name is not given. The model name in the previous model was mere "Book," but when the database table is created, it will be given the name "Books."
The process of instructing Sequelize to automatically run a SQL query against the database and verify that the fields listed in the model's structure must match the target table is known as model synchronization. By using the .sync() function, a model can be brought into sync with the database.
The three methods to sync a Model are listed below. The Book model will be synced here.
- Book.sync():
If the table doesn't already exist, this will create it. There is no action taken if it exists. - Book.sync({force: true}):
If the table already exists, it will be deleted and then created. - Book.sync({alter: true}):
This will first verify the database table (which columns are there, what are their data types, etc.) before making the necessary modifications to ensure that the table satisfies the model's schema.
You can add this to the index.js file as shown:
Create the Controller
Now in the root directory create a file controller.js. In this, we will define the controllers for various operations.
Write the following code in this file.
In the above code, we have created the controllers for the various CRUD operations.
Create a New Object
The .create() function on a model instance can be used to generate or insert a record in a table.
In the above code, the BookModel has been used to create the new instance of a Book. The title and the authorName are taken from the body of the request. This way, creation can be handled with the help of sequelize.
Retrieve Objects (with Condition)
You can use a model instance's .findAll() function to read every record from a table. The .findAll() method gives an array of books that can be used with the res.json to generate a response.
Add the following code in the getAllBooks function:
The conditions can be specified with the where clause.
Now the records with a specific title and author will be returned.
Retrieve a Single Object
Using the supplied primary key, the findByPk method only retrieves one entry from the table. In the below code, the id has been passed from the request's params as a primary key. By this, only one instance is returned that gives the required book.
Update an Object
To modify a row or object, Call the Book model's update function. The names of the columns and their updated values can be given in JSON format. When updating a particular record, you can use the "where" condition by utilizing the "where" key and supplying the value.
In the above code, the updated title is passed, and then in the where clause the id has been specified. The record with the specified id will have its title modified.
Delete an Object
The destroy() function on a model instance can be used to remove a record from a table. The deletion can be done by first finding using the primary key and then removing or simply adding the where clause. Like the read queries displayed above, delete queries also take the where option.
In the above code, the id has been taken from the parameters to delete the specific record from the database. Then the result has been sent to the user as the response.
Delete All Objects
The SQL statement TRUNCATE can be used to delete everything. All the records of the table will be removed by using truncate.
Find All Objects by Condition
There are several other ways to specify conditions by which the records can be fetched. Here are a few ways other than the where clause by which you can modify the getAllBooks function.
Using the OR statement, we can look for notes that match any of the specified parameters if we're attempting to be a little more ambiguous.
Here the results for all the tags specified in the query will be shown. Here, we're implementing an OR query using Sequelize.Op. Sequelize offers a variety of operators, including Op.or, Op.and, Op.eq, Op.ne, Op.is, Op.not, etc. These are mostly used to generate more complicated processes, such as regex-string-based queries.
Keep in mind that the input to.findAll() is req.query.tag. Here, Sequelize anticipates an array, so we use [].concat() to force the tag to be an array. We'll pass several arguments in our request URL in the test below:
To limit the number of records that should be returned, we can use the LIMIT.
Define Routes
Now in the root directory, create a file routes.js. In this, we will define various routes for the different operations. We will now connect the controllers to specific route paths.
In the above code, the various routes have been connected to their corresponding controllers. The corresponding controller will be called when the request comes for a particular route.
Now you can include these routes in the main index.js file.
To parse the body of the request we have used express.json() here. The routes for books have also been specified for the /book path.
Conclusion
- "Sequelize" is an Object Relational Mapper based on Node.js that makes working with databases like MySQL, MariaDB, SQLite, PostgreSQL, and others accessible.
- Existing database schemas can be updated using Sequelize's robust migration process.
- By removing the minute differences between various SQL implementations, Sequelize lessens complexity.
- Sequelize challenges all the intricate join operations and teaches the user how the connections between "objects" work.
- With the use of Sequelize's c promise-built library, users may better manage exceptions and unanticipated outcomes.
- There are two ways to express a model :
- By calling sequelize.define()
- By extending the Model class and calling init()