How to Use Firebase Auth in Flutter?
Overview
Using Firebase Auth in Flutter is a reliable method for user authentication, offering support for numerous login techniques, including email/password, Google, Facebook, Apple, and more. It provides a secure and user-friendly system, simplifying the integration process into a few steps: creating a Firebase project, activating Firebase Authentication, and adding the necessary dependencies to the Flutter app. Moreover, Firebase Auth can be seamlessly paired with other Firebase services, such as Cloud Firestore, to manage user data.
Connect Your App to Firebase
Connecting your app to Firebase involves the following steps:
-
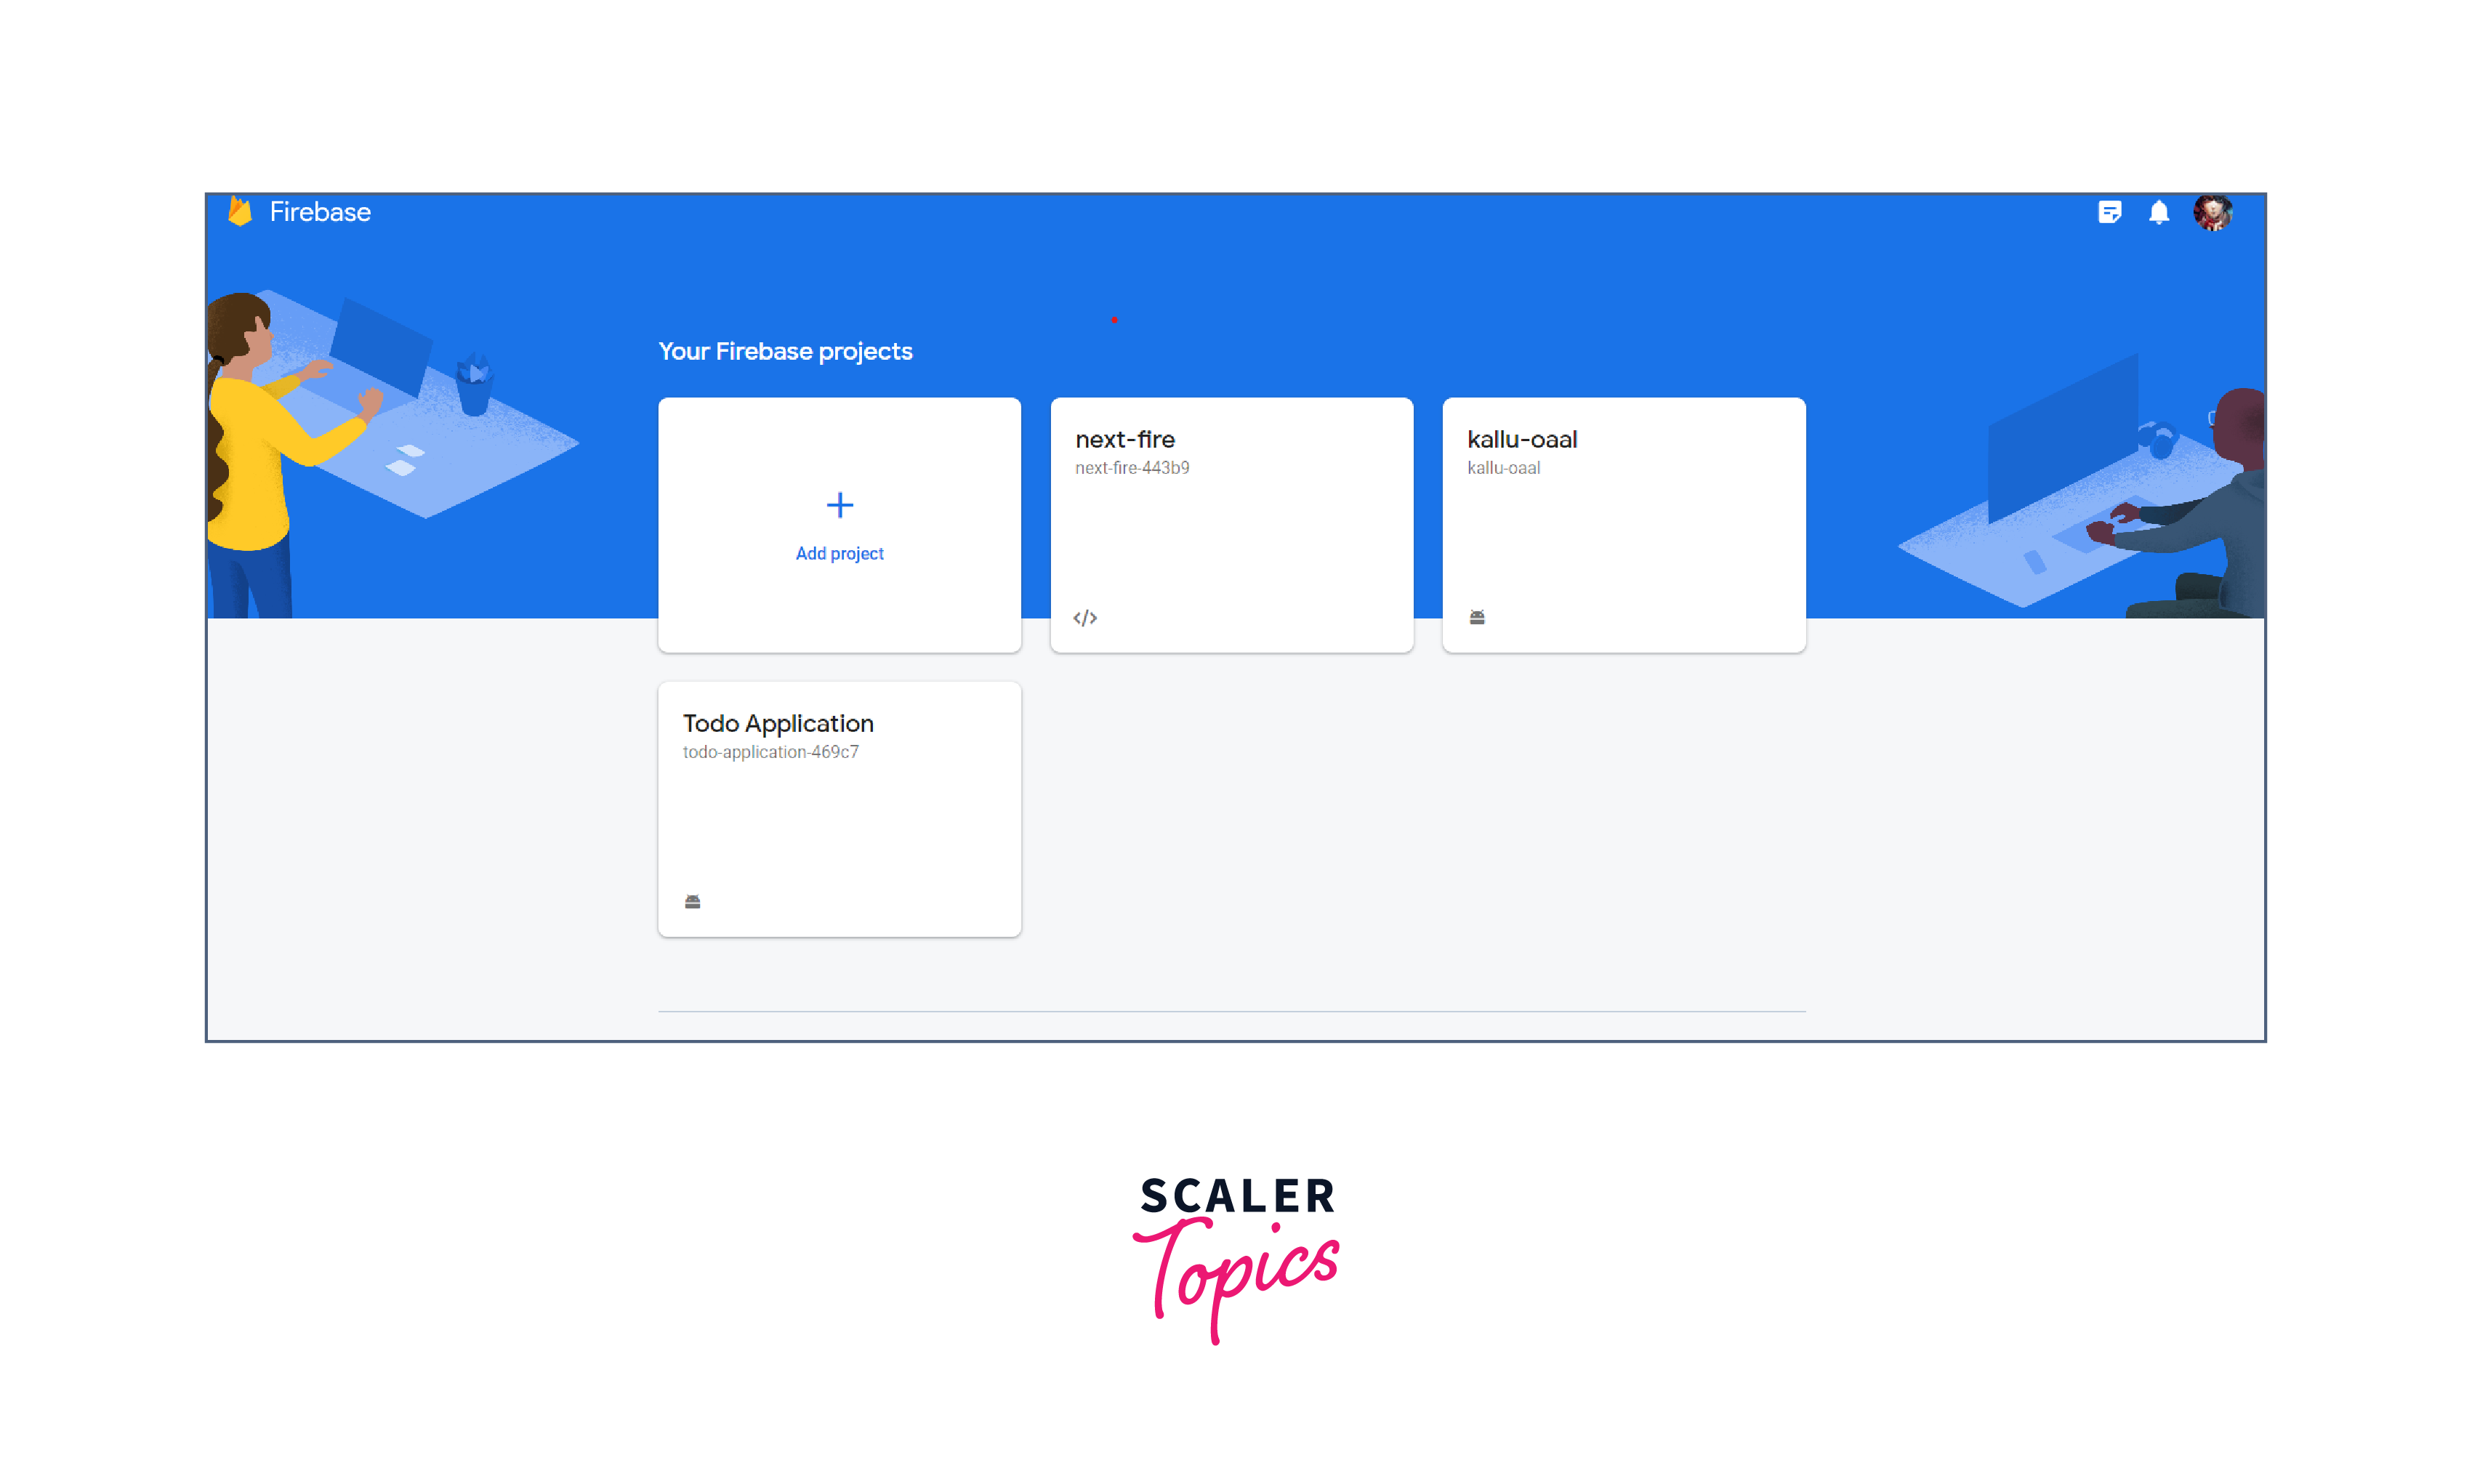
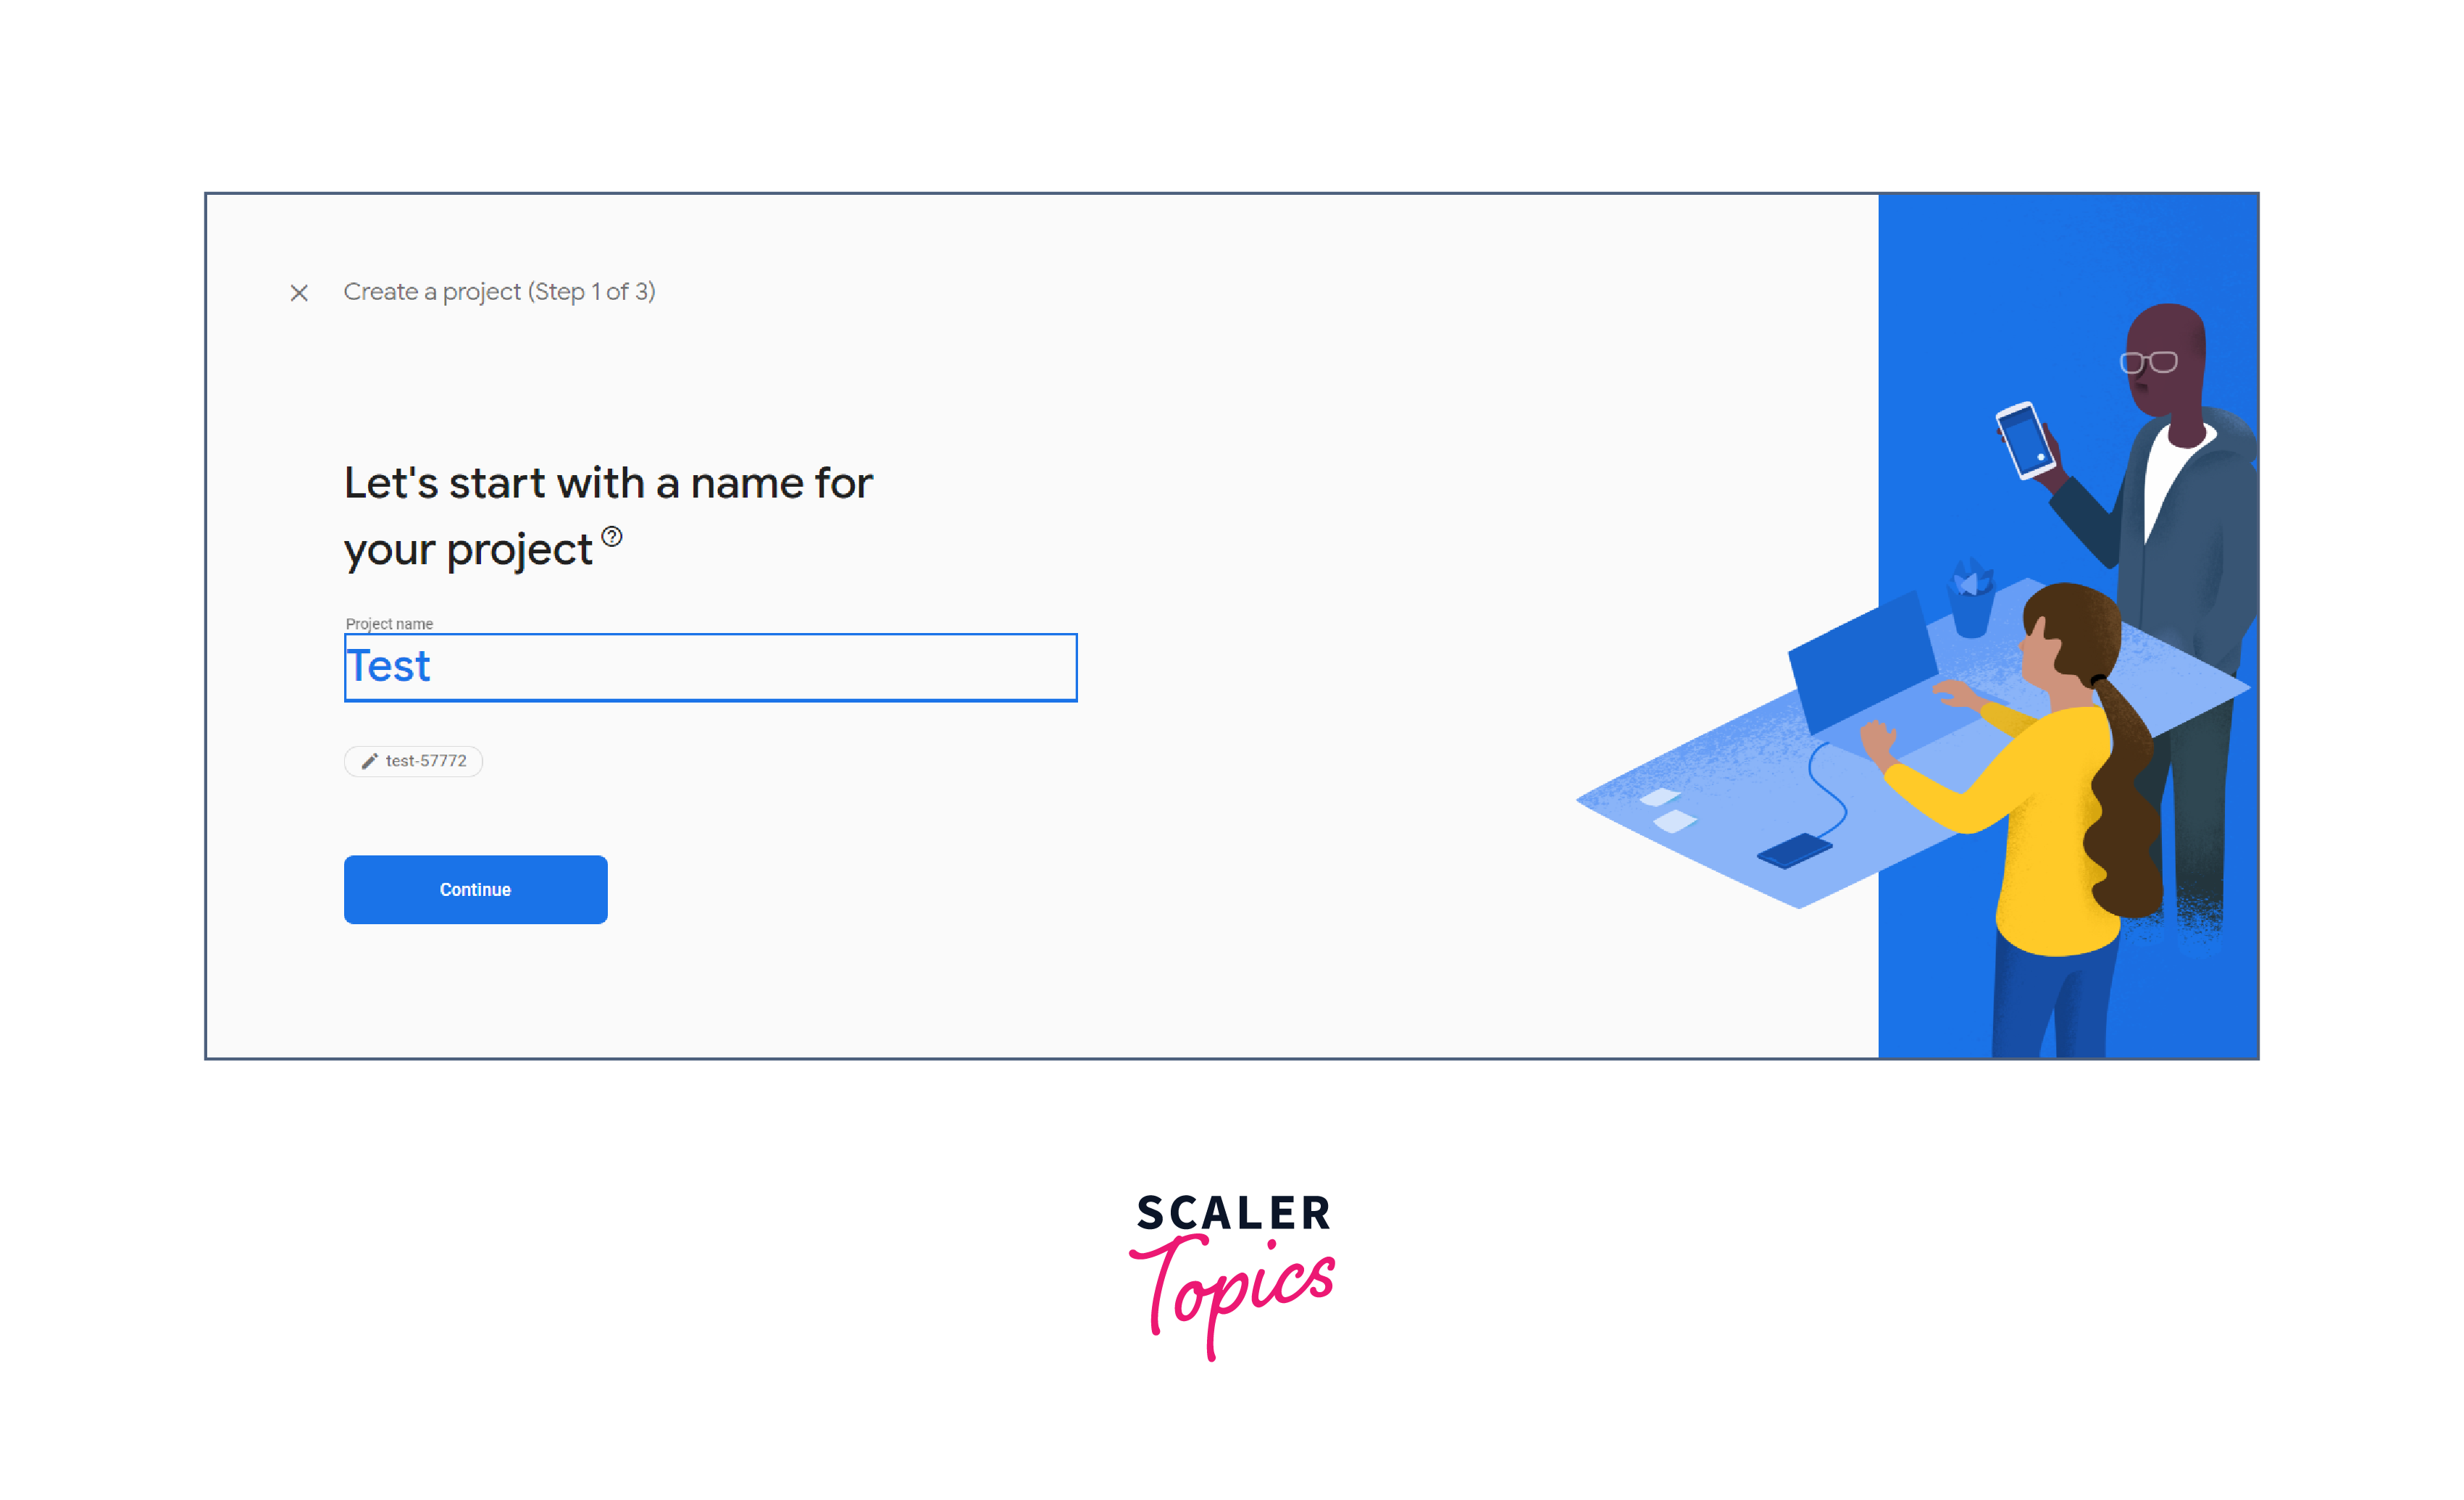
Create a Firebase project:
Go to the Firebase Console and create a new project by clicking on the "Add project" button.
-
Set up Firebase in Your App
Your app's platform (Android, iOS, or Web) will determine which actions you need to take to set up Firebase. For each platform, the Firebase documentation offers comprehensive directions. For Android, for instance, you must include the Firebase setup file in your app in order to add the Firebase SDK to your project.


-
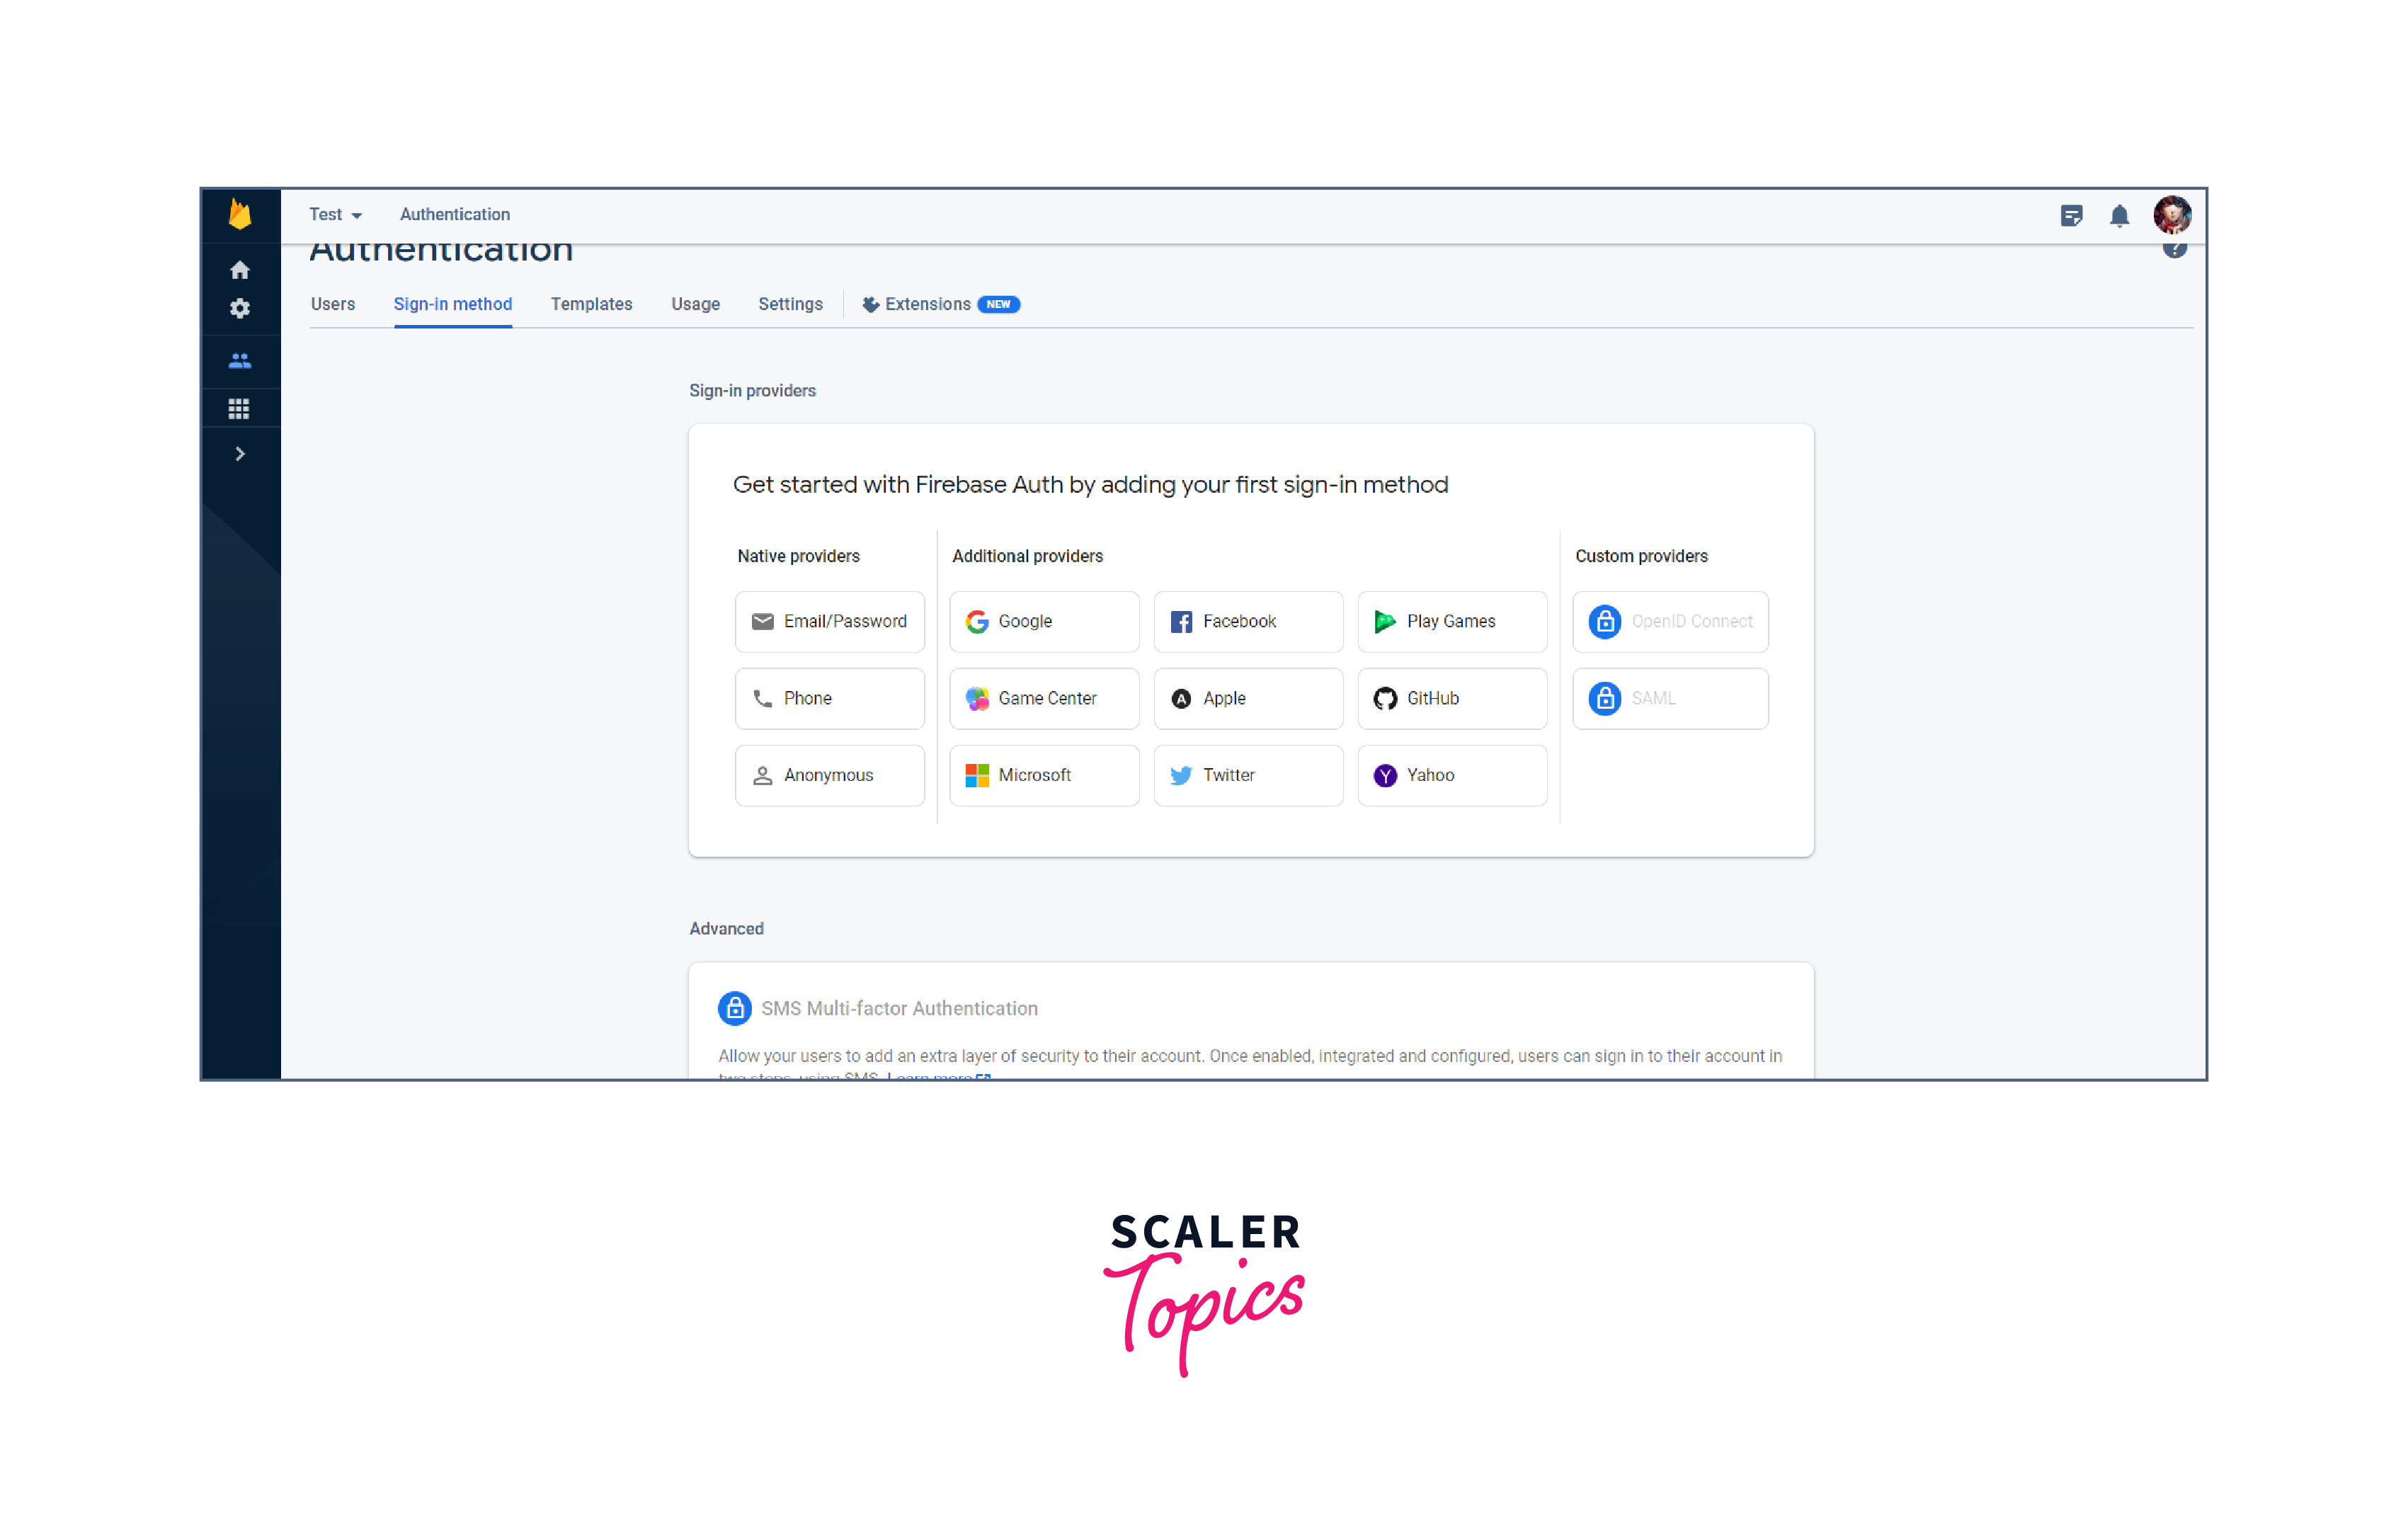
Add Firebase Authentication
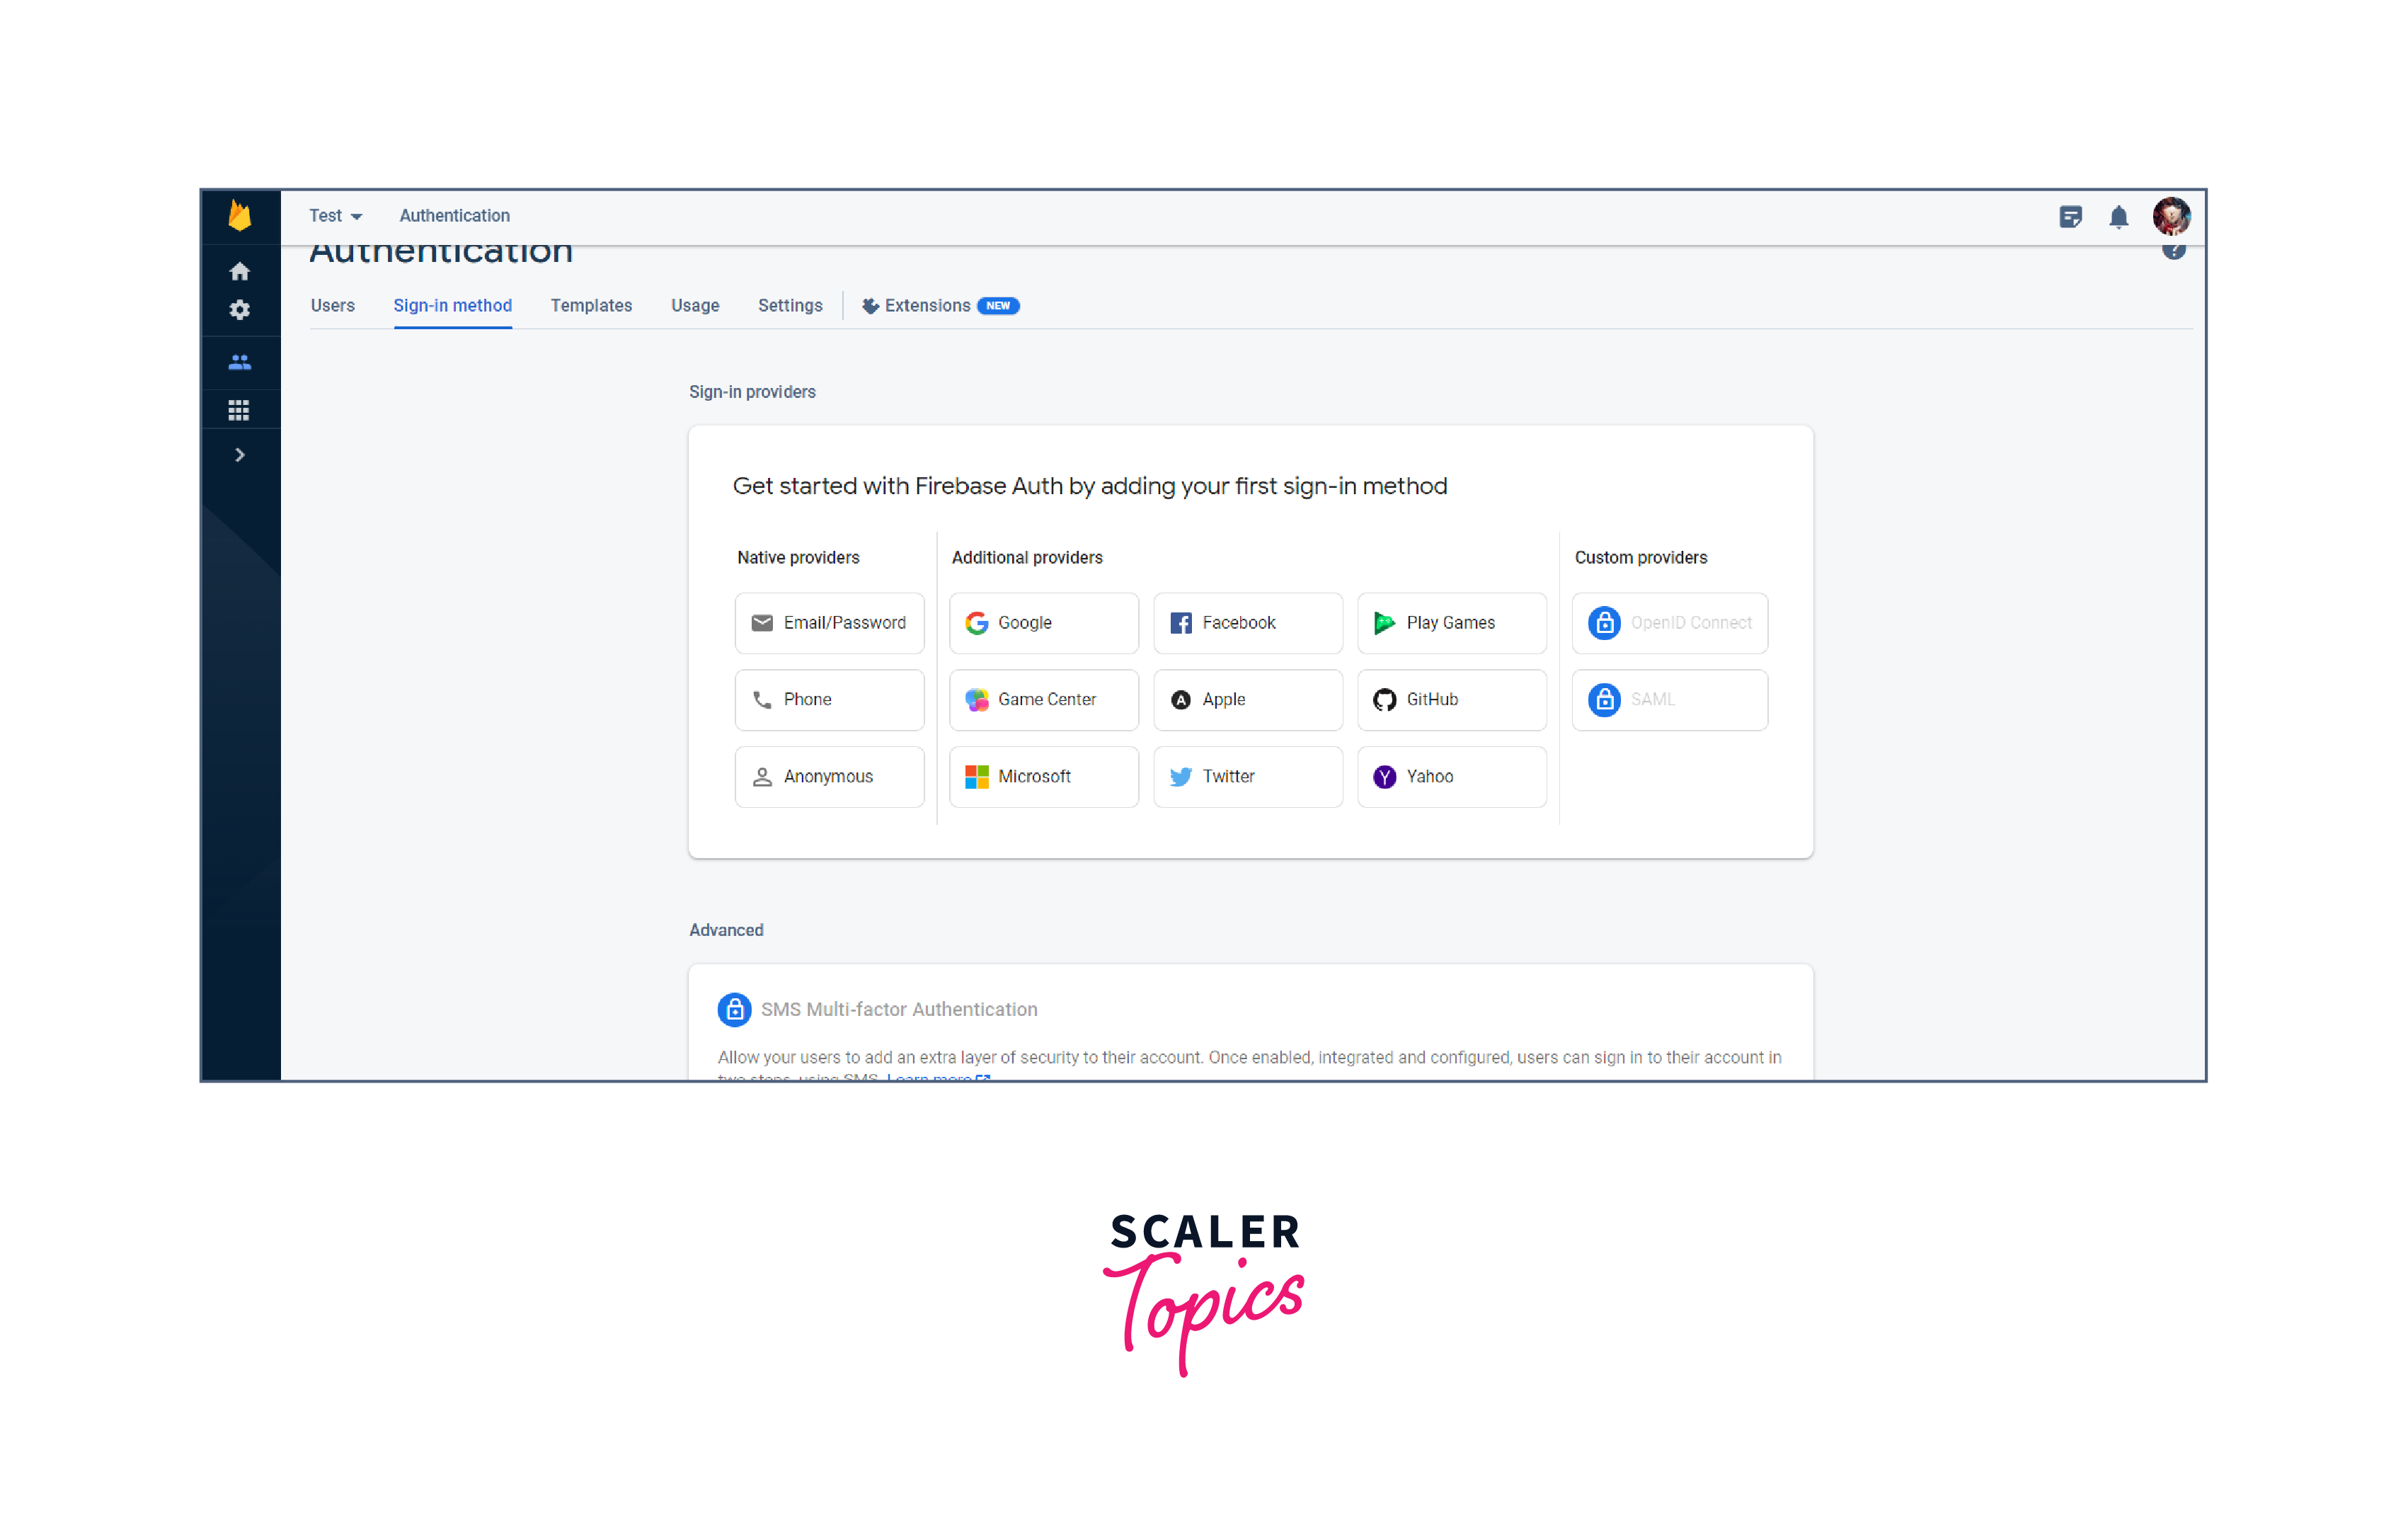
Users can log into your app using a variety of ways, such as email and a password, Google, Facebook, etc., thanks to Firebase Authentication. To integrate the Authentication service into your app, first enable it in the Firebase Console and then follow the steps unique to your platform.
-
Add other Firebase services:
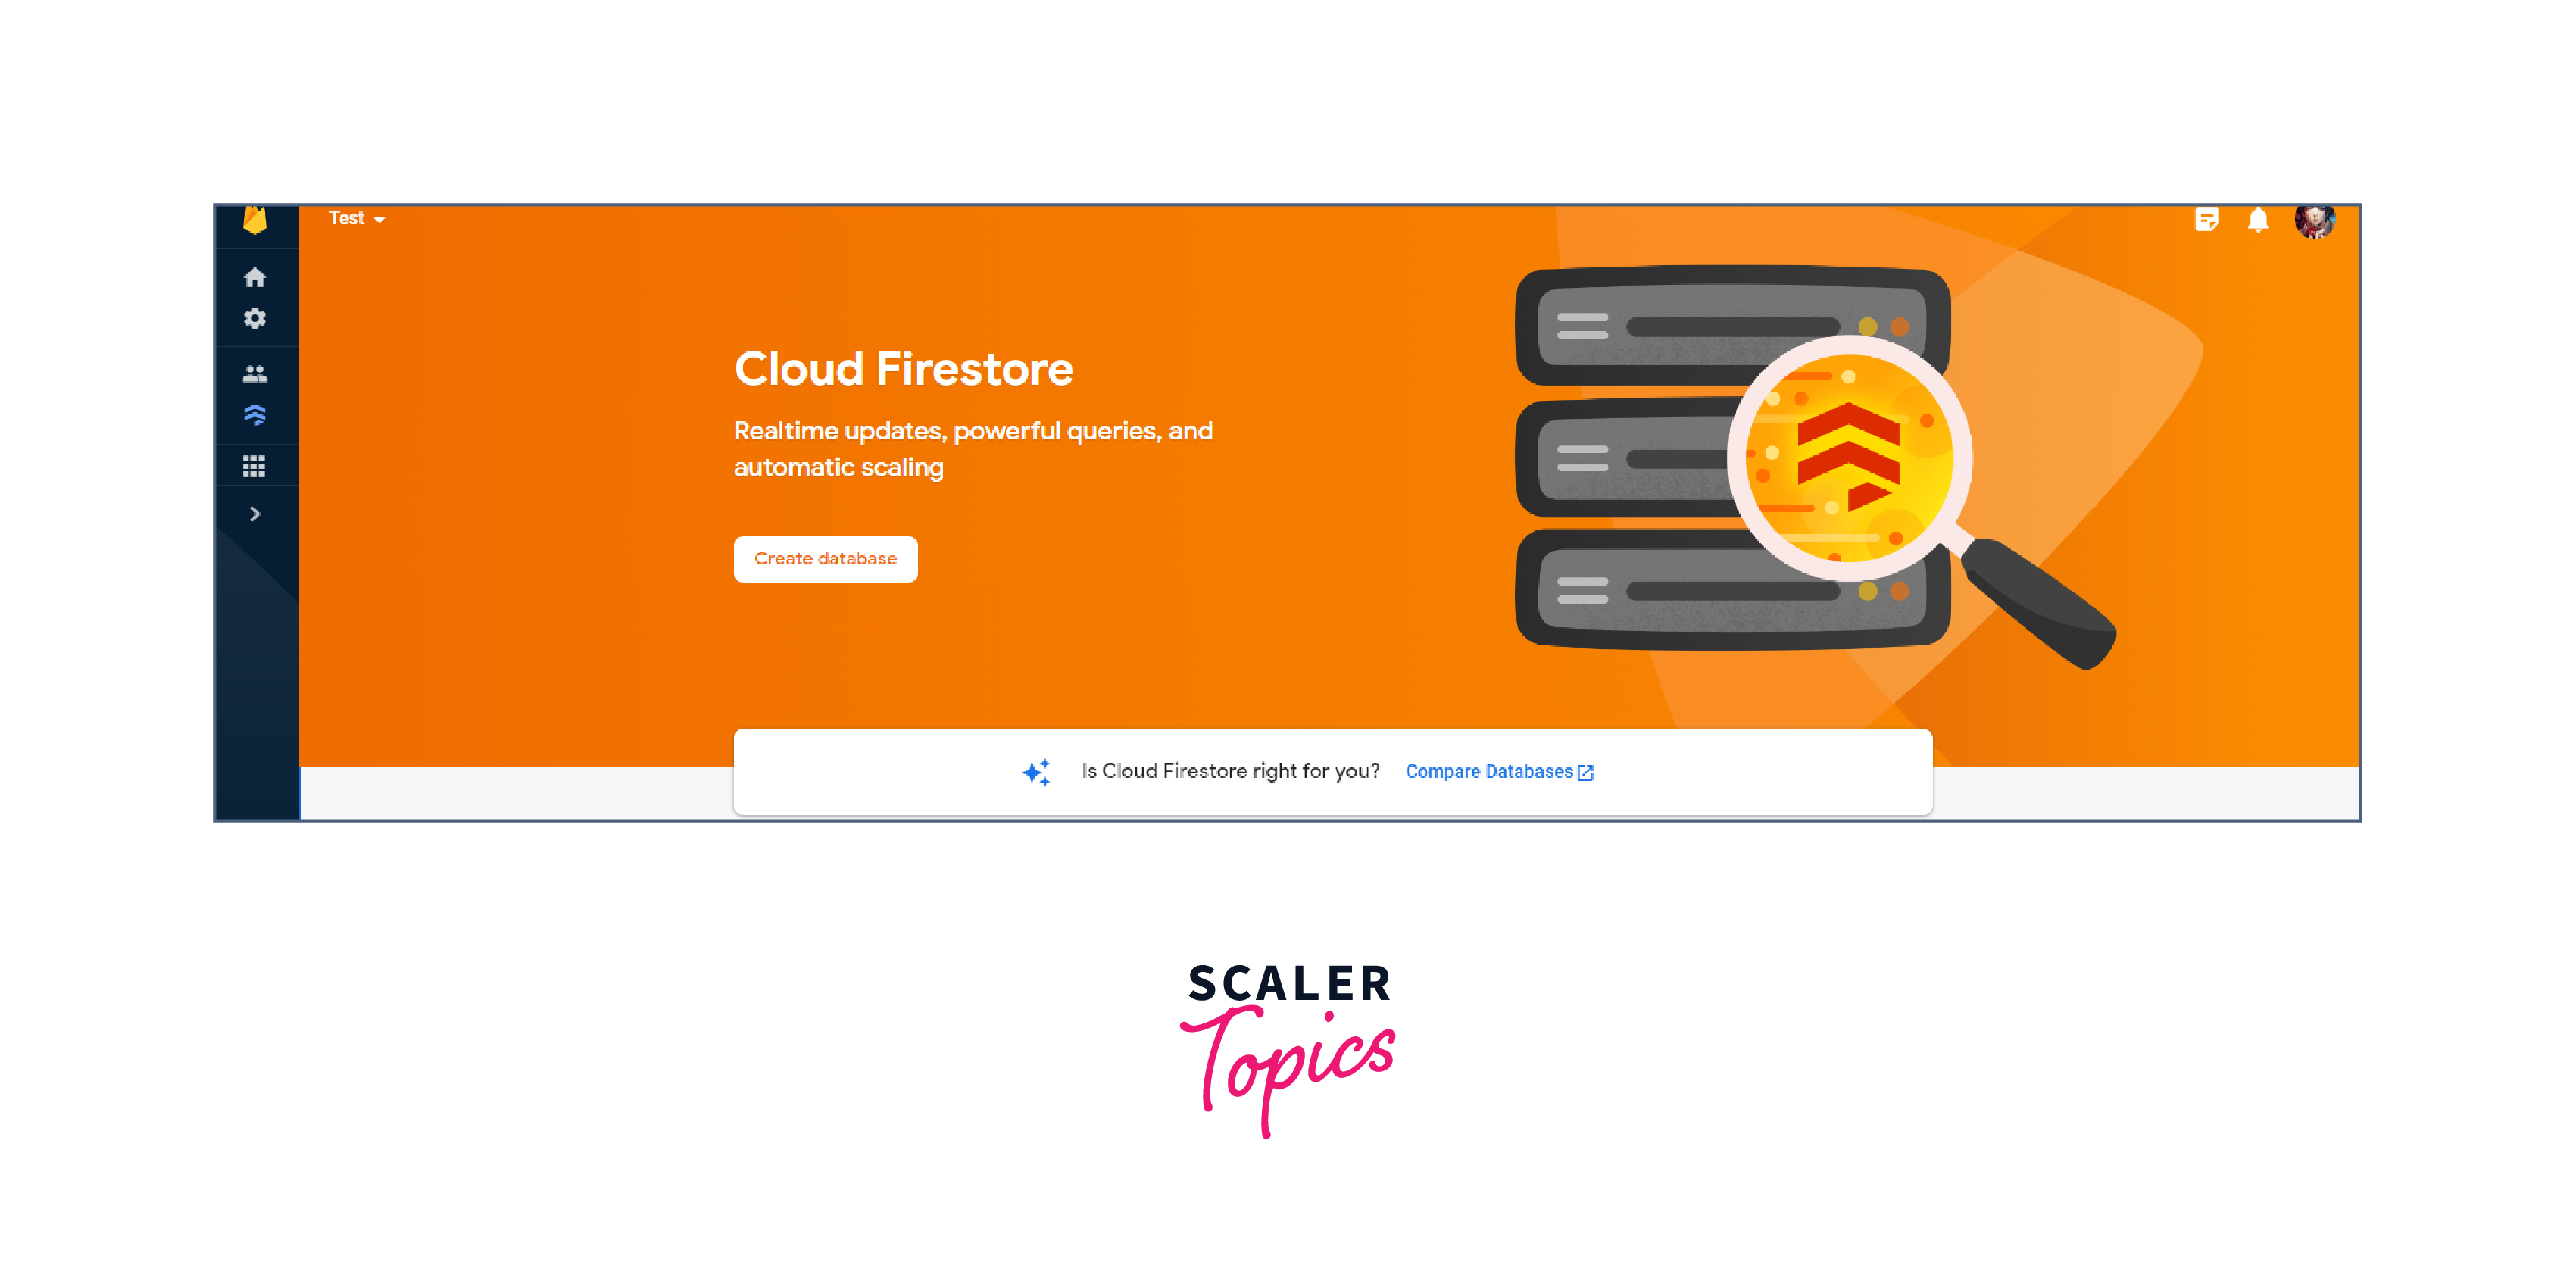
Firebase provides a range of services like Cloud Firestore, Cloud Messaging, Cloud Functions, etc. depending on the needs of your app, you can add these services to your project and integrate them into your app.

-
Test your app:
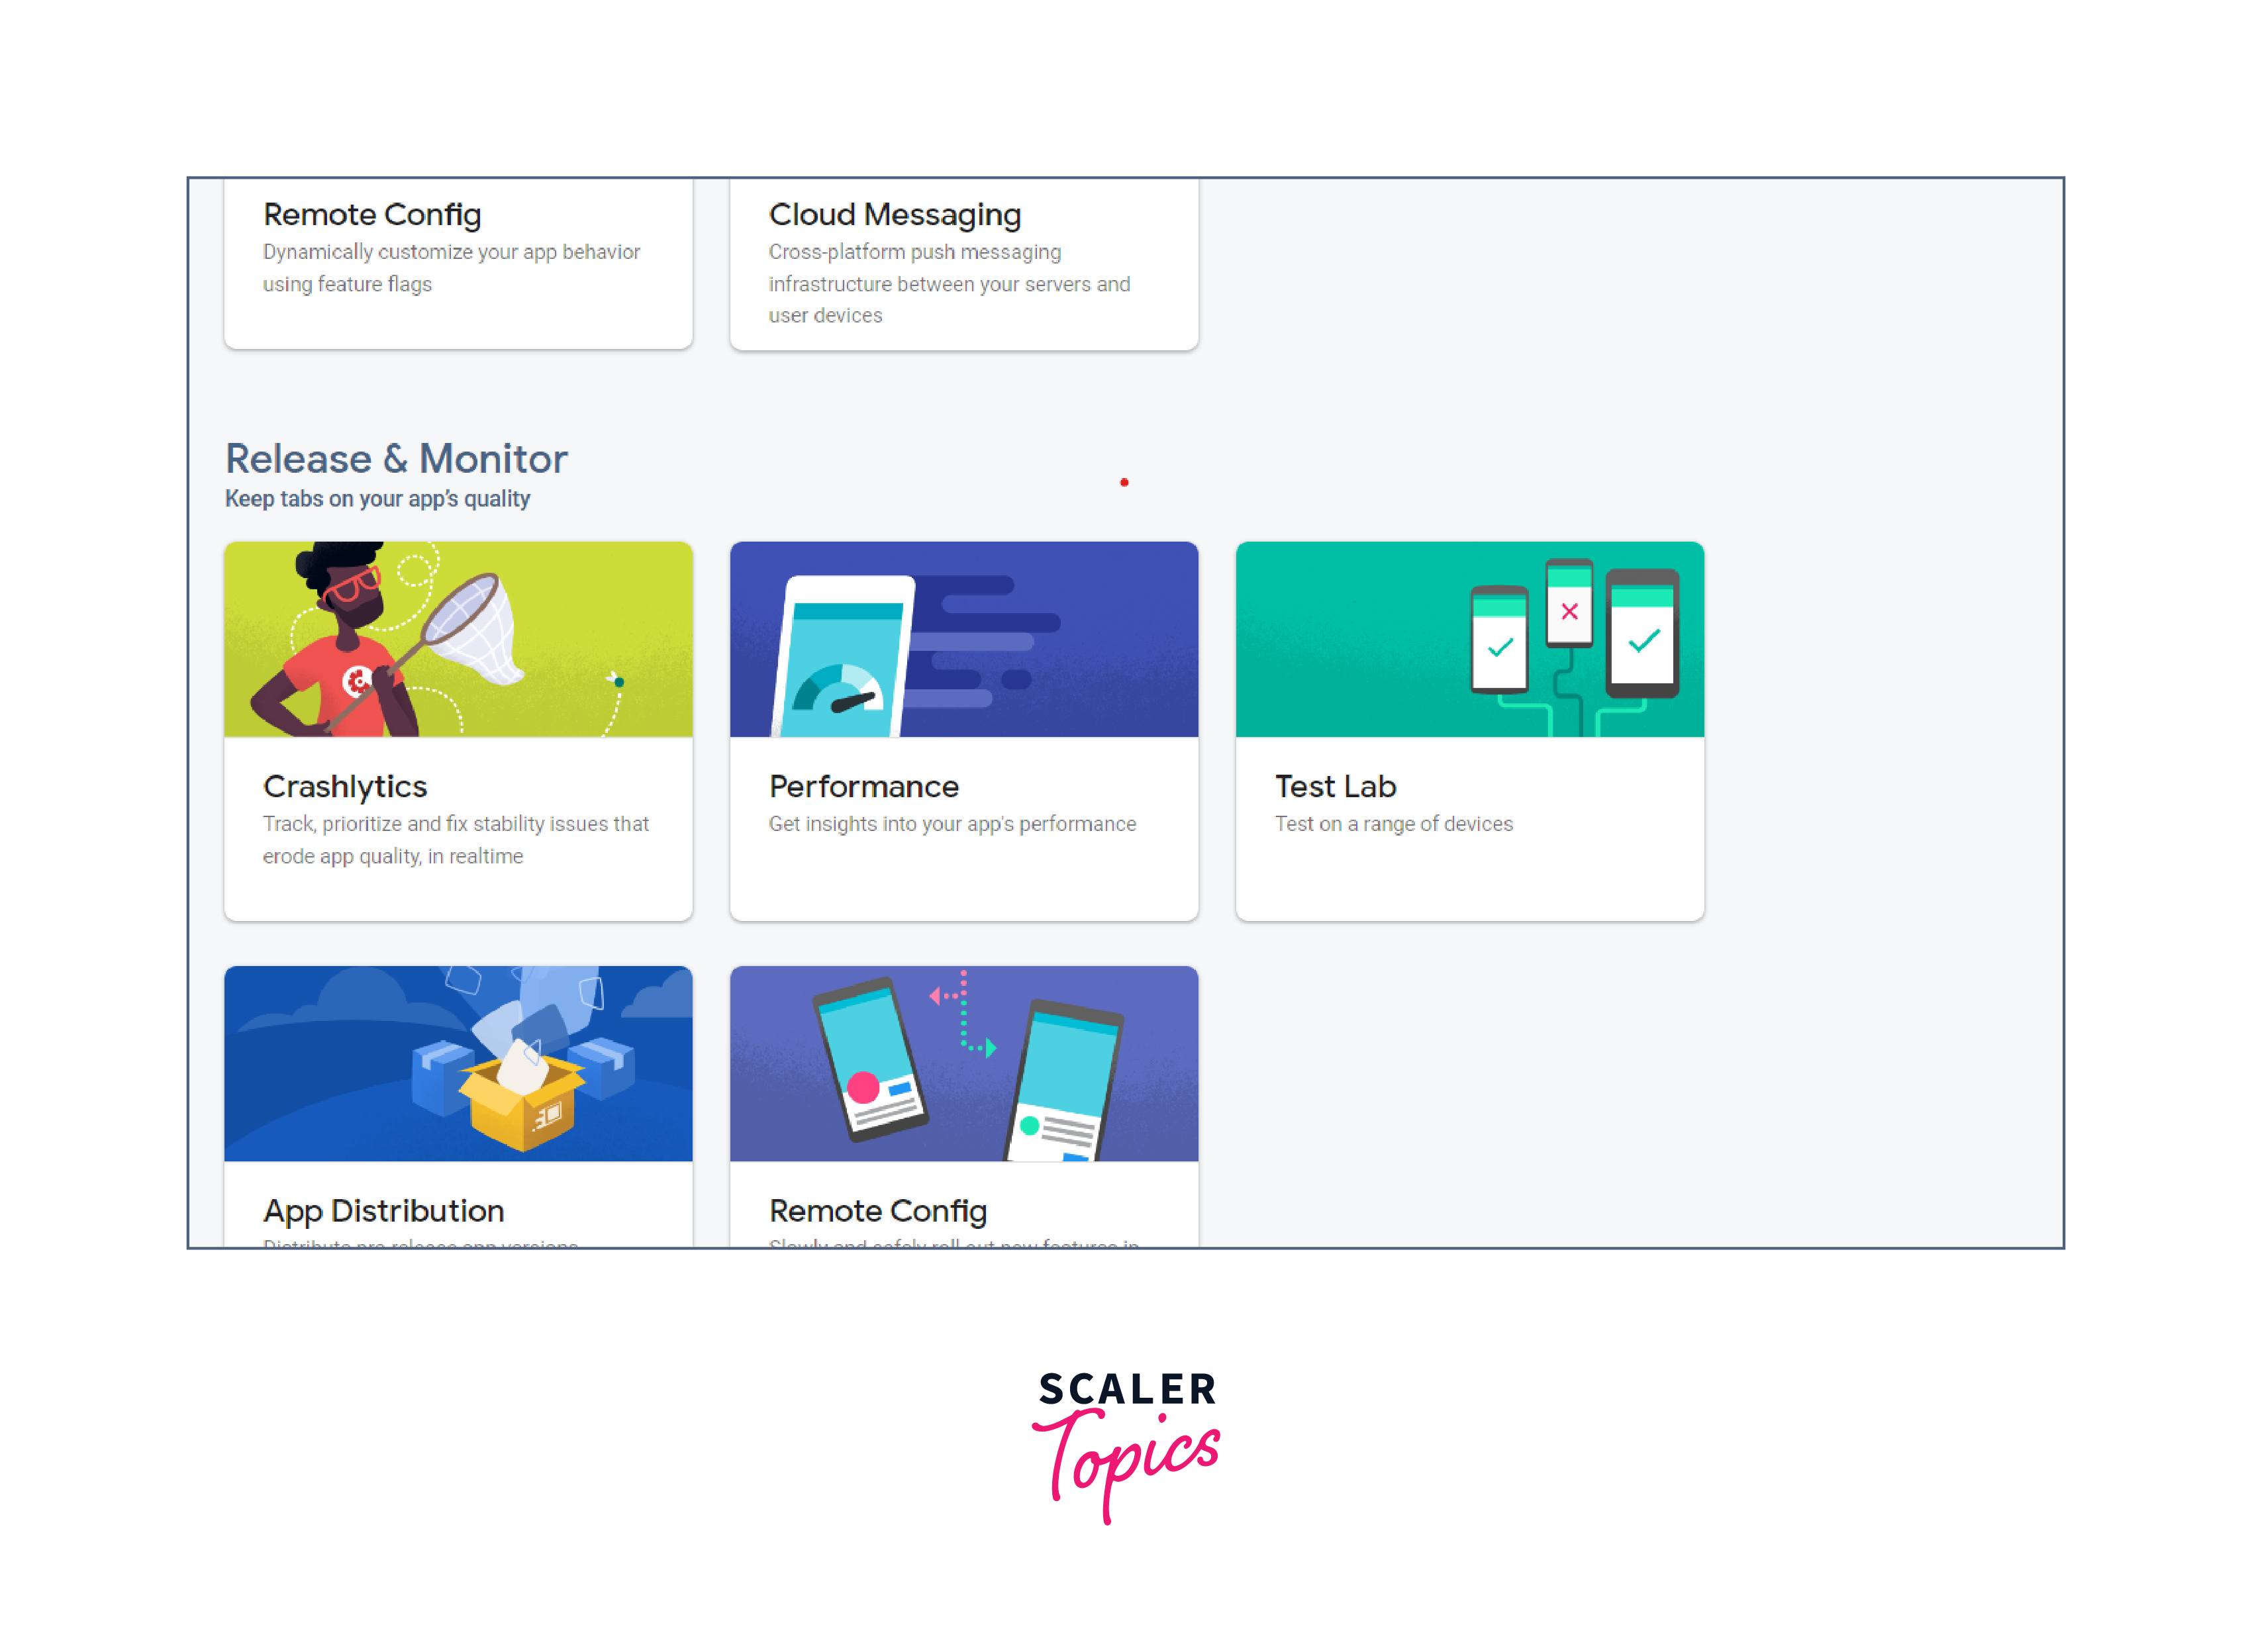
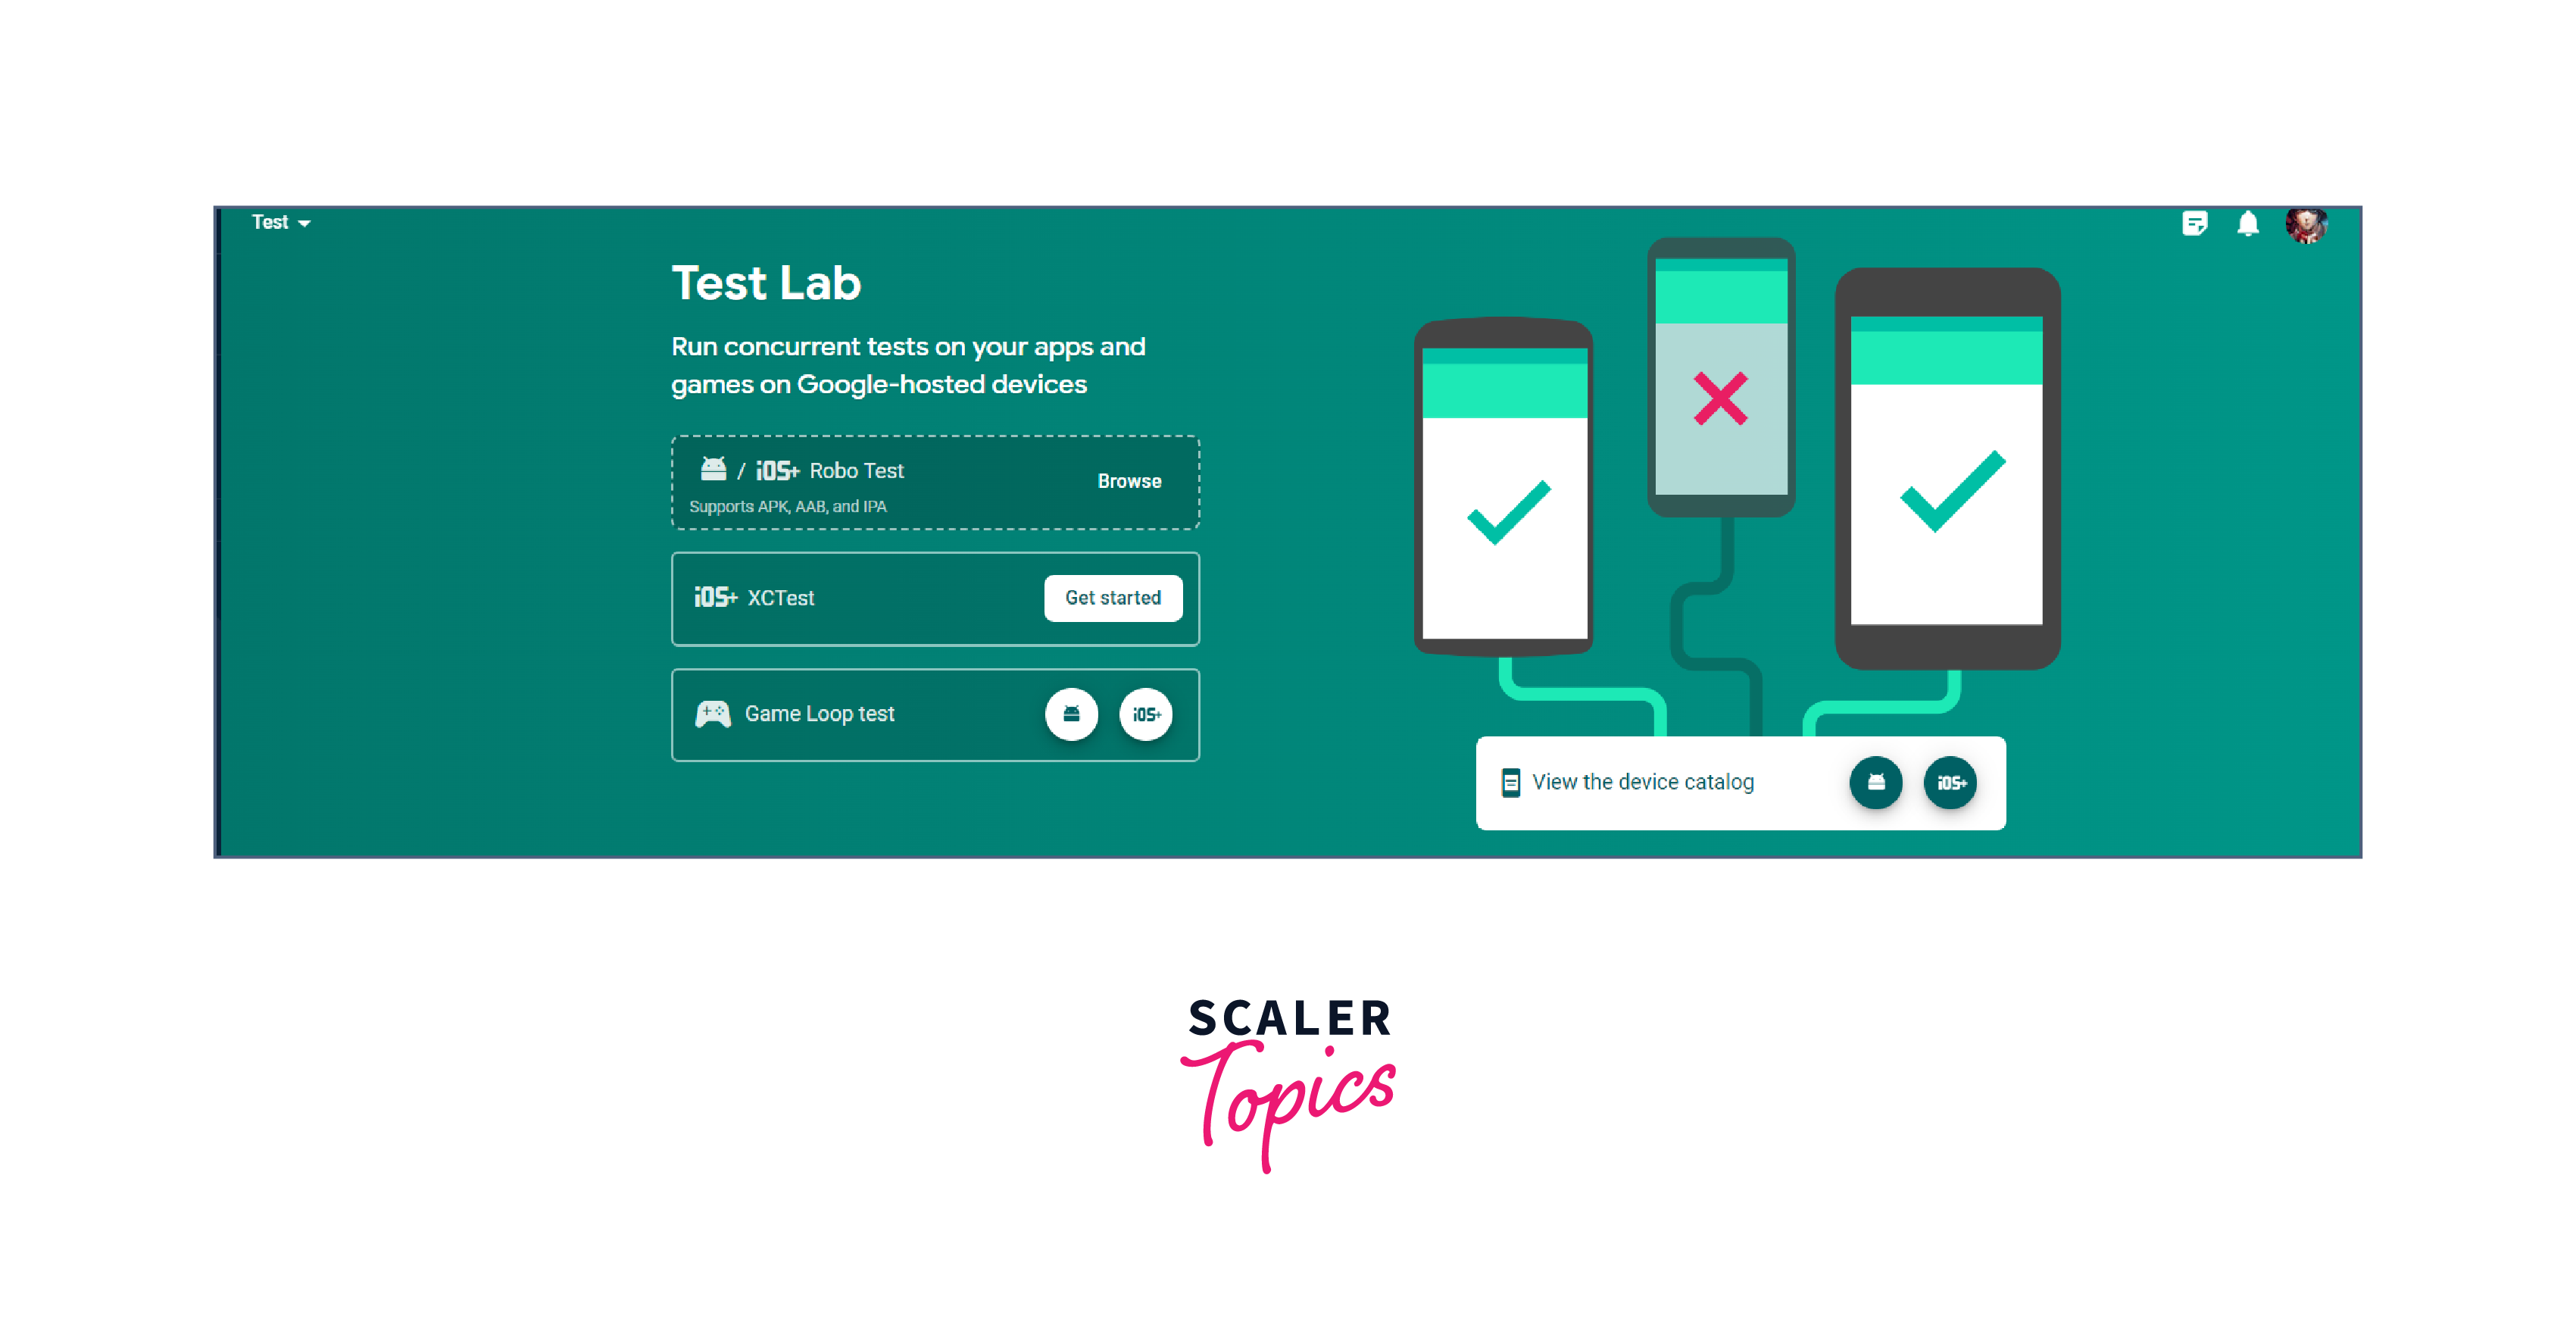
After integrating Firebase into your app, you can test your app and make sure it's working as expected. Firebase provides tools like Firebase Console, Firebase Test Lab, etc. that help you test your app.
Add Firebase Authentication to Your App
-
Set up a Firebase project in the Firebase console if you haven't already done so.
-
Add the Firebase SDK to your app by including the Firebase Authentication library in your app's build.gradle file.
-
Initialize Firebase in your app by adding the necessary code to your app's main activity or application class.
-
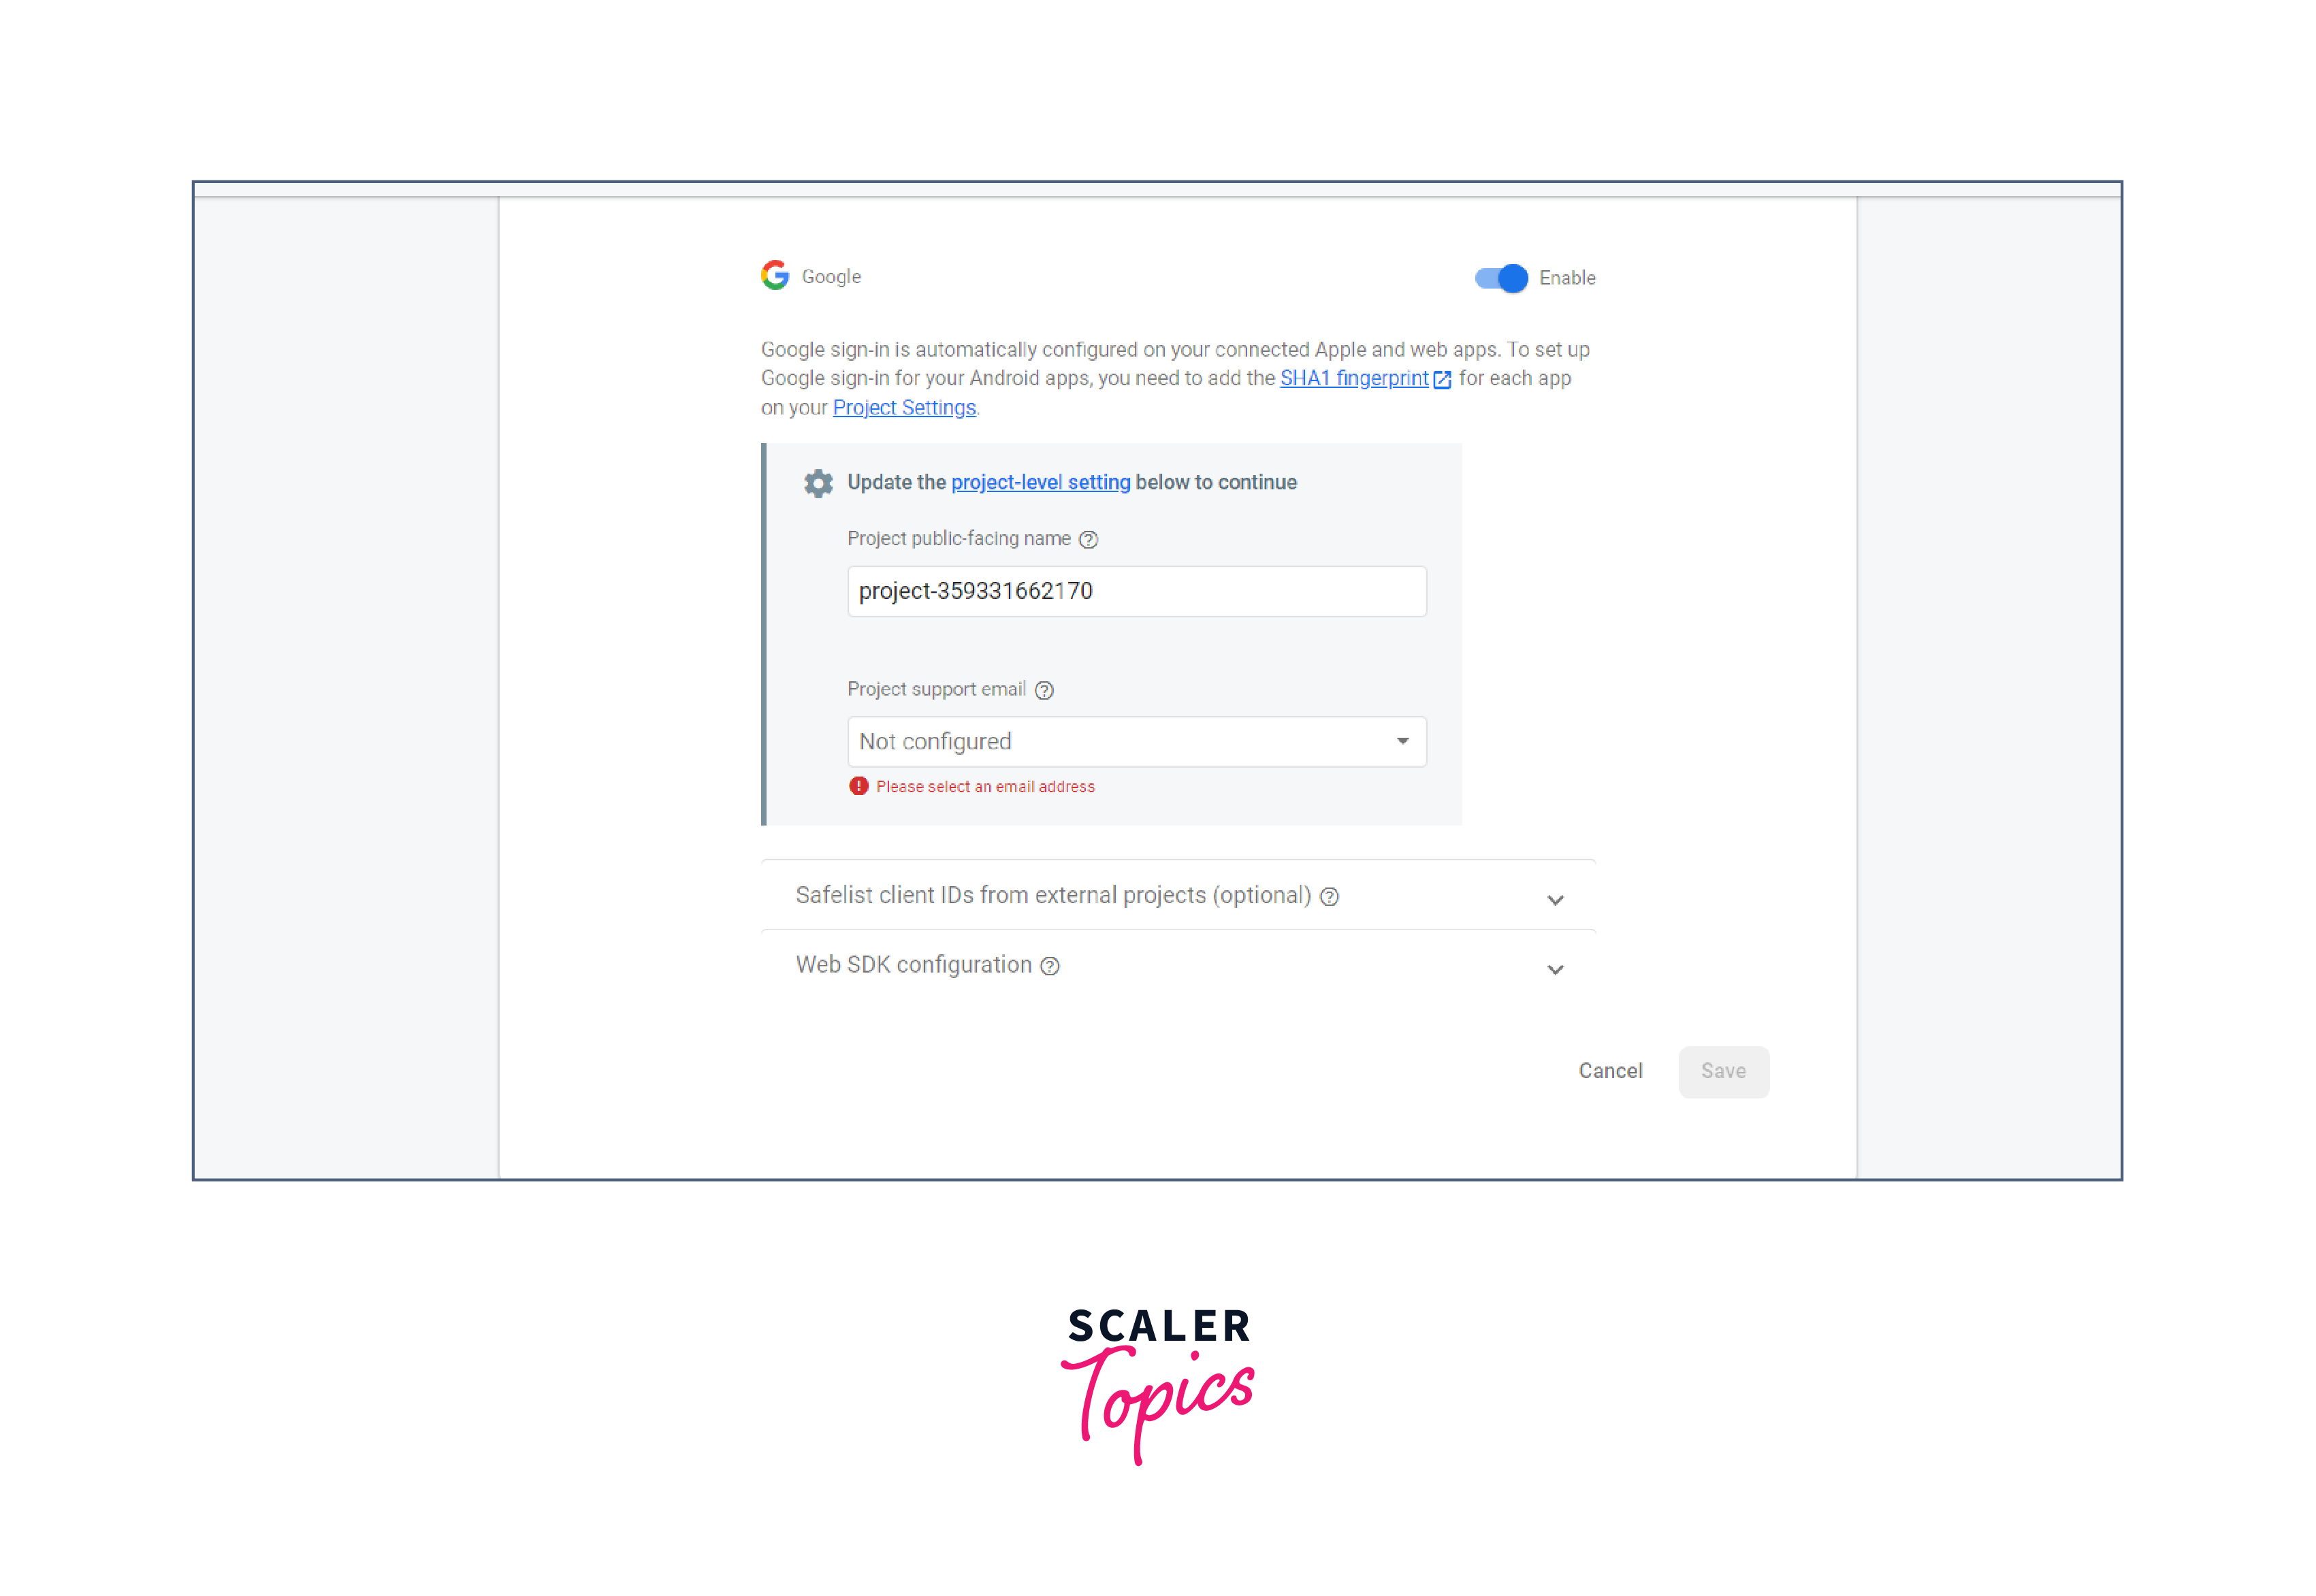
Set up authentication providers in the Firebase console, such as email/password, Google Sign-In, or Facebook Login.
-
Implement sign-in and sign-out functionality in your app using the Firebase Authentication SDK.
Prototype and Test with Firebase Local Emulator Suite
For testing and debugging reasons, the Firebase Local Emulator Suite is a potent tool that enables you to emulate the Firebase services locally on your development system. It enables you to create, test, and refine your Firebase integration without actually altering your cloud-based Firebase project. This step-by-step tutorial will show you how to test and prototype using Firebase Local Emulator Suite.
-
Install Firebase CLI and Emulator Suite
Make sure you have Firebase CLI installed on your development machine. If you don't have it installed, you can install it using npm (Node Package Manager) by running the following command:
By running the following command after installing Firebase CLI, you can then install the Firebase Emulator Suite:
Authentication, Firestore, Realtime Database, and other Firebase services have emulators installed as part of the Firebase Emulator Suite.
-
Set up Firebase Emulator Suite
After installing the Firebase Emulator Suite, you need to configure it for your Firebase project. You can do this by running the following command:
This will generate a firebase.json file in your project directory, which contains the configuration for the Firebase Emulator Suite.
-
Start Emulators
By executing the following command, you can launch the Firebase emulators locally:
All of the emulators set up in your Firebase will start when you do this.Firestore, Realtime Database, and Authentication are all included in the json file.
-
Update Firebase Configuration in your App
You must adjust your app's Firebase configuration to point to the local emulators rather than the real Firebase services that are hosted in the cloud. The firebaseConfig object in your Firebase initialization code can be updated to accomplish this. For instance, your revised setup might be as follows if you're using Firebase in a JavaScript web app:
Note that localhost and http://localhost:6000 are used as the host and URL for the local emulators respectively.
-
Prototype and Test with Emulators
With the Firebase Emulator Suite running locally, you can prototype and test Firebase integrations without affecting your cloud project. This allows actions like data modifications in Firestore or Realtime Database and user authentication. Additionally, the Emulator Suite UI offers a web-based interface for easier testing and debugging of Firebase interactions.
-
Clean up
After you're done testing with Firebase Local Emulator Suite, you can stop the emulators by pressing Ctrl + C in the terminal where you started them. You can also clean up the emulators by running the following command:
This will reset the emulators and remove any data that was created during testing.
Ultimately, Firebase Local Emulator Suite is a potent tool that enables you to prototype and test your Firebase integration locally without actually making changes to your Firebase project in the cloud.
Check Current Auth State
In a Flutter application, you can check the current authentication state using the Firebase Authentication flutter plugin.
-
Add Firebase Authentication Plugin
Add the firebase_auth plugin to your pubspec.yaml file in your Flutter project's root directory and run flutter pub get to install it. This plugin provides a Flutter API for interacting with Firebase Authentication.
-
Import Firebase Auth and Initialize
Import the Firebase Auth package into the Dart file where you wish to check the authentication status :
Then, initialize Firebase in your app by calling FirebaseAuth.instance:
-
Check Authentication State
Now, you can listen for changes in the authentication state using the authStateChanges stream offered by Firebase Auth. To automatically change your user interface dependent on the authentication state, for instance, you could utilise it in a StreamBuilder widget:
When the authentication status shifts, the authStateChanges stream releases the user object or null if logged out. This data can be used to modify the UI or other relevant actions. For specific needs, the FirebaseAuth class offers methods like currentUser and userChanges() to get the user data or track user object alterations.
-
Using the idTokenChanges() function offered by the FirebaseAuth instance from the firebase_auth package, you may listen to changes in the Firebase ID token in Flutter. Here is an illustration of how to use Flutter's idTokenChanges() function to listen for changes to the ID token:
FirebaseAuth.instance.idTokenChanges() in the above example returns a stream that emits events whenever the ID token of the user who is currently logged in changes. If the user logs out or the ID token expires, the stream will emit null. If the user logs back in or refreshes the ID token, the stream will emit a new value with the updated ID token.
Using this stream, you can update your Flutter app's user interface or send authorised API queries in response to changes in the ID token. Because Firebase SDK automatically refreshes the ID token before it expires, you can rely on this stream to keep the ID token current in your app. It should be noted that ID tokens have an expiration time.
Persisting Authentication State
By combining the firebase_auth package with the shared_preferences package or the flutter_secure_storage package in Flutter, you may maintain a user's authentication status during app restarts. Here is an illustration of how shared_preferences can be used to retain the authentication state:
-
Add the shared_preferences dependency to your pubspec.yaml file:
-
Import the necessary packages in your Dart file:
-
Save the authentication status to SharedPreferences after a user logs in or out:
-
Check SharedPreferences for the saved authentication state when your app first launches, and update the FirebaseAuth object as necessary:
The user's ID token, which is a special token that indicates the user's authentication state, is stored and retrieved in the aforementioned example using the shared_preferences package. When the app launches, it searches SharedPreferences for the saved ID token and uses that to sign the user in using the signInWithCustomToken() method offered by FirebaseAuth. By doing this, the user's authentication state will be preserved when the app is restarted, and if the ID token is present, the user will be signed in automatically. It should be noted that the ID token has an expiration date and that it might do so after a specific amount of time, in which case the user will have to sign in once more.
Sign-in Methods
Anonymous Sign-in
Using the firebase_auth package in Flutter, you can enable anonymous sign-in so that people may access your app without giving an email address or password. Here's an illustration of how to use Flutter to implement anonymous sign-in with Firebase Authentication:
The signInAnonymously() function in the previous example signs the user in using FirebaseAuth's signInAnonymously() method. The userCredential.user field will have the details of the successfully logged-in user, including the user ID. (uid). Using this user object, you can update the user's profile, link the anonymous account to a permanent account, or obtain further information about the user.
Note:
Keep in mind that when you join up anonymously, Firebase Authentication creates a temporary, anonymous user account without an email or password. The anonymous user account has restricted features and is only meant for short-term use, such as letting people explore a few of your app's features without setting up a permanent account. You will need to add more logic to your app if you want to allow anonymous users to upgrade to a permanent account or carry out other tasks that call for a verified email or password.
Email/Password Registration & Sign-in
In Flutter, you can implement email/password registration and sign-in using the firebase_auth package to allow users to create an account with their email and password, and sign in to your app using the same credentials. Here's an example of how you can implement email/password registration and sign-in with Firebase Authentication in Flutter:
-
Registration:
Register a new user with email and password:
-
Sign in with email and password:
-
Verifying a users email:
In Firebase Authentication for Flutter, you can verify a user's email address by sending a verification email to the user after they have registered with their email and password. Here's an example of how you can implement email verification with Firebase Authentication in Flutter:
- Import the necessary packages in your Dart file:
- Register a new user with email and password:
- Check if the user's email is verified:
- Usage:
An email verification link will be given to the user's email address in the example above following registration of a new user with registerWithEmailPassword(). To confirm their email, the user can click the link. The isEmailVerified() function can be used to determine whether the user's email has been verified. Keep in mind that the User object's emailVerified property is initially set to false and changes to true once the user's email has been successfully validated.
- Import the necessary packages in your Dart file:
Email Link Authentication
With passwordless authentication, sometimes referred to as email link authentication, users can access your app without having to remember a password. Instead, they get an email with a link they can click to verify their identity. Here is an example of how to use email link authentication, which Firebase Authentication for Flutter supports:
- Import the necessary packages in your Dart file:
- Send an email link to the user:
- Handle the email link in your app:
- Usage:
The sendSignInWithEmailLink() function in the example above sends an email link to the user's email account. The handleSignInWithEmailLink() function is in charge of processing the link in your app and signing in the user. The user can click the link to authenticate themselves. Remember that while sending the email link, you must include the URL, package name, and bundle ID in the ActionCodeSettings of your app.
Signing Out
In Firebase Authentication for Flutter, you can sign out a user by calling the signOut() method on the FirebaseAuth instance. Here's an example:
In the example above, the signOutUser() function calls the signOut() method on the FirebaseAuth instance to sign out the currently signed-in user. The await keyword is used to wait for the sign-out operation to complete before proceeding.
You can call the signOutUser() function from anywhere in your Flutter app to sign out the user. Once the user is signed out, they will need to sign in again with their credentials or another authentication method to access protected resources or features in your app.
Other sign-in Methods
In addition to email/password authentication, Firebase Authentication for Flutter provides several other sign-in methods that you can use to authenticate users in your app. Here are some examples:
Apple Sign-In
- Add the necessary dependencies to your pubspec.yaml file:
- Import the required packages in your Dart file:
- Implement the Apple Sign-In function:
Facebook Sign-In
Twitter Sign-In
Google Sign-In
Phone Number Sign-In
- Add the necessary dependencies to your pubspec.yaml file:
- Import the required packages in your Dart file:
- Implement the Phone Number Sign-In function:
In the aforementioned example, the verifyPhoneNumber() method of FirebaseAuth.instance is used by the signInWithPhoneNumber() function to request an OTP (one-time password) for the supplied phone number. If the verification is successful, the user is signed in using FirebaseAuth.instance's signInWithCredential() method. Keep in mind that the validationThe codeSent callback is triggered when the OTP is delivered to the user's phone, and the finished callback is triggered when the verification is automatically completed, such as when the phone number is validated on the same device. In accordance with the demands of your program, you can alter how these callbacks are handled.
Make that your app handles failures and timeouts properly, and abide by the rules for phone number sign-in set forth by Firebase Authentication.
User Management
-
Deleting a user
To delete a user in Firebase Authentication using Flutter, you can use the delete() method provided by the User object. Here's an example:
The deleteUser() function in the above example tries to remove the user who is presently logged in by calling the delete() method on the User object. If the deletion is successful, a notice that the user was erased is printed. It prints a message stating that there isn't a user signed in if there isn't one signed in right now. It detects errors and publishes an error notice if they happen during the deletion process.
Note:
Deleting a user is a sensitive operation and should be done with caution. Make sure to confirm the user's intent before proceeding with user deletion, and handle errors appropriately in your app.
-
Reauthenticating a user
Reauthentication is the process of confirming a user's identity by requesting them to sign in again, typically before performing sensitive operations such as updating account information or deleting an account. In Firebase Authentication with Flutter, you can use the reauthenticateWithCredential() method to reauthenticate a user. Here's an example:
In the aforementioned example, the reauthenticateUser() function uses the User object's reauthenticateWithCredential() method to try to reauthenticate the user who is presently logged in. It then gives that credential to the reauthenticateWithCredential() method after retrieving the user's current credential, which is normally the email and password provided at sign-up. Reauthentication of the user is indicated by a message that is printed if it is successful. It prints a message stating that there isn't a user signed in if there isn't one signed in right now. It detects errors and publishes an error notice if they happen during the reauthentication procedure.
Note:
Reauthentication is an important security measure to confirm the user's identity before performing sensitive operations. Make sure to implement proper error handling and confirm the user's intent before proceeding with reauthentication.
-
Linking user accounts
Account linking is the process of associating multiple authentication providers (e.g., Google, Facebook, Email/Password, etc.) with the same user account in Firebase Authentication. This allows users to sign in using different providers and have a single account with all the linked providers' credentials. In Flutter, you can use the linkWithCredential() method to link user accounts. Here's an example:
In the aforementioned example, the linkAccounts() function utilises the User object's linkWithCredential() method to attempt to connect the currently logged-in user with a different authentication provider. The credential from the service you want to link with is represented by an AuthCredential object, which is the parameter it accepts. It prints a message stating that the account connecting was successful if it is successful. It prints a message stating that there isn't a user signed in if there isn't one signed in right now. It detects errors and produces error messages if they happen during the account connection process.
Note:
Account linking is a powerful feature that allows users to sign in with different providers, but it should be used with caution. Make sure to consider the implications of account linking on your app's user experience and security, and implement proper error handling and security measures, such as reauthentication, as needed.
-
Emulator Usage
During the development and testing phases of your application, you can replicate Firebase services locally on your development workstation using the Firebase Emulator Suite, a collection of local emulators offered by Firebase. Emulators offer a practical method for testing your Firebase integration without compromising your live data or incurring expenses.
Example Application
Firstly after creating a firebase account add your json file inside android /app like this :

Create the following screen directories and dart files :

HomeScreen.dart:
login_email_password_screen:
login_screen :
phone_screen:
signup_email_password_screen:
firebase_auth_methods:
ShowOptDialog:
ShowSnackBar:
firebaseoption:
Main:
The above example creates different screens for different types of login/sign-in options with signing out
Here is how the output should look like :

After login in you can check your Firebase account :
Conclusion
- The options for signing in include anonymous sign-in and sign-in options through Google, Facebook, Apple, and email.
- Utilising Firebase Firestore to get and store user data as well as how to handle user sign-in and sign-out procedures.
- The creation of your Flutter app can be made simpler by Firebase Authentication, which offers a reliable and secure authentication solution.
- Any Flutter developer wanting to add user authentication to their project will find Firebase Authentication to be an excellent option because of its robust features and simple-to-use API.