What Is FlutterFire?
Overview
FlutterFire is a comprehensive collection of open-source plugins that helps with smoothly connecting the Flutter framework with Firebase, a mobile and online development platform. Authentication, real-time databases, cloud storage, cloud messaging, and other Firebase features are among the many that FlutterFire offers. Users authentication, data synchronization, and push alerts are all made possible in Flutter apps by utilizing FlutterFire, which developers can easily integrate into their Flutter applications. FlutterFire helps developers to produce high-quality, feature-rich apps with Firebase integration because of its simplicity, robustness, and thorough documentation. This speeds up development and improves user experiences.
How does FlutterFire Work?
The main question into play right now probably is how does FlutterFire, a tool that helps with the creation of such feature-rich applications works. One thing to understand is these features are those which are provided by the Firebase platform. Even without Flutterfire one can use the services provided by Firebase but, they come with loads of issues and difficulties such as:
- Developers would need to write platform-specific code for each Firebase service they wish to utilize. This means creating separate code implementations for Android and iOS.
- Developers would have to manually handle the communication between Flutter and Firebase SDKs for each service. This would require a deep understanding of both Flutter and Firebase SDKs, increasing the learning curve and the potential for errors.
- Developers would have to rely on unofficial third-party packages or build custom solutions to bridge Flutter and Firebase. These solutions might lack proper documentation, support, or updates, leading to compatibility issues, security vulnerabilities, and limited functionality.
FlutterFire serves as the bridge between Flutter applications and Firebase services. The plugins it provides are designed to seamlessly integrate Firebase functionalities into Flutter code. Behind the scenes, the FlutterFire plugins communicate with the Firebase SDKs specific to each service. These SDKs handle the communication with the Firebase backend servers, ensuring secure and reliable data exchange between the Flutter application and Firebase.
Key Features of FlutterFire
FlutterFire being the official Firebase plugin for Flutter, offers a wide range of essential features that enhances the integration of Firebase services into Flutter applications. Some of these features include,
- Simplified Firebase Services Integration: FlutterFire simplifies the integration process by providing Flutter-specific APIs and abstractions for Firebase services.
- Wide Range of Firebase Services: FlutterFire provides a comprehensive collection of plugins that cover a wide range of Firebase services.
- Open-Source/Community Support: FlutterFire is an open-source project supported by an active community of Flutter developers.
- Authentication: Developers can easily implement user authentication using Firebase Authentication. This feature provides secure and reliable authentication methods, such as email/password, social media log in, phone number verification, and more.
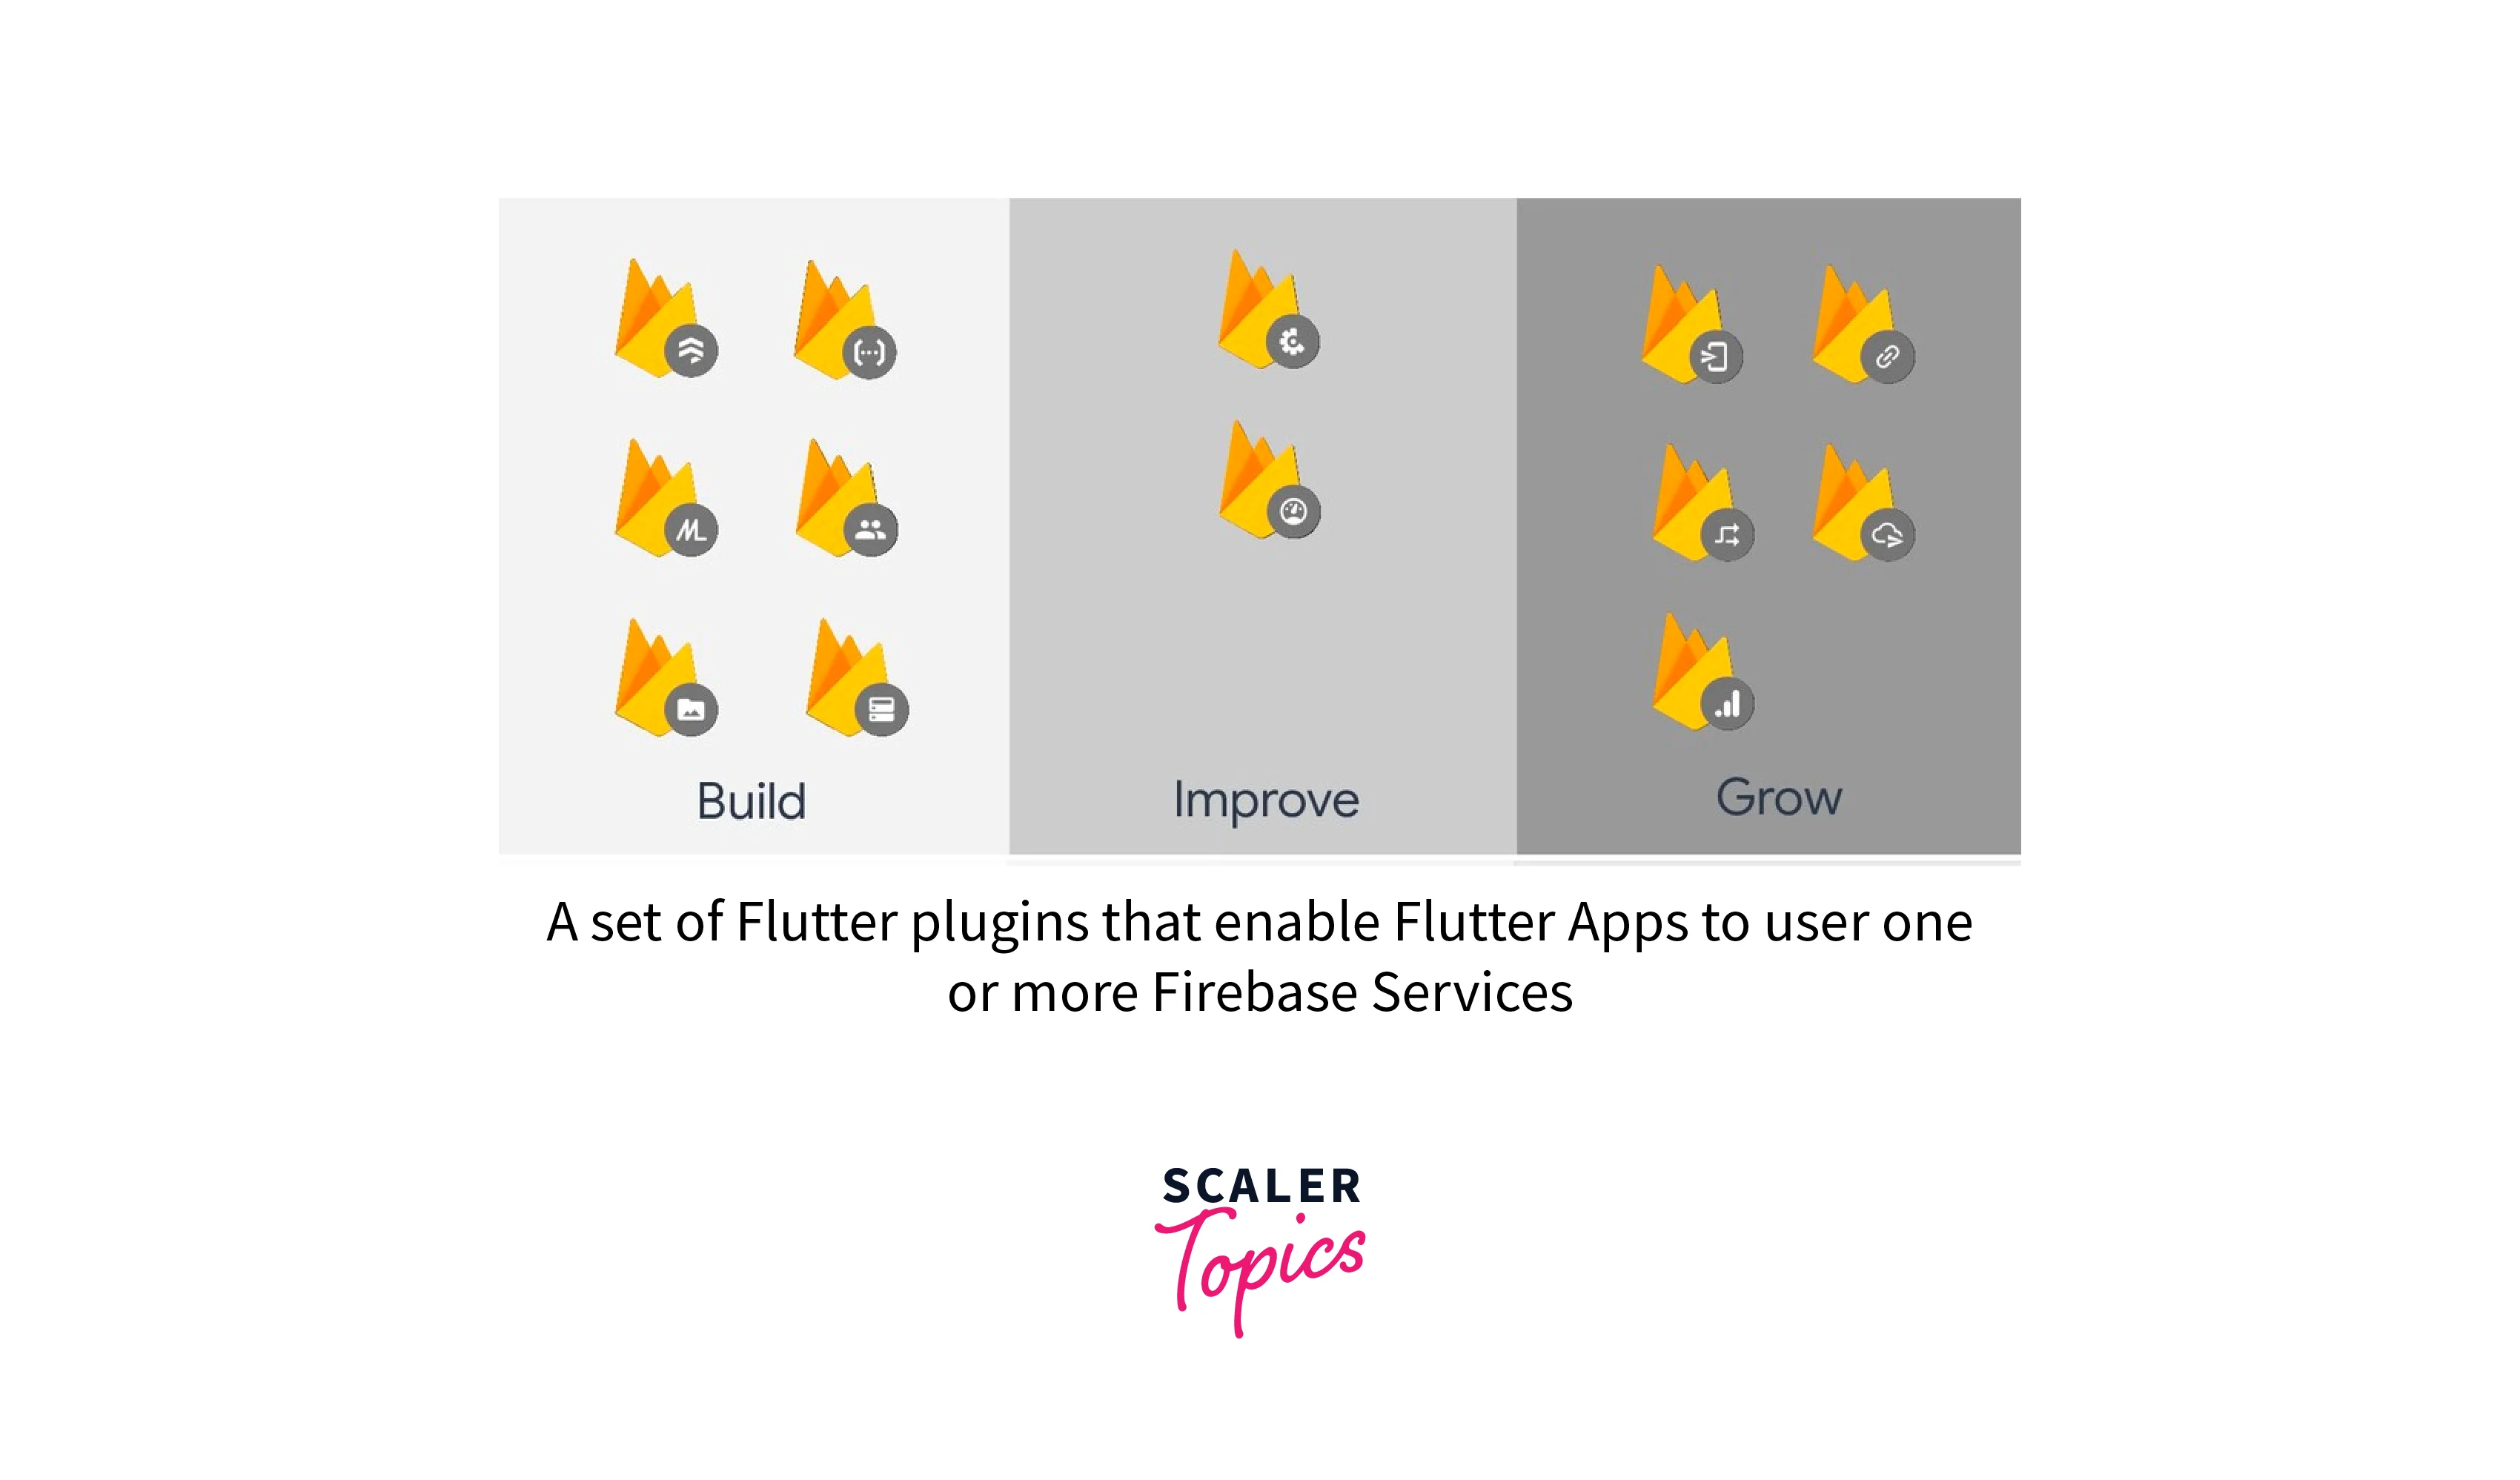
Following are a few of the stable plugins that Flutterfire provides. These are all plugins that help to integrate the respective features of Firebase into your Flutter Application.
 Other than the Stable version of plugins, flutterfire also has Alpha, Beta, and Preview plugins which, even though work, are under constant changes and development.
Benefits of FlutterFire
Since we have discussed what FlutterFire is, how it works and its features, let us talk about some of its benefits.
- Boosts Productivity: By providing a streamlined integration process and Flutter-specific APIs, FlutterFire enhances developers' productivity. You can focus on building the core features of your applications without spending much time integrating and managing Firebase services for every specific platform.
- Multi and Cross-Platform Development: FlutterFire allows you to create cross-platform applications with Firebase integration.
- Reliability and Scalability: FlutterFire leverages Firebase's robust backend infrastructure to provide developers with scalable and reliable services.
- Proper Documentation: The availability of comprehensive documentation, tutorials, and community resources makes it easier for developers to learn and utilize FlutterFire effectively.
- Open Sourced / Community Support: The open-source nature ensures transparency, flexibility, and community-driven enhancements.
What is the FlutterFire CLI?
FlutterFire CLI stands for FlutterFire Command Line Interface. It enhances the development experience of using FlutterFire for developing Flutter applications. It is a command-line tool specifically designed to simplify the setup, installation, and configuration of FlutterFire plugins within Flutter projects.
The FlutterFire CLI provides a set of commands that automate common tasks related to integrating FlutterFire plugins and Firebase services. It makes the process of adding dependencies, configuring Firebase services, and generating necessary configuration files easier than doing it manually. It helps to quickly set up your Flutter projects with Firebase. It handles the installation of required dependencies, including the FlutterFire plugins, and ensures that the necessary code and configurations are correctly added to the project.
To summarize, the FlutterFire CLI is an additional tool that complements the FlutterFire ecosystem and provides developers with a convenient way to initialize and configure FlutterFire plugins within their Flutter projects.
Why Use the FlutterFire CLI?
There are various reasons why one should use the FlutterFire Command Line Interface.
- Simplifies Installations and Setup: FLutterFire CLI eases the process of installation of FlutterFire plugins and their dependencies, handles the configuration of Firebase services, and streamlines the initial project setup. This heavily reduces the manual effort required to do the same.
- Very Efficient: Since FlutterFire CLI ends up saving loads of manual effort and development time.
- Generates Boilerplate: The FlutterFire CLI can generate boilerplate code, and configuration files, and perform necessary configurations, enabling you to focus more on building app features rather than spending time on manual setup.
- Reduces chances of Errors: The tool ensures that the necessary dependencies and configurations are correctly set up, reducing the risk of errors and compatibility issues.
- Best Practices: Helps enforcing good coding practices and improve code quality.
- Updates and Maintenance: The FlutterFire CLI assists with managing updates and maintaining FlutterFire plugins by providing commands for updating dependencies, handling version conflicts, and integrating new features or enhancements as they become available.
Getting Started With Flutter Fire
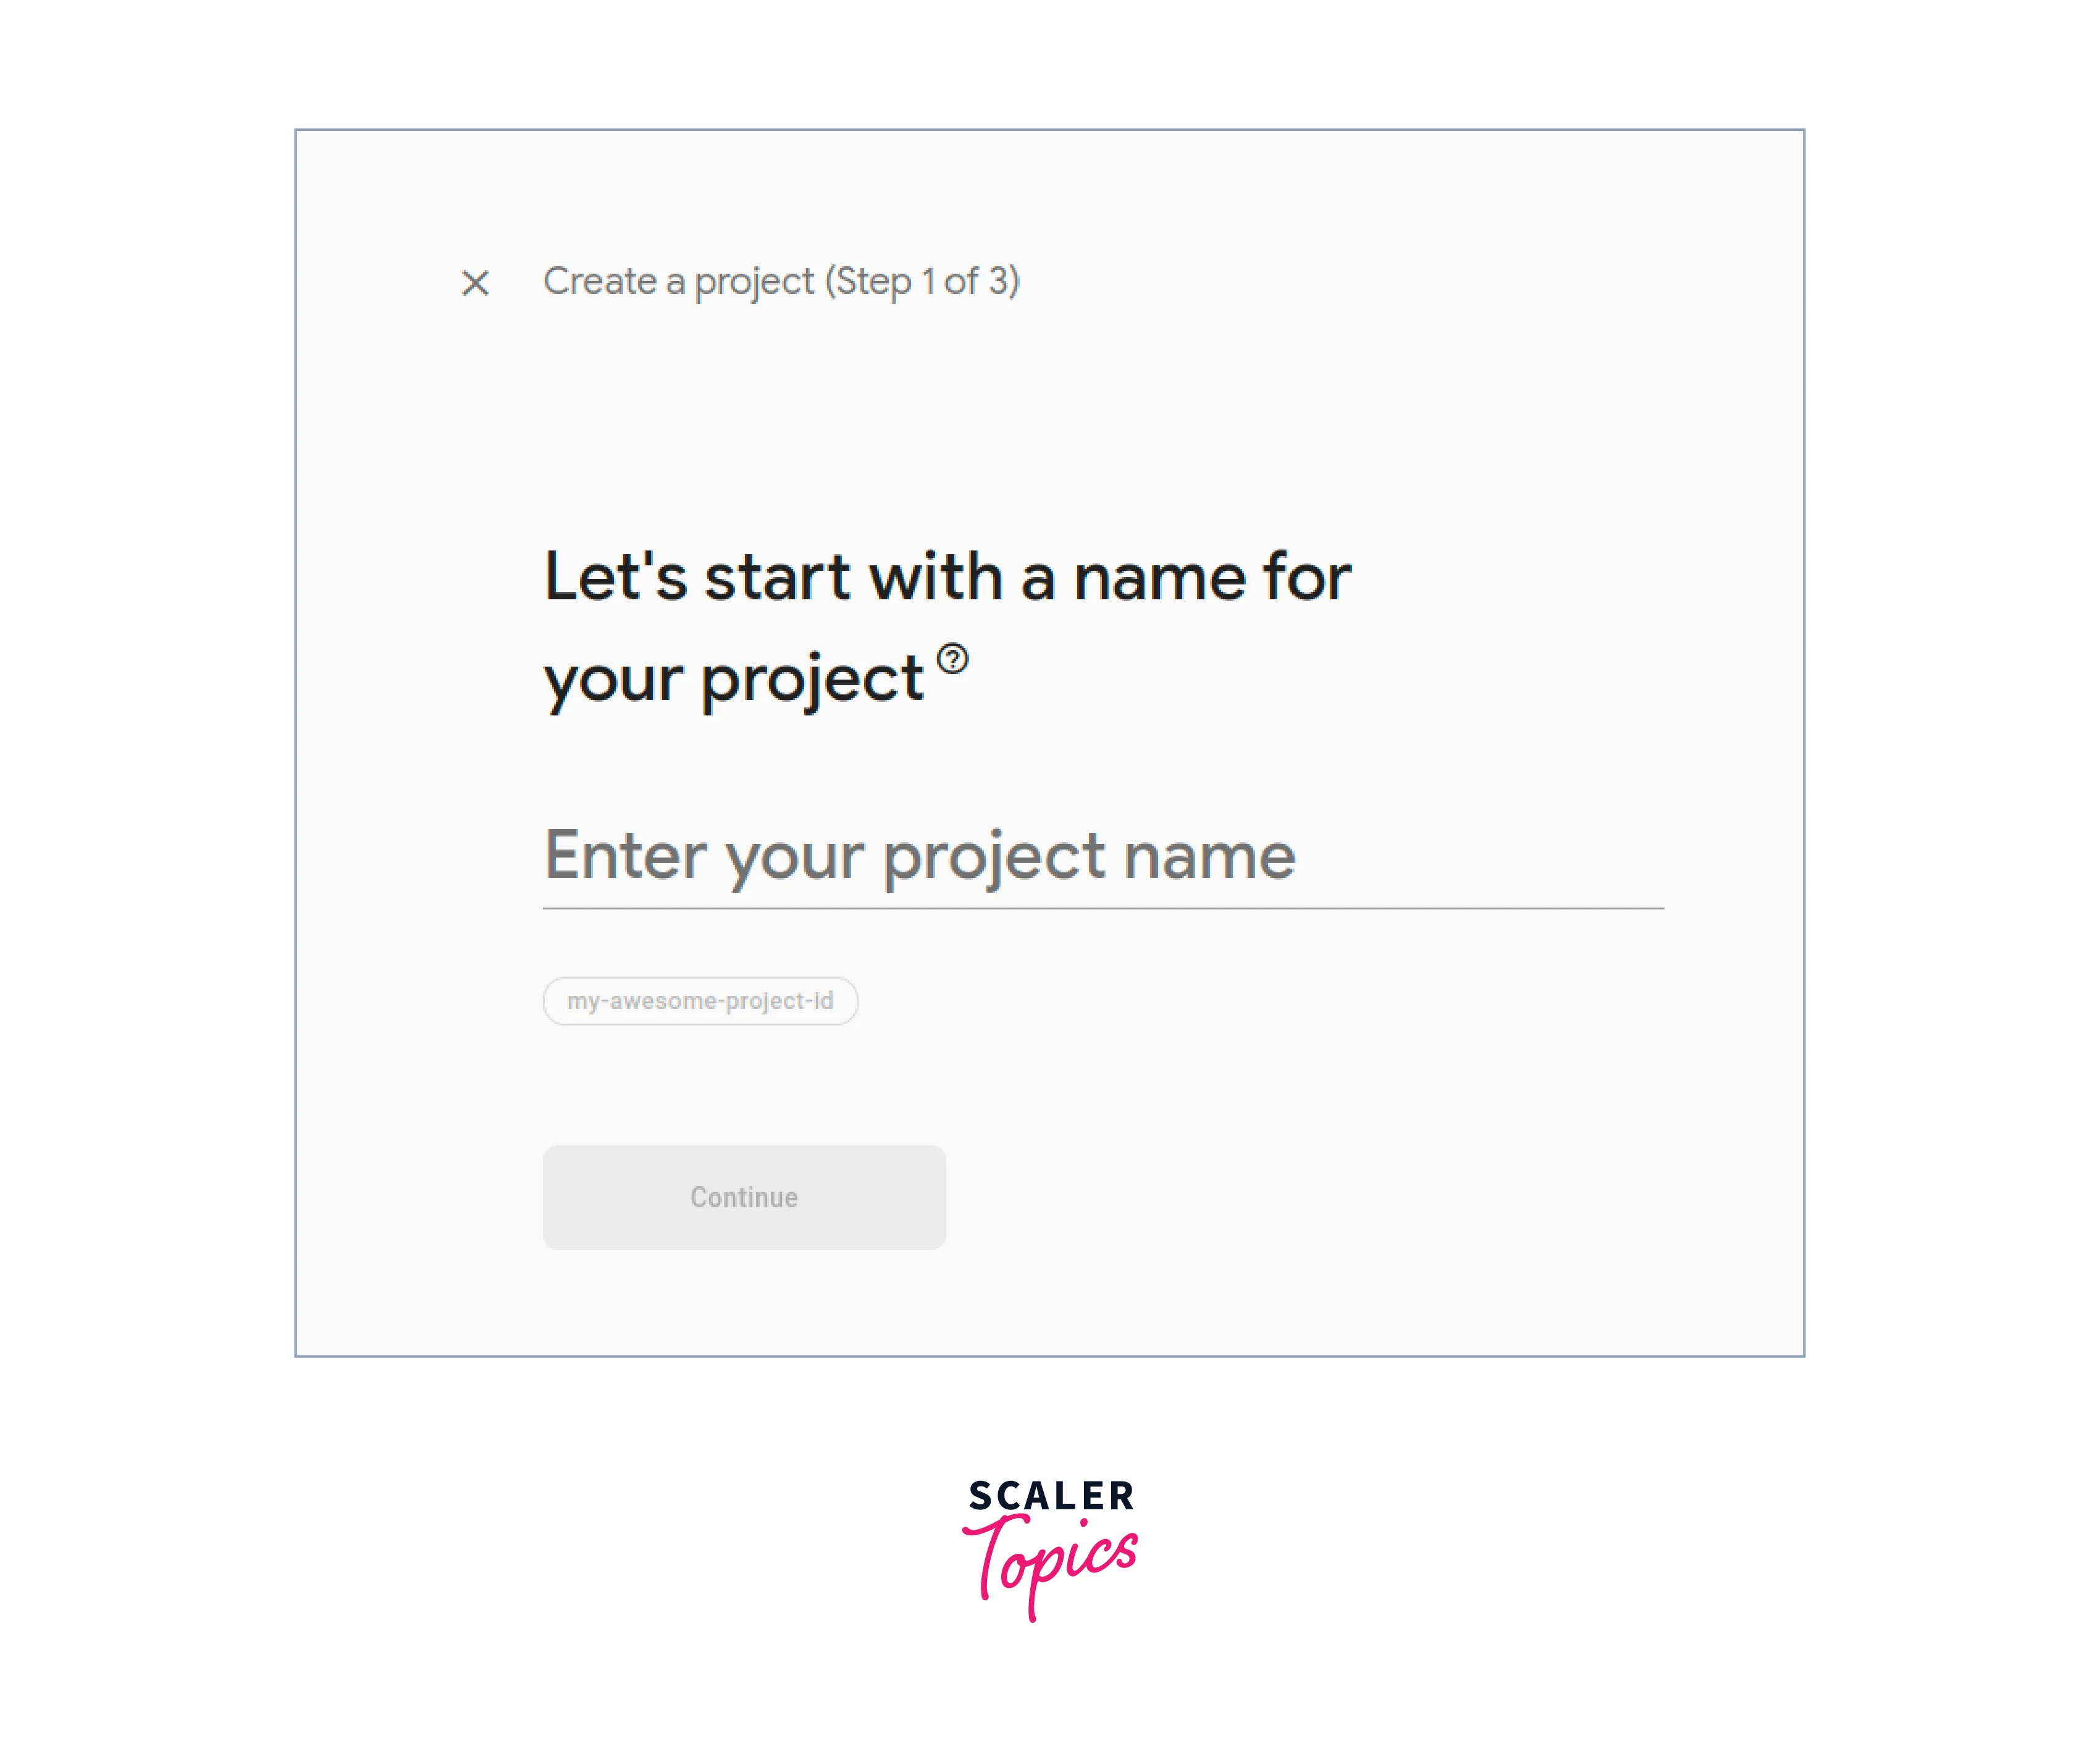
There are a few steps that we must follow to ensure we are correctly using Flutterfire in our Flutter project. First up we need to make a Firebase project. When you go to the Firebase console, create a project. Give your project a great name.
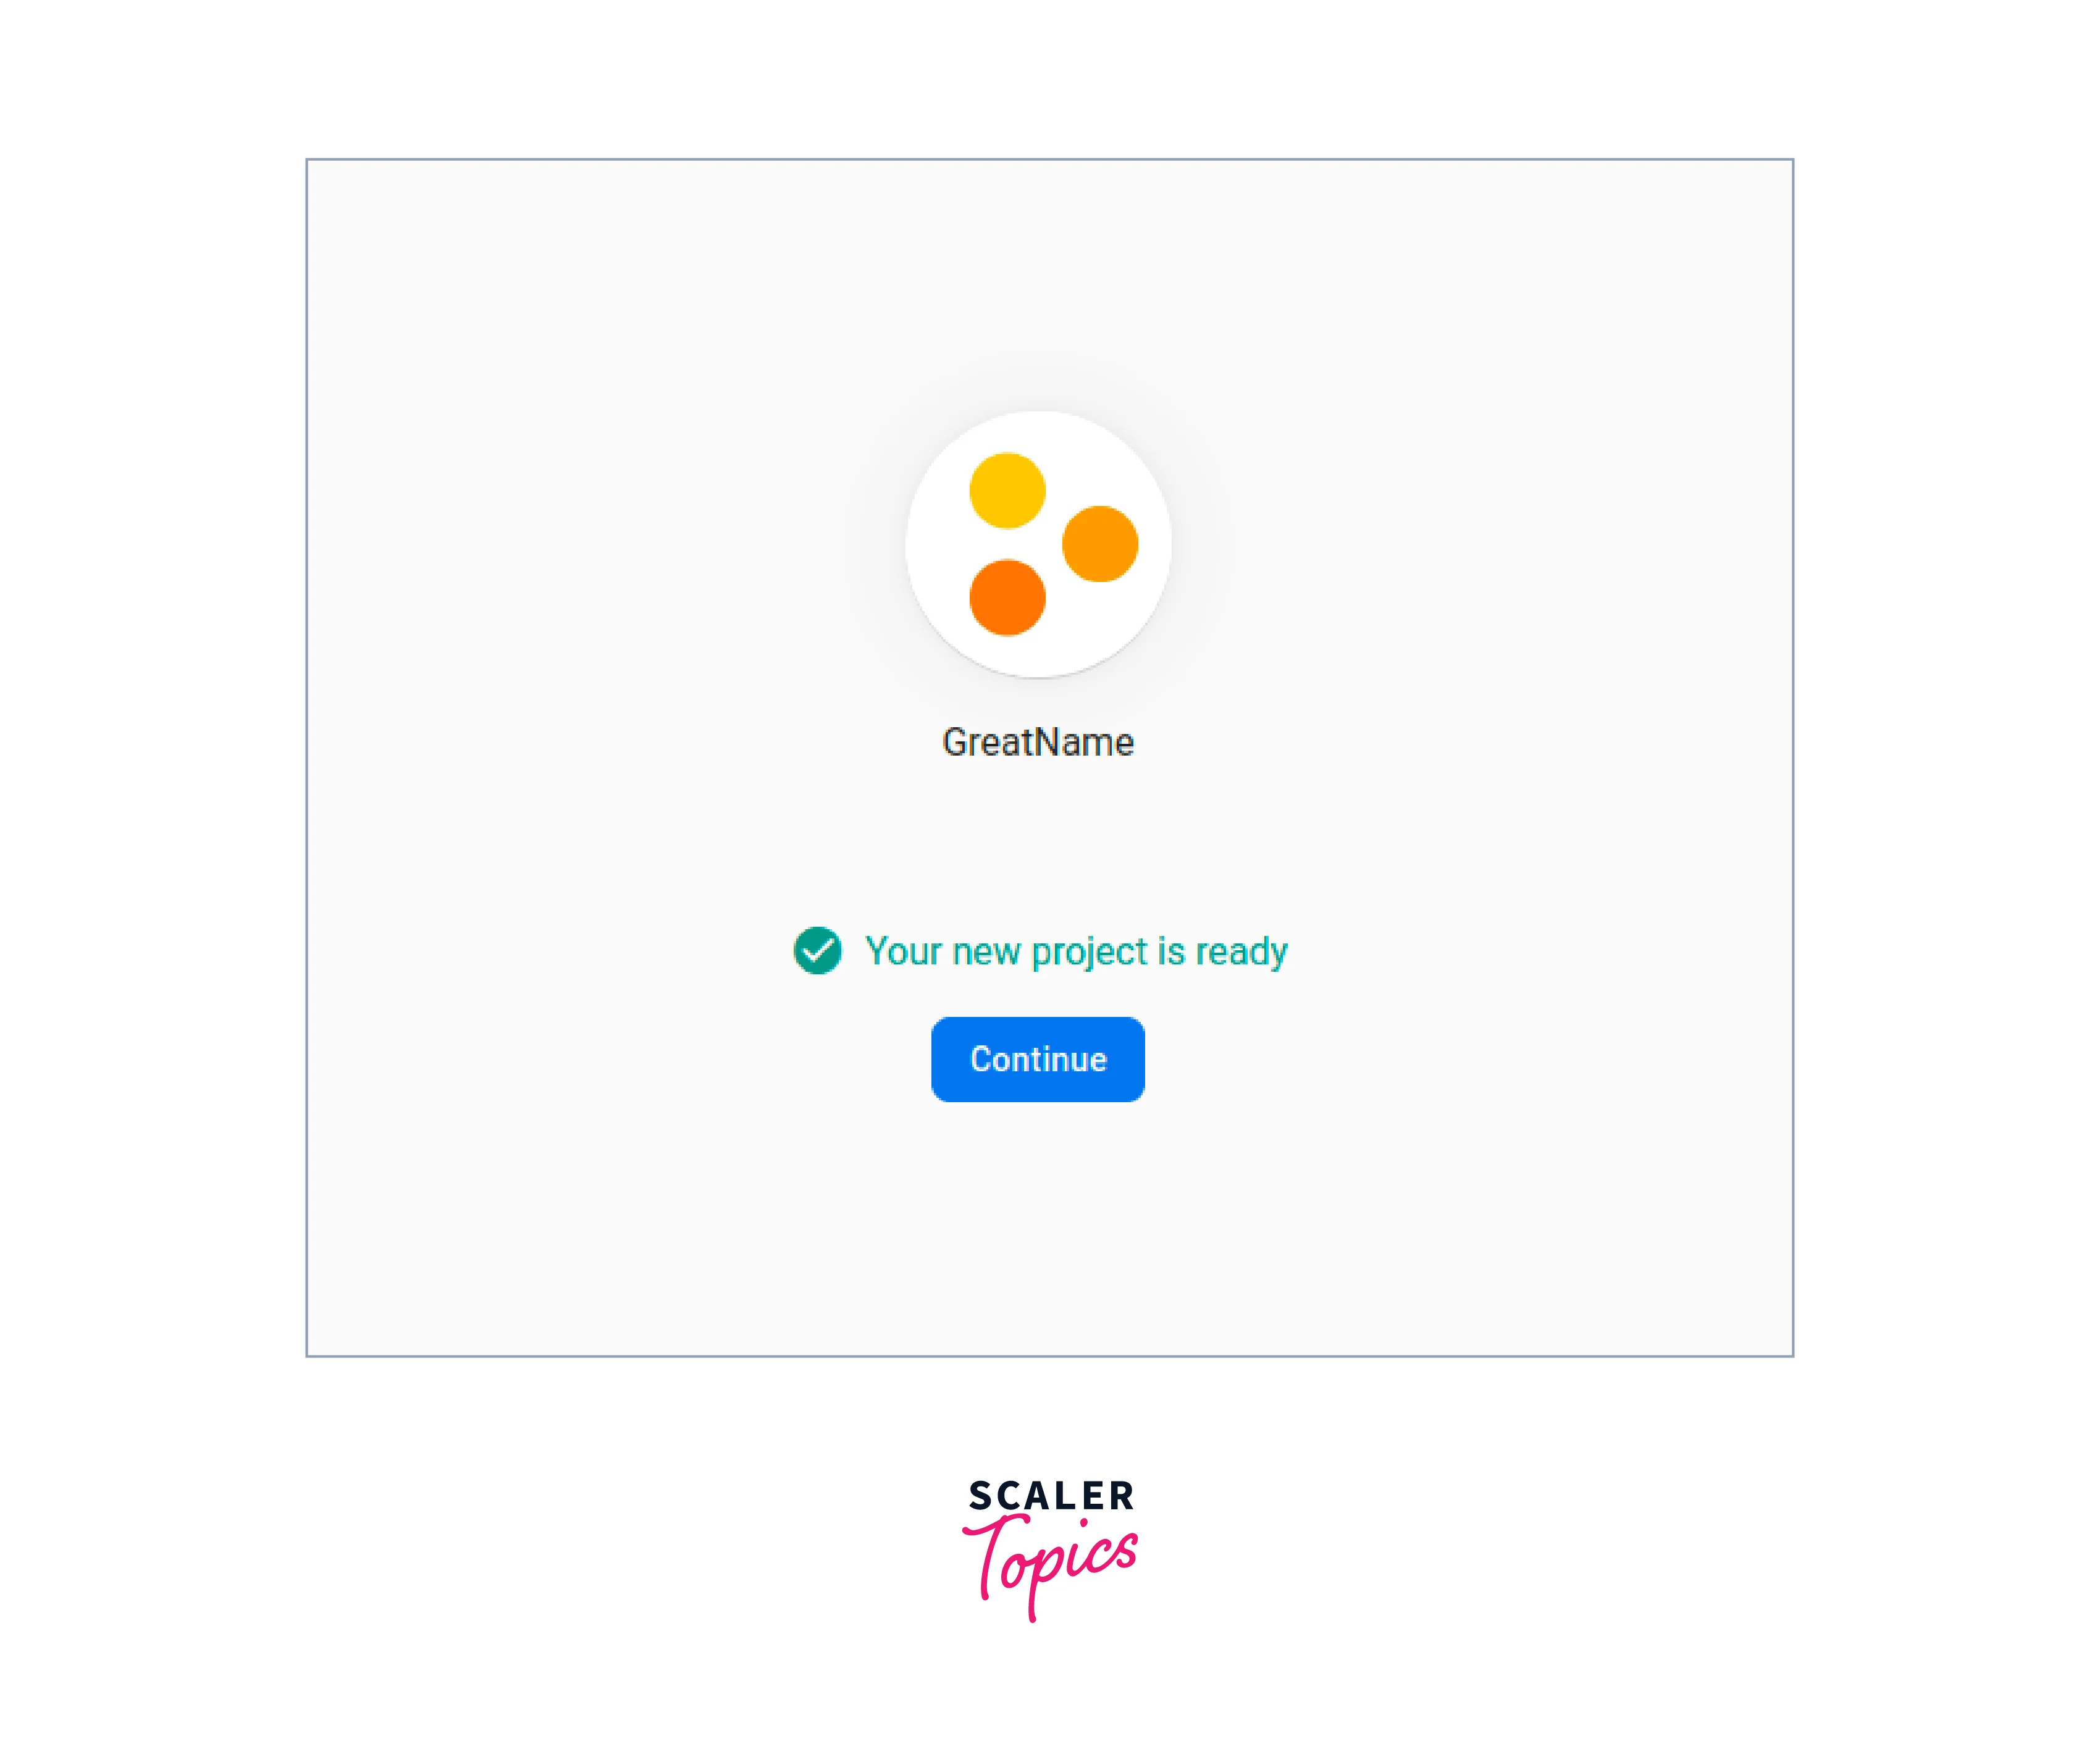
Next up you will be offered the option to have Google Analytics integrated with your project. Google Analytics is a free and unlimited analytics solution that enables targeting, reporting, and more in Firebase Crashlytics, Cloud Messaging, In-App Messaging, Remote Config, A/B Testing, and Cloud Functions. It allows you to implement various analytics features to your projects such as A/B testing, User segmentation & targeting across Firebase products, Event-based Cloud Functions triggers, and many more. For the sake of the tutorial, we will be disabling the option and proceeding forward. The Setting up of the project may take some time depending on traffic and other conditions.
Moving forward, we need to set up our project for our device, in this case an Android Device. After following the given steps on the console we can complete this procedure.
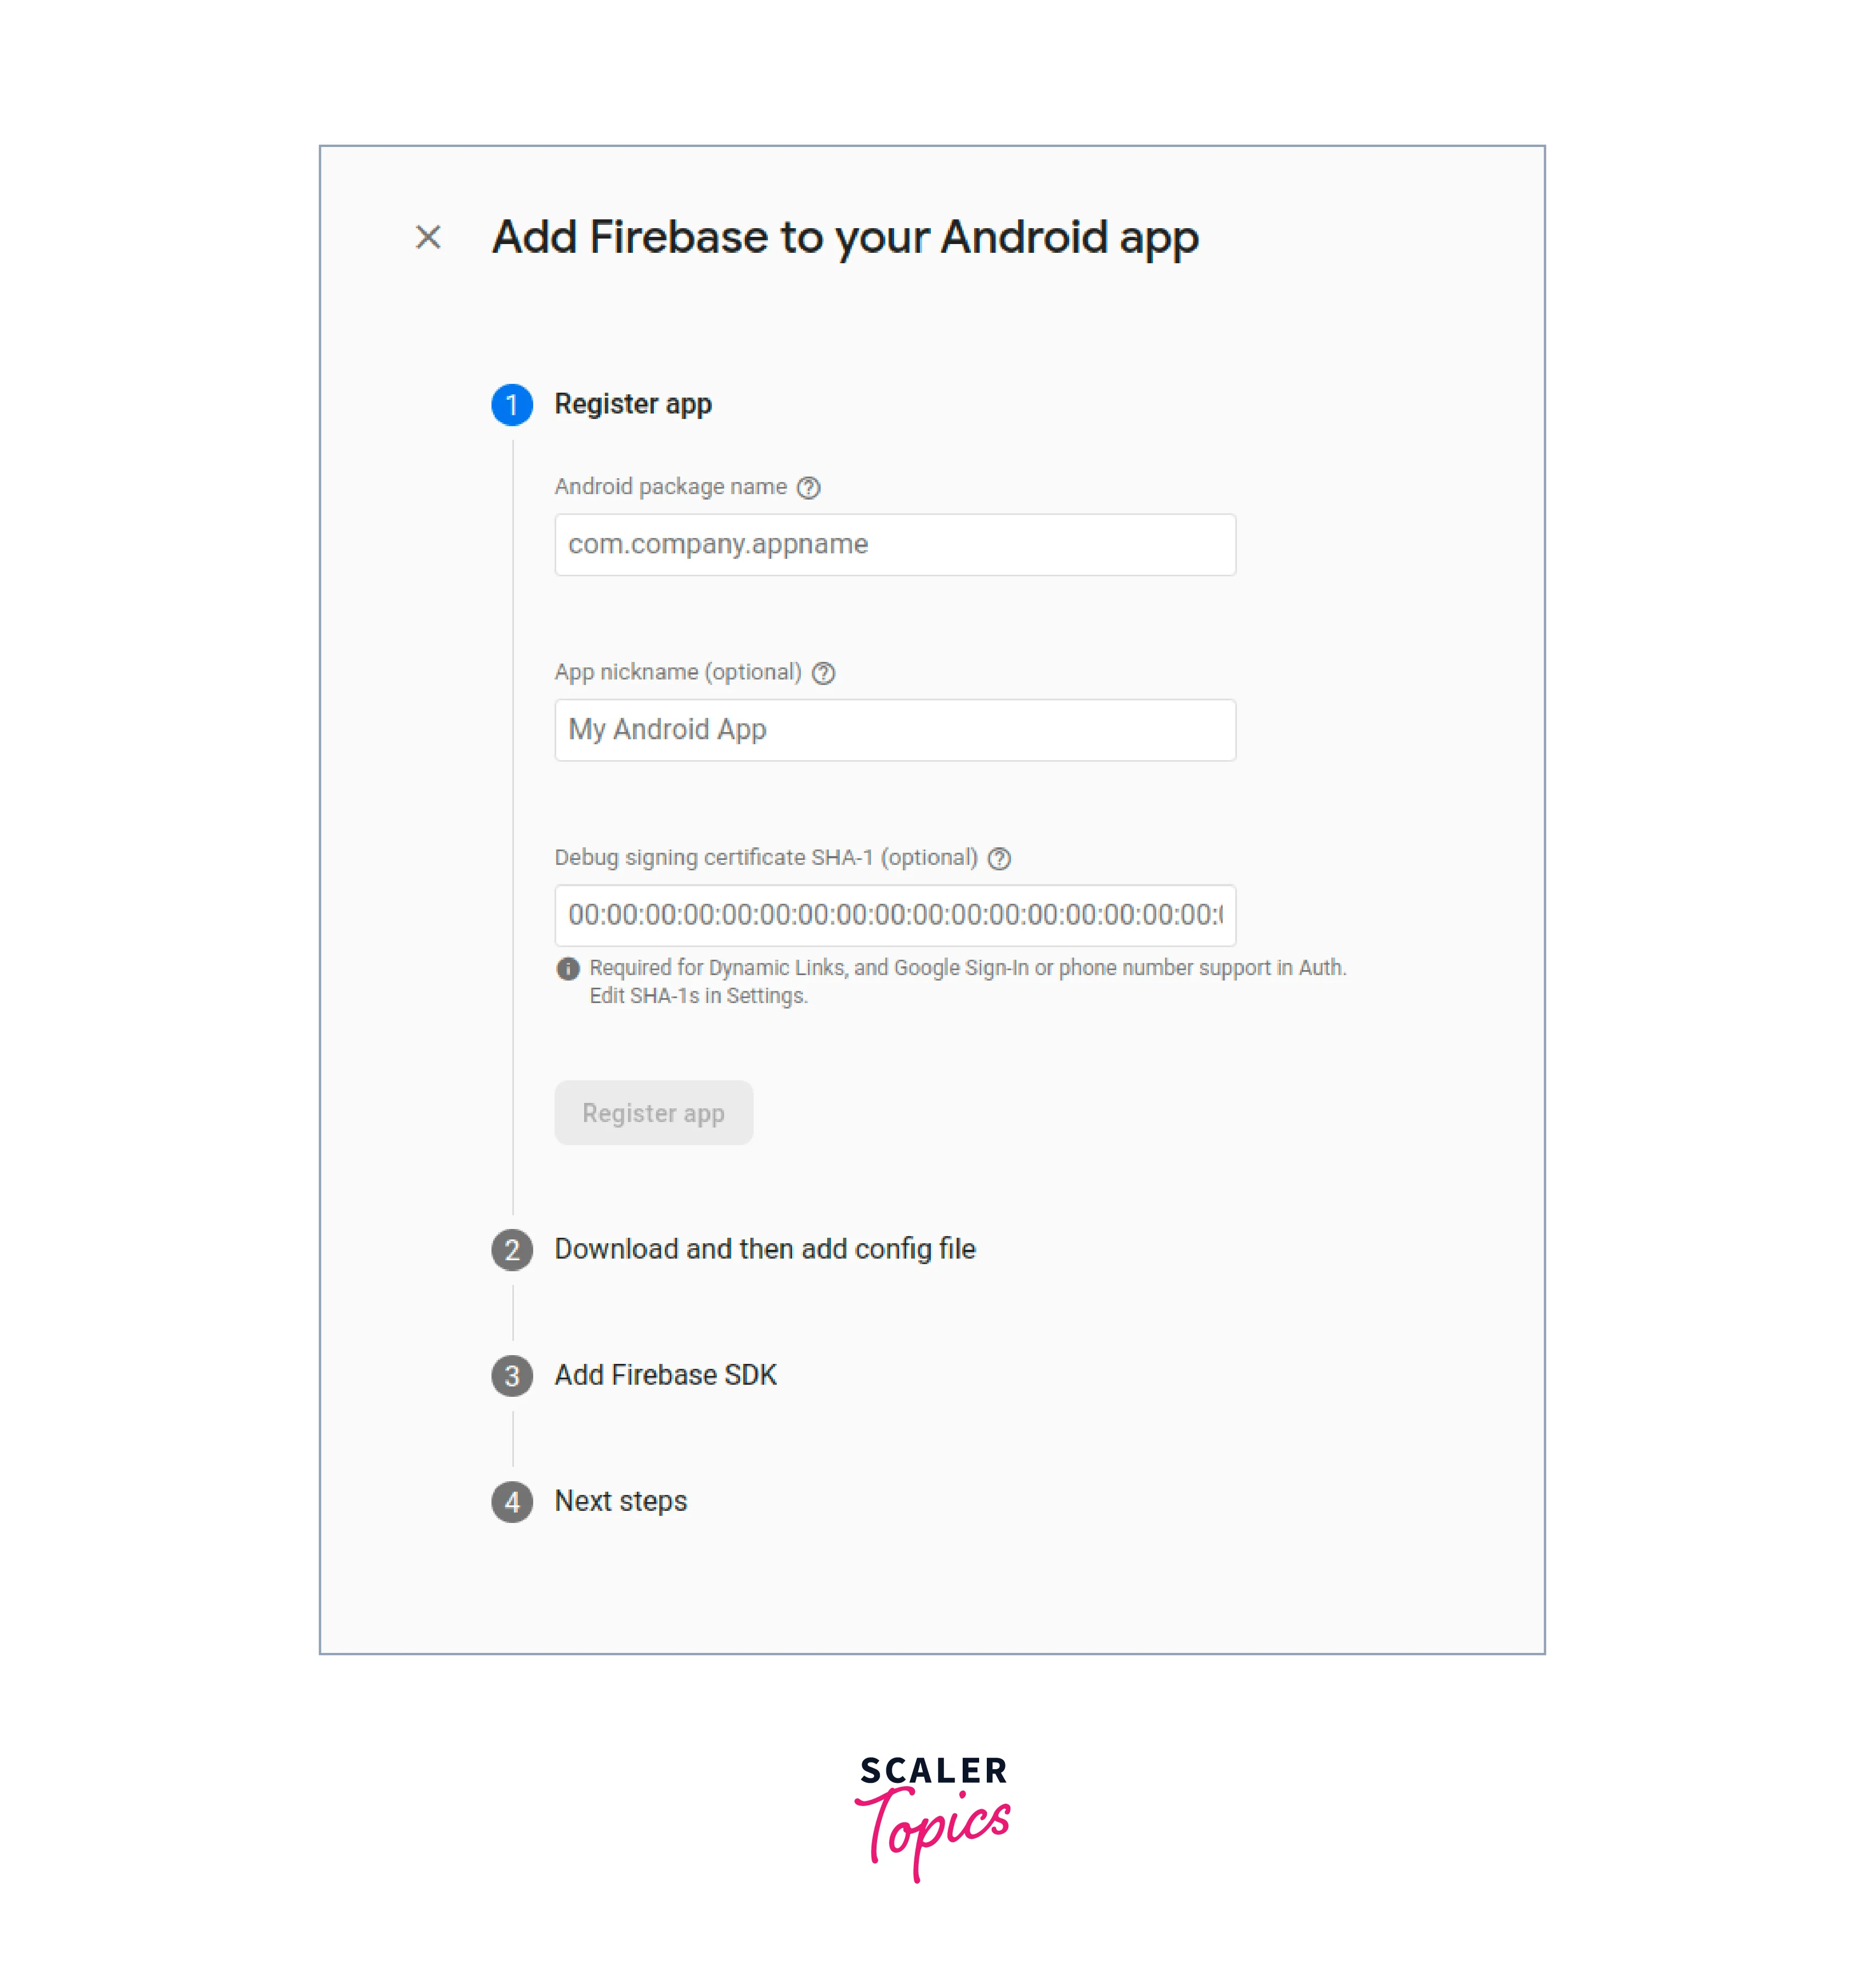
You can find the Android Package Name in the AndroidManifest.xml file in your project. This file can be found in the Android directory of your Flutter project. android/app/src/main/AndroidManifest.xml In it, you shall find the package name like com.<company>.<appName>. The rest two text fields are optional to fill. After filling up the required information, firebase shall generate a google-services.json file. We need to download it and paste/move it to the Android folder of our Flutter project.
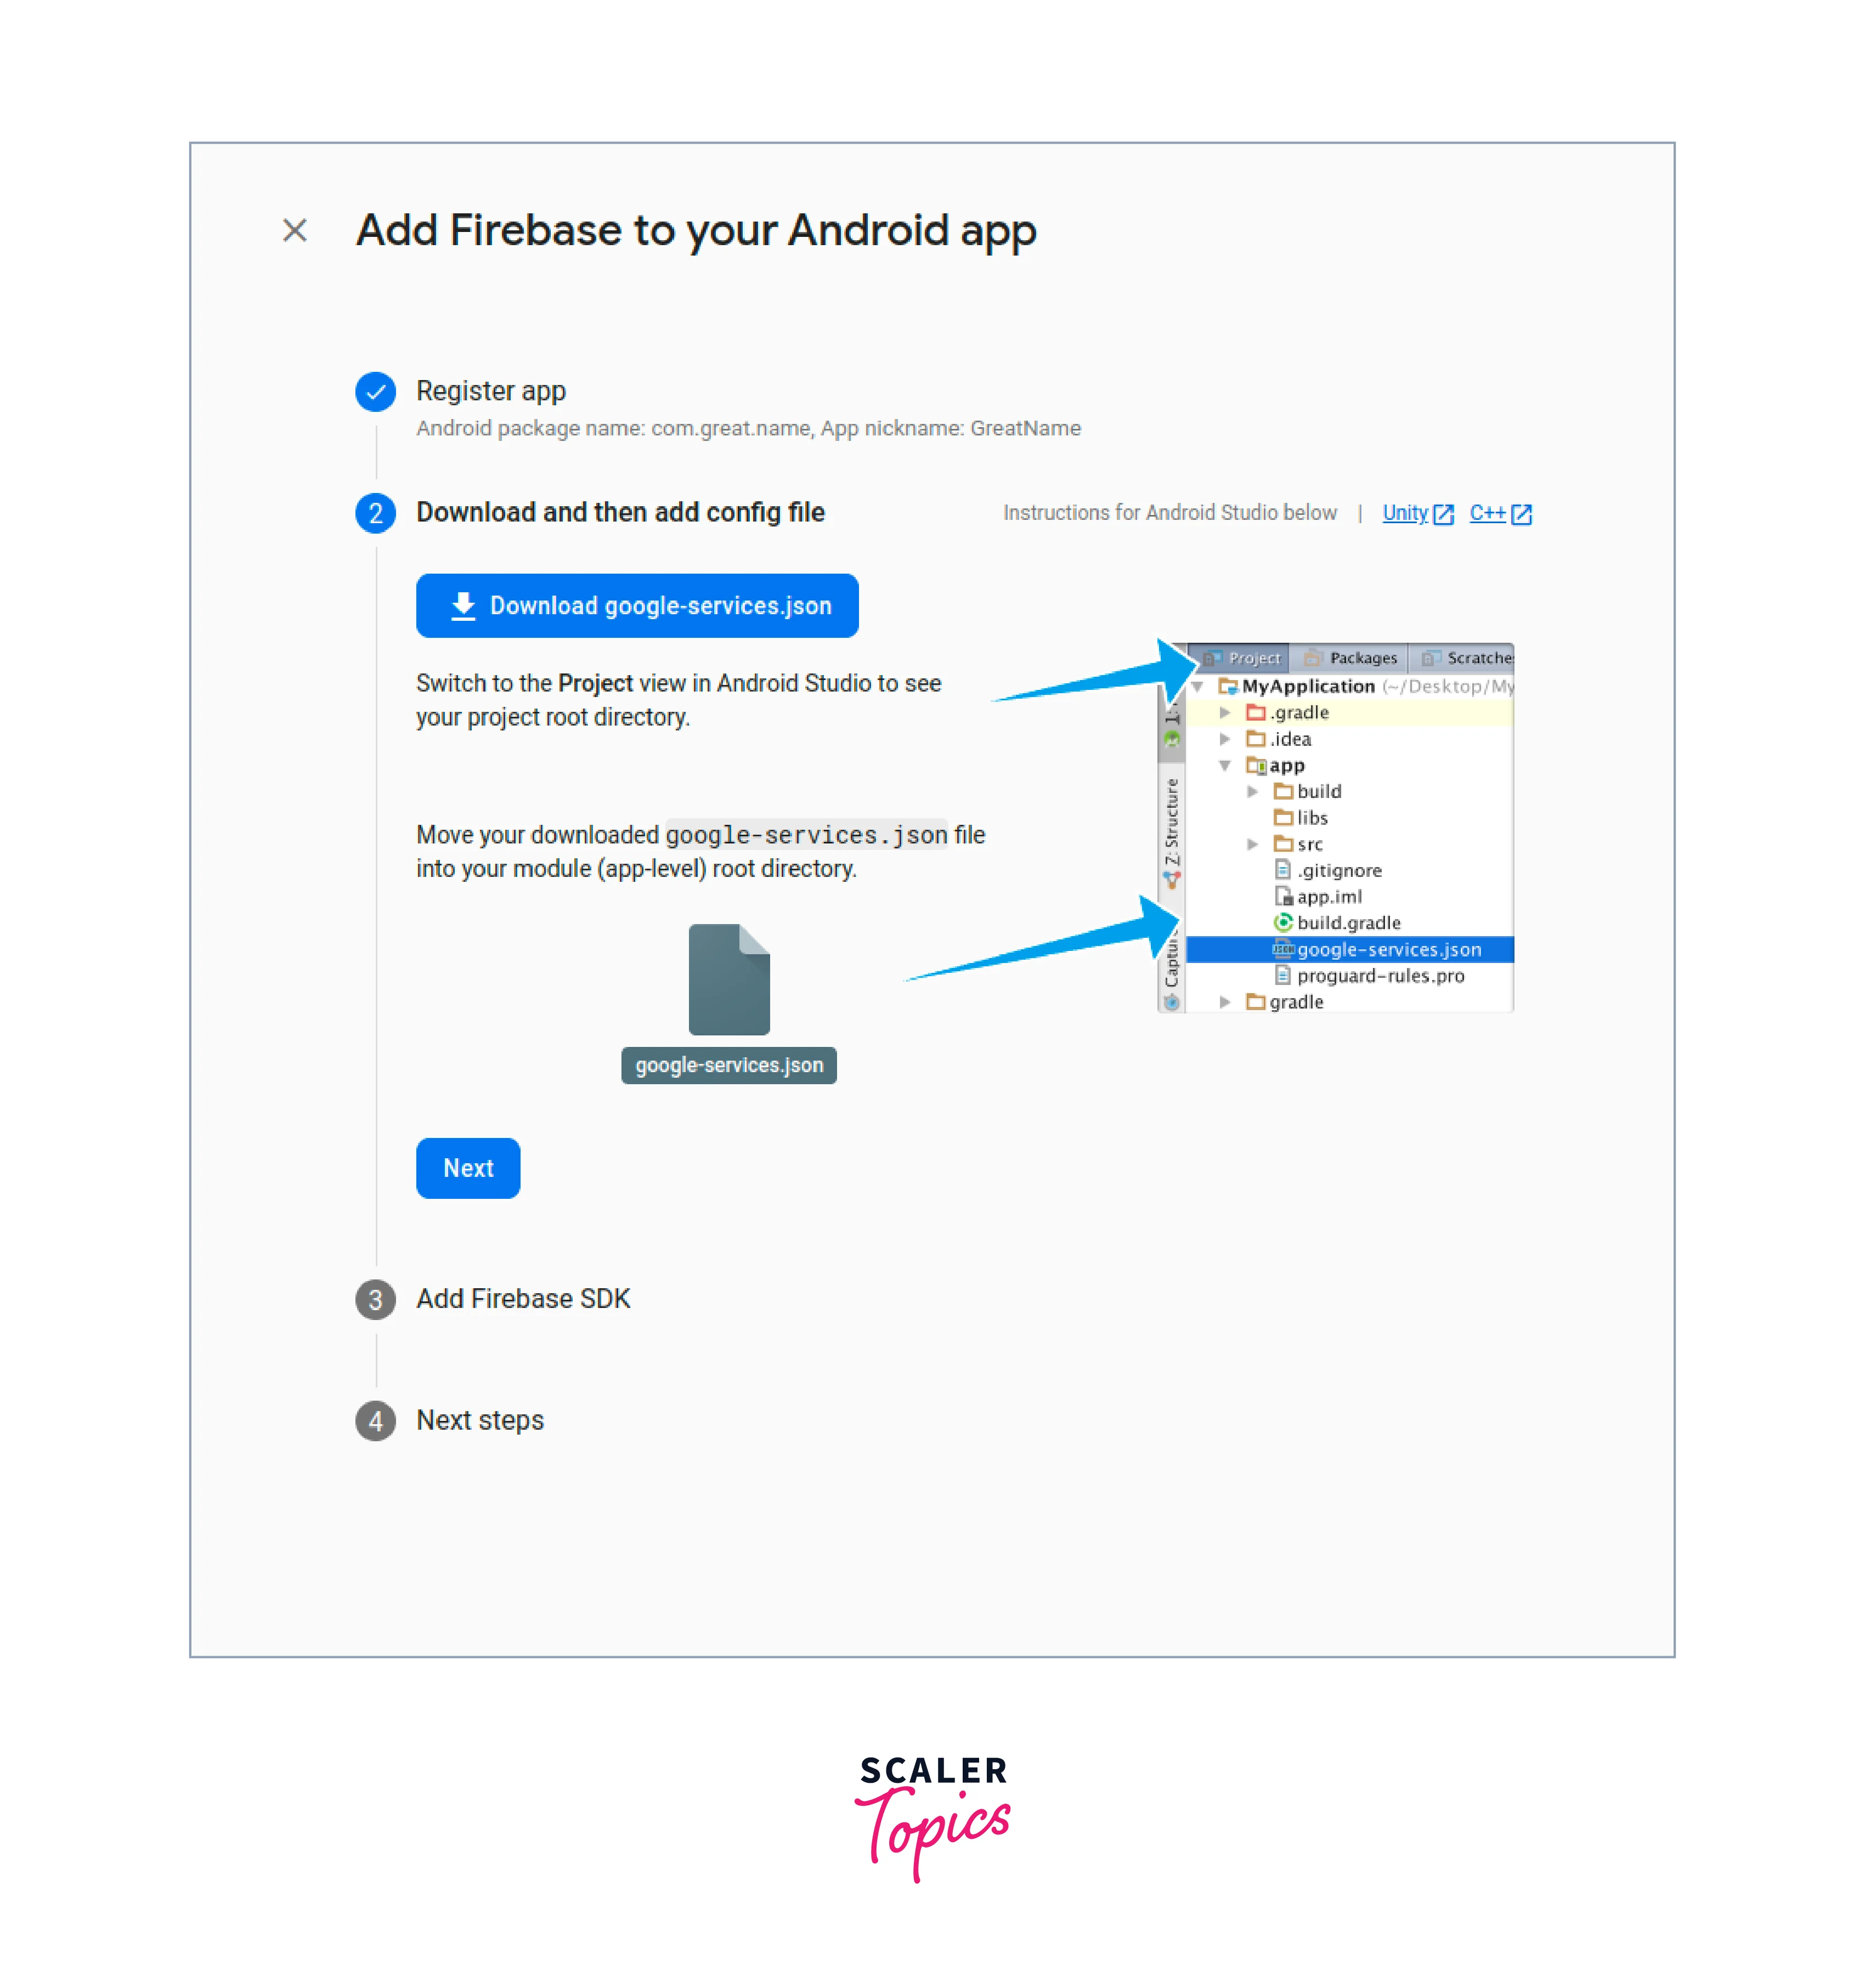
The next step is a bit lengthy and finding the required files and lines of code can be a bit confusing. Following are the files that need to be changed along with the changes:
- build.gradle the one that says (Project: android), add in buildscript property dependencies under $kotlin_version the Google Services line: classpath 'com.google.gms:google-services:4.3.2' Your version may vary, check what Firebase suggests.
- build.gradle the one that says (Module: app), check if it has the apply plugin: 'com.android.application' under all the Flutter SDK, versionCode, and versionName configurations. Then add at the very bottom of that file this line: apply plugin: 'com.google.gms.google-services'. That applies to the Firebase SDK. After following through with all these changes, we can sync the Gradle.
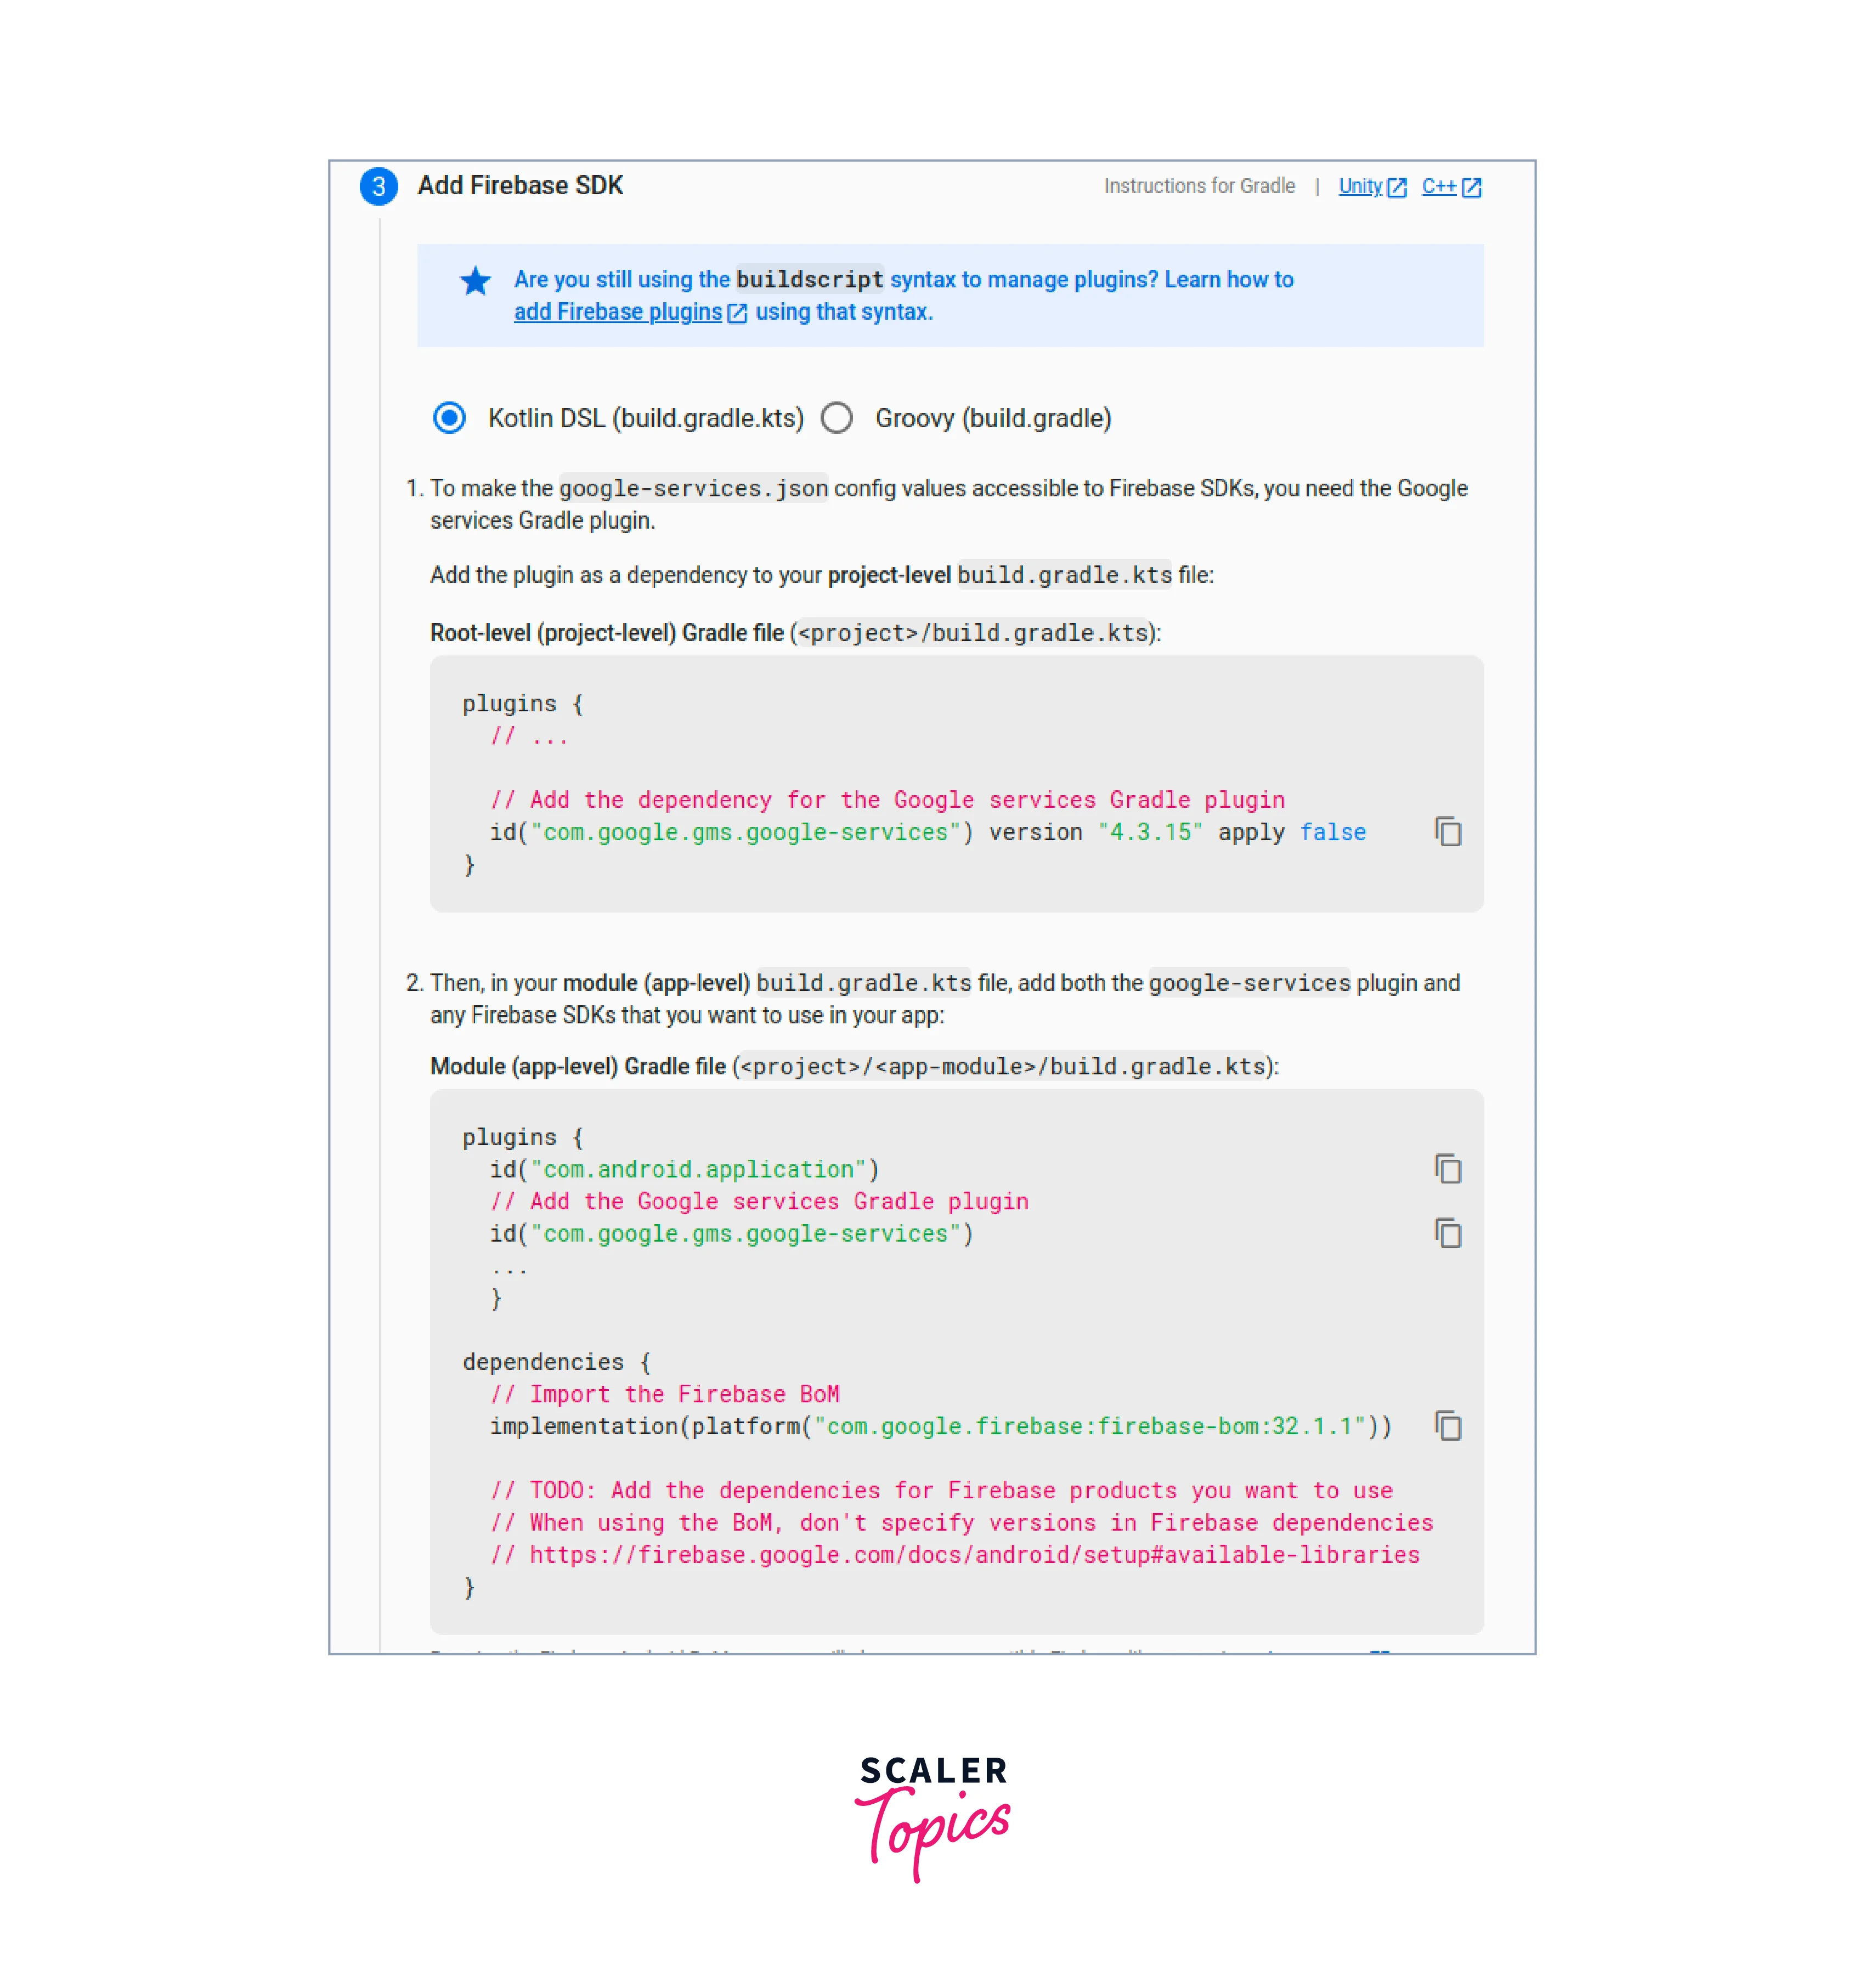
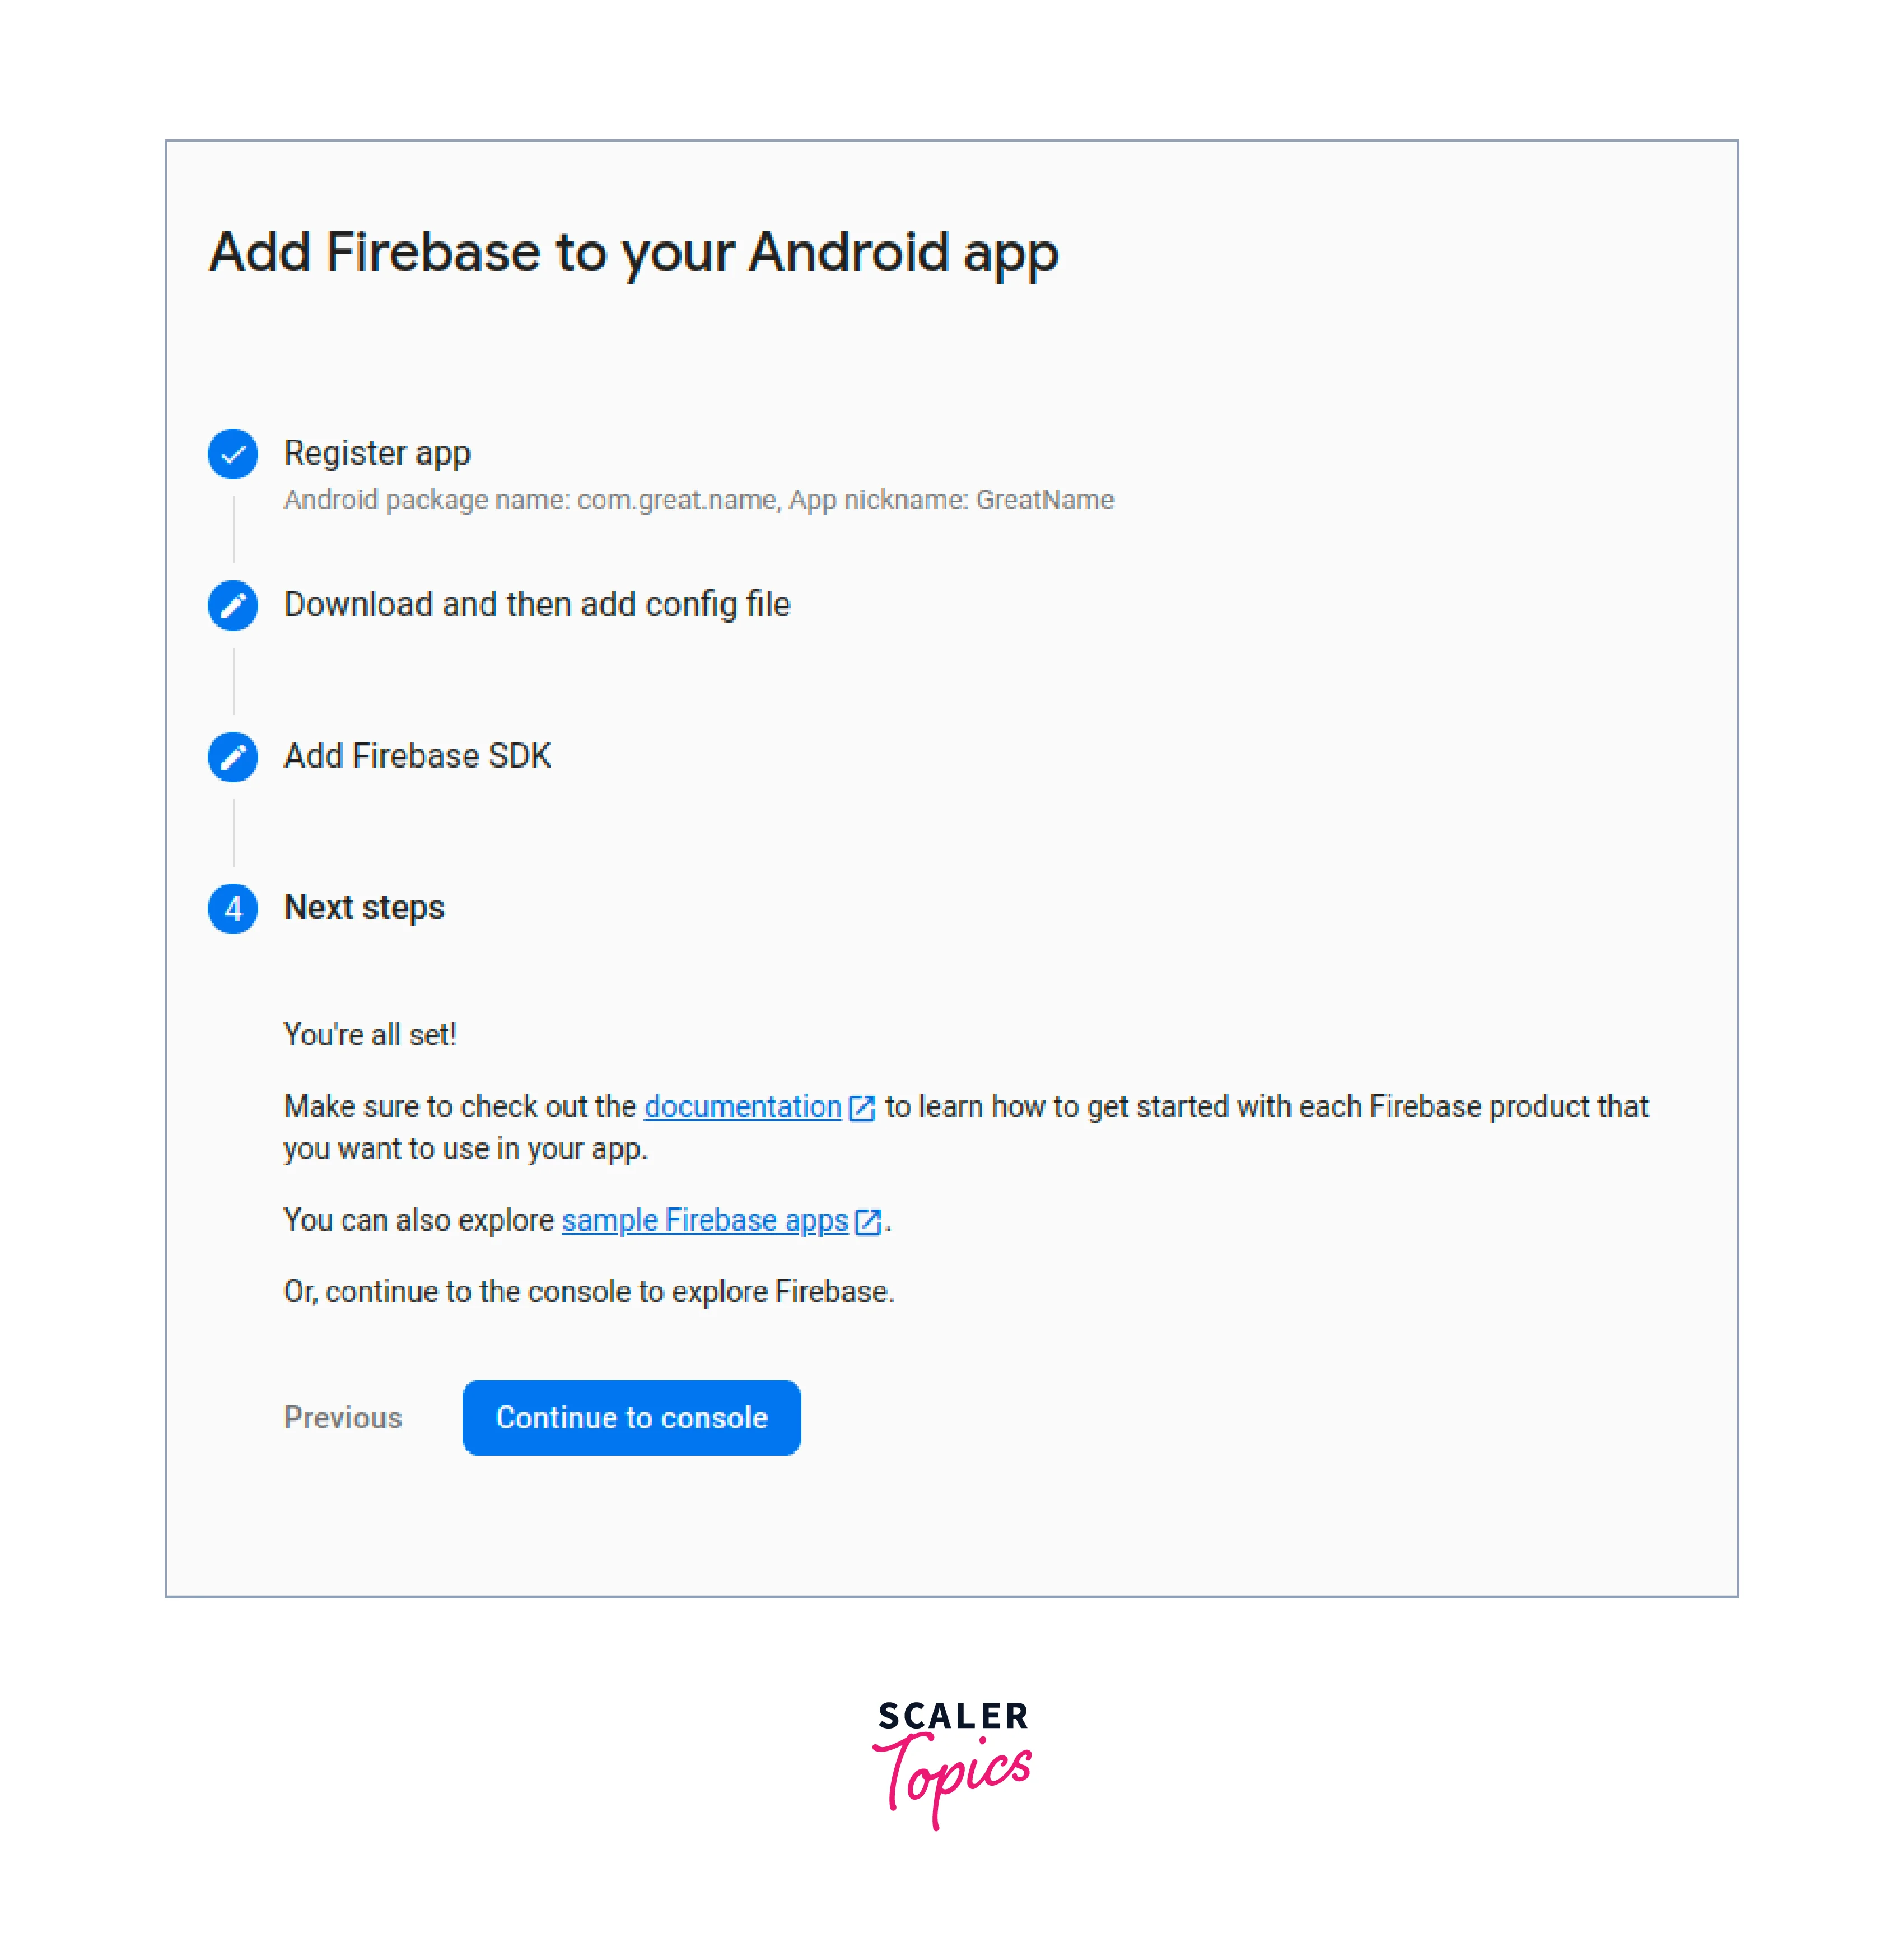
This marks the end of setting up your firebase project for your flutter application for android.
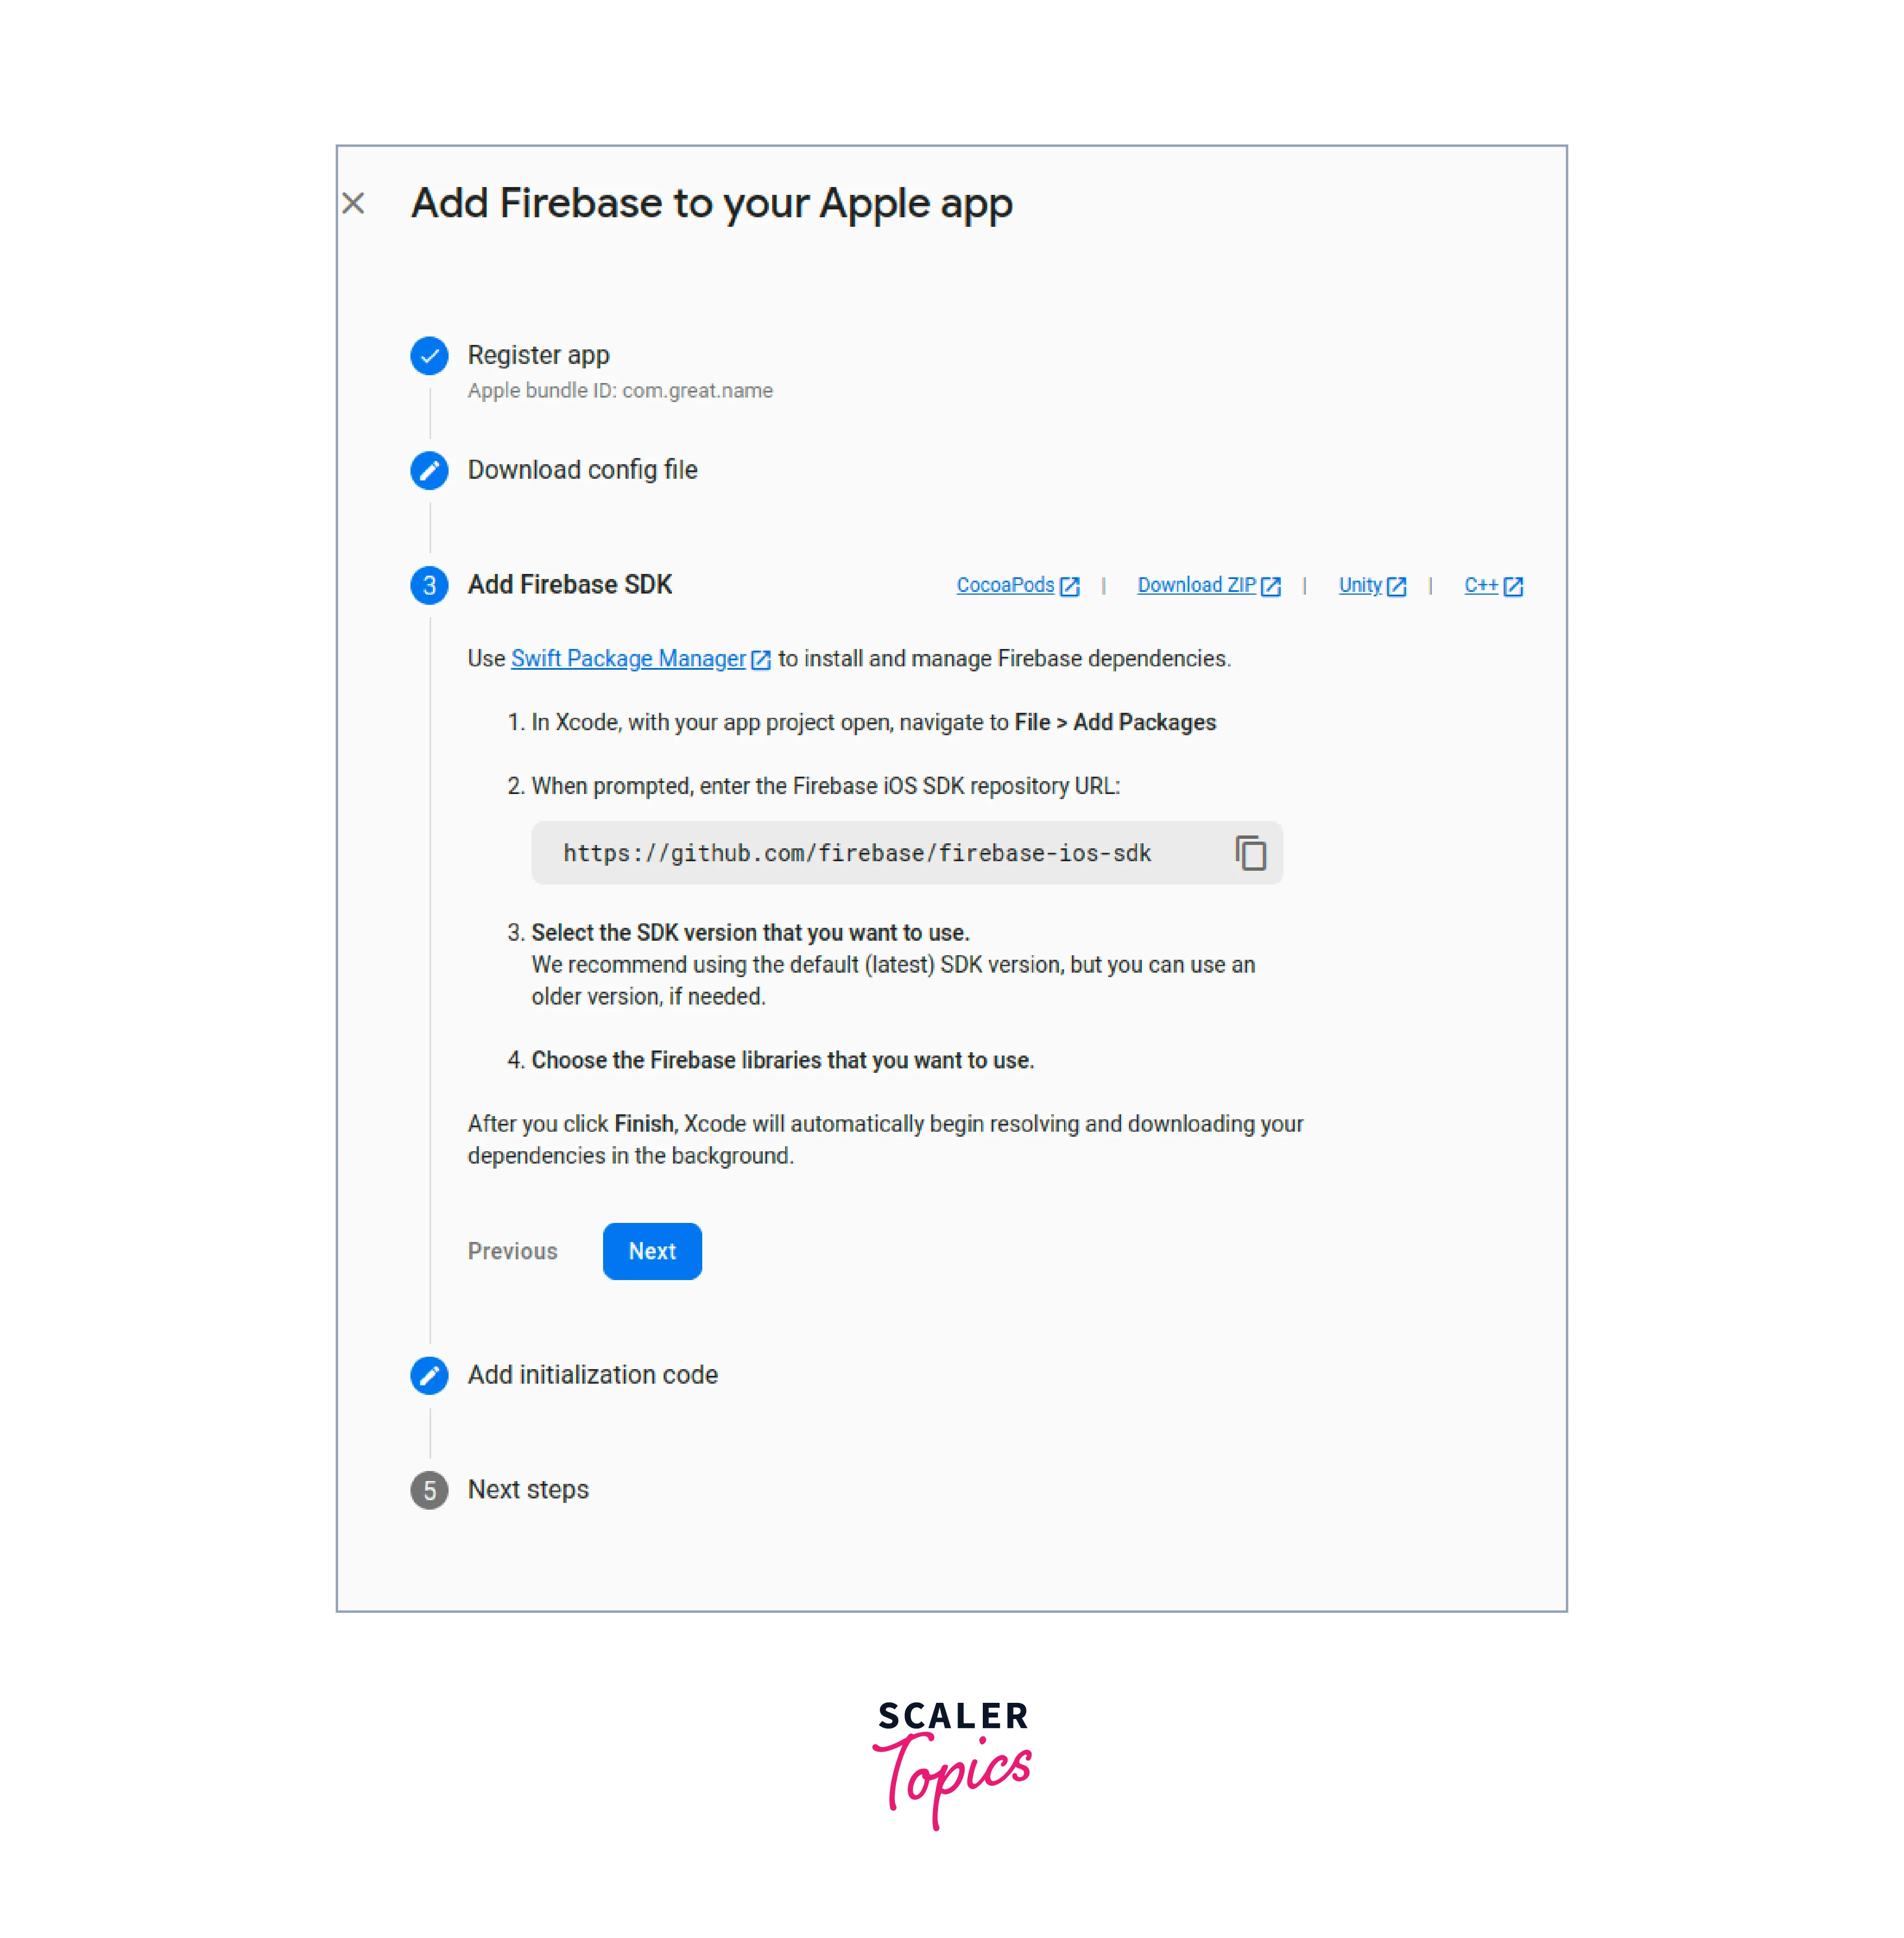
The Steps for iOS devices are very similar and much more easier. You can easily follow the steps provided on the Firebase set up guide for iOS devices.
After the process of creating a Firebase project and installing Firebase sdk onto your platform is done, we can move forward to setting up FlutterFire.
- Step 1: Install the Firebase CLI You can install the Firebase CLI using a method that matches your operating system, experience level, and/or use case. Regardless of how you install the CLI, you have access to the same functionality and the firebase command.
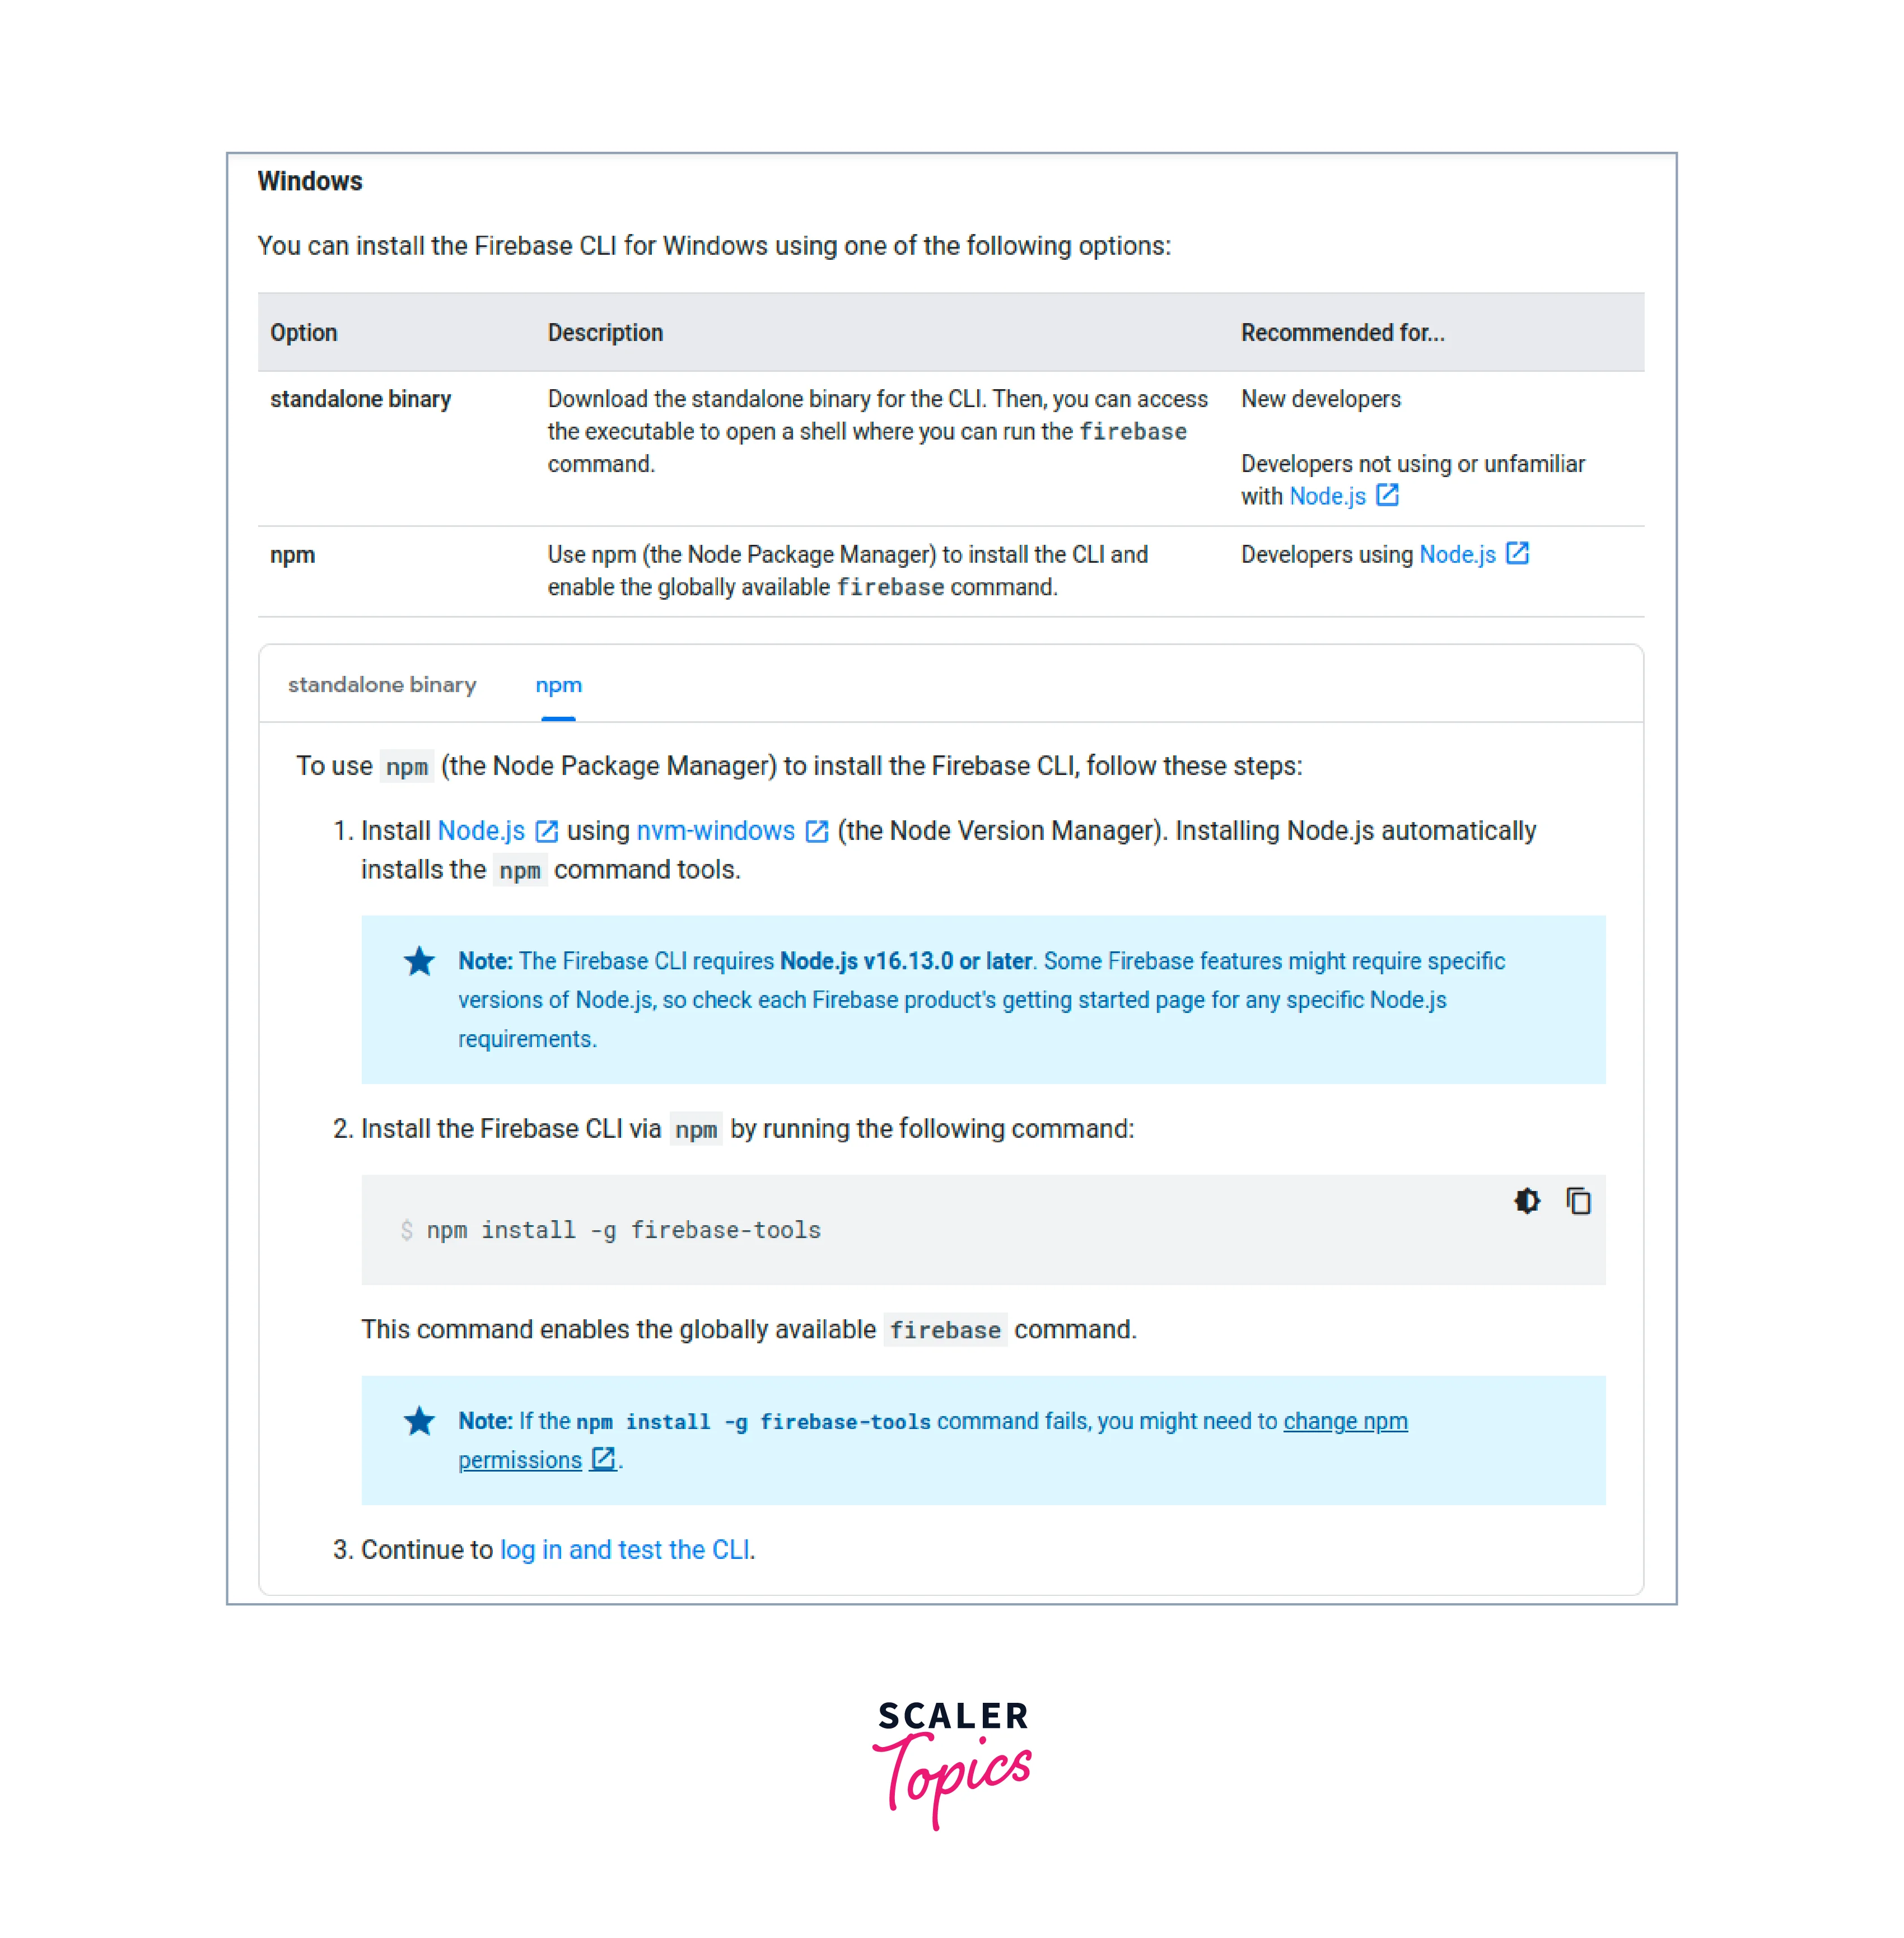
After installing the FlutterFire CLI, log into Firebase using your Google account by running the following command into the terminal:
Install the FlutterFire CLI by running the following command from any directory:
- Step 2: Configure your apps to use Firebase Use the FlutterFire CLI to configure your Flutter apps to connect to Firebase. From your Flutter project directory, run the following command to start the app configuration workflow:
- Step 3: Initialize Firebase in your app From your Flutter project directory, run the following command to install the core plugin:
From your Flutter project directory, run the following command to ensure that your Flutter app's Firebase configuration is up-to-date:
In your lib/main.dart file, import the Firebase core plugin and the configuration file you generated earlier:
Also in your lib/main.dart file, initialize Firebase using the DefaultFirebaseOptions object exported by the configuration file:
Rebuild your Flutter application:
- Step 4: Add Firebase Plugins You access Firebase in your Flutter app through the various Firebase Flutter plugins, one for each Firebase product. Here's how to add a Firebase Flutter plugin: From your Flutter project directory, run the following command:
From your Flutter project directory, run the following command:
Once complete, rebuild your Flutter project:
Once you are done with this, you're all set! Your Flutter apps are registered and configured to use Firebase.
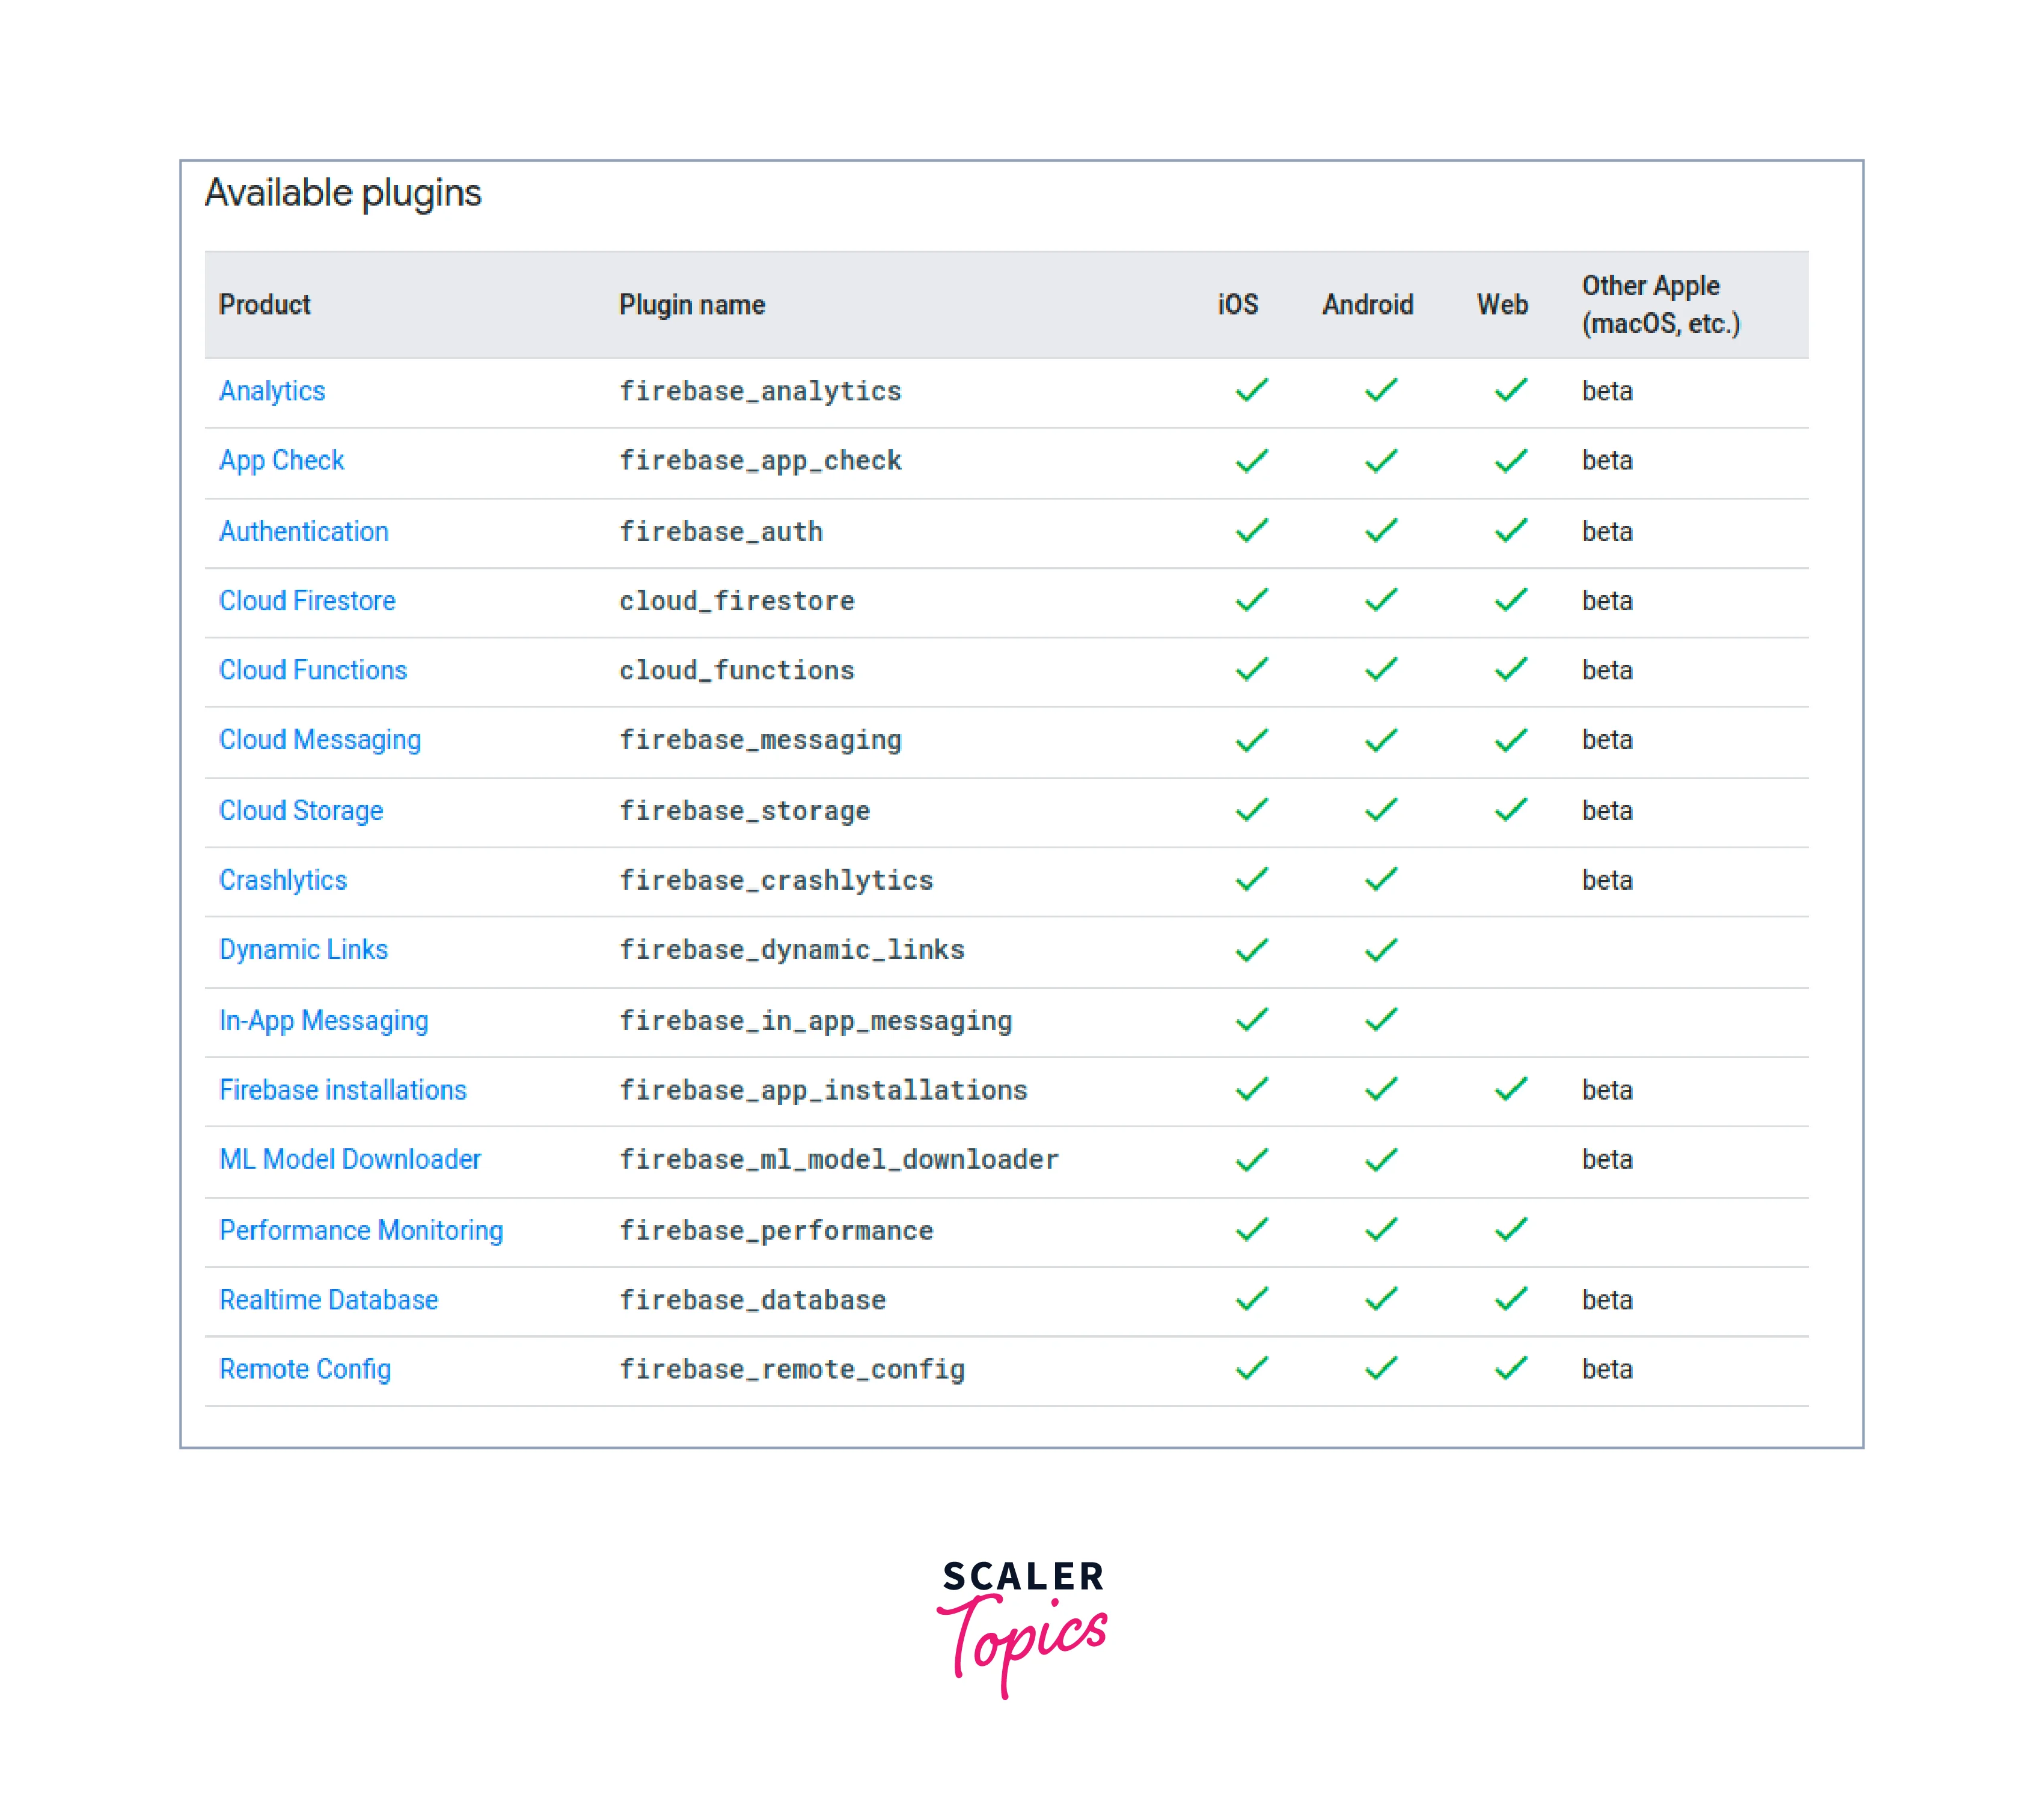
Here is the list of all available plugins that Flutterfire provides
Conclusion
- Flutterfire is a set of plugins that allow easy integration of firebase services to your flutter project.
- Flutterfire gets rid of manual work of integrating firebase sdk into you flutter project.
- Flutterfire CLI is a command line tool that further simplifies using flutterfire.
