How To Implement Flutter Local Notifications?
Overview
Flutter Local Notifications is a package that allows Flutter developers to display local notifications within their apps on Android, iOS, and Web platforms. We can display custom notifications from the apps without depending on the external factors. Whatever actions we do within the app and want to notify the users about their action or show any message in response, we use Local Notifications for that. We can schedule one-time or recurring notifications,with specific dates and times, and handle user interactions, enhancing user engagement and providing timely updates to app users. Flutter Local Notifications is an essential tool for developers to deliver a seamless and interactive notification experience in their Flutter apps. In this article, we will learn about local notifications in detail.
Introduction
Notifications are an excellent way to engage our users and get them back to app seeing the notifications.These local notifications are generated and scheduled within the app itself, allowing users to see the updates, remainders, alerts or reaction of any action, even when they are not using or active on the app.
A lot of things can be done with local notifications like we can create the custom notification content, titles, and icons, tailoring the notifications to match the app's branding and user experience. We can also include images, buttons, and actions in notifications, provinding an interactive and engaging user interface. Various platforms support notifications like Android, iOS, and Web platforms.
We use flutter_local_notifications package in Flutter to integrate the local notifications. This package gives various options like scheduling with specific dates and times, user interaction with callbacks and enabling the app to respond intelligently to user actions. This is an essential tool for developers as it enhace the user experience, easy to use, multi-platform support and availability of extensive customization options.
Types of notifications
Notifications are used to make sure users pay attention to something while they're using the app and they get back to app. So, there are two types of notifications-
1. Push Notifications
Push notifications are notifications sent from a remote server to the user's device through a cloud messaging service. These are used to deliver real-time updates or messages to users even when the app is not running or in the background. We can use Firebase Cloud Messaging (FCM) or OneSignal services in Flutter for push notifications. Using these services, notifications can be sent and received across different platforms. We can send push notifications to specific users or group of users based on some conditions or criterias. They are similar to local notifications in customization and user interaction. Push notifications are ideal for sending time-sensitive or app-wide announcements to users regardless of their app activity.
For example, if user forgets about the app once they have installed it. Then you can use push notifications to engage, regain and retain their interest. Push notifications also helps to drive traffic to your app.
Let us just discuss the overview of setting up the Push Notifications in your project. To setup this, you need to integrate Firebase in your application and make changes in AndroidMaifest.xml file and build gradle. You need to add this firebase_messaging package in your pubspec.yaml file. Then just start with the dart code, where you need to configure the 3 different methods of firebase_messaging.
Handling Messages
The received messages are handled based on the state of the device:
- Foreground:
When the app is open, in view and in use. - Background:
When the app is open but in the background (minimized). - Terminated:
When the device is locked or the app is not running.
2. Local Notifications
Local notifications are generated and scheduled within the app itself. We do not need any server or any external service for local notifications unlike push notifications. We can customize the look and feel of local notifications elements like custom content, titles, icons, images, buttons, and actions. We can use flutter_local_notifications package for integrating it in Flutter applications for various platforms. This package provides various options to tailor the notifications like, we can set the custom notification sound, basic information, configure the importance level and the priority, cancel/remove notification by id or all of them etc. Local notifications are suitable for in-app reminders and user-specific updates. All the integration and usage part is discussed in this article.
Both the notifications are very useful for developers and users as they are very easy to use and handy. By using these, developers can enhance user engagement and provide a more dynamic and interactive user experience in the Flutter apps.
Flutter Local Notifications Setup
Here, we will learn to integrate the local notifications in our Flutter applications. We need to follow some steps.
Let us discuss about the platform support of local notification in mobile applications.
Android 4.1+
Uses the NotificationCompat APIs so it can be run older Android devices
iOS 8.0+
On iOS versions older than 10, the plugin will use the UILocalNotification APIs. The UserNotification APIs is used on iOS 10 or newer. Notification actions only work on iOS 10 or newer.
-
Add Dependencies
First we need to create a Flutter project on IDE like android studio or VS code. After that open the pubspec.yaml file and add the following dependency under dependencies: section. After that pub get it to fetch the package. -
Platform setup and initialization
Now to make ot work on both the platforms, iOS and android, we need to set up some settings in both the systems. So, let us try to see for Android first. Android-
In the Android project, open the app/build.gradle file and add the following code.
The plugin also requires that the compileSdkVersion in your application's Gradle file is set to 33:
iOS
- Add the following lines to the application method in the AppDelegate.m/AppDelegate.swift file of your iOS project. In the didFinishLaunchingWithOptions method, add the following code. Also, import the flutter local notification package.
Objective-C:
Swift
Just add these codes and make changes according to the new updates and changes in future. Even after adding all this, still you get the errors, just try to make some different changes and take help of other documents. It is expected to get some errors in gradle, just try to get the solution and see the versions.
-
-
Displaying notifications
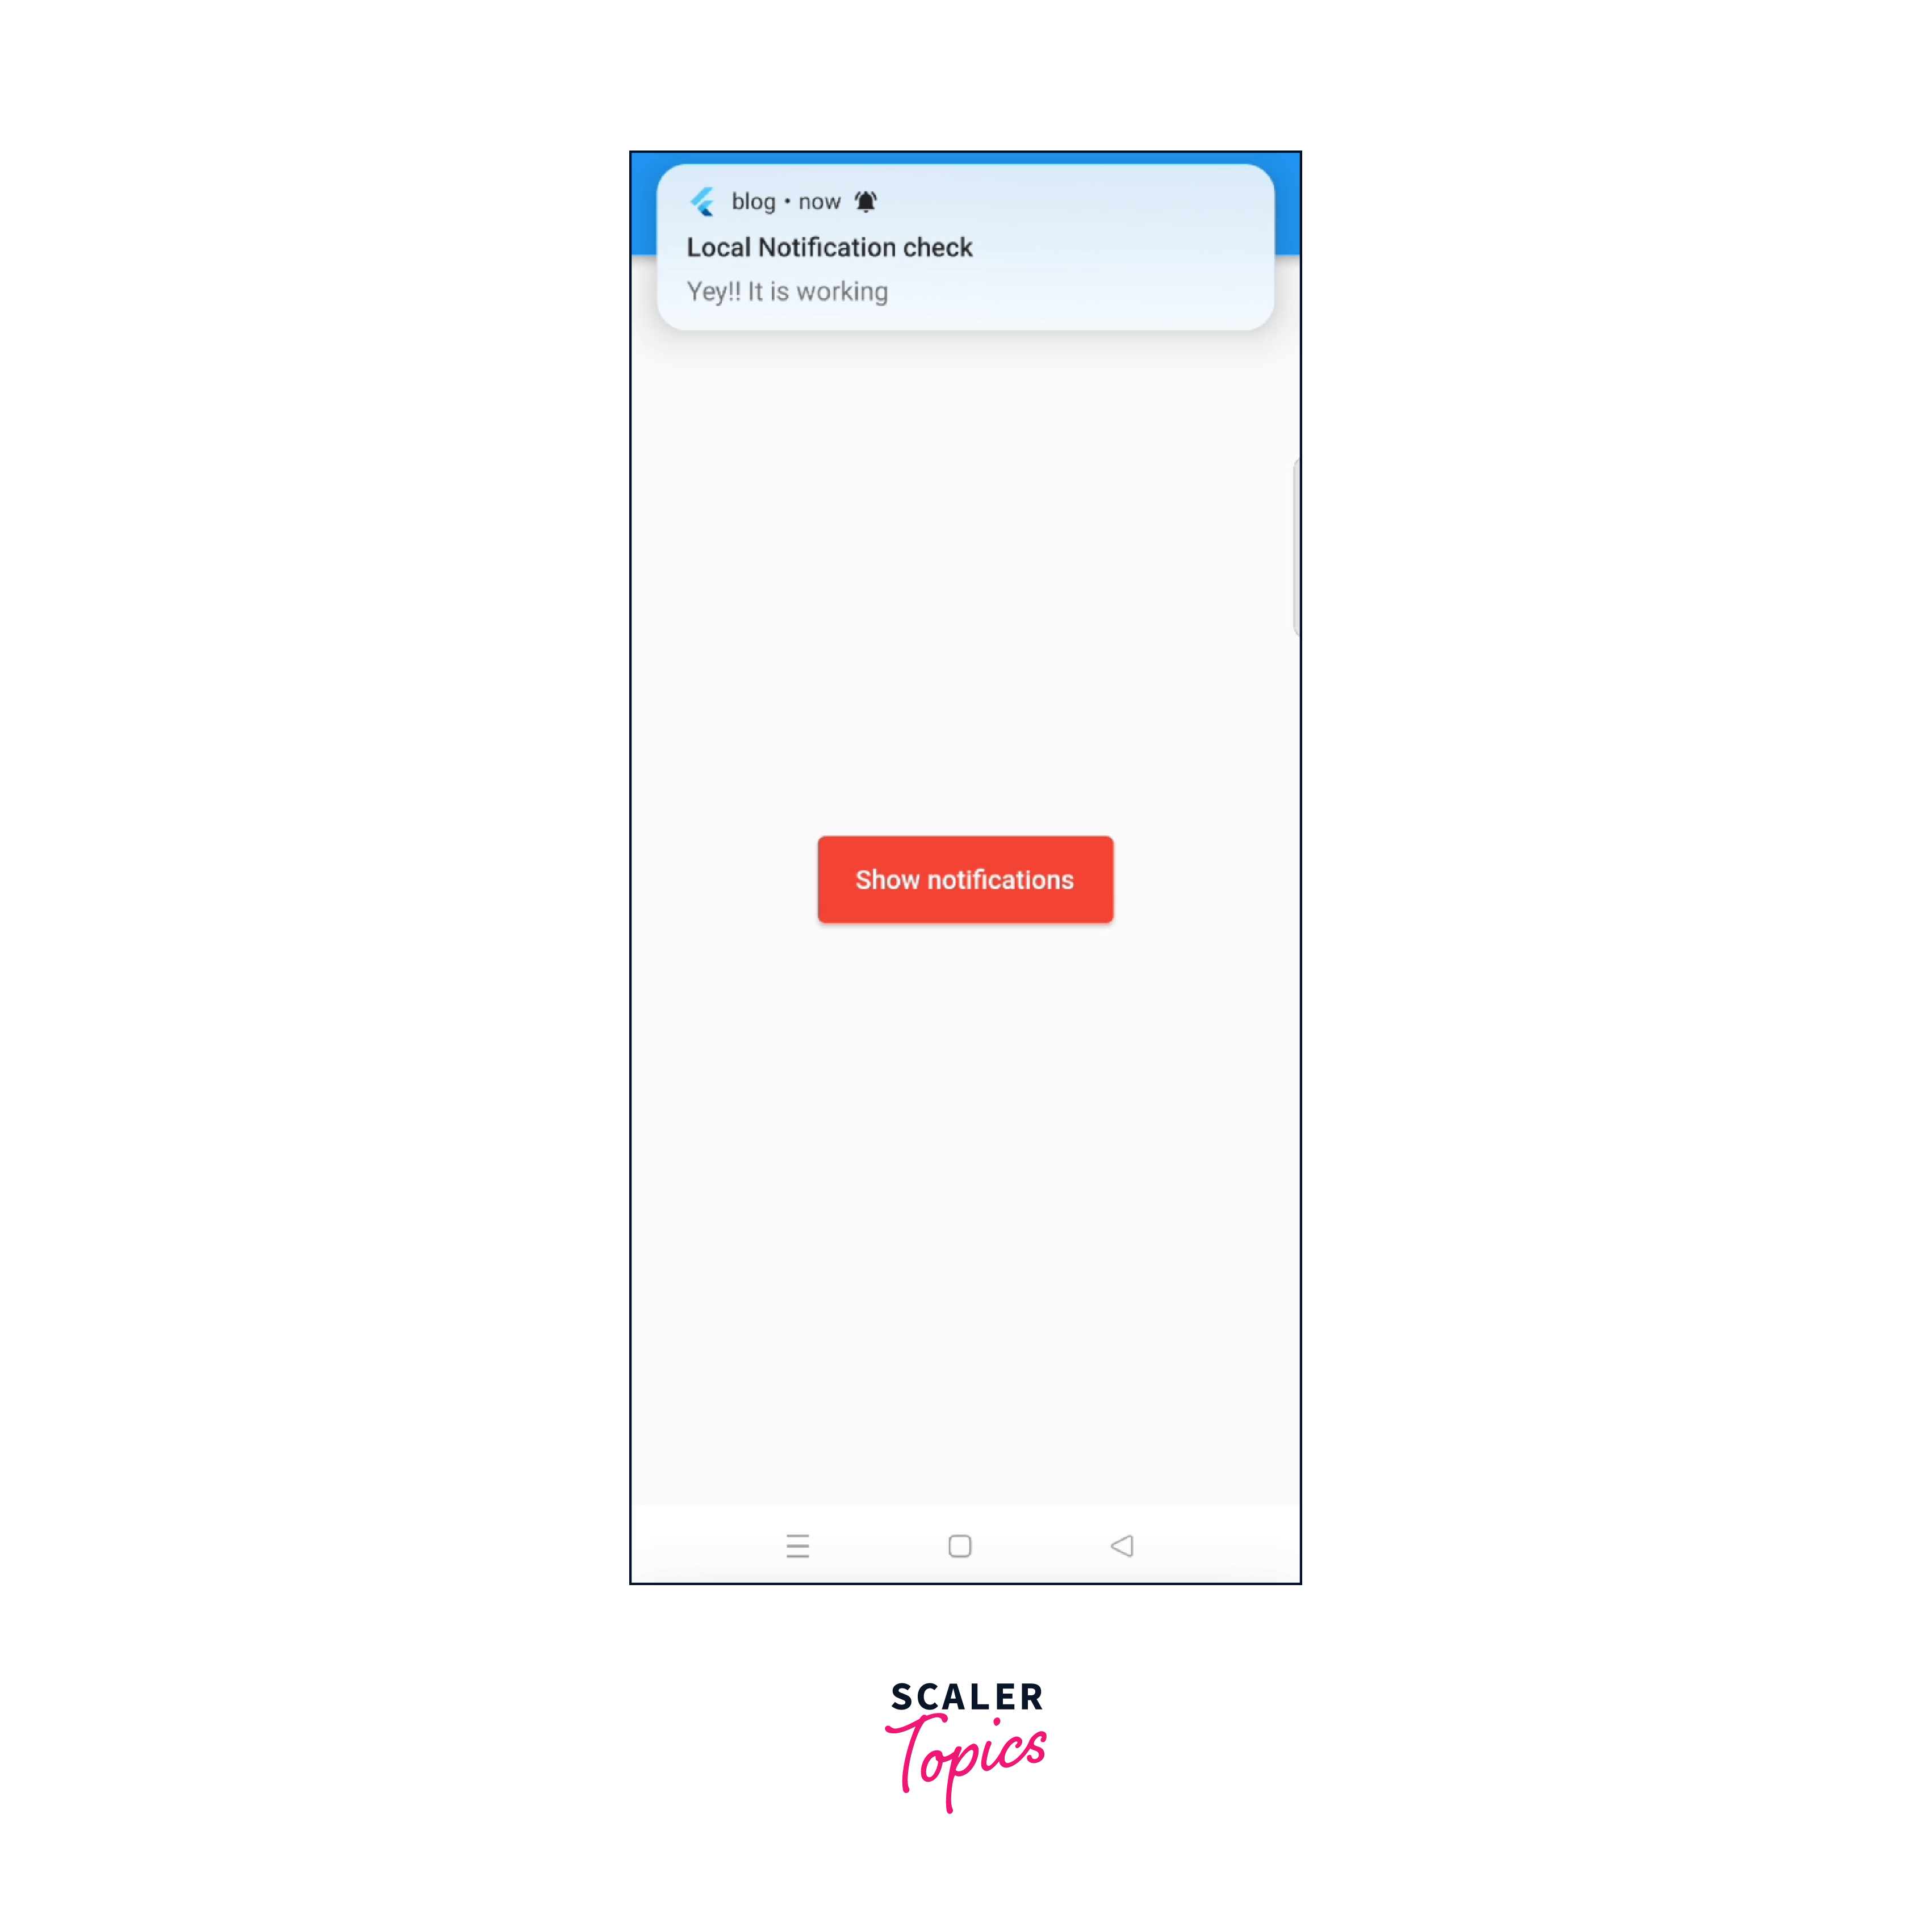
Here we are going to discuss about the simple local notifications display to the users.-
We will create a class, where we will show the buttton and on the click of button we will show the desired notification.
The above code in onPressed function, we will create a seperate class for it to show the notifications.
-
Now, we will create a class named NotificationService and inside it and we will make a function named initNotification() and will define some details inside it to initialize it in main method. we will write all the required code for showing the notification in this class. We will make an instance of FlutterLocalNotificationsPlugin. Then we will initialize settings for Android and iOS like permissions and logo. To put the logo in Android, go to YOUR_APPLICATION_NAME\android\app\src\main\res\drawable\YOUR_APP_ICON.png and paste the icon here. No need to request any permissions in android.
We need to ask permission from the user for various issues related to notifications and we will ask the following permissions- requestAlertPermission, requestBadgePermission, requestSoundPermission etc , and onDidReceiveLocalNotification function, for handling when a notification is triggered while the app is in the foreground.
Then, we will pass the data of android and iOS to InitializationSettings class. After that we will call the initialize method of FlutterLocalNotificationsPlugin class and pass the settings here. This is how it will look.
To display a notification, you need to create an appropriate notification details instance (for Android/iOS). Each platform has its own specific arguments that need to be passed in. We will create one more method for showing details to android and iOS devices. There are many more arguments present inside both AndroidNotificationDetails & IOSNotificationDetails and you can add the data accordingly.
-
We need to call the show method of the FlutterLocalNotificationPlugin.
We will see each property.
- id –
the identifier of the notification. Each notification must have a unique identifier - title –
the title of the notification - body –
what we want to display as the main message of our notification - notificationDetails –
the notification details object we discussed above - payload –
the data that we want to pass with this notification so that it can be used later when the notification is tapped on and our application opens up again.
Now we will create one more method to show the notification, which will be called on button press. This is the code for that.
This way, we will get the normal local notifications on our devices.
-
-
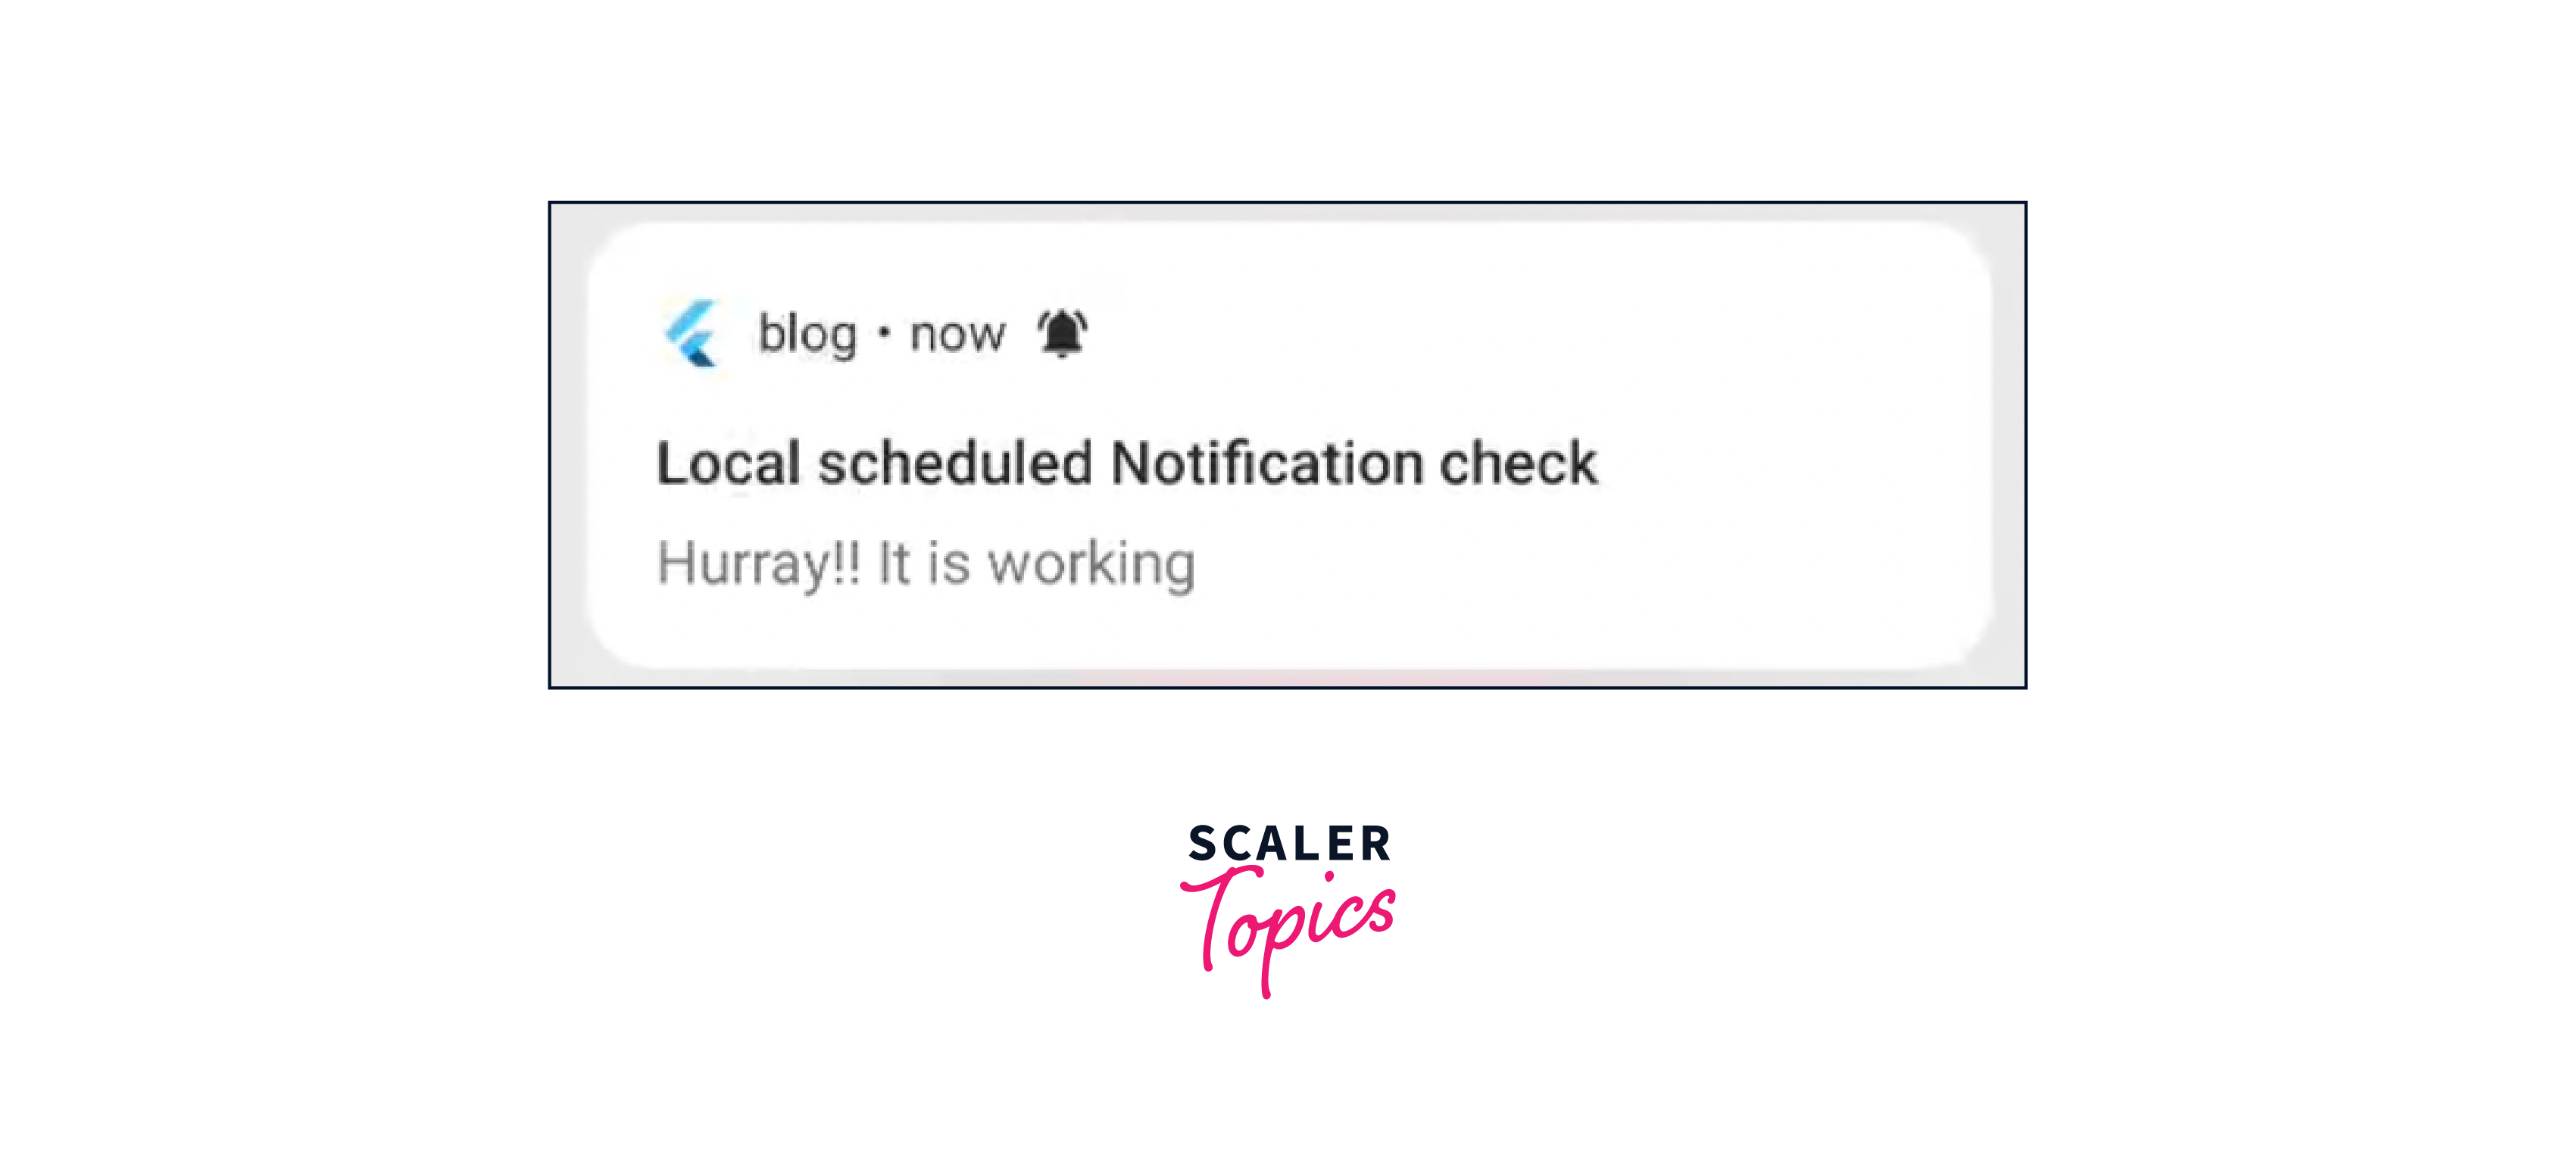
Display scheduled notifications
To display scheduled notifications, we need to pass time and date relative to the timezone of the user’s device. This will help in overcoming the differences in time that can be caused by daylight savings. We do not need any other package for this as notification package has this timezone already.We can either initialize the timezone in init method(Notification class) or main method. Here, we are initializing it in initNotification() method.
Again, we will create a method in Notification class for scheduled notifications. We need zonedSchedule method of FlutterLocalNotificationsPlugin class to schedule the notifications at the specified time relative to the specific timezone. Add the time for scheduled notification, make androidAllowWhileIdle
& make this uiLocalNotificationDateInterpretation: UILocalNotificationDateInterpretation.absoluteTime. Then make use of this method in view class. By clicking on a button, we will see notification after given time or scheduled time.
You can also set the local notifications in Flutter applications for each day at the same time, weekely, monthly or yearly. Adjust the scheduled notification according to your need and requirement.
 If you want to display periodic notifications, you can use the periodicallyShow method. These are displayed periodically after a specified time.
 -
Display grouped notifications If you want to display similar notifications in your Flutter application, you can group them based on a group key on Android or a thread identifier on iOS. To display grouped notifications, you need to create multiple notifications with the same group ID. For Android, you need to create notification detail with the inbox-style notification. The notification detail will describe the group summary for your notifications and set the setAsGroupSummary property to true. For iOS notifications, you need to give a thread identifier to the notification.
Now to show the notifications, call the show method. Each notification will contain a unique ID. On Android, the notification meant to be the group summary will have a custom title and body, which displays an outline for the grouping.
Now, we will call this method in UI class on clicking the button. We will use showGroupedNotifications method from Notification class.
This is the result for grouped notifications. We can see multiple notifications and a summary message also.

-
Cancel notifications
We can cancel the single notification or we can cancel all the notifications in our application. If you want to cancel a single notification, just pass the ID of that notification to the cancel method. This will cancel that particular notification.To cancel all the notifications, you can use cancelAll method.
This is all about local notifications in Flutter applications. You can explore more about it, customize it and use it for learning or to integrate in your projects. This is very useful to engage users to your application and it is used in most of the applications.
Finally, to check all code for all different local notifications, please checkout my github repository - Github Repo
Features of Local Notification
Following are the features.
- You can display basic notifications
- You can schedule when notifications should appear
- You can even show notifications periodically (interval based)
- Schedule a notification that you want to show daily at a specified time
- Schedule a notification that you want to show weekly on a specified day and time
- You can retrieve a list of pending notification requests that have been scheduled to be shown in the future
- You can cancel/remove notifications by id or all of them
- You can specify a custom notification sound
- Notifications are interactive and you can handle when a user has tapped on a notification, when the app is in the foreground, background or is terminated
- You can check if an app was launched by tapping on a notification
Android
- You can request permission to show notifications in android
- You can configure the importance level
- You can also configure the priority
- If you want to customize the vibration pattern for notifications, you can do that
- if you want to change the default icon for all notifications, you can configure that
- If you want different icons for each notification (overrides the default when specified), you can specify that
- You can configure the large icon for each notification. The icon can be a drawable or a file on the device
- You can also format notification content via HTML markup
- Android supports for the following notification styles- 1. Big picture 2. Big text 3. Inbox 4. Messaging 5. Media
While media playback control using a MediaSession. Token is not supported, with this style you let Android treat the largeIcon bitmap as album artwork
- You can send group notifications
- You can also show progress notifications
- if you want to create and delete notification channels, you can do that also
- You can retrieve the list of active notifications
- You can also show full-screen intent notifications
- This has the ability to check if notifications are enabled
iOS
- In iOS, you can request notification permissions and customize the permissions being requested around displaying notifications
- You can also sisplay notifications with attachments - iOS 10 or newer and macOS 10.14 or newer
Conclusion
There are lots of things we have discussed in this article. Let us summarize it.
- Local notifications are pre-scheduled and fire when certain actions are performed by the user in the app.
- Local notifications in Flutter enable developers to deliver timely reminders, alerts, updates and engage users by performing actions.
- We can customize the content, titles, icons, images, buttons, and actions of notifications according to the need and app brand or design.
- We use flutter_local_notifications package for scheduling one-time or recurring notifications in our applications.
- Flutter Local Notifications supports Android, iOS, and Web platforms, increasing user experience for different devices and operating systems.
- We can display normal local notification, scheduled notifications and grouped notifications. We can also cancel the notifications.
- There is also a push notification which is triggered from remote server and we can customize the UI of that.
- You can also try to integrate push notification, which can be challenging for the first time, but once you do, you will be good at that.
In conclusion, local notifications in Flutter gives an efficient and user-centric way to keep app users engaged, informed, and connected to the app's updates and events. This helps in creating a more personalized and interactive user experience.