Recipe App in Flutter
Overview
By leveraging Flutter's ability to build beautiful and performant cross-platform applications, we'll harness its potential to create a user-friendly and feature-rich Flutter recipe App. We will be building a Recipe app where you can view a list of various recipes, and retrieve details of a specific recipe(on a separate page) by clicking on it and more. We will cover various aspects of app development, starting from the very basics such as setting up the development environment, creating a new project, understanding the file structure, and other key elements one needs to get started to build.
Introduction
Recipe apps have become increasingly popular, offering a convenient way to organize, share, and discover a wide variety of culinary delights. With Flutter, we have the unique advantage of building a cross-platform mobile application that can seamlessly run on both Android and iOS devices.
The Flutter Recipe App we build will boast essential features like a home screen displaying a recipe list screen with detailed recipe cards, and a recipe details screen showcasing ingredients and instructions. Users will also be able to mark their favorite recipes, adding a touch of personalization to the app.
Starting with the setup of a Flutter development environment. We'll create a new Flutter project and gain a clear understanding of the project's structure, laying the groundwork for our Recipe App.
Setting up a Flutter Development Environment
The most basic yet crucial building block of our Flutter Recipe app is the Flutter SDK and setting up a Flutter development environment.
Install Flutter SDK
Begin by downloading the Flutter SDK, which includes the necessary tools and libraries to build Flutter applications. You can follow these steps to install Flutter SDK:
- Visit the official Flutter website and download the Flutter SDK according to your operating system (Windows, macOS, or Linux).
- After the download is complete, extract the contents of the downloaded ZIP or tar.gz file to a location on your computer locally. This location will be referred to as the "Flutter installation directory".
Add Flutter to PATH
To use Flutter commands conveniently from any terminal window be it from the system terminal window or in the IDE, you need to add the Flutter bin directory to your system's PATH variable.
Here's how you can do it:
-
Navigate to the Flutter installation directory you extracted in the previous step. Look for a folder named "bin".
-
Depending on your operating system, follow the instructions below:
-
Windows:
- Search for "Environment Variables" in the Start menu and open the "Edit the system environment variables" option.
- Click on the "Environment Variables" button.
- In the "System variables" section, look for the "Path" variable and select it.
- Click on the "Edit" button.
- Click "New" and add the path to the Flutter bin directory (e.g., C:\flutter\bin).
- Click "OK" on all windows to save the changes.
-
macOS/Linux:
- Open a terminal window.
- Run the following command to open the bash profile or equivalent configuration file.
- Add the following line to the file and save it.
- Restart your terminal or run the command source ~/.bash_profile to apply the changes.
-
-
Open a new terminal window and run the following command:
This command will check your Flutter installation and display a report with any missing dependencies or configuration issues. If everything is set up correctly, you should see "Doctor summary" with no issues found.
Install an IDE of Your Choice
You can use any IDE of your choice to build the application, We will be using Visual Studio Code as it is very common and can be used to launch both Android and iOS emulators.
If you haven't already, you can install VS Code IDE from the official website.
Once you have VS Code installed. Open VS Code, go to the Extensions view (you can find it in the sidebar or press Ctrl+Shift+X), and search for "Flutter". Click the "Install" button next to the official Flutter extension provided by Dart Code.
Now, open the Command Palette in VS Code type "Flutter: Change SDK" and select the "Flutter: Change SDK" command.
Browse to the Flutter installation directory and select it to set the SDK path in VS Code.
Set up an Android/iOS Emulator
To run and test your Flutter app, you'll need emulators for both Android and/or iOS devices. If you plan to develop for Android, you can use the Android Virtual Device (AVD) Manager in Android Studio to create virtual devices. For iOS development, you'll need Xcode installed on macOS to set up an iOS simulator.
Here's how you can set them up respectively:
- Android Emulator (AVD Manager)
- Open Android Studio.
- Click on "Configure" in the Welcome screen or go to "Configure" from the top toolbar.
- Select "AVD Manager."
- Click "Create Virtual Device."
- Follow the wizard to create a virtual device with the desired specifications.
- iOS Simulator (Xcode)
- Install Xcode from the App Store (available only on macOS).
- Open Xcode and go to "Preferences."
- In the "Components" tab, install the simulator you want to use (e.g., iPhone 12).
- After installation, launch the simulator from Xcode's "Open Developer Tool" menu.
Creating a New Flutter Project
Here are the steps you need to follow to create a new Flutter project:
Open your terminal or command prompt. You can use the terminal integrated into your code editor (e.g., VS Code) or a standalone terminal application.
Using the Flutter CLI in your terminal, run the following command to create a new Flutter project:
This command will create a new Flutter project in a folder(The folder will be named with the app name provided in the command) with the default project file structure.
Understanding the Structure of a Flutter Project
Flutter follows a well-organized file structure that is created for you when you first create the project.
The file structure of a Flutter project looks something like this:
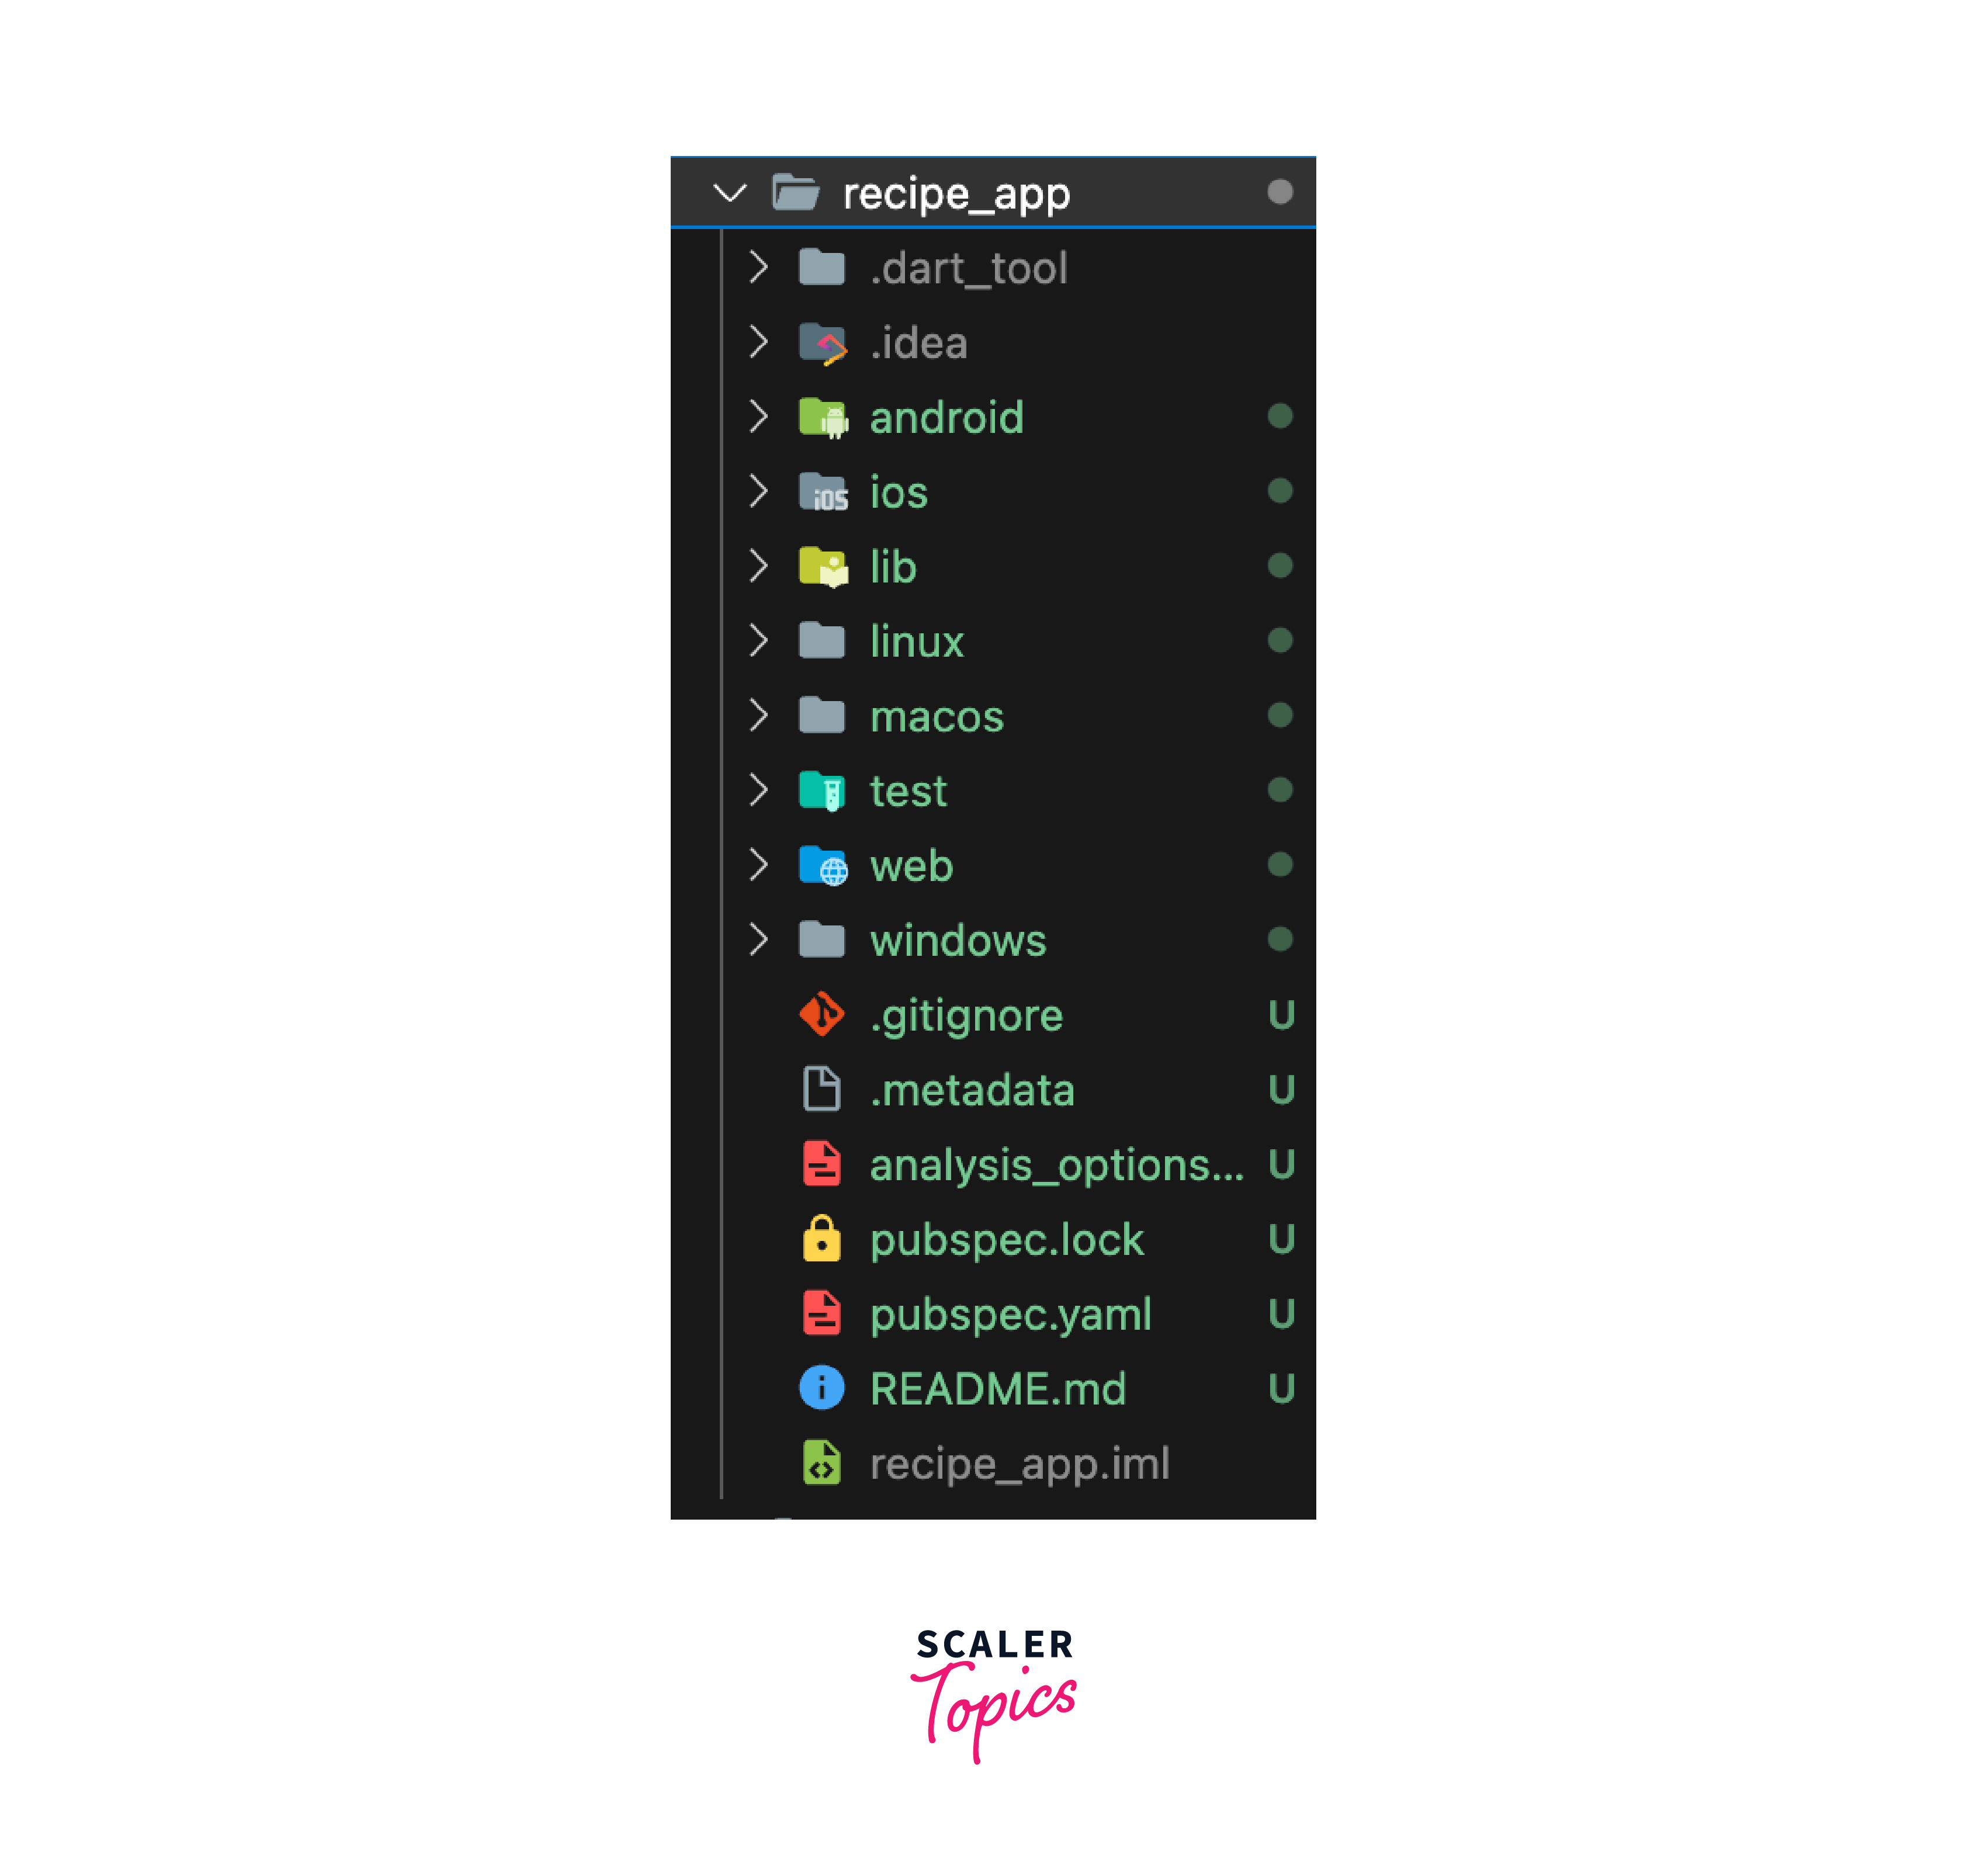
Here's what each directory in the project root directory means and to be used:
"lib" Folder
The "lib" folder is the heart of your Flutter project. It houses most of the Dart code that defines your application's logic, user interface, and functionality.
Within the "lib" folder, you'll find the following important files and directories:
- main.dart:
The "main.dart" file serves as the entry point of your Flutter app. It's the first file executed when your app launches. In "main.dart," you typically configure the app's root widget and set up the main "runApp" function. - Widgets:
To create user interface elements in Flutter, you'll be creating custom widgets. Organize these custom widgets in separate files and folders within the "lib" folder to keep your codebase clean and modular.
"android" and "ios" Folders
The "android" and "ios" folders are platform-specific folders in your Flutter project. They contain platform-specific code and configurations for Android and iOS, respectively. If you plan to deploy your app on both platforms, you may need to make changes to these folders based on platform-specific requirements.
- android:
Inside the "android" folder, you'll find configuration files for your Android app, including "AndroidManifest.xml," which defines various settings and permissions for your app on Android. - ios:
Similarly, the "ios" folder contains configuration files for your iOS app, such as "Info.plist," which defines various settings and permissions for your app on iOS.
These files are configuration files for running your app on Android and iOS devices, respectively. You typically don't need to modify these files or the folders directly, as Flutter's CLI and IDEs handle the configurations for you.
"pubspec.yaml" File
The "pubspec.yaml" file is a critical file in your Flutter project. It manages your app's dependencies and assets. In this file, you declare all the external packages (dependencies) that your app requires.
-
Dependencies:
To use external packages in your app, you add them as dependencies in the "pubspec.yaml" file. Flutter's package manager, "pub", will fetch and download these dependencies for you when you run the "flutter pub get" command. -
Assets:
In the "pubspec.yaml" file, you can also declare your app's assets, such as images, fonts, and other resources. These assets will be bundled with your app when you build and distribute it.
"test" Folder
The "test" folder is where you write and run tests for your Flutter app.
The Flutter testing framework makes it easy to write unit tests, widget tests, and integration tests to validate different aspects of your app's functionality.
All the tests are written and stored in this folder only.
"build" Folder
The "build" folder is automatically generated by Flutter and contains output files from the build process. It's generally safe to ignore this folder when using version control systems (e.g., Git) because Flutter will recreate it as needed during the build process.
Example App
We are going to implement all the steps described above and create a new flutter project called recipe App. Below is the setup and initial UI setup for our Recipe App.
It is a basic recipe app with just a few recipes being displayed on the home screen as a list of items with images and a short description of each.
Each recipe in the list below is a card widget stacked in a Column for now.
The source code for the basic recipe app would look something like this:
main.dart file:
You can add more recipes using the recipes array in the above list, and play around with widget configurations to tweak the User interface.
The output of the app will look something like this:
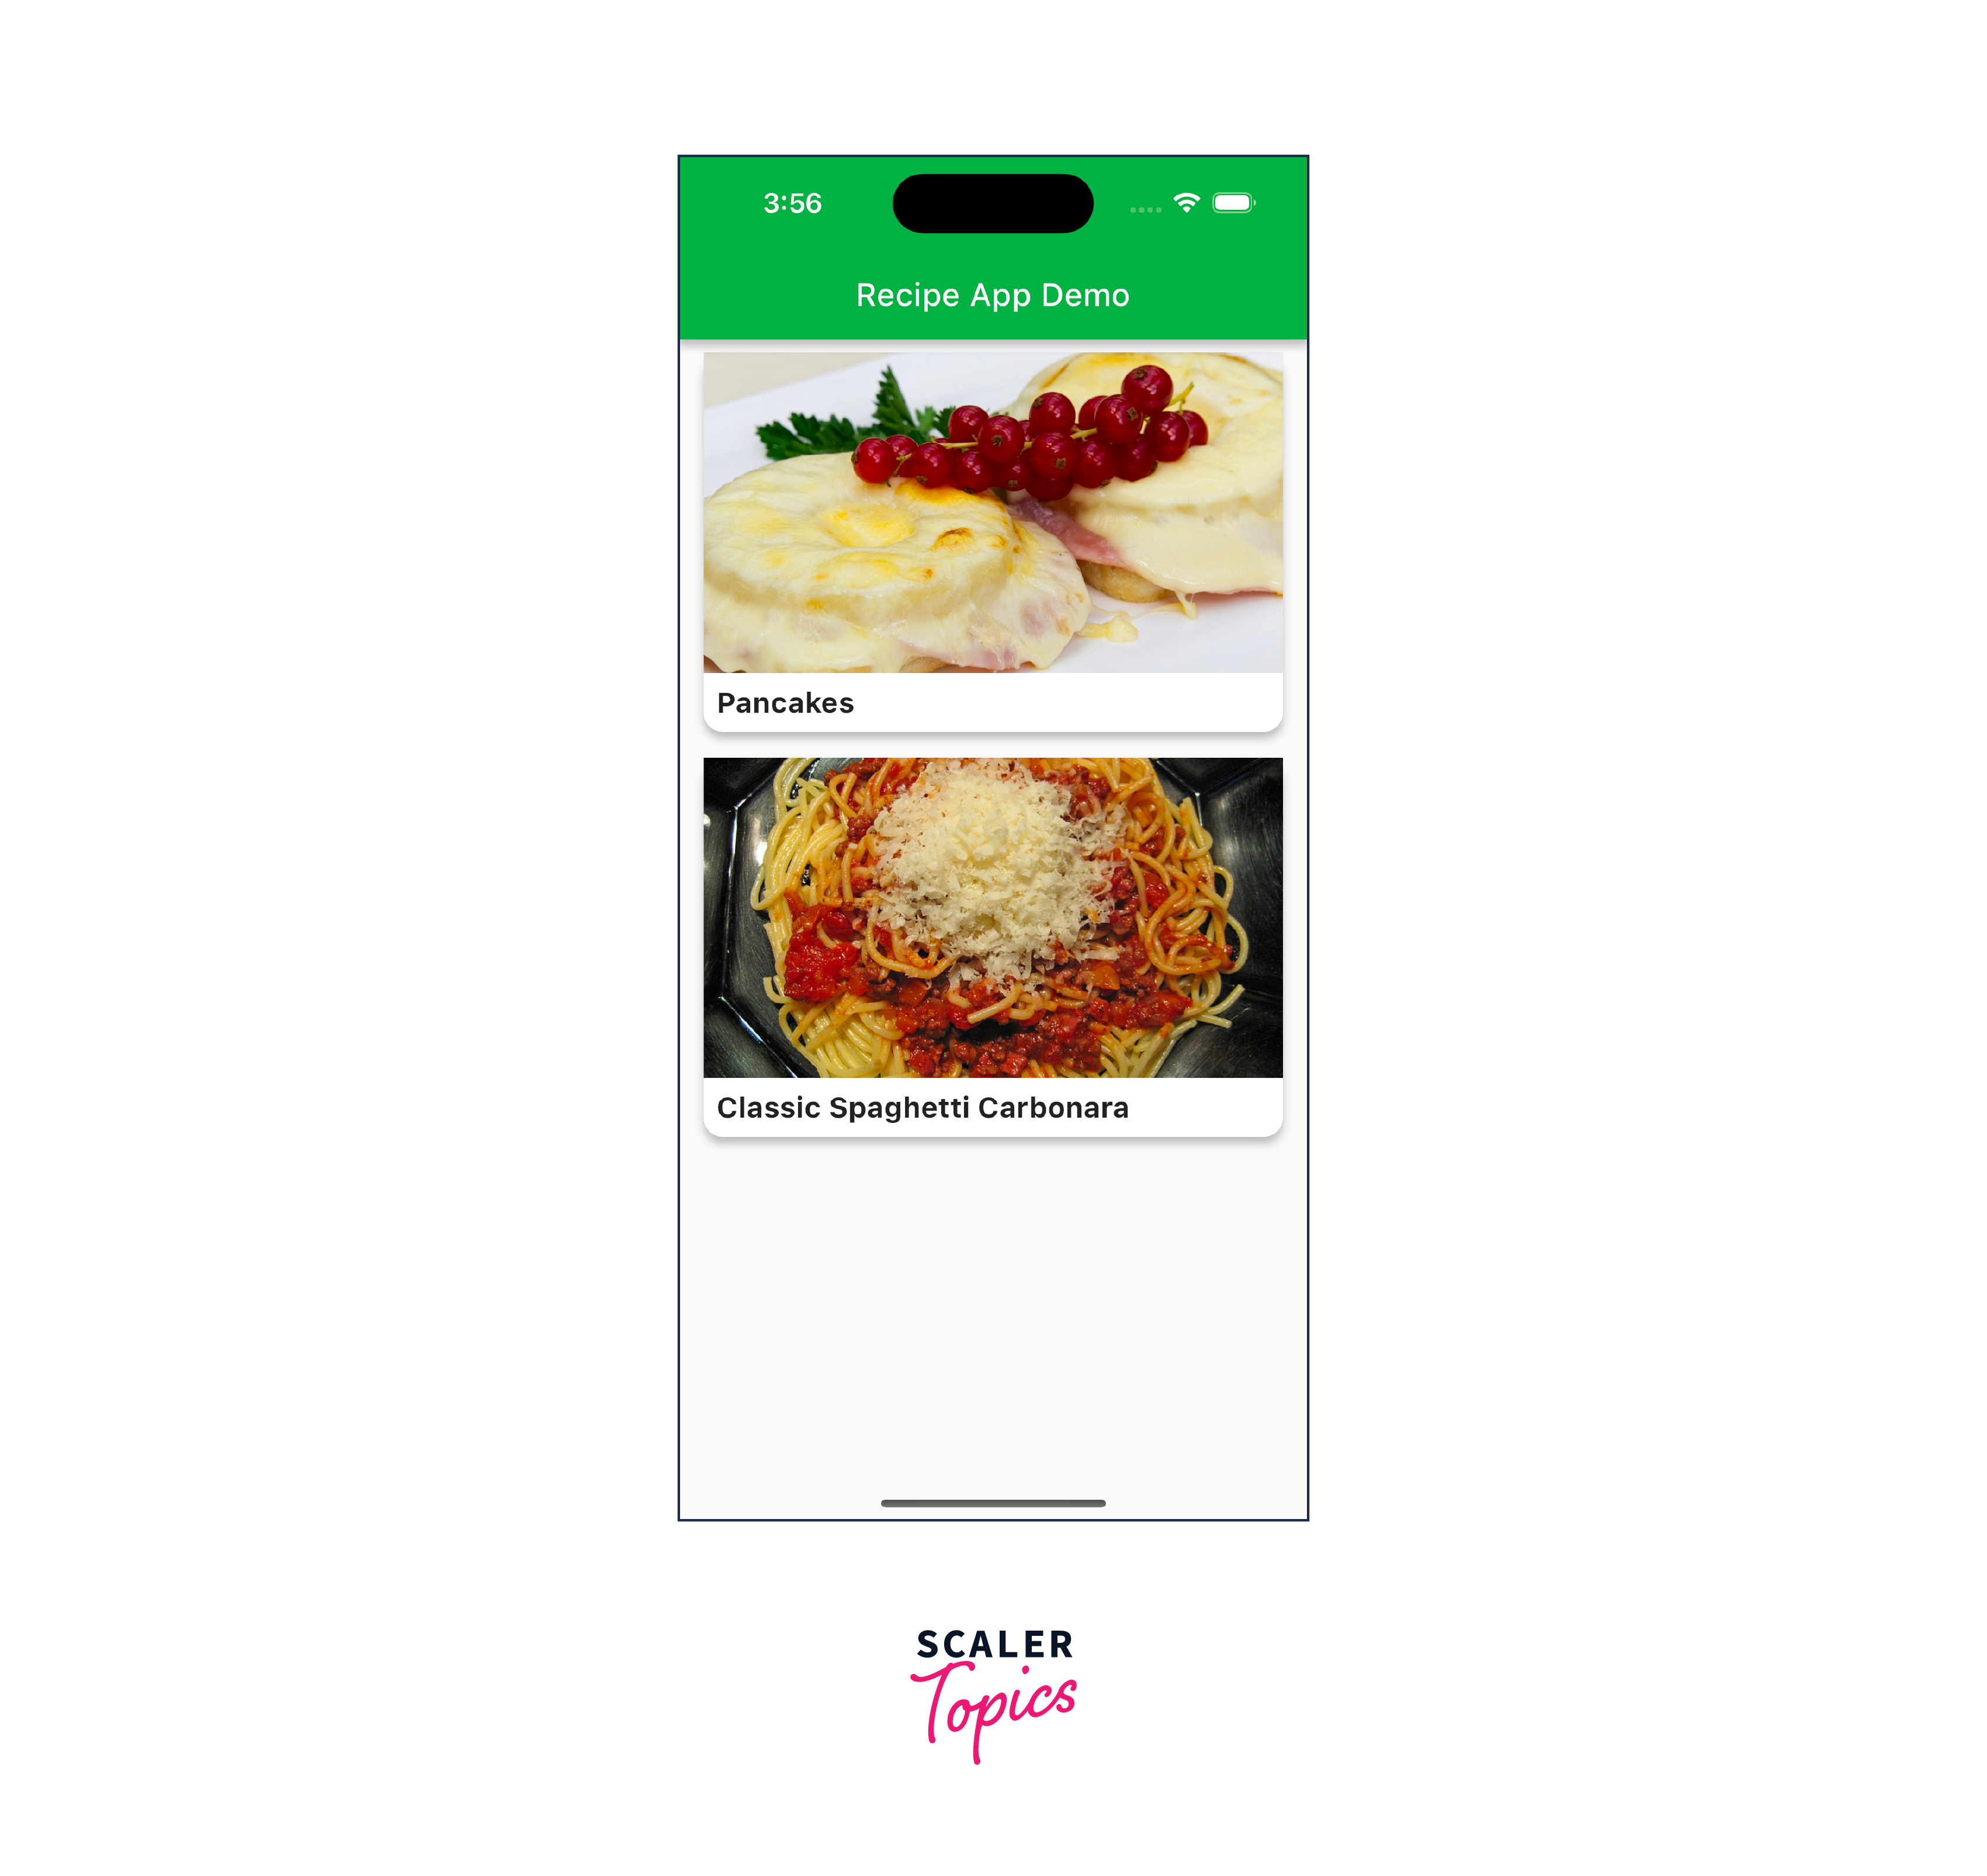
You can find the entire code for the project HERE!
Conclusion
- Using Flutter, we can build Recipe App for multiple platforms from a single codebase.
- Flutter SDK is mandatory to set up a development environment and build applications using Flutter such as the Recipe App.
- Create a New Flutter project using the Flutter CLI, which laid the foundation for building our Recipe App.
- Flutter project when created comes with a file structure already consisting of the core components and directories that make up the structure of a Flutter App.
- We use various widgets to build the home screen of the Recipe App.