How to Compile Java Program?

Introduction
We need JDK(Java Development Kit) installed on our system to compile a java program. Suppose the name of our program is: MyFirstProgram.java. To compile the java program, we can use the command:
Let us now learn the "javac "command and how to compile a Java program using it.
The javac command first reads the source file (.java file) containing modules, packages, classes, and type declarations mentioned in the Java Programming Language. After reading the source file, the javac command compiles the source file into a class file (.class file). This converted .class file runs on the JVM or Java Virtual Machine.
In simple words, the javac command reads class and interface definitions and compiles them into a .class file or byte code that can be run on the Java Virtual Machine.
Synopsis of javac command:
Note: We can pass the arguments in any order.
- options: The options are used to pass command-line options
- source-file: We can compile one or more source file(s). For a small number of source files, we can simply list the names of the source files one after the other on the command line. For a large set of source files, we can list the names of the files inside another file separated by a blank or line breaks(\n). Then, we use the file name (containing a list of source files) with the javac command preceded by an @ character.
- classes: We can process one or more classes for annotations.
- @argfiles: As we have discussed above we can use a list of source files if we have a large set of source files. So we use @agrfiles for a large set of source files.
Note:
- The source file must end with the .java suffix, and the class file must have the .class suffix.
- The source file’s name must be the same as the name of the class holding the main() method or public class name.
Simple Java Program
Now that we know how to compile a Java program, let us take a small program to visualize the process better. We can type our Java program in multiple editors (like Notepad, Notepad++, etc.) and IDEs (like VS Code, Eclipse, Sublime Text, etc.).
Note:
IDE stands for Integrated Development Environment. It is software that developers use to perform a wide variety of functions, such as writing code, compiling code, debugging code, etc.
Let's see the implementation of a simple Java program. As we know the name of the class should be the same as the source file name, we will name the source file name: HelloWorld.java
Code:
We can compile the HelloWorld.java file using the command:
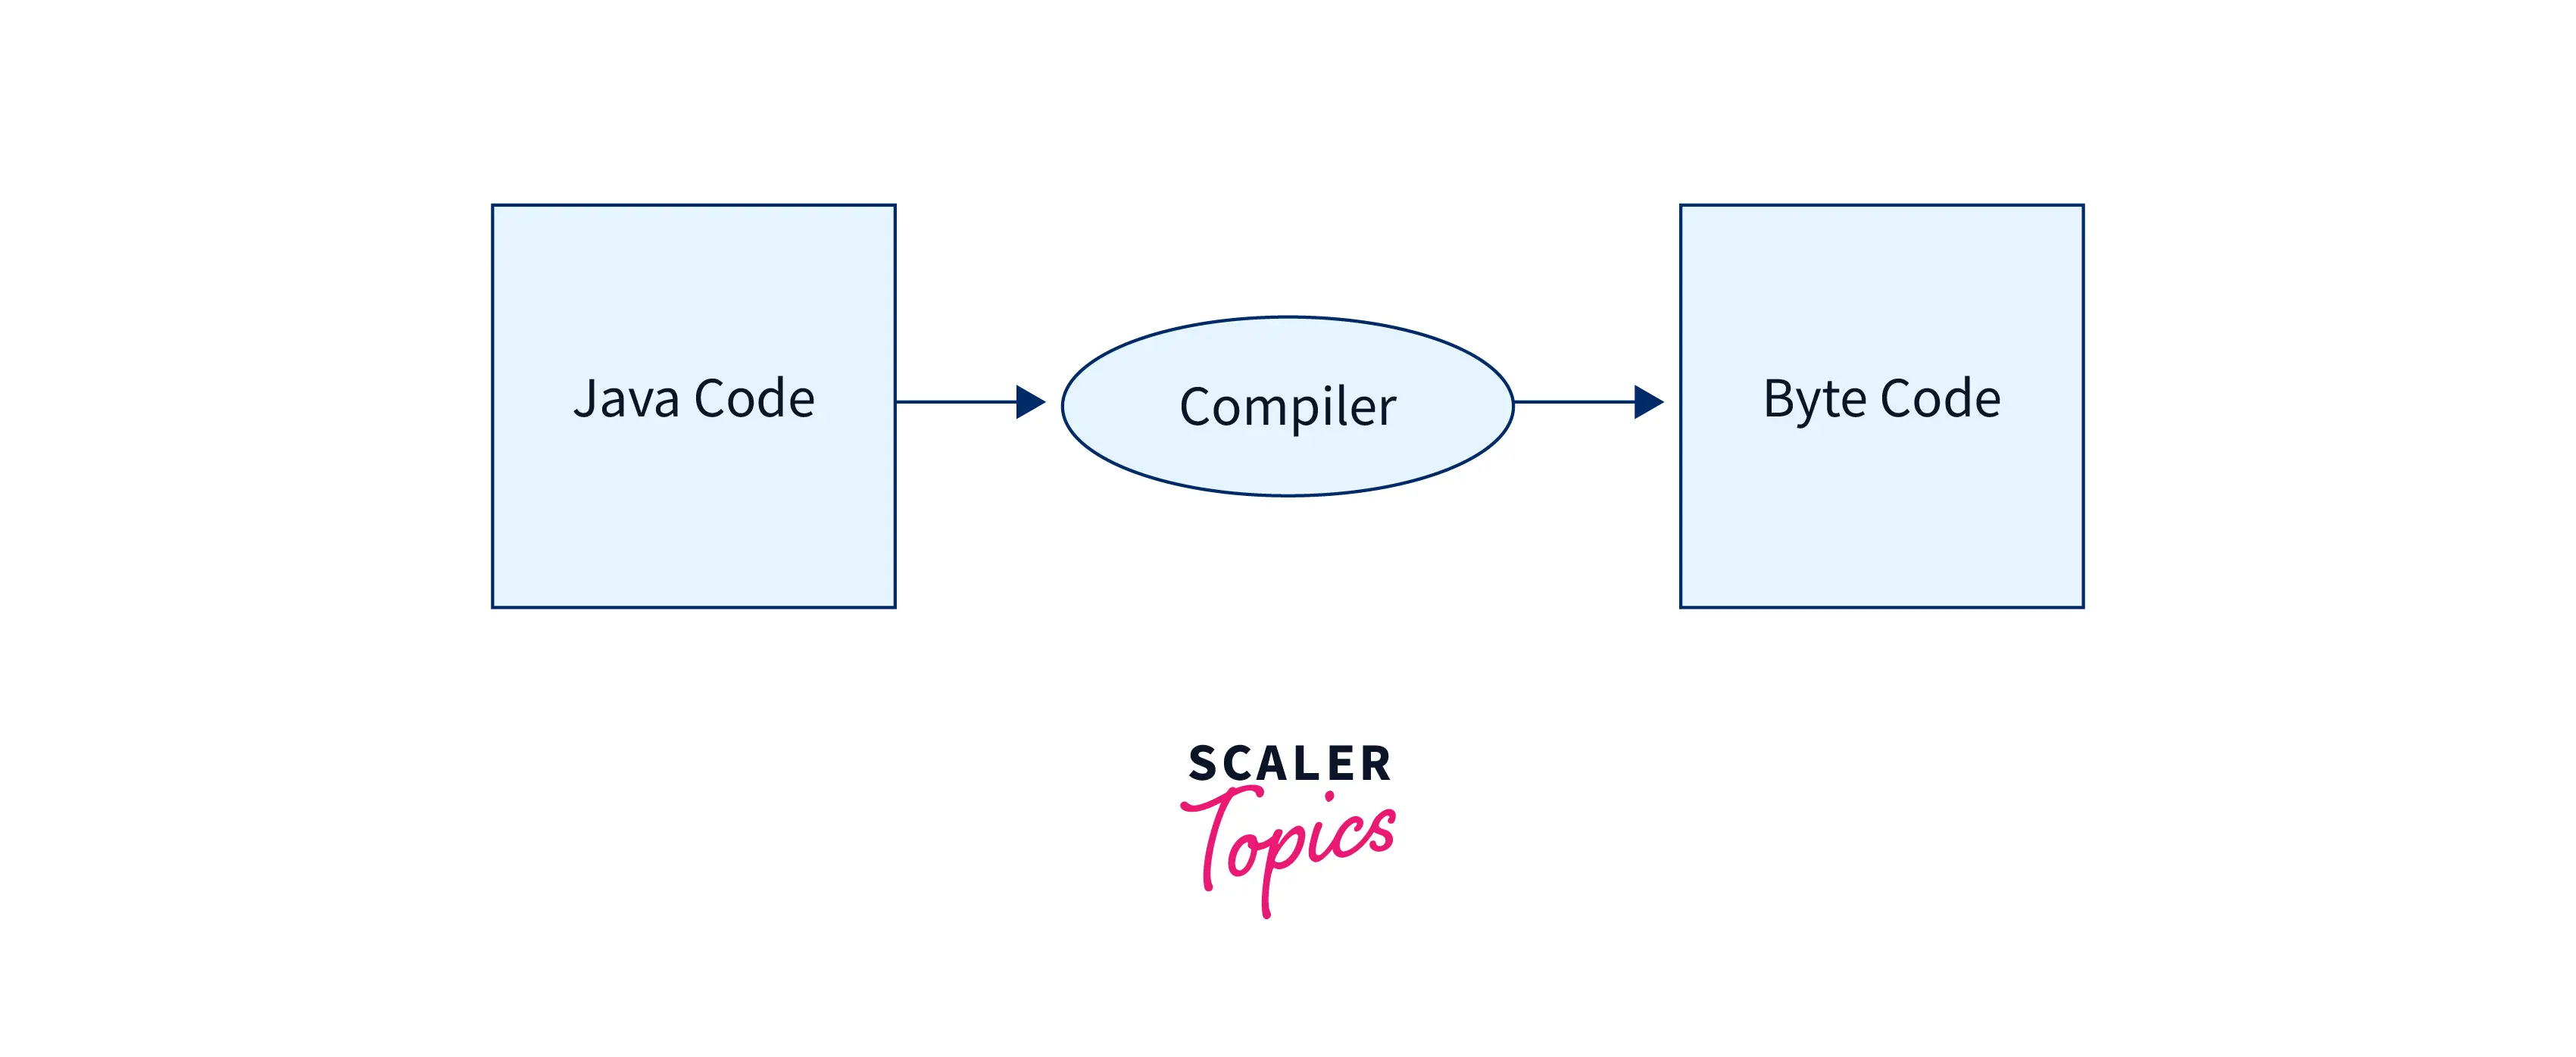
As we can see the name of the class is the same as the source file name. When we compile the source file, the javac command first reads our source file, and using the read class name, the javac command converts the .java source file into the byte code (.class file).
One thing that we need to keep in mind is that every Java application must contain a main() function (i.e. public static void main(String args[])). The online Java compiler starts compiling our code from the main() method only. We can simply say that the main method must be in the public class definition and main() method is the starting or entry point of the Java application.
Refer to the image provided below for the compilation flow:
Compile and Run Java Program using Command Prompt
Now, we know how to compile a java program, let us now learn how to set path variables both temporarily and permanently as well as how to run a java program.
As we have seen in the above section - how to compile a java program, we need to use the javac command. But sometimes when we try to use the javac command for program compilation, we come across an error saying - 'javac' is not recognized as an external or internal command, operable program or batch file.
This error occurs when the path variable or java path is not set in our system. In simple terms, we can say that the javac.exe executable file existing in the bin directory of the JDK installation folder is not added to a PATH environment variable. We need to add the path of the JAVA_HOME/bin folder in our machine's PATH to solve the above-stated error. We cannot compile and run a Java program until we add Java to your system's PATH variable.
We can set paths both temporary and permanent. Let us learn both ways:
Set temporary java path
To set the path temporarily, we need to follow some steps:
- Getting the path:
- First, open the cmd or Command Prompt.
- Go to the directory or folder where we have installed the Java Development Kit (JDK).
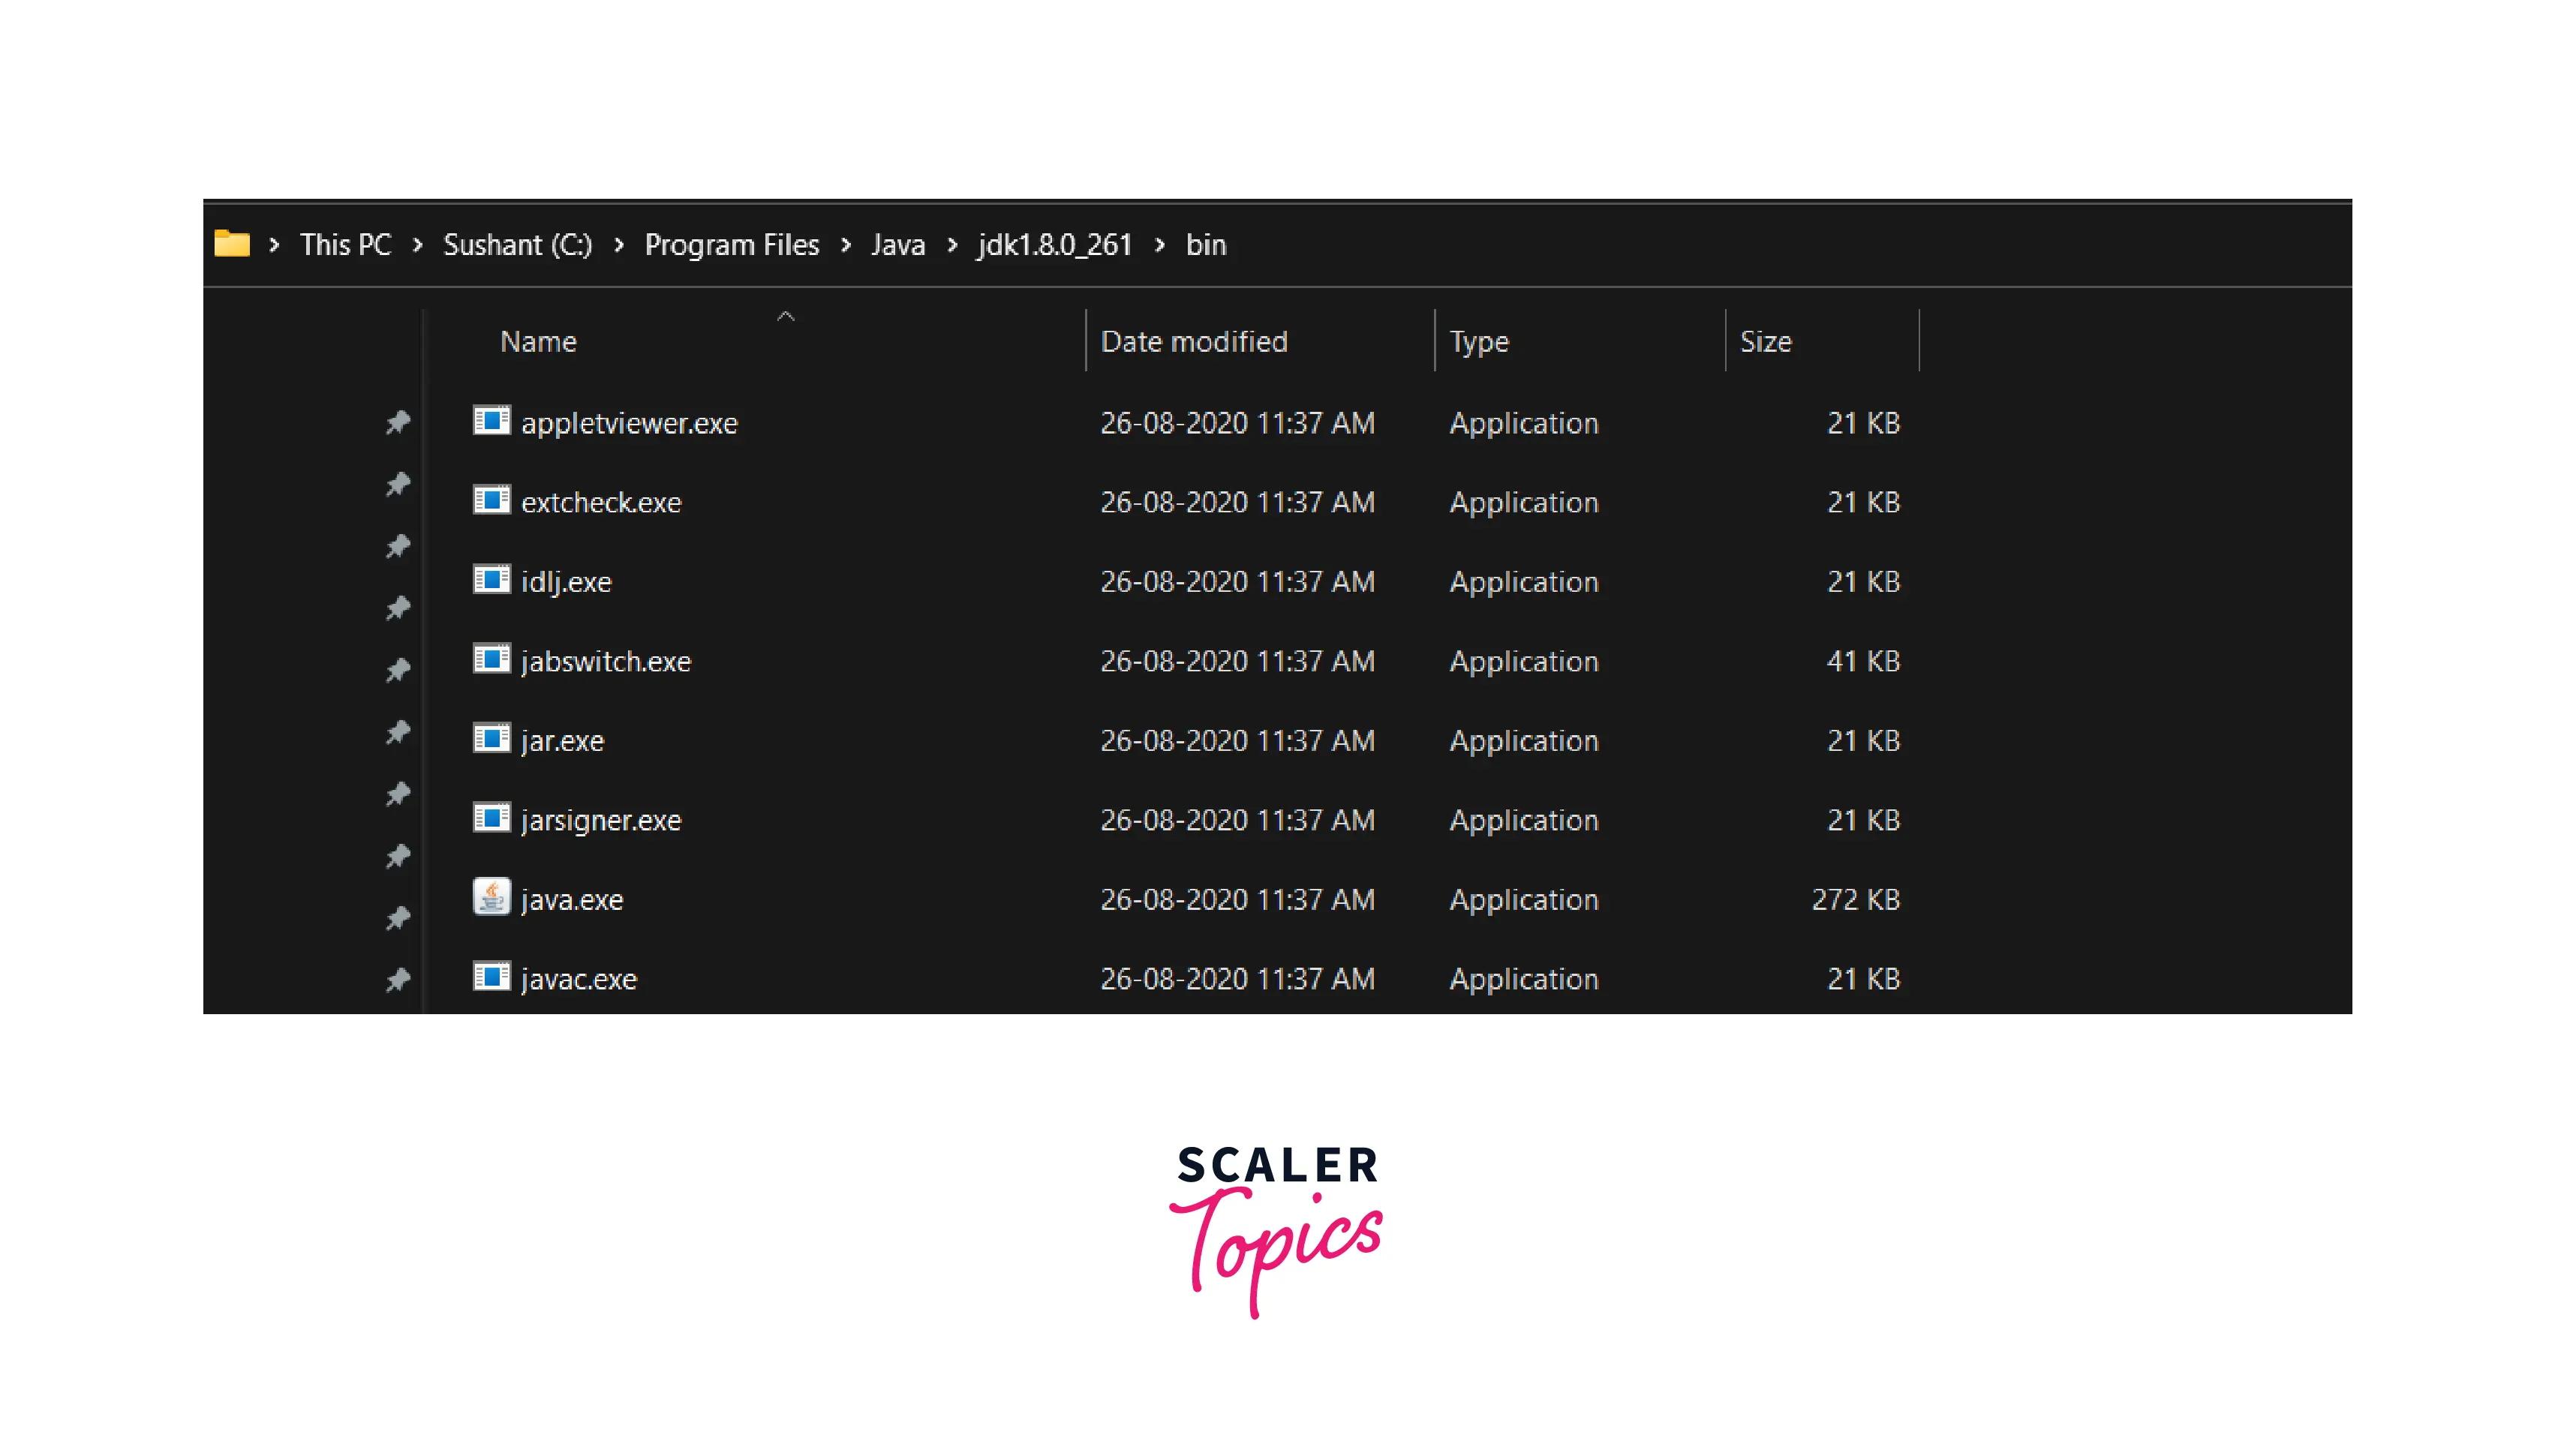
- Search the bin folder in the JDK and open it.
- Finally, copy the location of the bin folder. Usually, the location of the bin folder looks like this: C:\Program Files\Java\jdk1.8.0_261\bin.
Refer to the image below:
- Setting the path:
- We can now use the copied path in the command prompt to set the temporary path. Use the command:
- After typing the above command, press the ENTER Key.
- Finally, our path is set; we can now compile and run our Java source file.
Set permanent java path
To set the path permanently, we need to follow some steps:
-
Getting the path: The steps of copying the path of the bin folder will be the same as stated above.
-
Setting the path: We will set the path permanently by adding our path to the Environment Variables of our System Properties.
- First, we need to open Control Panel.
- Click on the System section.
- Click on Advanced System Settings section.
- In the System Properties dialog box, we can see the Environment Variables button.
- Click the Environment Variables button to open the Environment Variables dialog box.
- In the Environment Variables dialog box, click the New button. A new dialog box (New User Variable) will open up.
- Provide the Variable name PATH and Variable value as the path of the copied bin folder of the JDK directory. After setting the path, click on the OK button to save the changes. This will save the Path variables; we can now see the variable under the User Variables section.
- Click on the OK button.
- Again, click on the OK button.
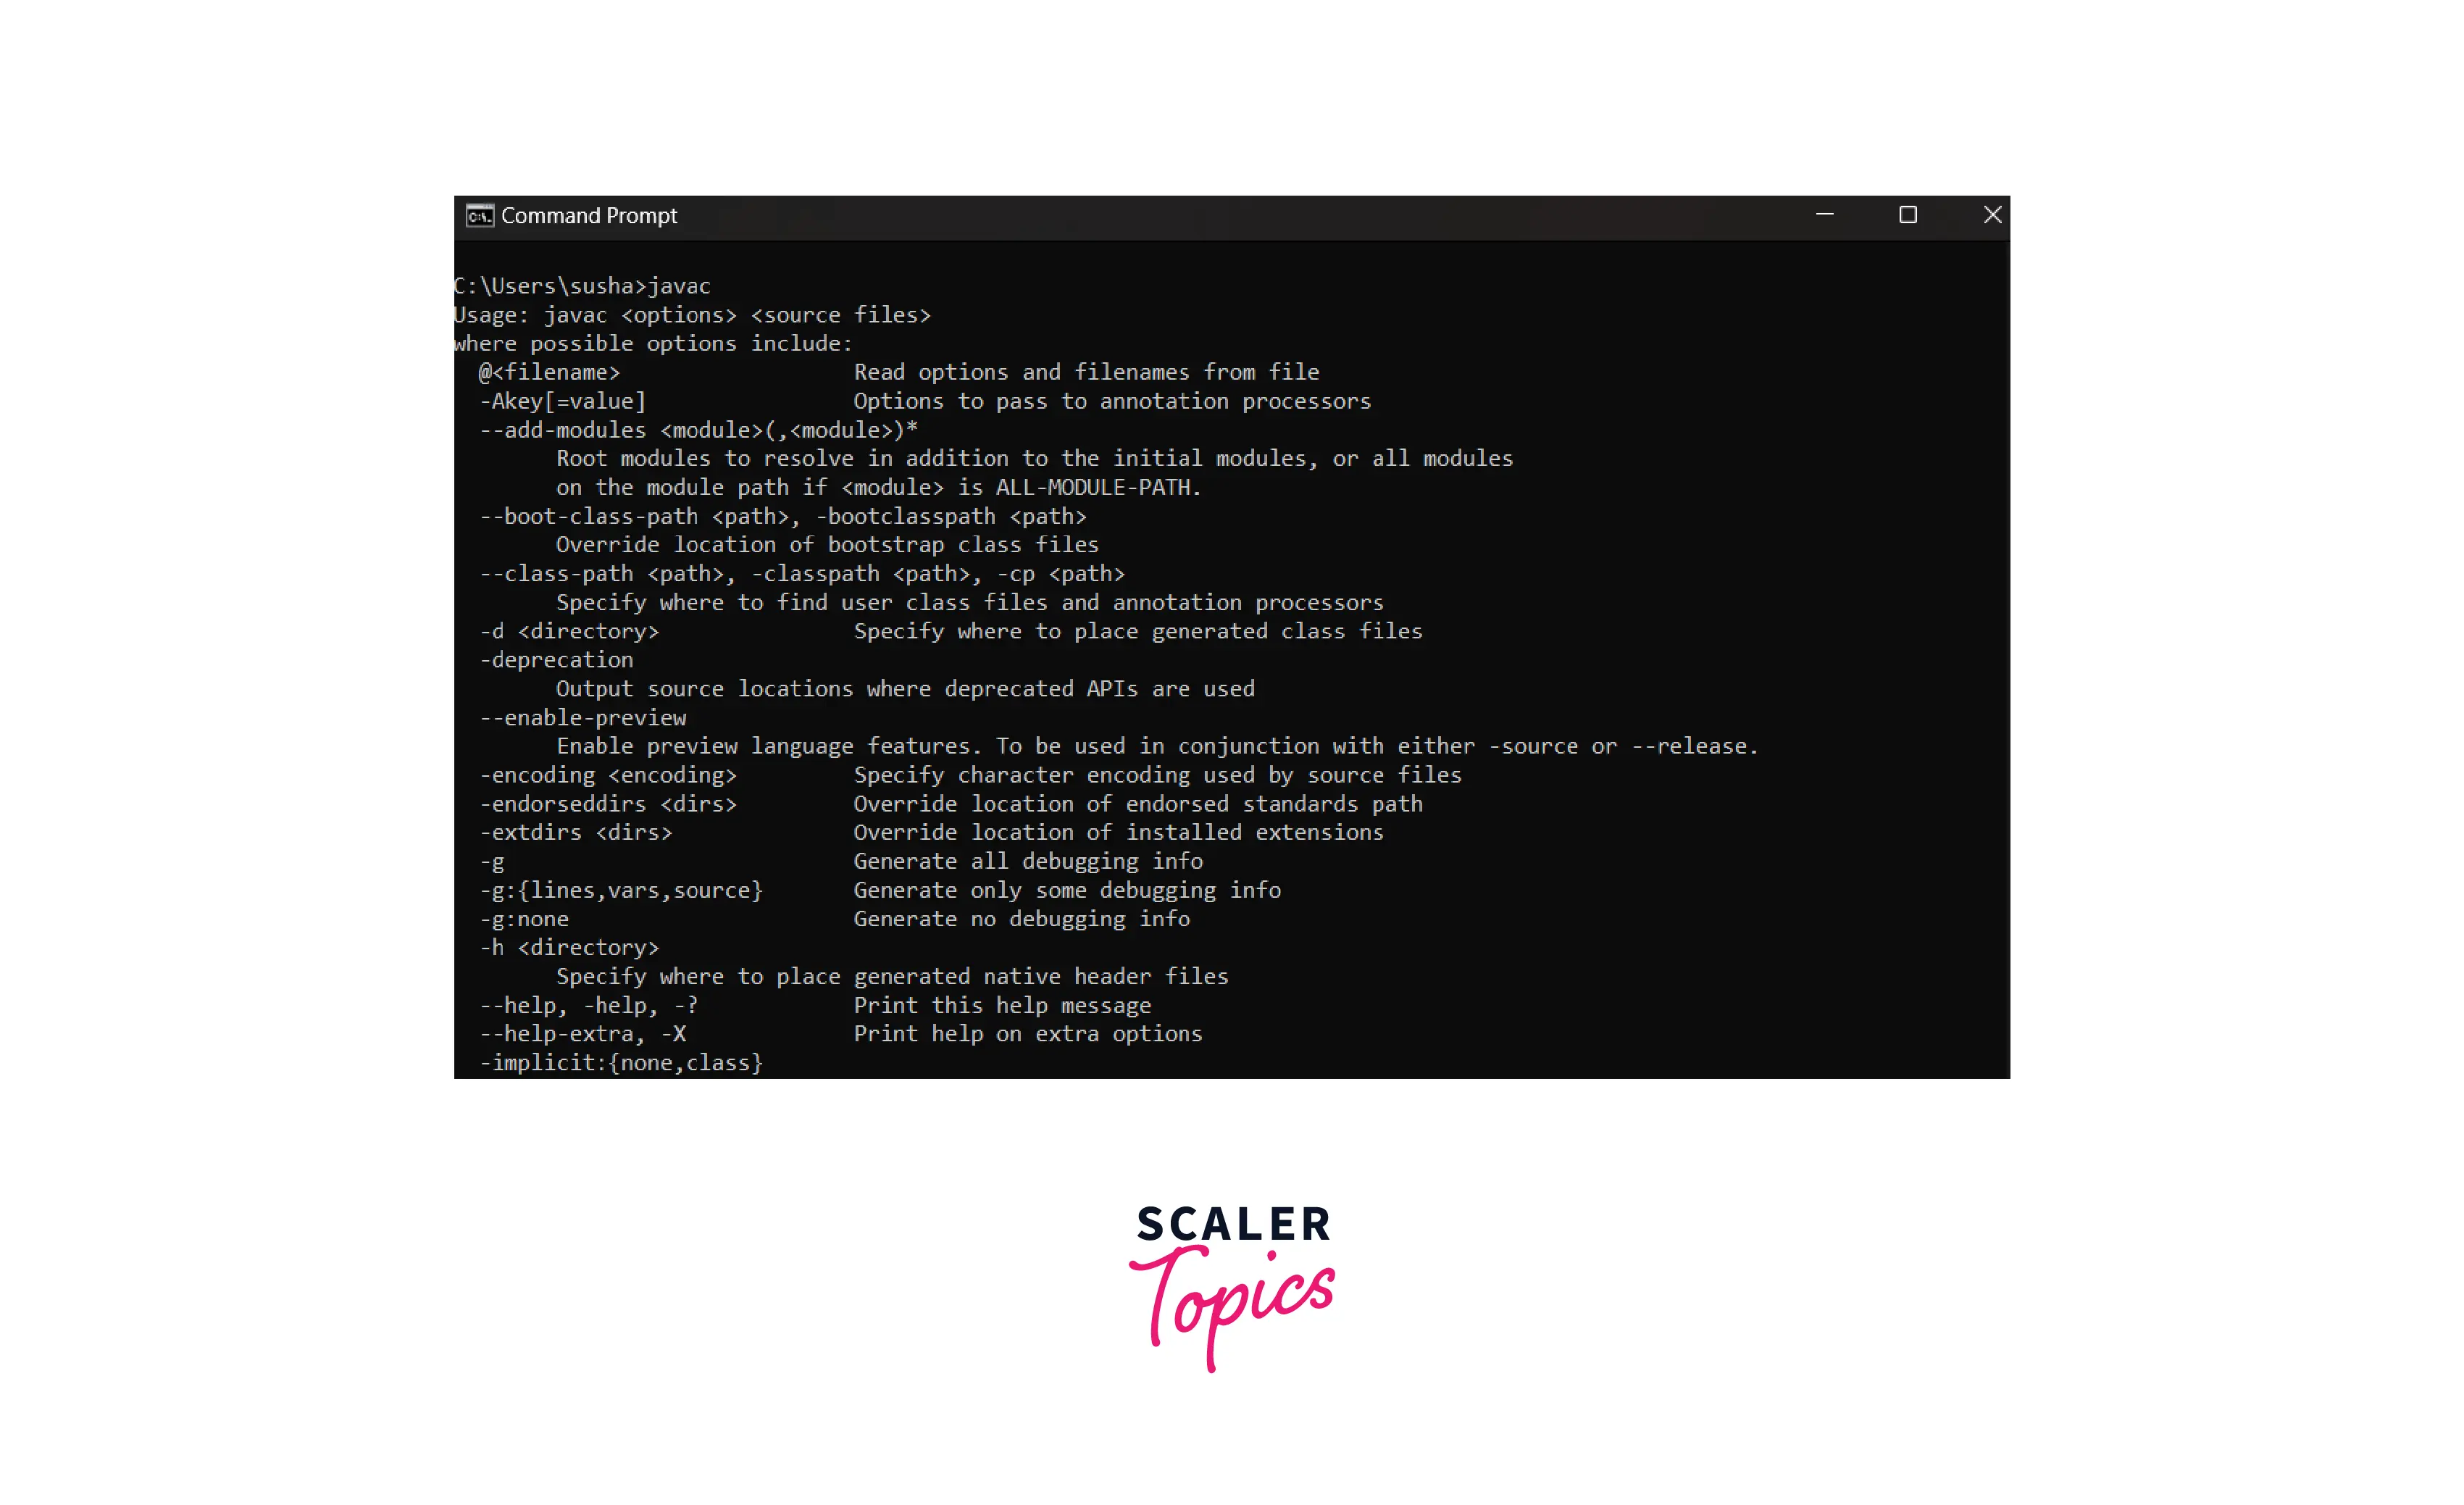
The PATH has been set permanently. To check if the path is set perfectly or not, we can open the Command Prompt and, type the javac command and press the ENTER key. We can use the options shown by the command with the javac command.
Refer to the image below:
Note: to set the path in Mac OS X, we can follow the below step: Open Terminal, type the export JAVA_HOME=/Library/Java/Home command, and hit return.
We can confirm the path using the command: echo $JAVA_HOME.
c. Run java program
Now that we have set the path of an environment variable, we can easily compile and run the java source code file.
First, we need to compile the source code file. For compilation, refer to the how-to compile the Java program section above. After the compilation, we can see the .class file in the same folder as our source file. The .class file contains tables that describe each field and method of the class. It also contains the bytecodes for each method, static data, and descriptions that are used to represent Java objects.
To run the compiled file, we can use the command:
Here, HelloWorld is our class name that is declared inside our source file: HelloWorld.java
Compile and Run Java Program using Eclipse IDE
As we have learned how to compile a Java program and how to run a Java program using a command prompt, let us now learn how to compile a Java program using Eclipse IDE. Eclipse IDE is one of the most popular Java IDE. Follow the steps below to run compile and run the java program:
- Open Eclipse IDE.
- Go to File > New > java Project.
- We need to provide the Project Name and click on the Finish button.
- Select the project we just created in the Package Explorer tab.
- Now, Right-click on the src folder.
- Select New > Class from the sub-menu, provide the name of the Class and click on the Finish button.
- Now, we can write the program and save it.
- Finally, we can run the program using the Run button or by pressing Ctrl + F11.
The output will be generated in the Output tab below.
Learn More
Refer to the articles on our platform to learn more about Java Programming Topics such as:
Conclusion
- To compile a java program, we need to have JDK(Java Development Kit) installed on our system. To compile the java program, we can use the command: javac SourceFileName.java.
- The javac command reads the class and interface definitions and compiles them into a .class file or byte code which can be run on the Java Virtual Machine.
- To run the compiled file, we can use the command: java SourceFileName.
- When we compile the source file, the javac command first reads our source file, and using the read class name, the javac command converts the .java source file into the byte code (.class file).
- We need to add the path of JAVA_HOME/bin folder in our machine’s PATH. We cannot compile and run a Java program until we add Java into your system’s PATH variable. We can set paths both temporarily and permanently.