How to Deploy Django Project on PythonAnywhere?
Overview
Django is one of the popular frameworks of Python. We can create projects in Django. After creating the project if we want to make that project available for all then we deploy the project on PythonAnywhere. PyhtonAnywhere is a Python web hosting service. In this article, we will look at how to deploy the Django project on PythonAnywhere.
Setup Your Django Project
Firstly let us create a Django project with the name exampleProject by writing the below command in the terminal.
Now open the settings.py file of the project and update the ALLOWED_HOSTS = ['*'].
We will create a file requirements.txt by writing the command given below:
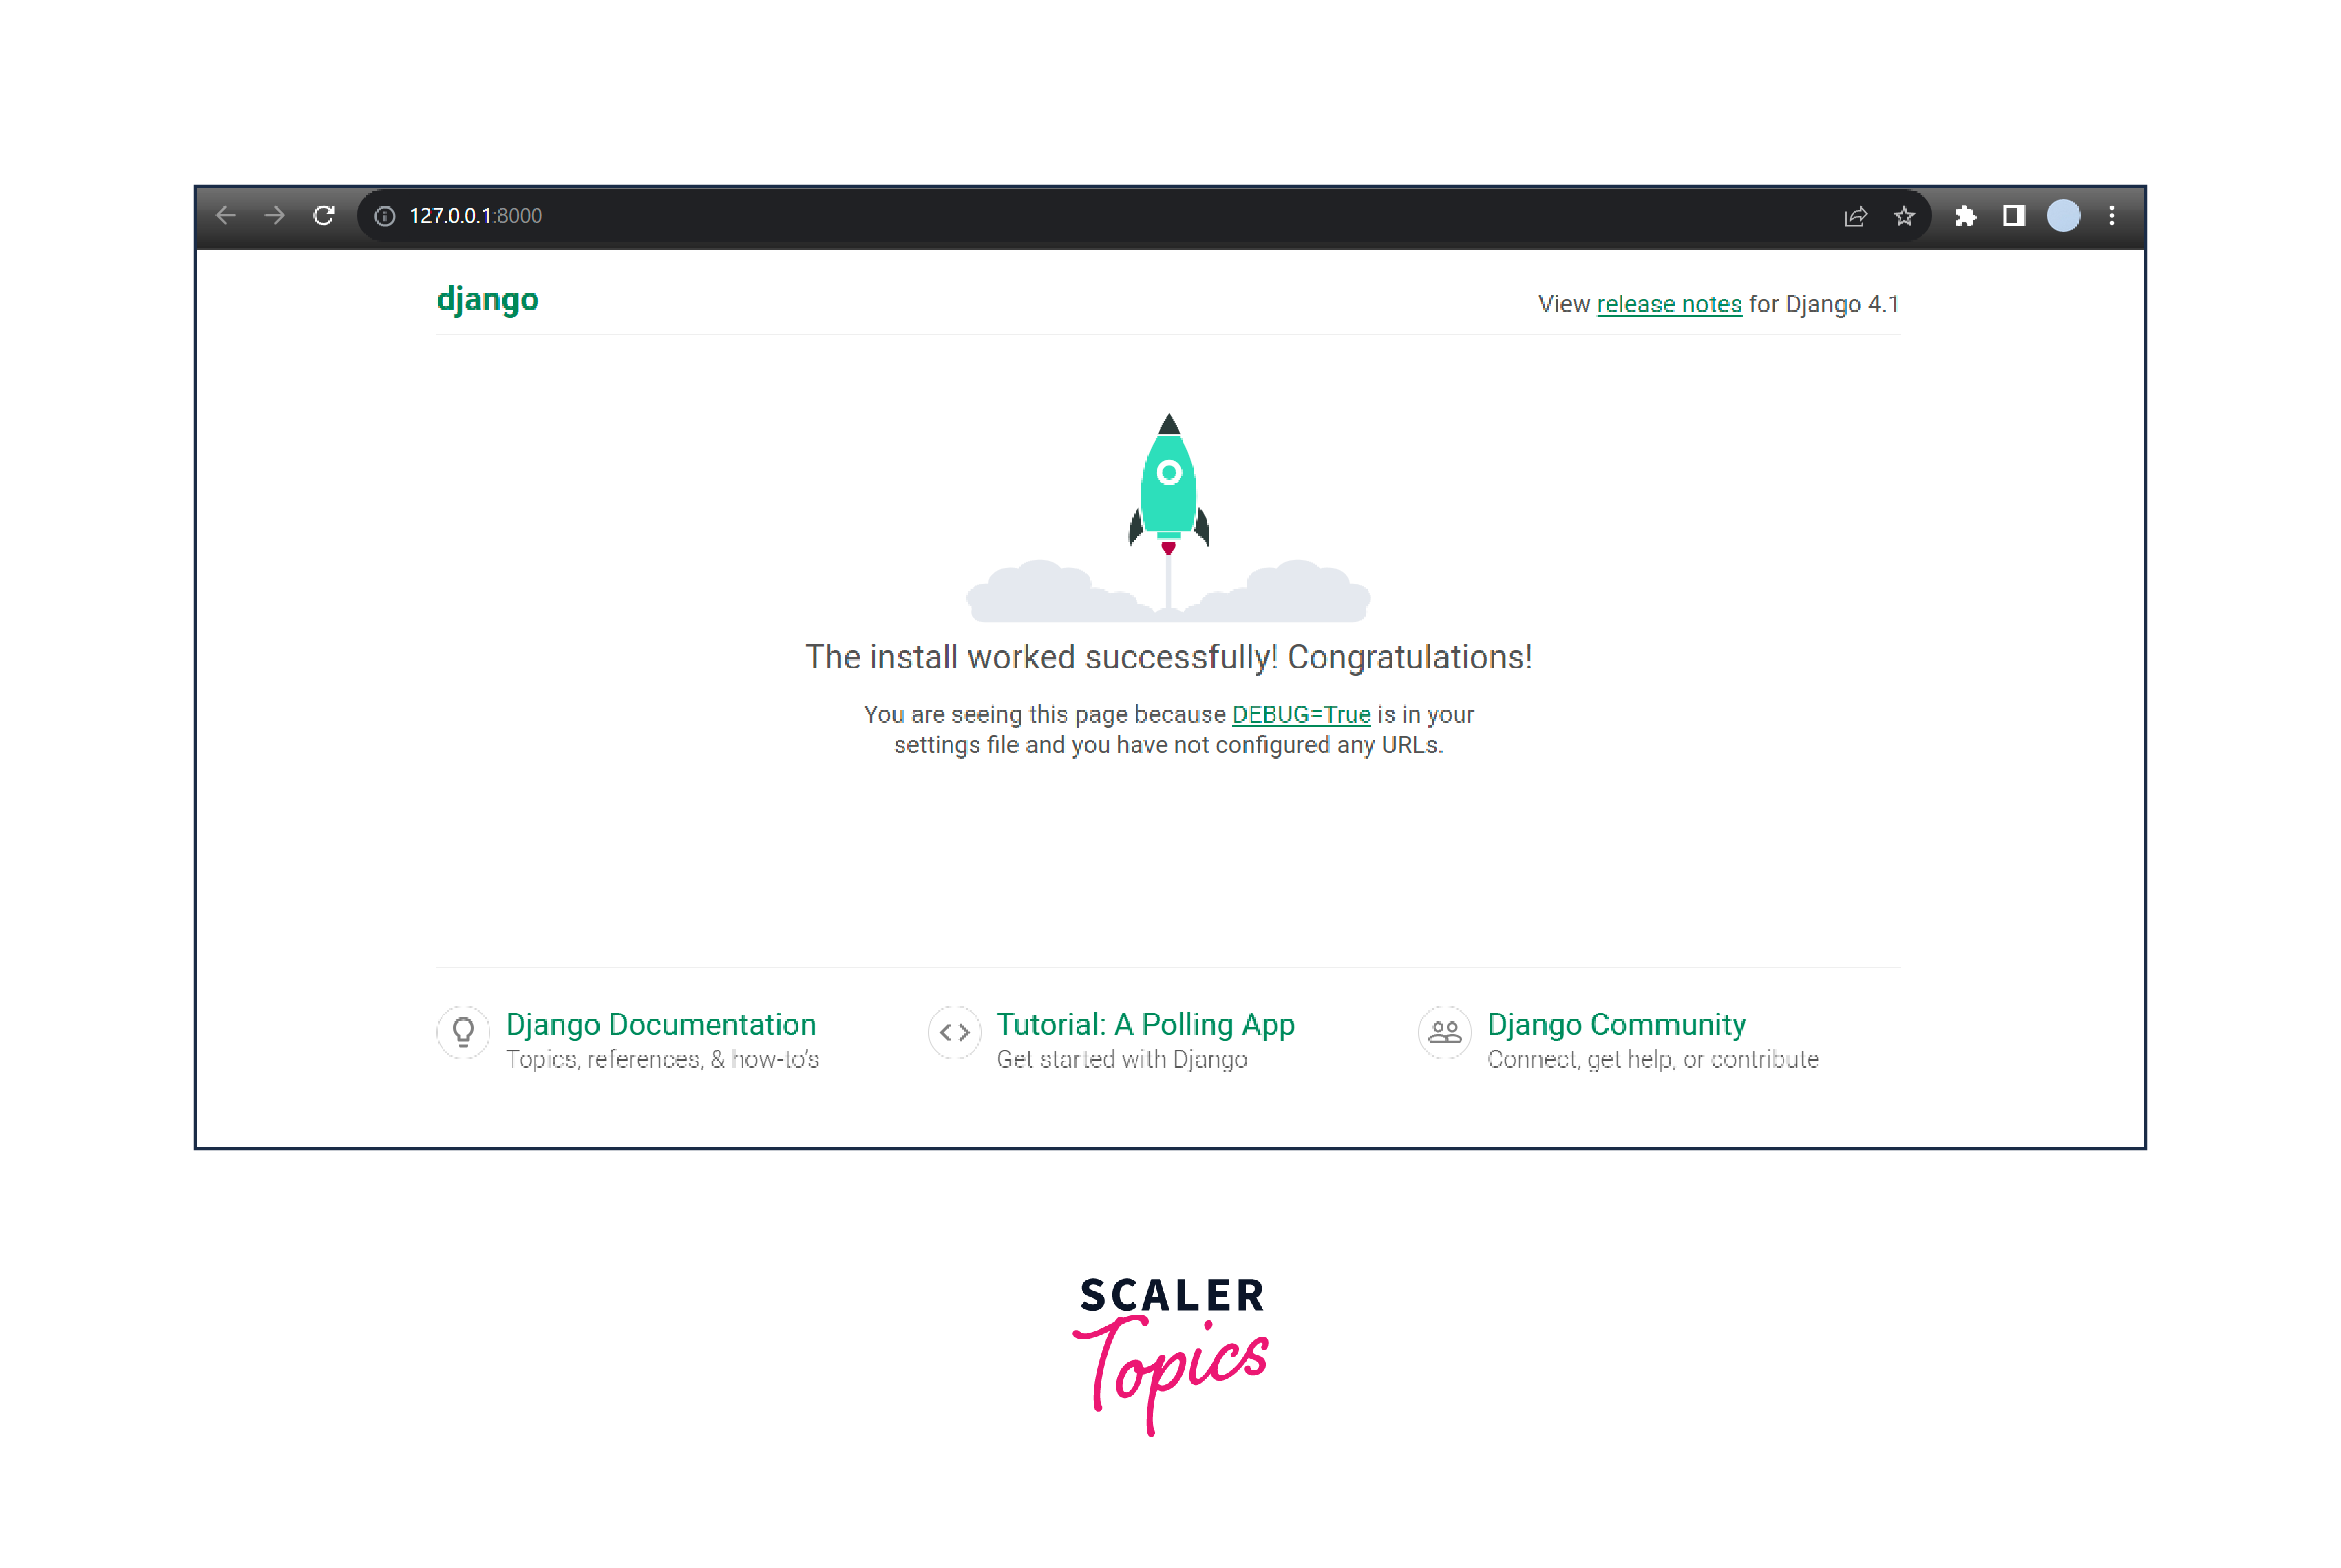
Now run your project by writing the below command.
After running this command our project will run and we will get the following output on the browser.
Upload Project to GitHub
Now we need to upload the project on GitHub, To upload a project follow the YouTube video of uploading the project to GitHub
Deploy Project on PythonAnywhere
-
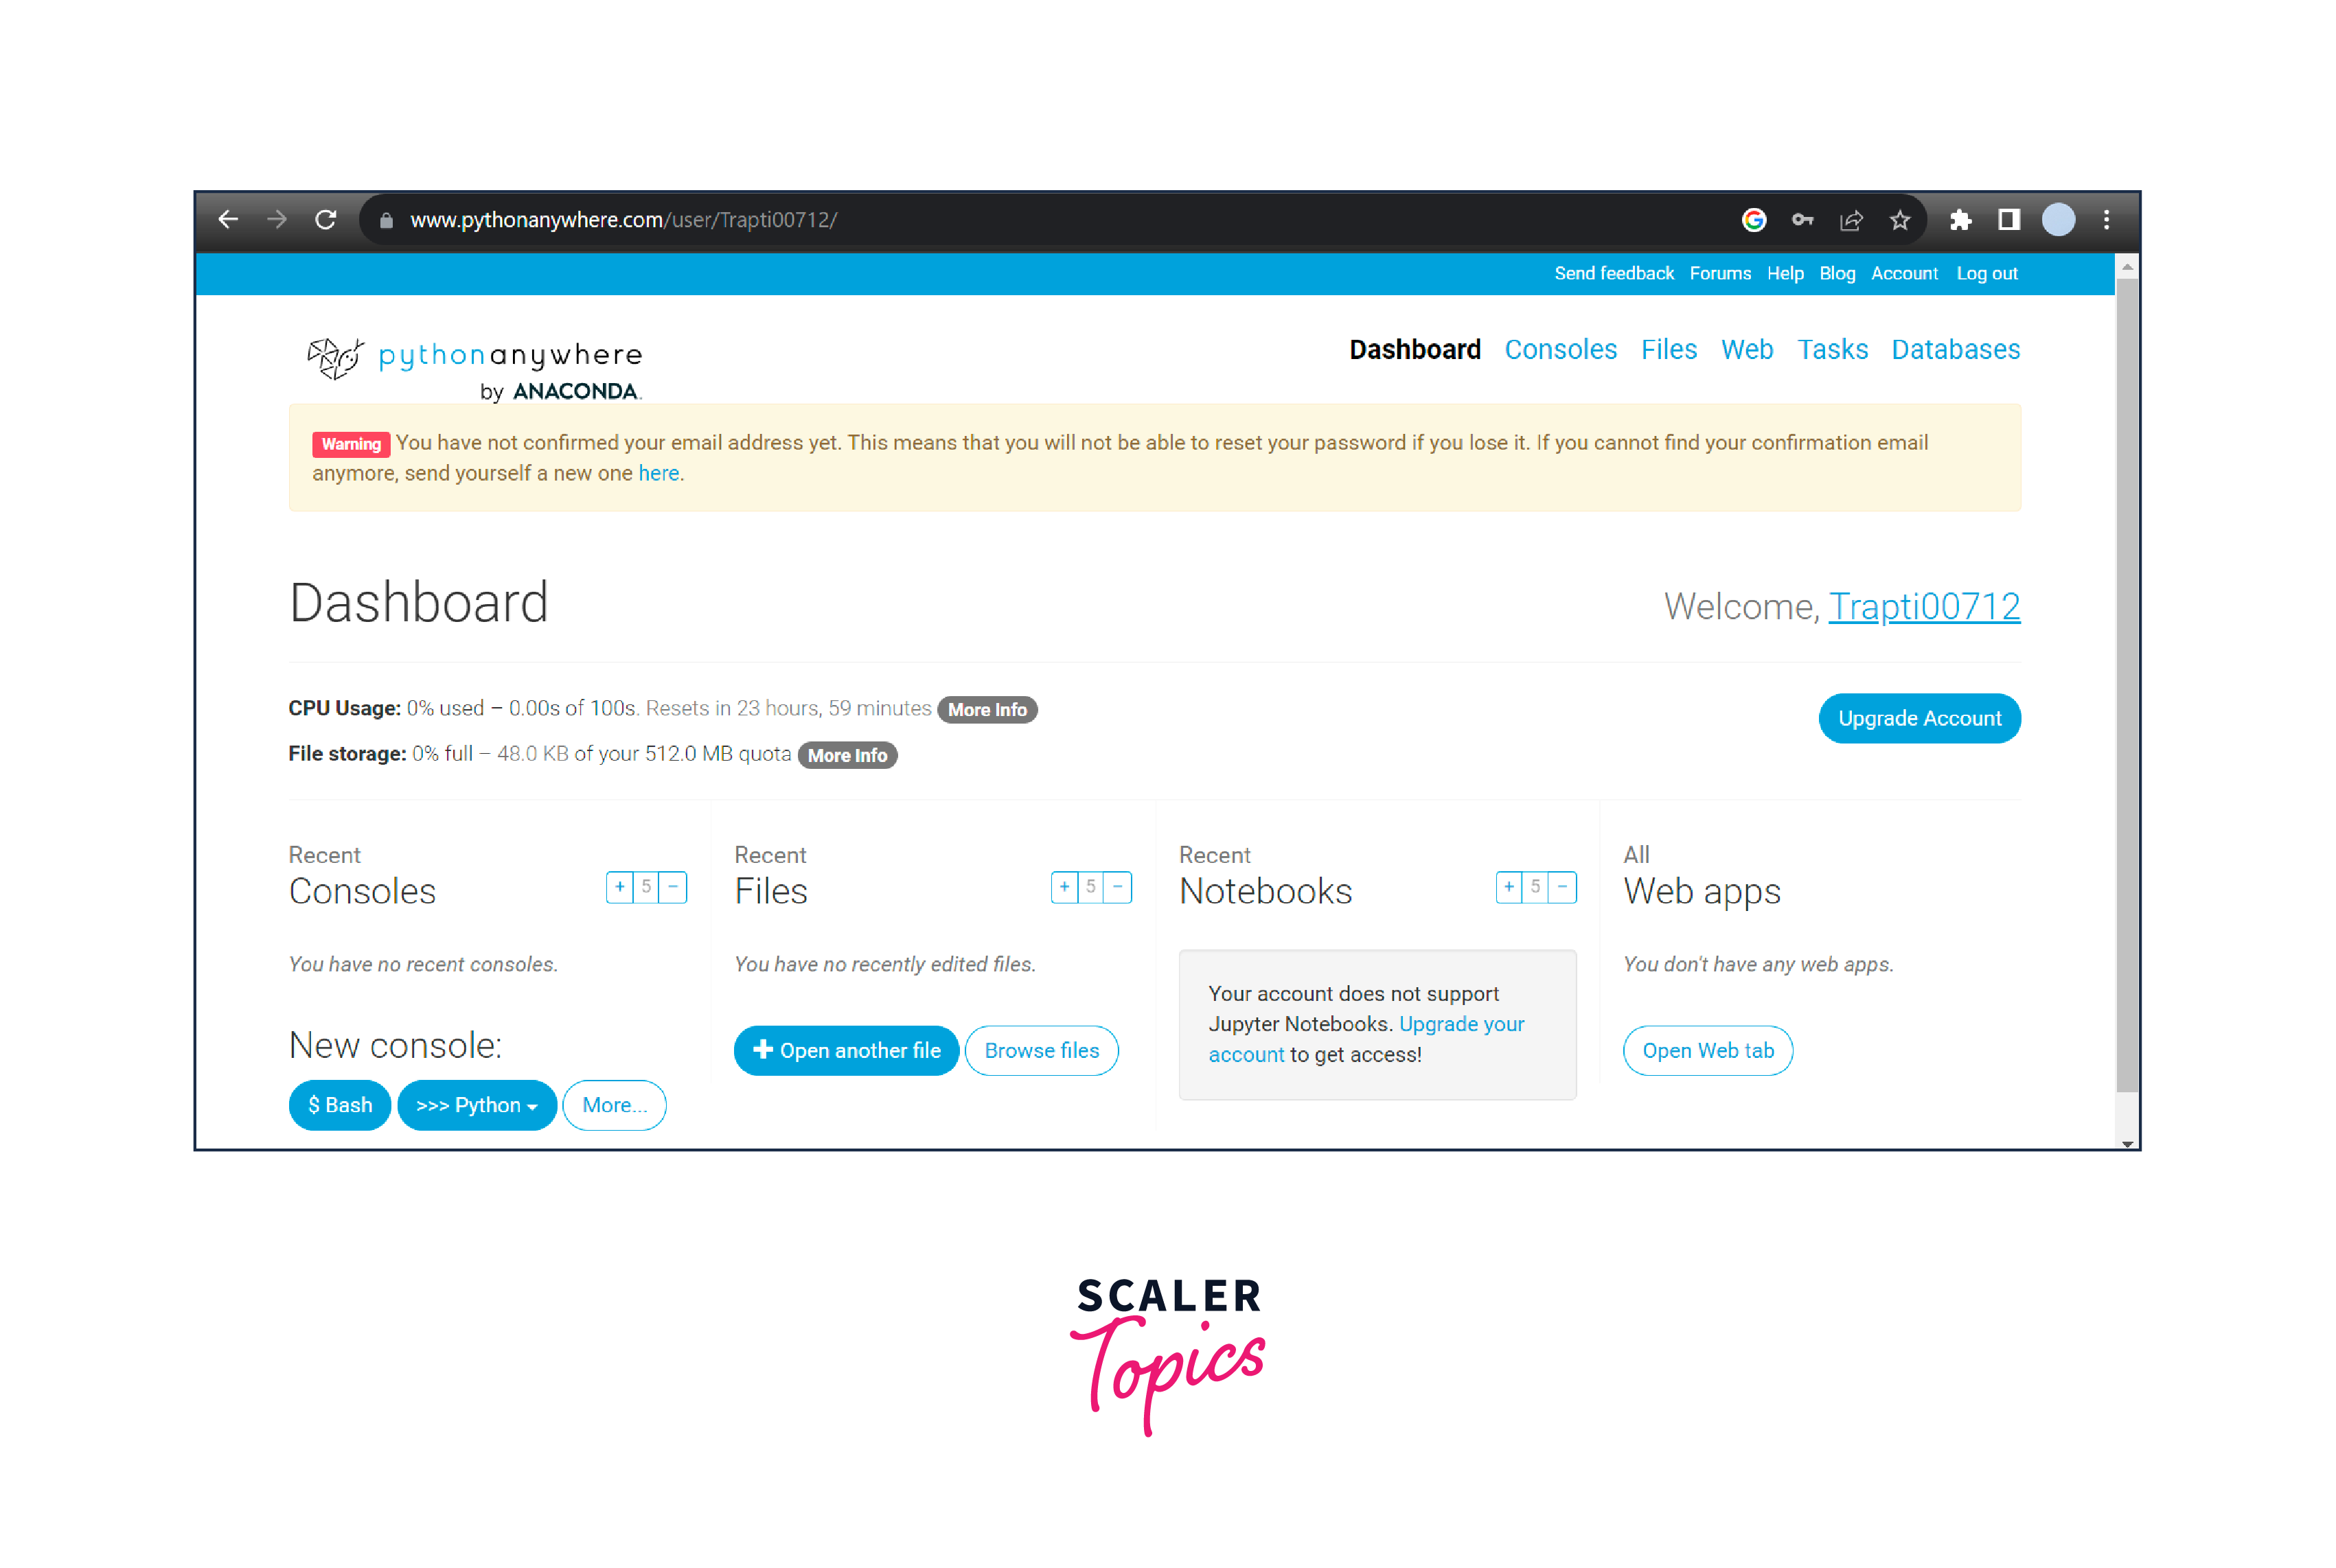
The next step is to create an account on pythonanywhere by entering the details.

-
After registration a page like the below page will open in front of you.
-
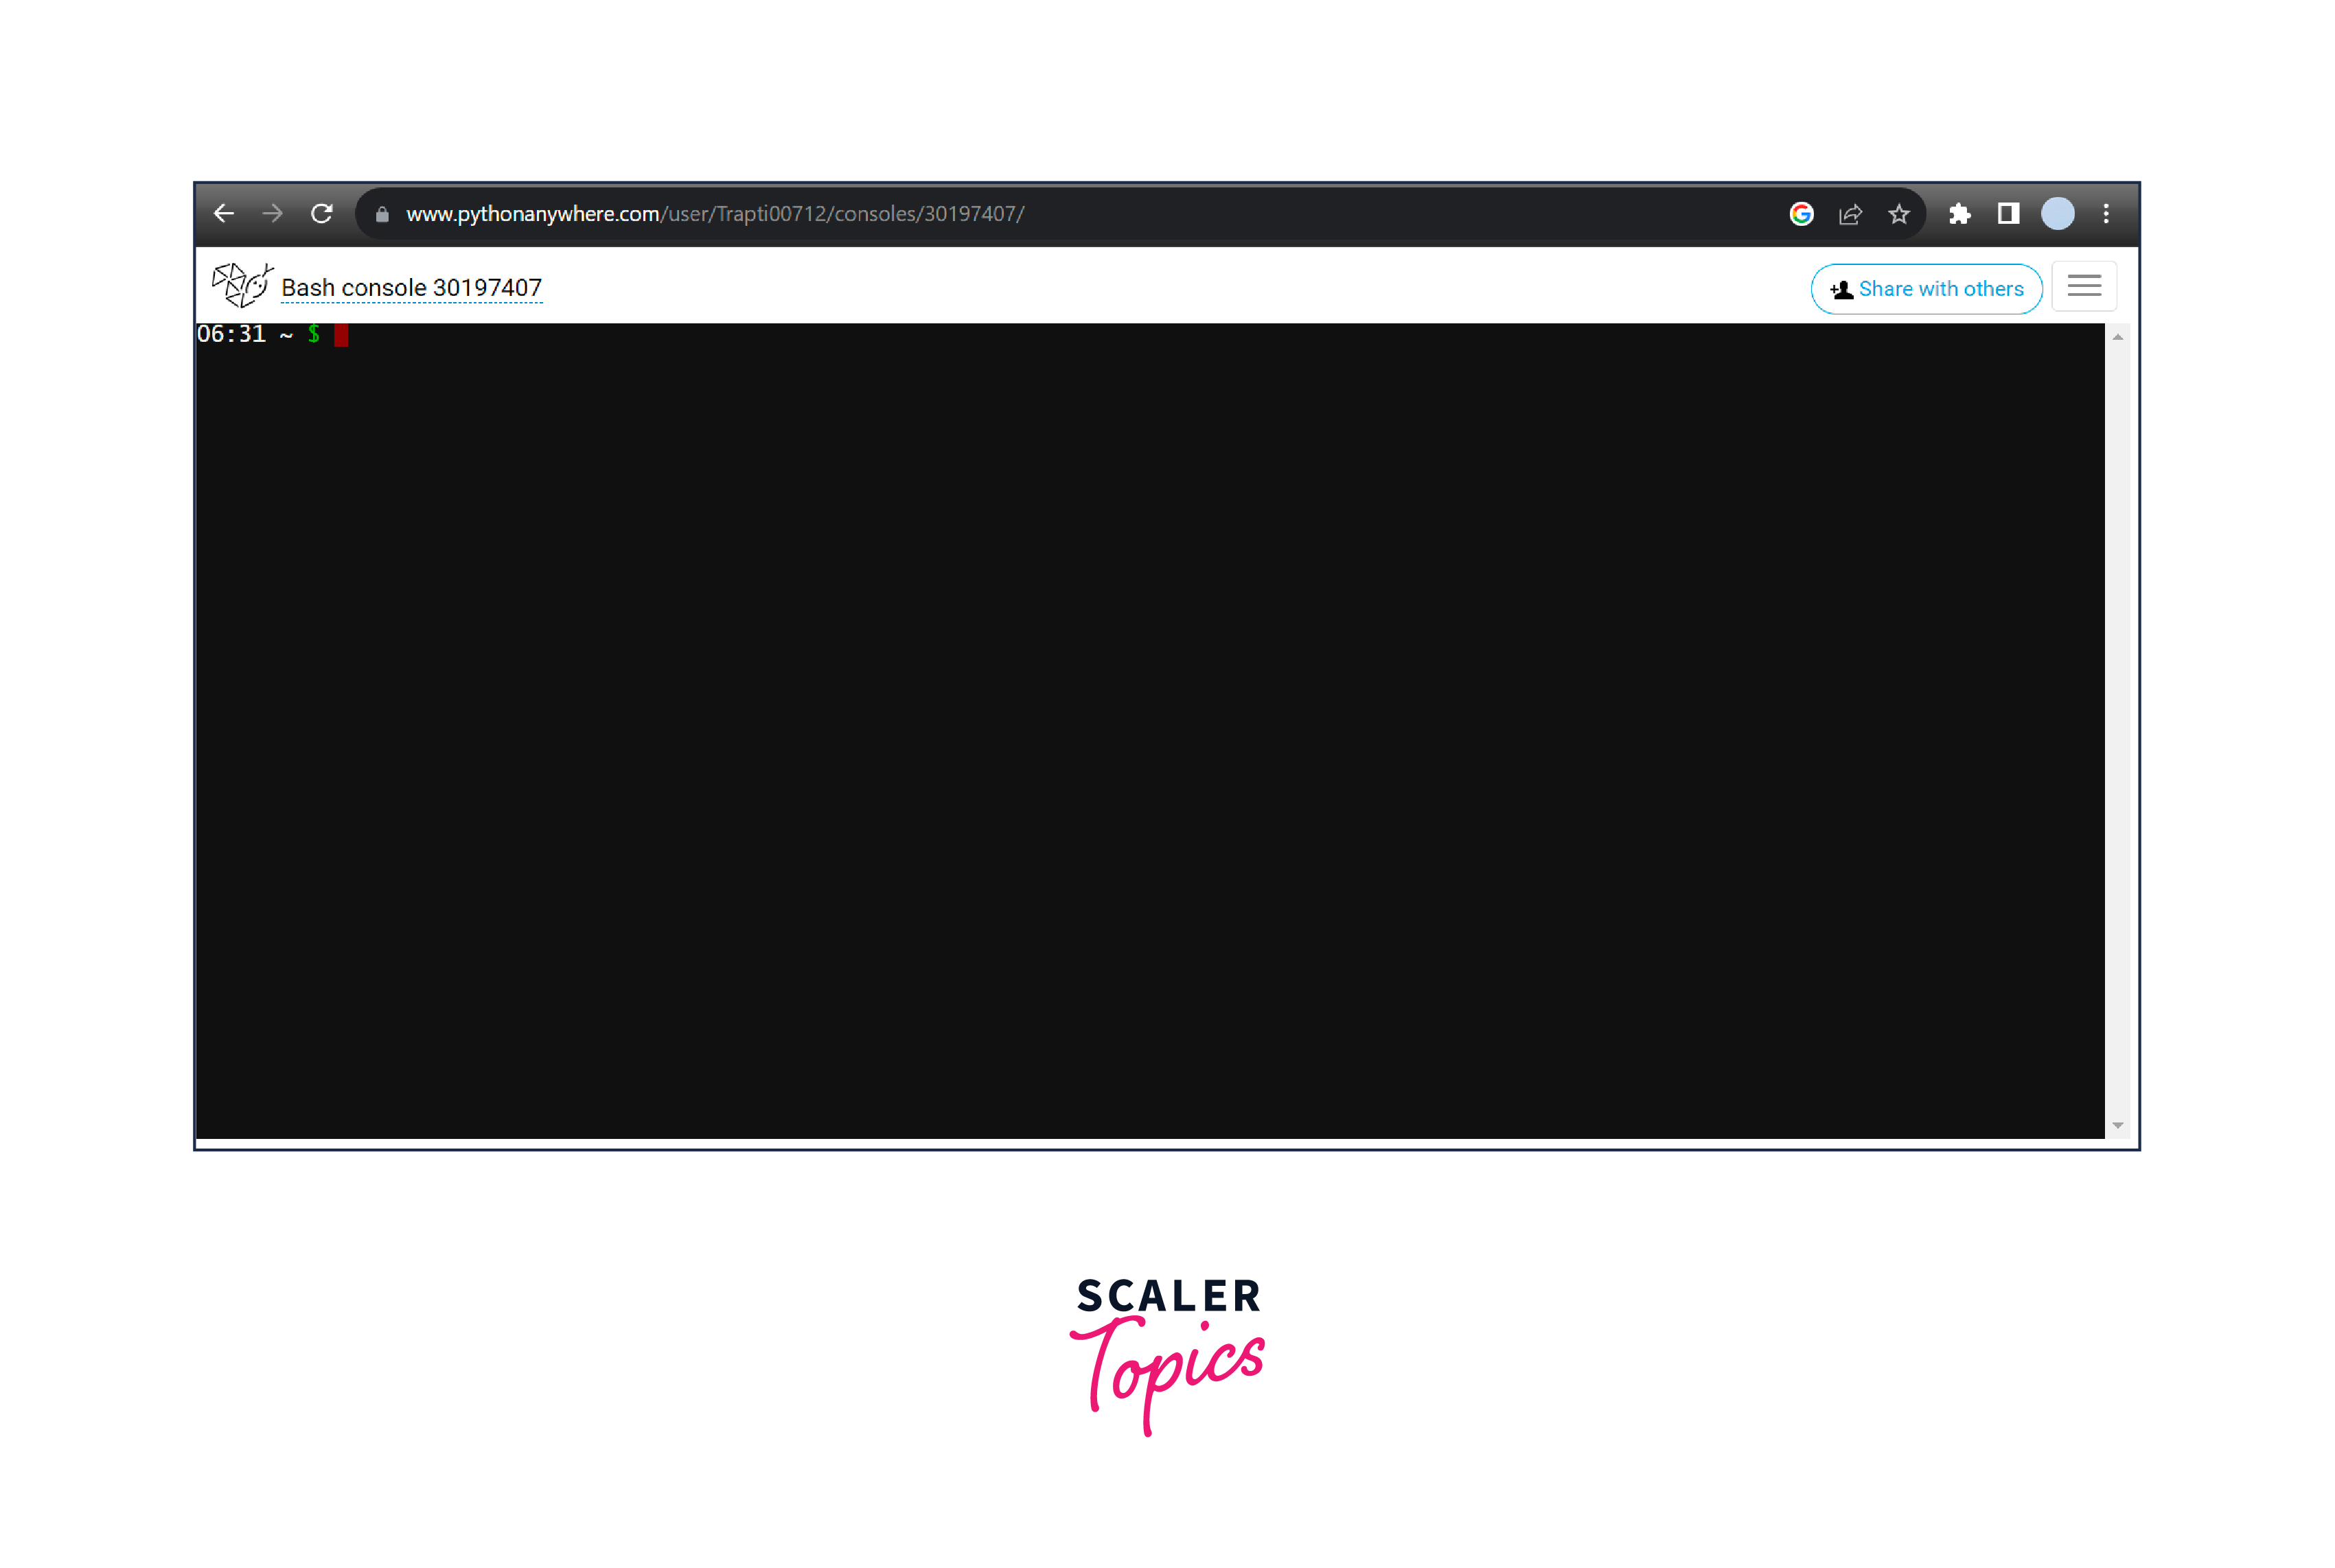
Now click on the bash option available inside the console box. Then the below page will appear on your screen.
-
Now copy the link of GitHub repository link of your project.
-
And type the below command in bash.
-
Now type the below command to create the virtual environment.
-
Activating the virtual environment by writing the below command.
-
Type the command given below for installing requirements.
-
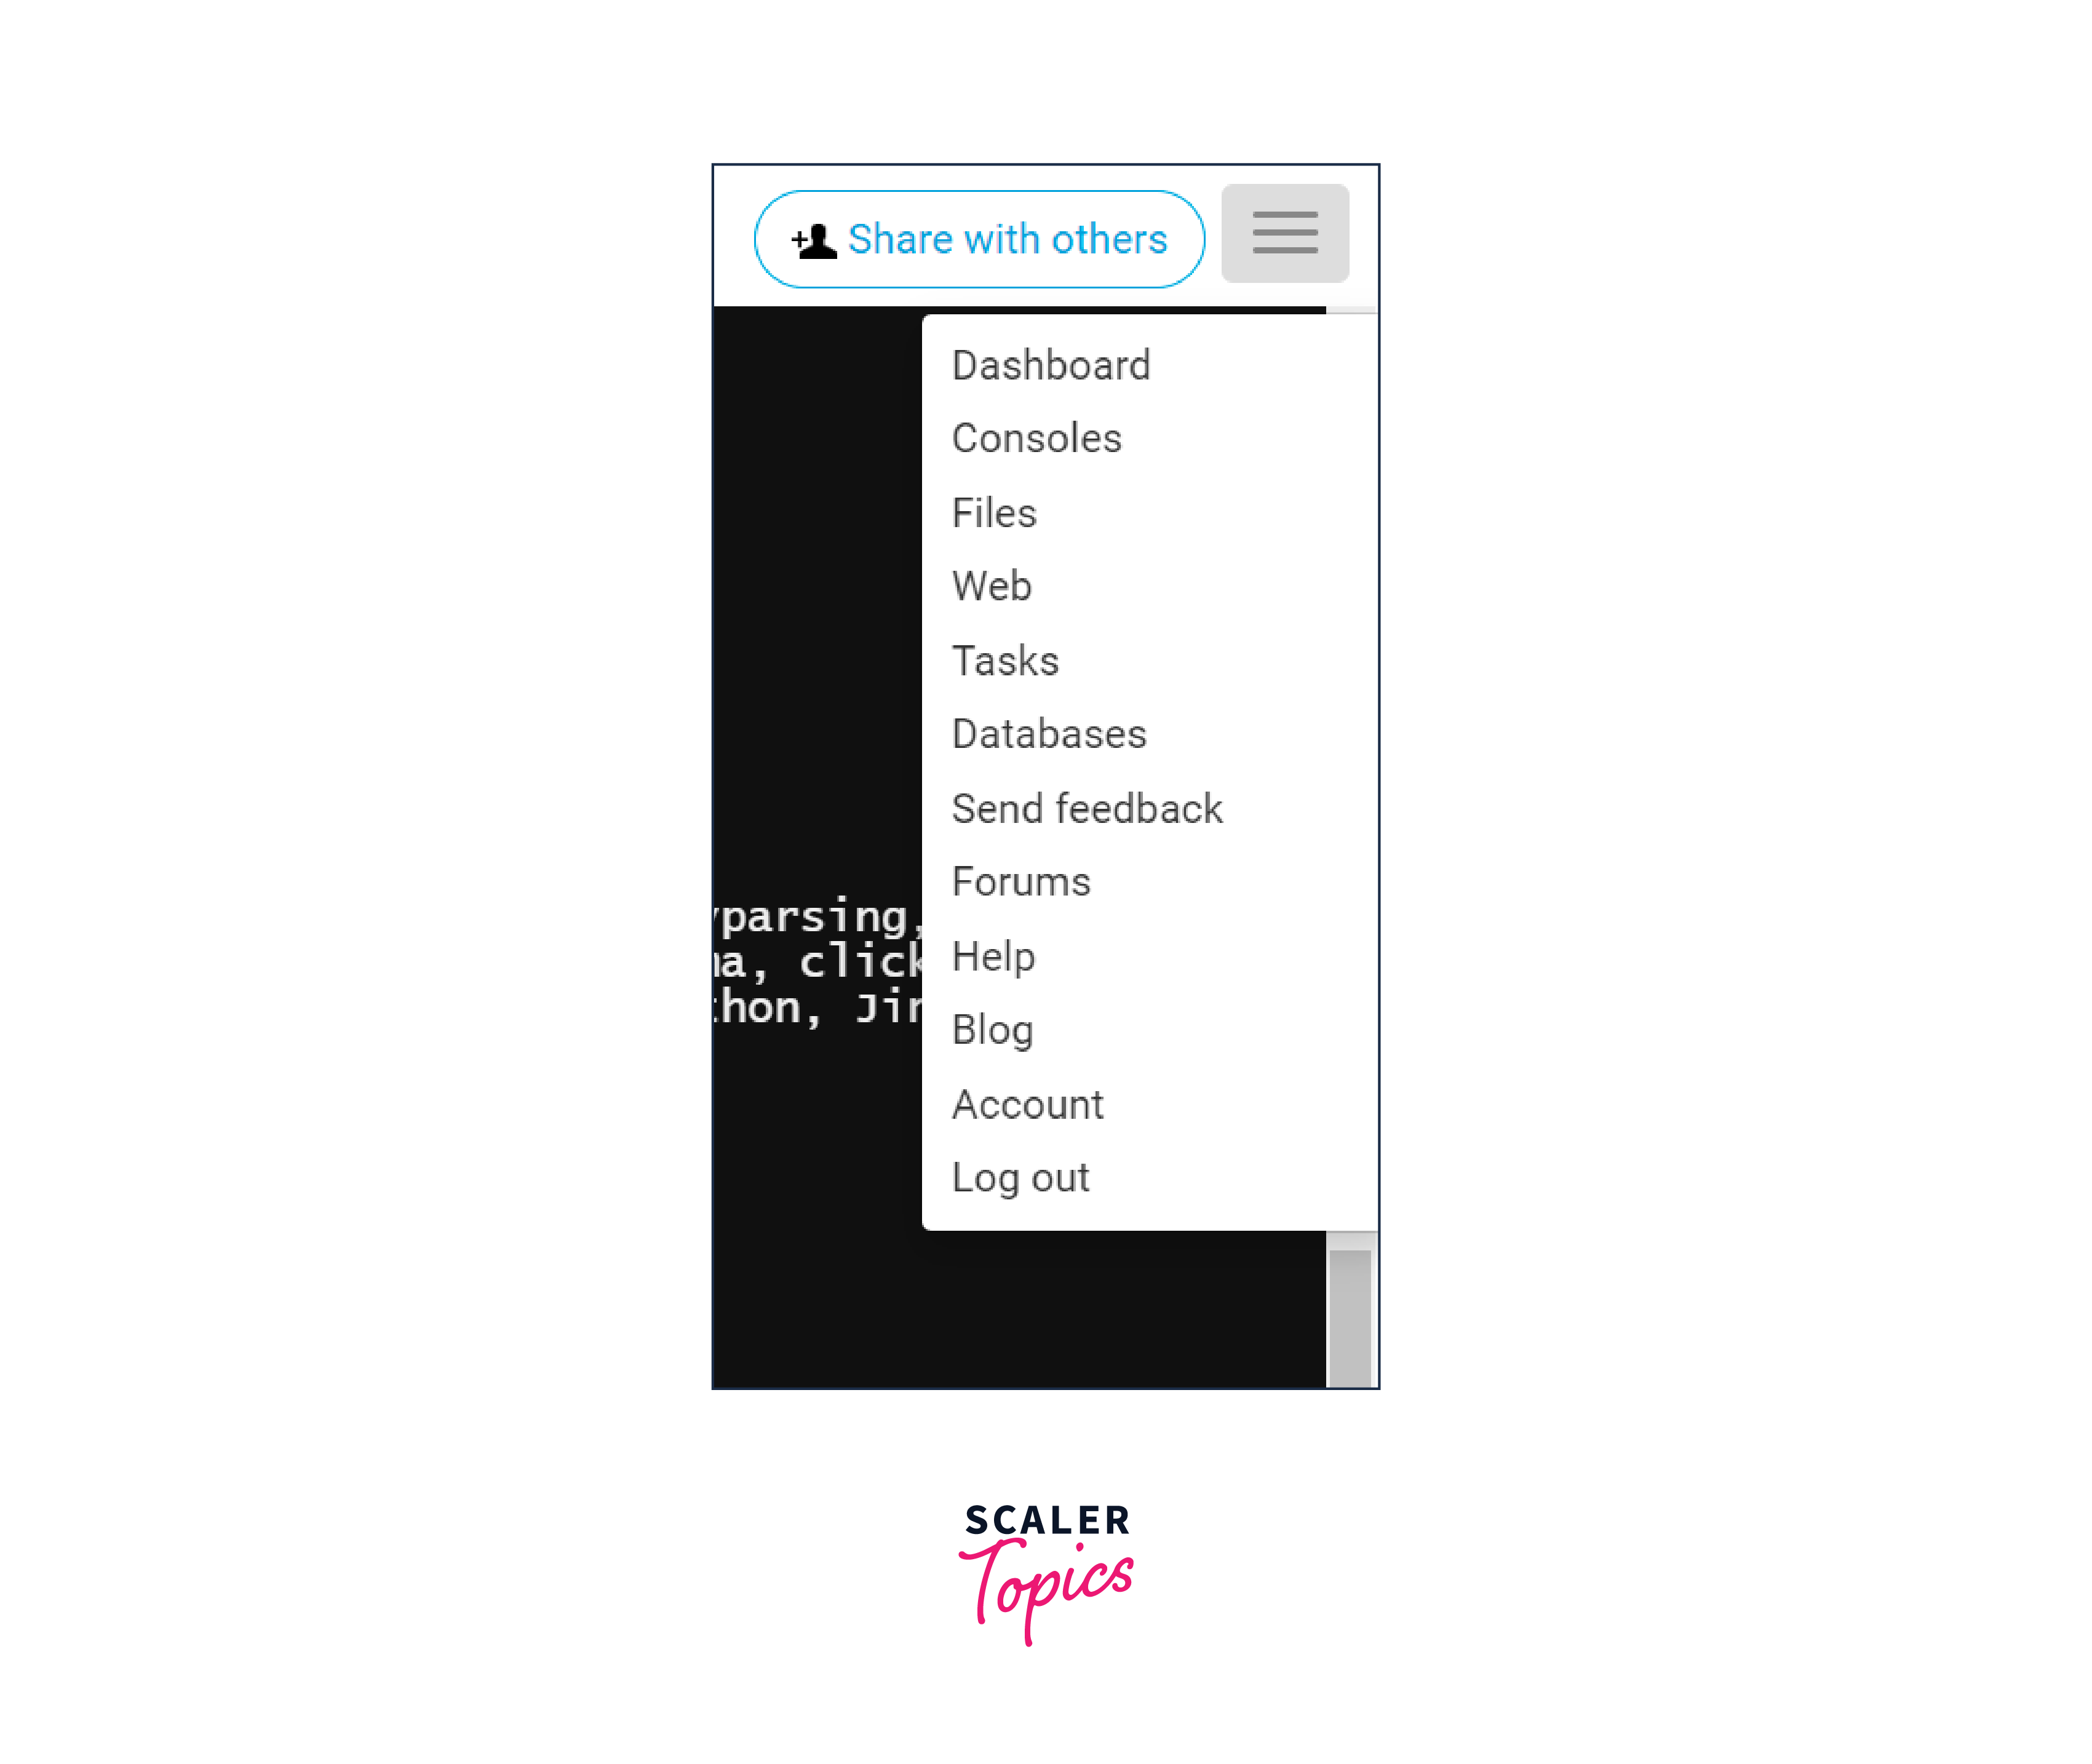
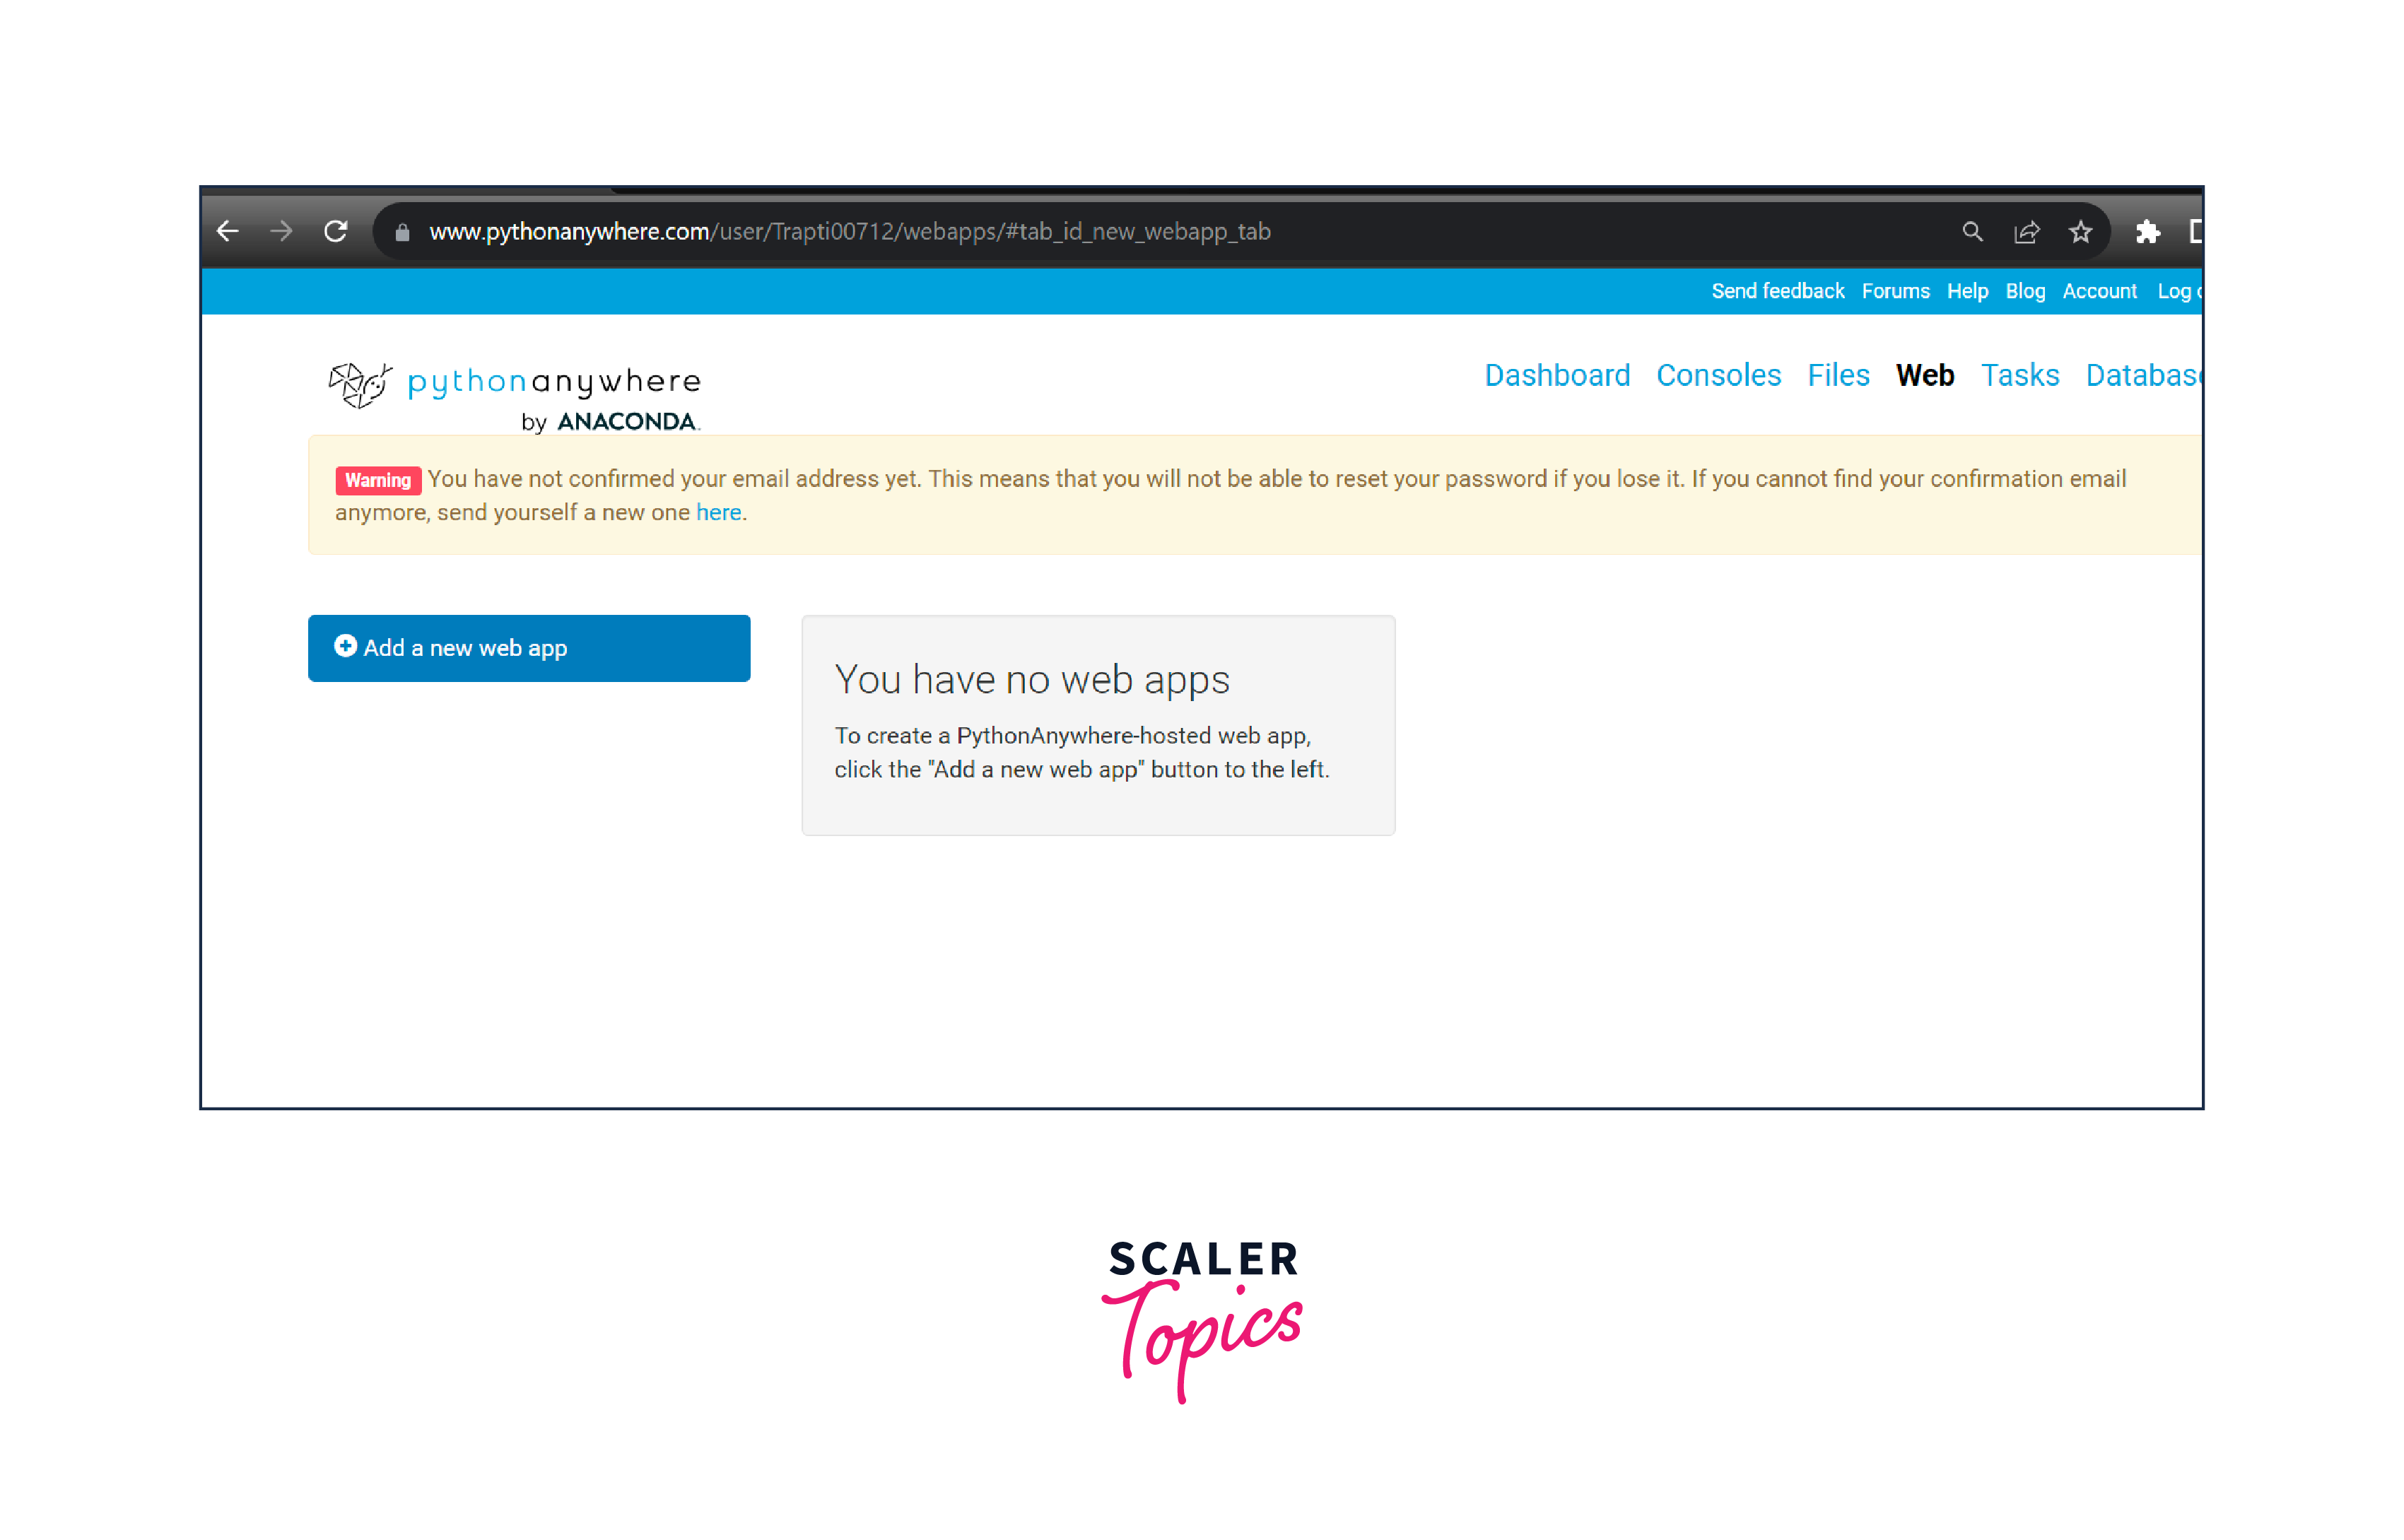
Now go to the web available in the side menu.
-
Click on Add a new web app.
-
Now click on the next.

-
Click on the Manual Configuration option.

-
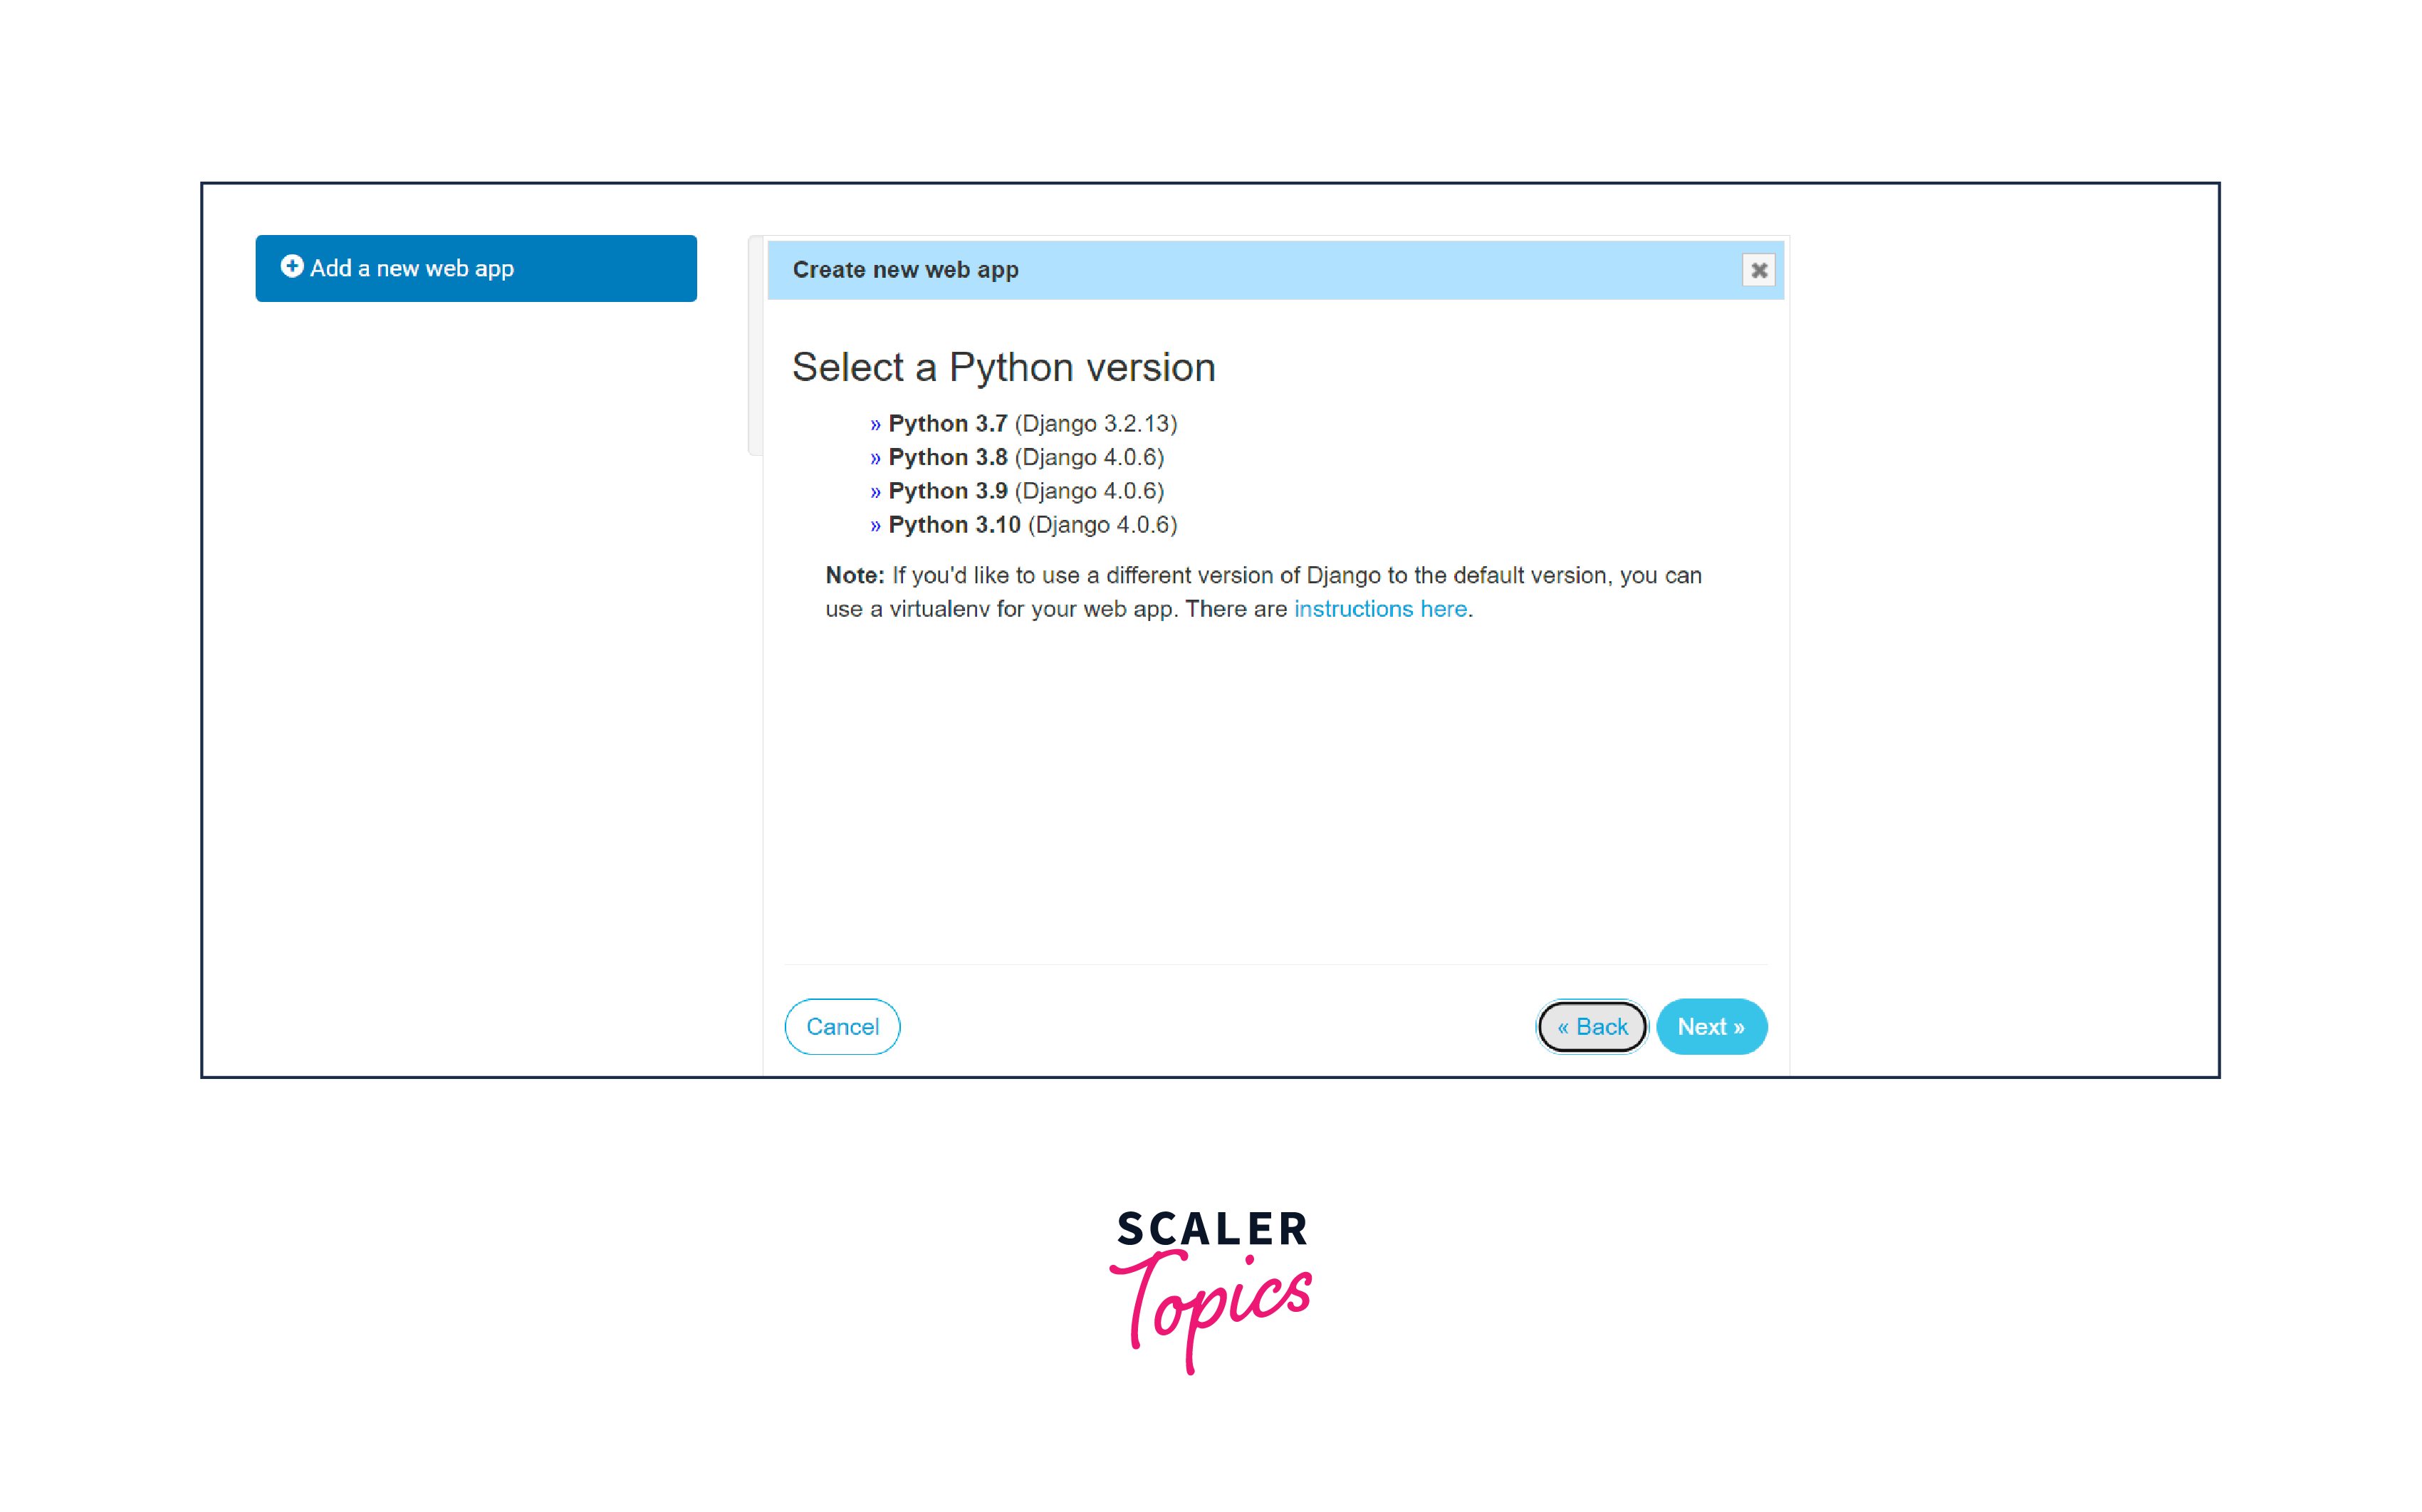
Select Python 3.10 version.
-
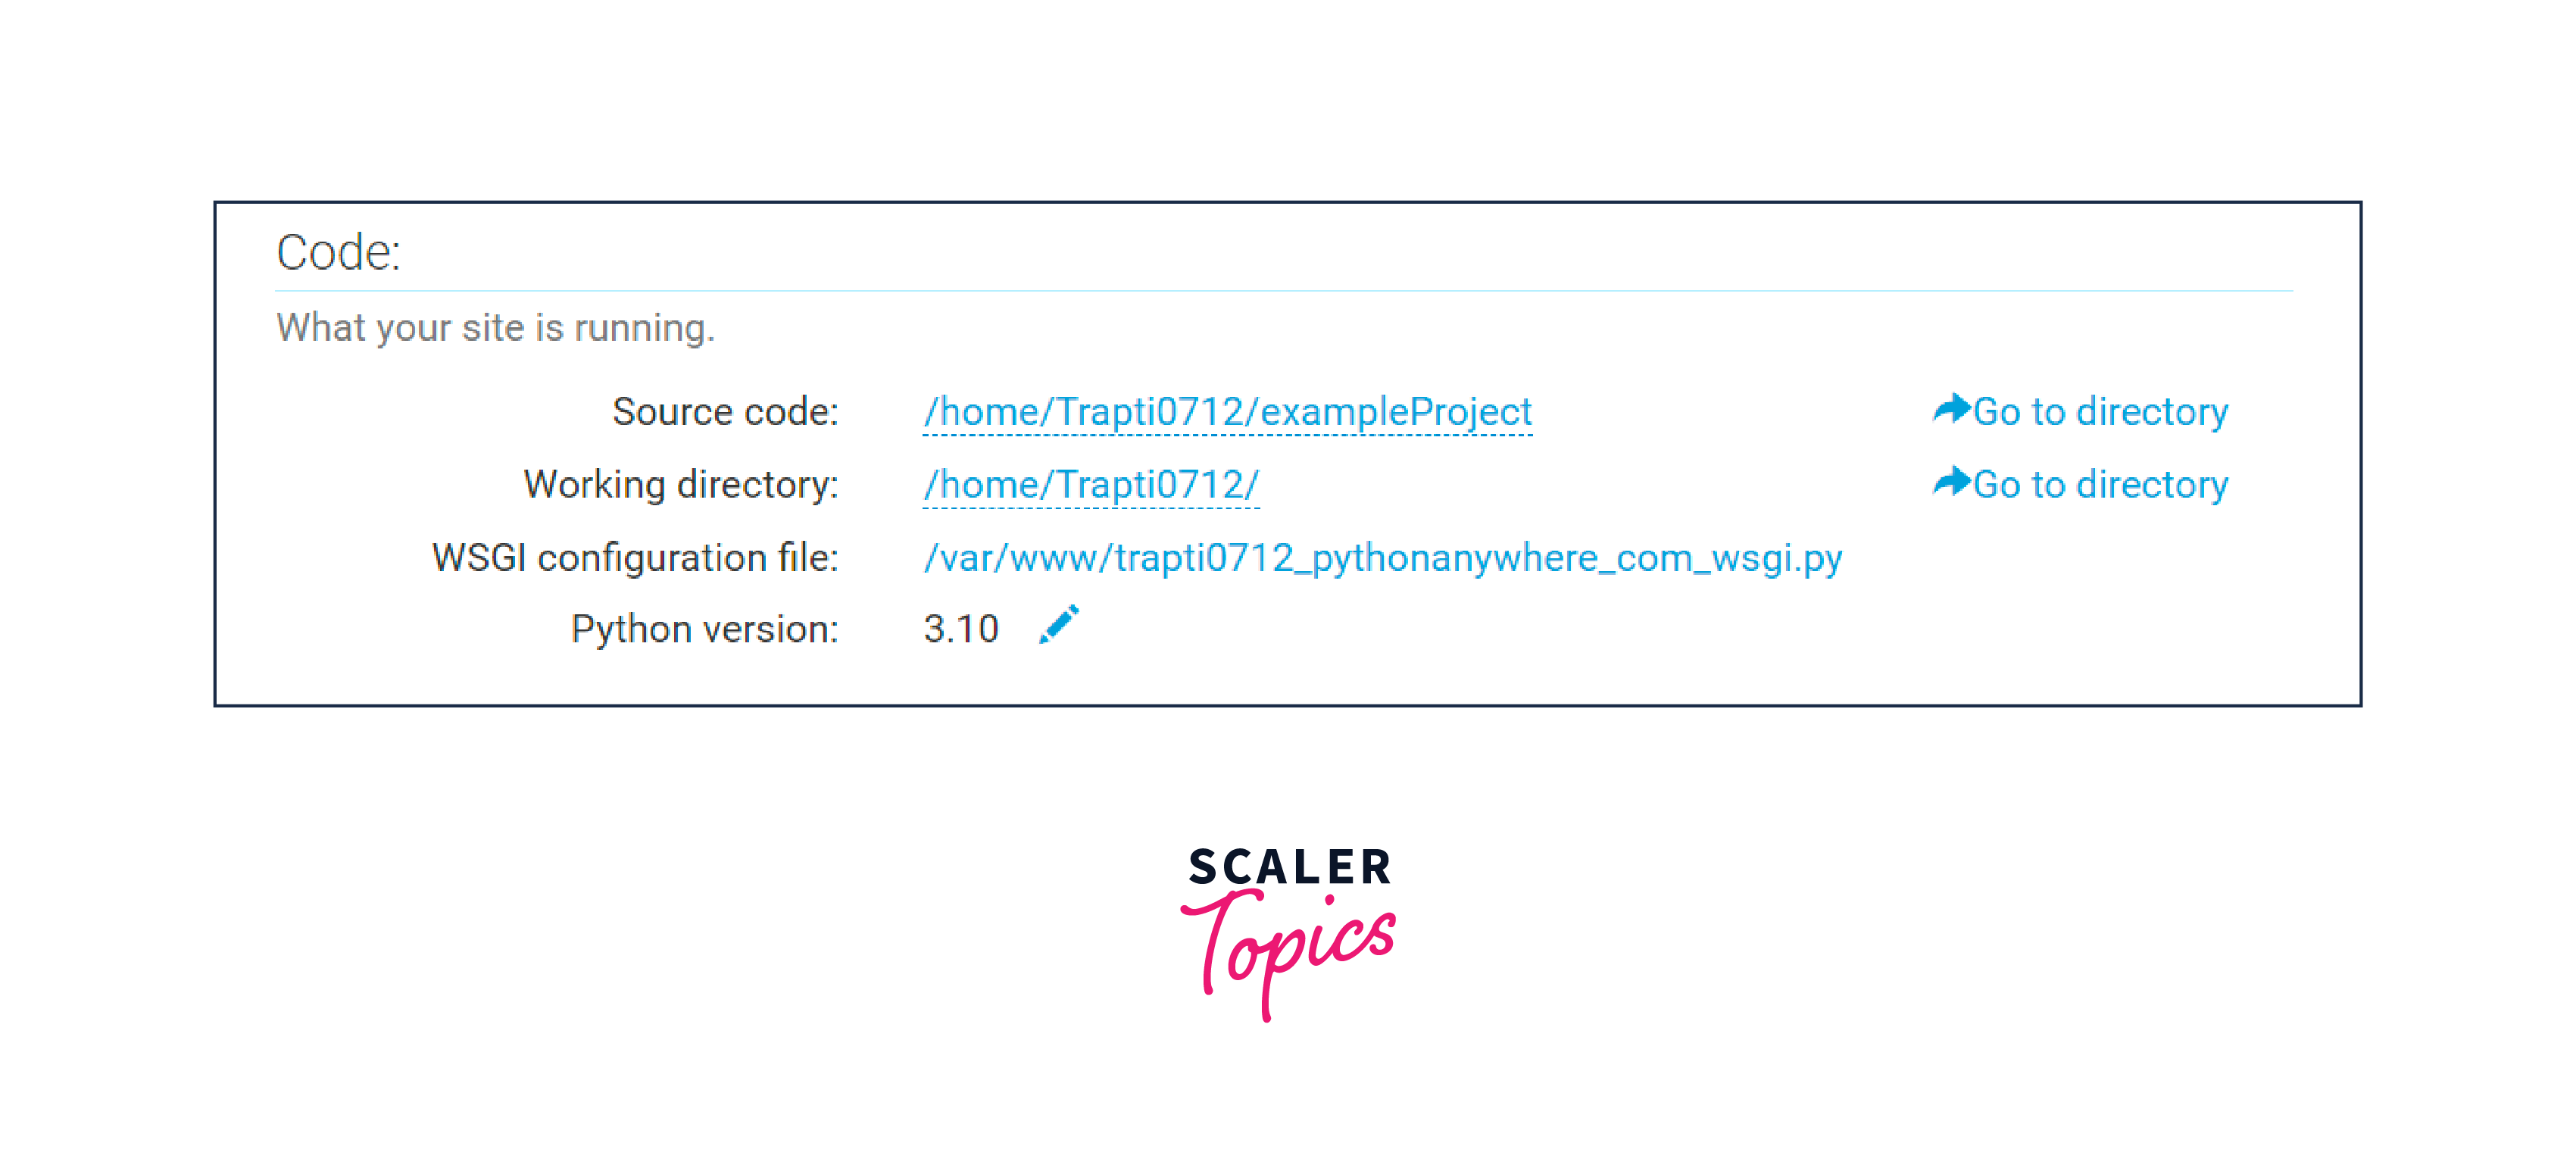
Under the code section. Enter the path of our project code.
-
Goto VirtualEnv section.

-
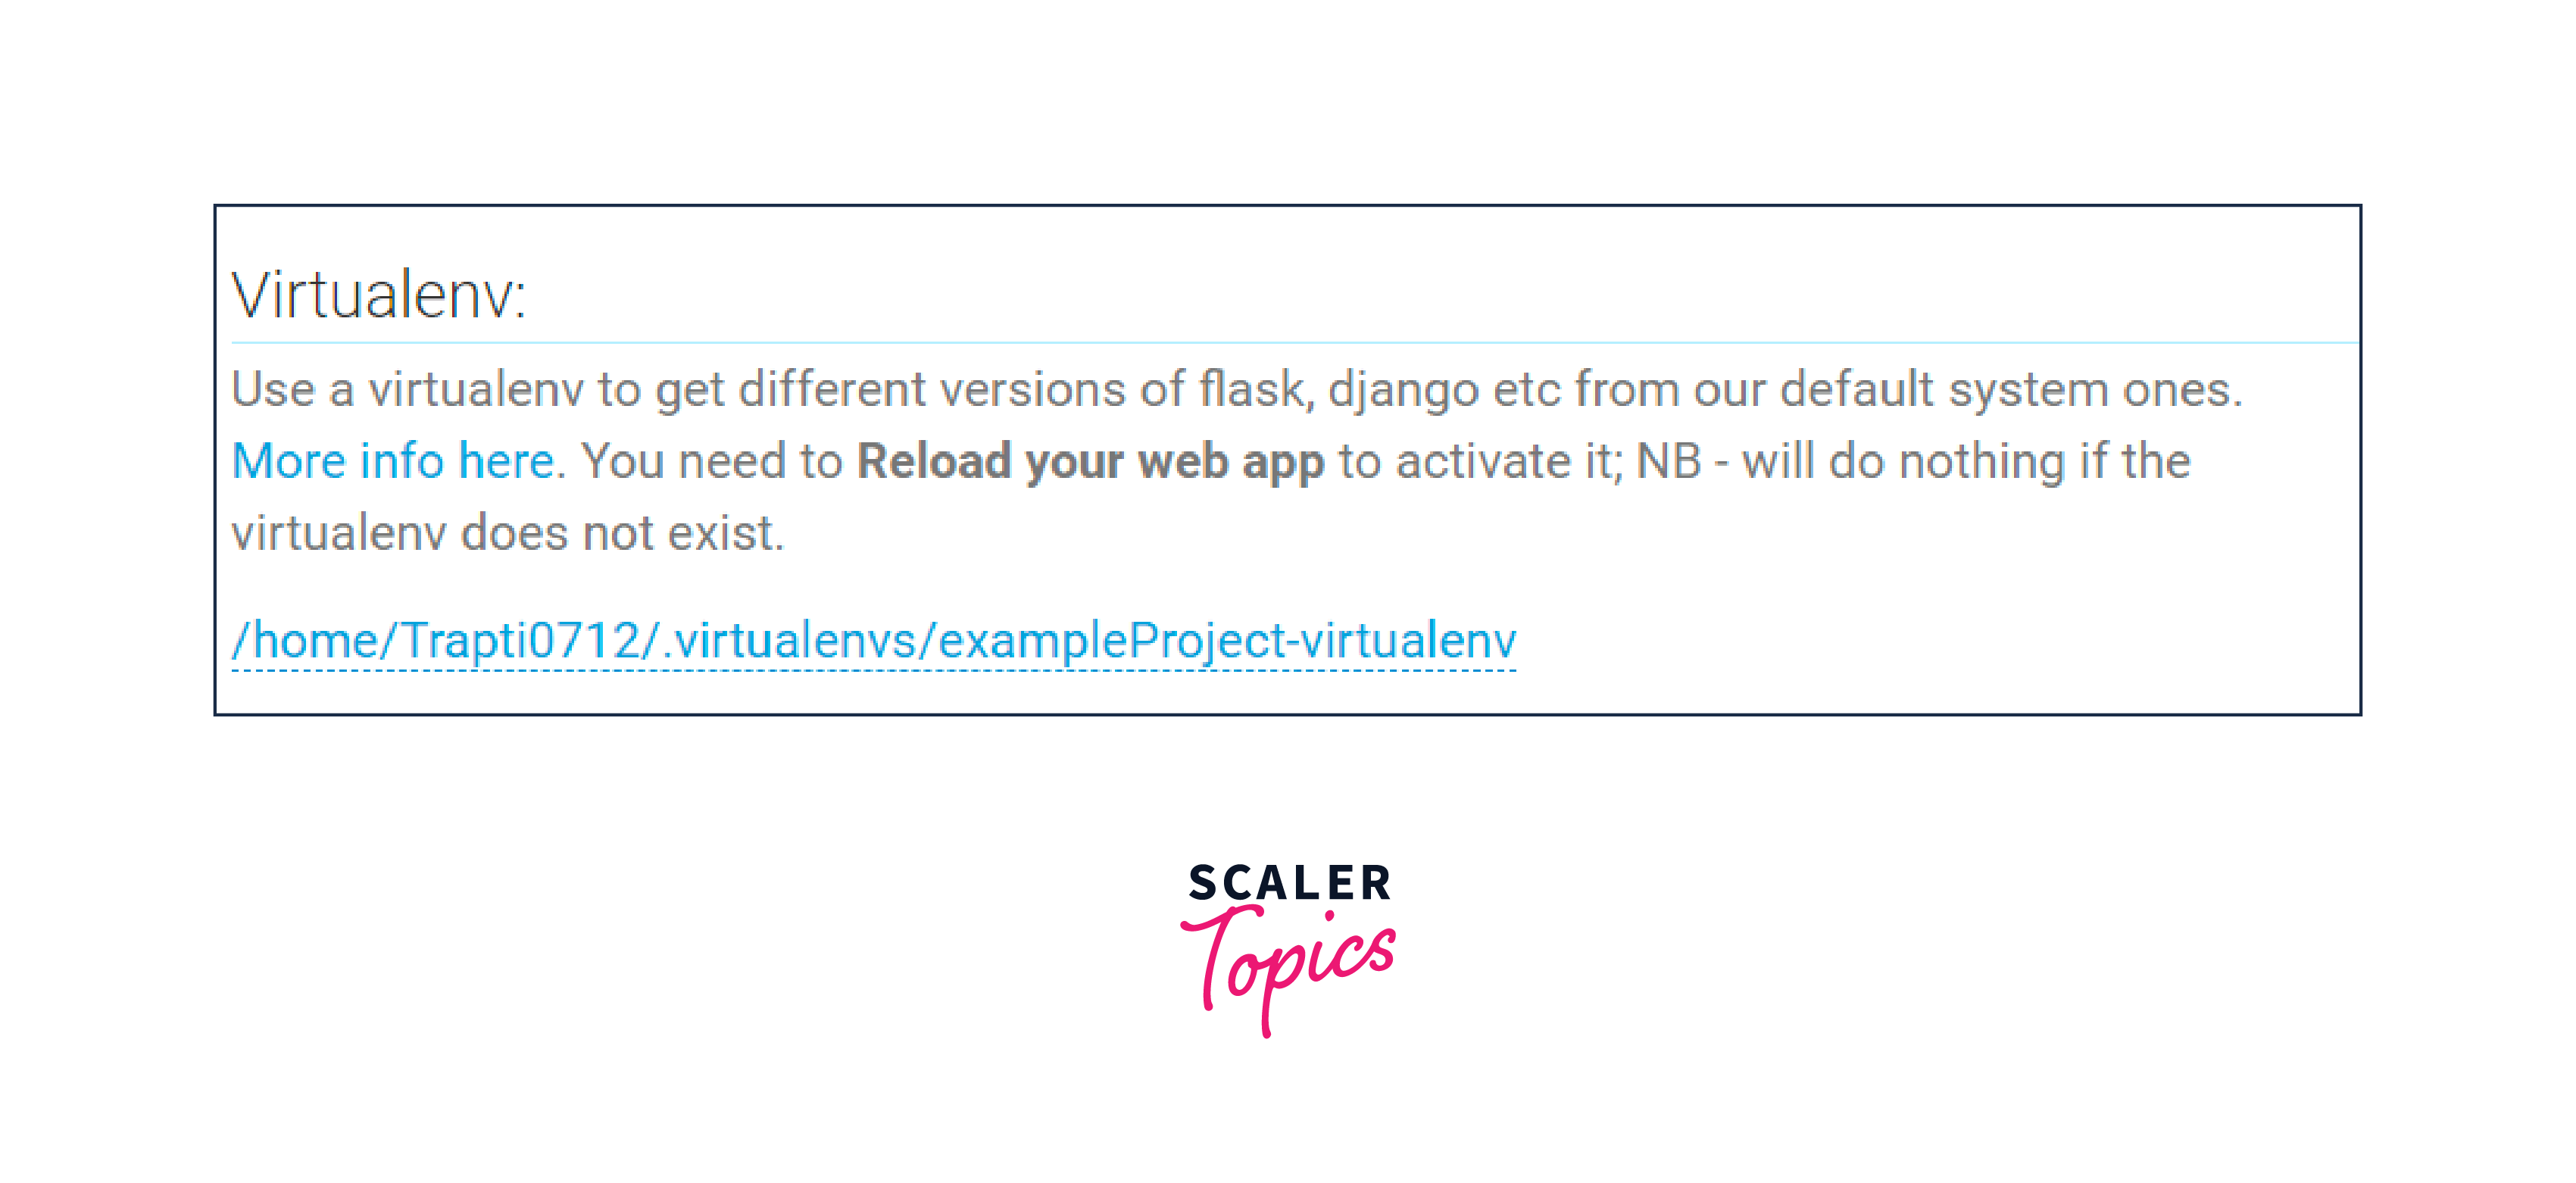
Click on Enter the path of Virtualenv and enter the course of our virtual environment.
-
Under the Code section open the WSGI configuration file.

-
Edit the file at lines 12 and 17, in place of the word mysite write the name of your project which has been cloned from Git Hub.

-
Our project name is exampleProject, so we will write exampleProject in place of mysite.
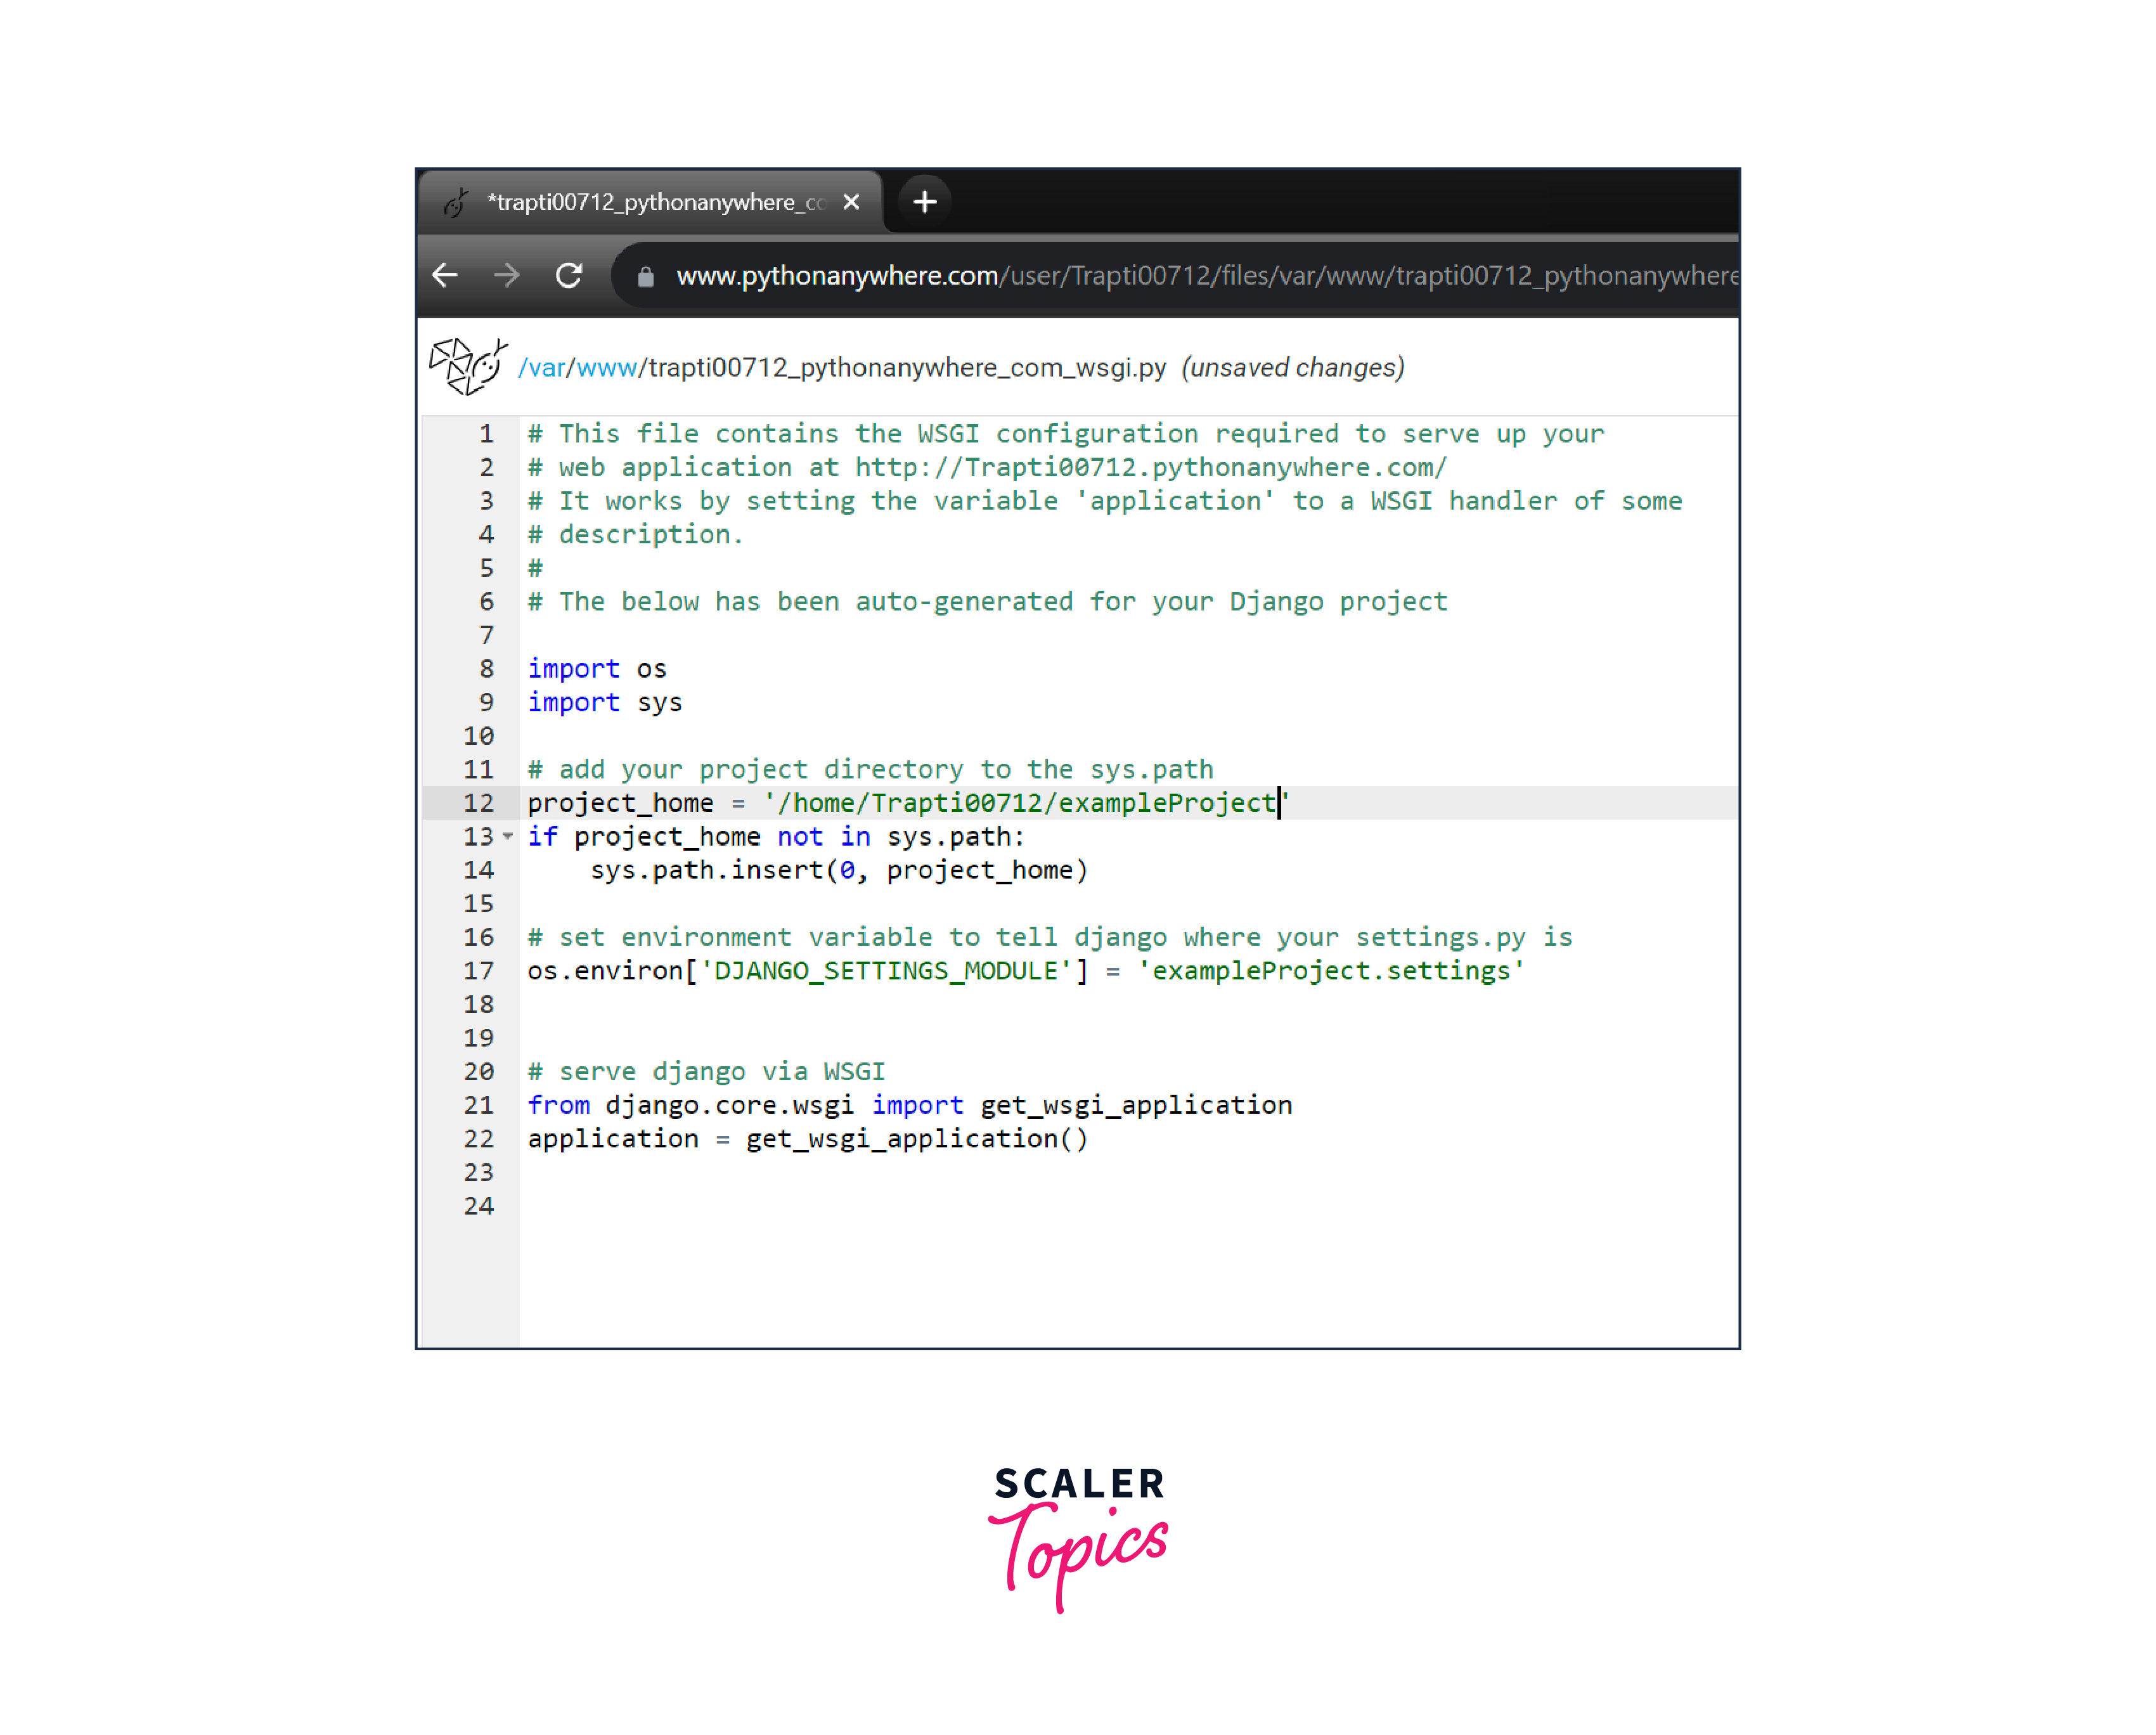
-
Save the file.
-
Now reload it.
-
Now open the link of your project it will work.
Problem Faced while Hosting Python Website on PythonAnywhere
- All the required packages of Python will be installed before creating the web app so that there will be no error at the time of hosting.
- For the integration of JS, and CSS files in a Django provide the path of static files in the STATIC FILE SECTION.
Conclusion
- After creating the Django project if we want to make that project available for all then we deploy the project on PythonAnywhere.
- We have to create account create an account on pythonAnywhere to deploy our project.
- All the required packages of Python will be installed before creating the web app so that there will be no error at the time of hosting.