How to Recover Deleted Files in Linux?
How to Recover Deleted Files in Linux?
Accidentally deleting important files can be a distressing experience, but if you are using Linux, there is hope for recovery. Linux provides a range of powerful tools and techniques that can help you retrieve deleted files and restore them to their original state.
Whether you accidentally used the 'rm' command, emptied the trash bin, or experienced a disk failure, this article will walk you through the step-by-step process of recovering deleted files in Linux. Let's begin.
Using Unmounting
Unmounting a file system is a crucial step in recovering deleted files in Linux. By unmounting the file system, you prevent further write operations that could overwrite the deleted files. The steps of the unmounting process is as follows.
Step 1:
Identify the affected file system.
Step 2:
Ensure data integrity by terminating processes accessing the files.
Step 3:
Unmount the file system using the umount command.
Step 4:
Proceed with file recovery using appropriate tools like TestDisk/PhotoRec or extundelete. We will discuss about the recovery tools further in this article.
Using foremost
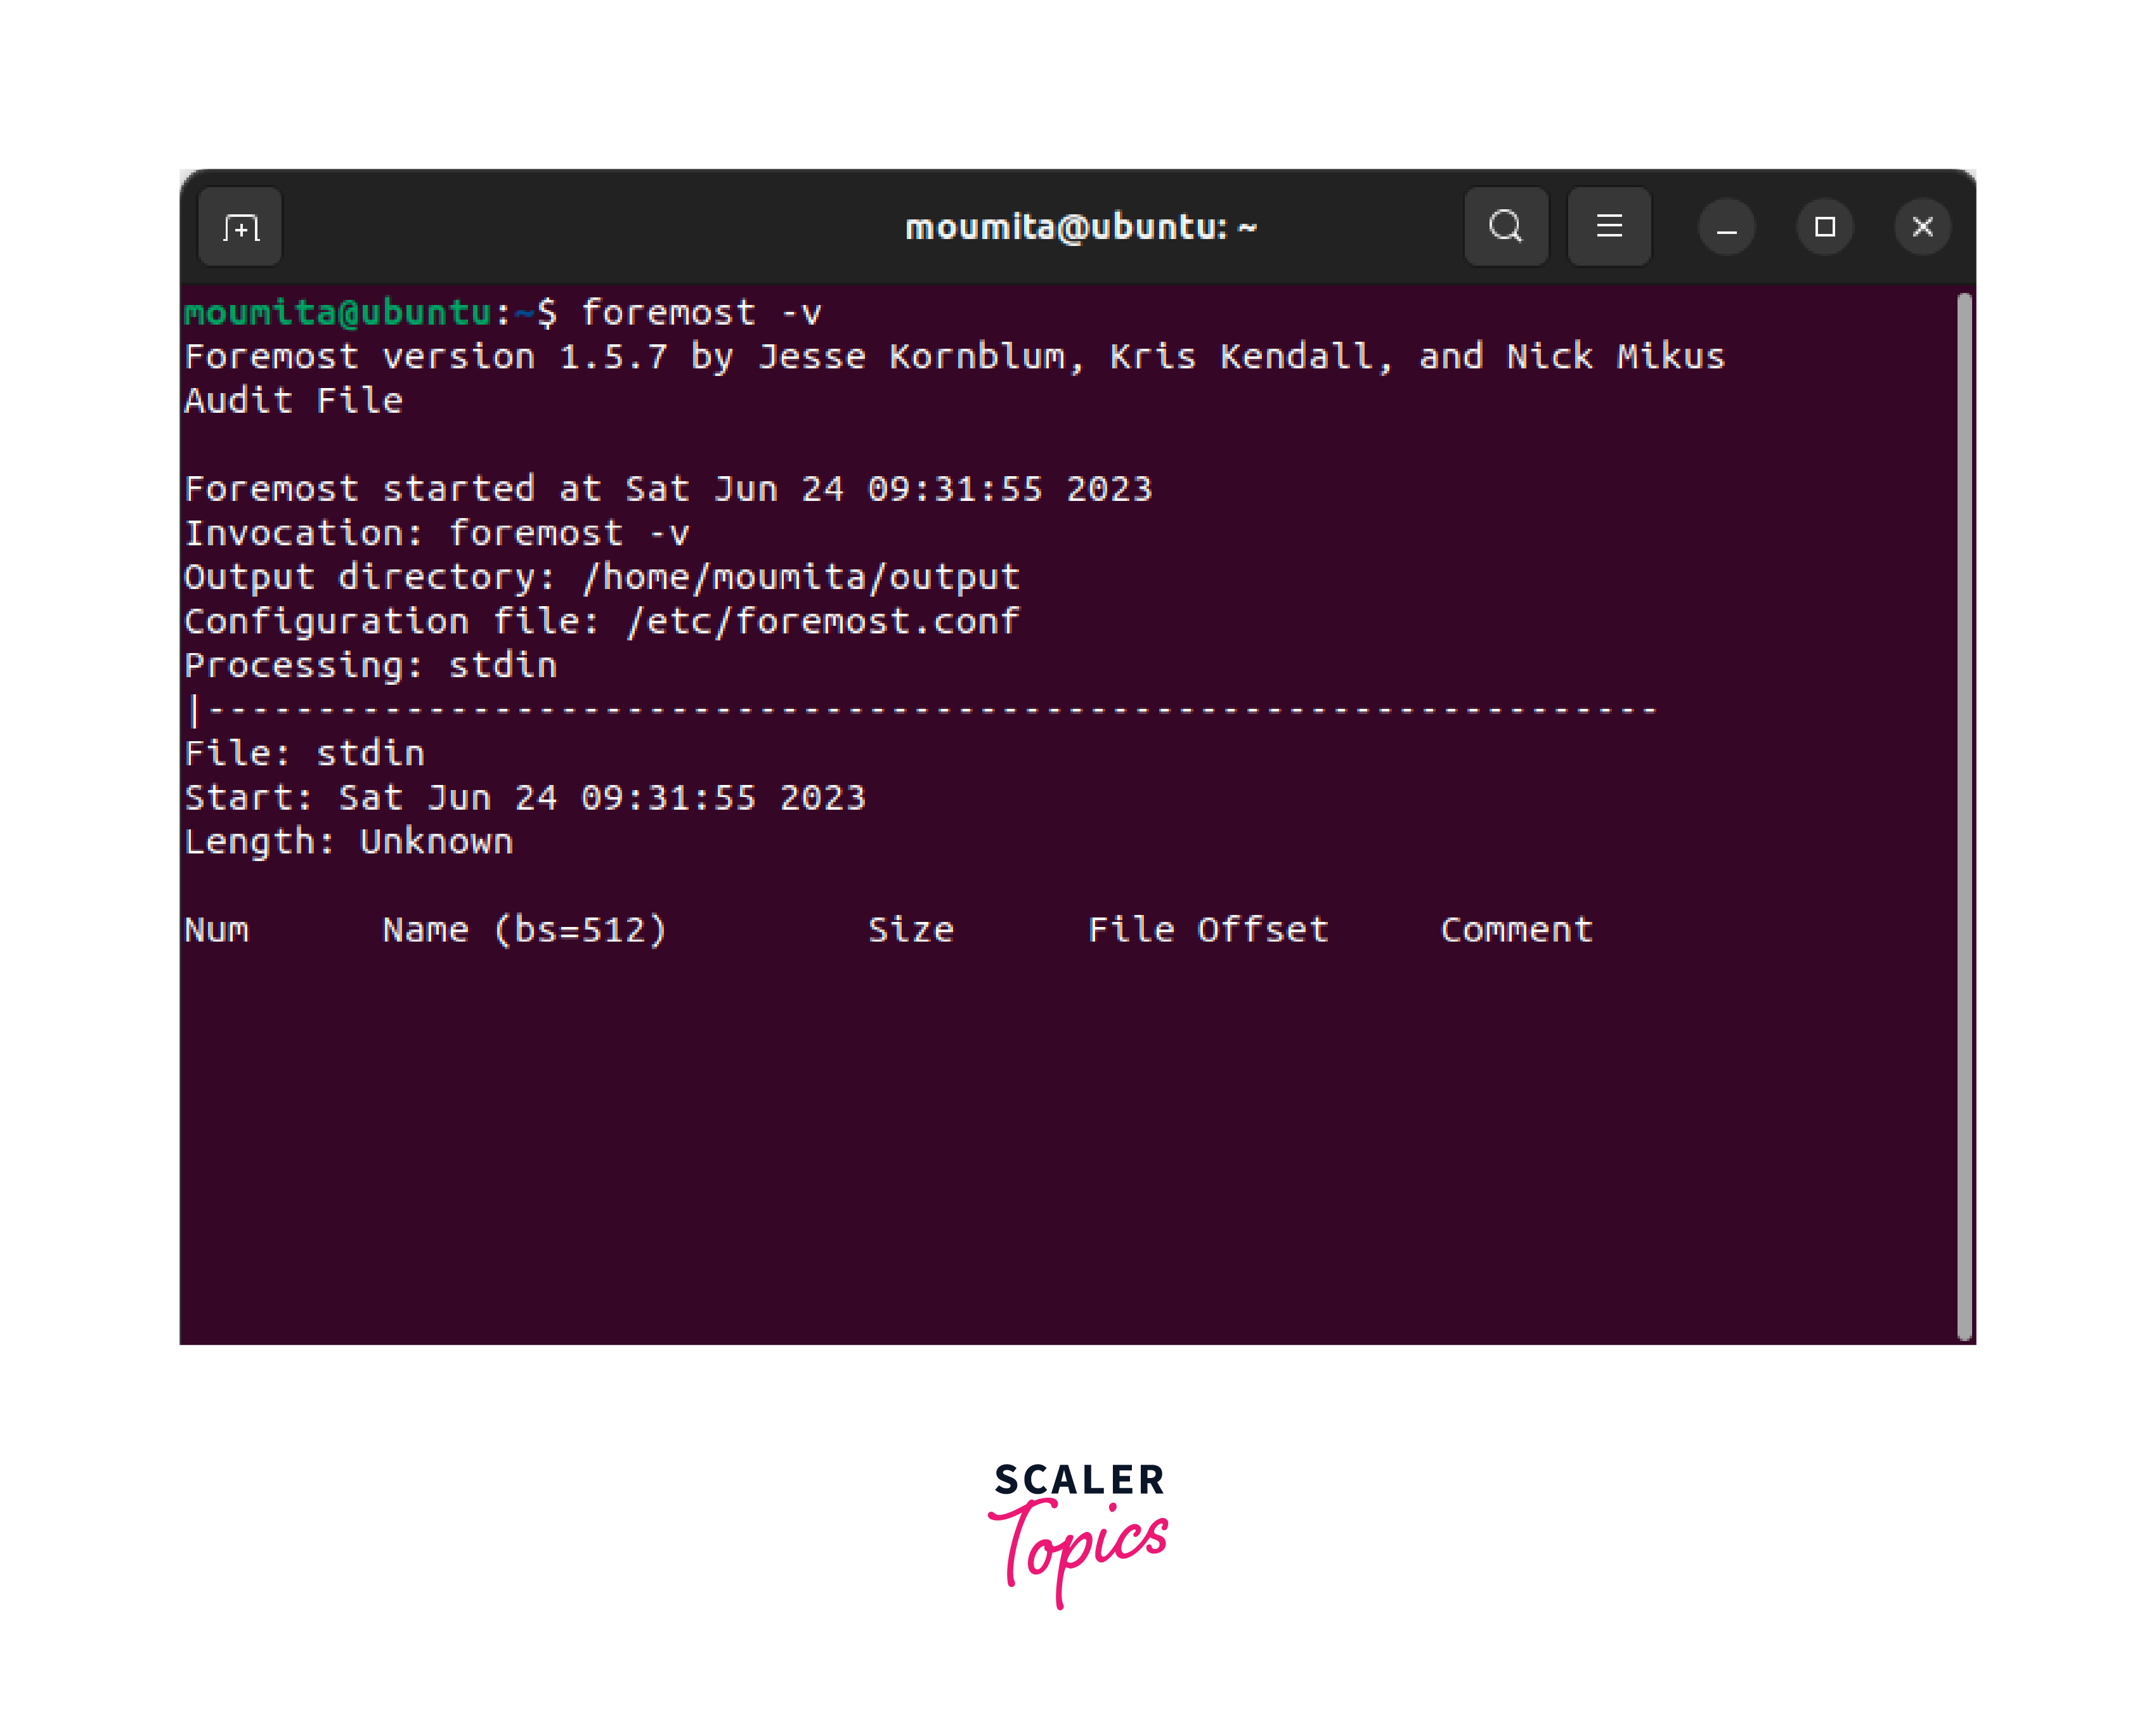
foremost is a popular file recovery tool in Linux that can be used to recover deleted files based on their file headers and footers. Let's find out how to recover deleted files in linux using foremost command.
Step 1:
Install Foremost by using the specific package manager as per your Linux distribution. As an example on Ubuntu or any Debian based system use the following command.

Step 2:
Figure out which disc or drive you want to recover files from. Write down the device name, such as /dev/sdXY, where "X" is the letter of the drive and "Y" is the number of the disc.
Step 3:
Open a terminal or command prompt and use the right settings to run the Foremost command. The basic syntax is as follows.
-
Modify [file type(s)] with the file types you want to recover. -t jpg, png, doc, for example, will bring back JPEG, PNG, and DOC files. Use -t all if you want to get back all kinds of files.
-
Replace [input device or disc image] with the path to the device or disc image that you want to scan. For example, -i /dev/sdXY or -i /path/to/disk_image.dd.
-
Change [output directory] to the location where you want the recovered files to go. Make a new location to keep from overwriting files that are already there.
Step 4:
Now, run the foremost command, and let It start the recovery process and wait for it to complete.
Step 5:
Use the output directory to get to the files that were restored.
Using lsof Command
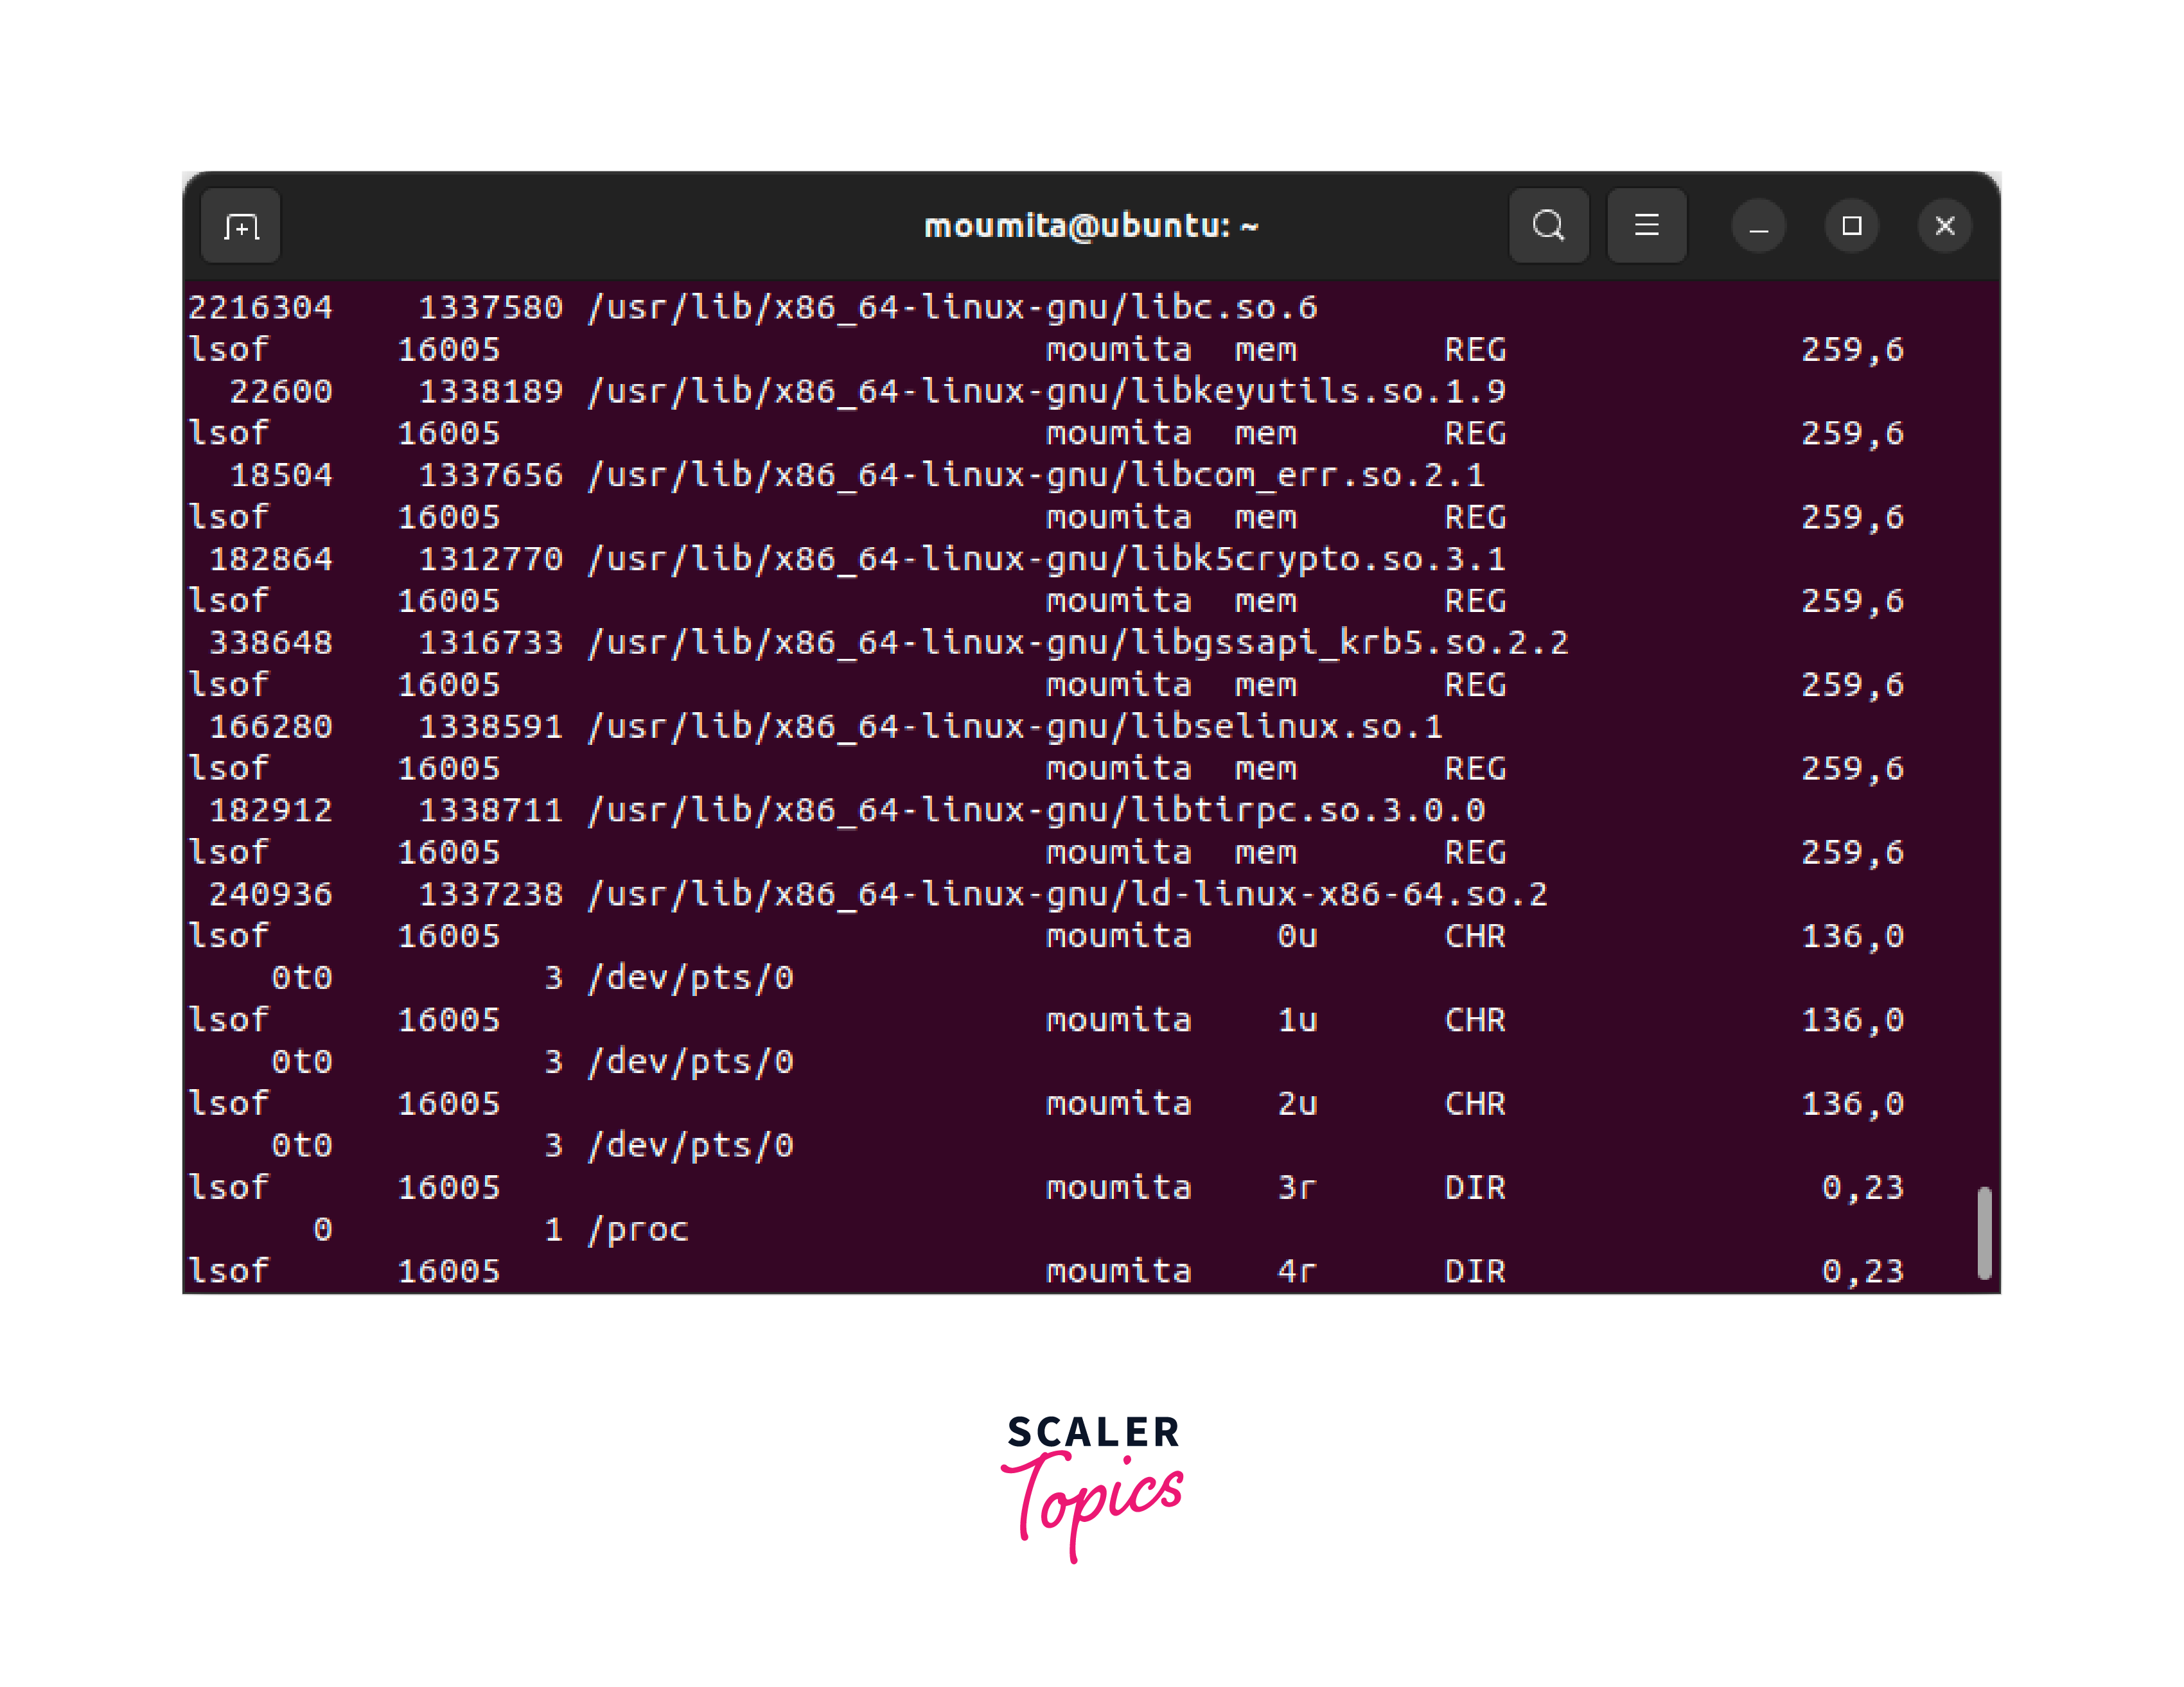
The lsof command in Linux shows a list of open files and tells you which processes are using them. Even though it's not a file recovery tool, it can help you get your files back. Let's check how to recover deleted files in linux using lsof command.

Step 1:
Open a terminal and execute the lsof command followed by the appropriate options and filters.
Some of the common options used are as follows.
- -c (process name):
Filter results based on a specific process name. - -u (username):
Filter results based on a specific user. - -p (process ID):
Display open files for a specific process ID. - -i:
Show files opened by network connections. - -n:
Prevent the command from attempting to resolve hostnames.
Step 2:
Review the output to identify processes holding deleted files.
Step 3:
Check any deleted files (DEL in the TYPE column) that are still held open by processes. This information can be helpful if you are attempting to recover deleted files that are still in use by active processes.
Based on the information obtained from lsof, you can take appropriate actions. For example, you may choose to restart a process to release its hold on a deleted file, or you may decide to analyze the open file handles in more detail using other recovery tools.
Using TestDisk
testdisk is a command-line tool designed for data recovery and partition repair. It can help recover deleted files, fix partition tables, and restore lost or damaged partitions. Let's find out how to recover deleted files in Linux via testDisk.

Step 1:
You can typically install it using the package manager specific to your distribution. For example, on Ubuntu or Debian-based systems, you can use the following command.
Step 2:
Open a terminal and execute the testdisk command to launch testdisk.
Step 3:
Once open TestDisk will display a list of available disks and partitions. Choose the disk where the deleted files were located and press Enter.
Step 4:
testdisk will prompt you to select the type of partition table used on the disk. If you're unsure, you can choose the default option, which is usually "Intel."
Step 5:
testdisk will analyze the partition structure and attempt to locate lost or deleted partitions. It will display the current partitions and any potential issues it identifies.
Step 6:
If testdisk finds any deleted partitions, it will list them. Select the partition containing the deleted files and proceed to the next step.
Step 7:
testdisk will provide various recovery options, such as listing files, copying files, or undeleting files. Select the appropriate option based on your specific recovery needs.
Step 8:
testdisk will guide you through the selected recovery process. It may involve searching for lost files, identifying file systems, or copying recovered files to a new location. Follow the prompts and provide any additional information required.
Step 9:
Once the recovery process completes, testdisk will notify you. Navigate to the specified output directory or location to access the recovered files.
Using PhotoRec
photoRec is a free and open-source command-line tool designed for file recovery, including photos, videos, documents, and more. It is part of the TestDisk suite and can be used to recover deleted or lost files from various storage devices. Let's find out how to recover deleted files in Linux using photoRec.

Step 1:
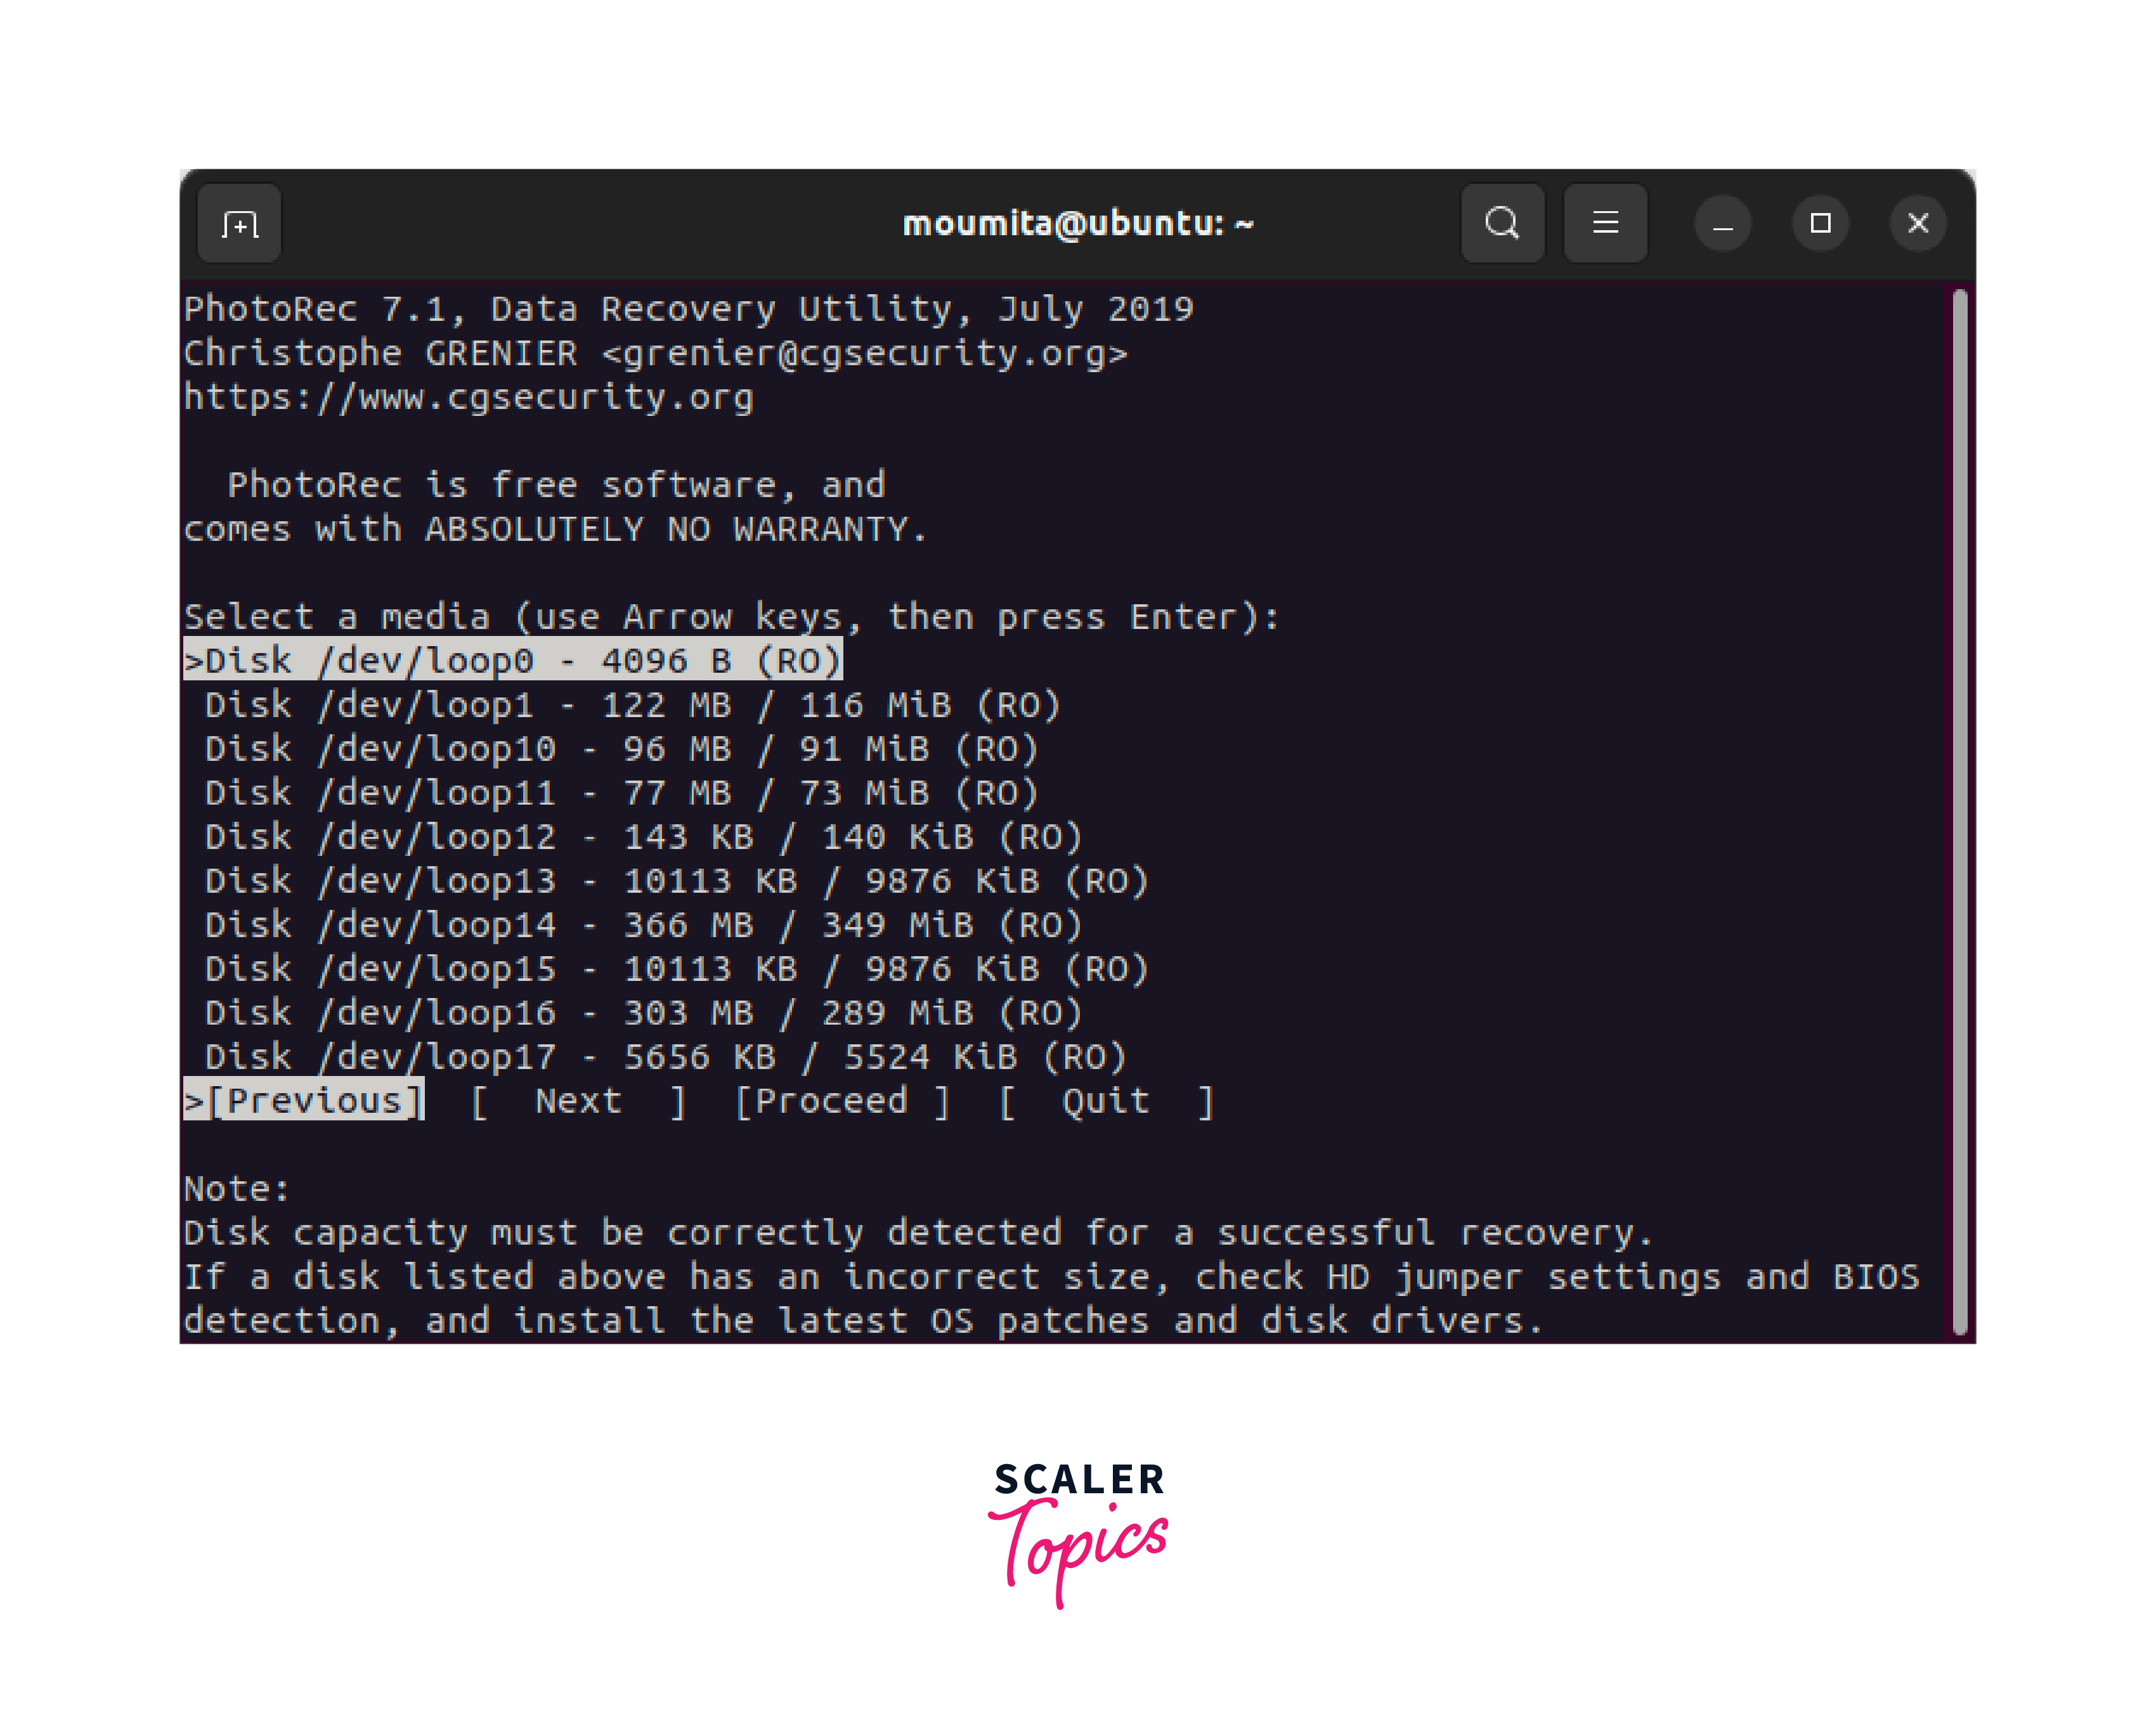
Open a terminal and execute the photorec command to launch photoRec.
Step 2:
Once open photoRec will display a list of available disks and partitions. Choose the disk from which you want to recover deleted files and press Enter.
Step 3:
Then photoRec will prompt you to select the partition type. If you're not sure, choose the default option, which is usually "Intel."
Step 4:
photoRec will ask you to choose the file system type used on the disk or partition. If unsure, you can often select the default option, which is "Other" or "Intel/PC partition."
Step 5:
photoRec will present various recovery options, such as file types to recover or the whole partition to scan. You can choose specific file types or select the default option to recover all files. Select the desired options and proceed.
Step 6:
Then photoRec will ask you to specify where you want to save the recovered files. It is recommended to specify a different partition or disk to avoid overwriting of data. Specify the destination and confirm.
Step 7:
Once you've configured the options, photoRec will start scanning the disk or partition, searching for recoverable files. The process may take some time depending on the size of the disk and the number of files being recovered.
Step 8:
After the recovery process completes, you can navigate to the specified destination folder to access the recovered files. photoRec will organize them into folders based on their file types.
Using extundelete
extundelete is a command-line tool for recovering deleted files from ext3 and ext4 file systems in Linux. Let's find out how to recover deleted files in Linux using extundelete.
Step 1:
Install extundelete using the package manager with the help of the following command.
Step 2:
Then unmount the affected partition. You can unmount it using the umount command as shown in the following command.
Step 3:
Run extundelete with the appropriate options and the device path. An example to recover all files is given below.
Step 4:
Specify the recovery destination and start the recovery process and wait for it to complete.
Then you will be able to access the recovered files in the specified destination.
Using R-Linux
R-Linux is a user-friendly file recovery tool for Linux. It is designed to recover deleted or lost files from various file systems, including ext2/3/4, NTFS, FAT, and others. Let's find out how to recover deleted files in Linux using R-Linux.
Step 1:
Begin by downloading and installing R-Linux from the official website.
Step 2:
Open R-Linux from the application menu or by running the r-linux command in the terminal.
Step 3:
Choose the disk or partition from which you want to recover files. R-Linux will display a list of available drives and partitions.
Step 4:
R-Linux will start scanning the selected disk or partition for recoverable files. It will analyze the file system and search for deleted or lost files.
Step 5:
After the scan completes, R-Linux will present various recovery options. You can select specific file types, specify a range of sectors, or choose to recover the entire file system.
Step 6:
R-Linux will prompt you to choose a location where the recovered files should be saved.
Step 7:
Once you've configured the recovery options and destination, initiate the recovery process in R-Linux.
Once the recovery process completes, you will be able access the recovered files in the specified destination.
Conclusion
- Linux offers various tools like Foremost, TestDisk, PhotoRec, extundelete, and R-Linux for recovering deleted files.
- Unmounting the affected file system is an important step to prevent further data overwriting during recovery.
- Tools like Foremost, TestDisk, PhotoRec, and extundelete provide specific recovery methods and options to retrieve deleted files from different file systems.
- By following this article you will have a complete understanding on how to recover files in Linux.
