How to Change Background Image Opacity in CSS ?

Overview
Opacity is defined as the opaqueness or visibility of something. Opacity defines how transparent your element is in CSS or how much visible will it be to a user.
Many times you would require to place text on an image background such as for a banner on your website. In that case, you need your image to be semi-transparent or semi-opaque so that users can see the text on the image. This can be achieved with the help of Image Opcity in CSS.
In this article, you will learn everything about Image Opacity and how you can apply it to your website.

Pre-requisties
Before starting with Image opacity, there are some topics that you need to be familiar with to understand Image opacity better. These topics will help you get a better idea of Image Opacity and will help you to implement it easily.
Familiarity with Opacity
Opacity refers to the transparency of an element. When opacity is applied to an element, it gets applied to the content as well. Due to this, the child elements have the same opacity as their parent elements.
Background image opacity CSS takes a value between 0 and 1. It can also take a percentage value from 0 to 100%. The 0 value defines the total transparency of the element while 1 defines total opacity.
Syntax :
If you require to change the opacity of a background element, then you can use the background property in CSS. It requires a rgba value. The alpha value provided in the background property will determine the opacity of the background.
Familiarity with position: relative and position: absolute
The position property in CSS defines how an element would be positioned inside a document. This property is mainly used when you require to position an element on a web page in a specific way.
The position element takes a value as input that defines how the element would be positioned.
Syntax :
For Image Opacity, relative and absolute positions are important to understand. let's see what these two position means.
Relative Position :
As the word suggests, relative positioning defines the position of an element relative to its original position in the document. The original position is the position of the element as per viewport width and height.
To position the element relatively, set position: relative;. Then you can use top, bottom, left, or right position properties to relatively position the element to your liking.
While you are using relative positioning, other elements would not be adjusted in the space created by relative position.
Absolute Position :
Absolute position is similar to relative position, but with a little difference. In absolute position, the position is relative to the element not for the viewport, but rather to the nearest parent element. In case, there is no parent element, the original position is used as the parent position.
To set the position of your element to absolute, set position: absolute;. Here also, you can use the top, bottom, left, or right properties to position the element.
Note :
Elements can overlap in absolute position, as it does not follow the normal flow of document position.
Familiarity with Stacking and z-index
To understand stacking you would need to visualize HTML elements in 3D. Think of HTML elements inside a stack, getting stacked one over another. The user is at the top and can only see the elements that are present on the top of the stack.
Let's understand stacking with an example. Let's say you created an HTML div containing certain text. Then you created another div with a background image and stacked it on top of the text div, then the user will only see the background image div. This is because it is present on top of the stack.
When you are creating a banner, you could use stacking as a way of overlapping text over a background image. You can stack images over text. After that, you can reduce the opacity of the image to make the text visible.
To control which element will appear over another, you can use the z-index. z-index takes a number input. The higher the z-index of an element, the higher it would appear on the stack.
For example, if you have two elements having z-index 1 and 2 respectively, the HTML element having a z-index will appear above the element having z-index 1.
Syntax :
Familiarity with the ::before and ::after Pseudo-elements
::after
::after in CSS is usually used to create a pseudo-element. The pseudo-element is created as the last child of the element on which you are applying the ::after class. It is usually used to add additional CSS Properties to the elements.
::before
::before in CSS is similar to ::after. The major difference between before and after keywords is that the after keyword creates a pseudo-element as the first child.
Note :
Both ::after and ::before are used for changing image opacity as they overcome a major drawback of using standard methods of changing image opacity. We will be talking about this drawback in the later section of this article.
Method : 1 - Using a Separate Image Element and Positioning to Change Background Image Opacity CSS
Now that we have understood everything about image opacity, let's get some hands-on experience by creating a banner and adjusting the image opacity of the banner. There are two ways in which we would be doing it. The first one would be using stacking and Image positioning. The second one would be using CSS Pseudo-elements.
We are trying to re-create the image given below in HTML and CSS.
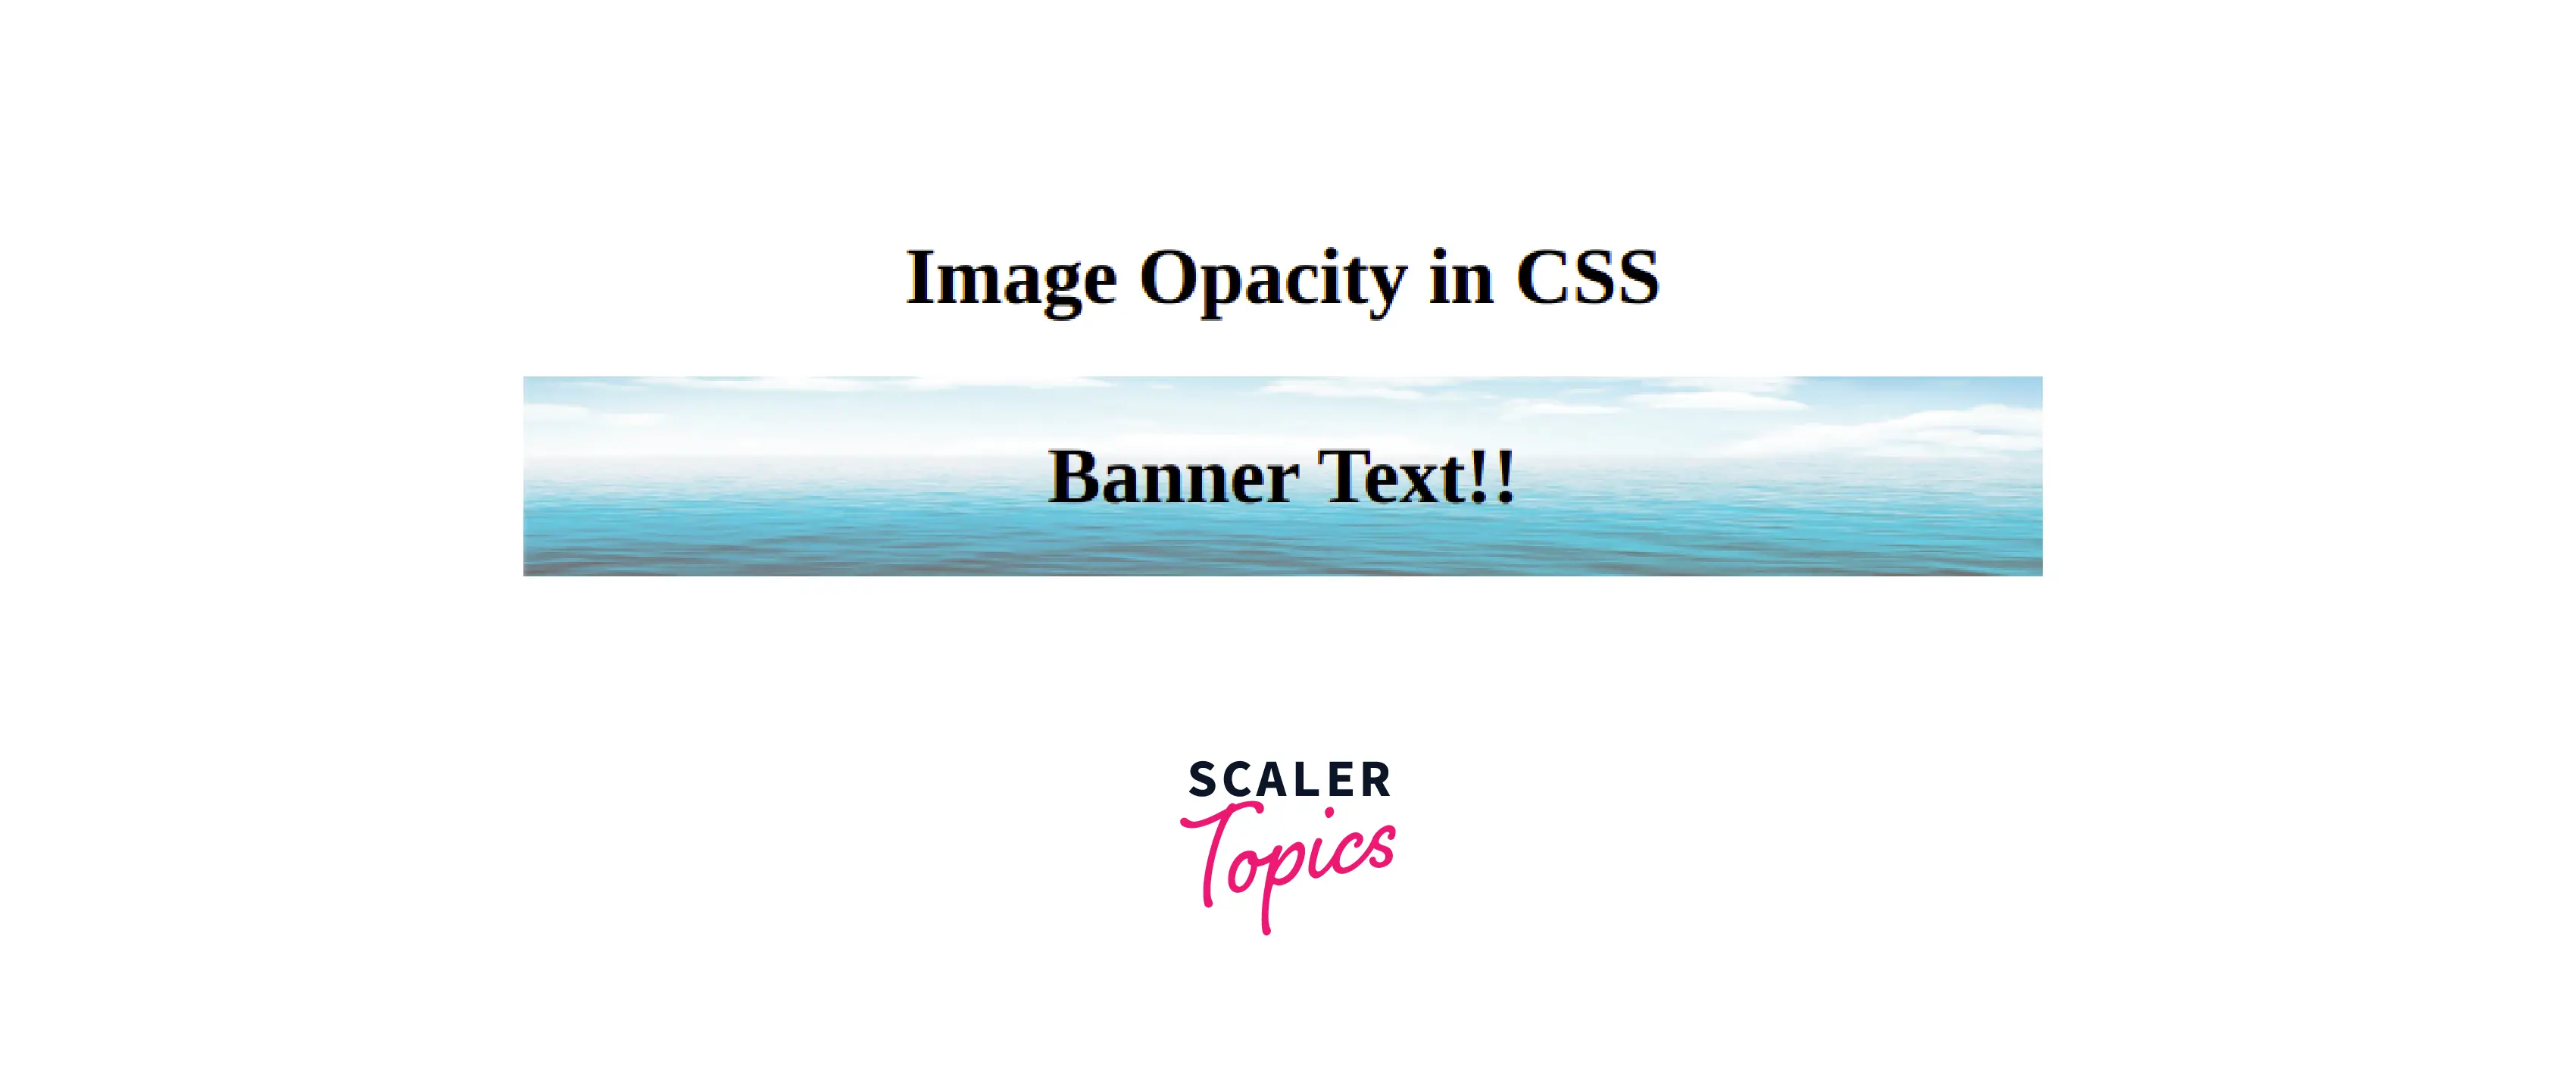
We would use positioning and stacking to our benefit to achieve this. We would overlap images and text on top of each other. Then, by reducing the opacity of the image, we would be able to see the text underlying the image. Let's see the code for it.
Easy isn't it? Now let's see another method by which you can adjust background image opacity in CSS.
Method : 2 - Using CSS Pseudo-Elements to Change Background Image Opacity CSS
In this method, we will be using pseudo-elements to recreate the same image as in method one.
The main difference here is that we have not included an image as a tag in this method. Instead, we create a pseudo-class of our main div and insert an image as a background in that div. All the position and opacity changes are done in that pseudo-element to change Image opacity. The result is the same as seen in the above method.
Opacity Changes on a Parent will Get Inherited to Child Elements
One thing you will notice is that we have created a pseudo-element in method two. Was that necessary ? Can't we just use CSS on the parent element ? We just need to set the background image and change its opacity. If you are thinking this, then you are right. We can surely do that, however, there is a major disadvantage to that.
The main disadvantage is that if you do this, then all the child elements will inherit the position and opacity properties. To explain this, we have recreated method two, but instead of using pseudo-elements, we have done everything in the parent element.
Let's see the output now :

You should be able to notice the difference between method 2 output and the above output. The text is transparent and this is because the content class inhering the opacity value from the parent element.
Solution : Put the Background Image into a Pseudo-element of the Parent
So to prevent the child element from inheriting the properties of the parent element, we use a pseudo-element. By using pseudo-element you now placed the background image and text in their "layer". You can individually change the opacity of the background image without affecting the opacity of the text element.
Add an Overlay with Reduced Opacity and Background Color on Top of the Background Image
There is also an alternate solution for changing background image opacity in CSS. Instead of changing opacity and inserting the image in pseudo-element, what you can do is insert the background image in the parent class. Then you can use pseudo-element to set a background color to transparent using rgba value. The alpha value will be between 0 and 1, with 0 being transparent while 1 is opaque.
The output of the above code will be :

The above image looks pretty much similar to the ones displayed in method 1 and method 2.
Conclusion
- Background image opacity CSS refers to the transparency of the underlying background image in an element.
- Opacity keyword is used to change background image opacity in CSS. It requires a value between 0 and 1.
- Background color property is also used to change the opacity.
- Alpha value controls opacity in the background-color property. It requires a value between 0 and 1.
- Pseudo-elements can be created to change background image opacity in CSS.
- Pseudo-elements prevent children elements from inheriting opacity properties from parent elements.