The HTML DOM!

Overview
We know javascript defines the behavior of HTML elements. However, it cannot access these elements directly. The HTML DOM is an API to help Javascript understand the structure of our HTML document and access the tags inside it. Without it, it would not be easy to decide on actions for our elements. The HTML DOM forms a tree-like structure that defines a hierarchy to help one object go from one place to another. HTML DOM has different ways to access an element and many levels where each level gives more functioning options.
Contents
- Introduction to HTML DOM
- Why DOM?
- The HTML DOM Tree of Objects
- Accessing HTML Elements
- Levels of DOM
- What DOM is not?
- Summary
Introduction to HTML DOM
HTML DOM helps JavaScript to access HTML elements through two objects:
- The window object is the parent node in our tree structure representing a window in our browser.
- The document object is created when our HTML is loaded in the browser.
When we make our website functional by deciding its behavior using Javascript, we first need accessibility accessible between JavaScript and HTML elements. The Document Object Model (DOM) Interface makes languages like Javascript and Java compact and handy to be portable among different internet browsers. It defines our document as an object containing several properties to access and modify other child elements. Example: A file named "home.html" is an object where the window and document objects are children of the document.
We have two prime objects to learn about before diving into DOM:
- window
- document
Window Object
The window object is the first node also known as the parent node in our structure of trees of objects.
Two main models define the HTML structure:
- Browser Object Model (BOM)
- Document Object Model (DOM)

The BOM has an object that represents a window in a browser, known as the window object. This object is at the top of our hierarchy, and all the properties, methods, and tags that we use to manipulate HTML elements are members of it.
The two main properties of this object are the document object and the screen object. In this article, we’ll study the document object and its model.
Document Object
Like our browser contains a window object, similarly, we also have a document object created when our HTML document is loaded. Through this object, we can access every HTML element in our document. The syntax for accessing any property in our document is as follows:
The root node of all properties used to access and modify HTML elements is the document object. The document object is accessible through the parent object ‘window’ or simply by using ‘document’:
METHOD 1: Using the Window Object
Here the use of window only justifies it being the parent of the document object.
METHOD 2: Without the Window Object

We can see both codes have given us the same output and displayed HTML elements in our document. As we move further in the article, we’ll see more methods and properties that leverage us to modify these elements more easily. But before that, it is crucial to understand the DOM.
Document Object Model (DOM)
An HTML document has many nodes which represent every element. It forms a tree-like structure called the Document Object Model and is an application programming interface (API) for Javascript. This model helps developers to skim through all the elements in a structured manner, making the tasks easier and more efficient.
A basic representation of all the elements from our browser to document is shown below:
Let’s look at a few examples to understand what our DOM is capable of:
Here we will see how to display the number of links our HTML document has:
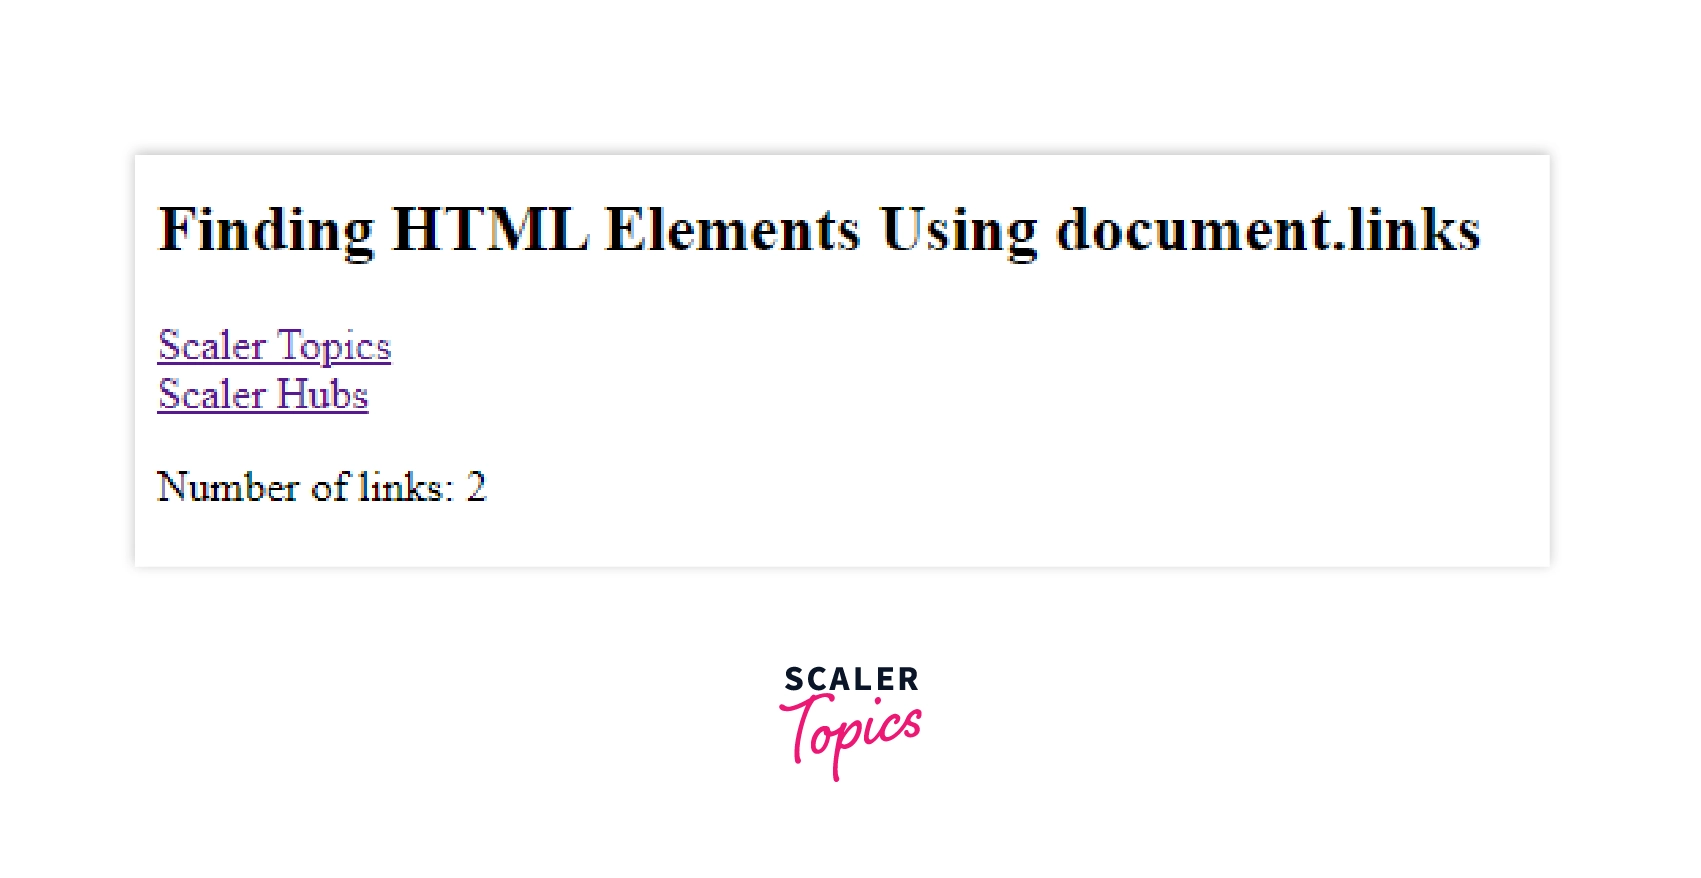
Here we used many document properties to access elements by ID and count the number of total links our document has.
Now we will control the visibility of an HTML element:
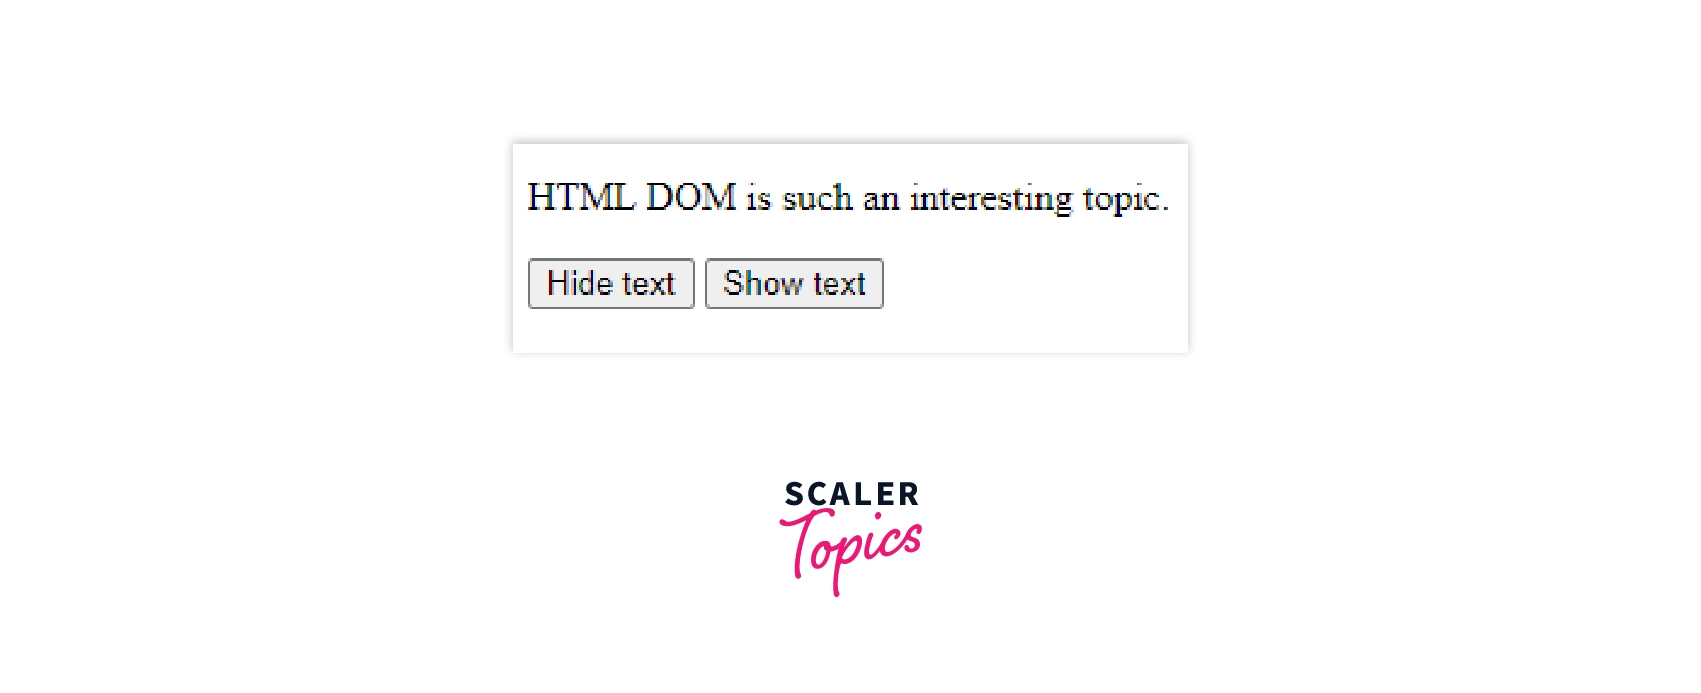
The onclick attribute takes script code to decide the fate of our HTML element when clicked.

These were just two easy practical examples to test the capability of our DOM; it doesn’t end here. Once you learn all about it, it’ll be more exciting.
Why HTML DOM?
JavaScript needs an interface to access HTML elements which are provided to it in the form of a DOM structure.
We know that with the use of HTML and CSS, we can make an attractive website for our users, but these languages cannot define the behavior. We use Javascript to state the behavior of our HTML elements. However, JavaScript needs an interface to interact with these objects. Hence, the need for DOM, an API, and a structural way to represent our document arise. It helps us to access HTML elements easily. It is otherwise confusing to interpret HTML tags <h1>, <p>, <a>
When javascript accesses them in the form of names of each tag <h1>, <p>, <a>, it can work its magic.
Our HTML code looks something like this:
Using the DOM structure, it becomes like this:
The HTML Tree of Objects
The different objects in our HTML document form a tree of objects which is hierarchical and helps to store the structure and behavior of each tag.
All the elements, including the text inside them, are nodes. Nodes are simply different types of objects in our DOM hierarchy. We can use nodes or objects as both refer to the same thing. For example, the document object can be referred to as a node or an object. These elements are put into a ranking order as per the HTML5 convention to form a tree of objects. Here, we can see a visual representation of our DOM in the memory:
It is known as a tree of objects as our entire HTML document is patterned using different nodes where all the objects contain structure and the behavior of that tag.
Accessing HTML Elements
There are five ways to access HTML elements:
- The getElementById() helps us to access elements by id.*
- The getElementByTagName() helps us to access elements by tag name.
- The getElementByClassName() helps us to access elements by class name.
- The querySelector() and queySelectorAll() help us to access elements by the specified query.
- The HTMLCollection is an array-like list of HTML elements.
Now that we know the DOM structure and how it's made of nodes in the form of text boxes, links, etc. let’s learn how we can find and access HTML elements for manipulation using JavaScript.
It is important to know about classes, ids, and tag names and the knowledge of CSS selectors should also be clear for this part of coding.
Accessing by ID
We know that an id is unique to every HTML element, so this method is suitable to access specific tags and make changes to them. The getElementById() property returns the HTML element that contains the specified id and modifies it accordingly.
Let’s look at an example to change the inner text of our HTML element by accessing it through an id:
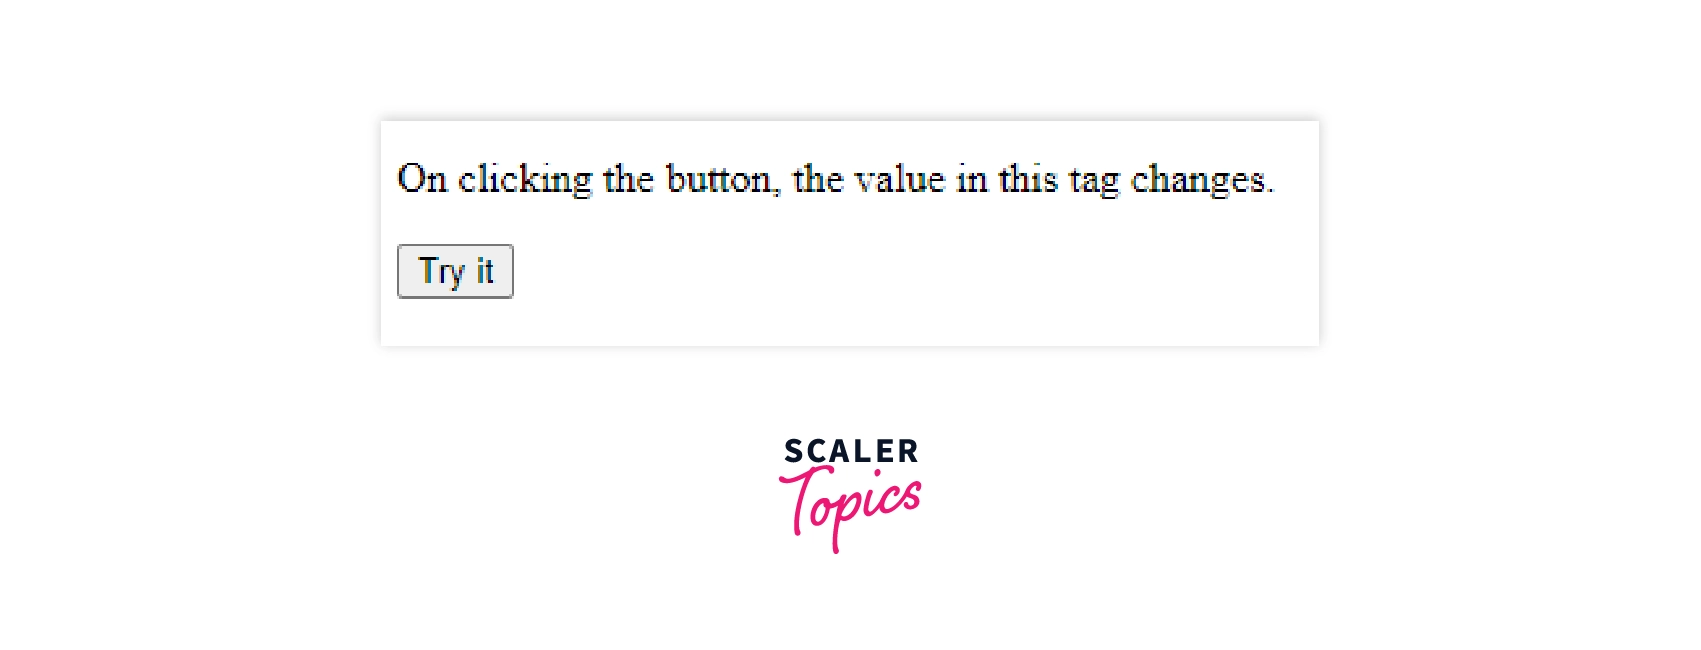
Here, we have used the innerHTML method to change the contents inside our <p> tag.

The method will display null in case the specified id is not associated with any HTML element.
Accessing by Tag Name
Sometimes we might have to modify similar tags at the same time. Accessing each of them with a unique id can be tiresome. Hence, we can access them using tag names. The getElementsByTagName() property returns a collection of the same element which is specified. It is useful in cases of parent and child objects.
Here, we access all the elements with similar tag names:
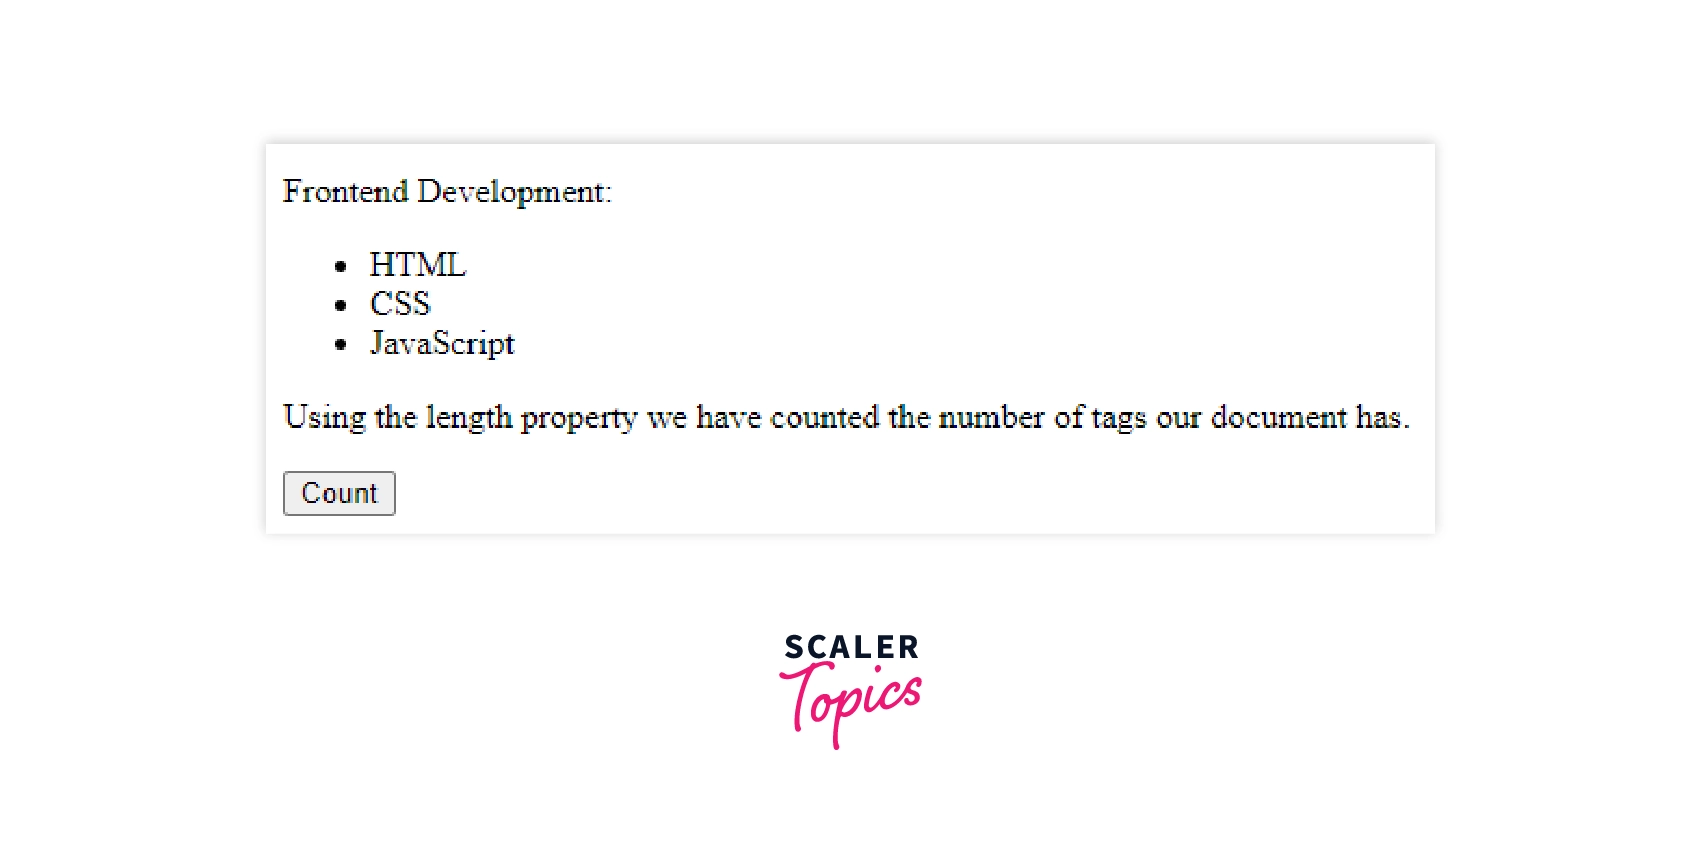
We can see the number of elements after clicking on the count.
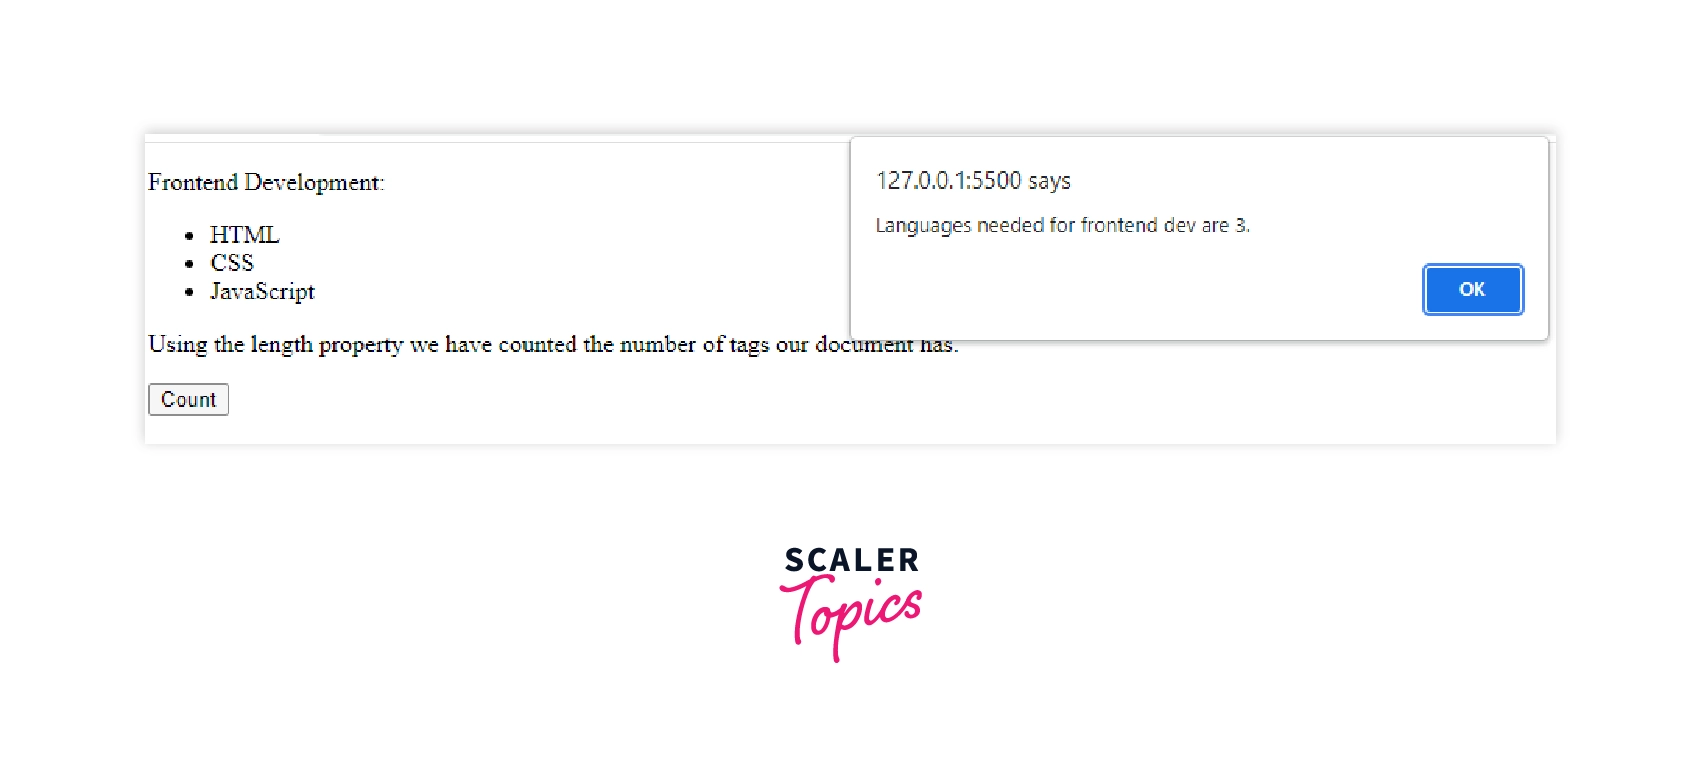
Now we access child elements using the length property:
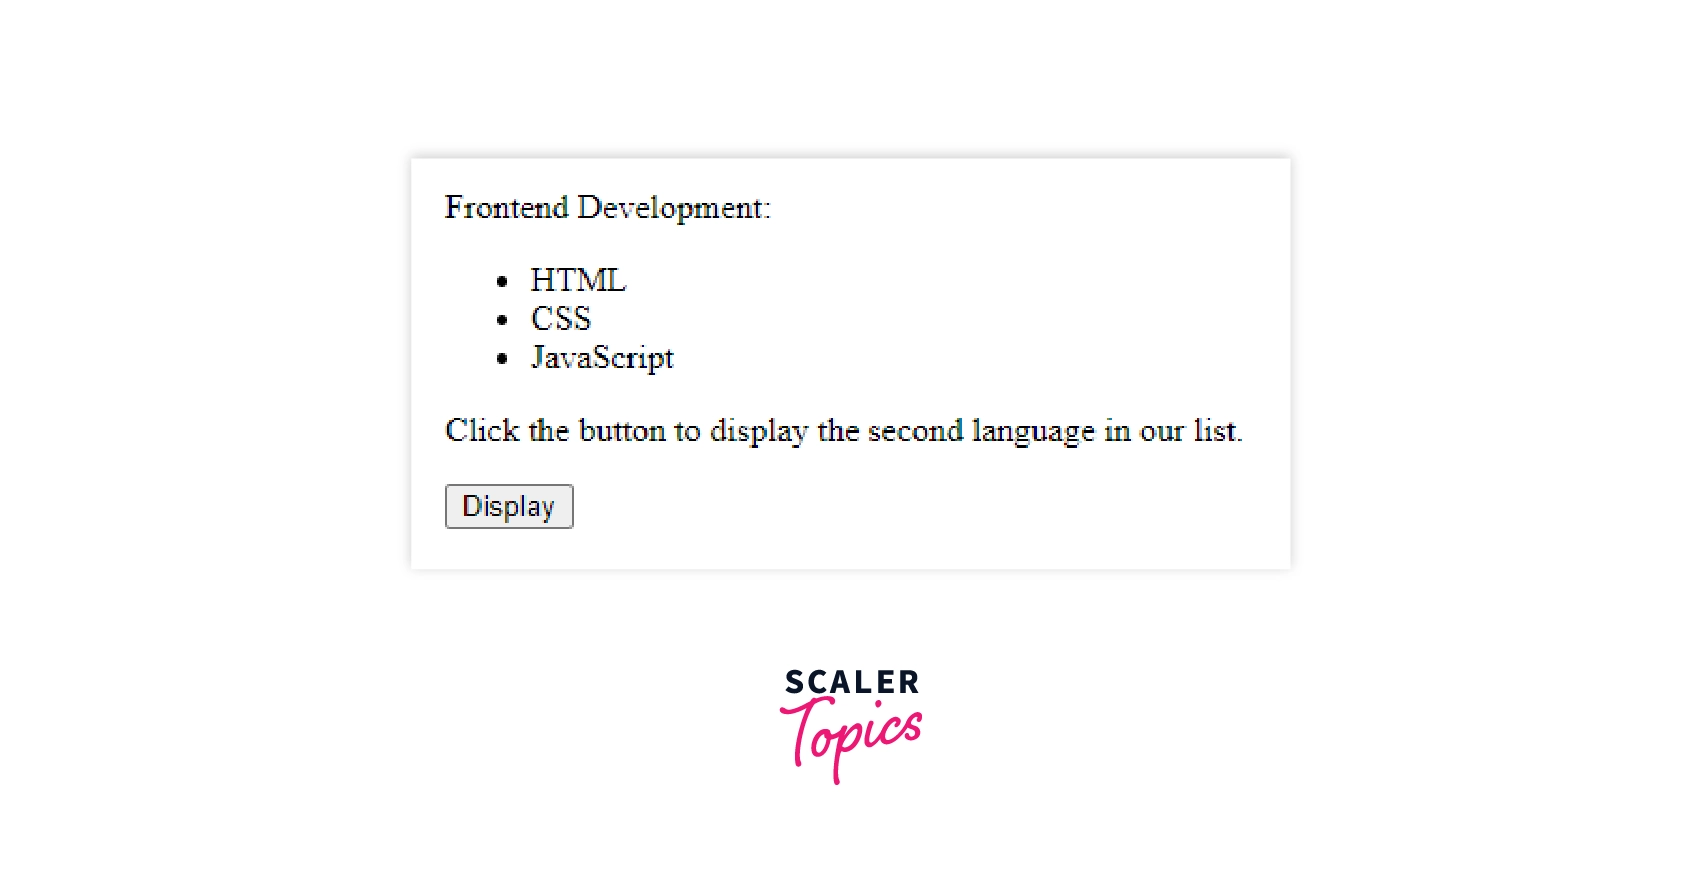
"CSS" gets displayed after clicking the button.
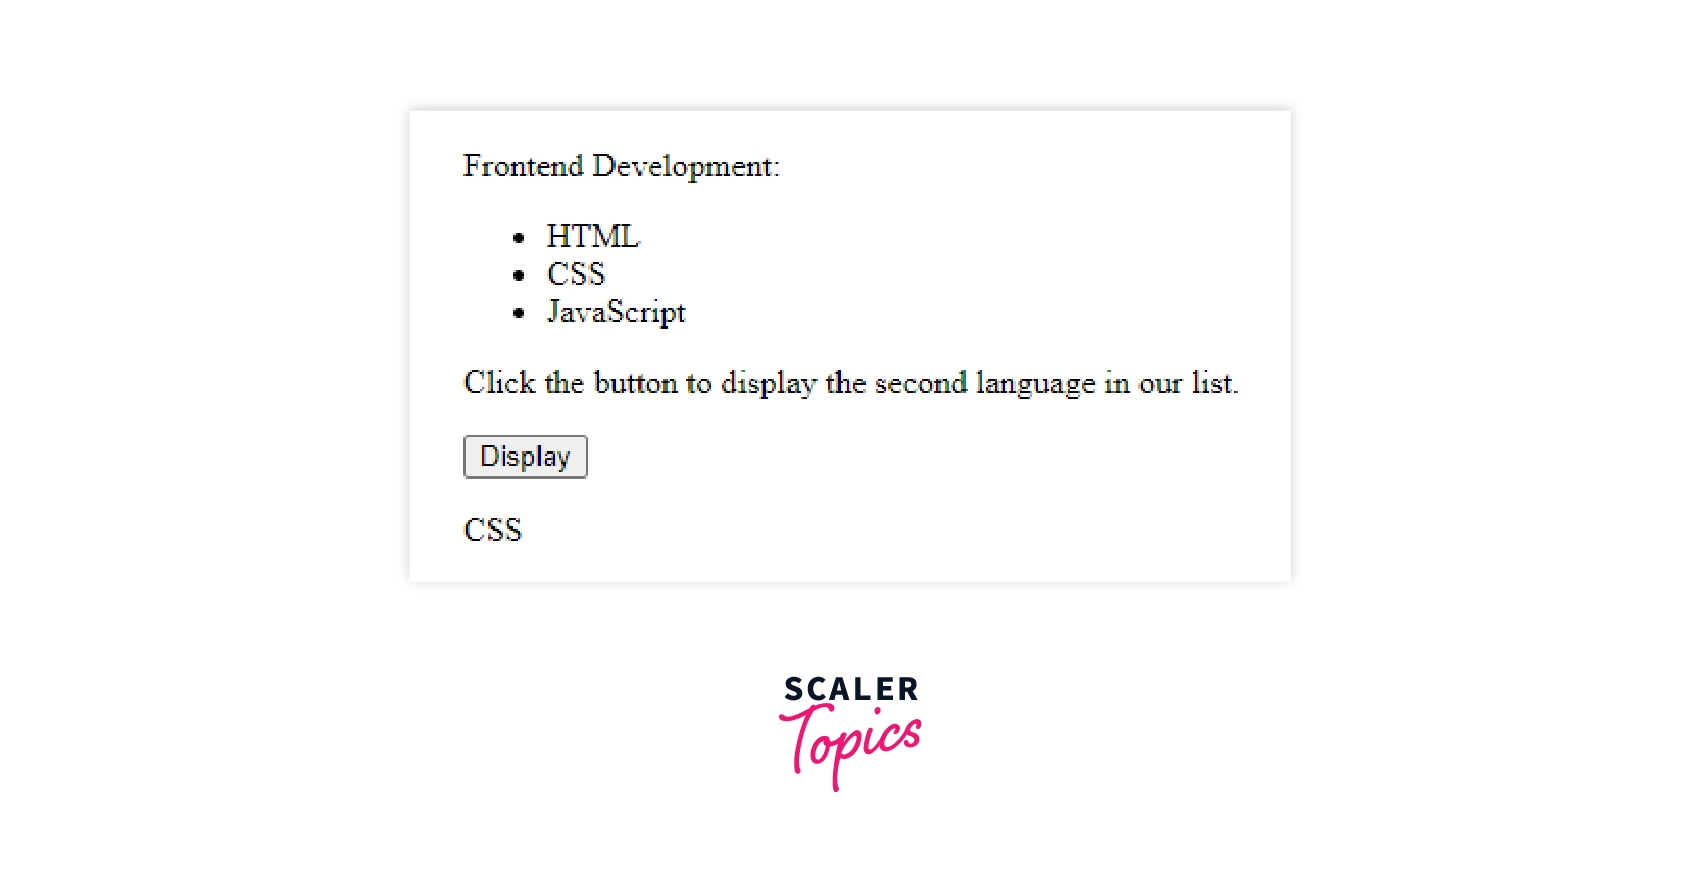
Here instead of iterating and counting the number of elements, we are simply accessing the first one. Remember to always start from index 0 while coding.
Note: In HTML documents, our DOM tree returns the tagName in canonical uppercase form. For example, the tagName <li> will always be returned as LI.
Accessing by Class Name
There can be instances when we want to select different elements and modify them together. We can do so by accessing them through the getElementsByClassName() property. It returns a list of all the elements with the specified class name.
In this example, we loop through the elements with the same class name to modify the background color:
Through the iterative process, we are accessing each element of class "example" one by one.
NOTE: We can also implement more than one class name in the same method by separating both class names with a space.
Accessing by CSS Selectors
Before learning how to access using CSS selectors, it is necessary to know what they are. A CSS selector finds HTML elements based on our selection. We can select an individual or a group of elements. The CSS selectors have five categories:
- Simple selectors (based on name, id, and class)
- Combinator selectors (based on a specific relationship between two elements)
- Pseudo-class selectors (based on the state of an HTML element)
- Pseudo-elements selectors (style a part of the selected element)
- Attribute selectors (based on an attribute or its value)
Now with so many options, accessing by CSS selectors comes out to be very beneficial. There are two commands to access using the above five selectors:
- querySelector() - This method selects the first element that matches the mentioned selector (one or more). The syntax of this method is:
Here the selector denotes a CSS selector. In case the selector has invalid syntax, a syntax error exception will arise. In case the selector is not found, the method will return NULL.
- querySelectorAll() - This method is used in cases where all the elements of the selector(s) need to be accessed. The syntax of this method is:
Note that this method returns a static NodeList when the elements are found. Otherwise, it returns an empty NodeList. A NodeList is an array-like object, not an array object completely.
Let’s move forward to looking at how to use these methods on individuals and groups of selectors.
Common Selectors
There are many kinds of variations when accessing through selectors. The most basic is when we are making use of type, class, id, attribute, or universal selector. How do we do that? Let’s look at some examples below.
1. Universal Selector
There can be cases when we want to apply some property or decide on functionality for all elements of a particular type in HTML. Here, the universal selector represented by an * (asterisk) is used.
We can see how to select the first element of the document in the below example:
When we need all the elements of our document, we use the querySelectorAll() method:
If we want to select exclusively for some types, ids, classes, or attributes we use the below-discussed methods.
2. Type Selector
A type selector is utilized when an entire HTML tag needs to be accessed. Suppose we want to make a change in all our listed options, we make use of the li tag and fulfill our purpose.
The querySelector() method will only apply the changes to the first element:
Here we are accessing the first paragraph of our document.
In case we want to change all the elements of p-type, we can make use of the querySelectorAll() method:
3. Class Selector
The class selector makes it easier for us to navigate through different tags and make similar changes as per our needs. Hence, we can use the following syntax of the class to access it easily:
When the changes need to be made only to the first element of the class, we can use querySelector():
Generally, we use classes to access all elements. Therefore, we use querySelectorAll():
4. ID Selector
An ID is a unique name given to an HTML element. It is helpful when we have many of the same HTML elements. The syntax used in CSS is also applicable here to access an id:
Since ids are exclusive to each HTML element, we can only perform the querySelector() method:
5. Attribute Selector
When we are working on a large project where all the minute details of each element need to be taken care of, the attribute selector comes in handy.
These are the following syntaxes to access an attribute:
In the following example, we get only the first element of the autoplay attribute:
But if we want to make changes in all elements with the autoplay attribute, the below example can help:
Group Selectors
The common selectors become more powerful with the functionality of grouping that we have in HTML DOM. This reduces code repetition, saves time, and boosts our productivity. To access a group of selectors, we use the following syntax:
In the below example, we are accessing all the h1 and p elements:
Combinators
When we talk about combinators, we refer to child elements of a particular type. But in HTML DOM, combinators are revolutionary as we can use some operators like >, ~, and even + to access the elements. We have four types of combinators that offer different functionalities.
1. Descendent Combinator
As the name suggests, a descendent combinator finds a child node of an element.
The syntax used is:
where the first selector is a parent node followed by its descendent.
In the following example we access all the li tags inside the ul element:
NOTE: The descendent can be a child, grandchild, great-grandchild, and so on of an element of a particular type.
2. Child Combinator
Now what to do in cases where we want to select only the direct children of an HTML element? We use child combinators.
The below syntax shows how to access child combinators:
Here the ‘>’ sign denotes that the selector on the left side is the parent node of the child on the right.
If we want to access all the p elements that are directly inside the h tag, we can do so with the help of the following example:
3. General Sibling Combinator
A parent node can have children of the same or different types. To access selectors with the same parent node, we use the general sibling combinators.
The general sibling combinator uses the following syntax:
Let’s see an example to access selectors with the same parent node:
Here the match will show all the span elements that follow the p tag not necessarily immediately.
4. Adjacent Sibling combinator
As we saw the difference in descendent and child combinators, general sibling and adjacent sibling combinators follow the same route. In this case, only the direct adjacent siblings are chosen. The syntax is:
The following example makes it more clear to access using an adjacent sibling combinator:
Here the ‘span’ tag that follows the ‘p’ tag immediately is selected.
4. Pseudo
The HTML elements & class can have states according to which changes can be made on them. In HTML, we have pseudo-classes and pseudo-elements to access different states of an HTML element.
1. Pseudo-Classes
The pseudo-classes can be accessed through the following syntax: element:state
Let’s look at an example that makes it clear:
Through this, we access the second ‘li’ element in a list.
2. Pseudo-elements
The syntax for accessing pseudo-elements is:
In the following example, we match all the first lines of all div elements in our document:
With this, we come to the end of the different types of selectors that are useful to access HTML elements.
Accessing by HTMLCollection Object
The HTMLCollection interface represents a collection of elements selected from a list. It is an array-like list of HTML elements and contains methods and properties to access HTML elements. One such method that returns an HTMLCollection is the getElementByTagName() method; which we studied previously.
Let’s look at the length property of this object:
This would return the length of the specified element. The horizontal break is used to differentiate between input and output.
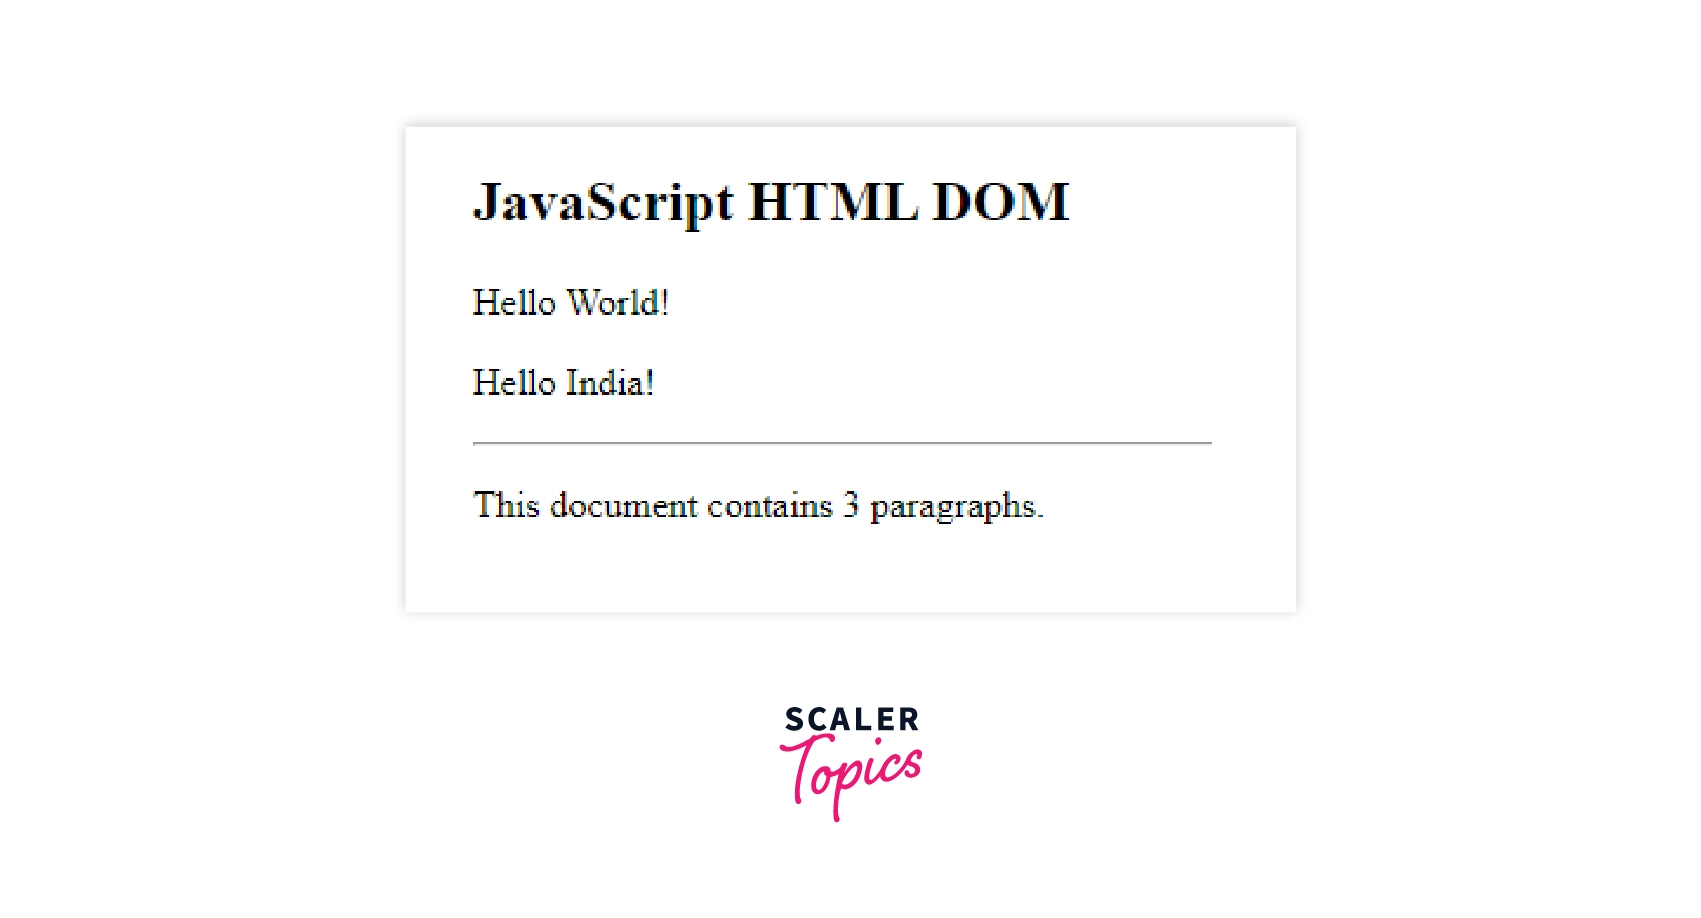
There are two other methods namely, item() and nameItem() which are a part of this object and return the index and name of the specified value.
Levels of HTML DOM
The three levels of DOM were created to give us access to different modules:
- Level 0: This is the base of our DOM which supports an interface DOM.
- Level 1: It was introduced by W3C and provides two specifications: CORE and HTML.
- Level 2: This brings six more specifications needed for convenient access to our HTML document.
The HTML DOM has levels that provide specifications as to how the model should work. To get a level supported in our code, we can implement all the different required and optional modules. Let’s have a look at each level separately:
Level 0
This level defines a low-level set of interfaces like the intermediate DOM which was created before the standardization process. We can access some of the most important HTML elements at this level like forms and images. Since such accessibility is a basic requirement for the functioning of the DOM, all mainstream browsers support it even though it is not recommended by the W3C.
Level 1
Introduced by W3C, this level has two parts: CORE and HTML. Its main goal is to provide a programming interface to web developers.
The CORE part includes some fundamental interfaces of low-level which are used to represent our document. It helps us to dynamically access the content, structure, and style of our file. The HTML part provides higher-level fundamental interfaces to complement the applications provided in the CORE part. This altogether gives an easier outlook to our HTML document.
Level 2
Apart from the already existing parts of Level 1, this level introduces namespace, filtered views, and events and is language agnostic. It consists of six specifications: CORE2, VIEWS, EVENTS, STYLE, TRAVERSAL, and RANGE.
| CORE 2 | VIEWS | EVENTS | STYLE | TRAVERSAL | RANGE |
|---|---|---|---|---|---|
| It provides extended functionality of the CORE part of Level 1. Now we can access and also modify the HTML elements. | It allows us to access and modify the content and structure of our HTML document dynamically. | It defines an event system generic to all programs and scripts. It states the concepts of event flow, event click, cancellation, etc. The keyboard events are an exception to this level as they were not introduced here. | It allows us to access and modify the content and structure of our stylesheets dynamically. | It can help us traverse through the HTML document dynamically. | It identifies a range of content in our document dynamically. |
DOM Level 3 was introduced in 2004 which is an extension to Level 2 and introduces new specifications.
What DOM is Not?
DOM is not the source code and it does not define objects in our file. DOM structure is also different from the one represented in devtools.
Since DOM is associated with HTML and is also called HTML DOM, it can be considered something else.
- Our DOM is not the source code of our HTML document. It is simply a representation of it in the form of a tree of objects.
- It does not describe objects in our document but rather considers our document as an object.
- The structure represented in our dev tools is not the DOM structure as that structure contains pseudo-elements (styling properties) like ::after and ::before however, our DOM structure includes only the HTML elements.
Conclusion
- The window and document object are the prime nodes that help us to access other elements in HTML.
- DOM is an interface for Javascript to access HTML elements in a structural order.
- The HTML DOM is a tree of objects where a document is an object which gives access to child objects.
- We can access HTML elements in 5 ways: getElementById(), getElementByTagName(), getElementByClassName(), querySelector(), and querySelectorAll().
- There are 3 main levels of DOM which specify required and optional modules.
- There are misunderstandings related to DOM and sometimes it is considered the source code. DOM does not introduce objects in our document. Here, our document is an object.
