Emmet Cheat Sheet

Emmet is a coding toolkit streamlining the creation of extensive HTML code. It enables developers to rapidly generate large HTML blocks by using concise Emmet shortcuts, transforming a few lines or words into complete code structures. Primarily, it integrates CSS selectors with HTML, offering a swift, efficient method for coding. This article introduces Emmet's capabilities and guides on its usage for optimizing HTML development.
How To Use Emmet
Emmet could be used by adding emmet plugins to the IDEs. Adding emmet plugins to IDEs and using emmet have been discussed in upcoming sections
Adding Emmet to the IDE
Modern IDEs like VS Code come with built-in support for emmet. Though, if the emmet plugin is not present by default in an IDE, then it can be downloaded from the emmet website.
Using emmet in the code editor
Once the emmet plugin is added to the IDE, we can simply type an HTML tag without <>, and the editor will show the suggestions for the tag. Point to the correct tag and hit tab on the keyboard, and the editor will write down the code.
Example
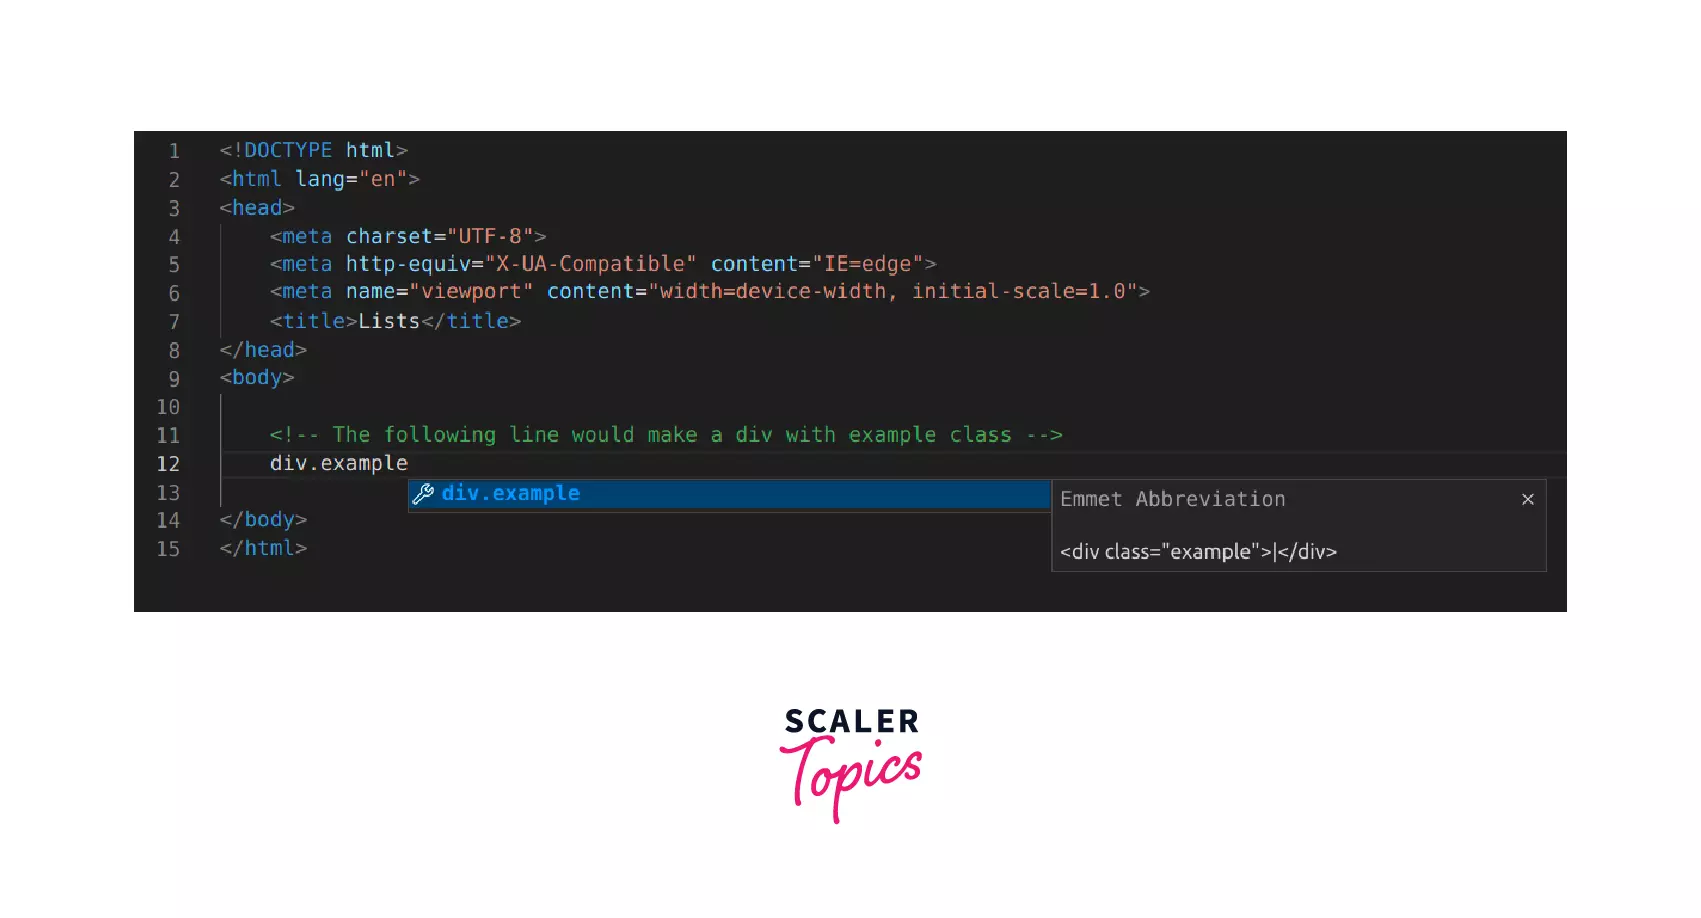
Let's write a div element using emmet. All we need to do is to write div in our HTML document. The code editor will prompt tag suggestions.

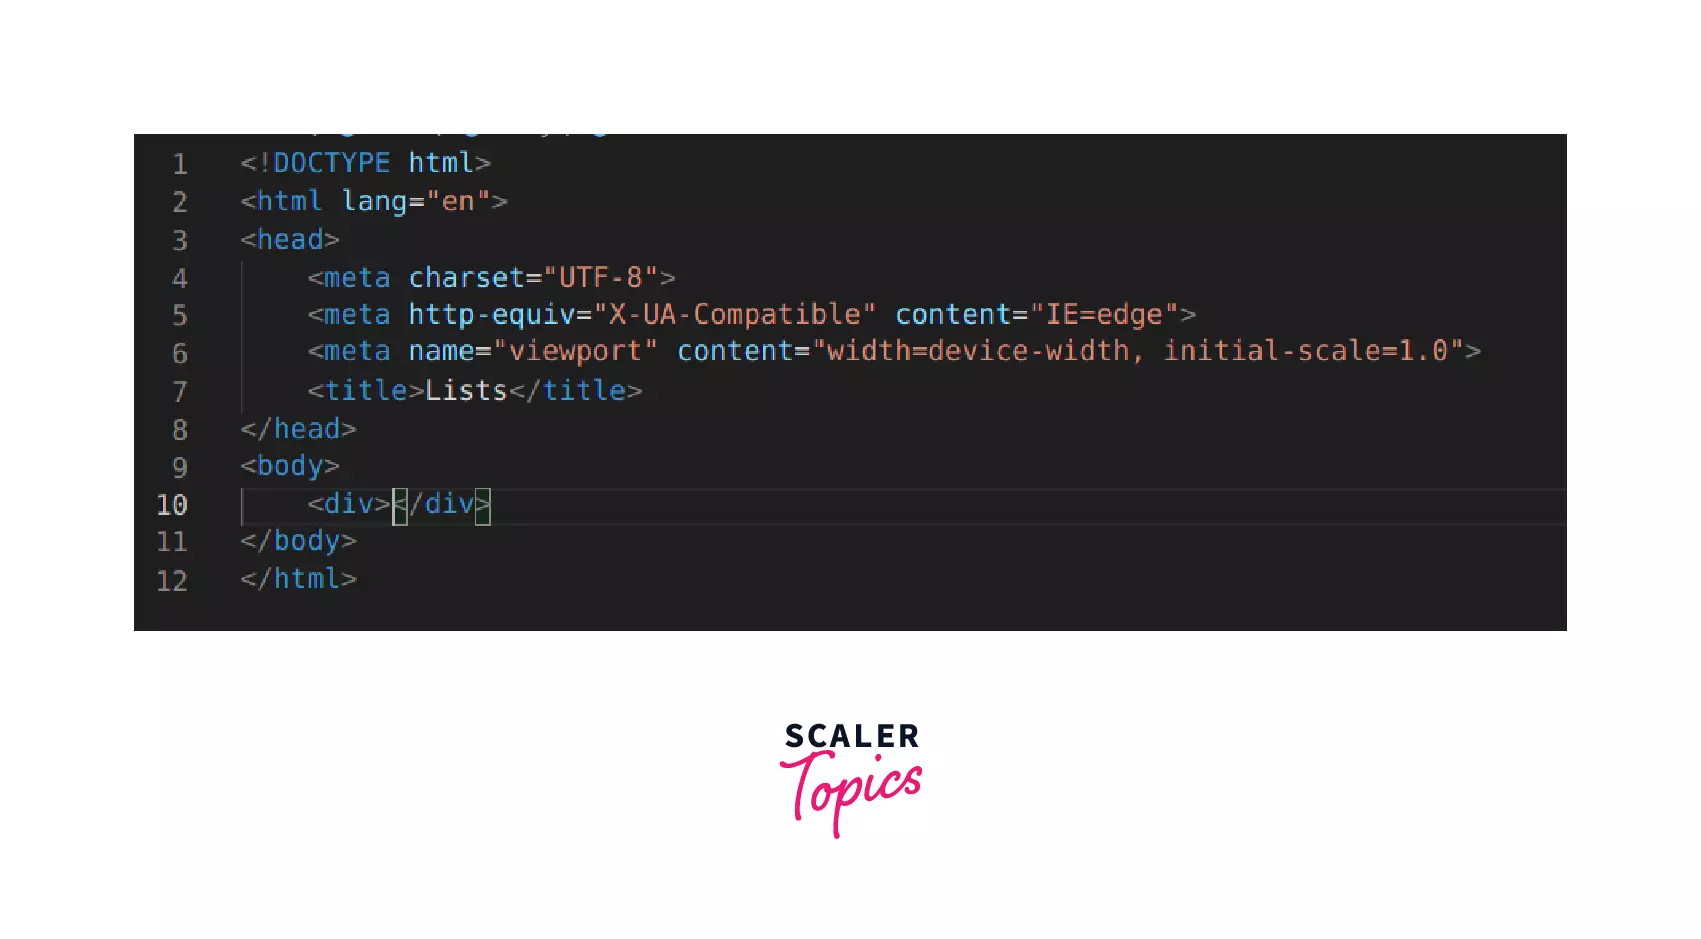
Now we will select the tag that we want to write and press the tab on our keyboard. The editor will write down the div element.ws

Common operations using emmet
In this section, we will discuss some common operations like making an element with a class name or making a list using emmet shortcuts.
-
Adding ID and CLASS attributes
Adding ID
We can add ID selectors using emmet. To add an id, we need to write the # symbol followed by the id name.
Upon pressing the tab, the code editor will create a div with id ' example'
We can also create an id for different elements. For example, to create a <p> with id 'example', we need to write the element name followed by # and id name.
Upon pressing the tab, the code editor will create a p with id ' example'
Adding CLASS
We can add CLASS selectors using emmet. To add a class , we need to write the . symbol followed by the class name.
Upon pressing the tab, the code editor will create a div with class ' example'
We can also create classes for different elements. For example, to create a <p> with class 'example', we need to write the element name followed by . and class name.
Upon pressing the tab, the code editor will create a p with class ' example'
Adding both CLASS and ID
We can create tags that have both class and id with emmet. To write such tags , we need to write the element name followed by # and id name followed by . and class name.
Upon pressing the tab the code editor will create a p with class 'className' and id 'idName'
Adding multiple CLASSES
We can create tags with multiple classes. To do this we need to write the element name followed by . which is then followed by the class names of the classes that we want to add.
Upon pressing the tab the code editor will create a div with the classes 'class1', 'class2' and 'class3'.
-
Adding custom attributes
We can create a tag with a particular attribute and pass its value using emmet. To do this, we need to write the element name followed by square brackets []. Inside the bracket, we can write the name(s) of one or more attributes along with the value.
Upon pressing the tab, the code editor will create an element, p with title = "Scaler academy".
We can write multiple attributes and can also pass an attribute without a parameter. The attribute that is passed without a parameter will be assigned an empty value (" “).
Upon pressing the tab, the code editor will create a td with rowspan=2 colspan=3 title="".
-
Adding text
We can add texts or paragraphs within tags using emmet. To do this, we need to write element name followed by curly brackets {}. We can add the text item within these curly brackets.
Upon pressing the tab, the code editor will create an a with the text ' click here'.
-
Adding Child
We can nest a tag within a tag. To do this, we need to write the parent tag name followed by > followed by the tag which is to be nested
Upon pressing the tab, the code editor will create a div with a p inside.
We can also nest multiple elements. To do this, we need to keep appending children. Note: the element to the left of > will be the parent for the element to the right of >*.
Upon pressing the tab, the code editor will create a nav with a ul that has li nested inside.
-
Adding sibling
Using emmet, we can add sibling tags to HTML. (Sibling elements are elements that share the same parent). To do this, we need to write tags with + in between.
That is, if two or more tag's emmet shortcut has + in between, then the code editor will create them as siblings.
Upon pressing the tab, the code editor will create three tags, div, p and nav, as siblings.
-
Multiplication
We have learned to add a child inside a tag. But what if we have to add multiple children (with the same tag) inside the tag. In such cases, we can do the multiplication of tags. To do multiplication, we need to add * after the tag, which is to be multiplied followed by the number of repetitions.
Upon pressing the tab, the code editor will create an unordered list with 5 list elements.
-
Grouping
HTML tags can be grouped using emmet. To do this, we need to enclose the tags that are to be grouped within a bracket ().
Upon pressing the tab, the code editor will create the div with the child header, ul, li, and a tags as a group followed by sibling footer that has child p.
Emmet cheat sheet
Child: >
Sibling: +
Climb-up: ^
Grouping: ()
Multiplication: *
Item numbering: $
ID and CLASS attributes
Custom attributes
Text: {}
Implicit tag names
Conclusion
- In this article, we learned about the Emmet toolkit.
- It is a toolkit that is used to write HTML code quickly.
- We use Emmet shortcuts to help in writing Long HTML codes easily.
