HTML Image Tag

Overview
The <img> tag is widely used to output images on the web page. It can be styled flexibly like any other HTML element. It can also be used with the <picture> tag, which is used to output multiple images based on certain conditions.
Introduction to HTML < img > Tag
HTML allows us to easily render and output images on a web page using the <img> tag. It creates a container on the web page to hold a reference to the image that you specify.
Example
To render an image on a page using the image tag, you have to add the URL of the image inside the src attribute of the img tag. Here's how you can do that:
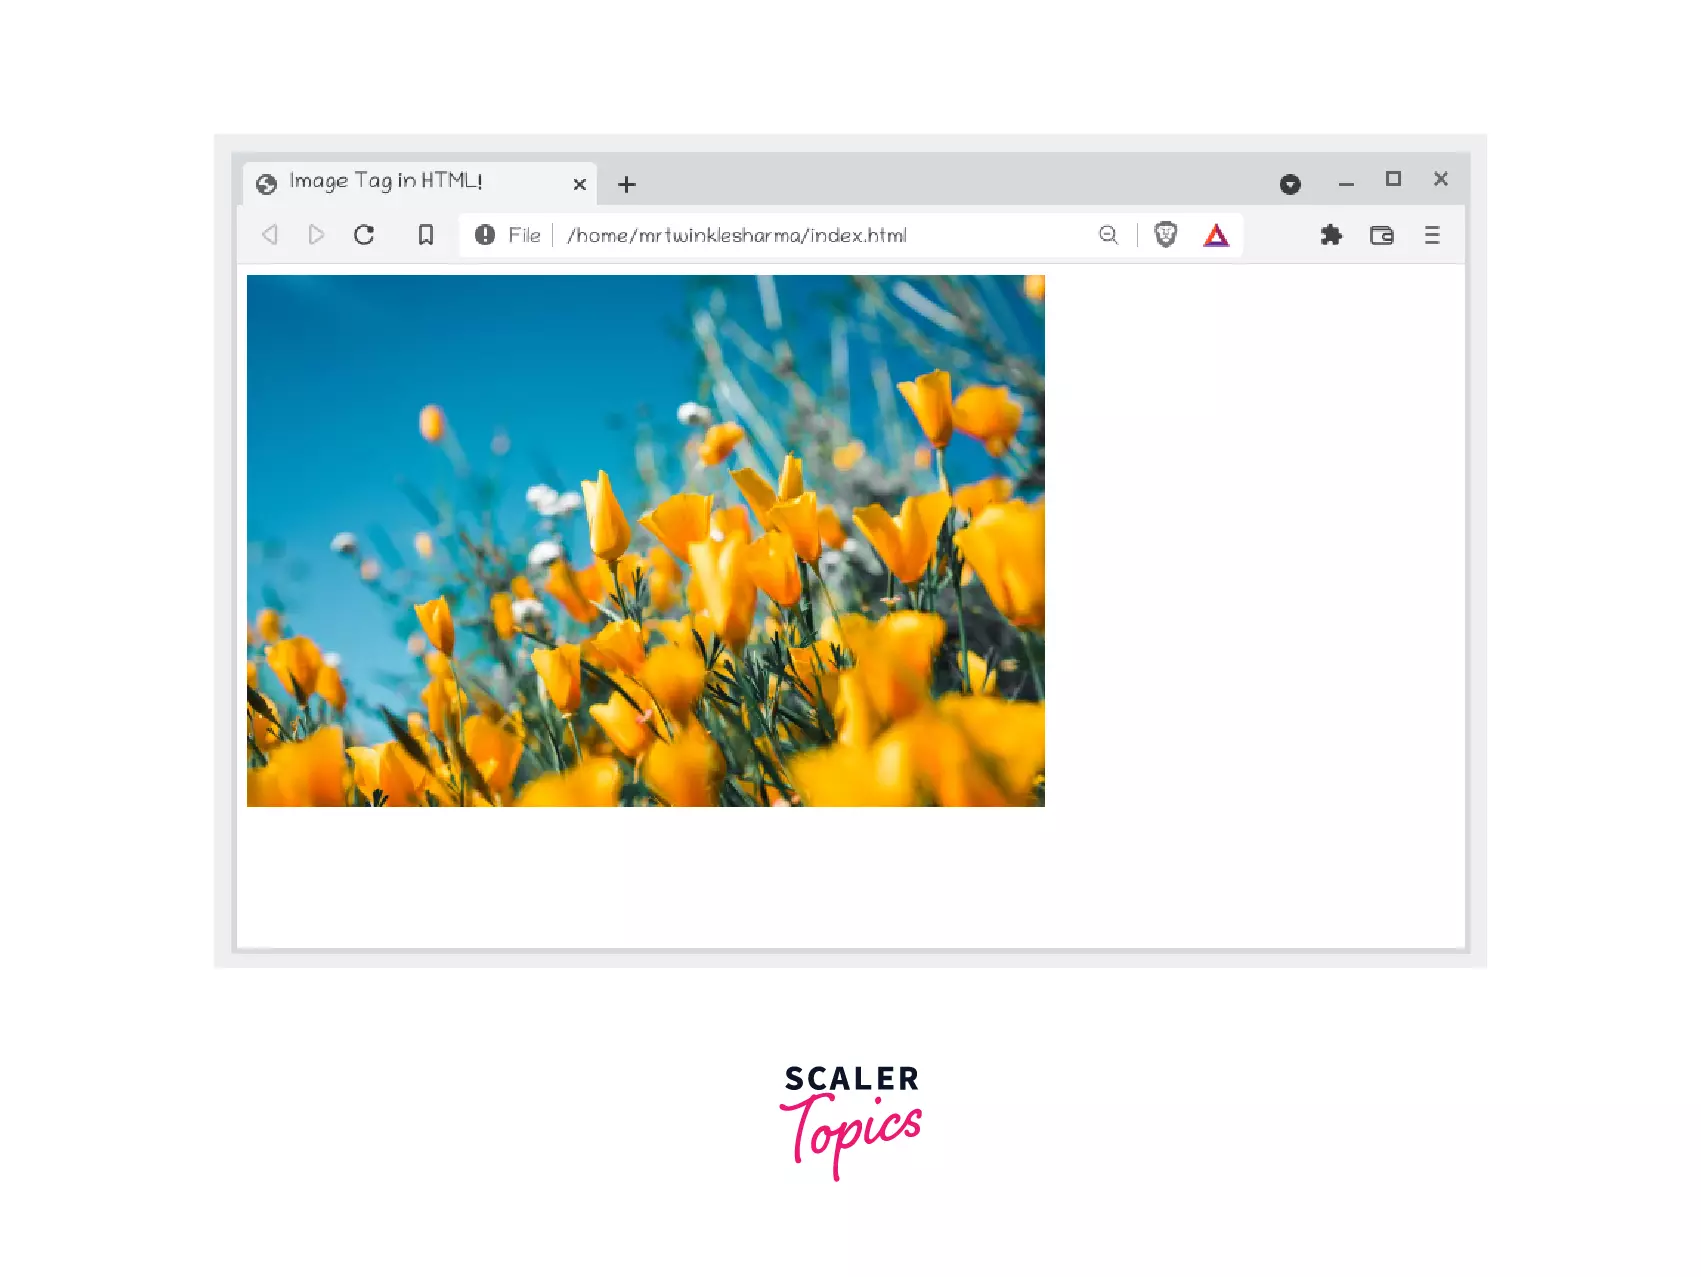
The above HTML will render the following output in the browser:

Usage
The <img> tag is used wherever you want to display an image on your web page. You can also combine it with other HTML elements to create more complex UI components. For instance, you can attach an image inside a card to make a profile card.
Attributes of the < img > Tag
Some of the common attributes of <img> tag include:
- src: Provides the path or the URL to the image being rendered.
- height: Sets the height of the rendered image.
- width: Sets the width of the rendered image.
- alt: Provides an alternate text to the image that is displayed if the image fails to load on the webpage.
- loading: Specifies how images should load when the webpage is rendered.
Examples
Let's look at how we can use the above attributes using some examples.
Use of Height and Width Attribute with < img > Tag
The <img> tag allows you to directly specify the dimensions of the rendered image using the height and width attributes.
The specified height and width are taken as a string and represent the height and width of the image in pixels. So in the above case, the image will be 100 pixels wide and have a height of 100 pixels as well.
Use of alt Attribute
There are a number of reasons a user may not be able to see an image that the <img> tag is rendering. The image link could be broken; the user could be on a slow internet connection, etc.
In such cases, the alt tag provides a short description of what the image represents. It stands for the alternate text and is also considered useful for boosting the SEO scores of the images on your website.
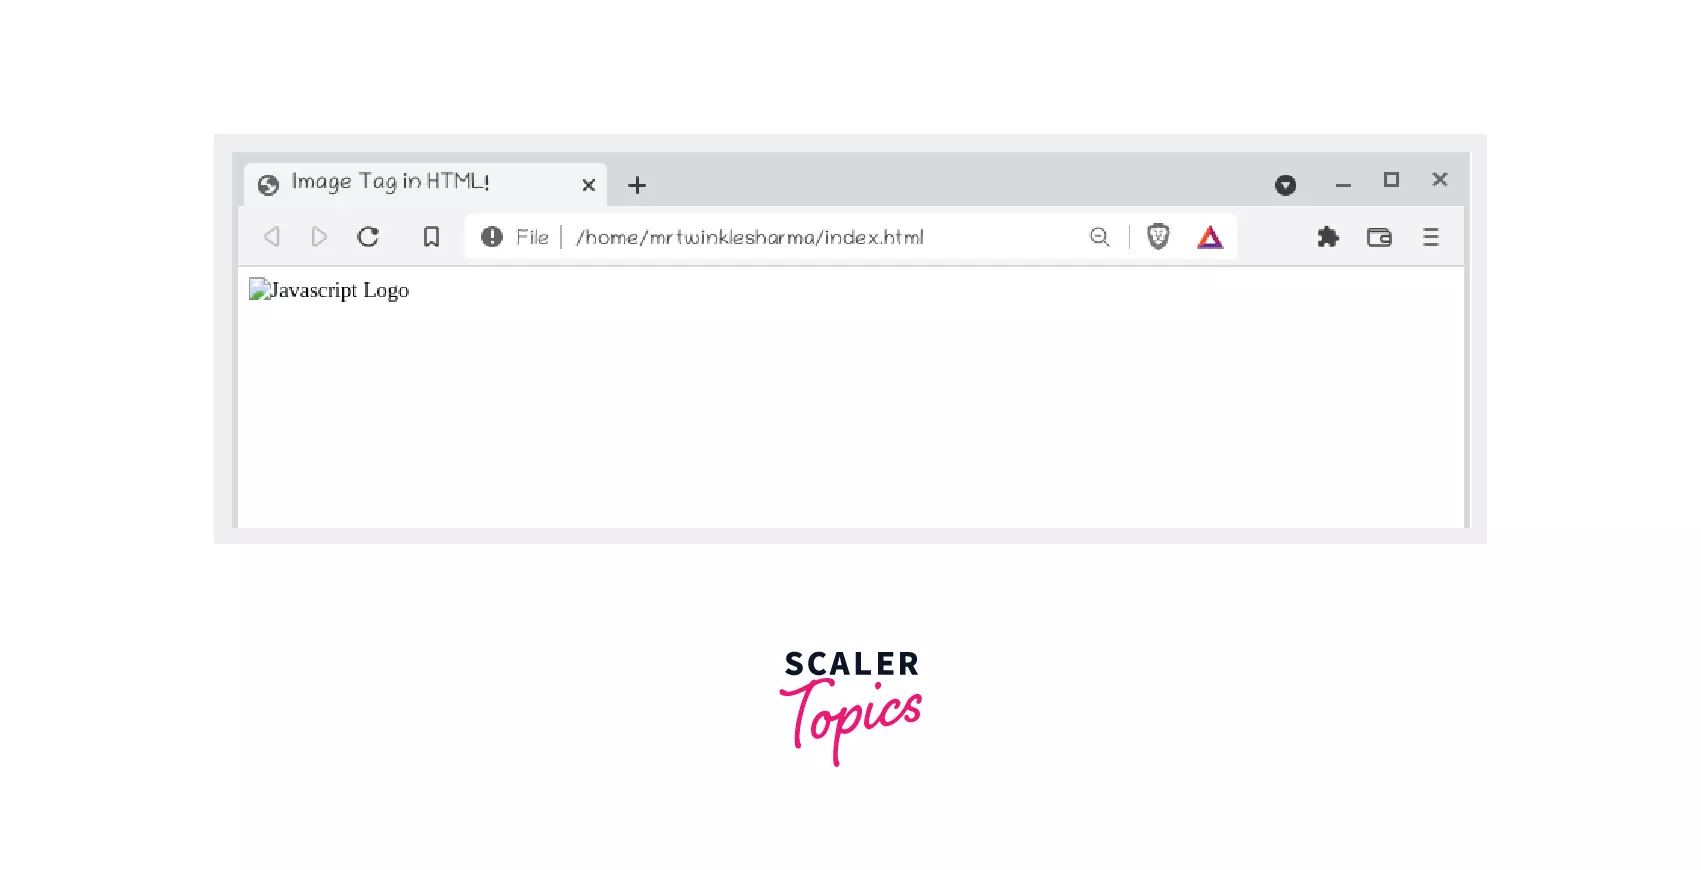
In the above example, if your image fails to appear, "JavaScript Logo" text will be rendered in its place to give the users an idea of what the image represents.

How to Get Image from Another Directory/Folder with Relative Path?
Besides using a URL, we can also use the relative path of an image. Consider the project directory shown in the form of the tree below and the explanation along with it to understand the relative path concept.
1. The tree shown below represents that image.png and index.html are in the same level(same directory of project).
Let's see how we will include the image.png in our index.html relatively.
Explanation:
The ./ conveys that the file or directory is written after it exists in the same directory. So, we can access it by writing a single dot followed by a forwarding slash.
2. The tree shown below represents that the index.html file and images directory are at the same level and image.png is inside the images directory.
Let's see how we will include the image.png in our index.html file,
Explanation:
The ./ written in the path conveys that the images directory is located at the same level as index.html(which contains the img tag), and inside this directory, there exists an image.png which image tag should use to represent the corresponding graphics on the web.
3. The tree shown below represents that image.png exists on the root level of our project directory, and there also exists another directory named code which consists of index.html.
Let's see how we will include the image.png in our index.html file,
Explanation:
The ../ (double dot) in the path conveys that the file image.png is located on the one level back in the project structure.
Use < img > Tag as a Link
By wrapping it inside the anchor tag, you can also use the image tag as an internal or external link.
When you click on the image, you will be redirected to the url specified in the href property of the anchor tag.
Use of Loading Attribute
You can specify the loading mechanism of the image using the loading attribute of the image tag.
If you set the loading attribute to lazy, the image will load only when it comes in the view of the webpage.
If you want the image to be loaded instantly, you can use the eager value in the loading attribute instead.
HTML < picture > Tag
The <picture> tag is used to output or renders multiple images using the source tag or the <img> tag.
It is commonly used in scenarios where you want to output different-sized images depending on the screen width or the dimensions of the size.
Example
Here's how you can use the <picture> tag to output multiple images:
So in the above case, we will render image-large for all devices that are more than 769 pixels wide. For devices that are between 465 and 769 pixels wide, we'll render image-medium. Finally, we'll render images small for devices smaller than 465 pixels.
In case the browser does not support <picture/> tag or the url of <source> tag could not be resolved, the <img/> tag acts as a fallback. So the URL or the src of the <img/> is used to populate the area where the <picture/> was supposed to render an image on the webpage.
Supported Browsers
Where the <img> tag is supported across all browsers, the picture tag is only supported across modern browsers.
Here's a list of versions that fully support the picture tag:
| Browser | Supported Version |
|---|---|
| Google Chrome | 38 and higher |
| Firefox | 38 and higher |
| Safari | 9.1 and higher |
| Microsoft Edge | 13 and higher |
Summary
- The image tag is widely supported across all browsers and is used to render an image on the web page.
- You can use the width and height property to directly set the dimensions of the image.
- You should use the alt property to specify the alternative text for the image in the <img> tag.
- You can use the picture tag to render multiple images for different devices.
