How to Display an Image in Flutter?
Overview
Every program relies heavily on images. They can convey important information by acting as visual aids or just enhancing the appearance of your app. There are several methods for including a picture in your Flutter application. In this post, we’ll go through various techniques for inserting images into flutter applications like asset images and network images, along with extensive examples and sample code.
How to Display the Image in Flutter
To show images in Flutter, follow these steps:
Step 1: To begin, we must create a new folder called assets at the root of the Flutter project. If you choose, we may give it another name.
Step 2: Next, manually add one image to this folder.
Step 3: The pubspec.yaml file should be updated. If the image's name is tablet.png, the pubspec.yaml file is as follows:
If the assets folder has many images, we may incorporate them by appending the directory name with a slash (/).
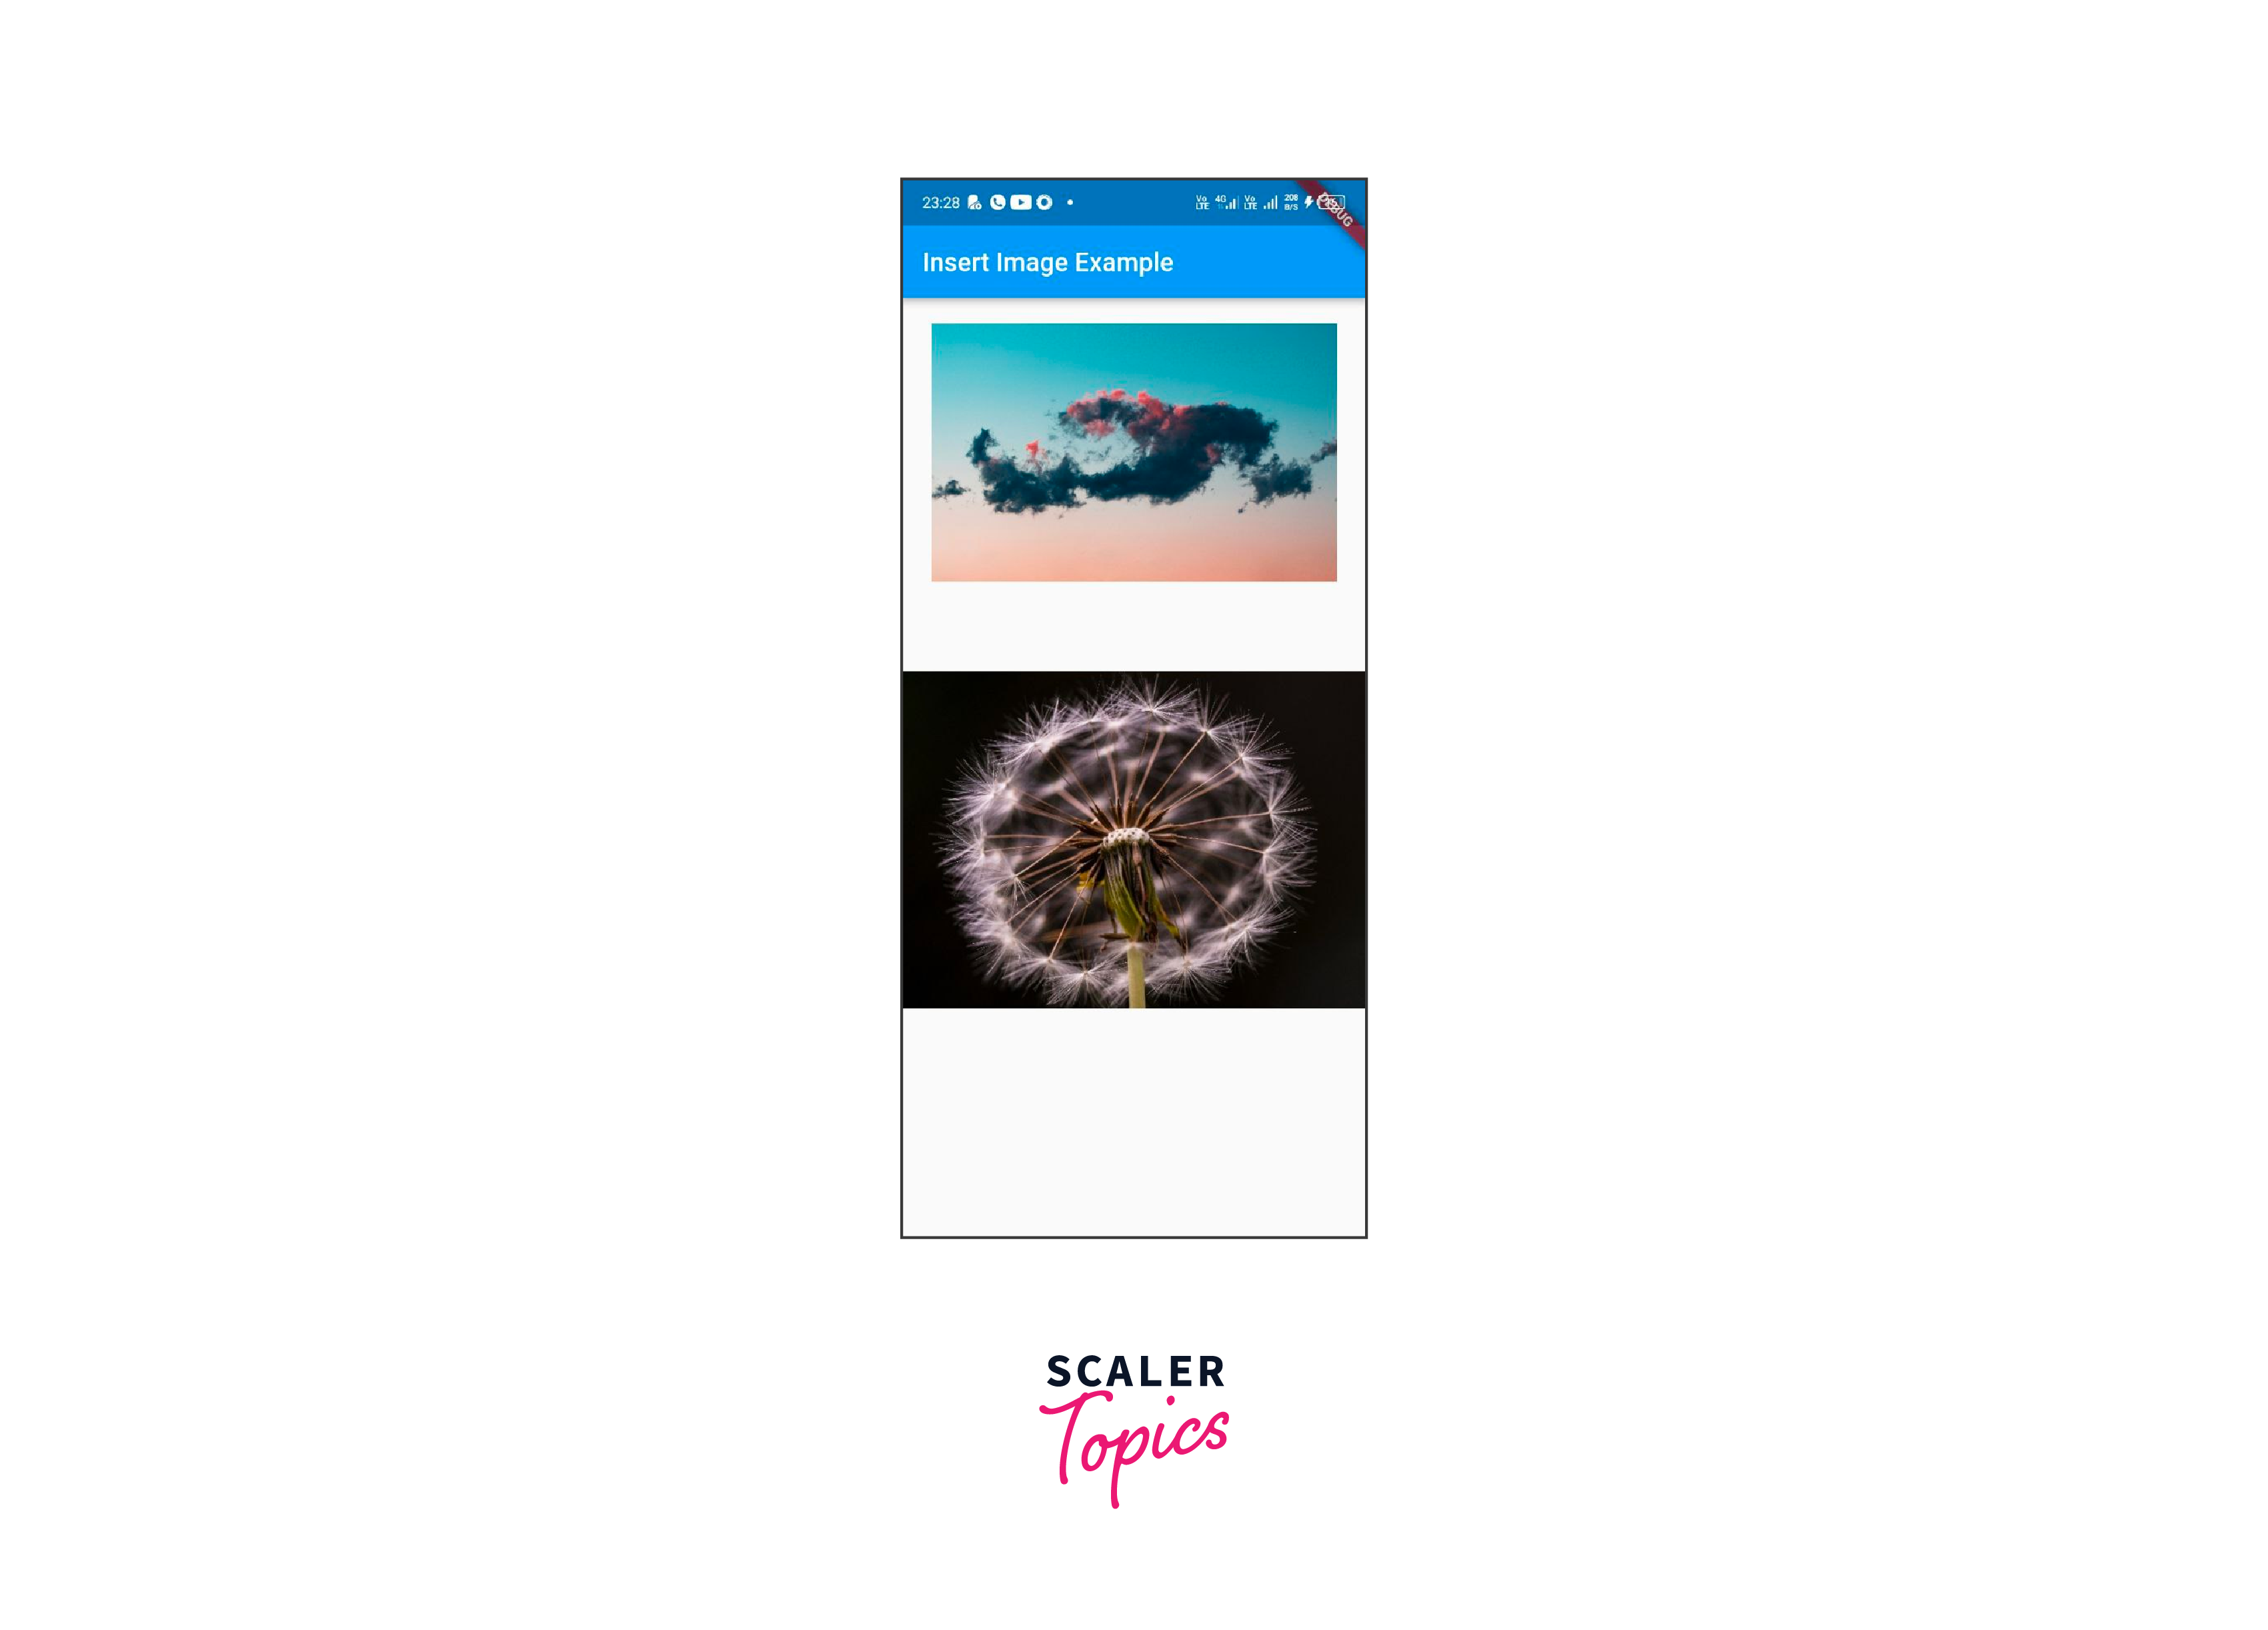
Step 4: Finally, open the main.dart file and insert the code below.
Step 5: Now launch the app. You will see something similar to the image below.
Network Image in Flutter
It is quite simple to display images in Flutter from the internet or network. To interact with photos from a URL, Flutter has a built-in function Image.network. You may also utilize extra attributes like height, width, color, fit, and many more with the Image.network function. To display a picture from the internet, use the syntax below.
Image.Network provides one handy feature that enables animated gifs.
Placeholder and Error Images
In Flutter, we've been utilizing the NetworkImage widget in a pretty simple way. However, your production application with this code suddenly displays a grey screen. The reason is that the previously functional link has abruptly stopped working.
We may do a variety of things, but the simplest and best option is to utilize the cached_network_image package to show network images, which has several advantages over standard network image widgets. It aids in the initial loading of a network picture and preserves it in cache memory. This may be used routinely by just entering the link into the widget. This widget's finest features are the placeholder and errorWidget attributes. The placeholder property is used to display a widget while the picture is loading, whereas the errorWidget property is used to display a widget when the image fails to load.
As a result, the final code to make the network image function properly is,
You'll see something like the image below.

After loading screen will look like the following image.

Advanced Image Display Options
A static picture is frequently required for a mobile app. The photos are typically saved in the asset folder. Not only do we need to display photos, but we also need to alter how they are displayed. Now we’ll look at how to show images in Flutter from the asset folder and alter its width, height, color, and so on.
| Options | Use | Syntax |
|---|---|---|
| Image Size Fit | In this case, the picture size will be fitted to its width. | Image.asset("image-url",fit: BoxFit.fitWidth) |
| Image Alignment | In this case, we align the image to center of parent widget. | Image.asset("image-url",alignment: Aignment.center) |
| Image Repeat | Set the picture widget's repeat property with the needed ImageRepeat value to repeat a picture inside its borders in Flutter Application. | const Image(repeat: ImageRepeat.repeat,) |
Image Caching in Flutter
The benefits of caching network images in Flutter application go beyond simply improving the application's speed. Other notable advantages include:
- Reduce the stress on your server and the amount of bandwidth you must pay for while loading photos.
- Reduce your users' internet prices if they utilize 3G/4G/5G.
The cached_network_image plugin includes a CachedNetworkImage widget that displays a network image with caching features. For a limited time, the picture displayed by this widget will be downloaded and saved in the app's cache directory. It will be accessible without an internet connection. The syntax for this is as follows:
You may erase the cached picture by using CachedNetworkImage.static method evictFromCache:
Let's have a look at an example application that makes use of this attribute.
Output: The application will now show up as.
With Internet
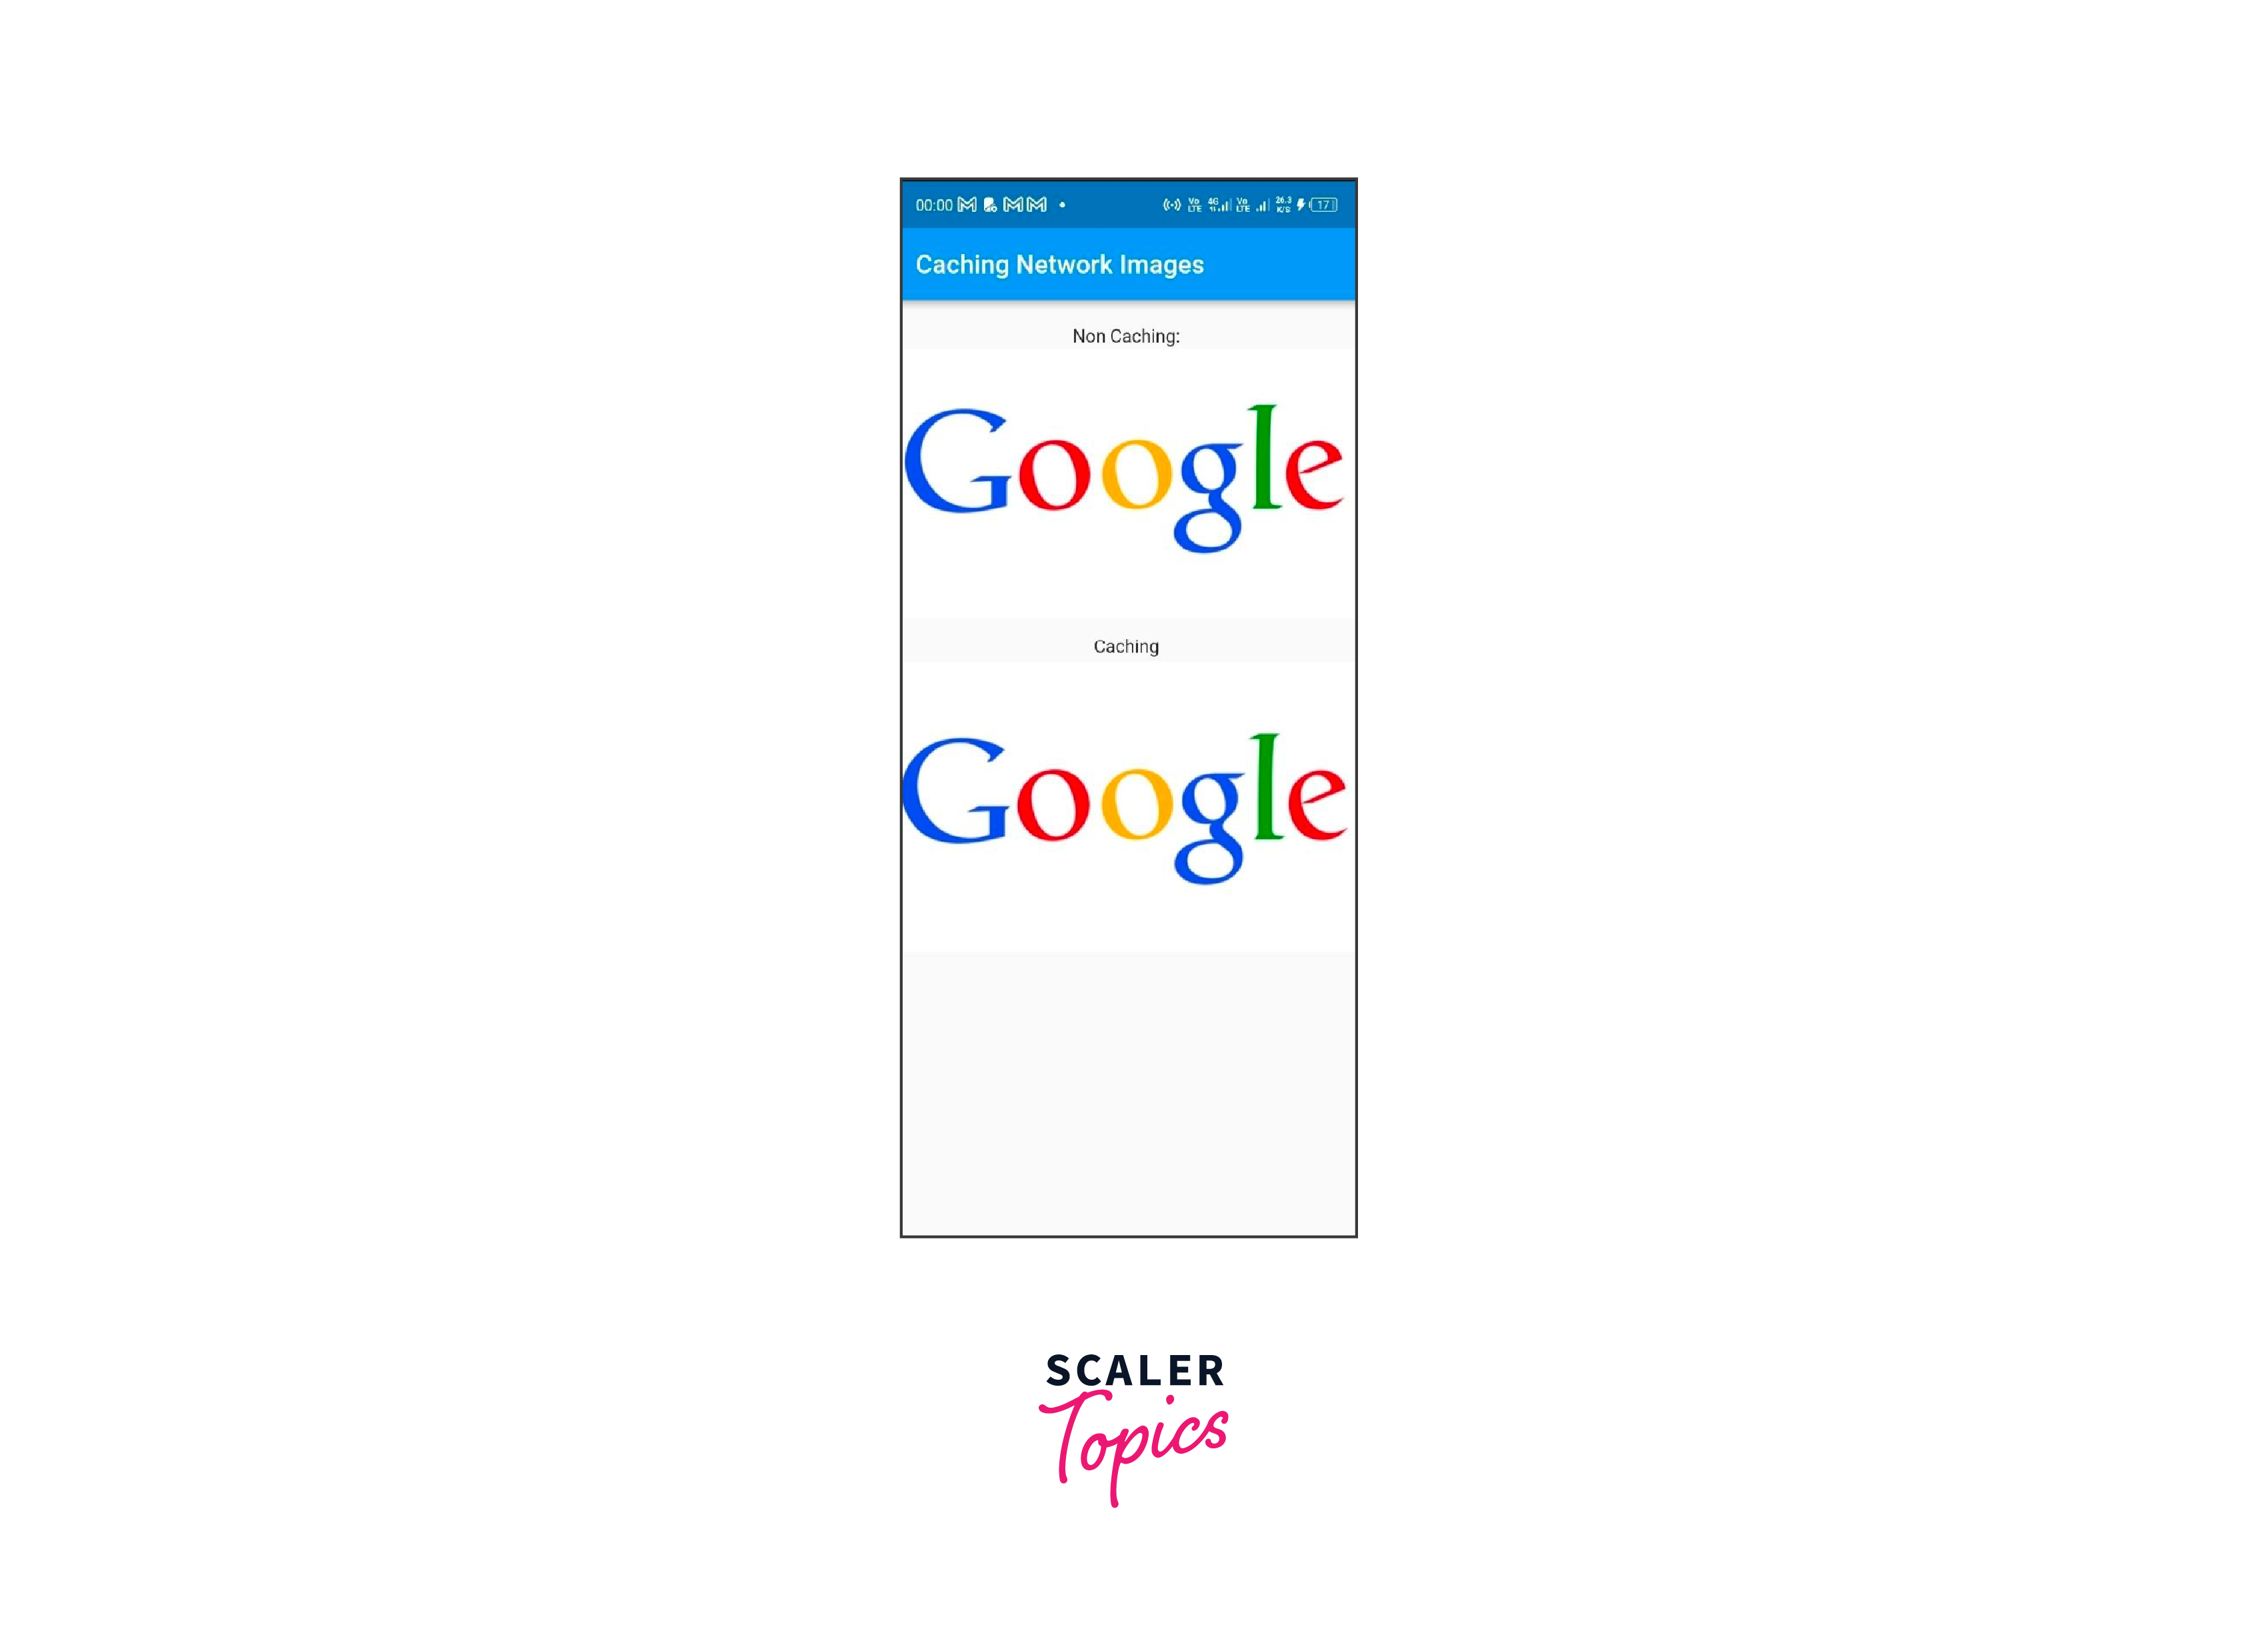
Without Internet

Optimizing Images for Mobile
Adding images in Flutter has always been straightforward while designing applications of various sizes and sorts. However, this method of uploading photos is significantly underutilized, can quickly use a large amount of CPU memory, and can easily cause your program to fail. Even if the problem is urgent, there is a simple solution. We just need to inform the picture generated how much resolution is needed for every image that fits within the widget.
-
debugInvertOversizedImages = true
In the build function of your top-level MaterialApp widget, add the tag debugInvertOversizedImages = true. This method, which displays an error in the debug log, tells us which photos are notably bigger in contrast to the size of the widget.
-
cacheWidth and cacheHeight
These two parameters can be supplied to any of the image widgets to advise them of the appropriate picture resolution size. For example, if a responsive widget has a maximum size of 200 X 150, appropriate cache parameters must be given. No matter what the original size of the picture was, the flutter displayed then only cached that resolution.
Adding Interactivity to Images
-
onTap:
Images in Flutter provides two alternative widgets for implementing the onClick behavior on Image widgets. The InkWell widget and GestureDetector widget both the widgets have their distinct functioning, with just slight variations. Both support the onTap() click event. The distinction between GestureDetector and InkWell is that GestureDetector is used to add plain click events with no animation effect, but InkWell is used to add click events with the material design ripple effect.
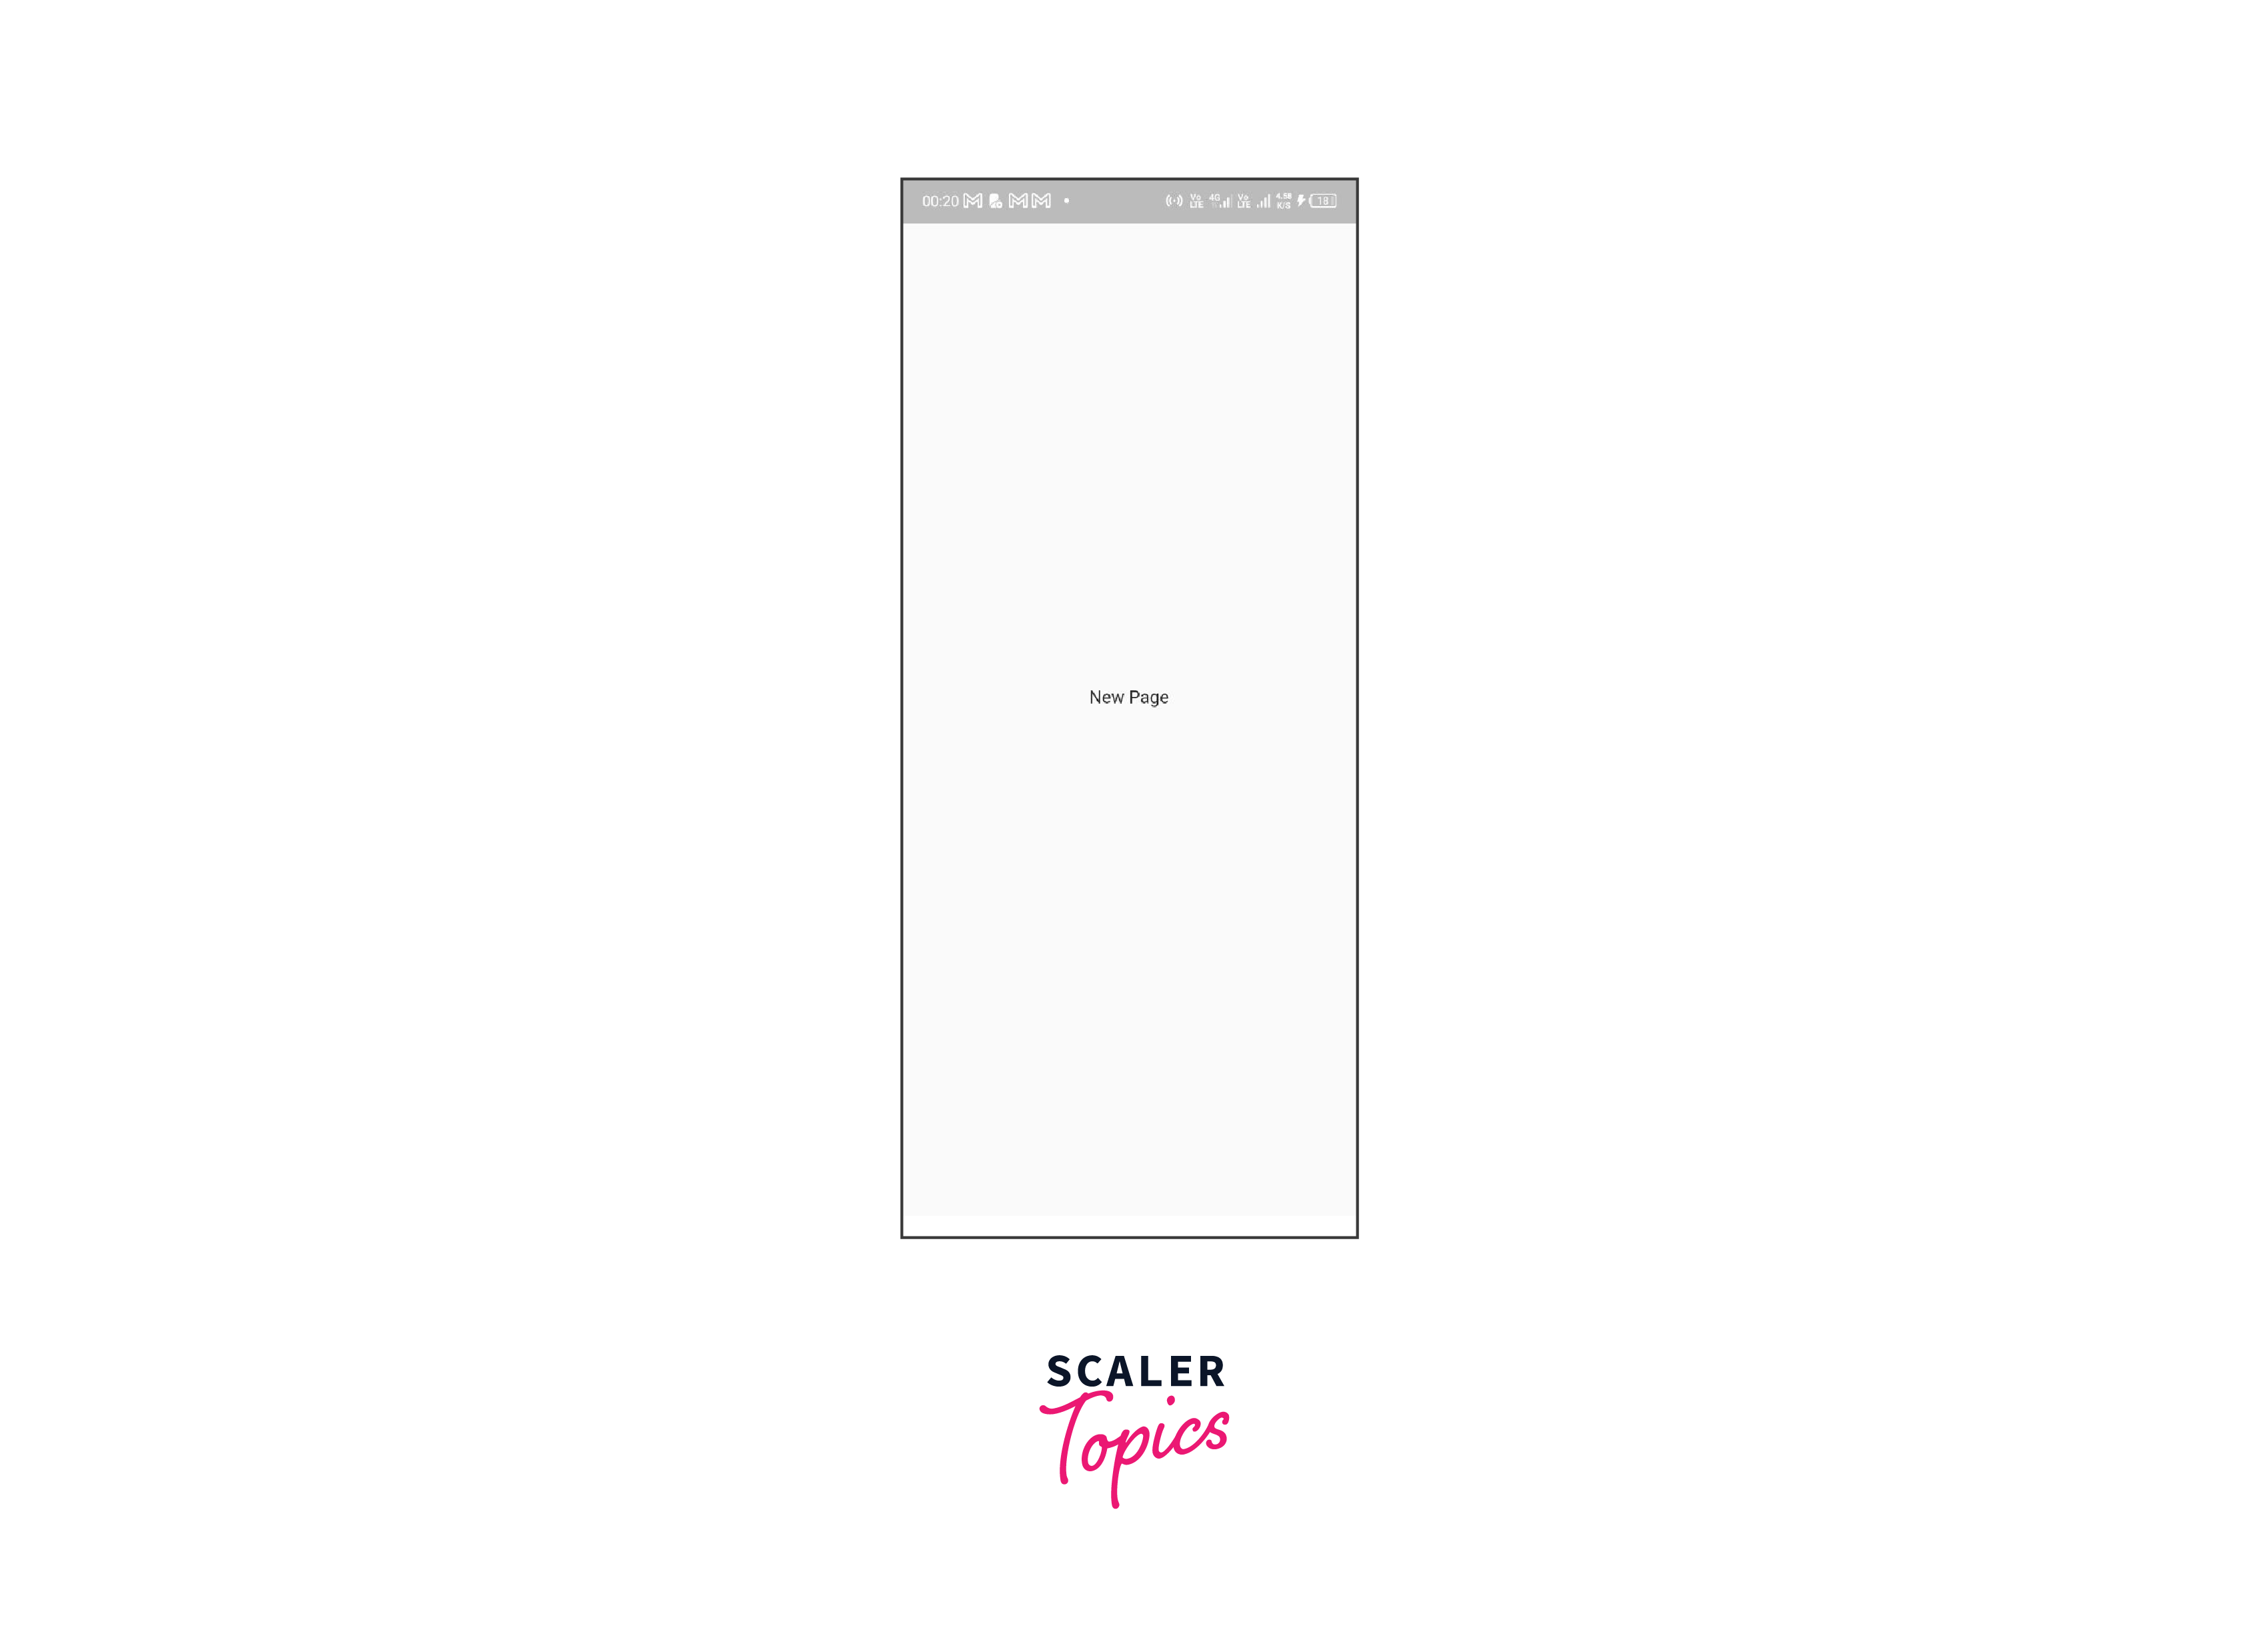
Now consider the following sample application that makes use of this attribute. Our application consists of two pages.
main.dart
newpage.dart
Output: The application will now show up as.

-
Image Swipe:
Carousel Slider is a popular picture slider that can be seen in many apps nowadays. In our app, an image slider is a convenient way to display photographs, videos, or graphics. On our app's screen, one enormous image is frequently displayed at a time. It helps to make our screen more appealing. Carousel Slider has several capabilities, including item, which enables us to declare Asset Images or Network Images that will be used in our application. It provides an options technique with multiple features.
Let's now take a closer look at the sample application that uses this property.
Output: The application will now show up as.

Display Fade-In Images
When showing images in Flutter with the default Image widget, you may notice that they just appear on the screen as they load. Your users may find this aesthetically disorienting. Instead, a placeholder should be displayed at first, and pictures should fade in as they are loaded. So we utilize the FadeInImage widget for this precise reason. FadeInImage works with pictures of any sort, whether they are in memory, local assets, or photos downloaded from the internet. For a basic transparent placeholder, use the transparent_image package in this example.
Conclusion
- To interact with photos from a URL, Flutter has a built-in function Image.network.
- cached_network_image package has several advantages over standard network image widgets.
- cacheWidth and cacheHeight are two parameters that can be supplied to any of the image widgets to advise them of the appropriate picture resolution size.
- Carousel Slider is a popular picture slider that can be seen in many apps nowadays which provides a swipe feature.
- A placeholder should be displayed at first, and pictures should fade in as they are loaded.