ImageView in Android with Example
Overview
An ImageView in Android is a UI widget that displays images. It's used to render bitmap graphics, such as photos or icons, within an app's user interface. Developers can set the image source programmatically or through XML layout files. ImageView offers various scaling options to fit images within its bounds, like centering, scaling, and cropping.
XML Attributes of ImageView
android:src:
This attribute is fundamental for ImageView and specifies the image source to be displayed within the ImageView. You can set it to a drawable resource or provide the path to an image file.
For example:
In this case, @drawable/my_image references an image resource named "my_image" that will be displayed in the ImageView.
android:adjustViewBounds:
This boolean attribute, when set to "true," adjusts the ImageView's bounds to preserve the aspect ratio of the image. If the image is smaller than the ImageView, this will shrink the ImageView to fit the image size. It's often used when you want to maintain the image's proportions while resizing it.
Example:
Here, android:adjustViewBounds="true" ensures that the ImageView's dimensions adapt to the aspect ratio of the image.
android:tint:
This attribute allows you to apply a color tint to the image. It's useful for creating colorized versions of images without altering the original image files. You can specify a color resource or a hexadecimal color value.
Example:
In this example, the color defined in @color/my_color will be applied as a tint to the image.
android:background:
You can set a background drawable for the ImageView using this attribute. It's often used to add borders, backgrounds, or other visual effects around the image. The value should reference a drawable resource.
Example:
Here, @drawable/image_border specifies a drawable resource to be used as the background of the ImageView.
android:contentDescription:
This attribute is important for accessibility purposes. It provides a textual description of the image's content, making the app more accessible to users with disabilities who rely on screen readers. You should set it to a descriptive text that conveys the image's purpose or content.
Example:
In this case, "A beautiful landscape" is a textual description of the image that can be read aloud to users with visual impairments.
Step-by-Step Implementation of ImageView in Android Studio
Step - 1: Create a New Android Project
- Launch Android Studio.
- Select "Start a new Android Studio project" or go to "File" > "New" > "New Project".
Step - 2: Configure Your Project
- Choose the project template, set the name, and package name, and select the programming language (usually Java or Kotlin).
- Click "Finish" to create your project.
Step - 3: Add an Image to Your Project
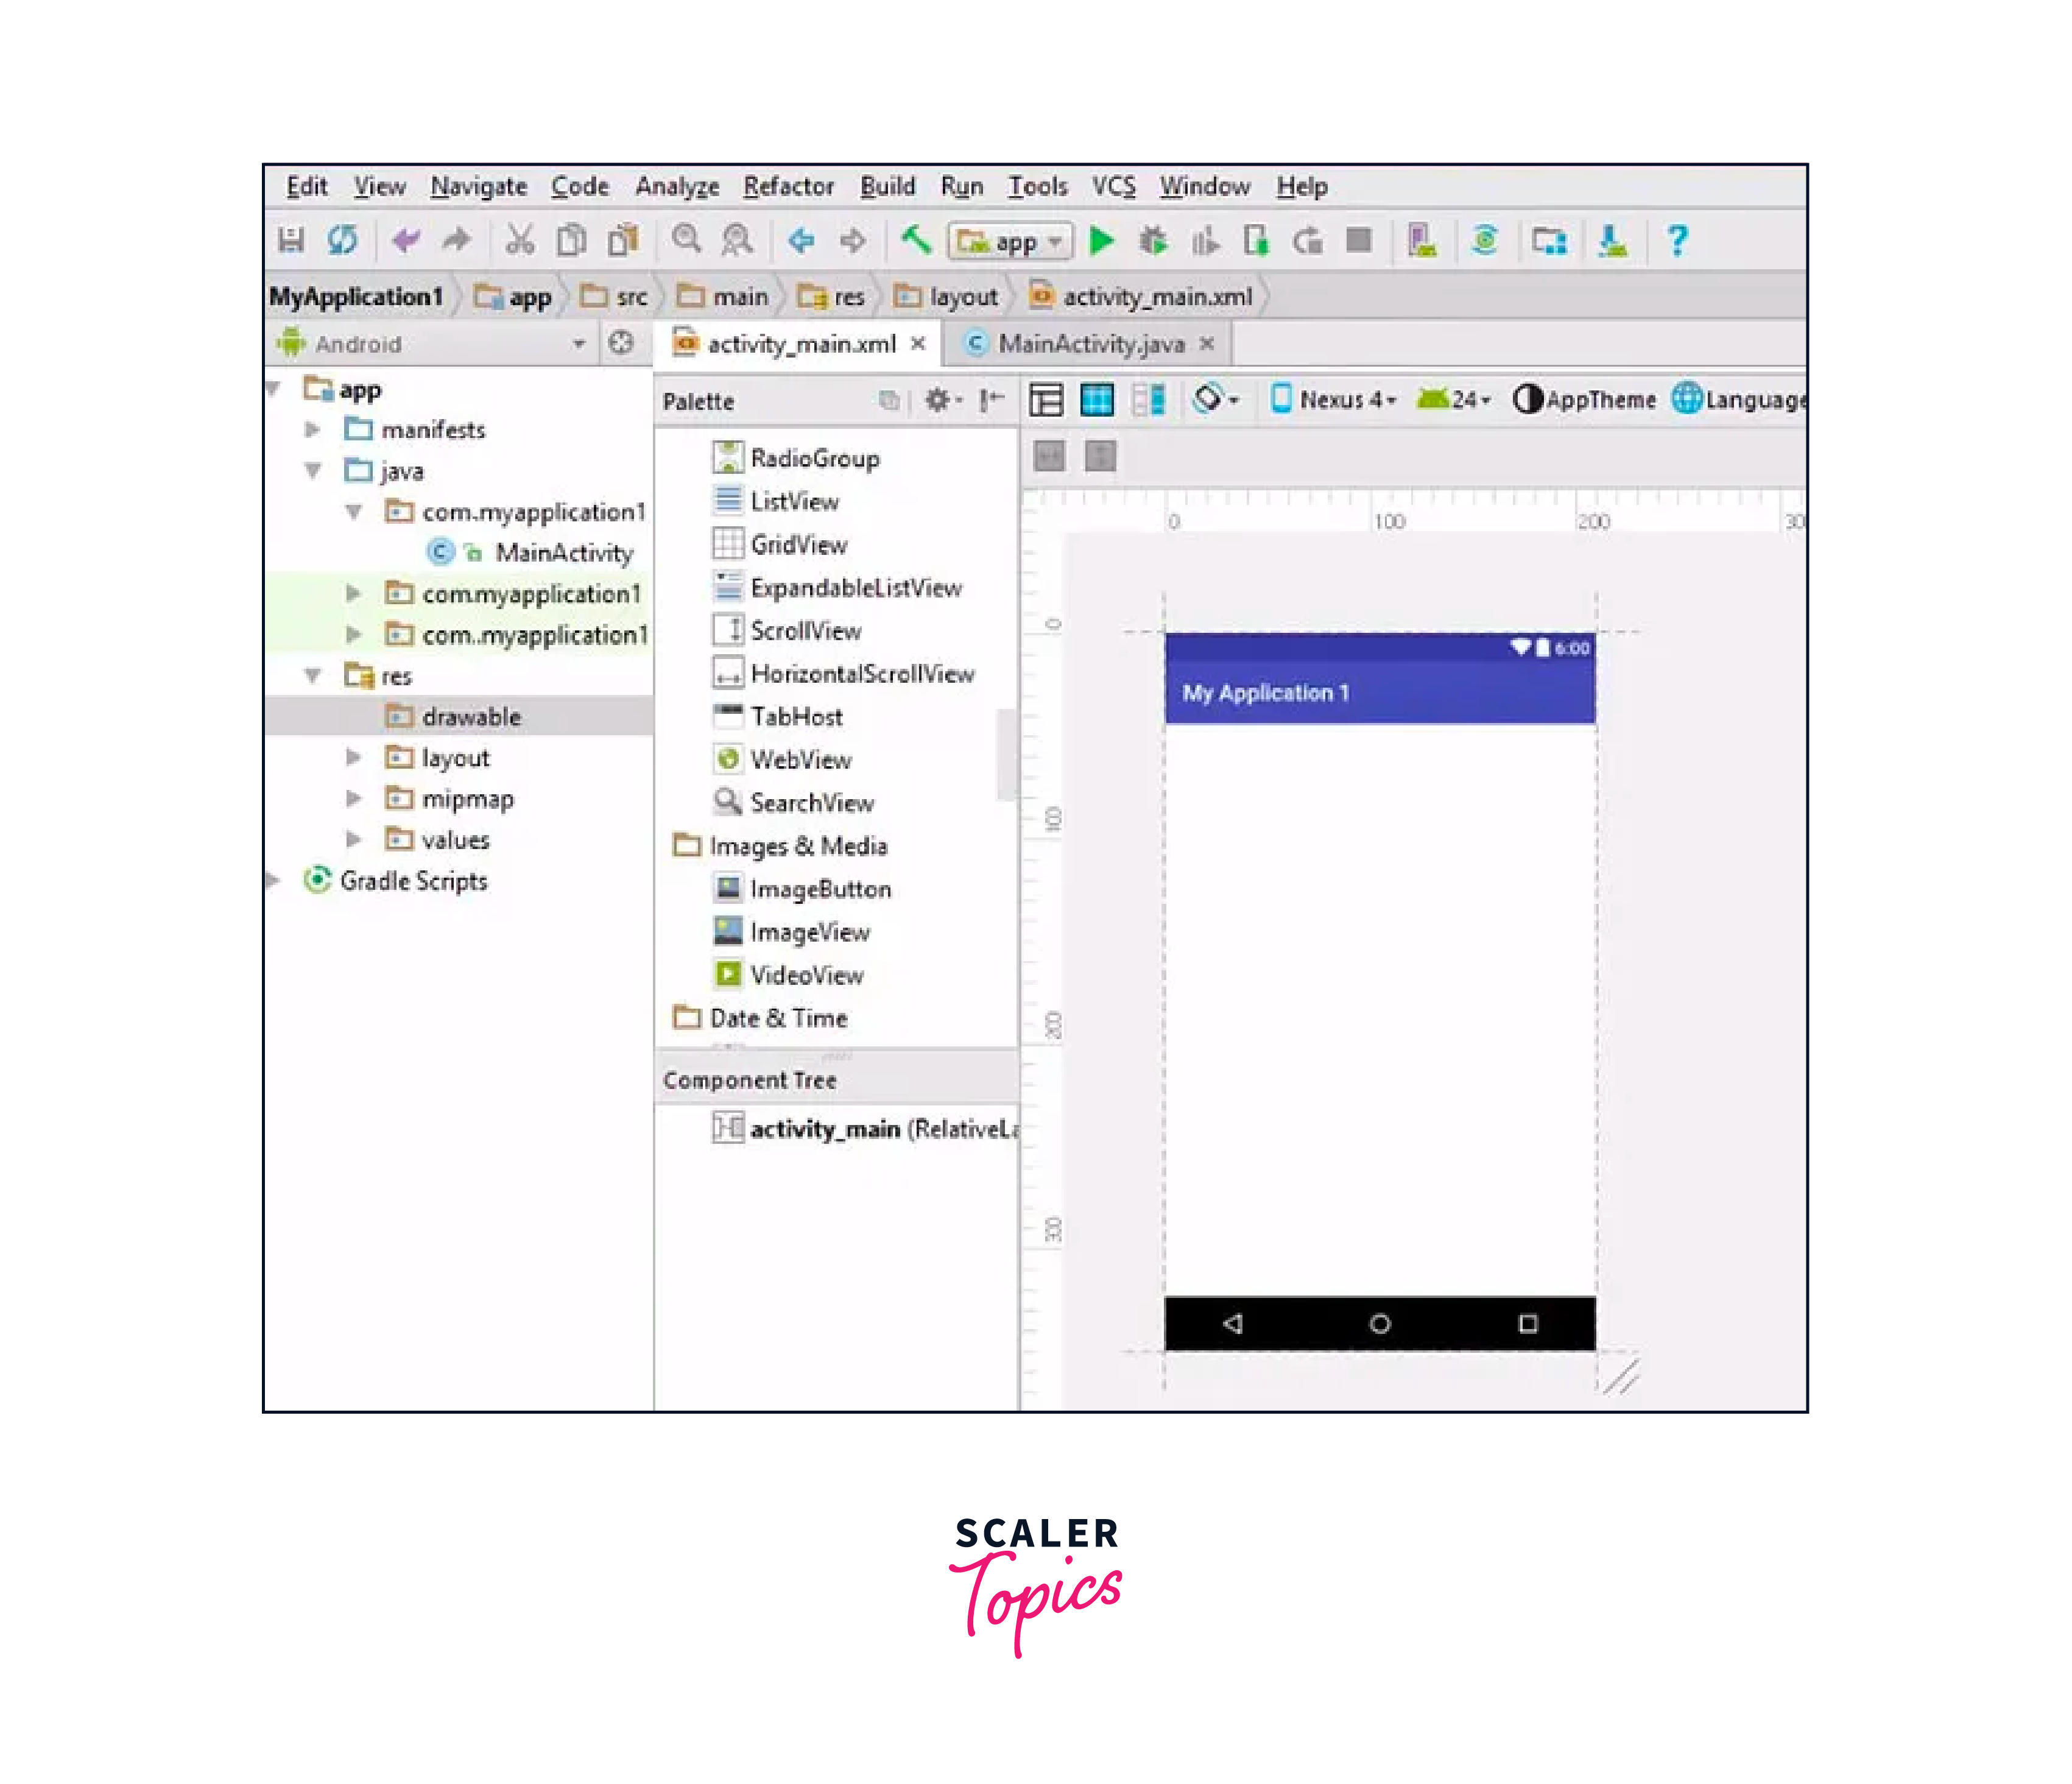
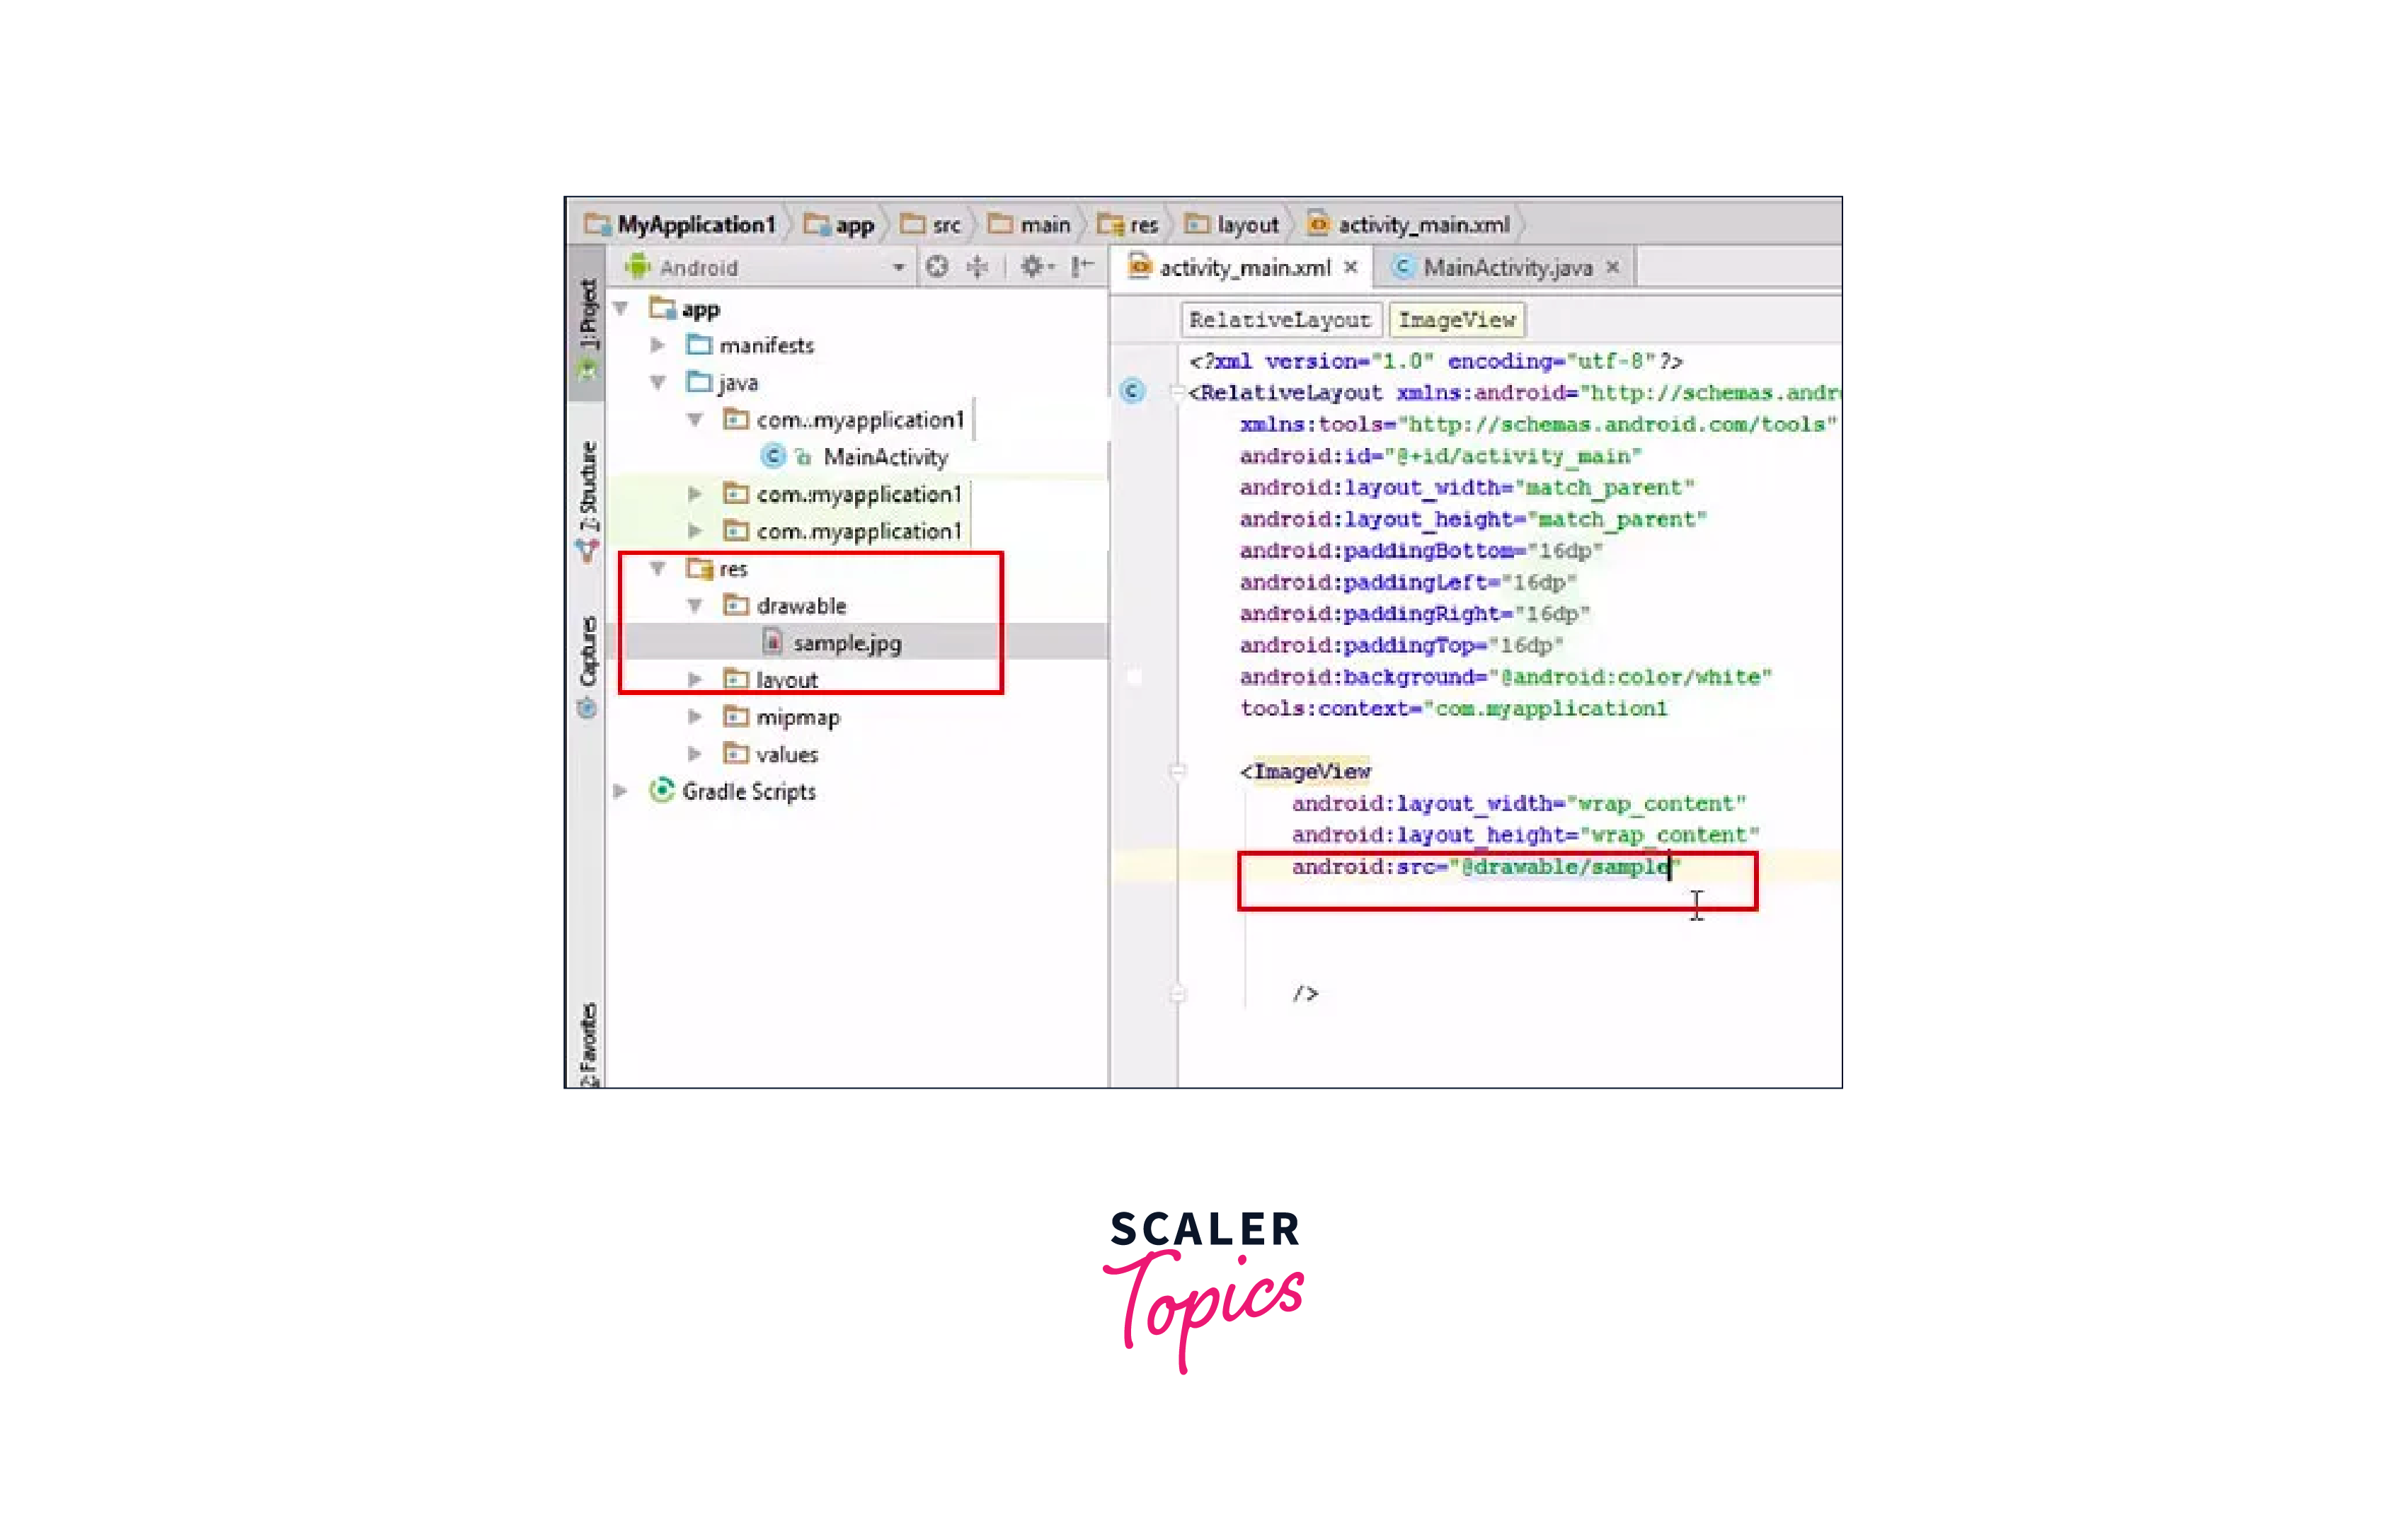
- Copy the image you want to display in your ImageView into the res/drawable folder in your project. You can right-click on the drawable folder in Project Explorer and select "Show in Explorer/Finder" to navigate to the folder and paste your image there.
Step - 4: Design the Layout
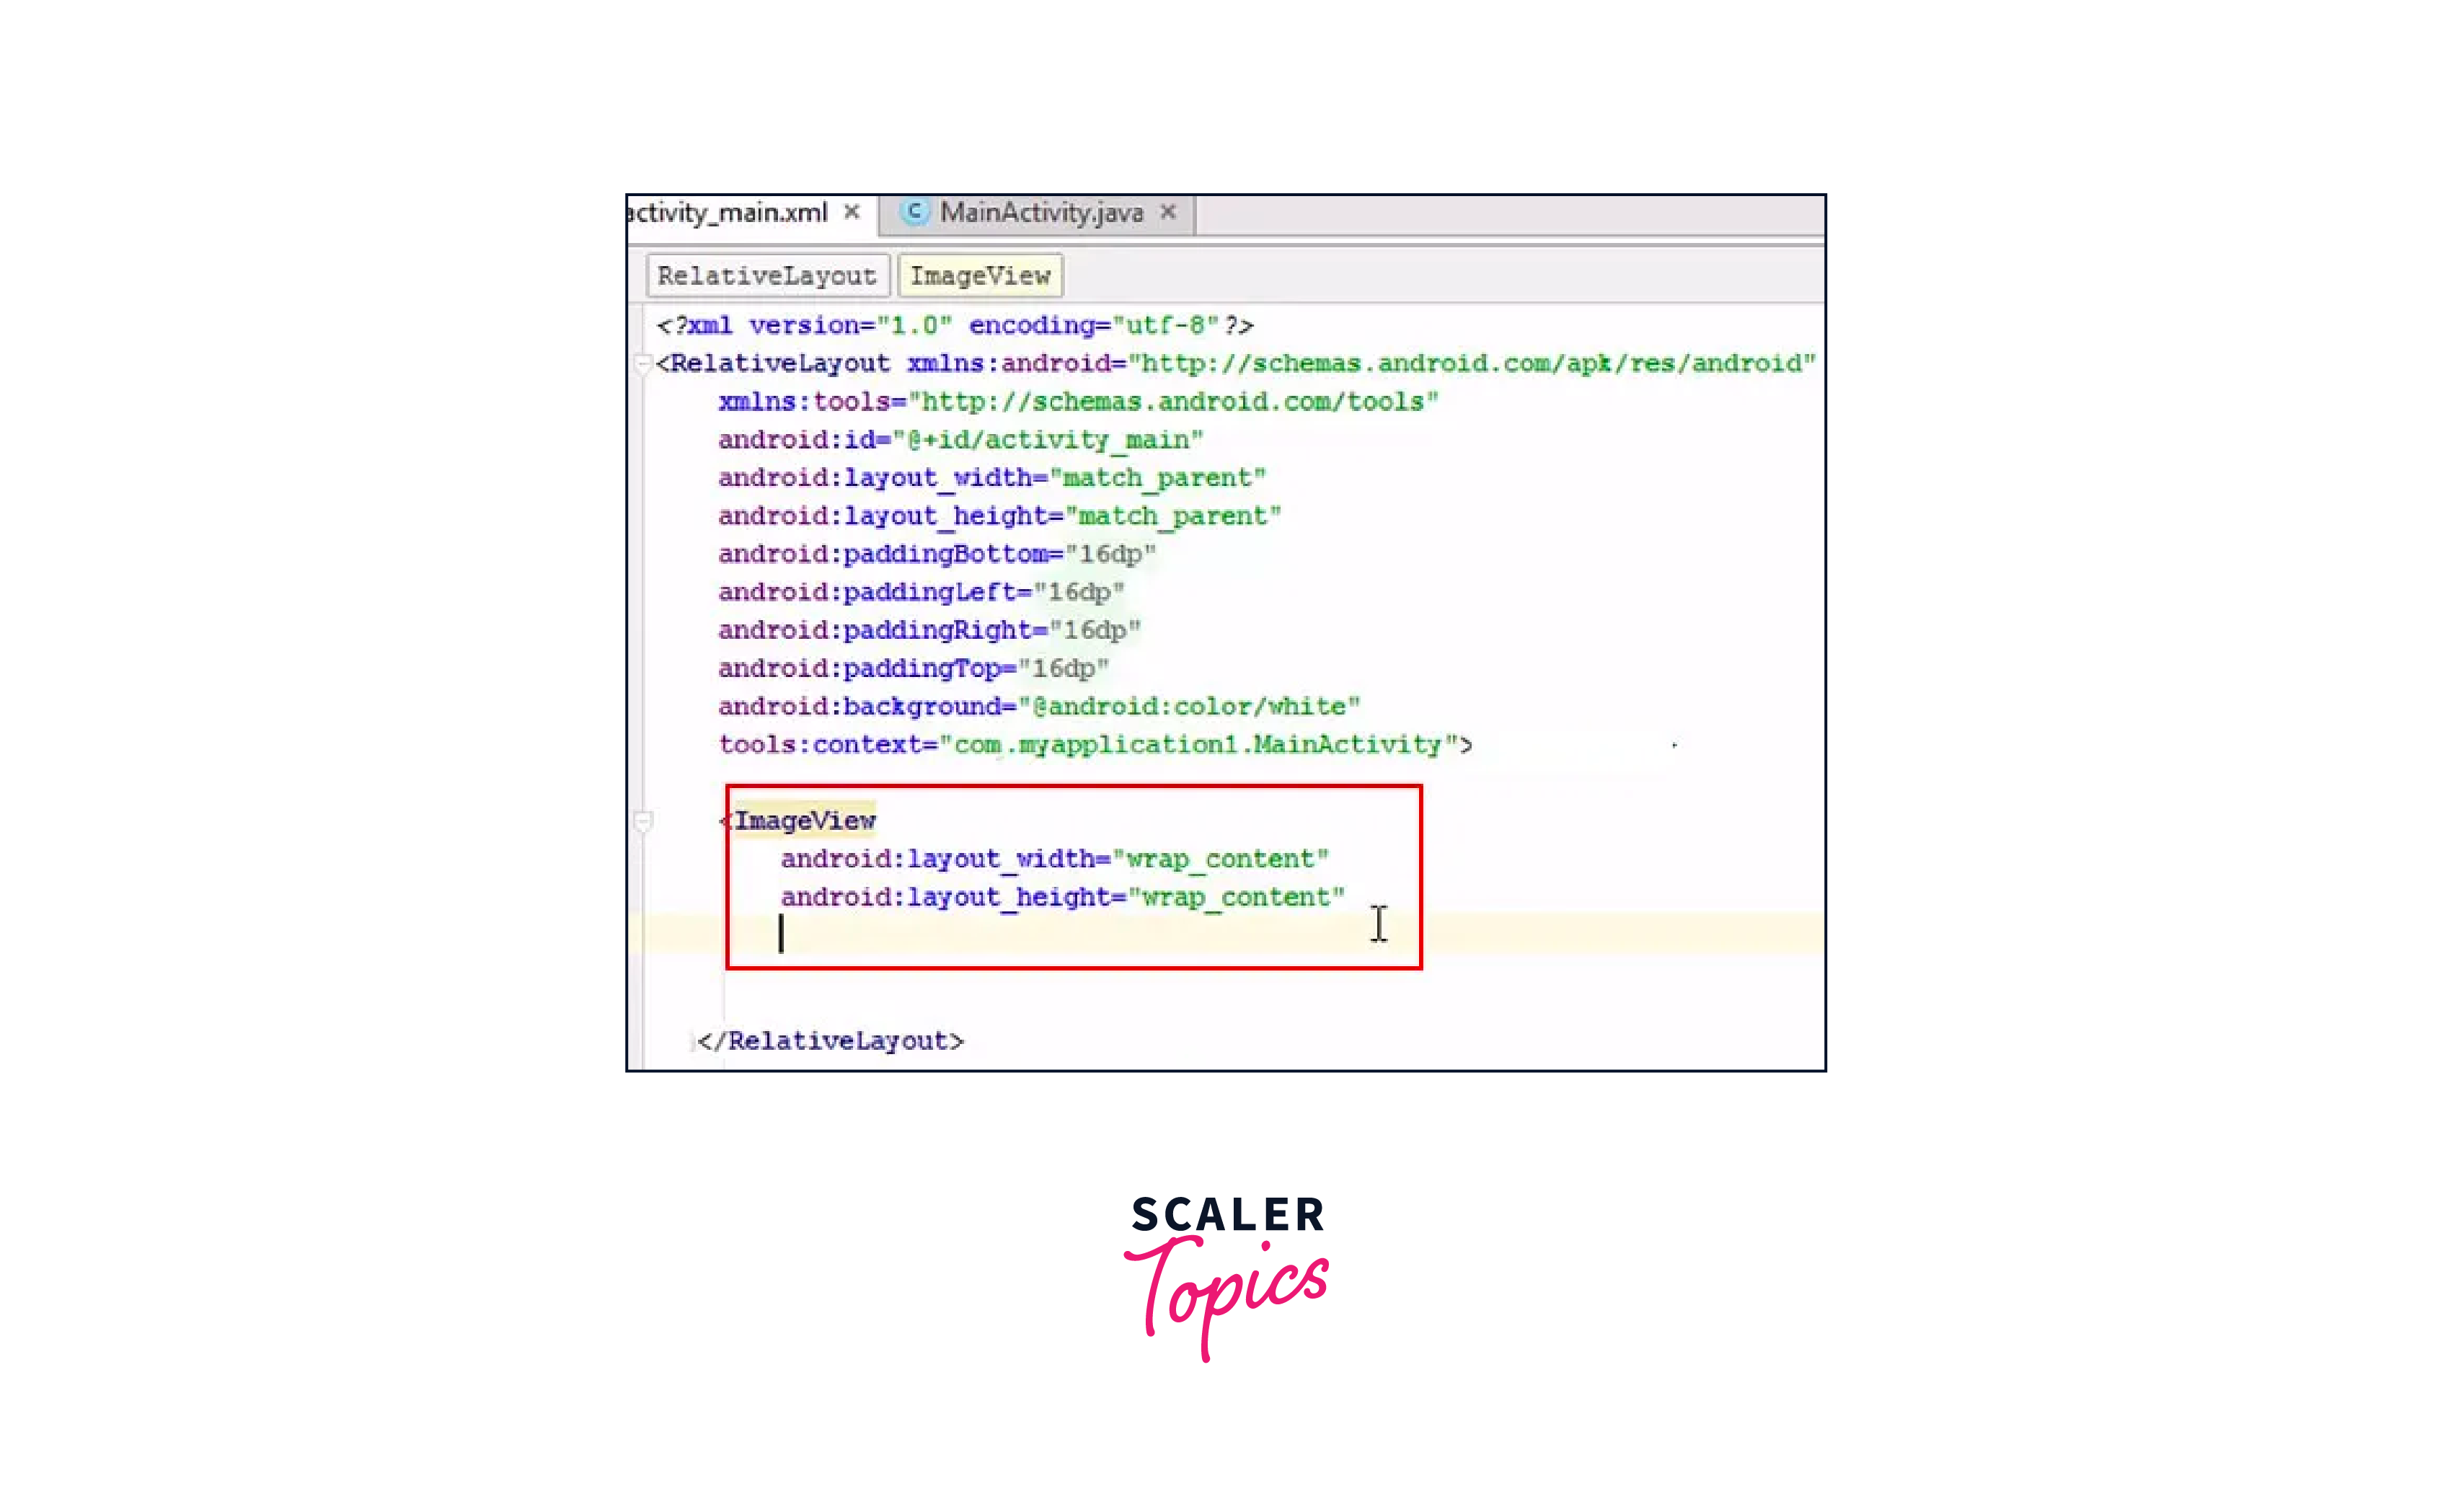
- In the "res" folder, locate the "layout" folder and open the XML layout file (e.g., activity_main.xml) where you want to add the ImageView.
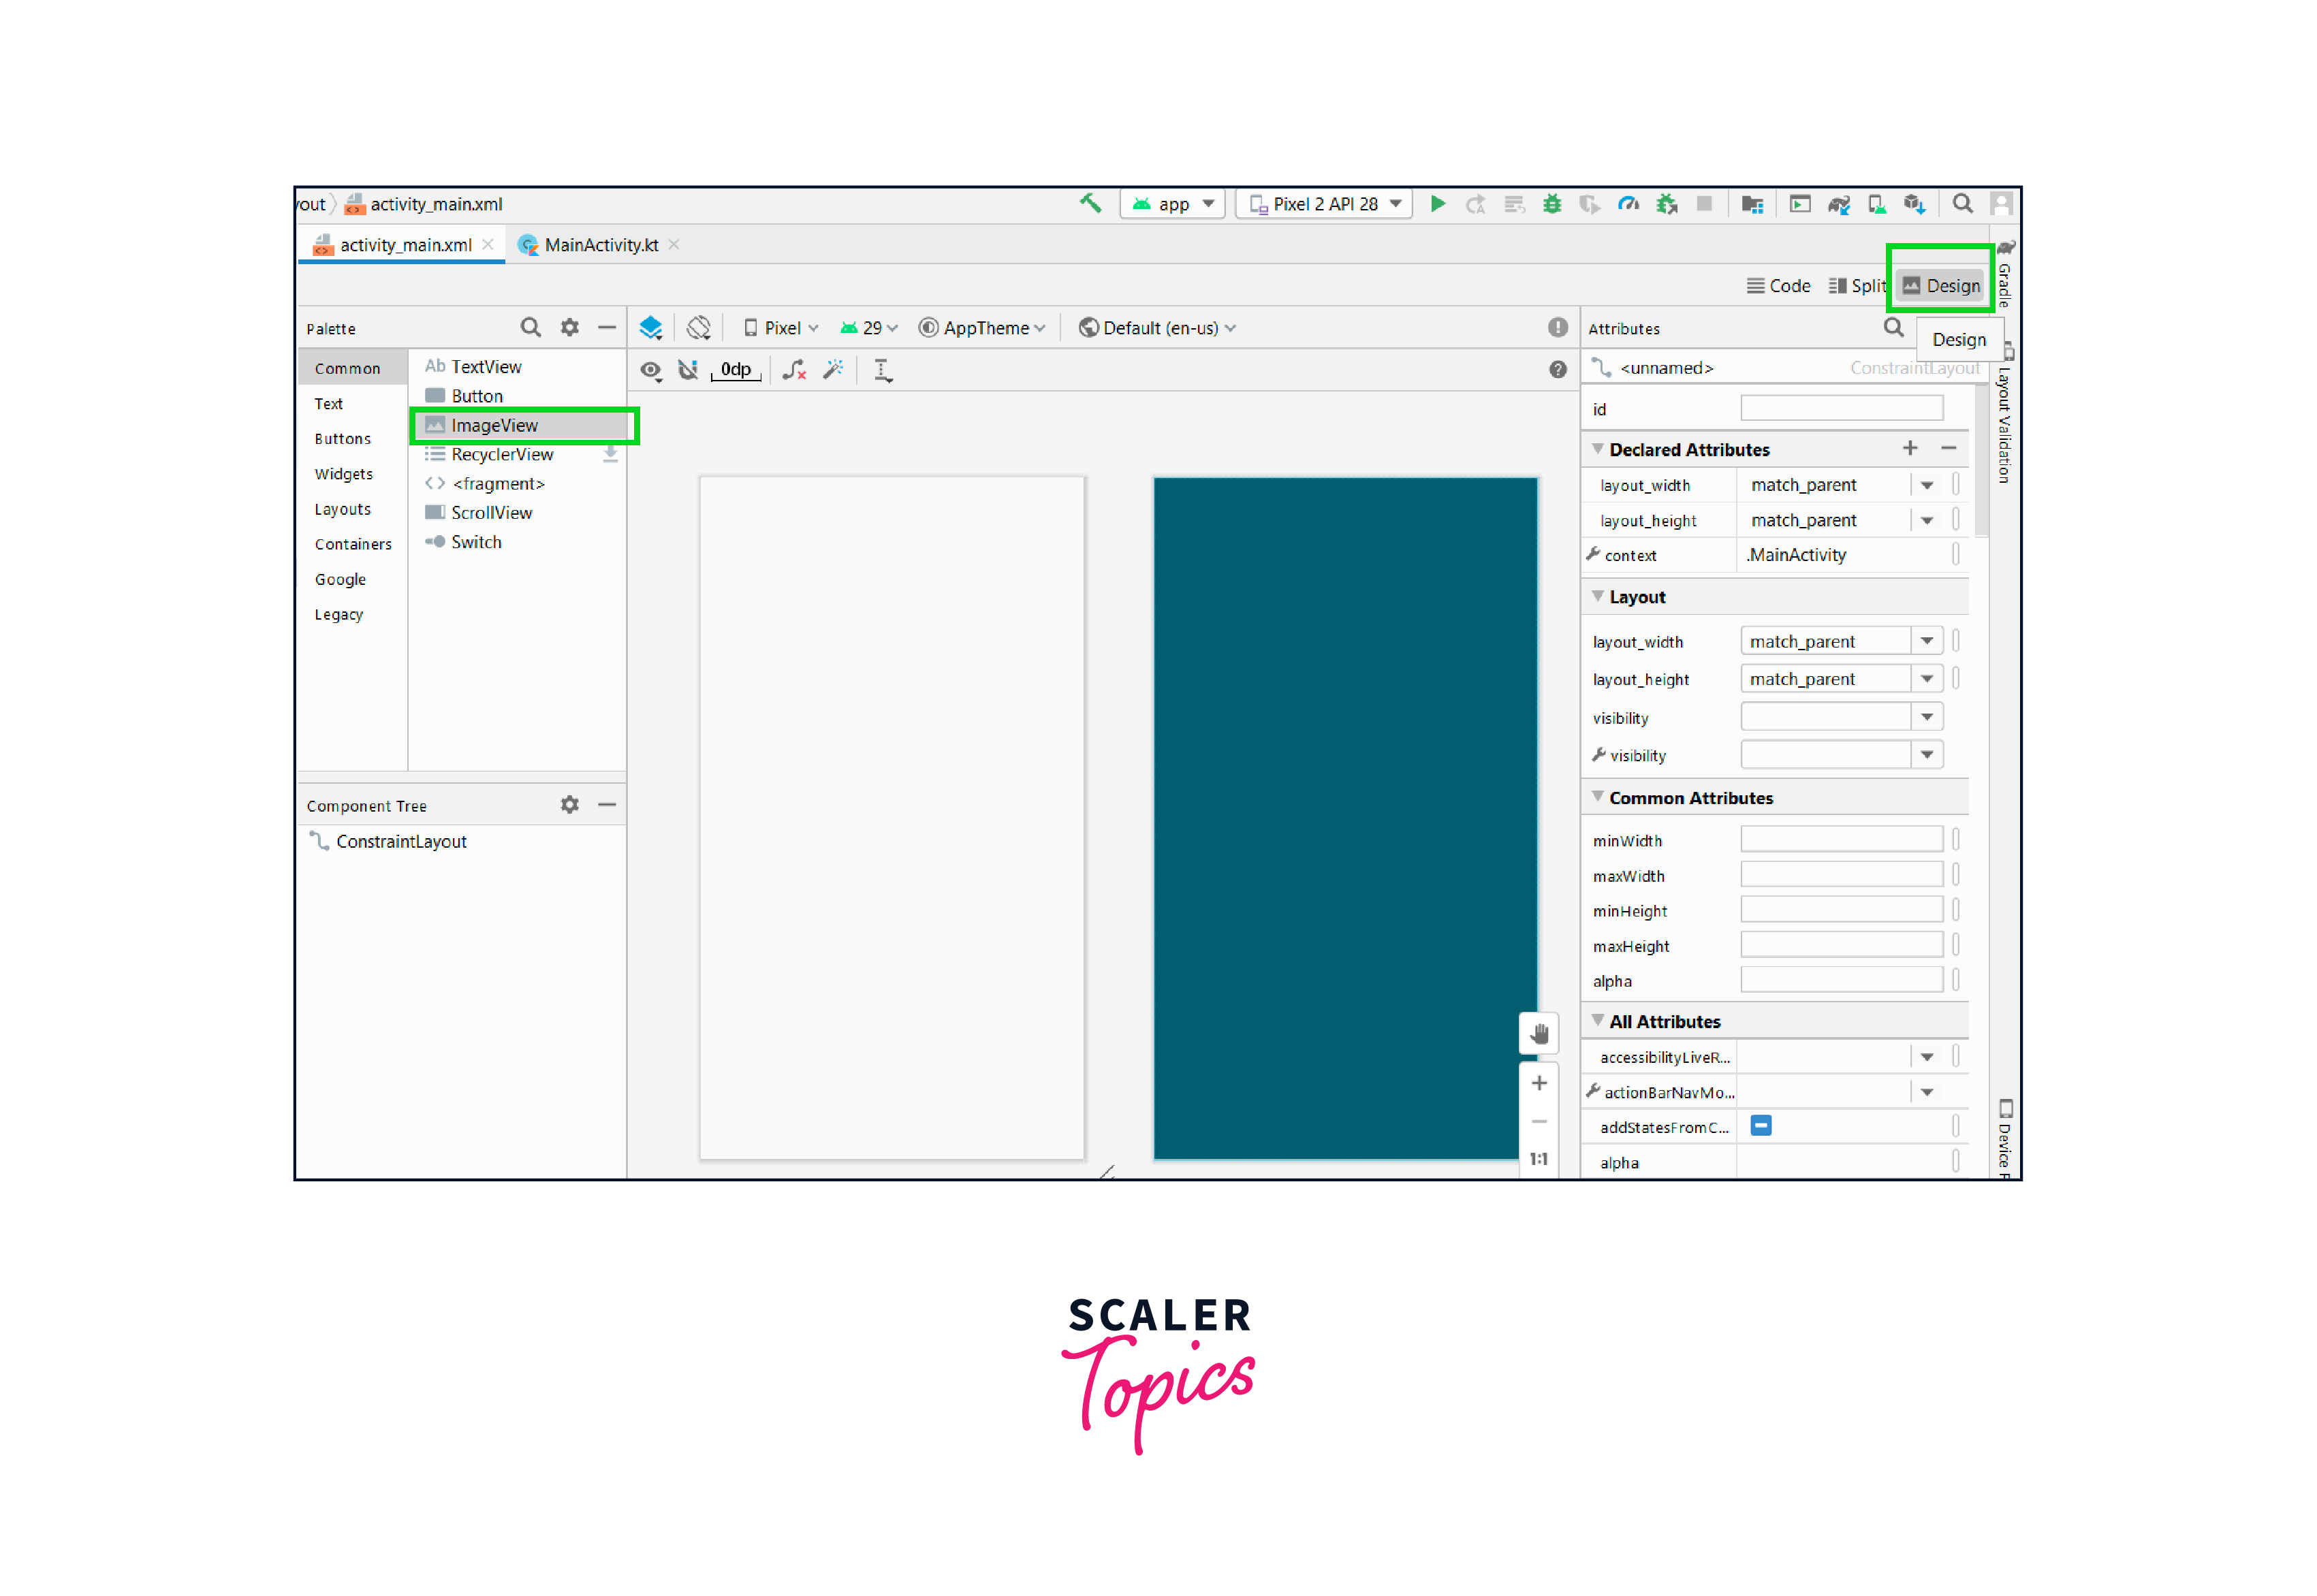
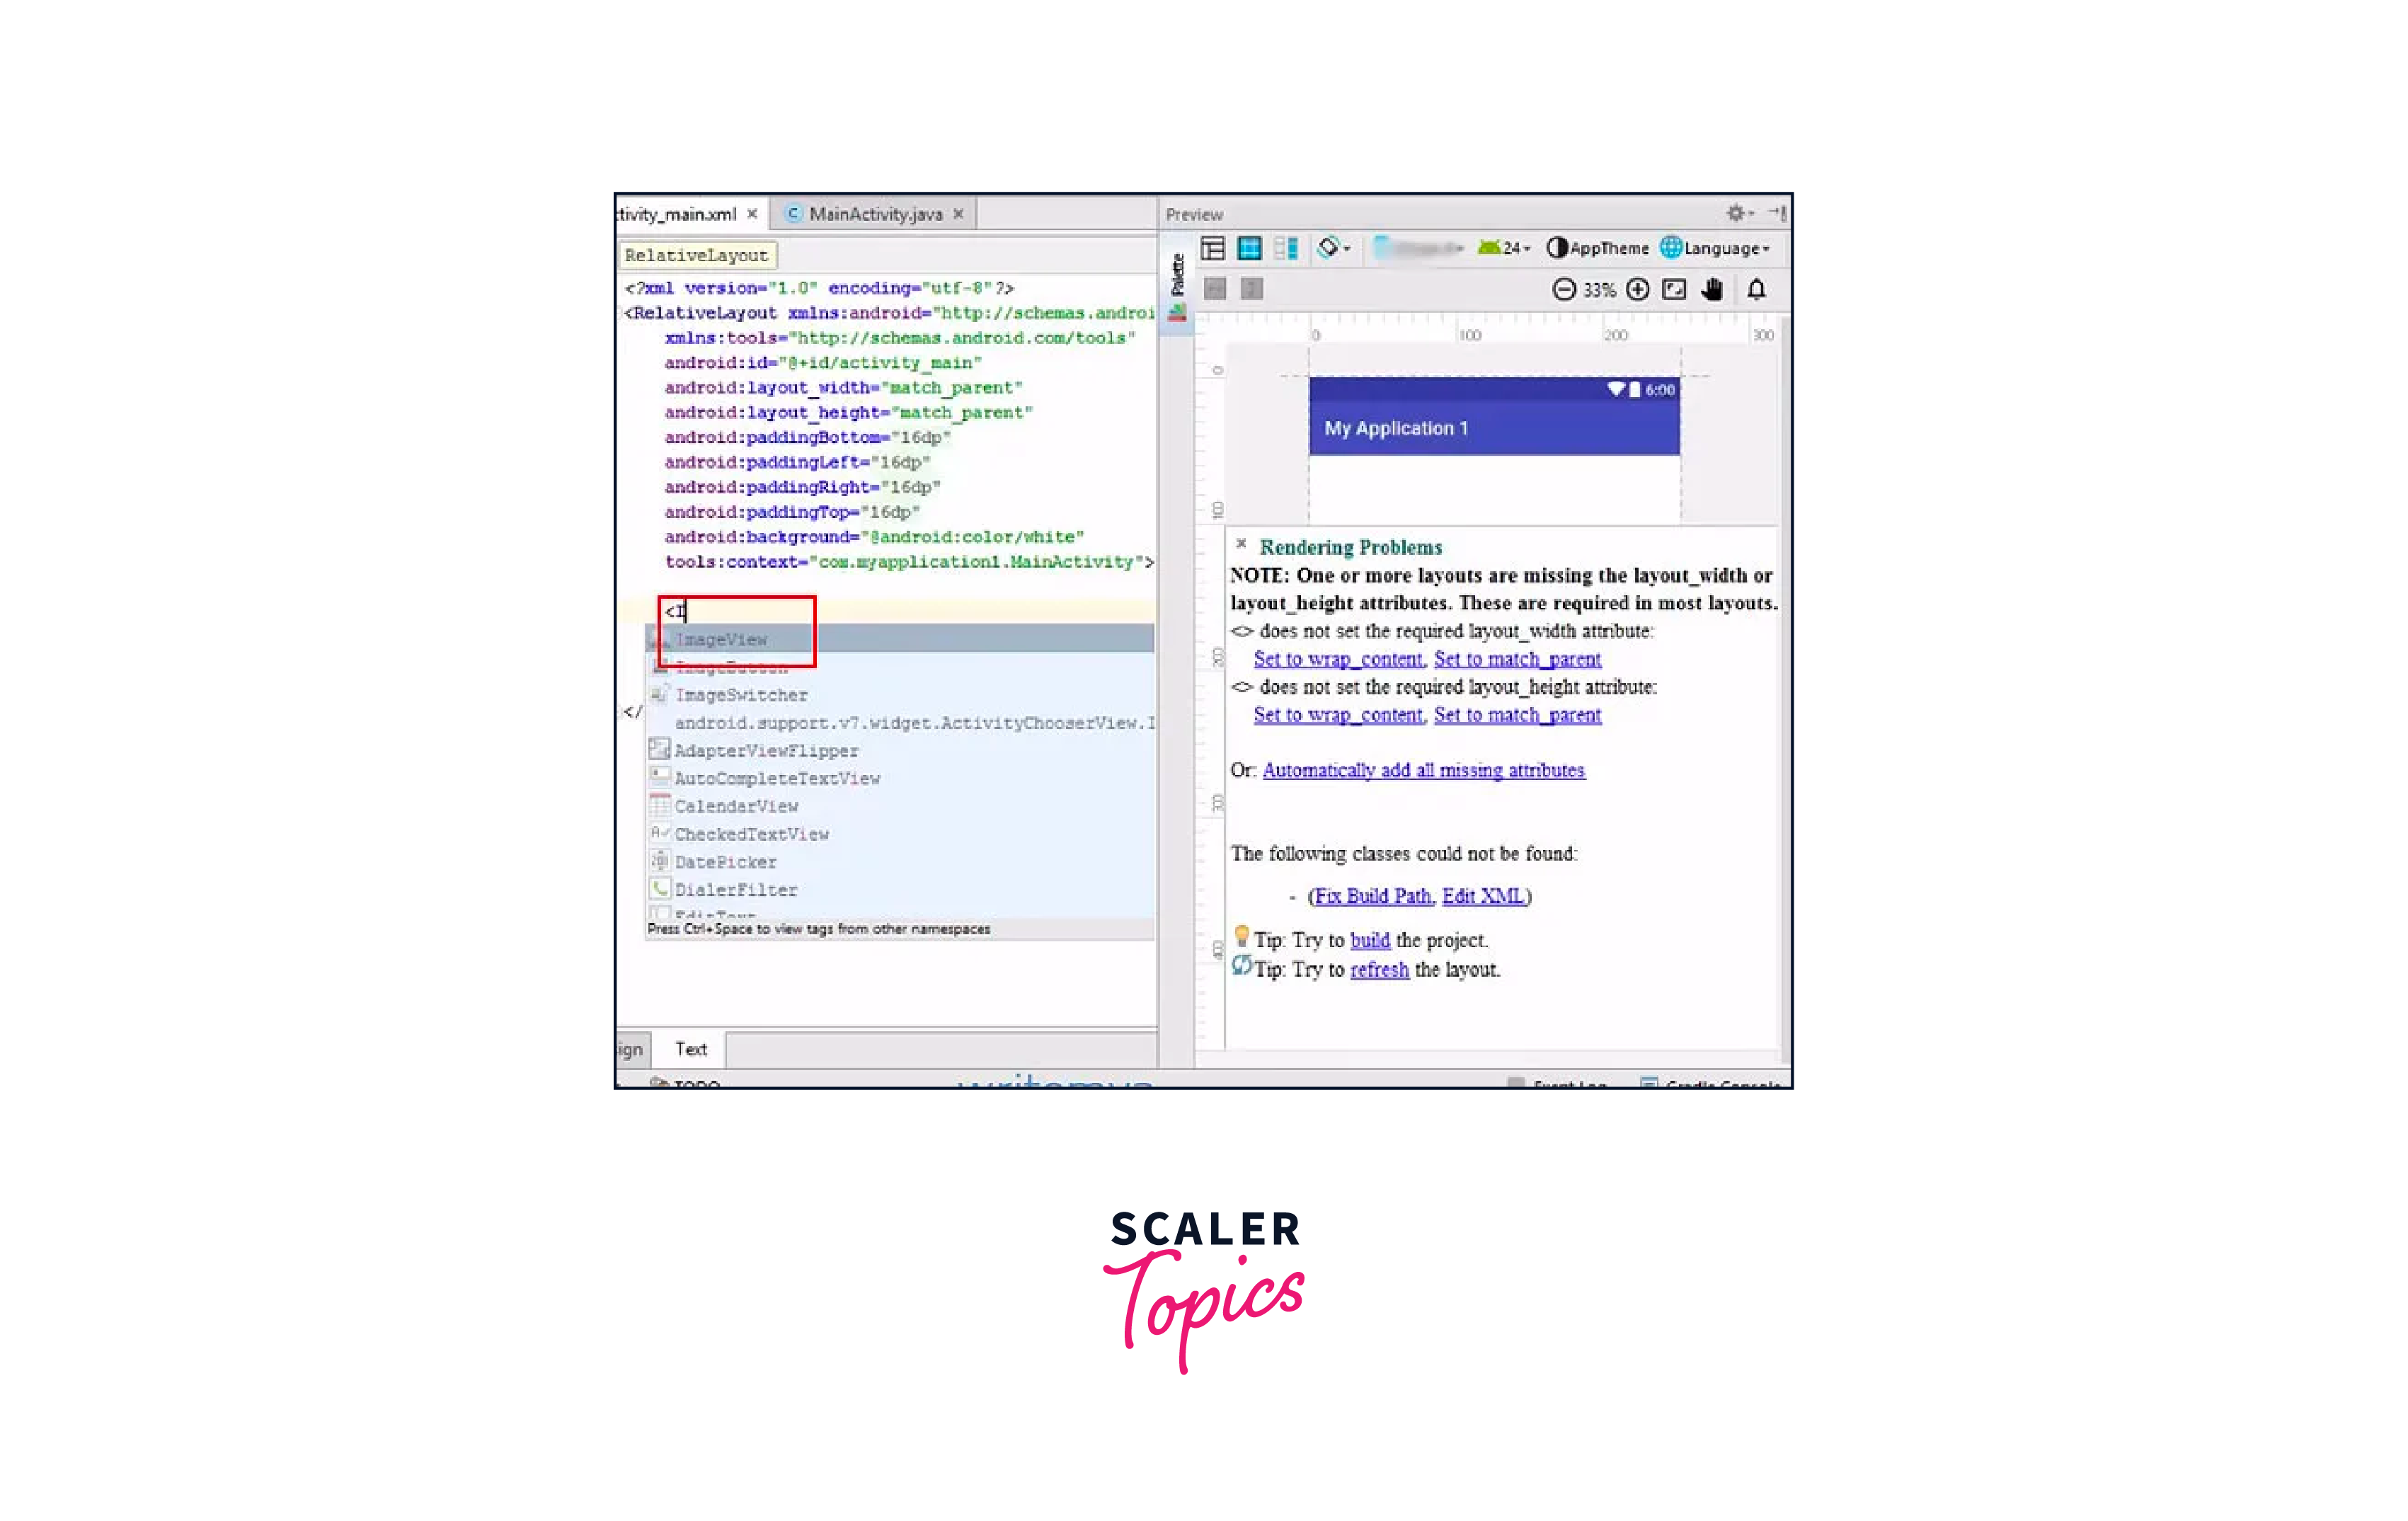
- Drag and drop an ImageView widget from the "Palette" or manually add the following XML code to your layout.
- Replace "@drawable/your_image_file_name" with the actual name of your image file without the file extension.
Step - 5: Configure ImageView Attributes
You can further customize the ImageView using XML attributes:
- android:layout_width and android:layout_height determine the size of the ImageView.
- android:scaleType controls how the image scales within the ImageView (e.g., centerCrop for cropping, fitCenter for fitting the image).
- android:layout_gravity specifies how the ImageView is positioned within its parent layout (e.g., center to center horizontally and vertically).
Step - 6: Access ImageView in Your Java/Kotlin Code (Optional)
-
If you need to interact with the ImageView programmatically, open the associated activity file (e.g., MainActivity.java for Java or MainActivity.kt for Kotlin).
-
Declare an ImageView variable and initialize it using the findViewById method in the onCreate method:
For Java (in MainActivity.java):
For Kotlin (in MainActivity.kt):
Step - 7: Run Your App
- Build and run your app on an emulator or physical device by clicking the "Run" button in Android Studio.
Adding an ImageView to an Activity
Method - 1: Adding an ImageView with Drawable Resources
Create or Open an Android Project:
- Launch Android Studio.
- Create a new Android project or open an existing one.
Add an Image to Drawable Resources:
- In the Project Explorer, navigate to the res/drawable folder.
- Right-click on the drawable folder and choose "Show in Explorer" (Windows) or "Reveal in Finder" (macOS).
- Copy the image you want to use and paste it into this folder.
Open the Layout File:
- Locate the XML layout file where you want to add the ImageView (e.g., activity_main.xml).
- Open this file in the Android Studio XML editor.
Add an ImageView Element:
- Drag and drop an ImageView from the "Palette" onto your layout, or manually add the following code within a RelativeLayout, LinearLayout, or another layout container:
Replace @drawable/your_image_file_name with the actual name of your image file in the res/drawable folder, and provide a meaningful android:contentDescription for accessibility.
Configure ImageView Attributes:
- Customize the android:layout_width, android:layout_height, and other attributes as needed to fit your design.
Access ImageView in Your Activity (Optional):
-
If you need to interact with the ImageView programmatically, open the associated Activity file (e.g., MainActivity.java for Java or MainActivity.kt for Kotlin).
-
Declare an ImageView variable and initialize it using the findViewById method:
For Java (in MainActivity.java):
For Kotlin (in MainActivity.kt):
Method - 2: Adding an ImageView with Programmatically Loaded Images
Create or Open an Android Project:
- Follow the same steps as in Method 1 to create or open your Android project.
Open the Layout File:
- Locate the XML layout file where you want to add the ImageView (e.g., activity_main.xml).
- Open this file in the Android Studio XML editor.
Add an ImageView Element:
- Drag and drop an ImageView from the "Palette" onto your layout or manually add the following code within a layout container.
- Provide a meaningful android
for accessibility.
Access ImageView in Your Activity:
-
Open the associated Activity file (e.g., MainActivity.java for Java or MainActivity.kt for Kotlin).
-
Declare an ImageView variable:
For Java (in MainActivity.java):
For Kotlin (in MainActivity.kt):
Load an Image Programmatically:
-
To load an image programmatically (e.g., from the device's storage or a network URL), you'll need to use a library like Picasso or Glide. Here's an example using Picasso:
For Java (in MainActivity.java):
For Kotlin (in MainActivity.kt):
Configure ImageView Attributes (Optional):
- Customize the android
, android , and other attributes as needed to fit your design.
Run Your App:
- Build and run your app on an emulator or physical device to see the ImageView displaying the image.
Conclusion
- Basic UI Component:
ImageView is a fundamental UI component in Android used for displaying images within app layouts. - Image Sources:
It can display images from various sources, including drawable resources, image files, or programmatically loaded images. - Scale Types:
ImageView supports various scale types, allowing images to be cropped, fitted, or stretched to fit the available space. - Accessibility:
Adding a meaningful android:contentDescription is crucial for accessibility, as it provides a description of the image for users with disabilities. - Drawable Resources:
Drawable resources can be easily added to the res/drawable folder and referenced using the android:src attribute. - Programmatic Loading:
Images can also be loaded programmatically from sources like the internet using libraries like Picasso or Glide. - Customization:
Developers can further customize ImageView by applying tints, backgrounds, or animations to enhance the visual appeal. - Interactivity:
ImageView can respond to user interactions, such as clicks or gestures, to create interactive image-based features in an app.
