Excel Setup
Microsoft Excel, a powerful spreadsheet software in the Microsoft Office suite, facilitates data organization, analysis, and manipulation. Widely used in business, finance, and accounting, Excel is crucial for efficient data management, analysis, reporting, and financial and project management, available on both Windows and Mac OS with various quick installation methods.
4 Ways to Download and Install Microsoft Excel
Using Office 365 on Desktop
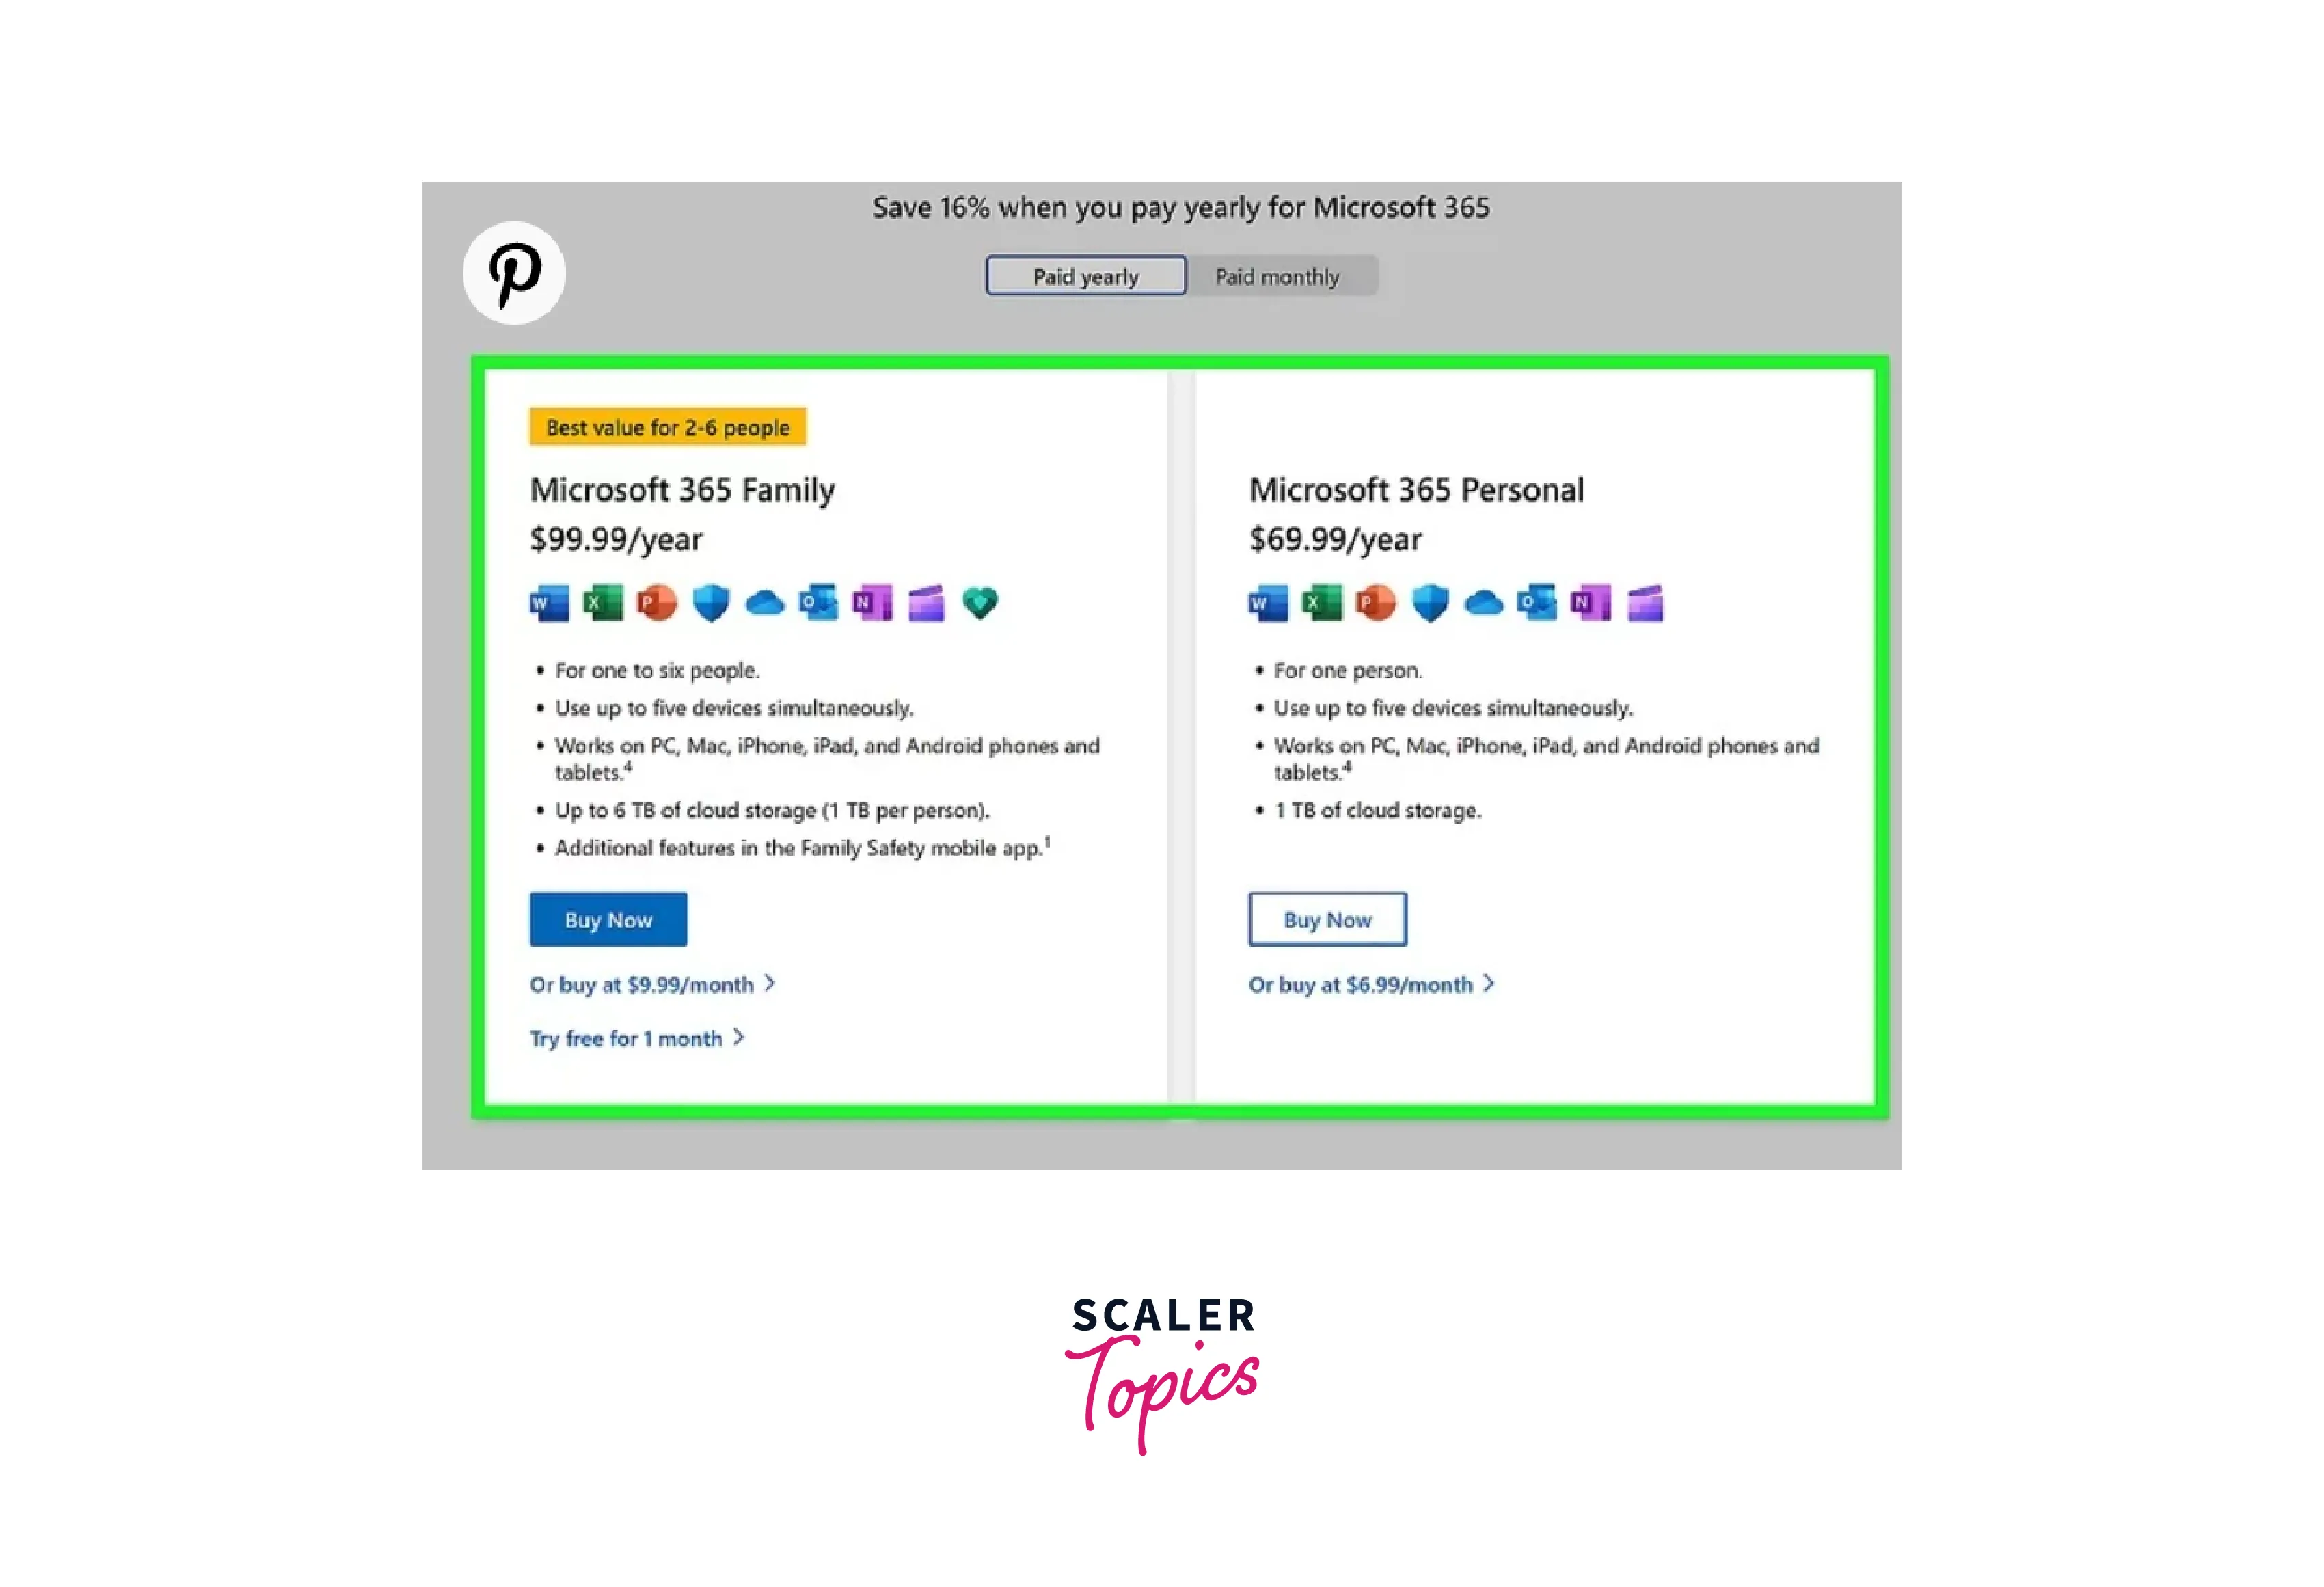
Purchase an Office 365 subscription
To download Microsoft Excel permanently on your Desktop, it is required to purchase an Office 365 subscription.
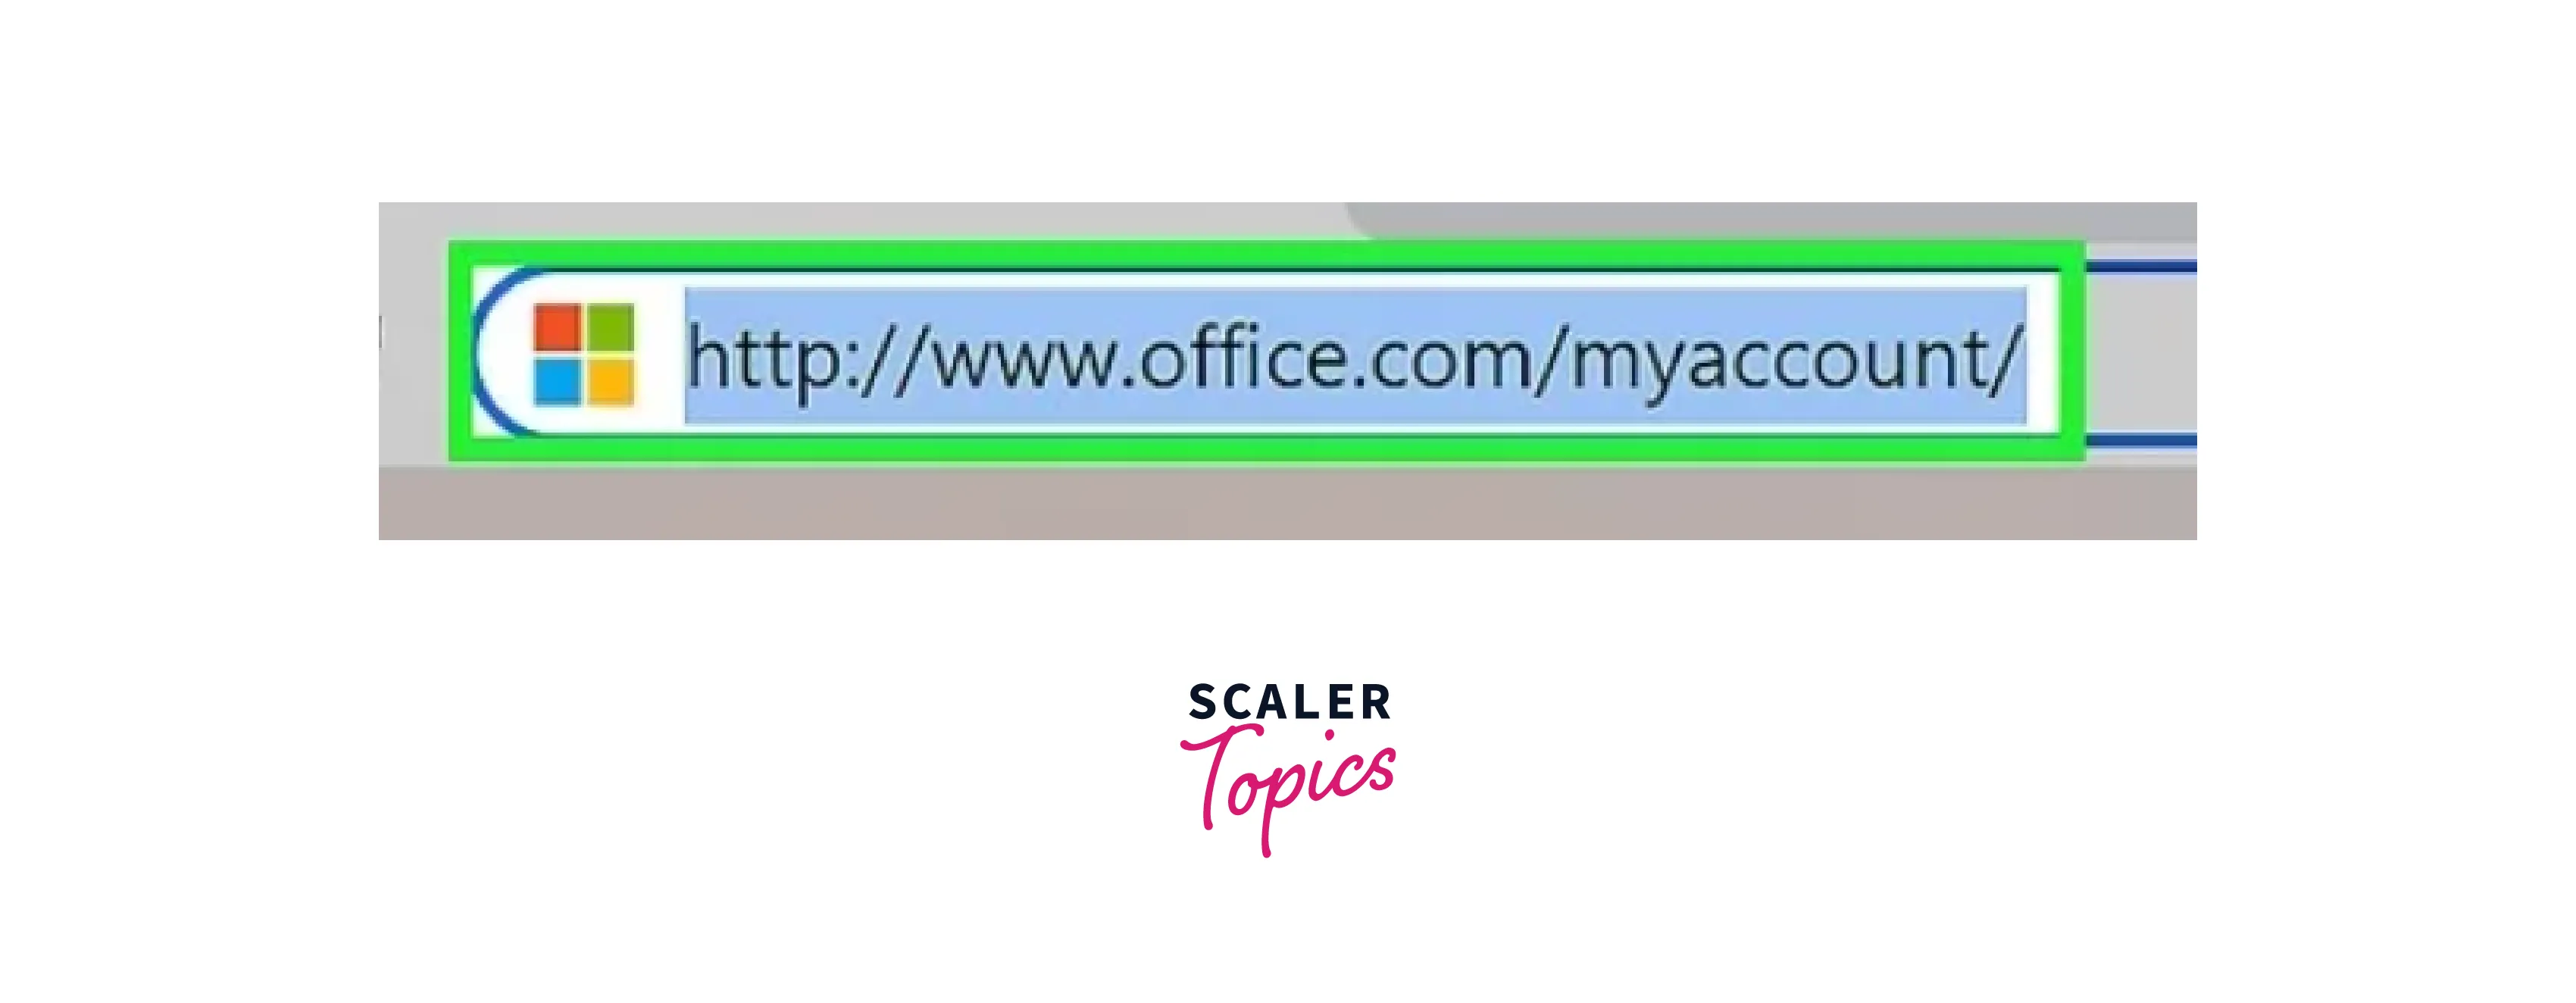
Go to link in your web browser
This will open your Office subscription` page if you're logged in. Now follow the steps below:
-
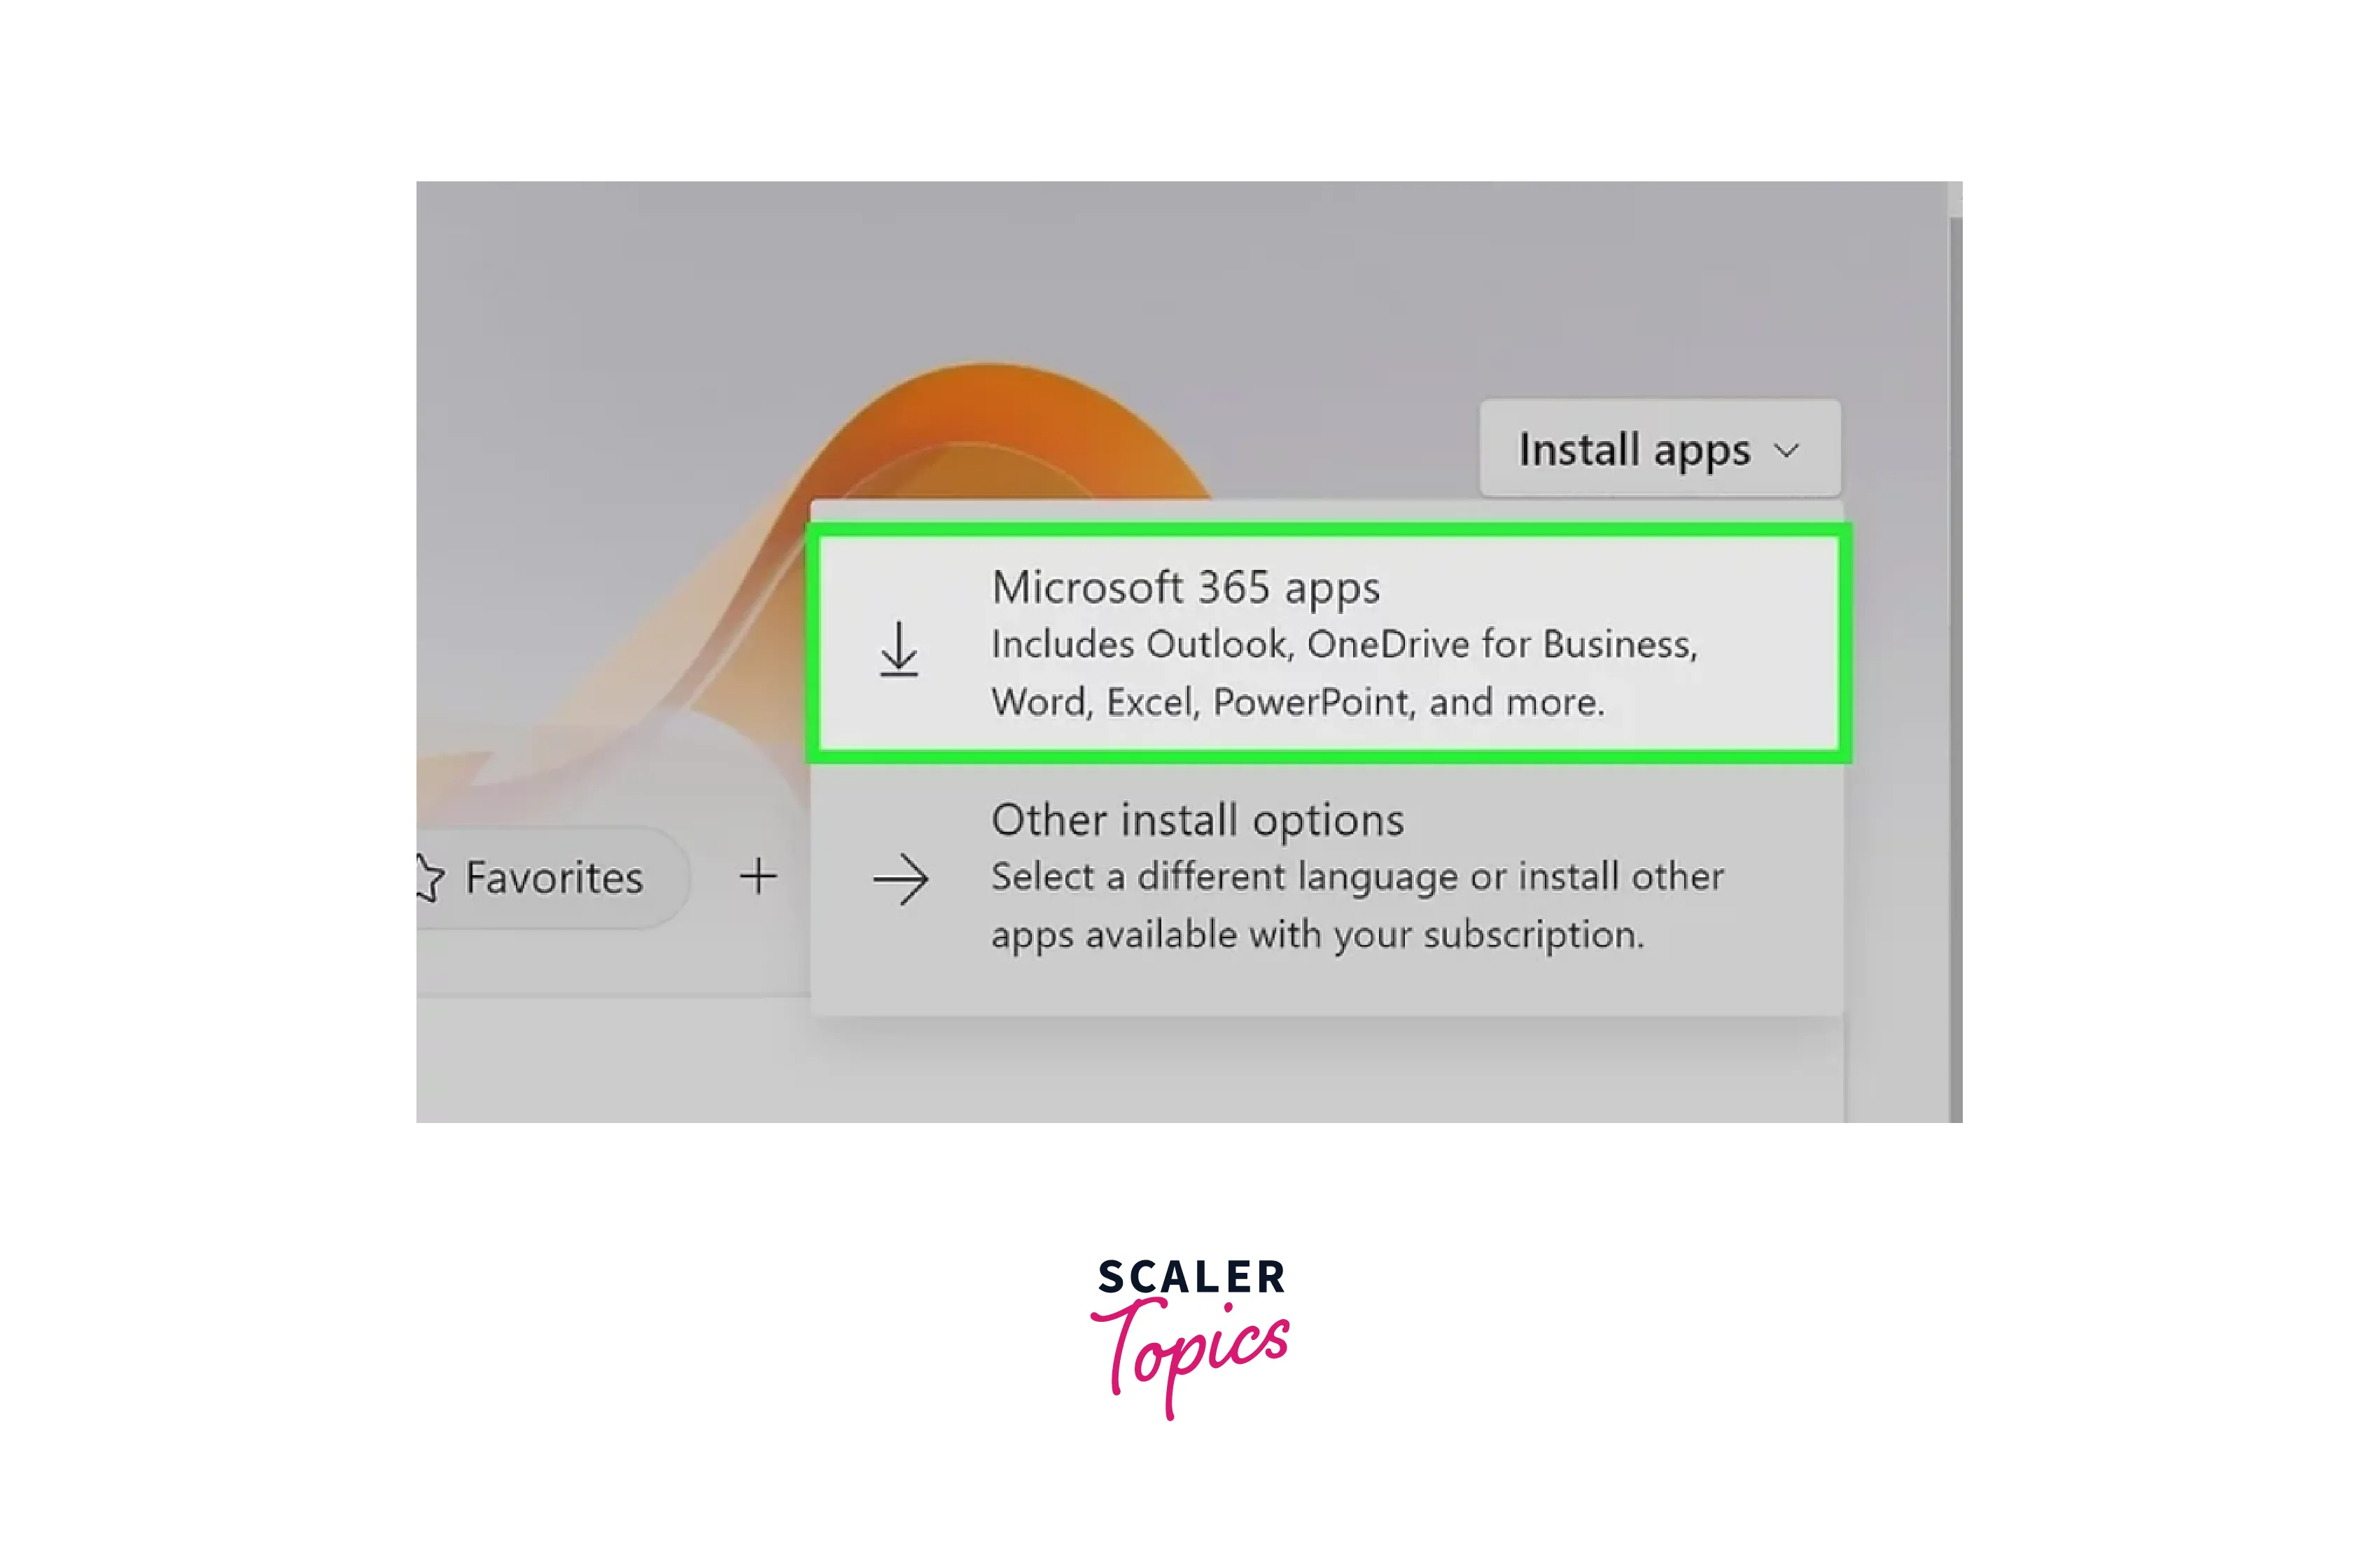
Step 1: First, we have to click on the install apps button available in the top right corner.
-
Step 2: Next, click On Microsoft 365 apps
-
Step 3:: Then we choose the install Office 365 option.
-
Step 4: Finally, open the excel app.



Using a Free Trial on Desktop
-
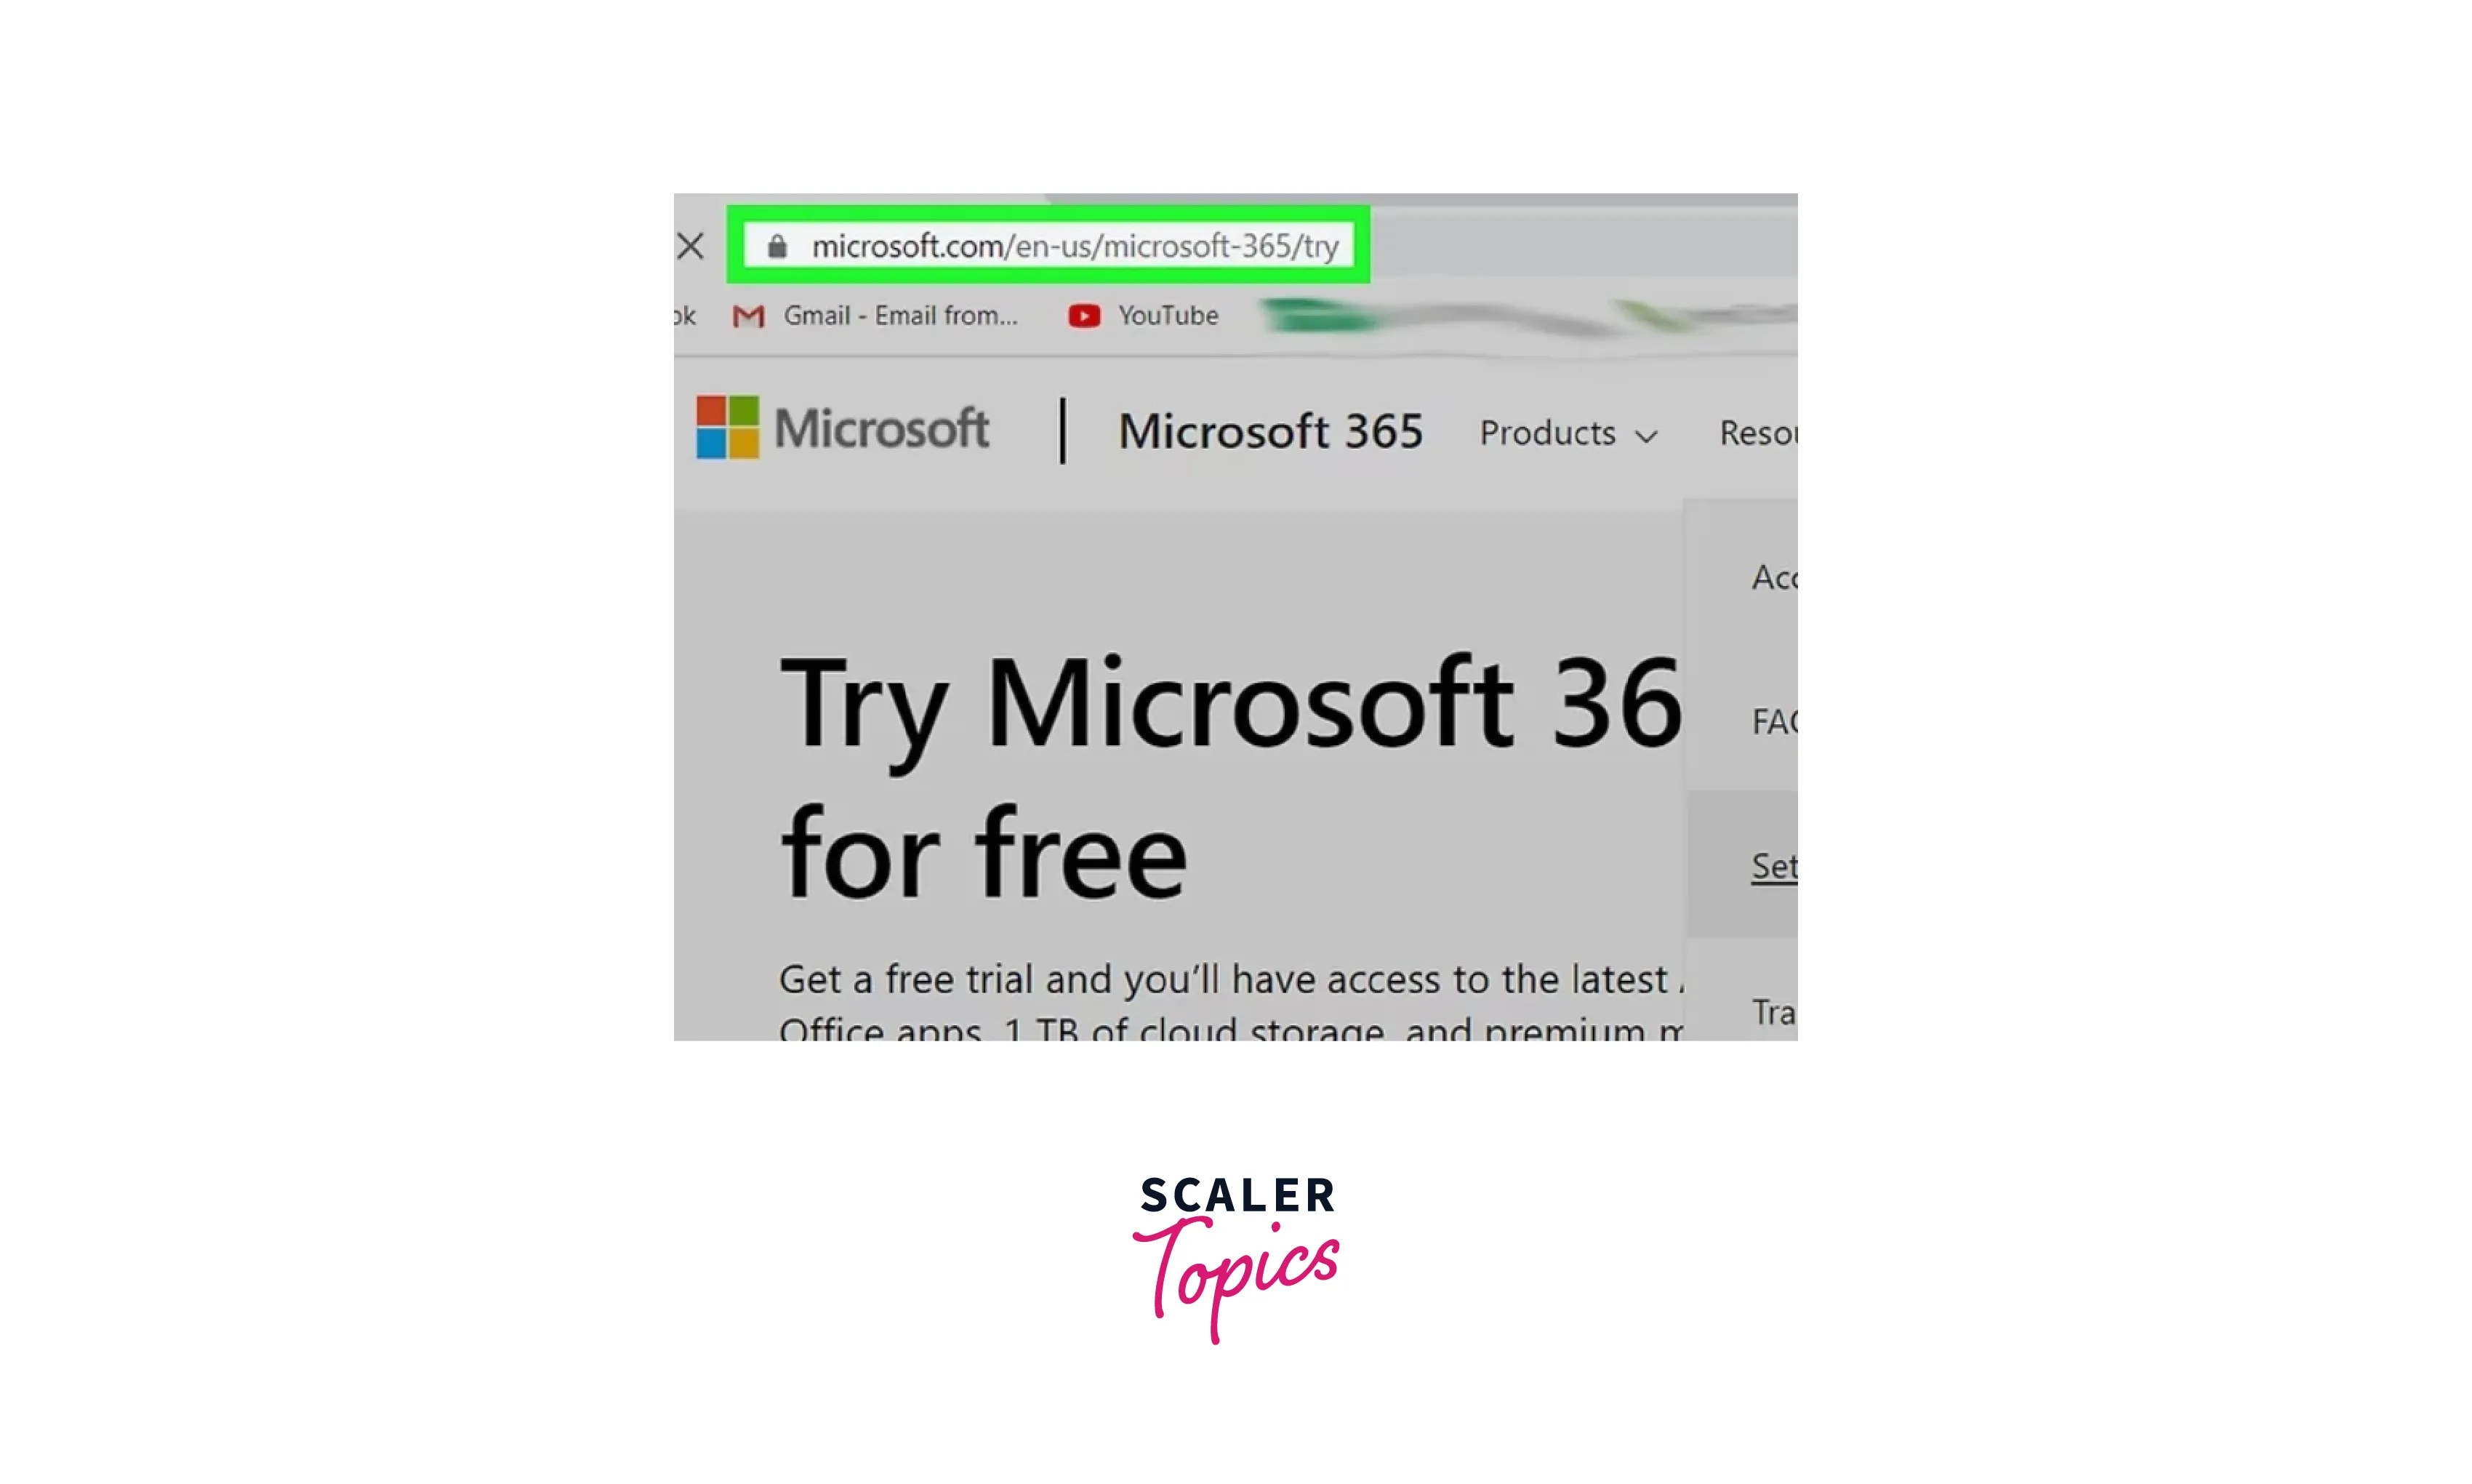
Step 1: Go to link in your computer's web browser.
-
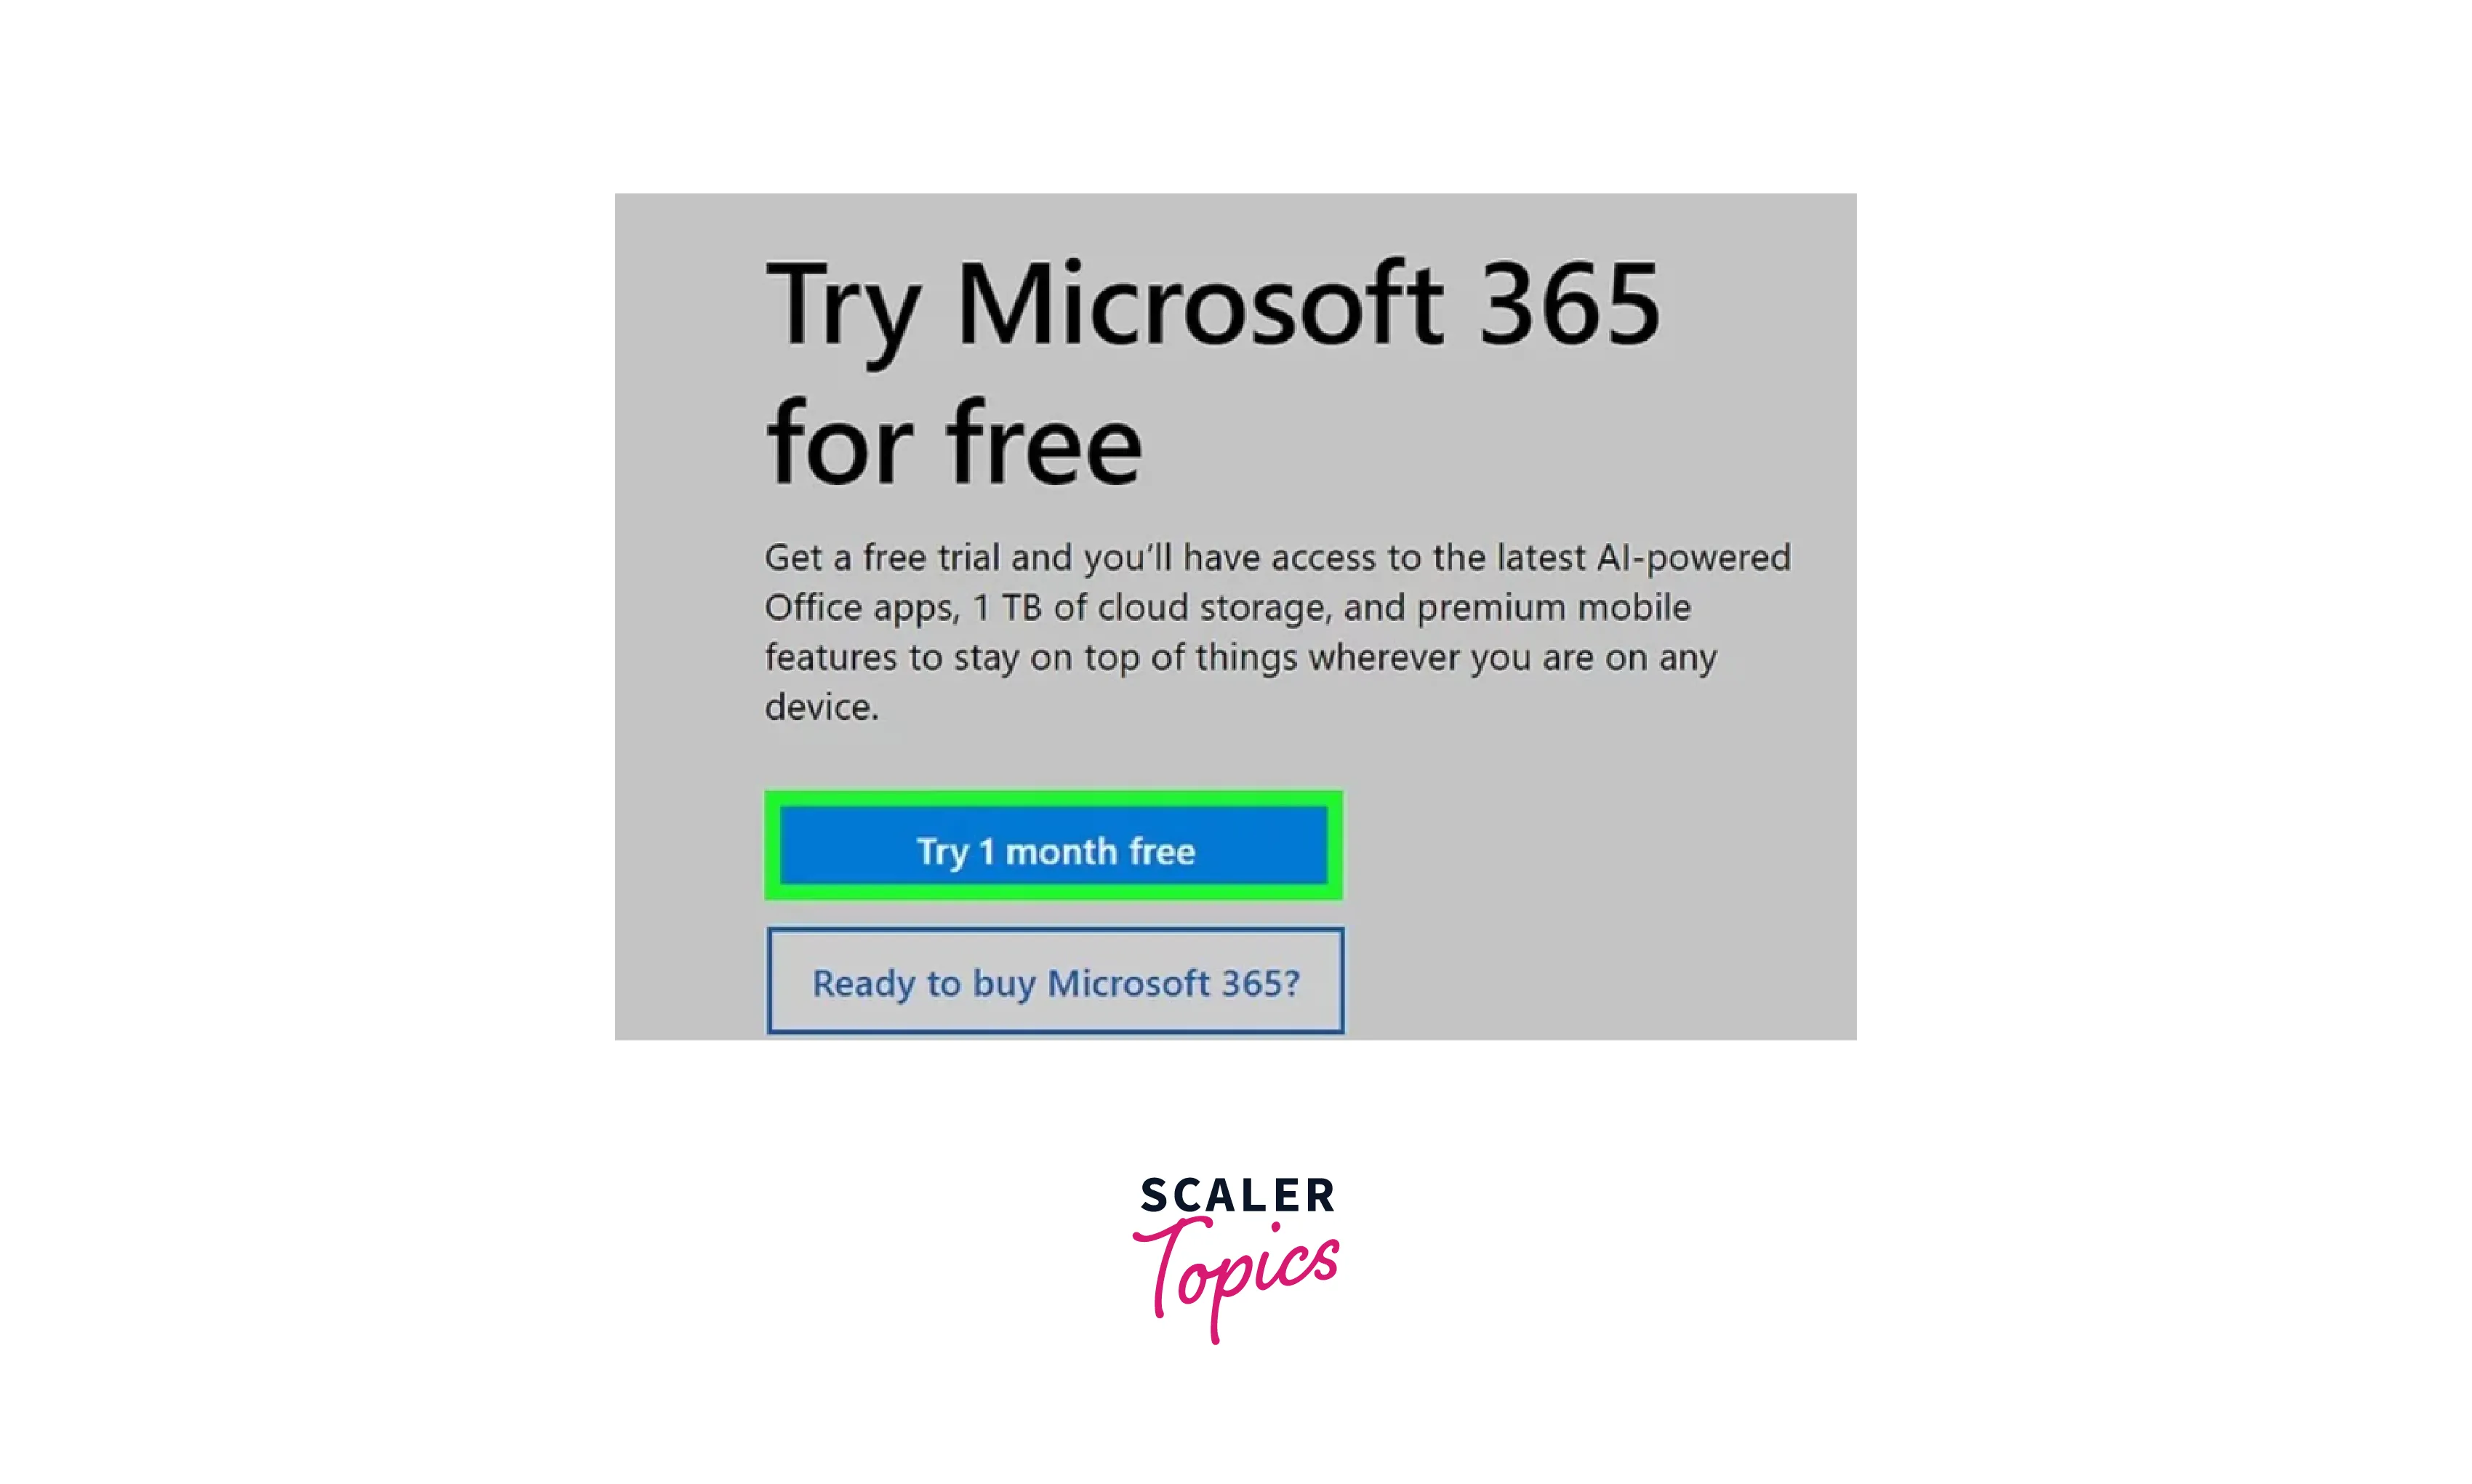
Step 2: Now click on the "try one-month free" option.
-
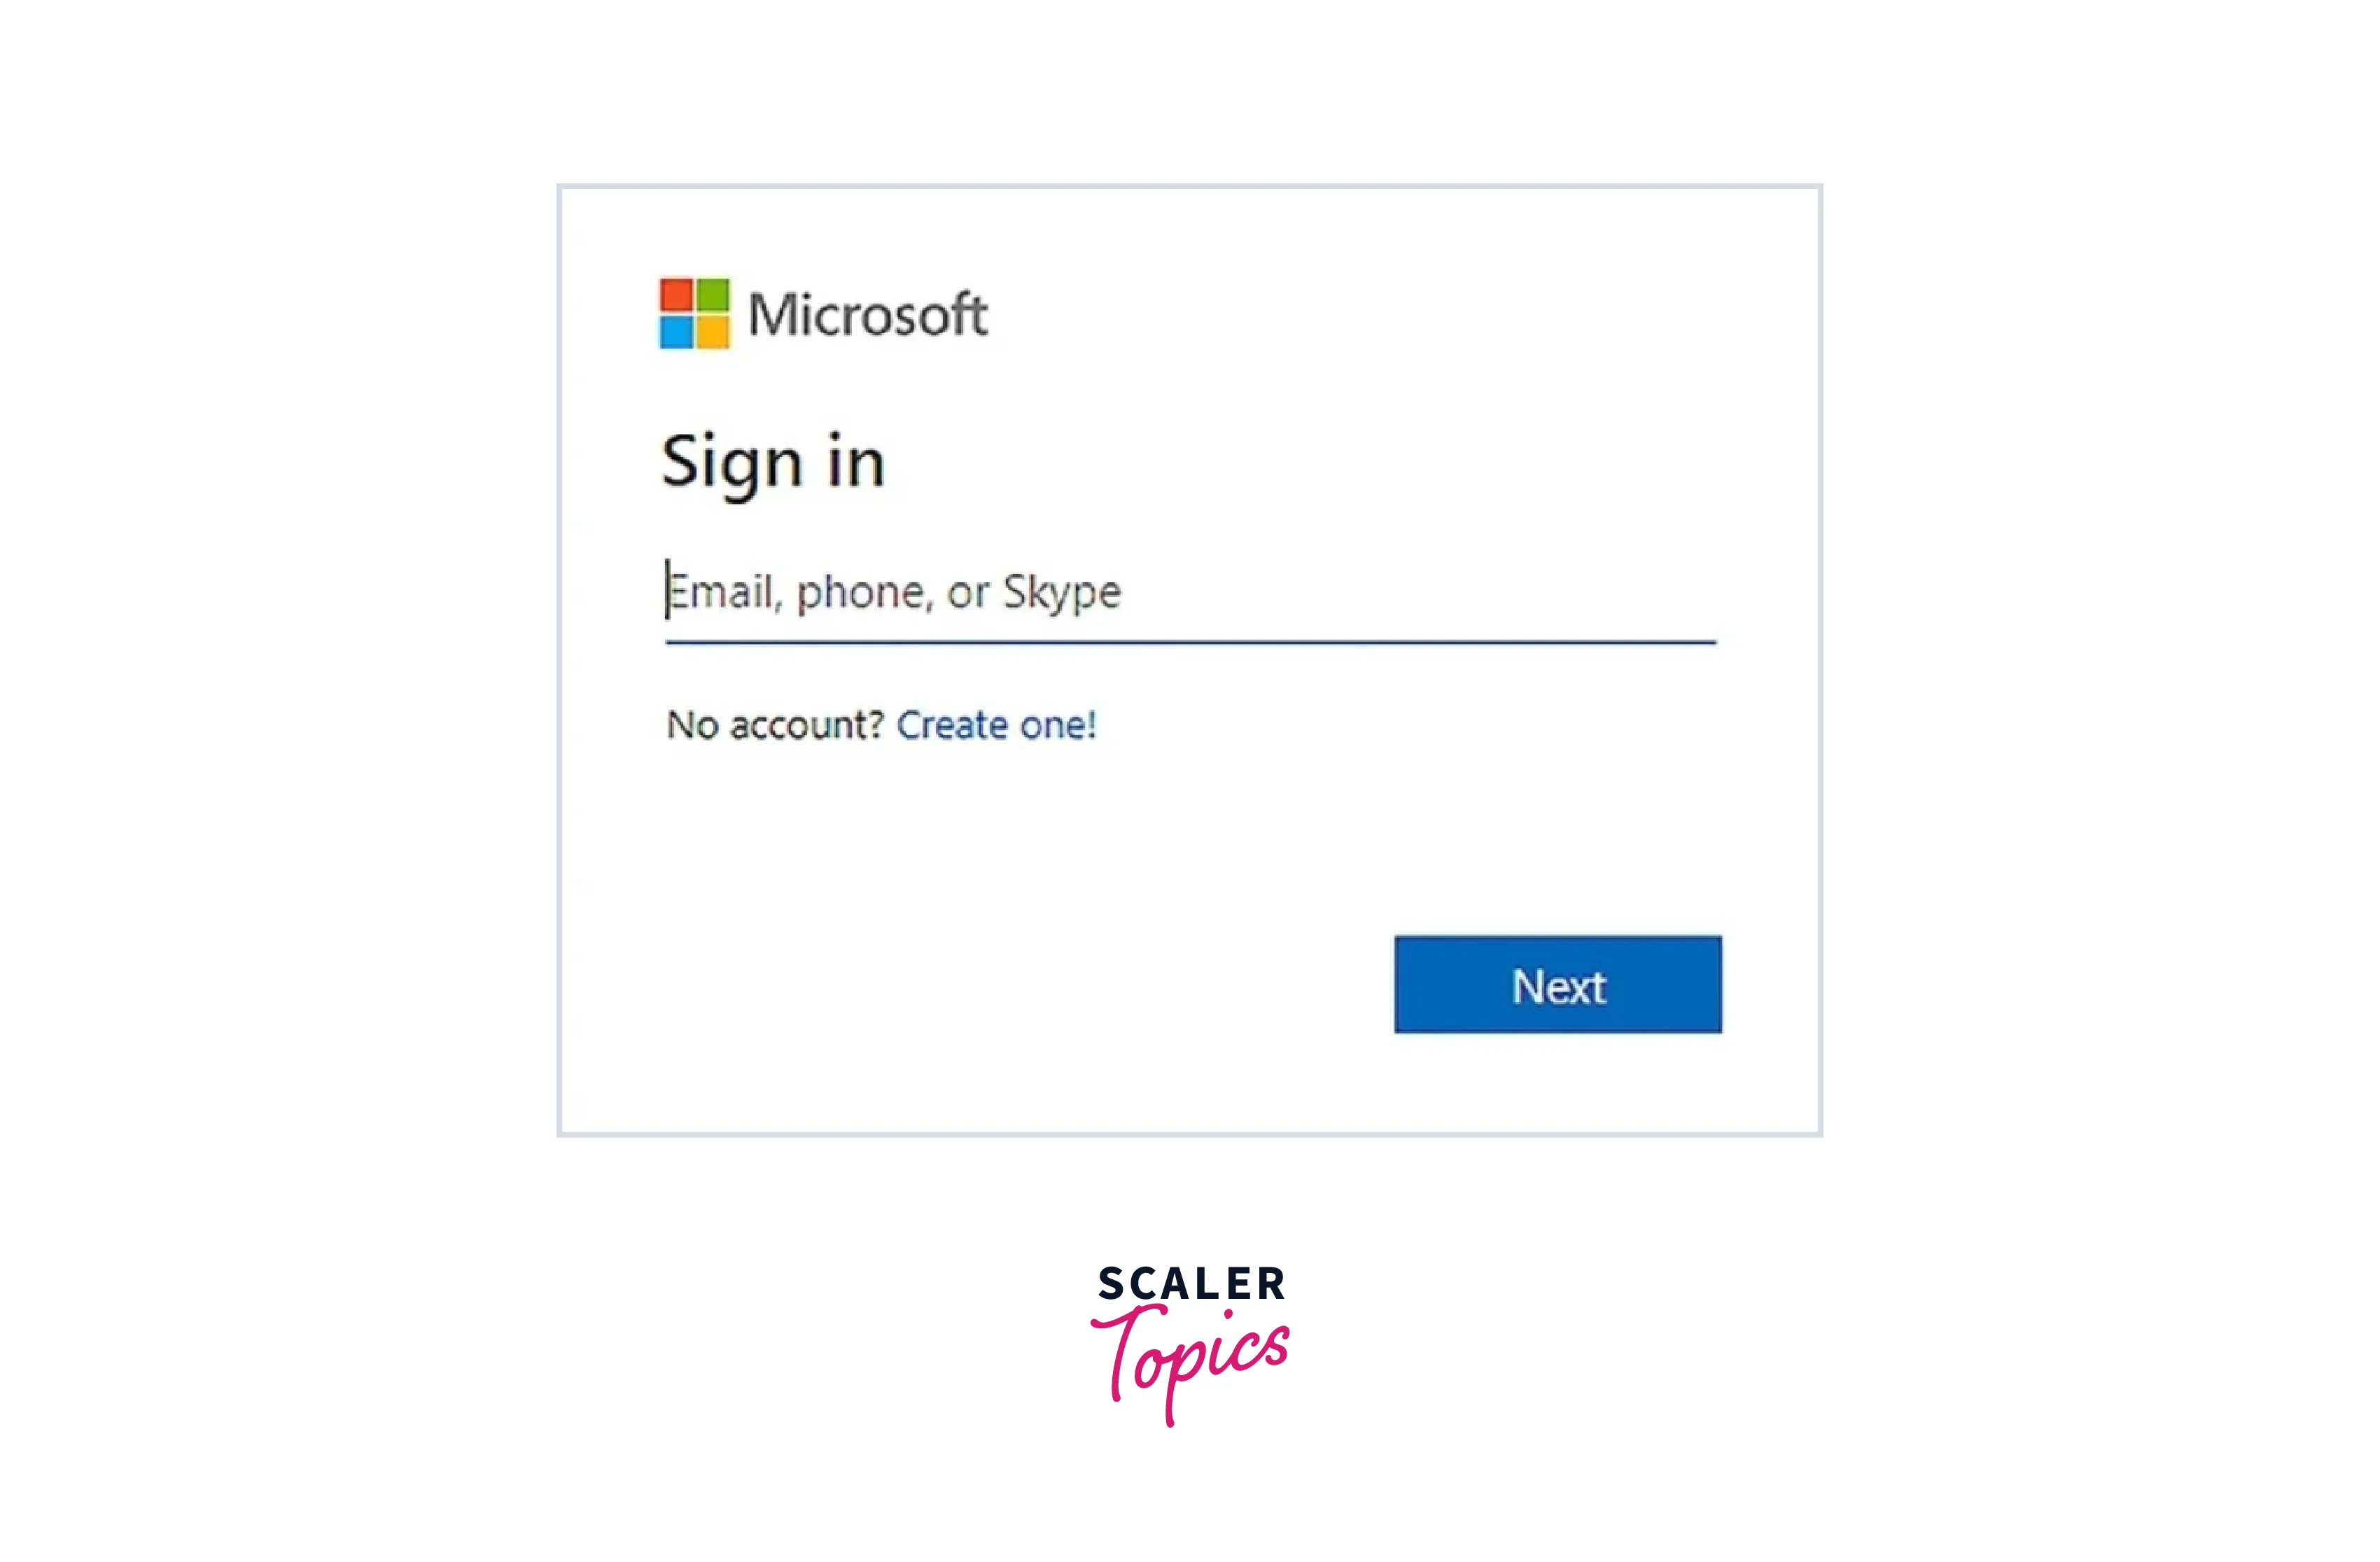
Step 3: Now sign in to your Microsoft account
-
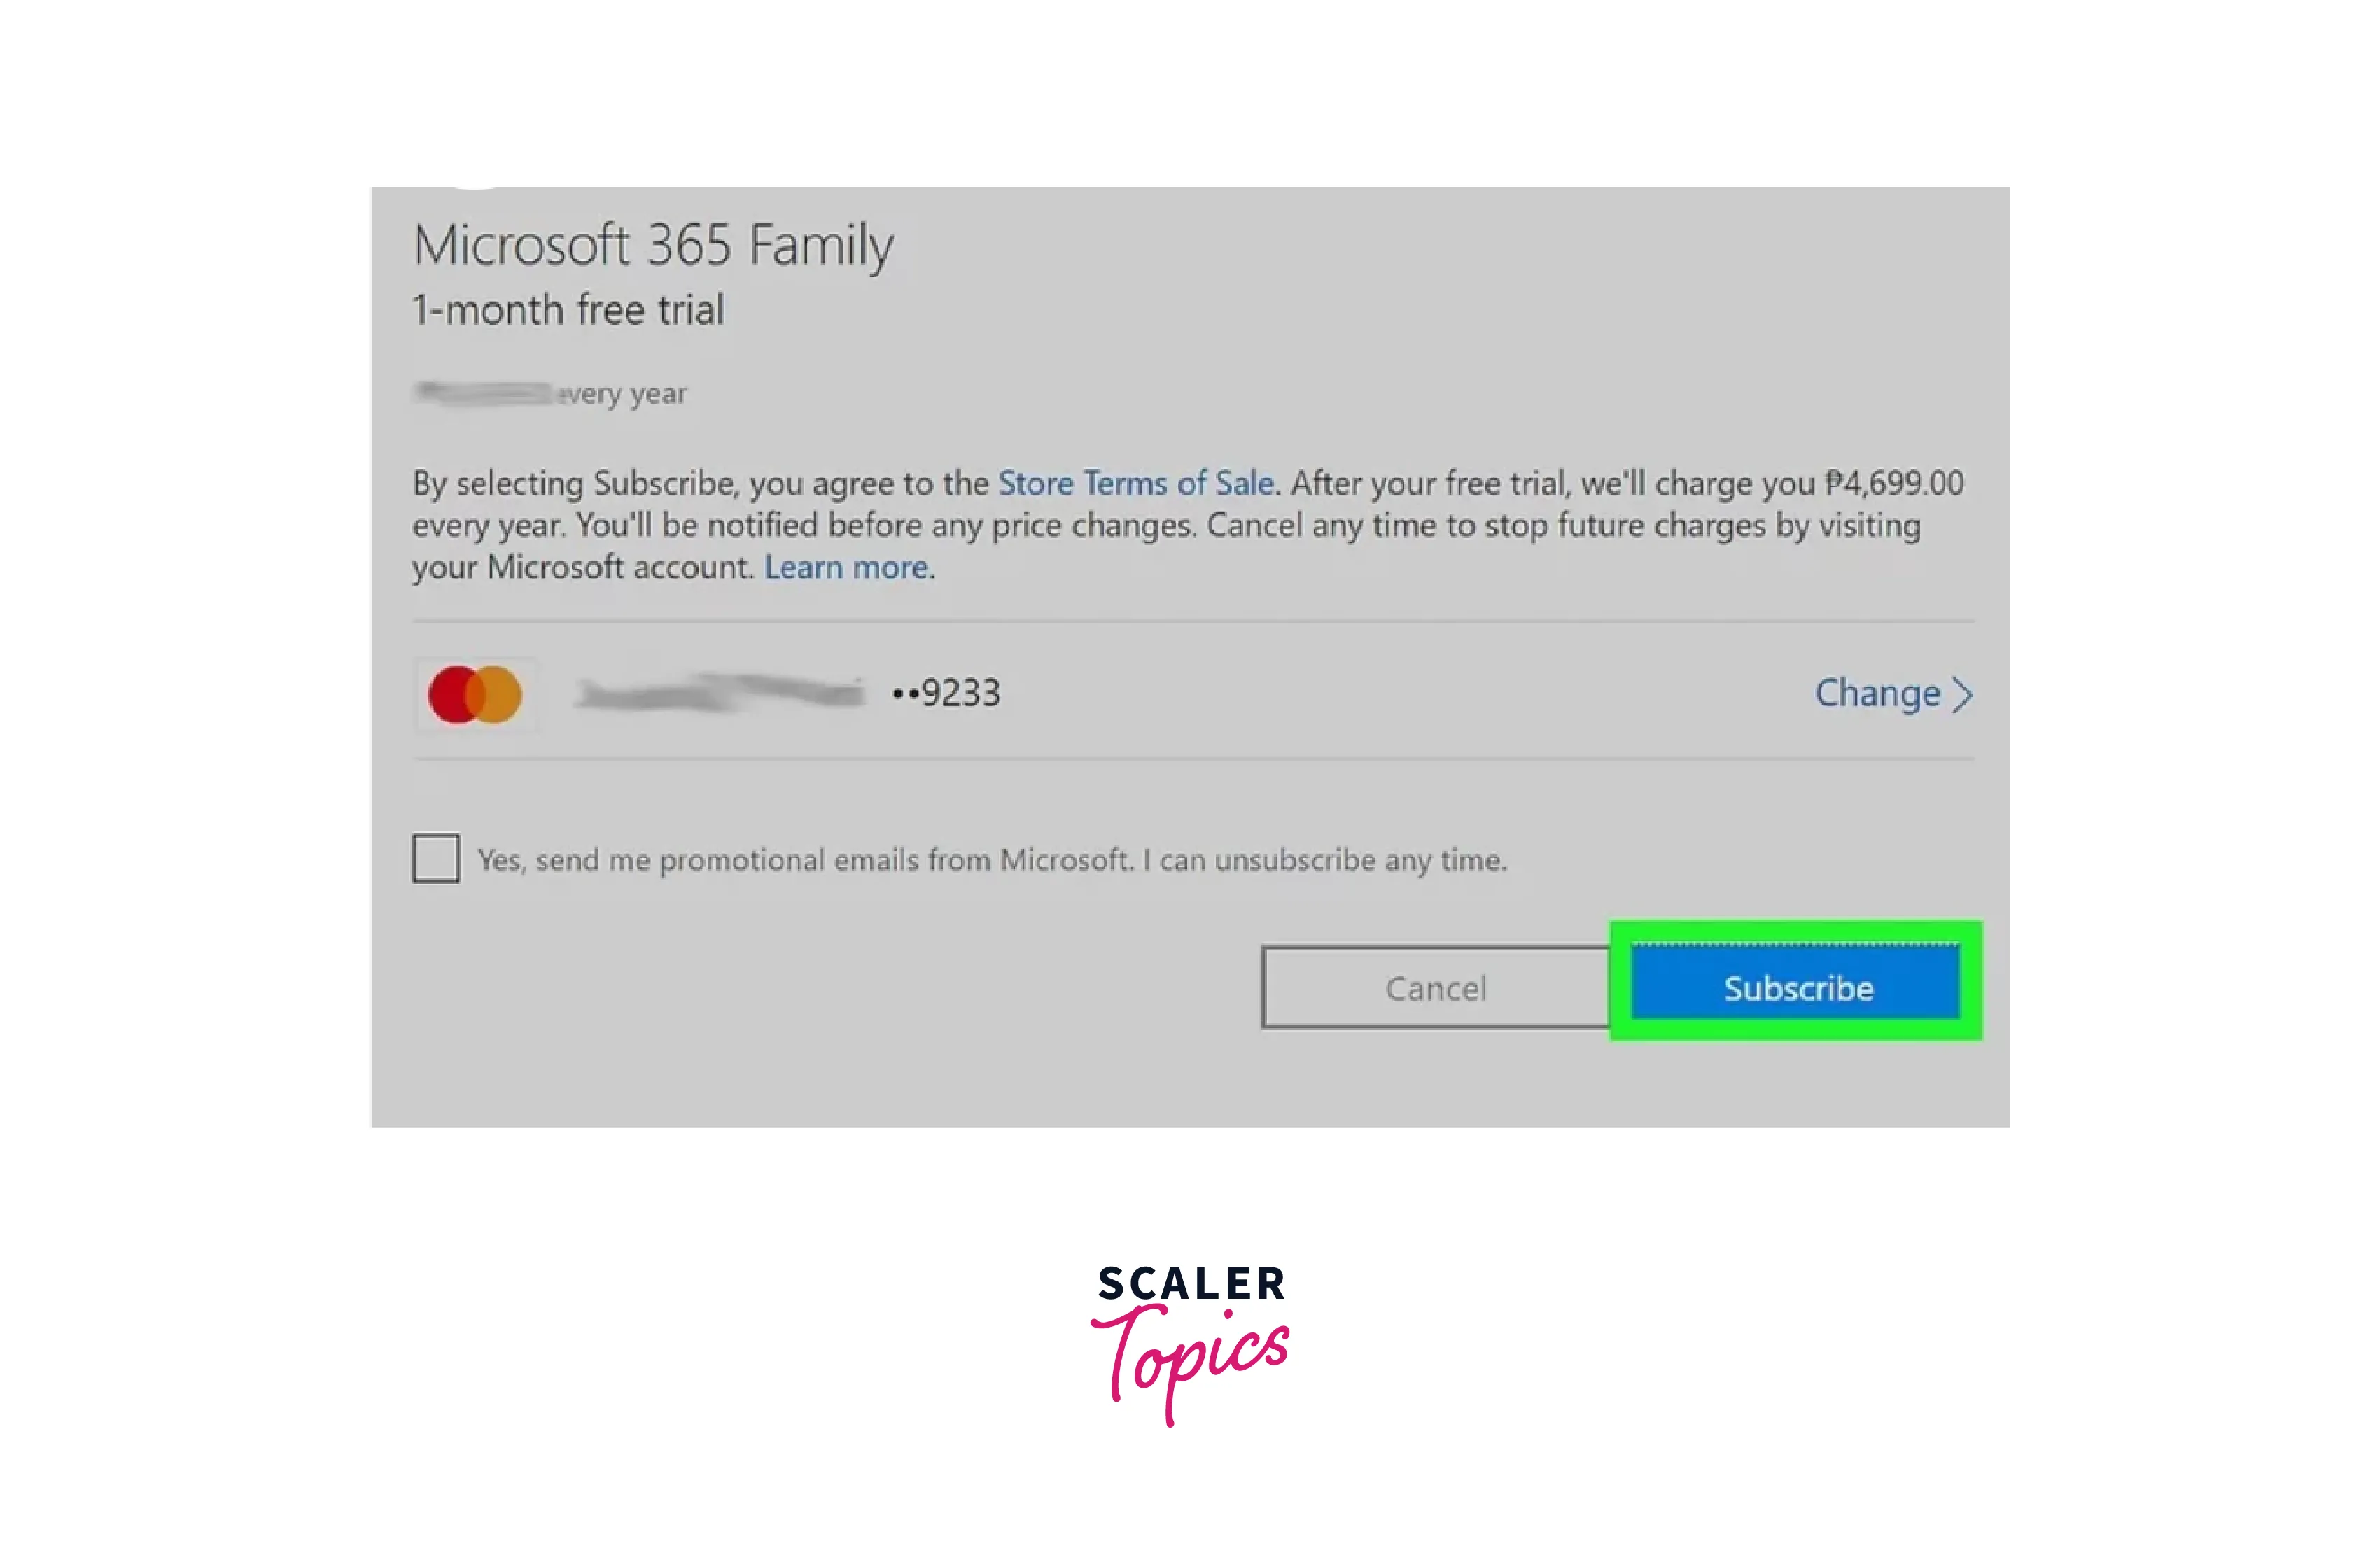
Step 4: Next, sign up for the free trial
-
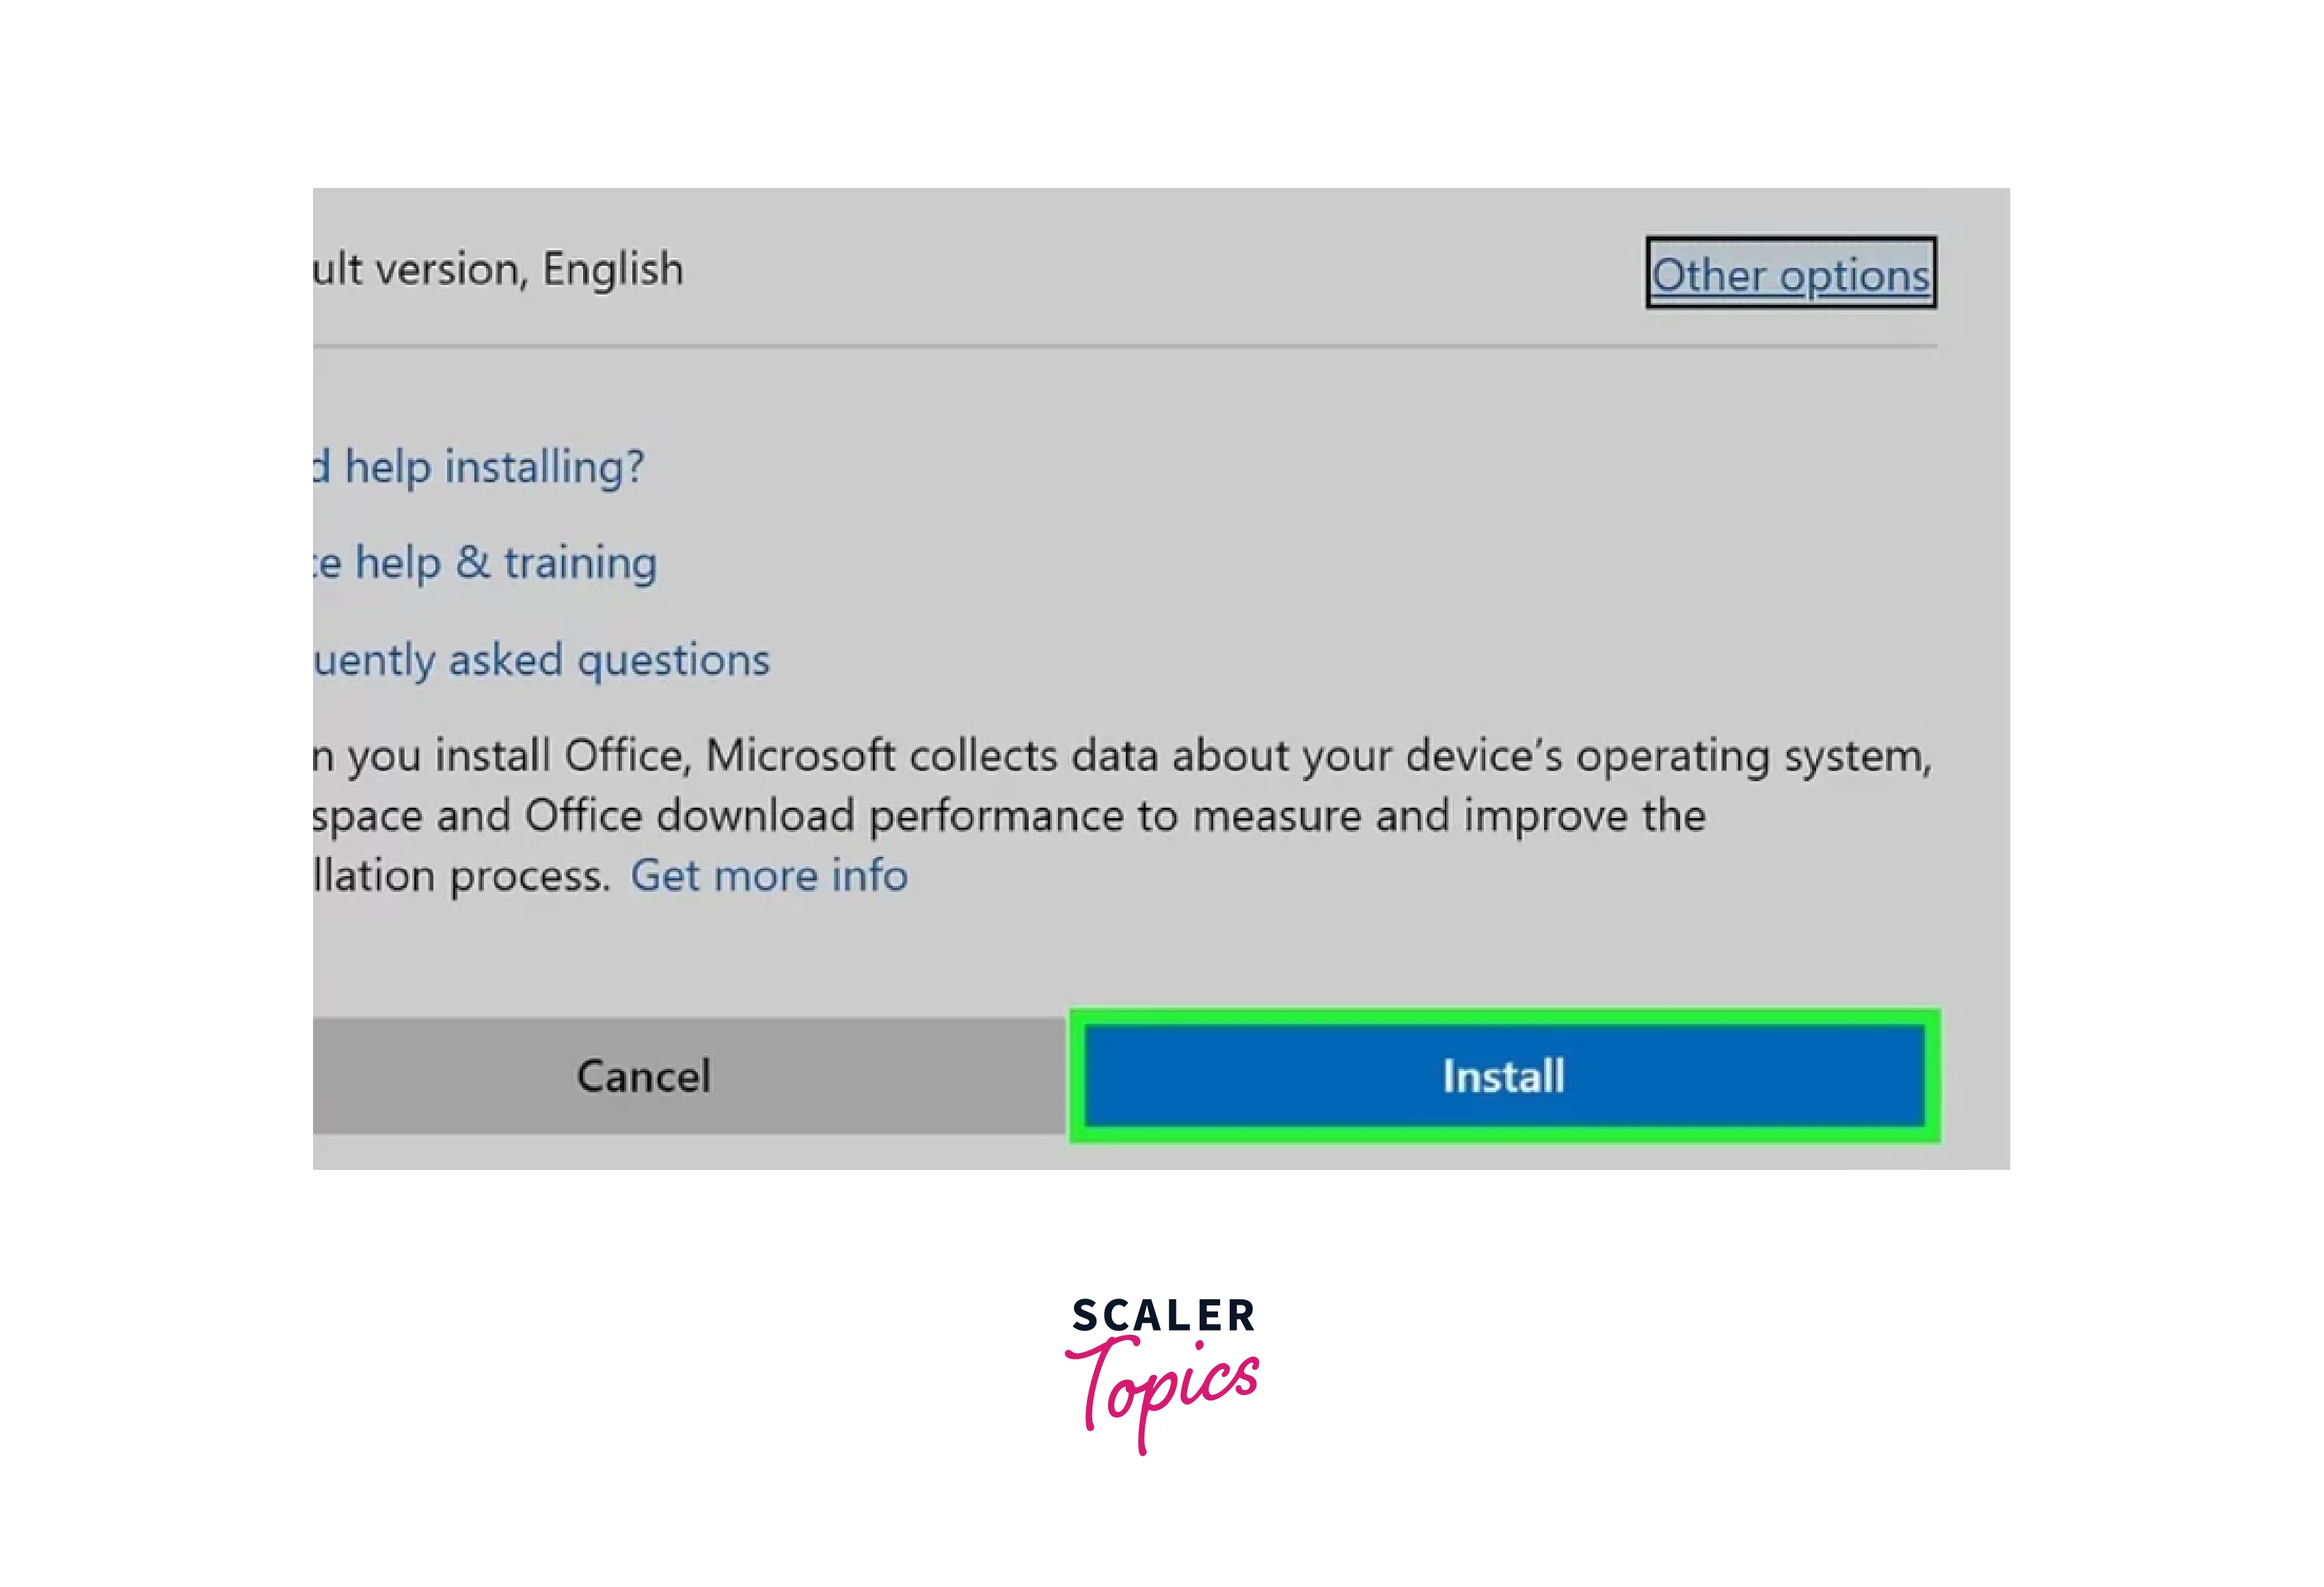
Step 5: Now, we click on the install button.
-
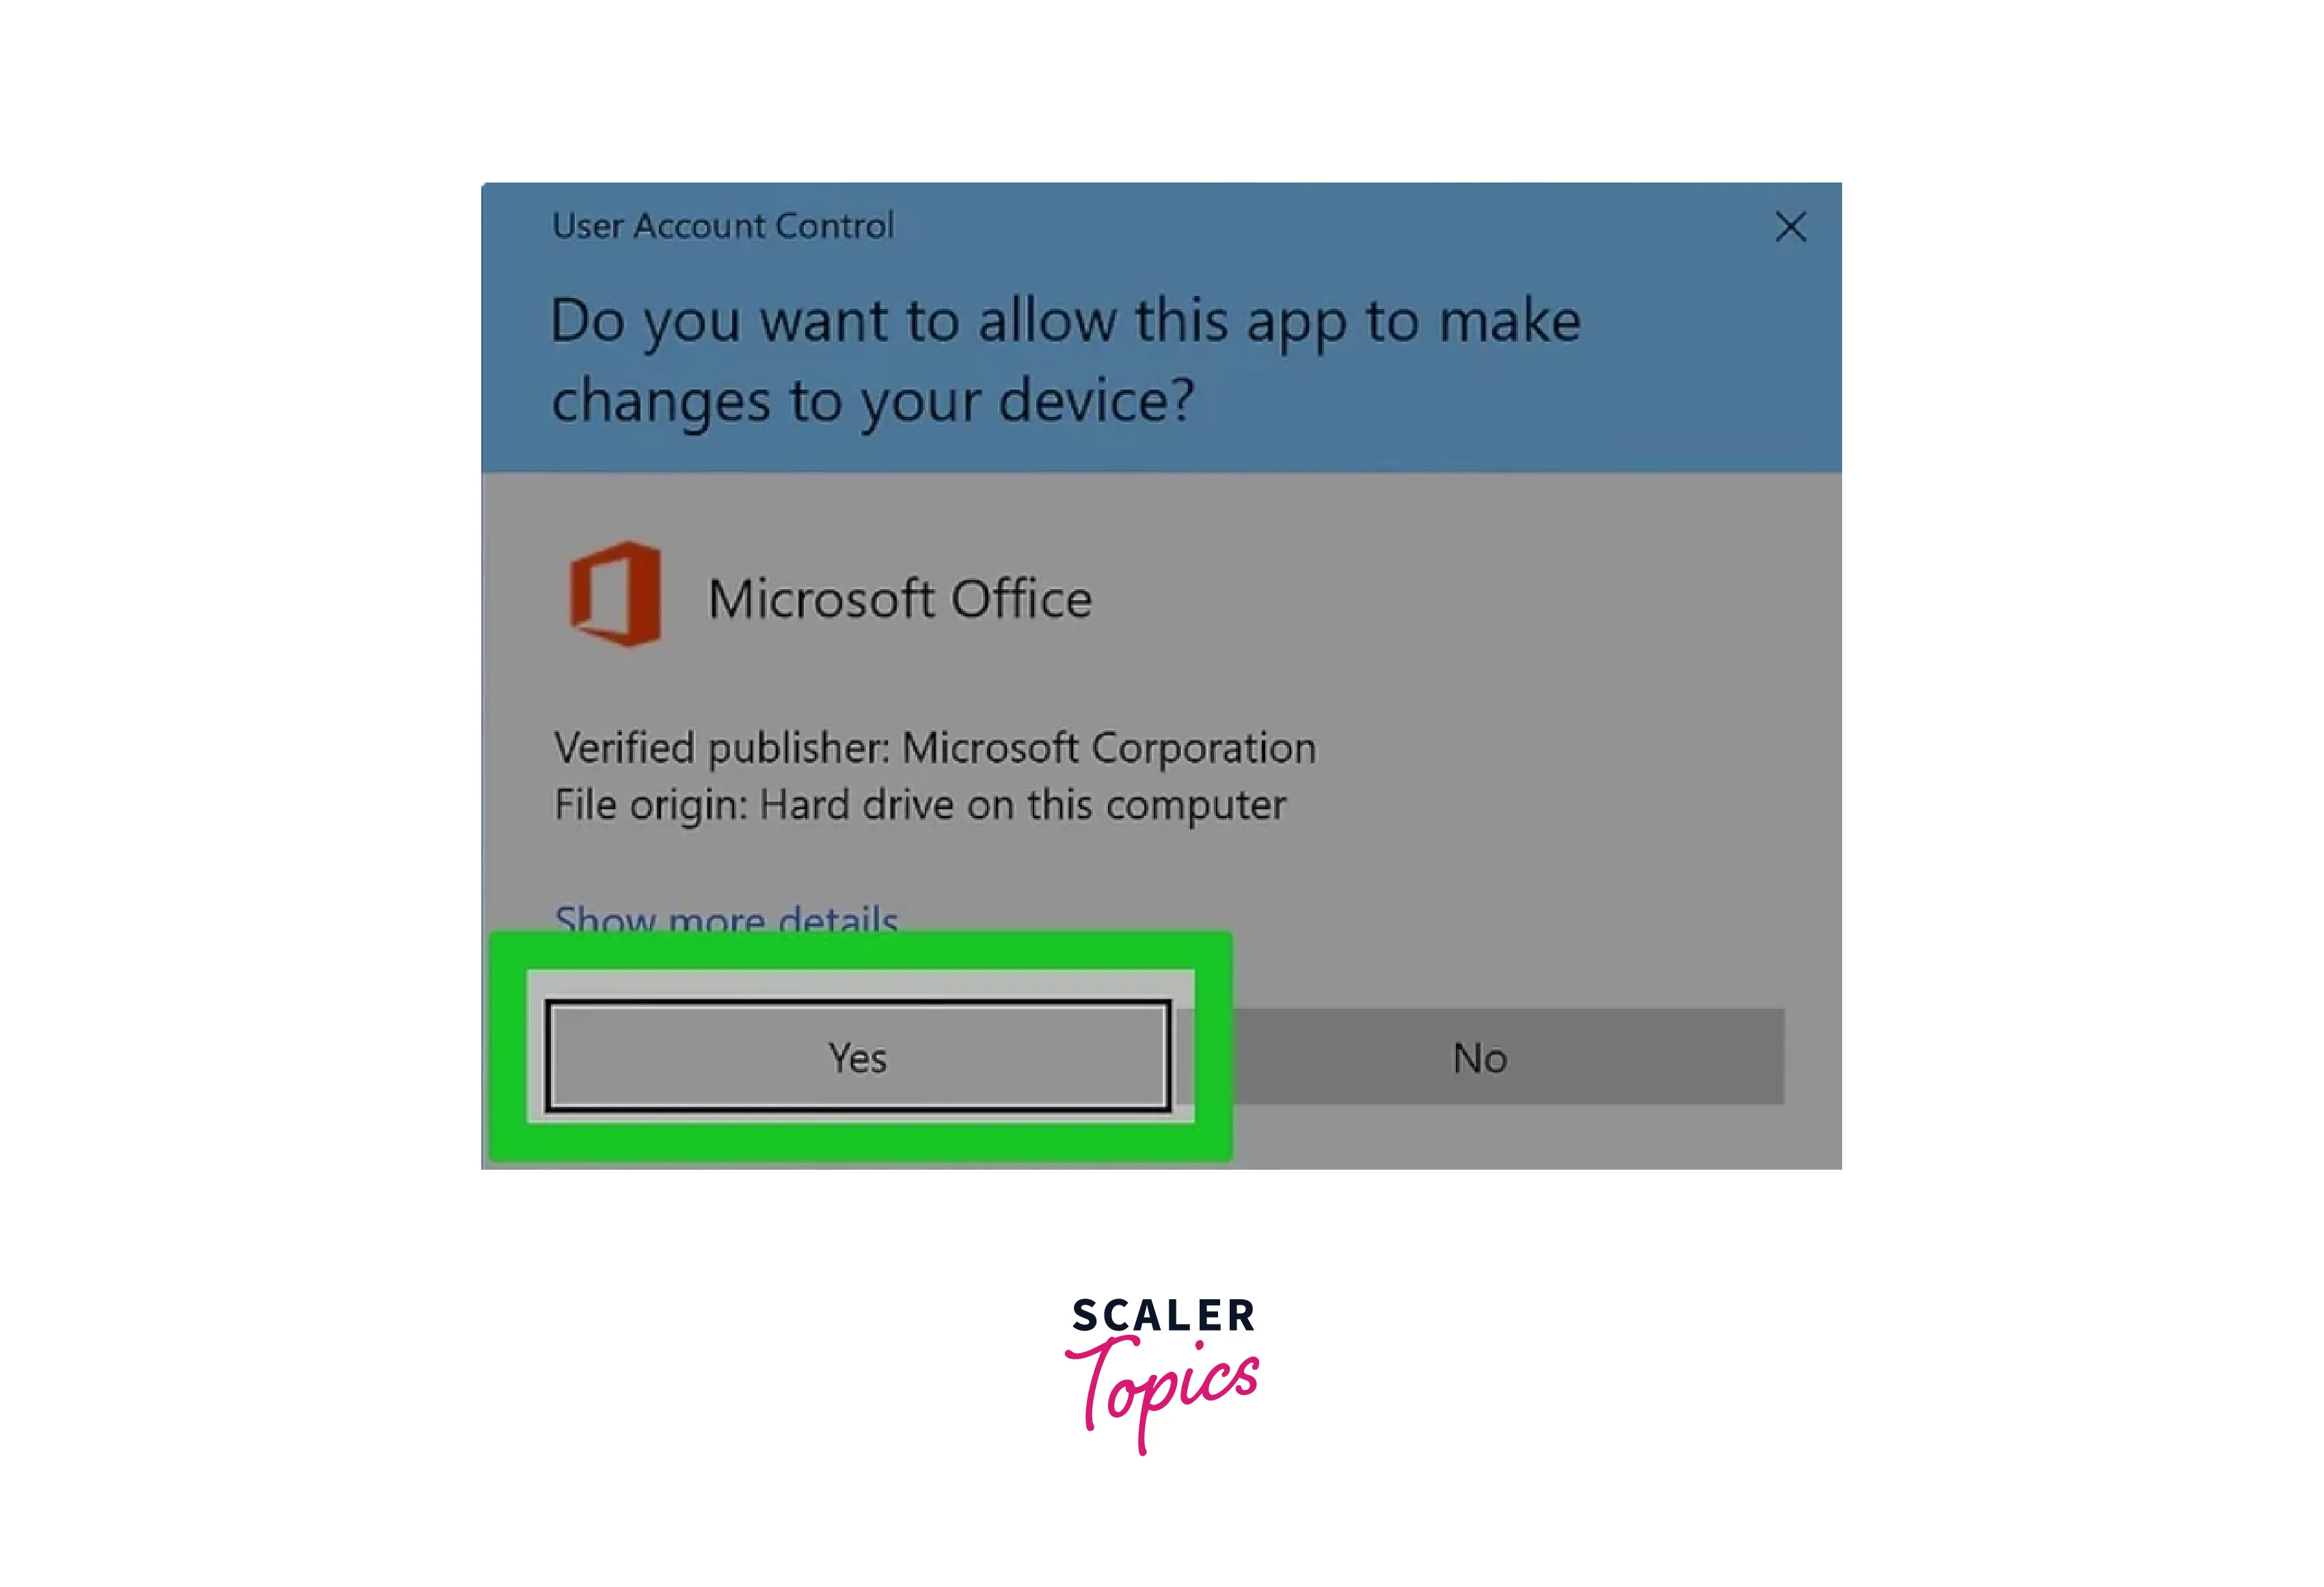
Step 6: Next we click on "Install Office 365"
-
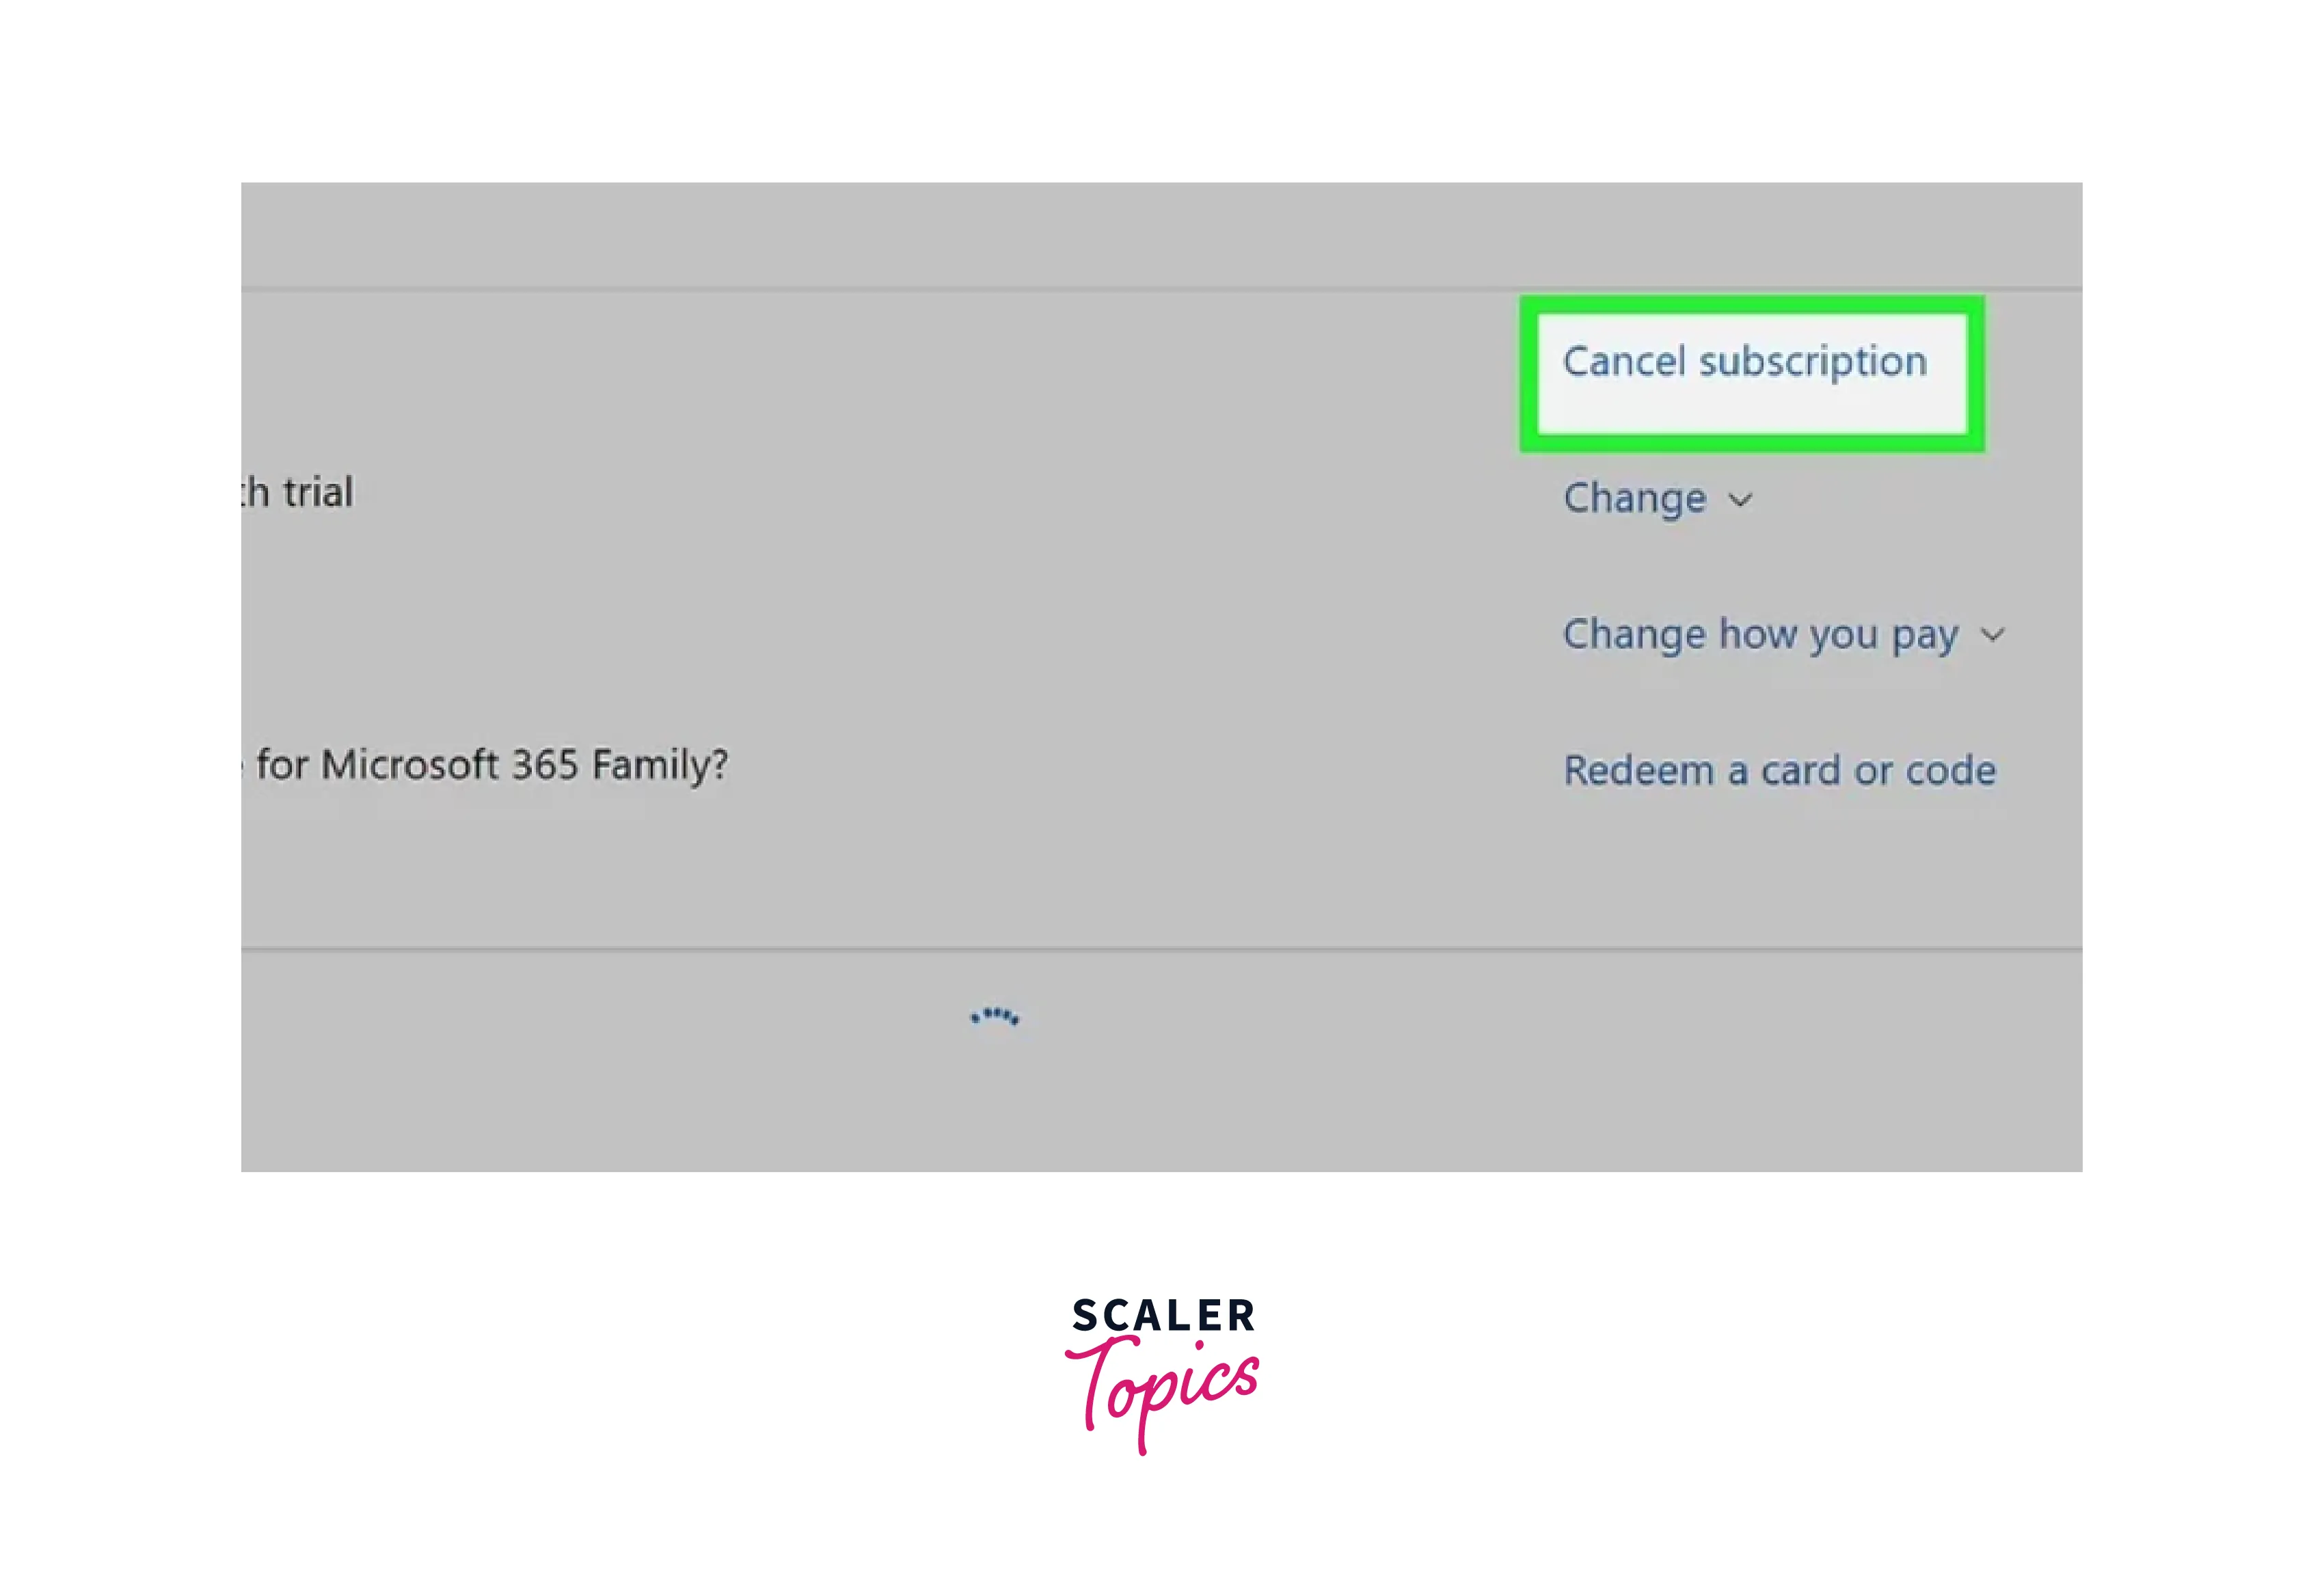
Step 7: Finally, cancel your trial before you get charged
Using iPhone or iPad
-
Step 1: First we open the "App Store".
-
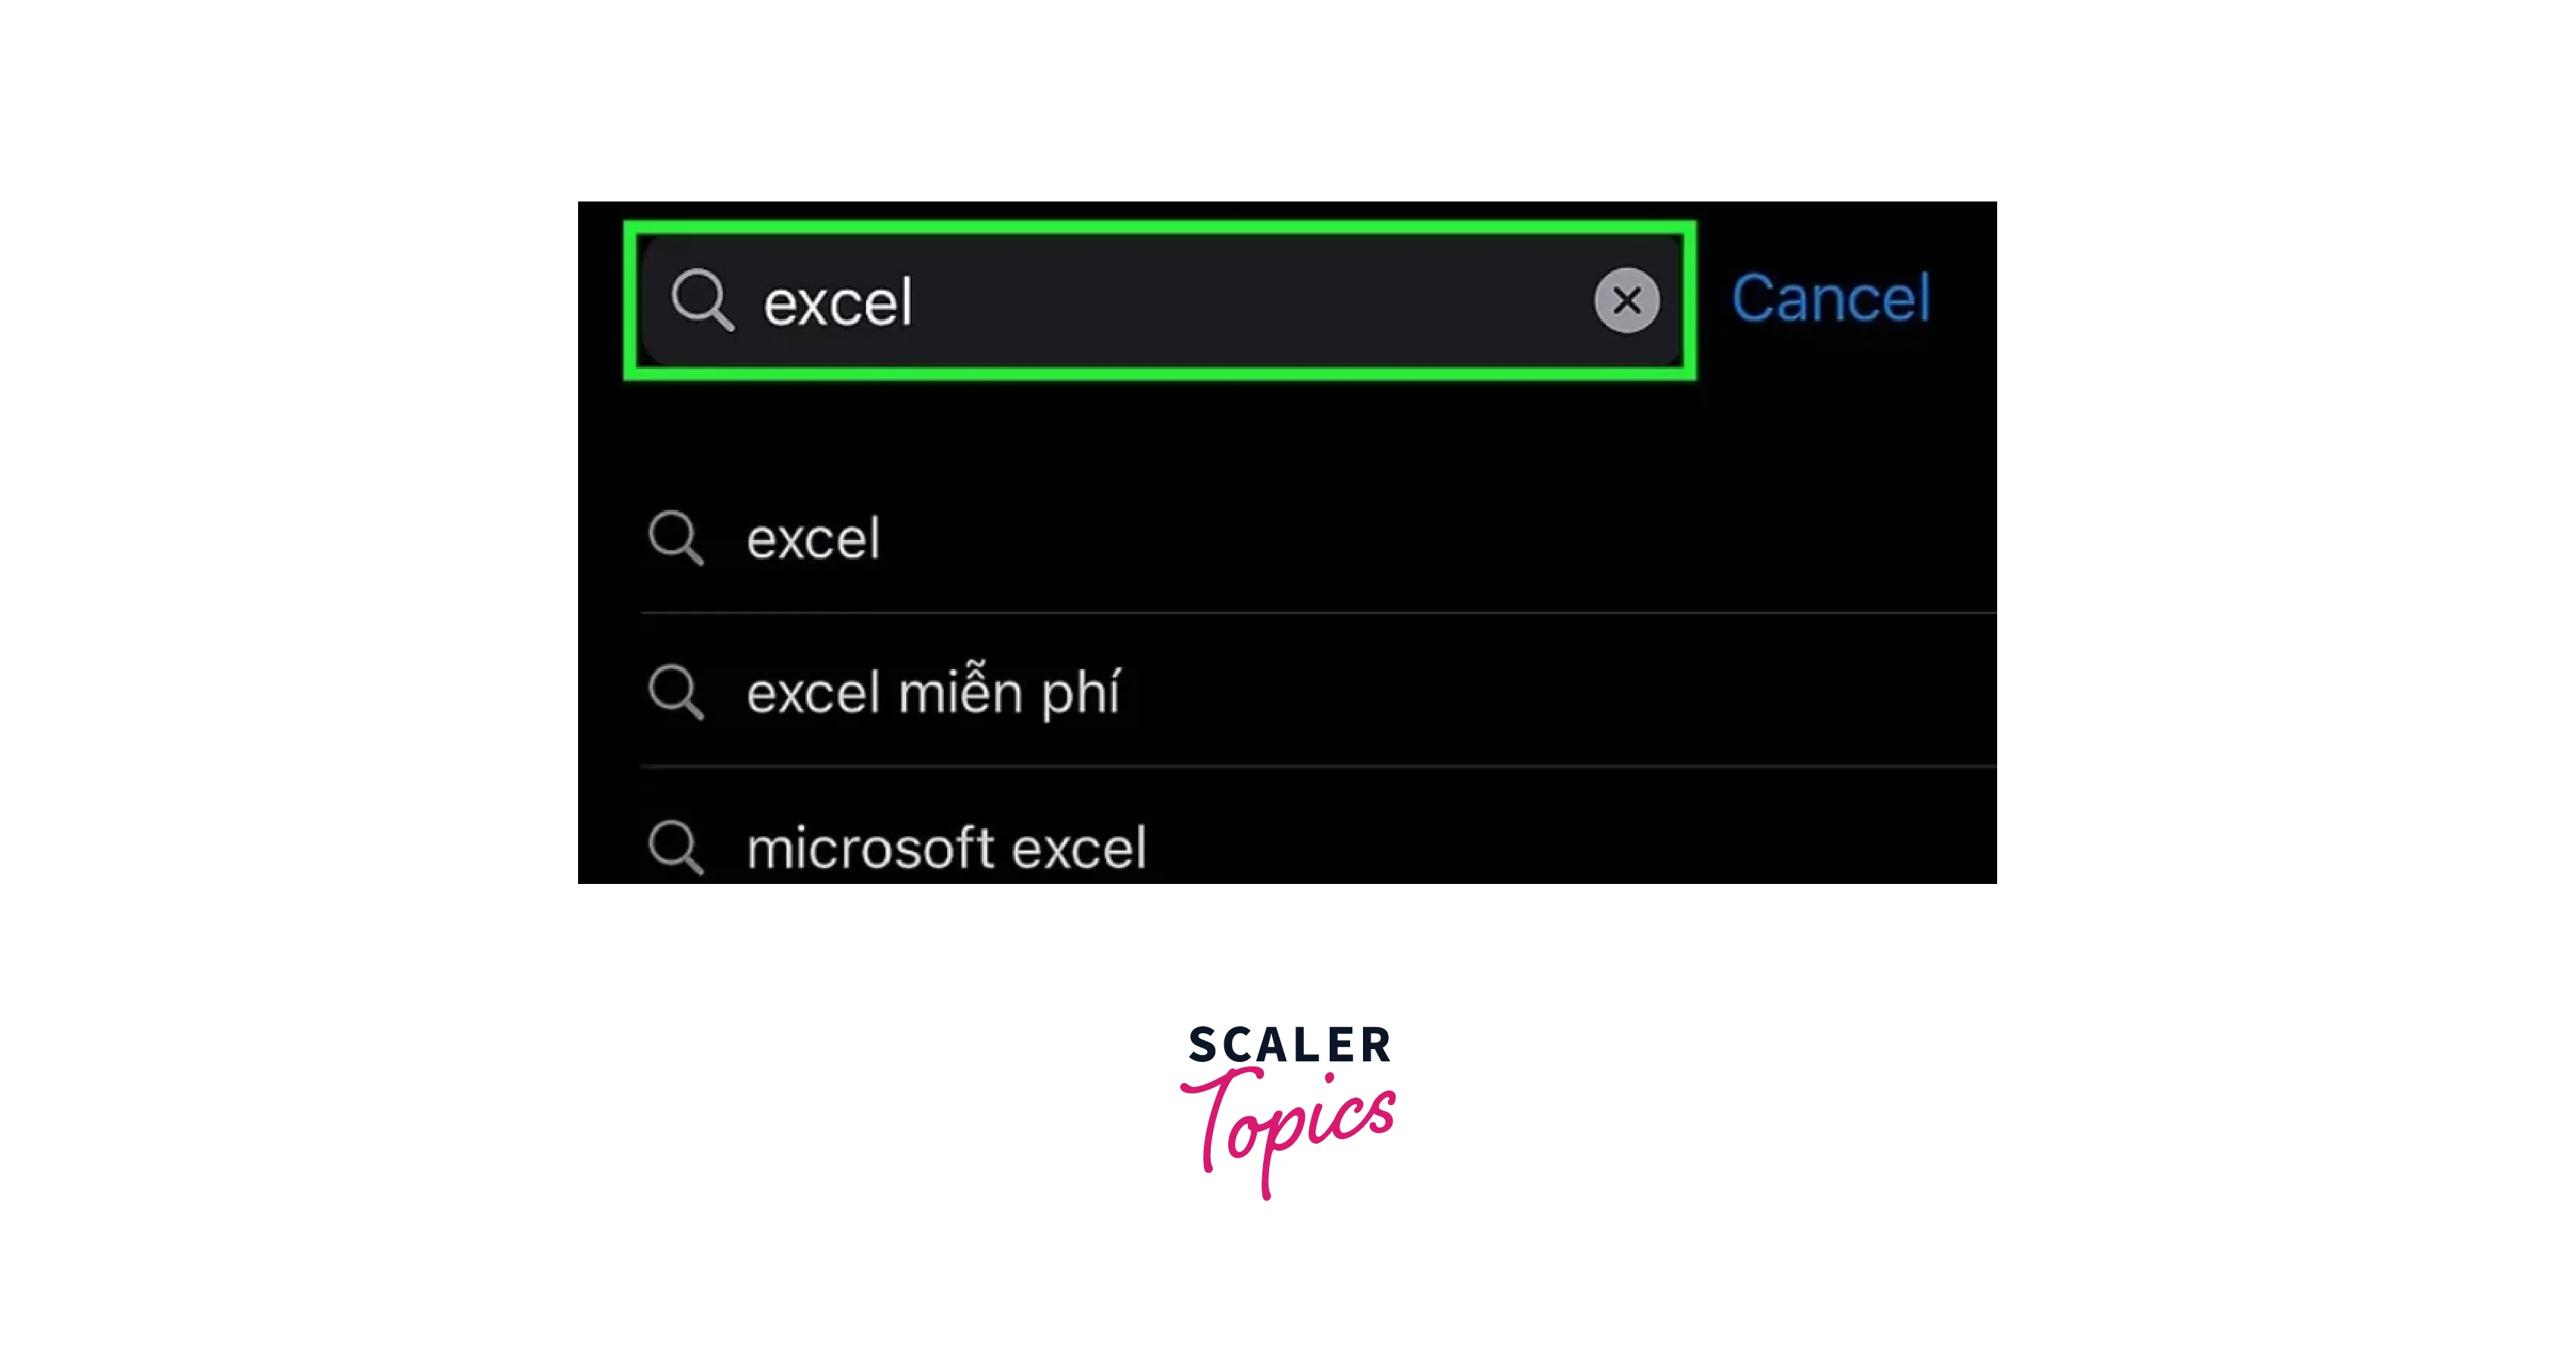
Step 2: Enter Excel in the search bar, then tap "search."
-
Step 3: Tap on the Microsoft Excel button.
-
Step 4: Tap on the GET button.
-
Step 5: Now confirm your purchase, depending on your device or settings, you may need to verify your purchase using Face ID, Touch ID, or Apple ID password.
-
Open the Microsoft Excel app





Using Android
-
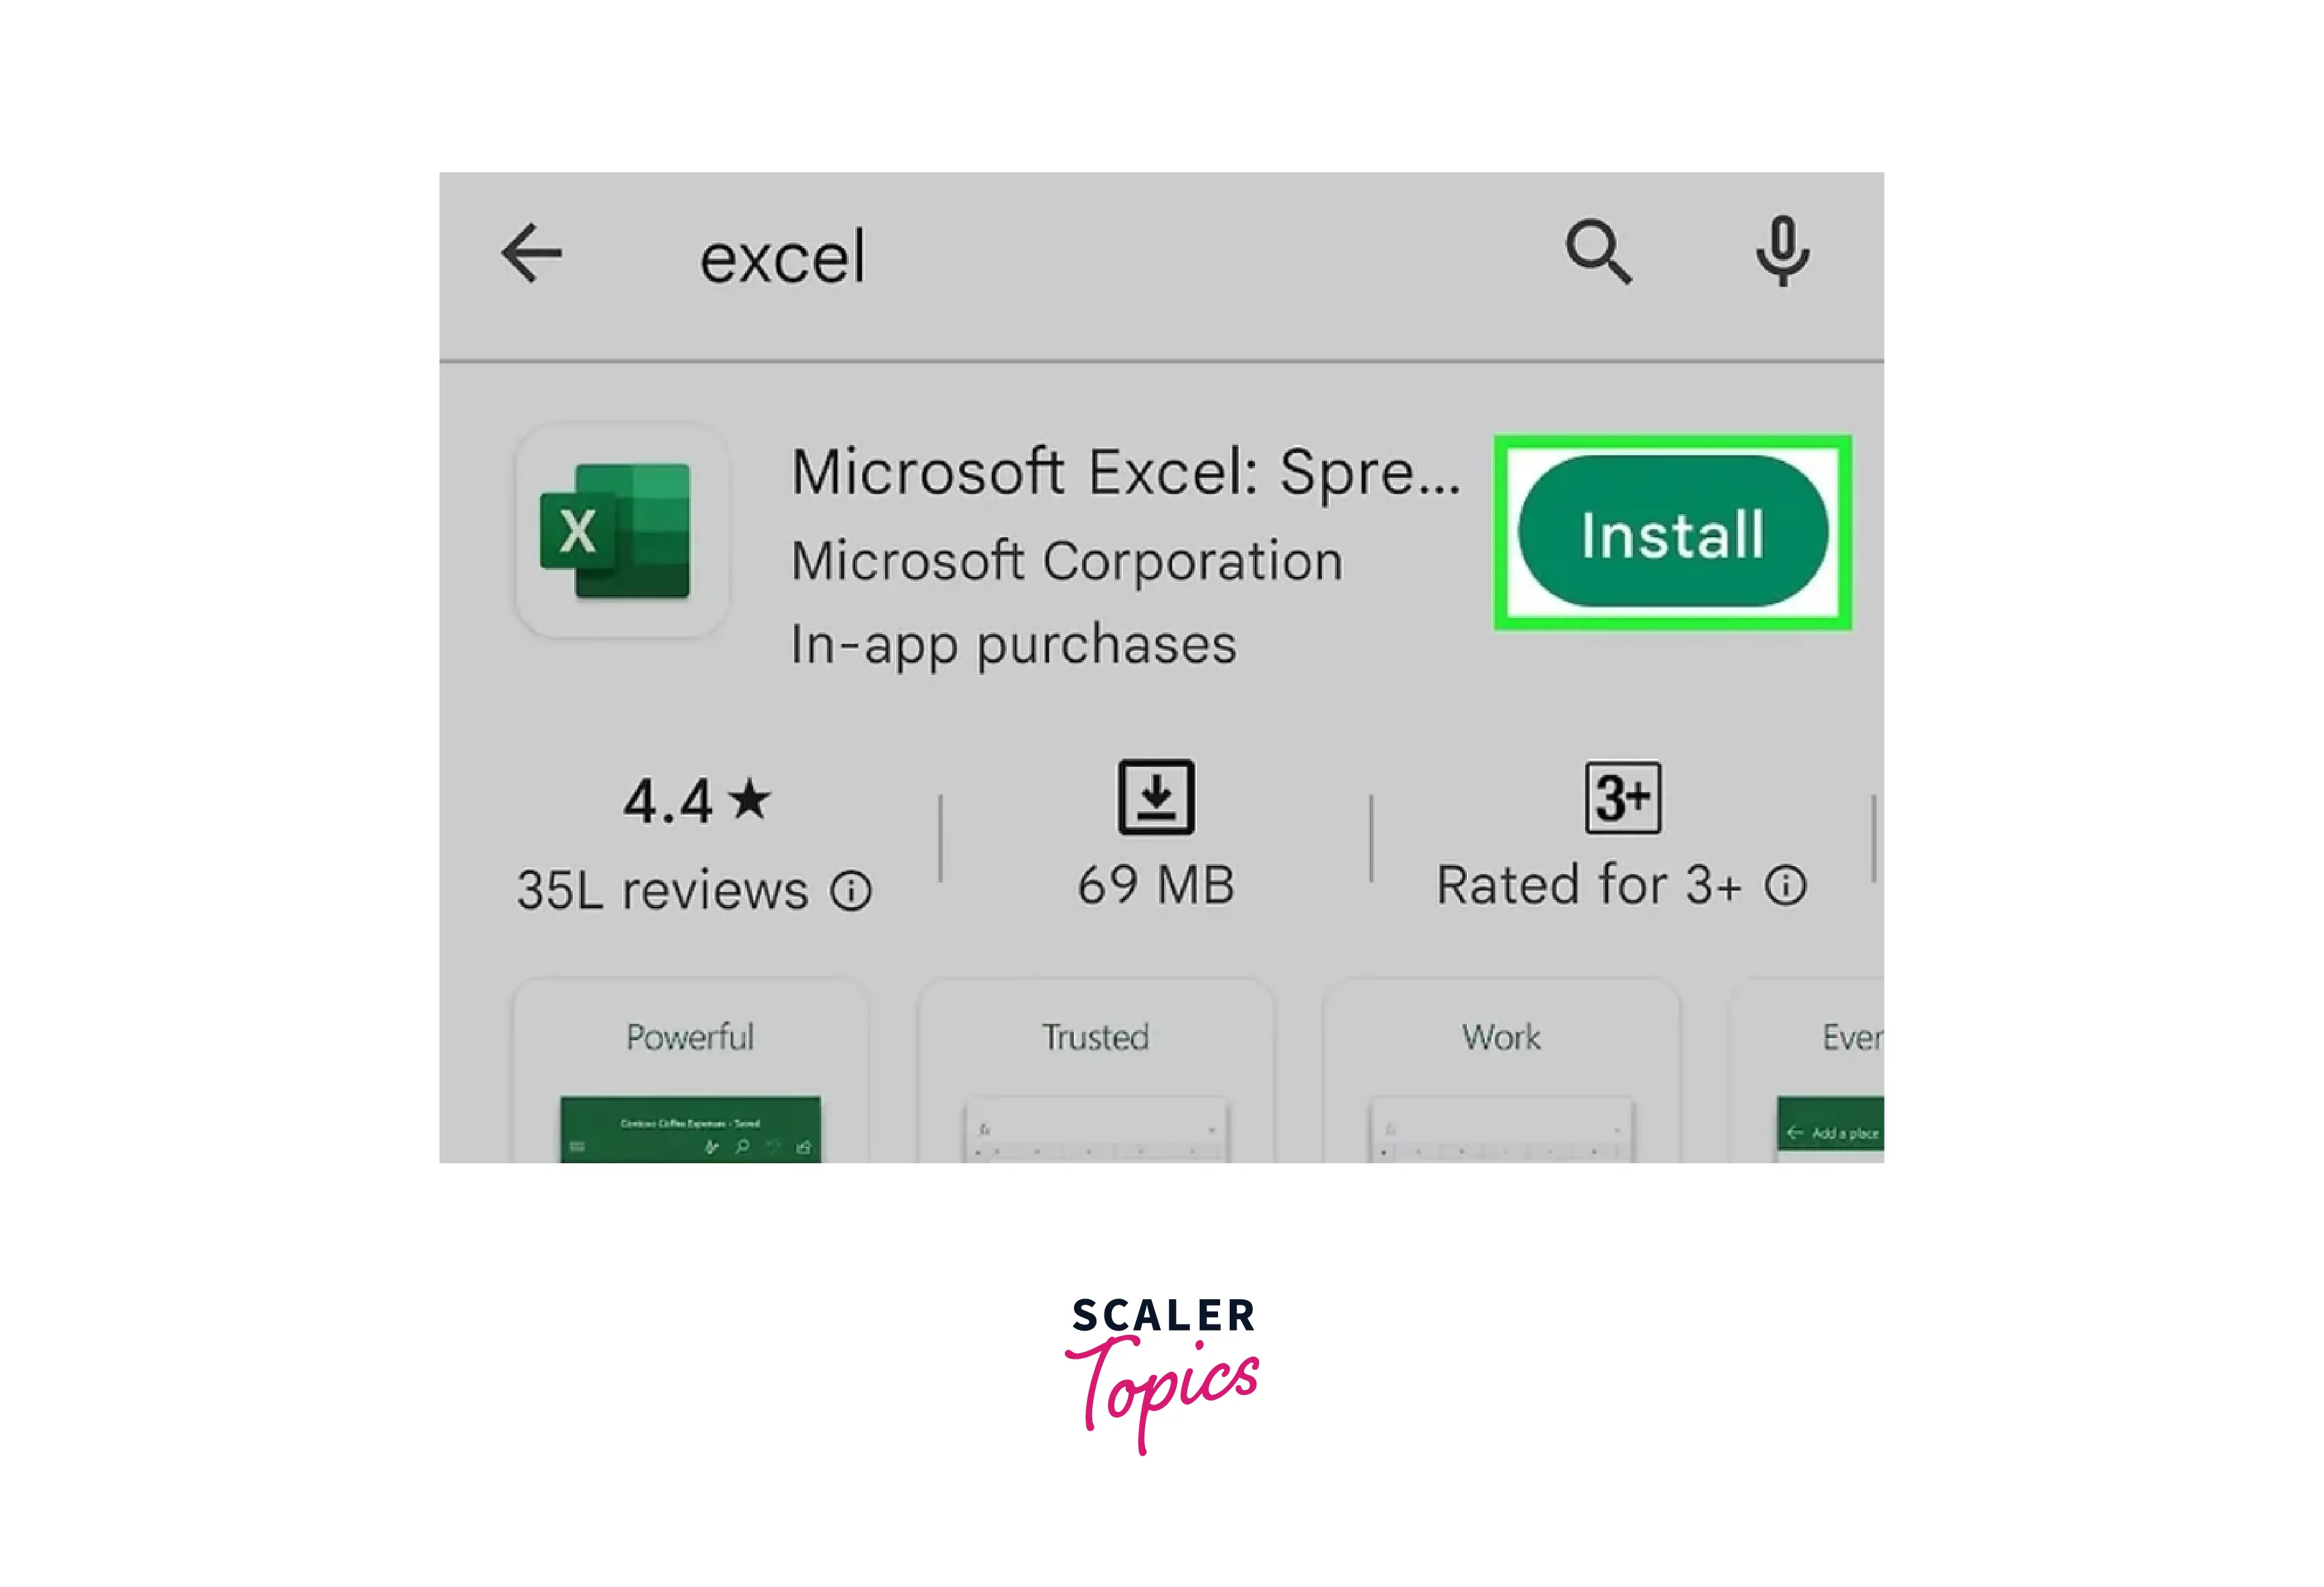
Step 1: First, open the Android Google Play Store.
-
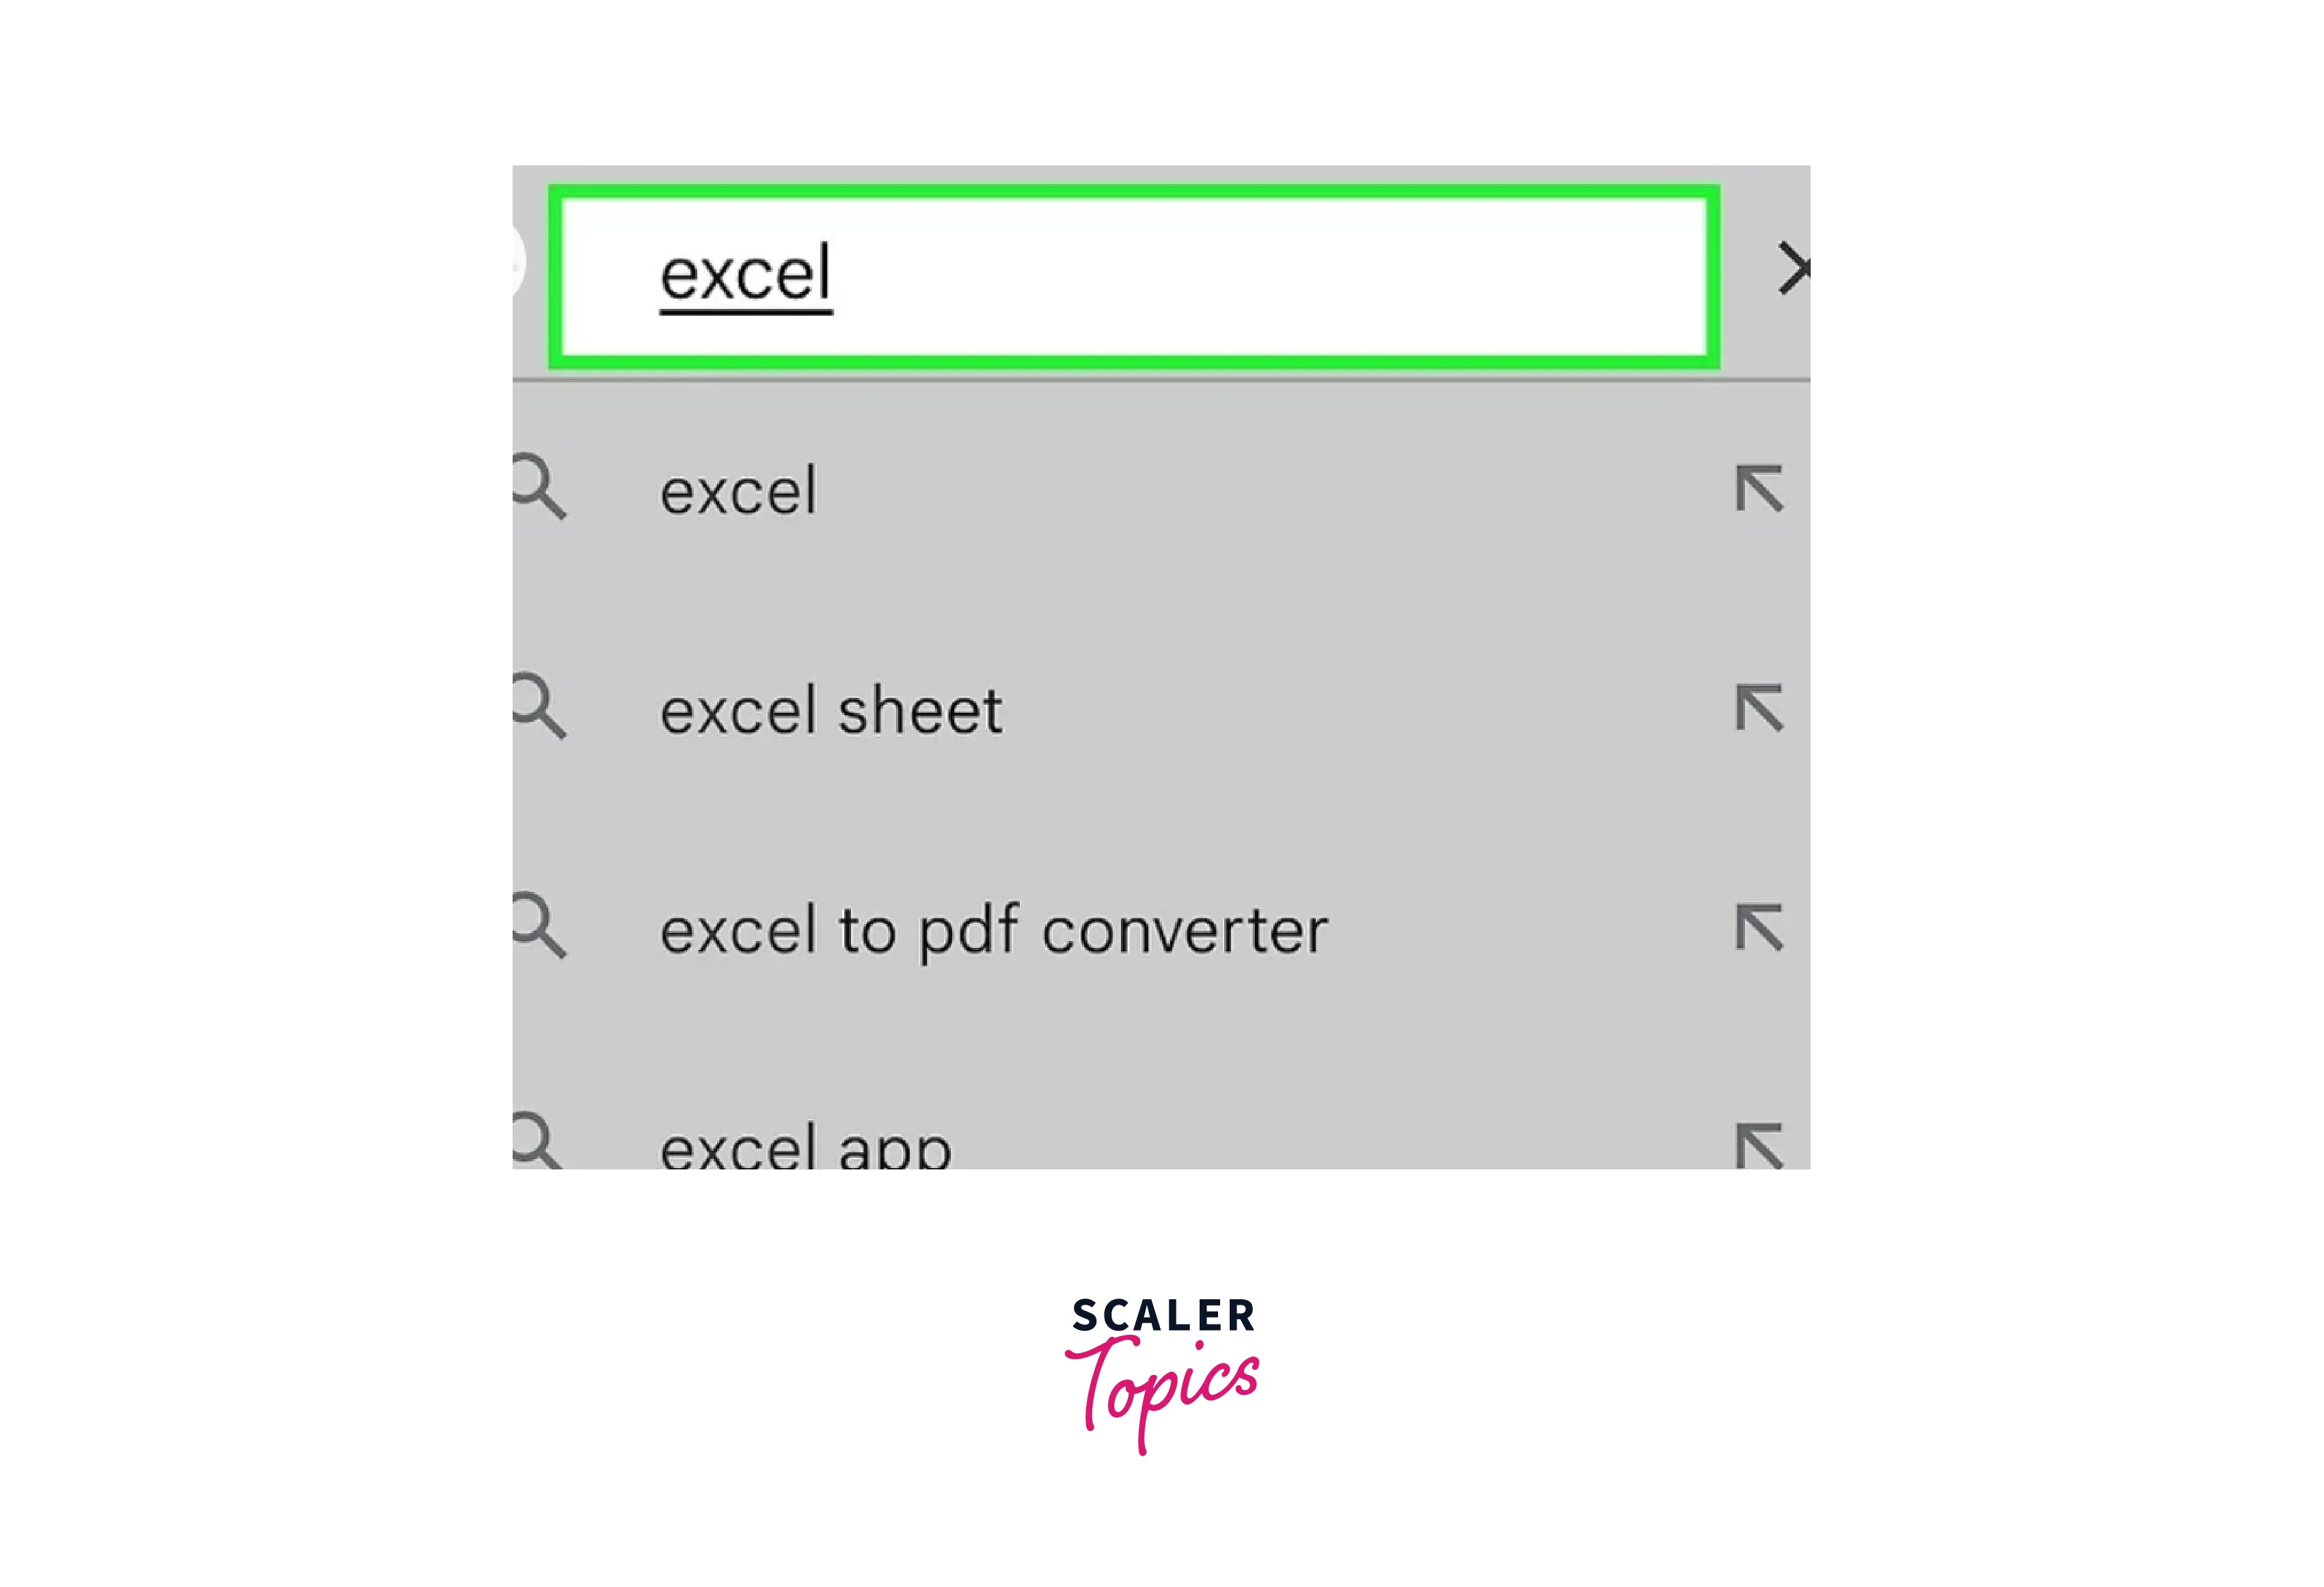
Step 2: Now, tap on the search bar.
-
Step 3: Next we open the Excel page.
-
Step 4: Next, we tap on the "INSTALL" button.
-
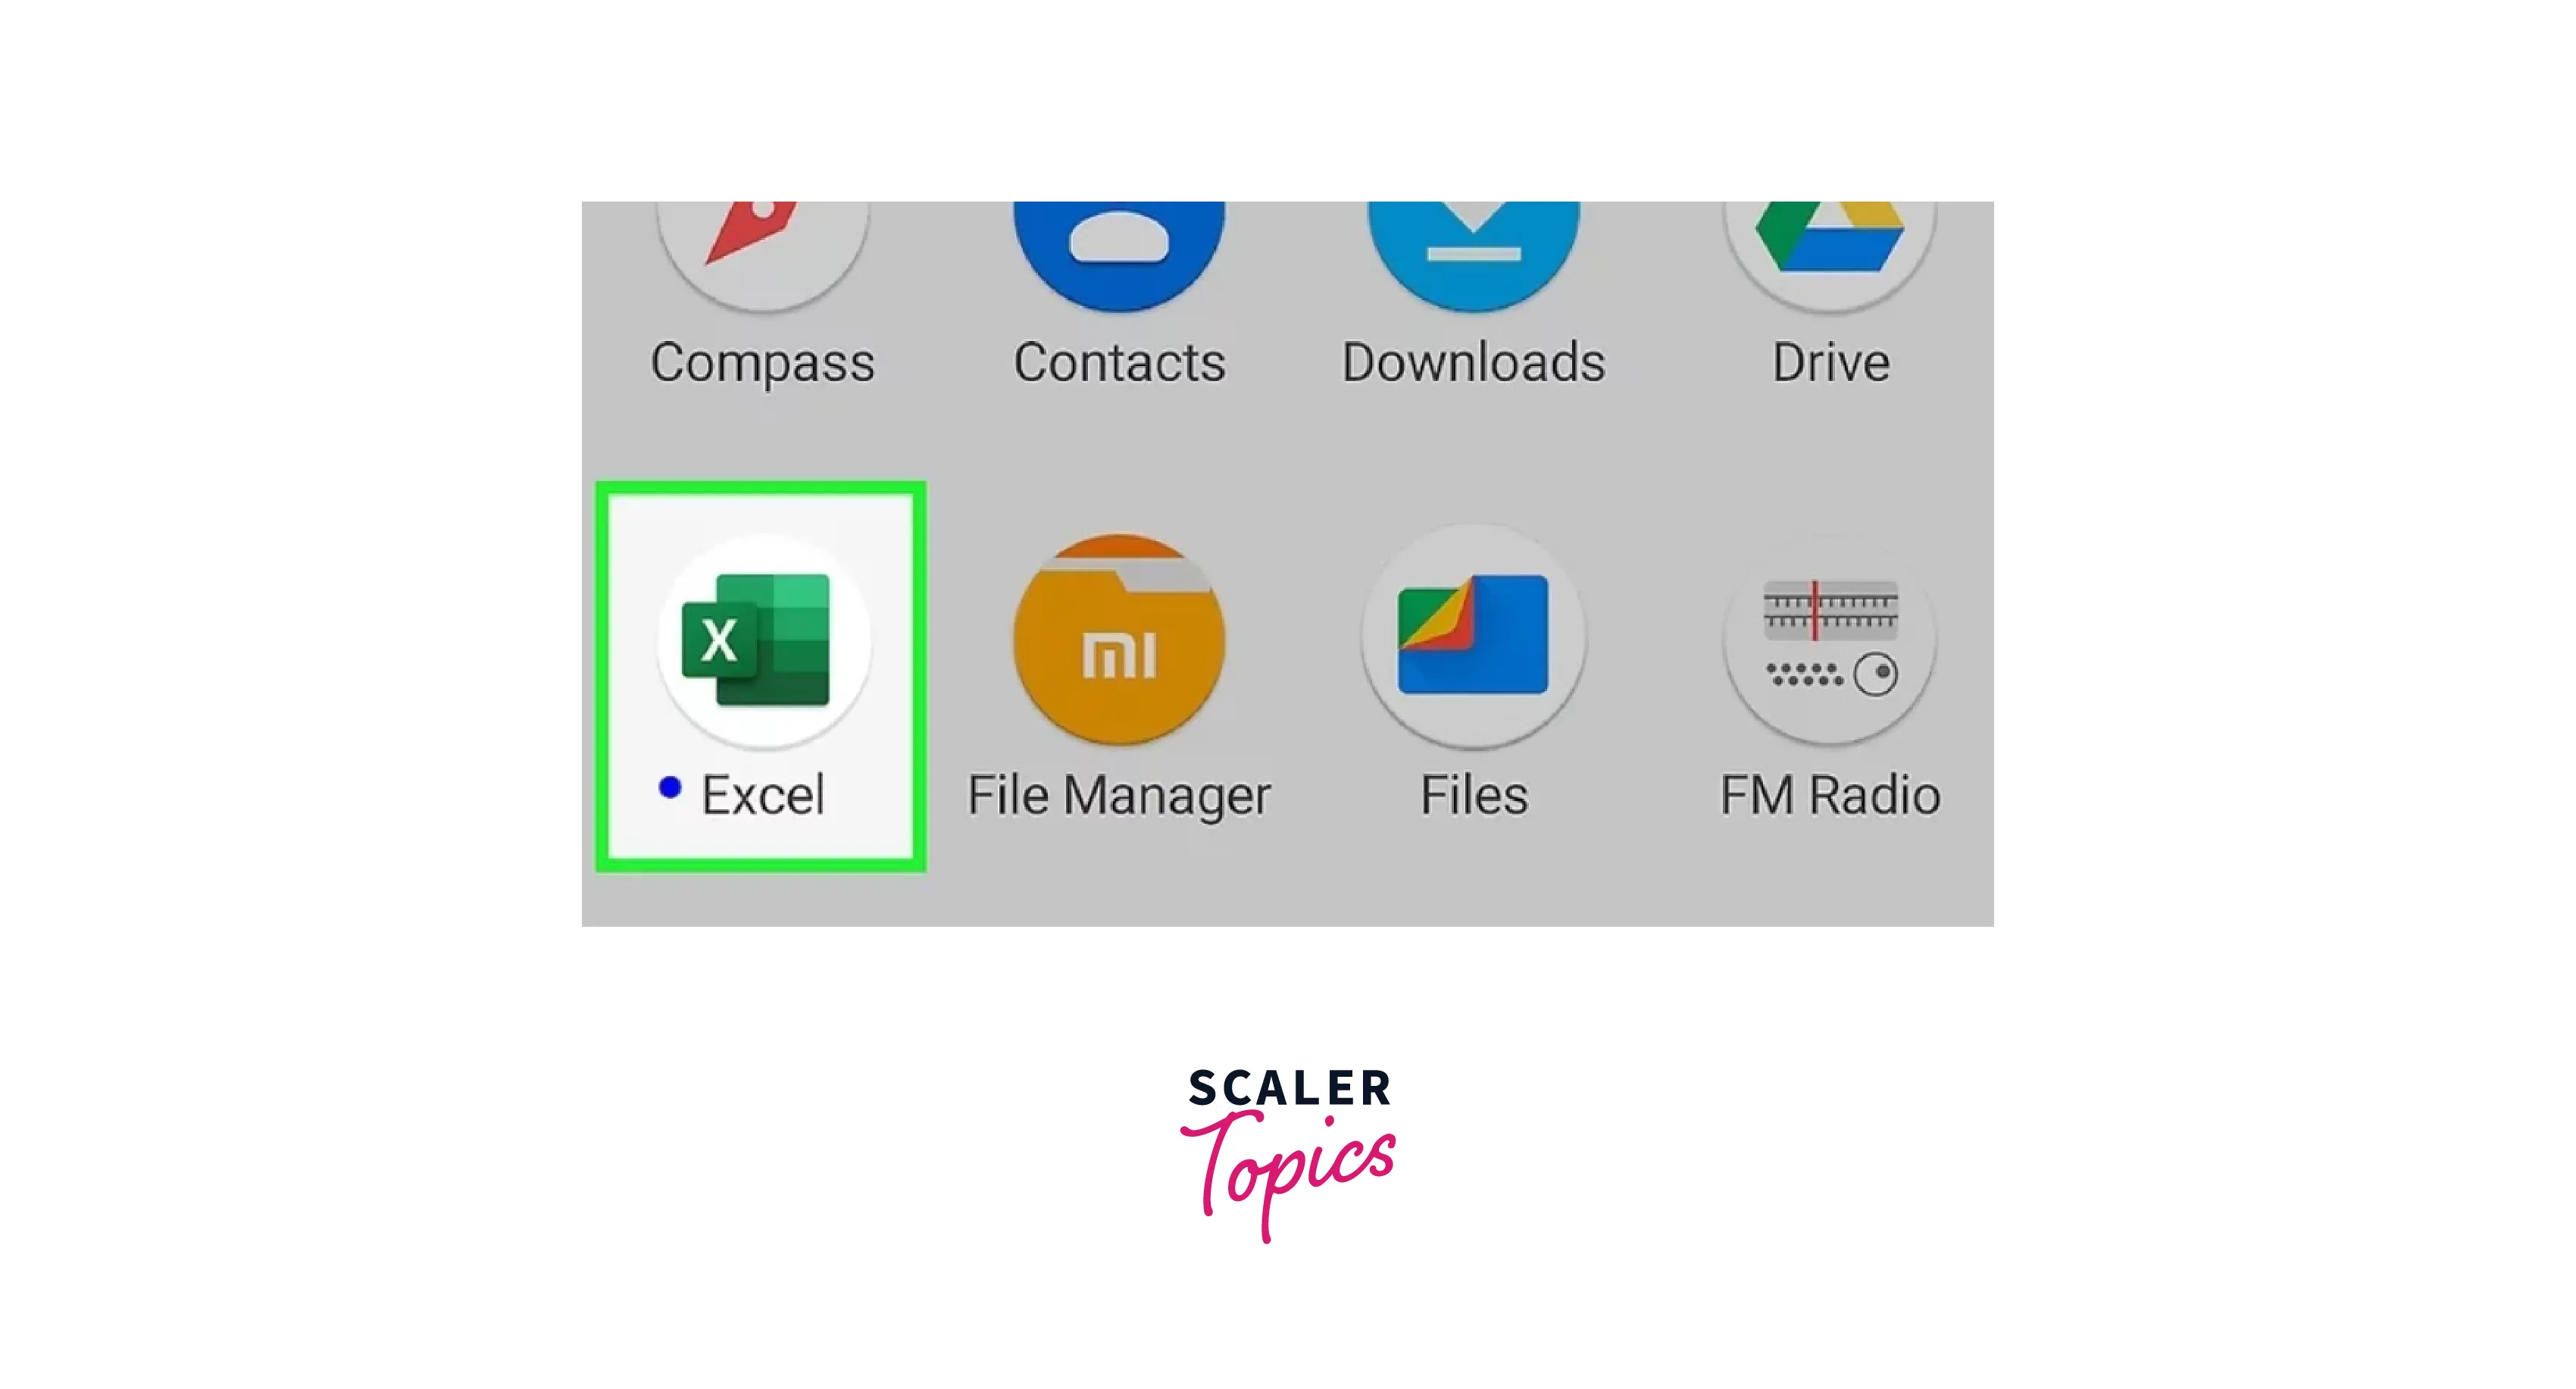
Step 5: Open the Microsoft Excel app


Launching Excel
Excel is a popular spreadsheet software program widely used in various industries for managing data, performing calculations, and creating charts and graphs. Here are the basic steps to start with Excel:
-
Step1: Open Excel To open Excel, click on the Excel icon on your desktop or search for it in your Start menu.
-
Step 2: Create a new workbook When you open Excel, you will be prompted to create a new workbook. A workbook is a file that contains one or more worksheets. You can create a new workbook by clicking "Blank workbook" or selecting a template that suits your needs.
-
Step3: Enter data You can enter data once you have created a new workbook. Click on a cell and start typing. You can also copy and paste data from other sources.
-
Step 4: Format data Excel provides several tools and options to format data effectively. To format data in Excel, you can use the commands on the Home tab, such as Font, Alignment, and Number, to change the appearance and layout of your data. For example, you can change the font size and color, align the text, apply borders and shading, and format numbers and dates. You can also use conditional formatting to highlight specific values or trends in your data. Additionally, Excel offers several pre-built formatting options, such as tables and charts, that can help you present your data in a clear and visually appealing way. Overall, formatting data in Excel is essential for creating professional-looking spreadsheets that are easy to read and understand.
-
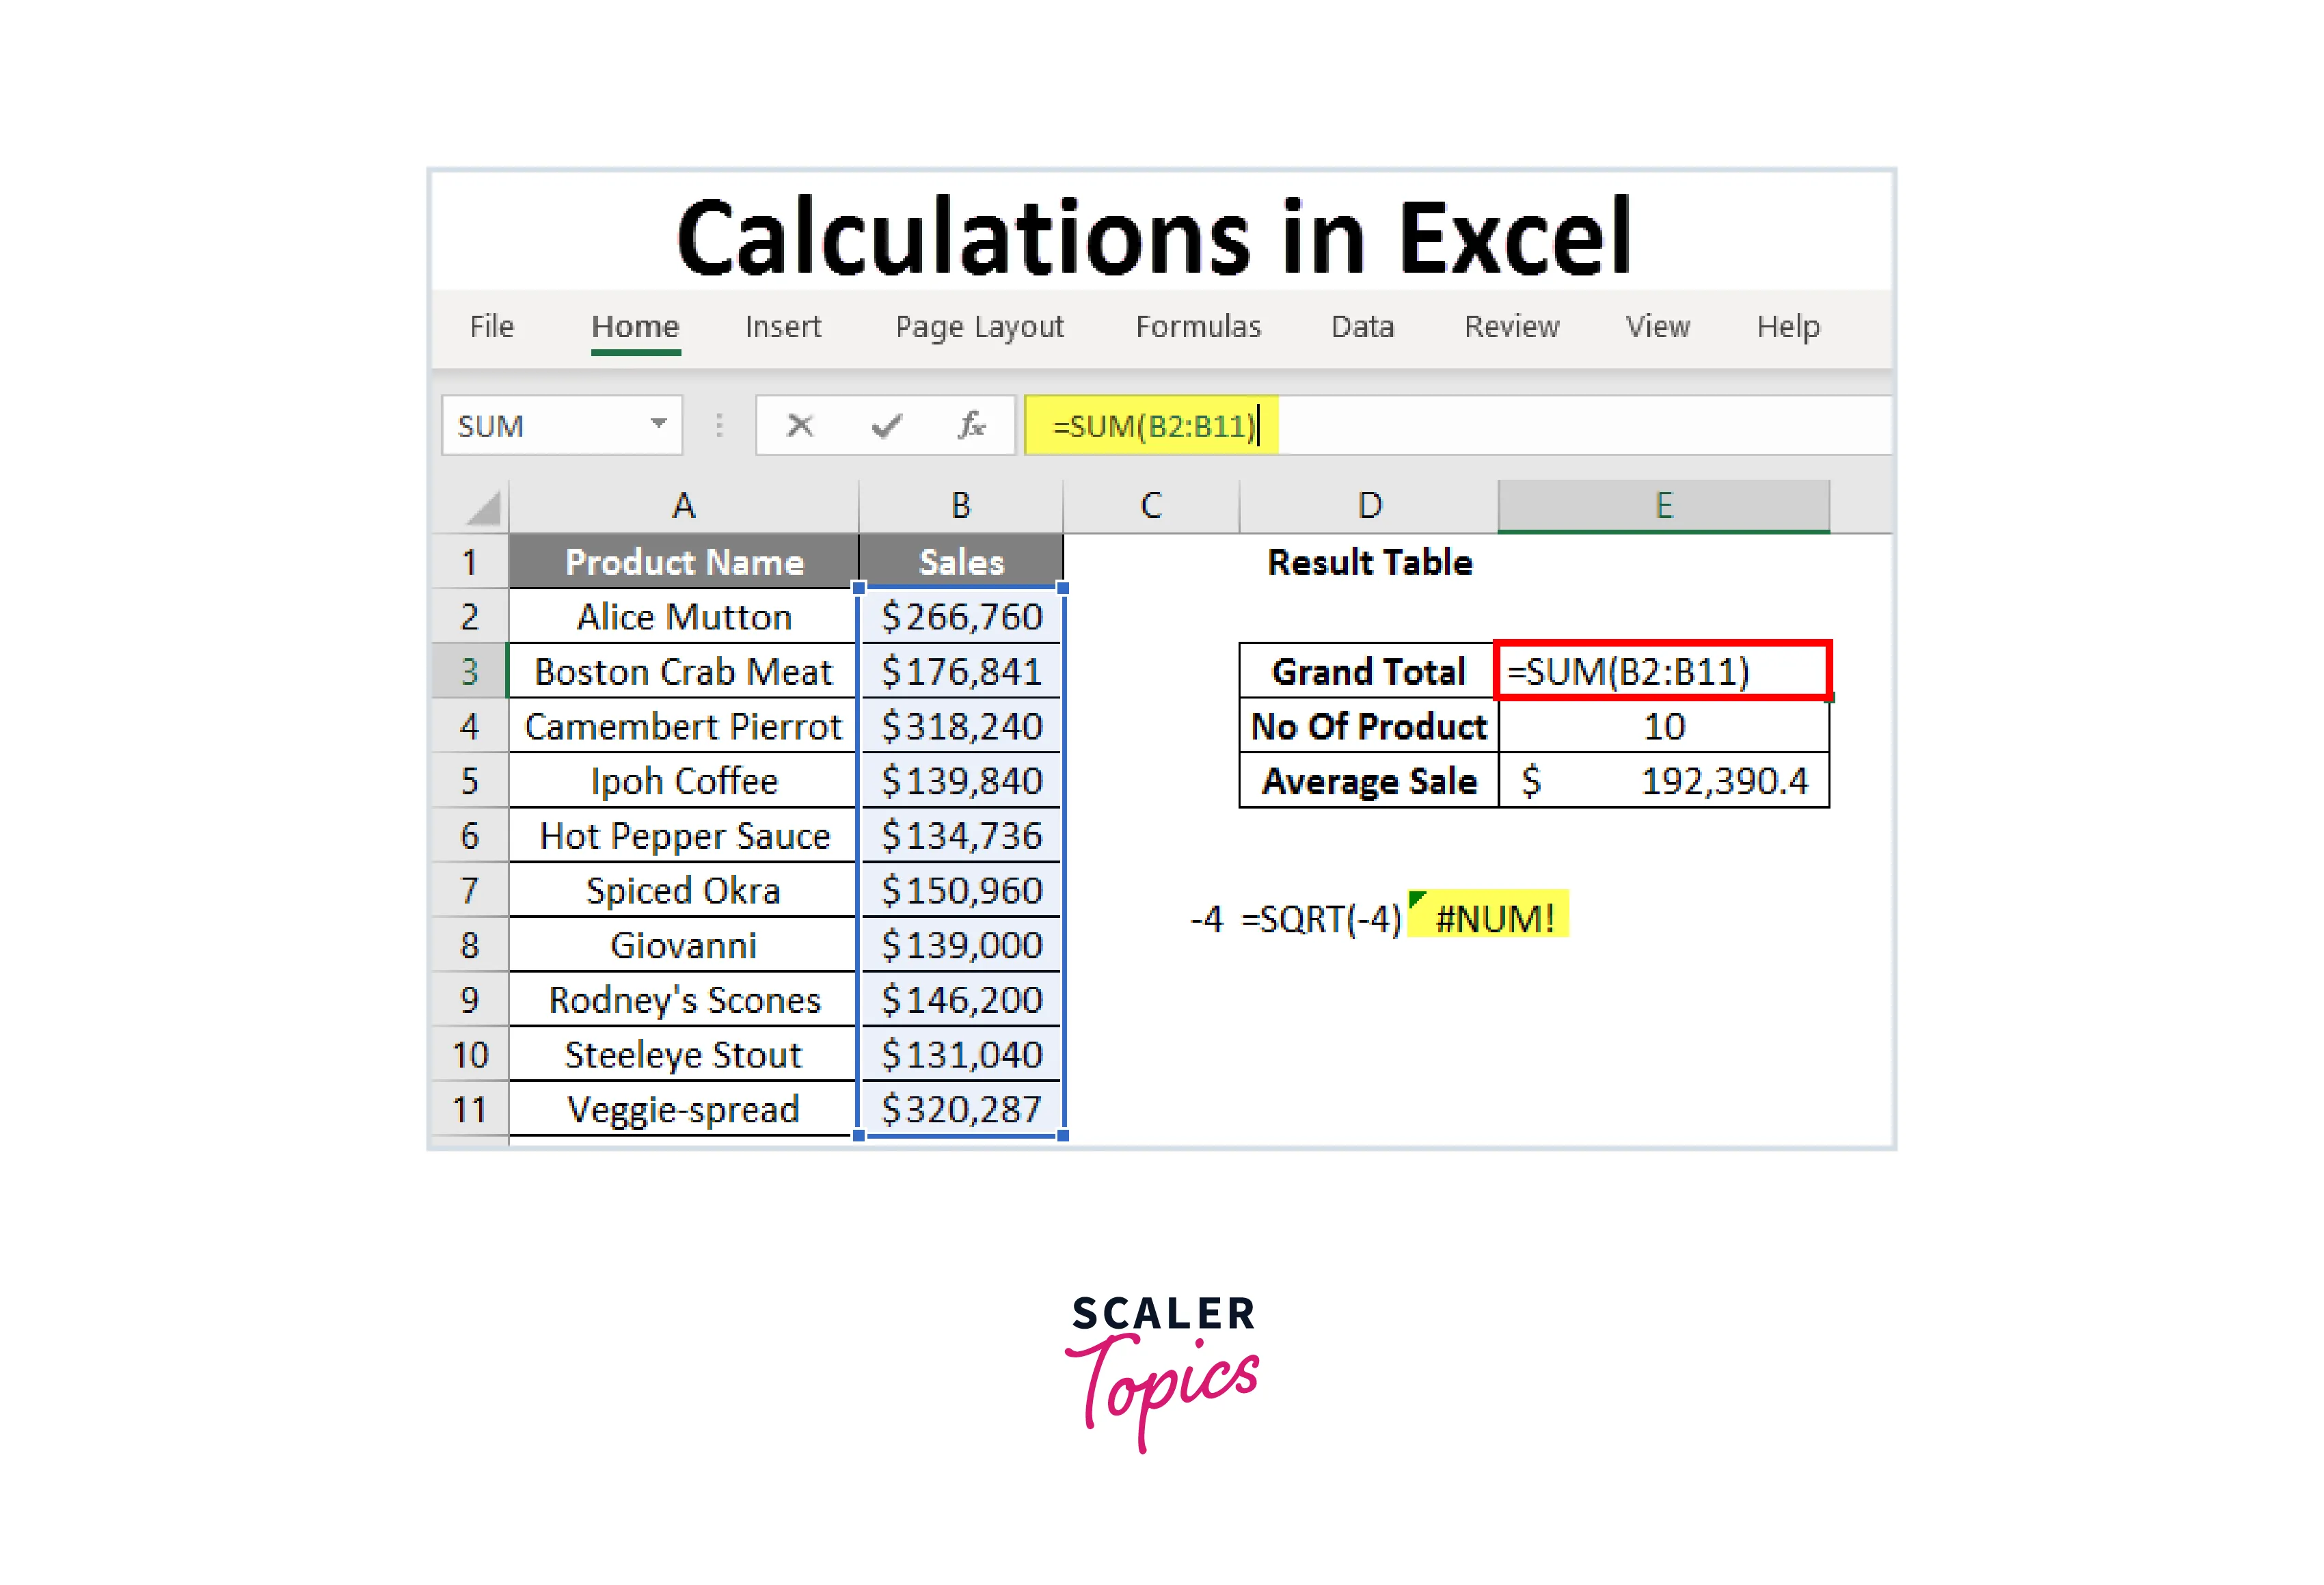
Step 5: Perform calculations Excel is known for its ability to perform calculations. Using formulas, you can add, subtract, multiply, and divide numbers. To create a formula, type an equals sign (=) followed by the formula you want to use.
-
Step 6: Create charts Excel is a powerful tool for creating charts that help to visualize and analyze data. To create a chart in Excel, select the data you want to include in the chart and then click on the "Insert" tab. From there, you can choose the type of chart you want to create, such as a column, line, or pie chart, and customize its appearance using colors, labels, and legends. Excel also offers pivot charts and sparklines, allowing you to create more advanced and dynamic charts. With these tools, you can quickly and easily create charts that convey insights and trends from your data clearly and visually appealingly.
-
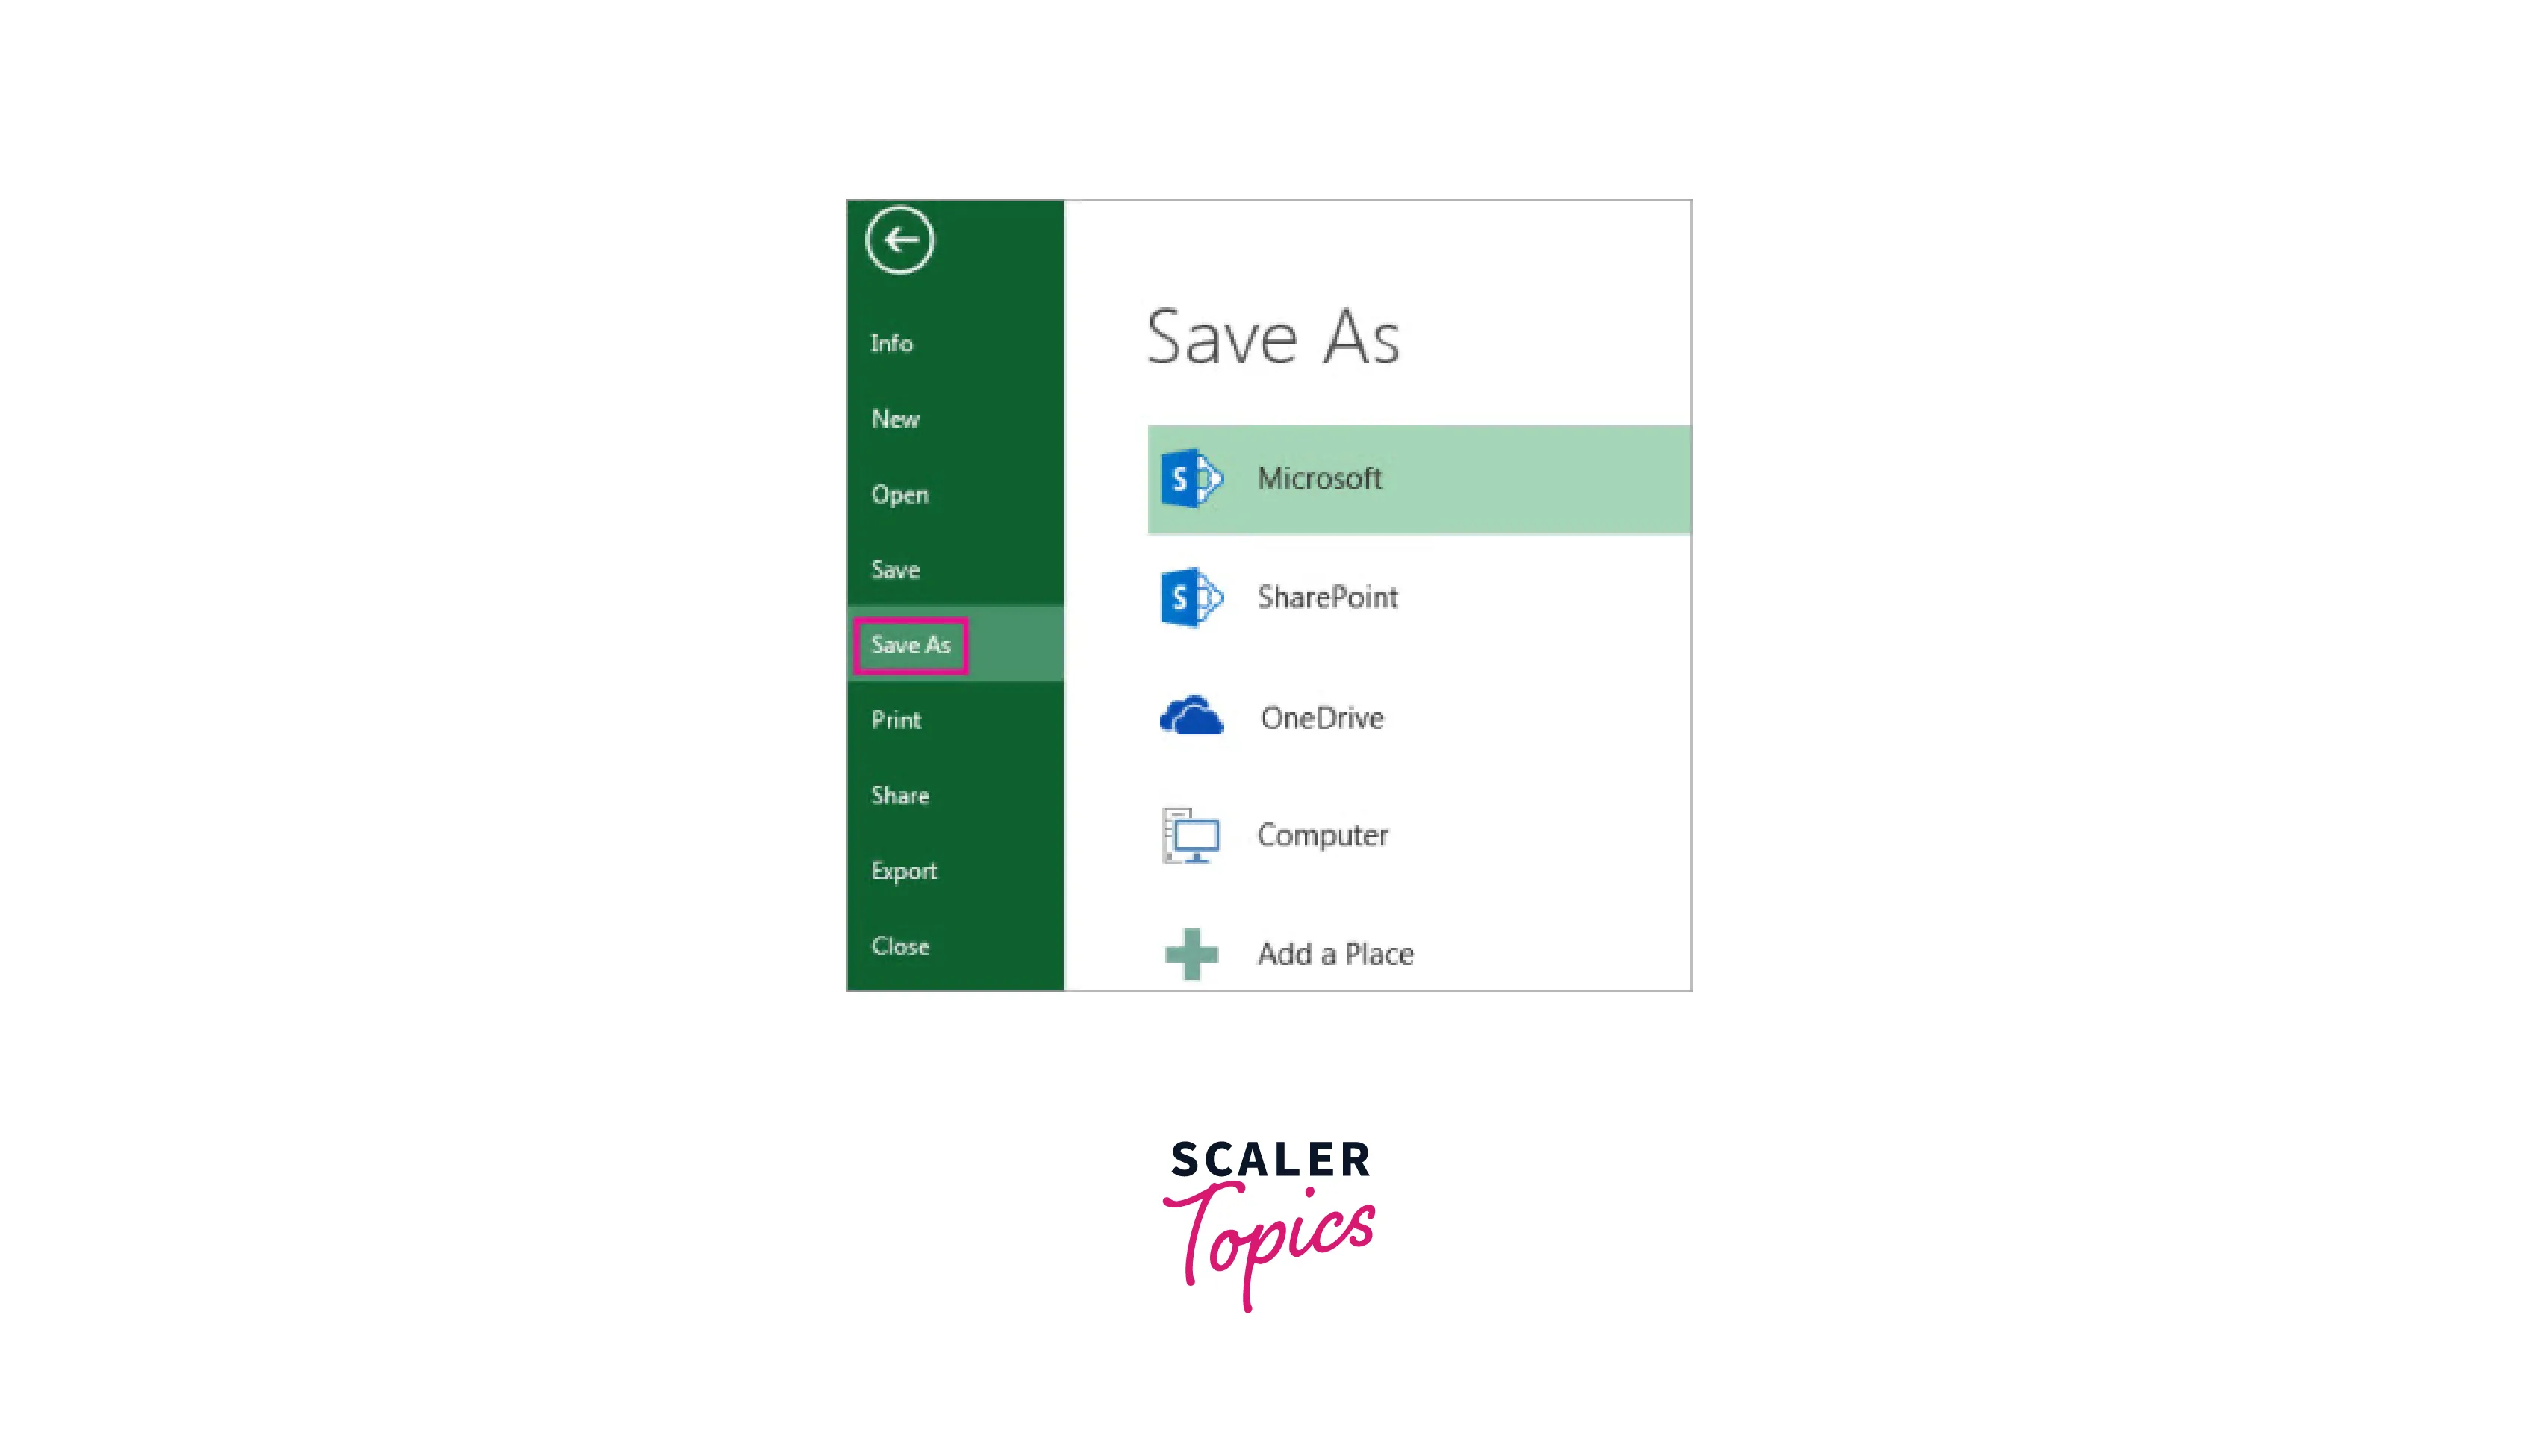
Step 7: Save your workbook It's important to save your workbook regularly to avoid losing your work. To save your workbook, click on "File" and then "Save" or "Save As" to give your file a new name or location.




Structure of an Excel Workbook
An Excel workbook is made up of one or more spreadsheets, each of which is made up of rows and columns. Each cell in the spreadsheet contains data, formulas, or functions. Worksheets are organized into tabs at the bottom of the window, and the workbook can contain multiple worksheets.
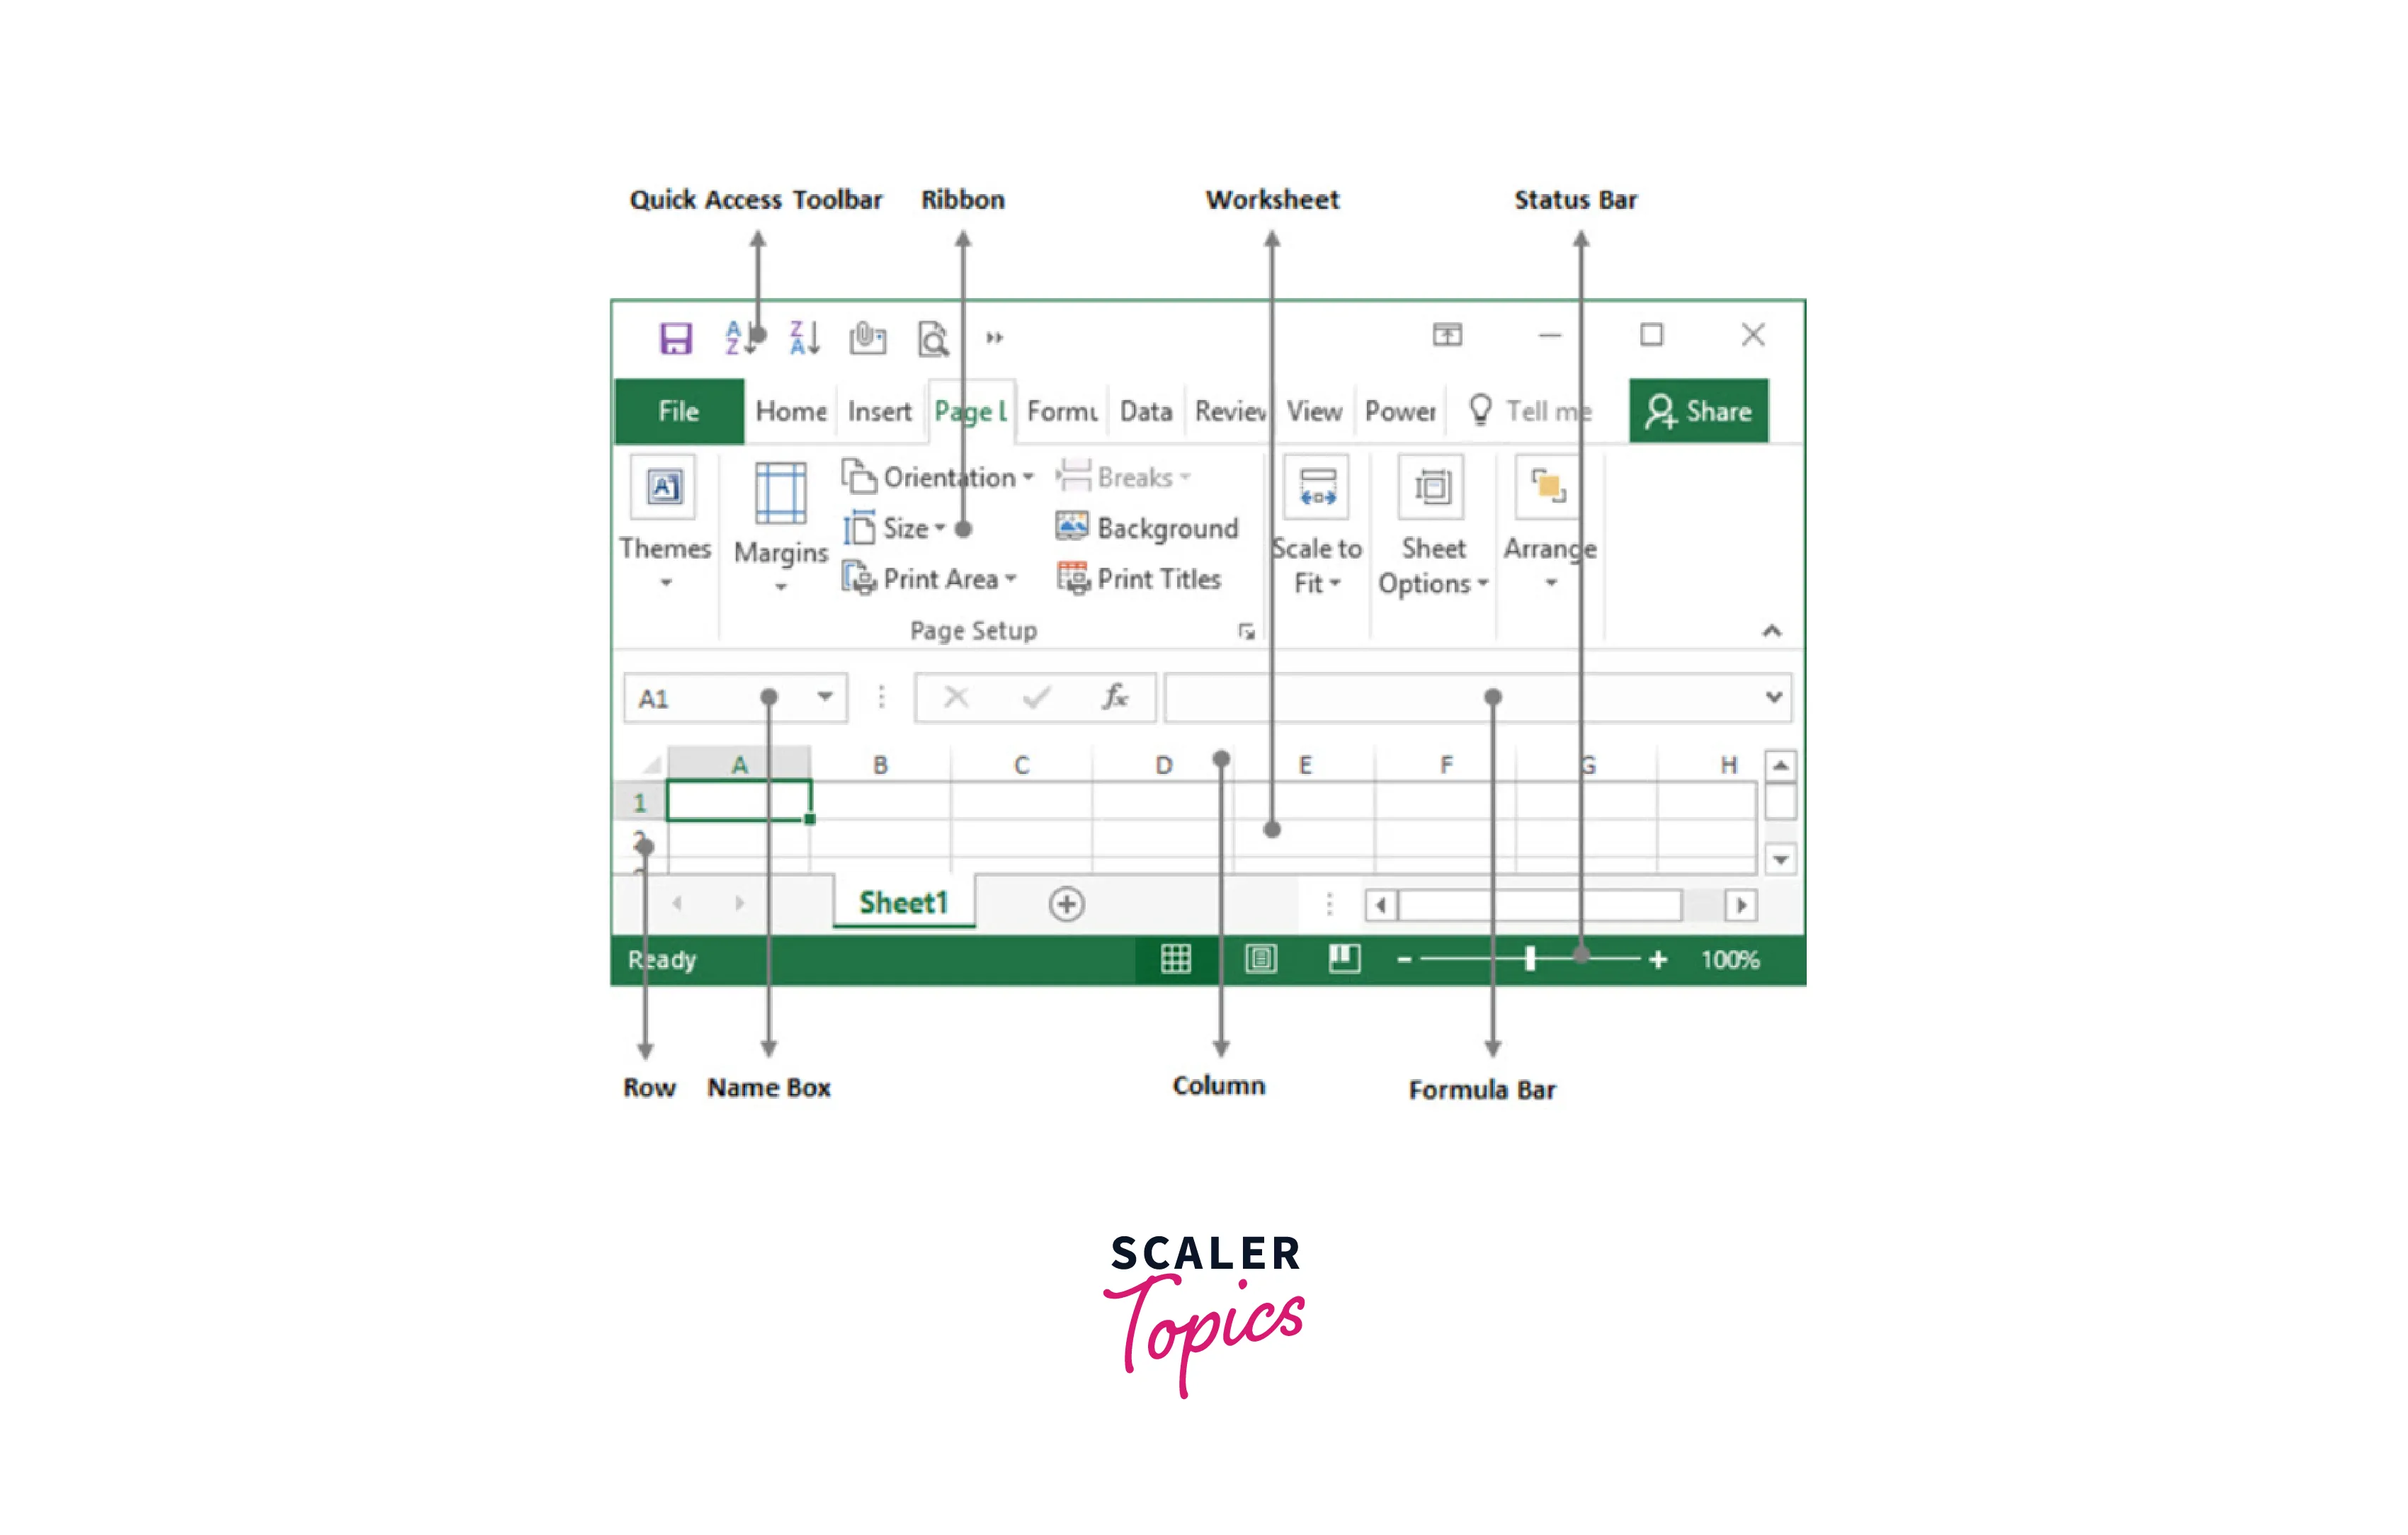
Quick Access Toolbar
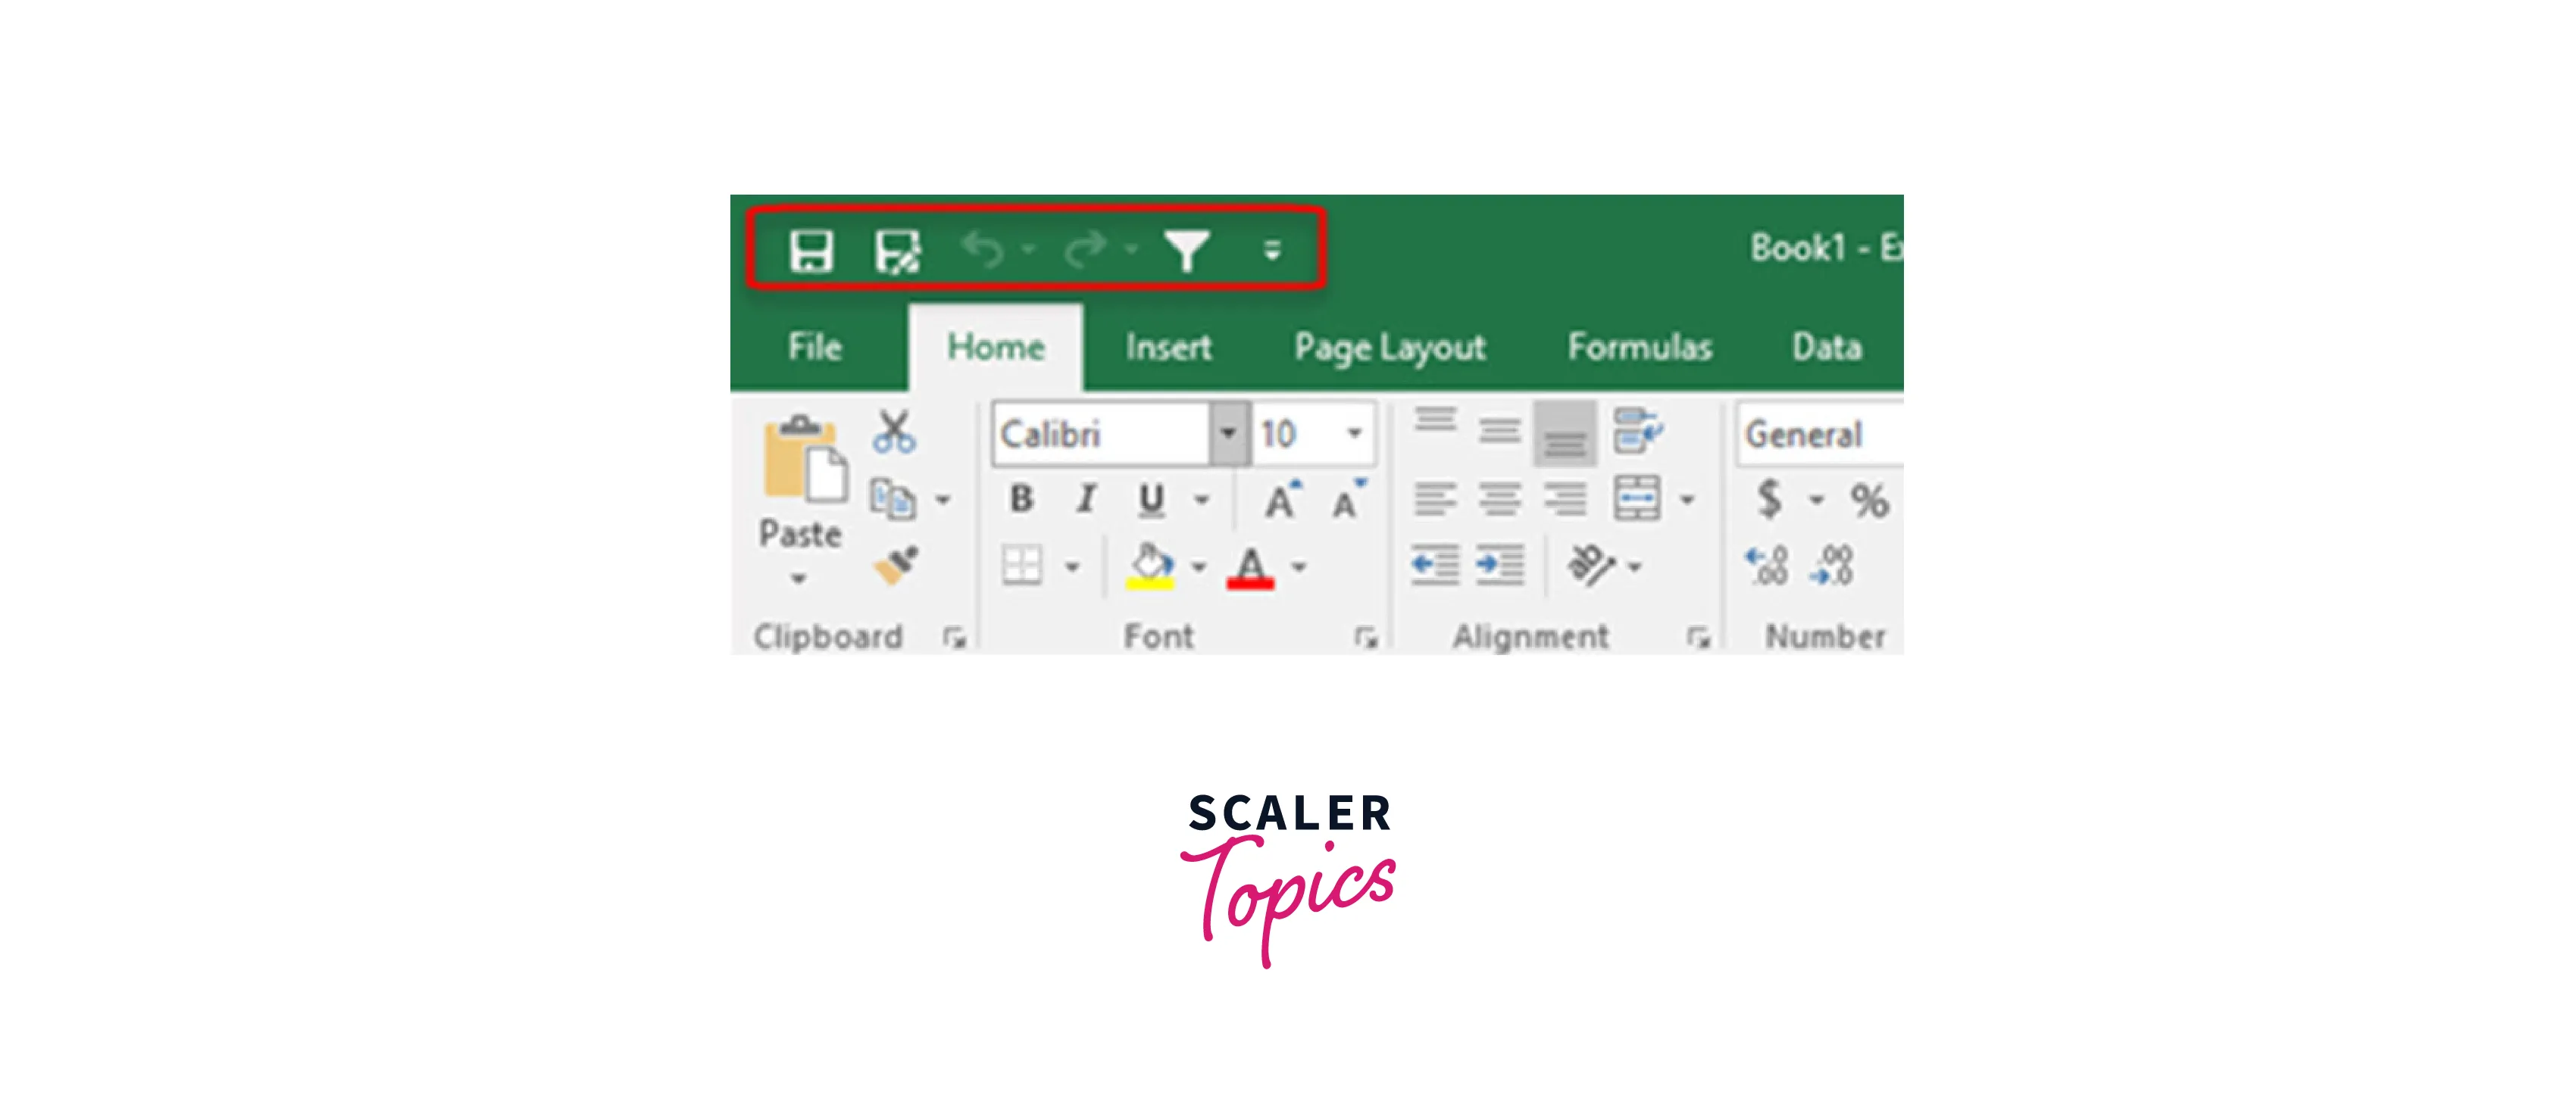
The Quick Access Toolbar in Excel is a customizable toolbar above the ribbon. It provides quick access to commonly used commands and functions, allowing you to work more efficiently. The Quick Access Toolbar includes the Save, Undo, and Redo buttons by default.
You can also move the Quick Access Toolbar below or above the ribbon by clicking the drop-down arrow and selecting "Show Below/ Above the Ribbon." By customizing the Quick Access Toolbar, you can improve your productivity and streamline your workflow in Excel.
Ribbon
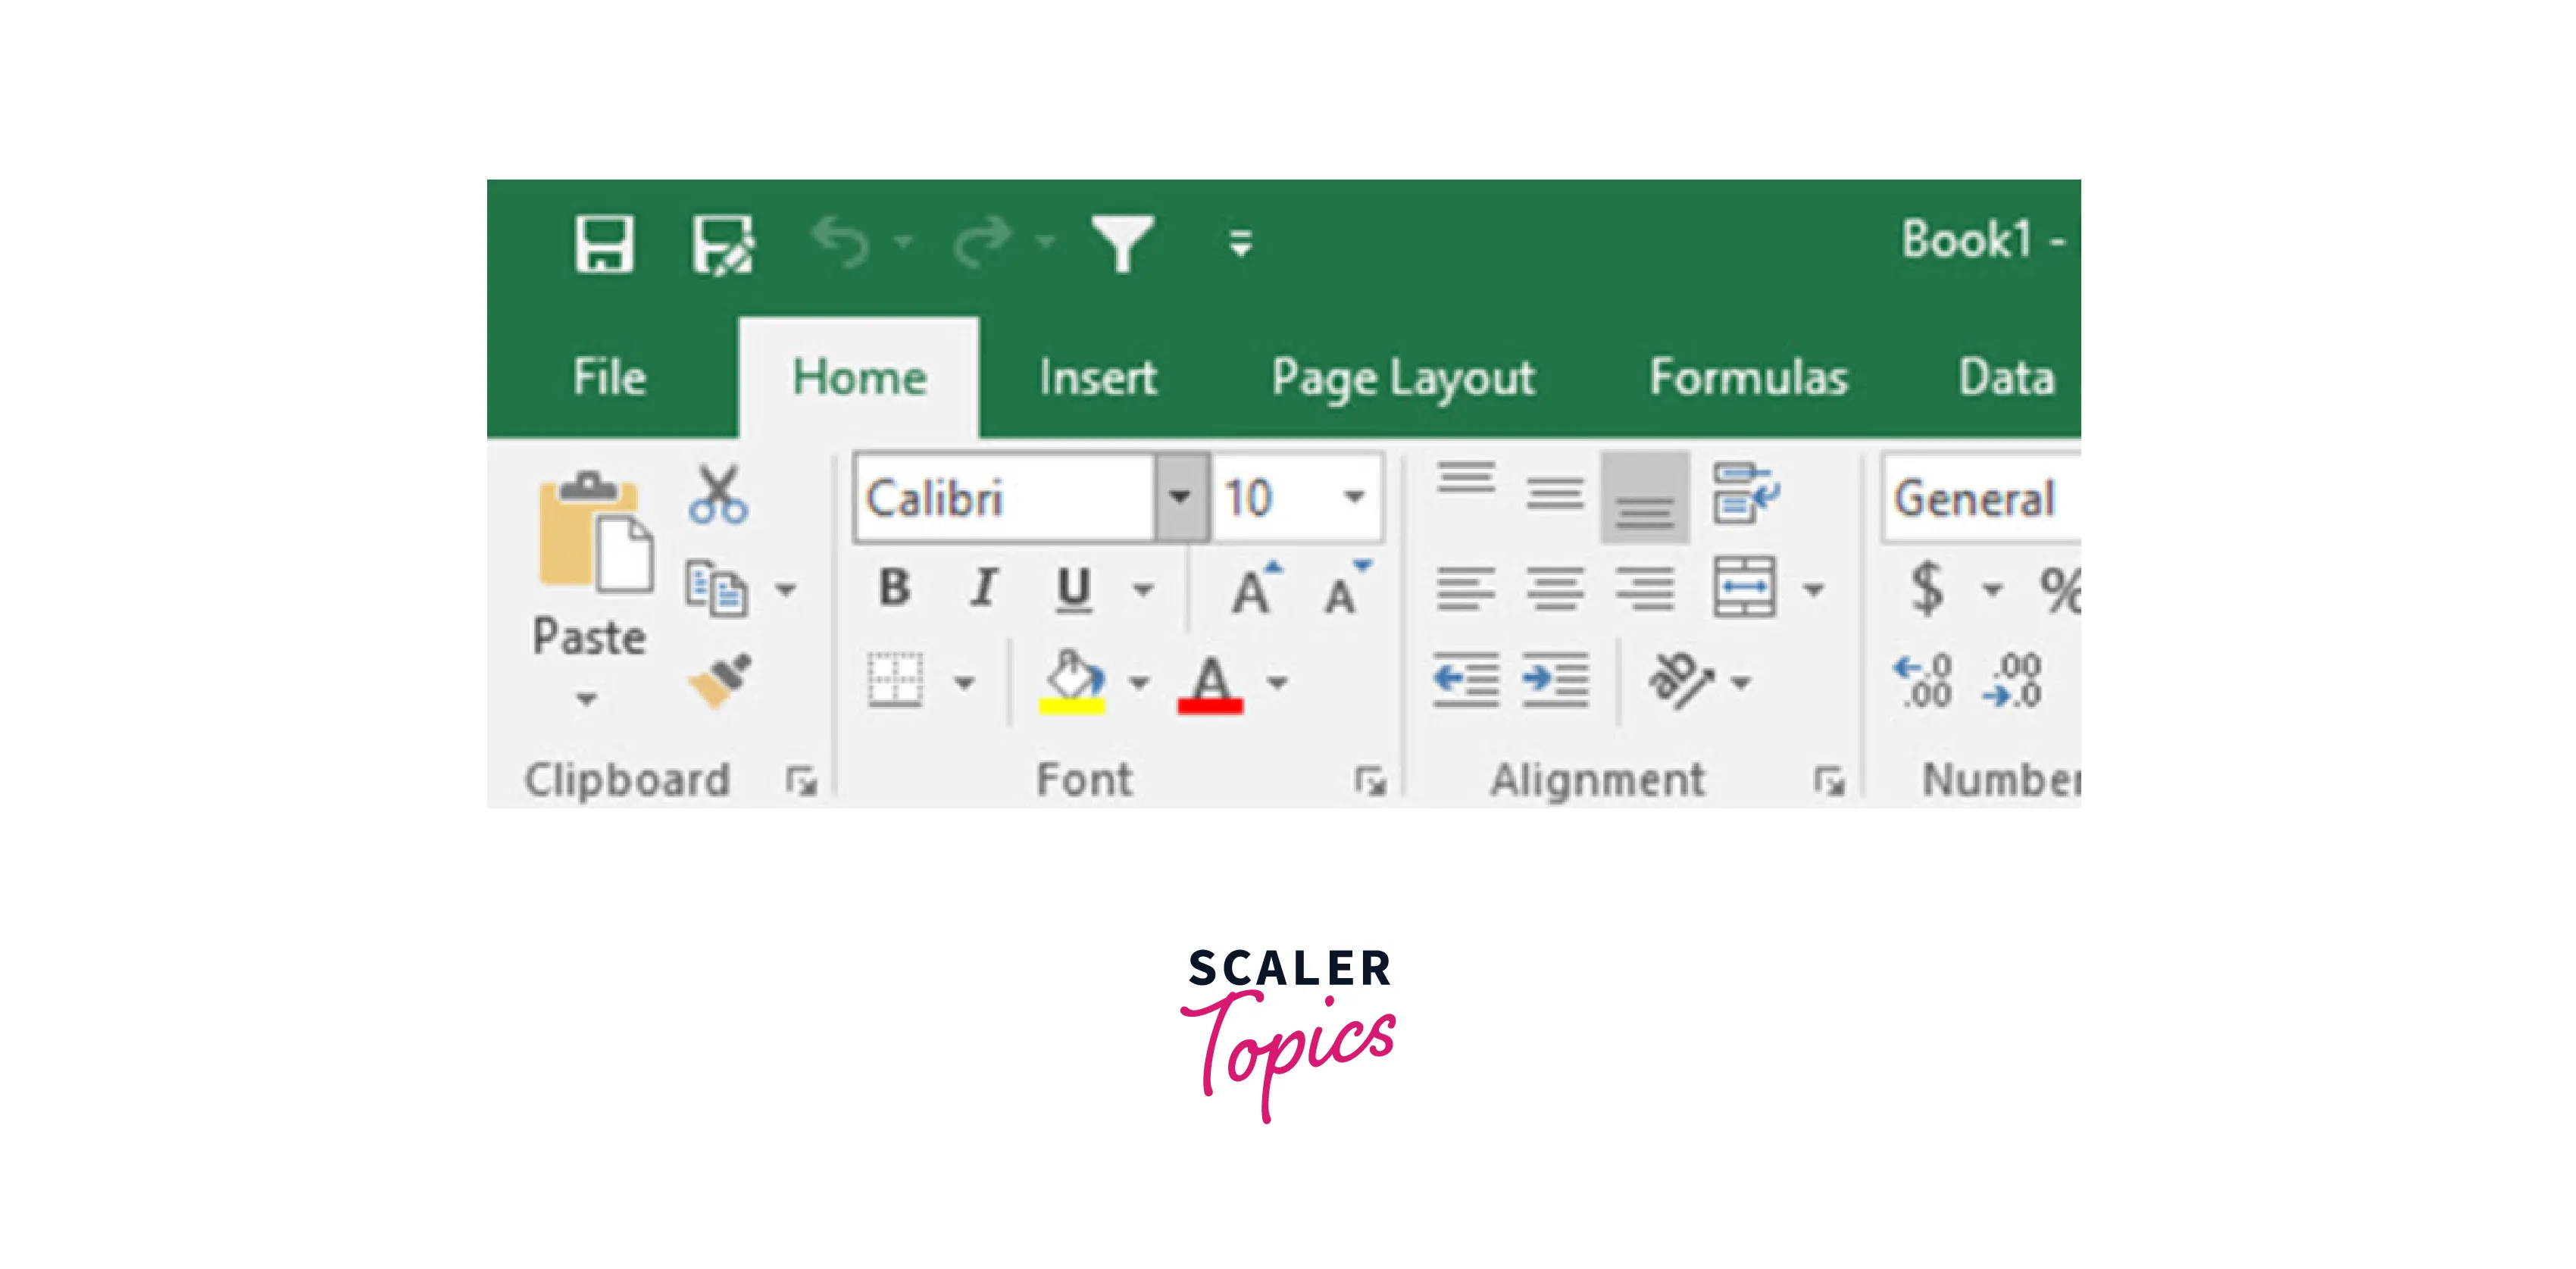
In Excel, a ribbon refers to the user interface element that contains various tabs, groups, and commands that allow you to perform different tasks in the program. The ribbon at the top of the Excel window provides quick access to commonly used features.
Each tab on the ribbon contains groups of related commands. For example, the "Home" tab contains groups for editing, font formatting, and alignment options. The "Insert" tab contains groups for inserting charts, tables, and other elements into your worksheet.
To use the ribbon in Excel, click on a tab to reveal its groups and then click on a command to act. In addition, you can customize the ribbon to add or remove tabs, groups, and commands you frequently use. To do this, right-click on the ribbon and select "Customize the Ribbon." From there, you can add or remove tabs and groups or create custom tabs with your preferred commands.
Worksheet Area

The worksheet area in Excel is the main working space where you create and manipulate your spreadsheet data. It is a rectangular grid comprising columns and rows, which intersect to form cells containing your data, formulas, and functions.
The columns are identified by letters (A, B, C, etc.) and are arranged vertically from left to right, while the rows are identified by numbers (1, 2, 3, etc.) and are arranged horizontally from top to bottom. The intersection of a column and row creates a cell, which is identified by a combination of its column letter and row number (e.g., cell A1, cell B2).
In the worksheet area, you enter your data, perform calculations, and format your spreadsheet. You can also insert charts, images, and other objects into the worksheet area to help present your data more visually appealing.
Name Box
 The Name Box in Excel is a small text box next to the formula bar that displays the current cell address or the name of a selected range of cells. You can use the Name Box to quickly navigate to a specific cell or range of cells or to name and manage cell ranges.
If you click on the Name Box, you can type in a cell address or a range of cells to quickly move to that location within the worksheet. For example, if you type "A1" in the Name Box and press Enter, Excel will move yourcursorto cell A1.
You can also use the Name Box to name a range of cells. To do this, select the range of cells you want to name and type the name you want to give the range in the Name Box. Then, press Enter. This will assign the name to the selected range of cells, making it easier to refer to that range in formulas or other parts of your workbook.
Formula Bar
 The Formula Bar in Excel is a section located above the worksheet area that displays the contents of the active cell. It is a text box where you can view and edit cell formulas and values.
When you click on a cell, the contents of that cell are displayed in the Formula Bar. For example, if the cell contains a formula, it will be displayed in the Formula Bar, and you can edit it if necessary. If the cell contains a value or text, the value or text will be displayed in the Formula Bar.
The Formula Bar is a useful tool for working with formulas in Excel. You can use it to:
-
View and edit formulas: You can view the formula in a cell by selecting the cell, and the formula will be displayed in the Formula Bar. In addition, you can edit the formula directly in the Formula Bar by clicking on it and typing in your changes.
-
Debug formulas: If you encounter errors in your formulas, the Formula Bar can help you identify the problem. By looking at the formula in the Formula Bar, you can see if there are any errors or if the formula references the wrong cells.
-
Enter long text: If you have a lot of text to enter into a cell, the Formula Bar can be a more convenient place to type it, especially if the cell is narrow.
-
Use AutoSum: The Formula Bar includes an AutoSum feature that allows you to add up a range of cells quickly. Select the cell where you want the sum to appear and click the AutoSum button in the Formula Bar.
Excel Toolbar
The Excel toolbar, also known as the ribbon, is the collection of buttons, tabs, and commands at the top of the Excel window that allows you to access various features and tools in the program. The toolbar is organized into several tabs, each containing groups of related commands.
The tabs on the Excel toolbar typically include the following:
-
Home: Contains commonly used commands for formatting text, numbers, and cells, as well as basic editing tools.
-
Insert: Allows you to insert various elements into your worksheet, such as charts, tables, and shapes.
-
Page Layout: Contains commands for setting up and formatting the appearance of your worksheet, such as margins, orientation, and page size.
-
Formulas: Contains functions and tools for working with formulas and calculations.
-
Data: Contains tools for importing, sorting, and filtering data.
-
Review: Contains tools for reviewing and editing your worksheet, such as spell check, comments, and track changes.
-
View: Contains tools for adjusting the display and view of your worksheet, such as Zoom, freeze panes, and gridlines.
Each tab on the Excel toolbar contains multiple groups of related commands that can be expanded by clicking on the arrow in the bottom right corner of the group. Additionally, you can customize the Excel toolbar by adding or removing tabs and groups based on your individual needs.
How to Use the Toolbar in Excel?
Adding Features to the Toolbar
To add features to the toolbar, you can add or remove buttons or commands from it. There are two ways to add features to the toolbar:
-
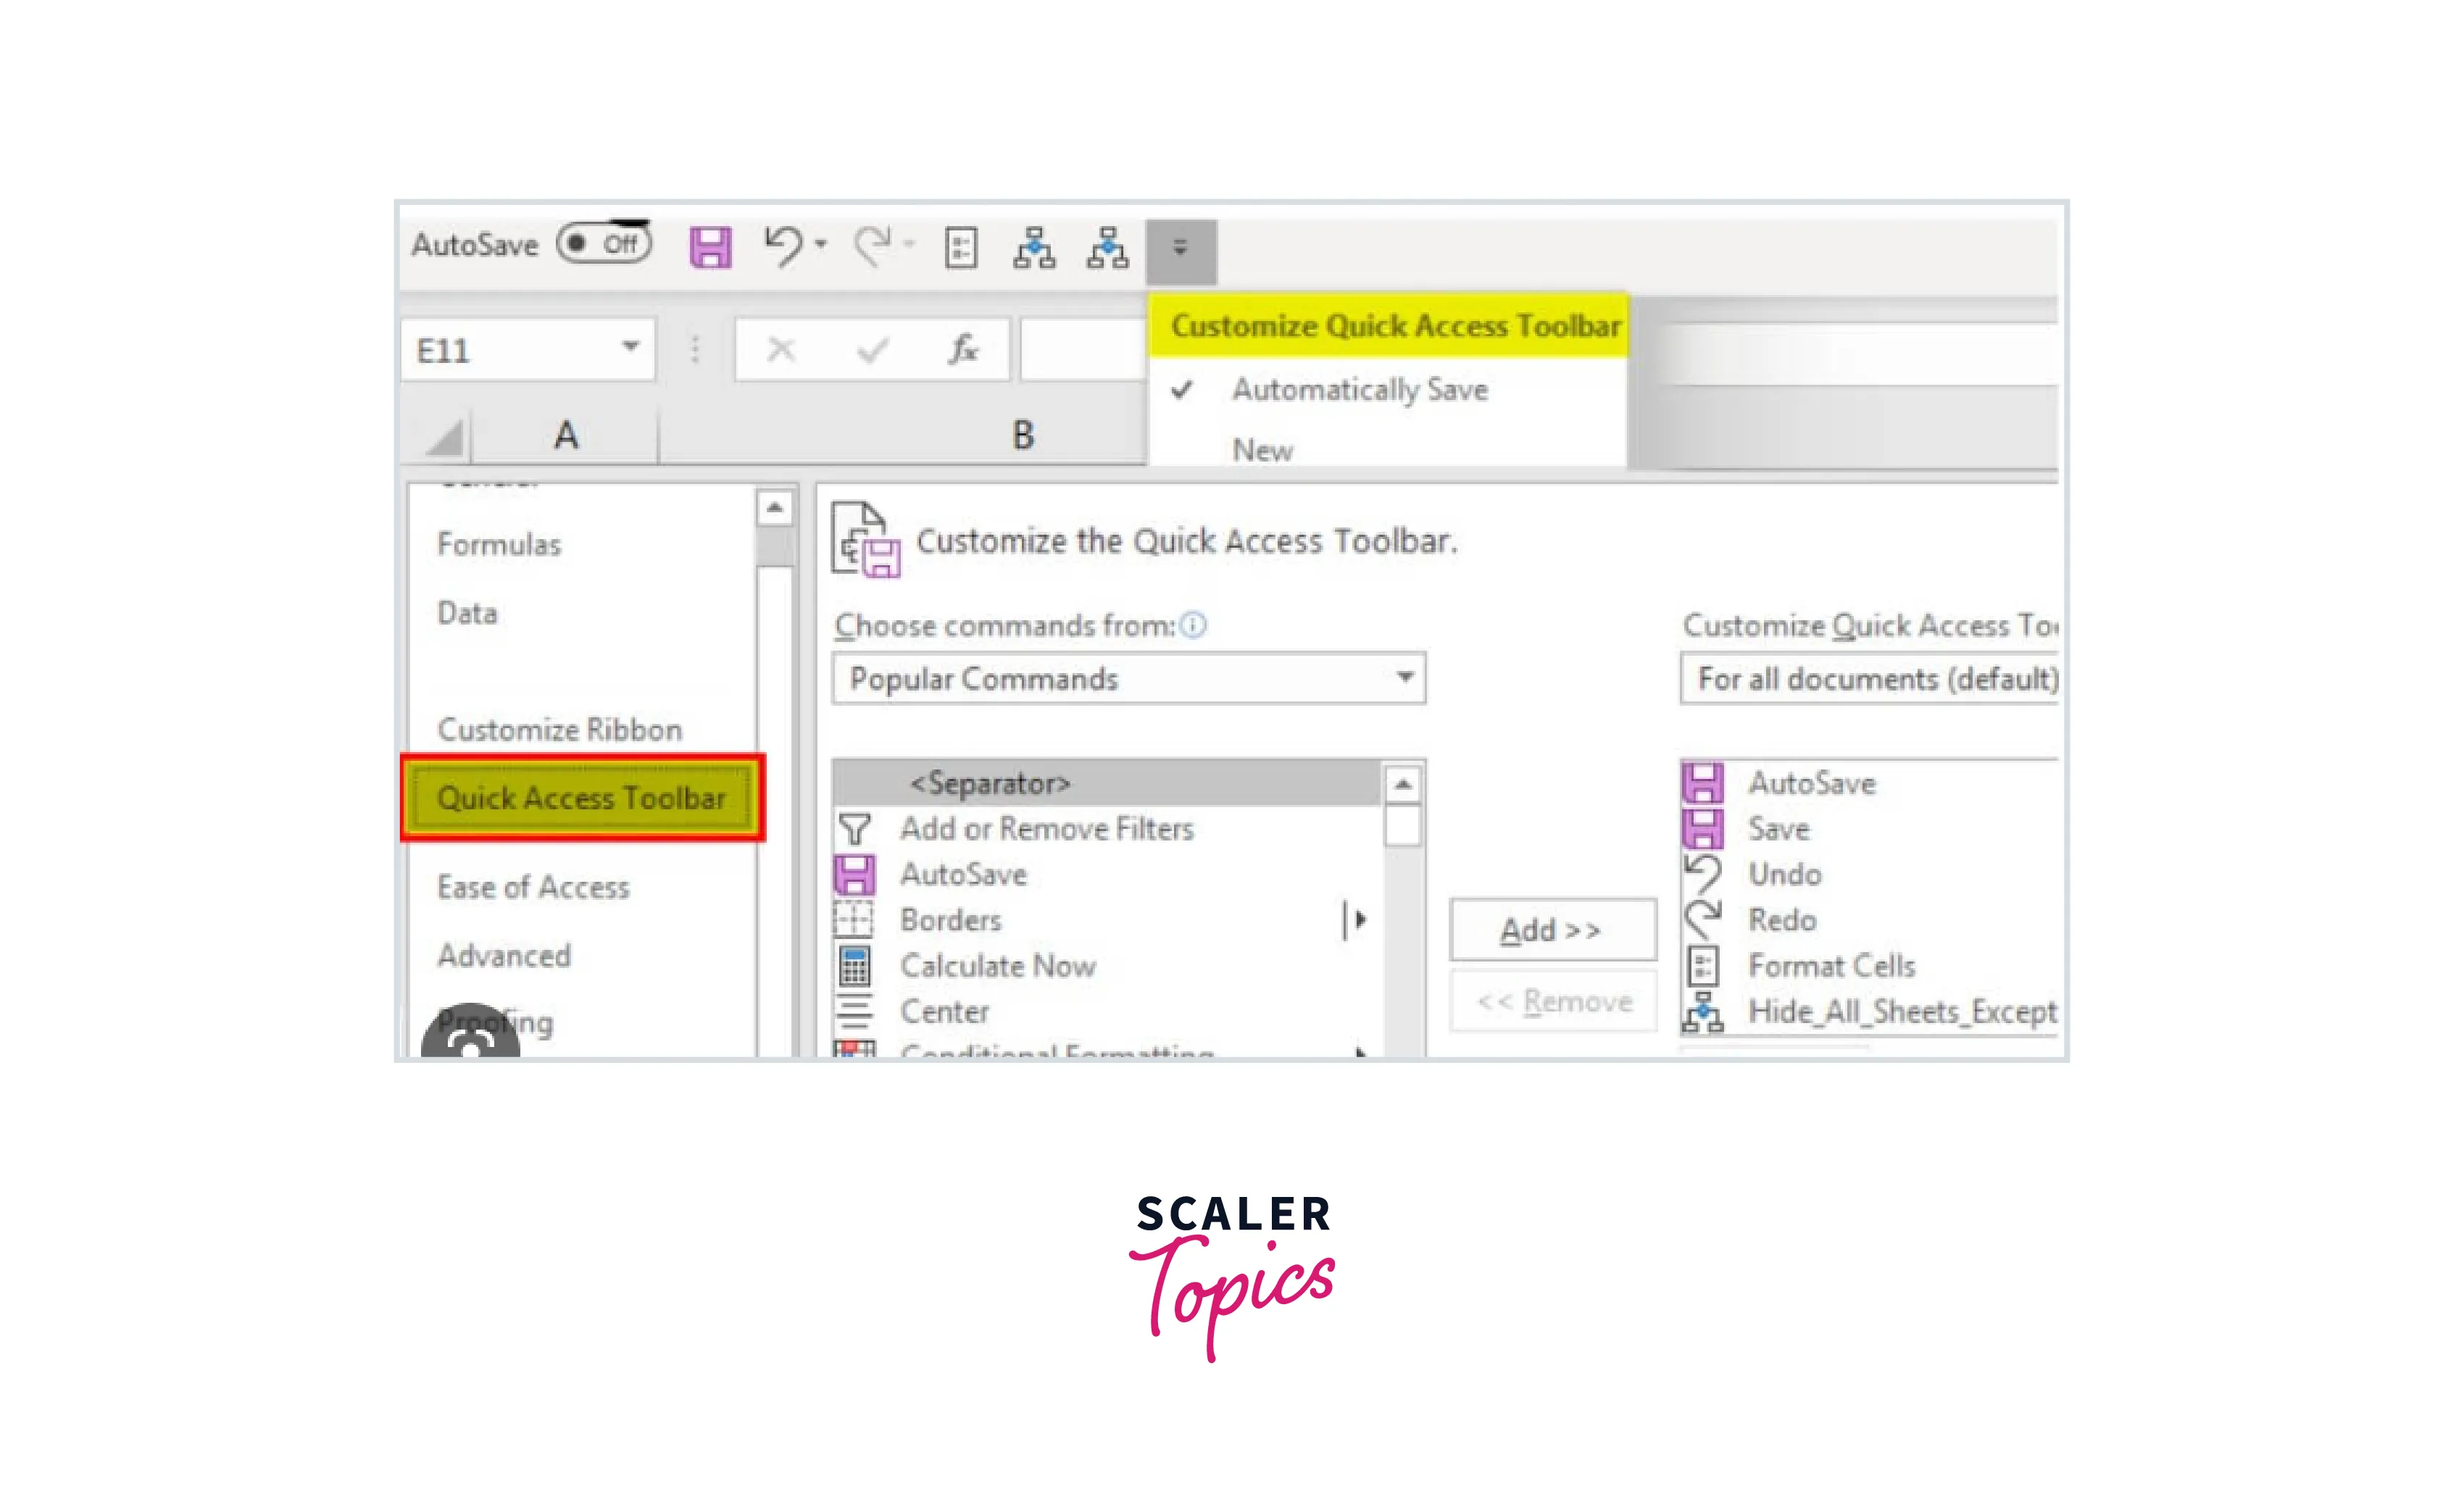
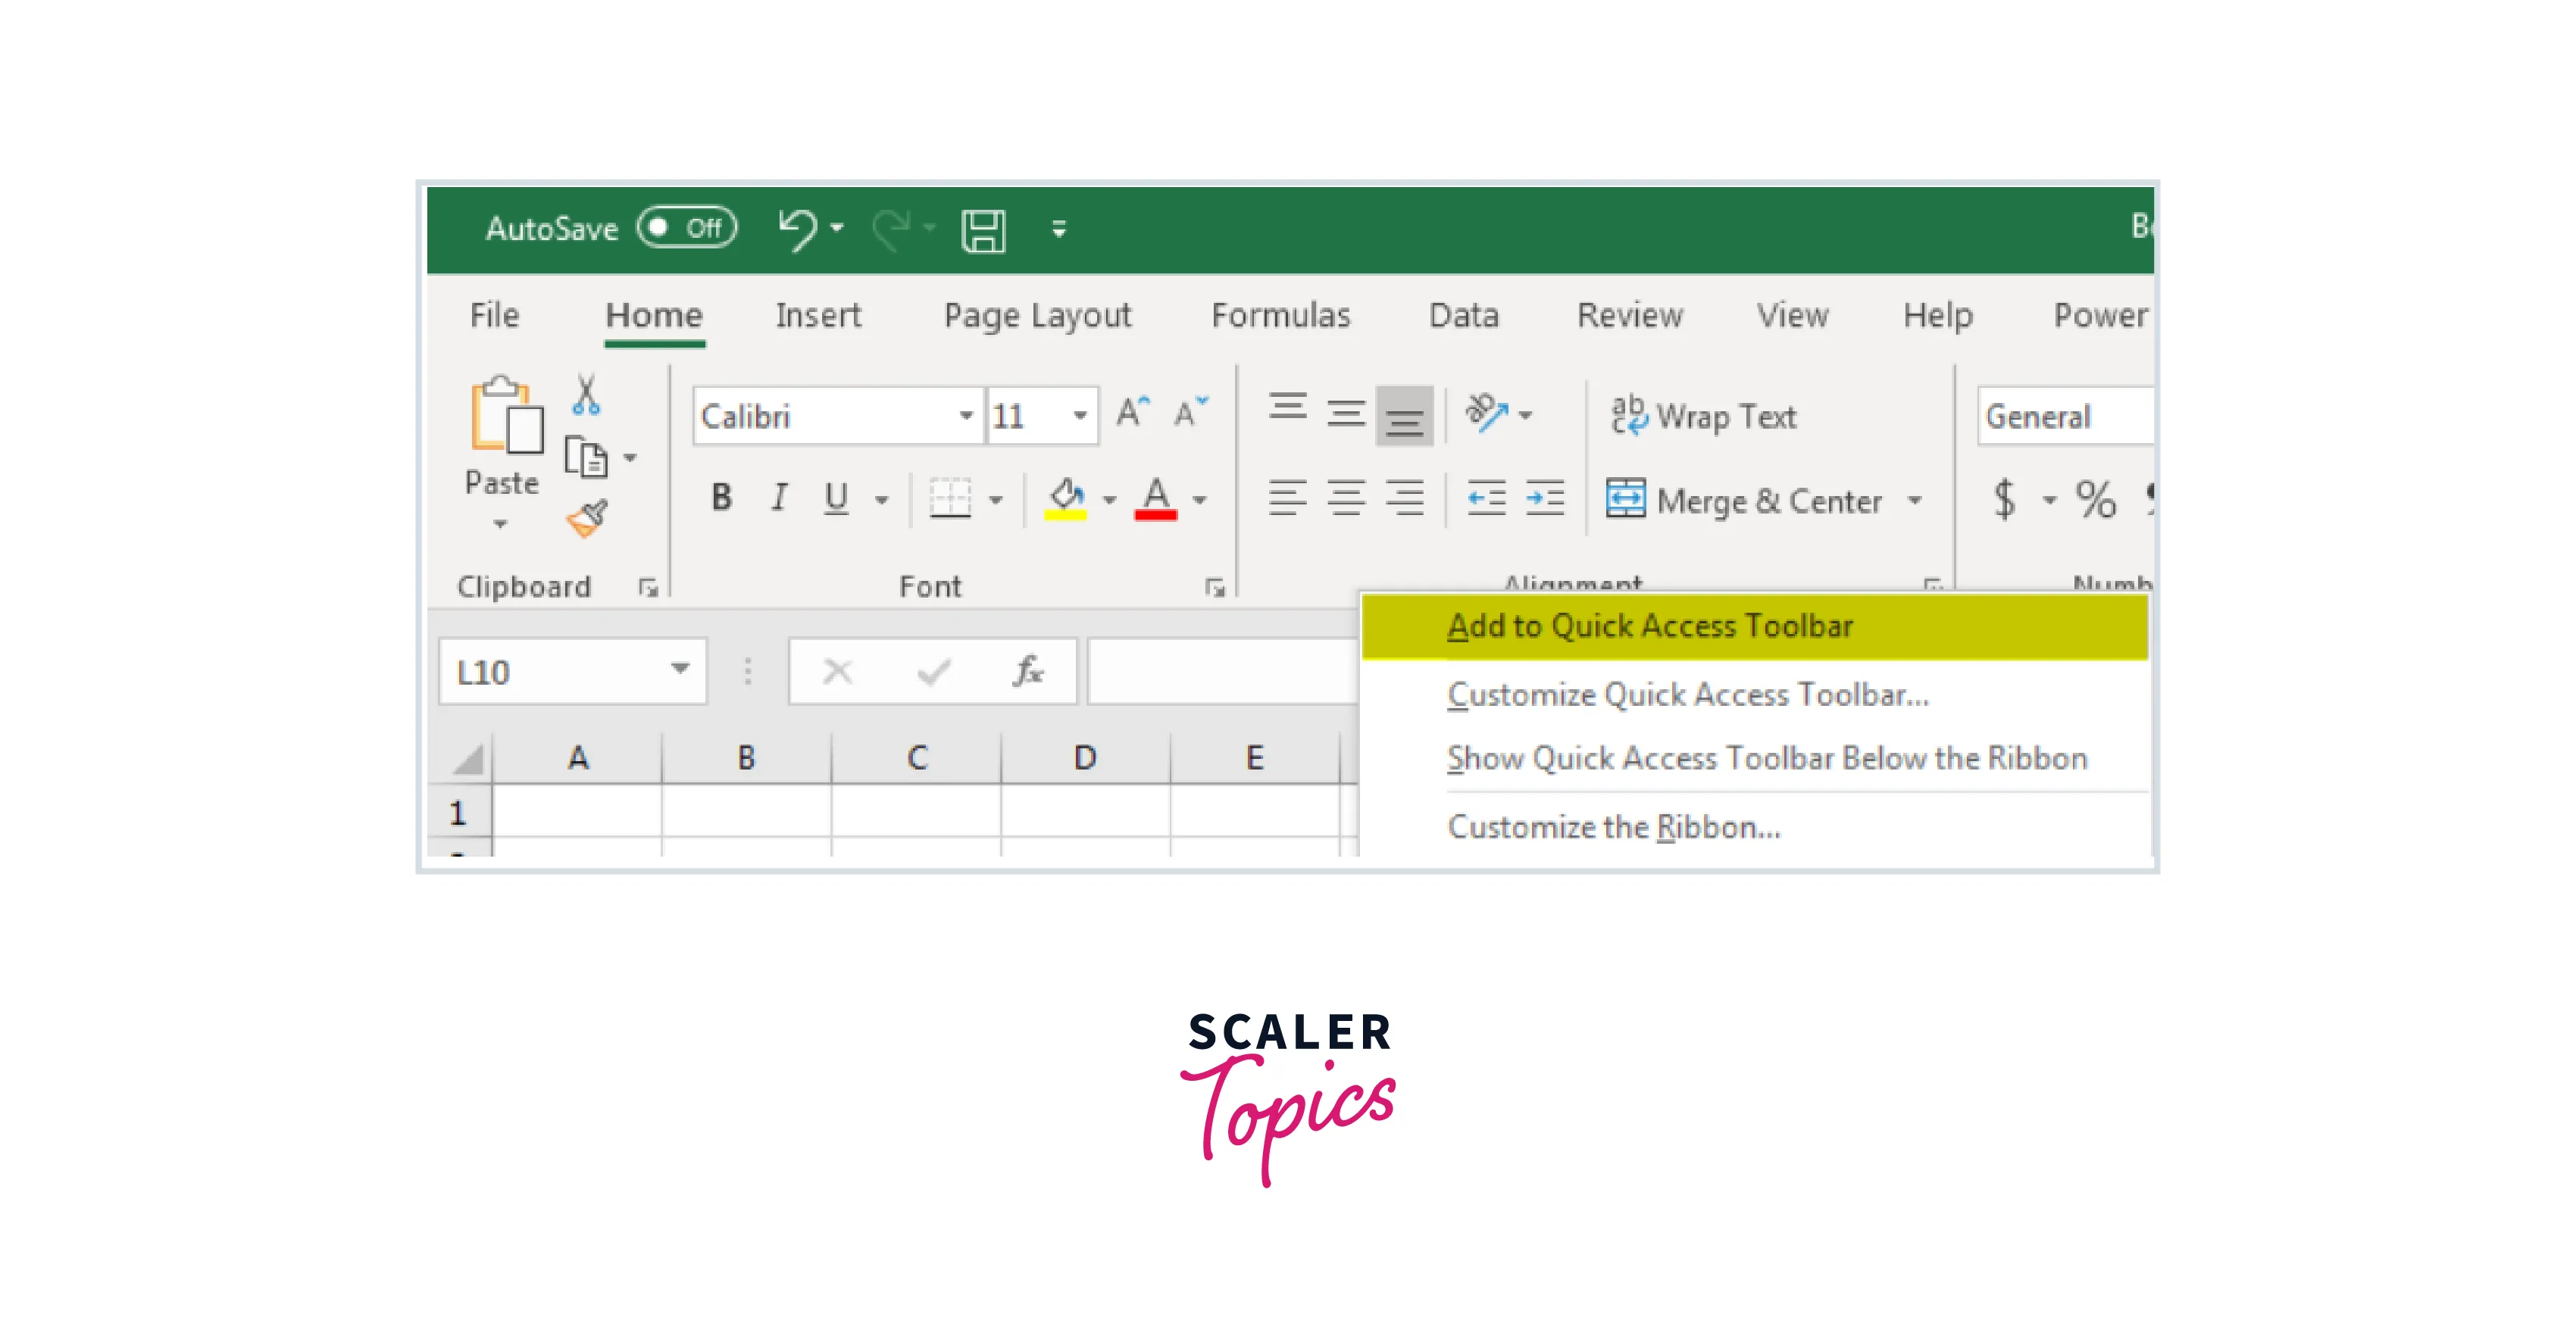
Right-click on any command in the Excel ribbon and select "Add to Quick Access Toolbar." This will add the command to the Quick Access Toolbar (QAT) located above or below the ribbon.
-
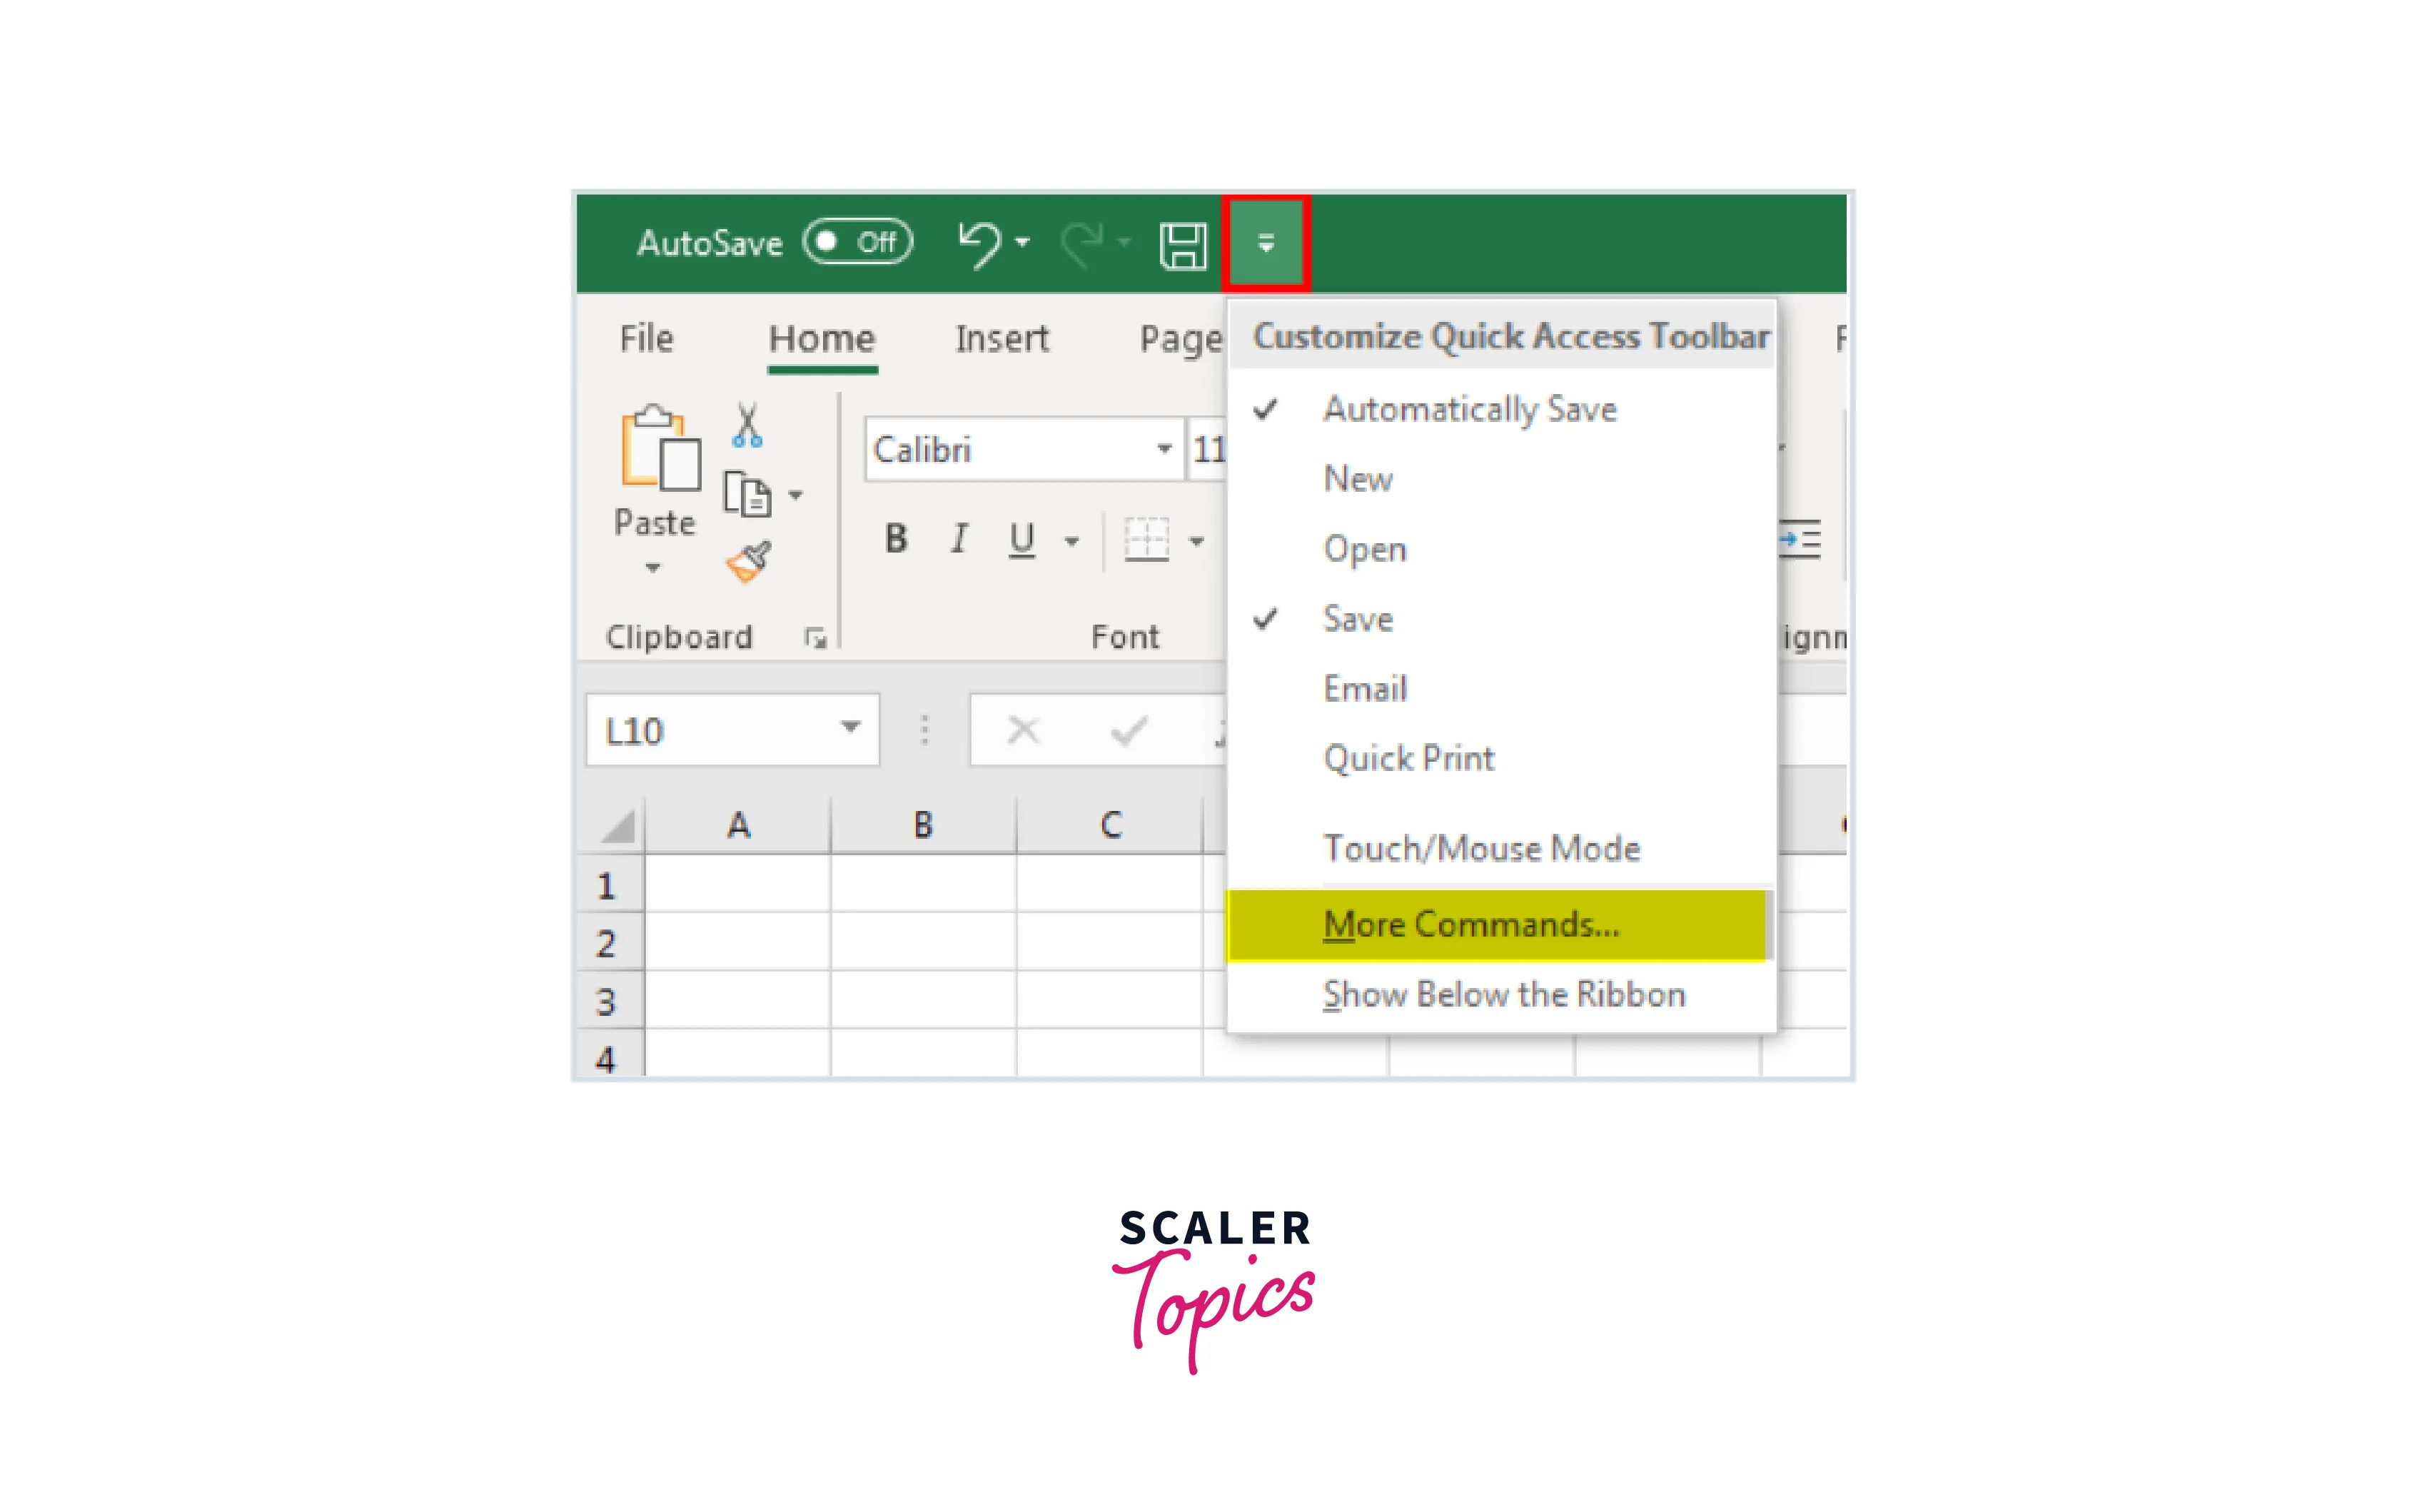
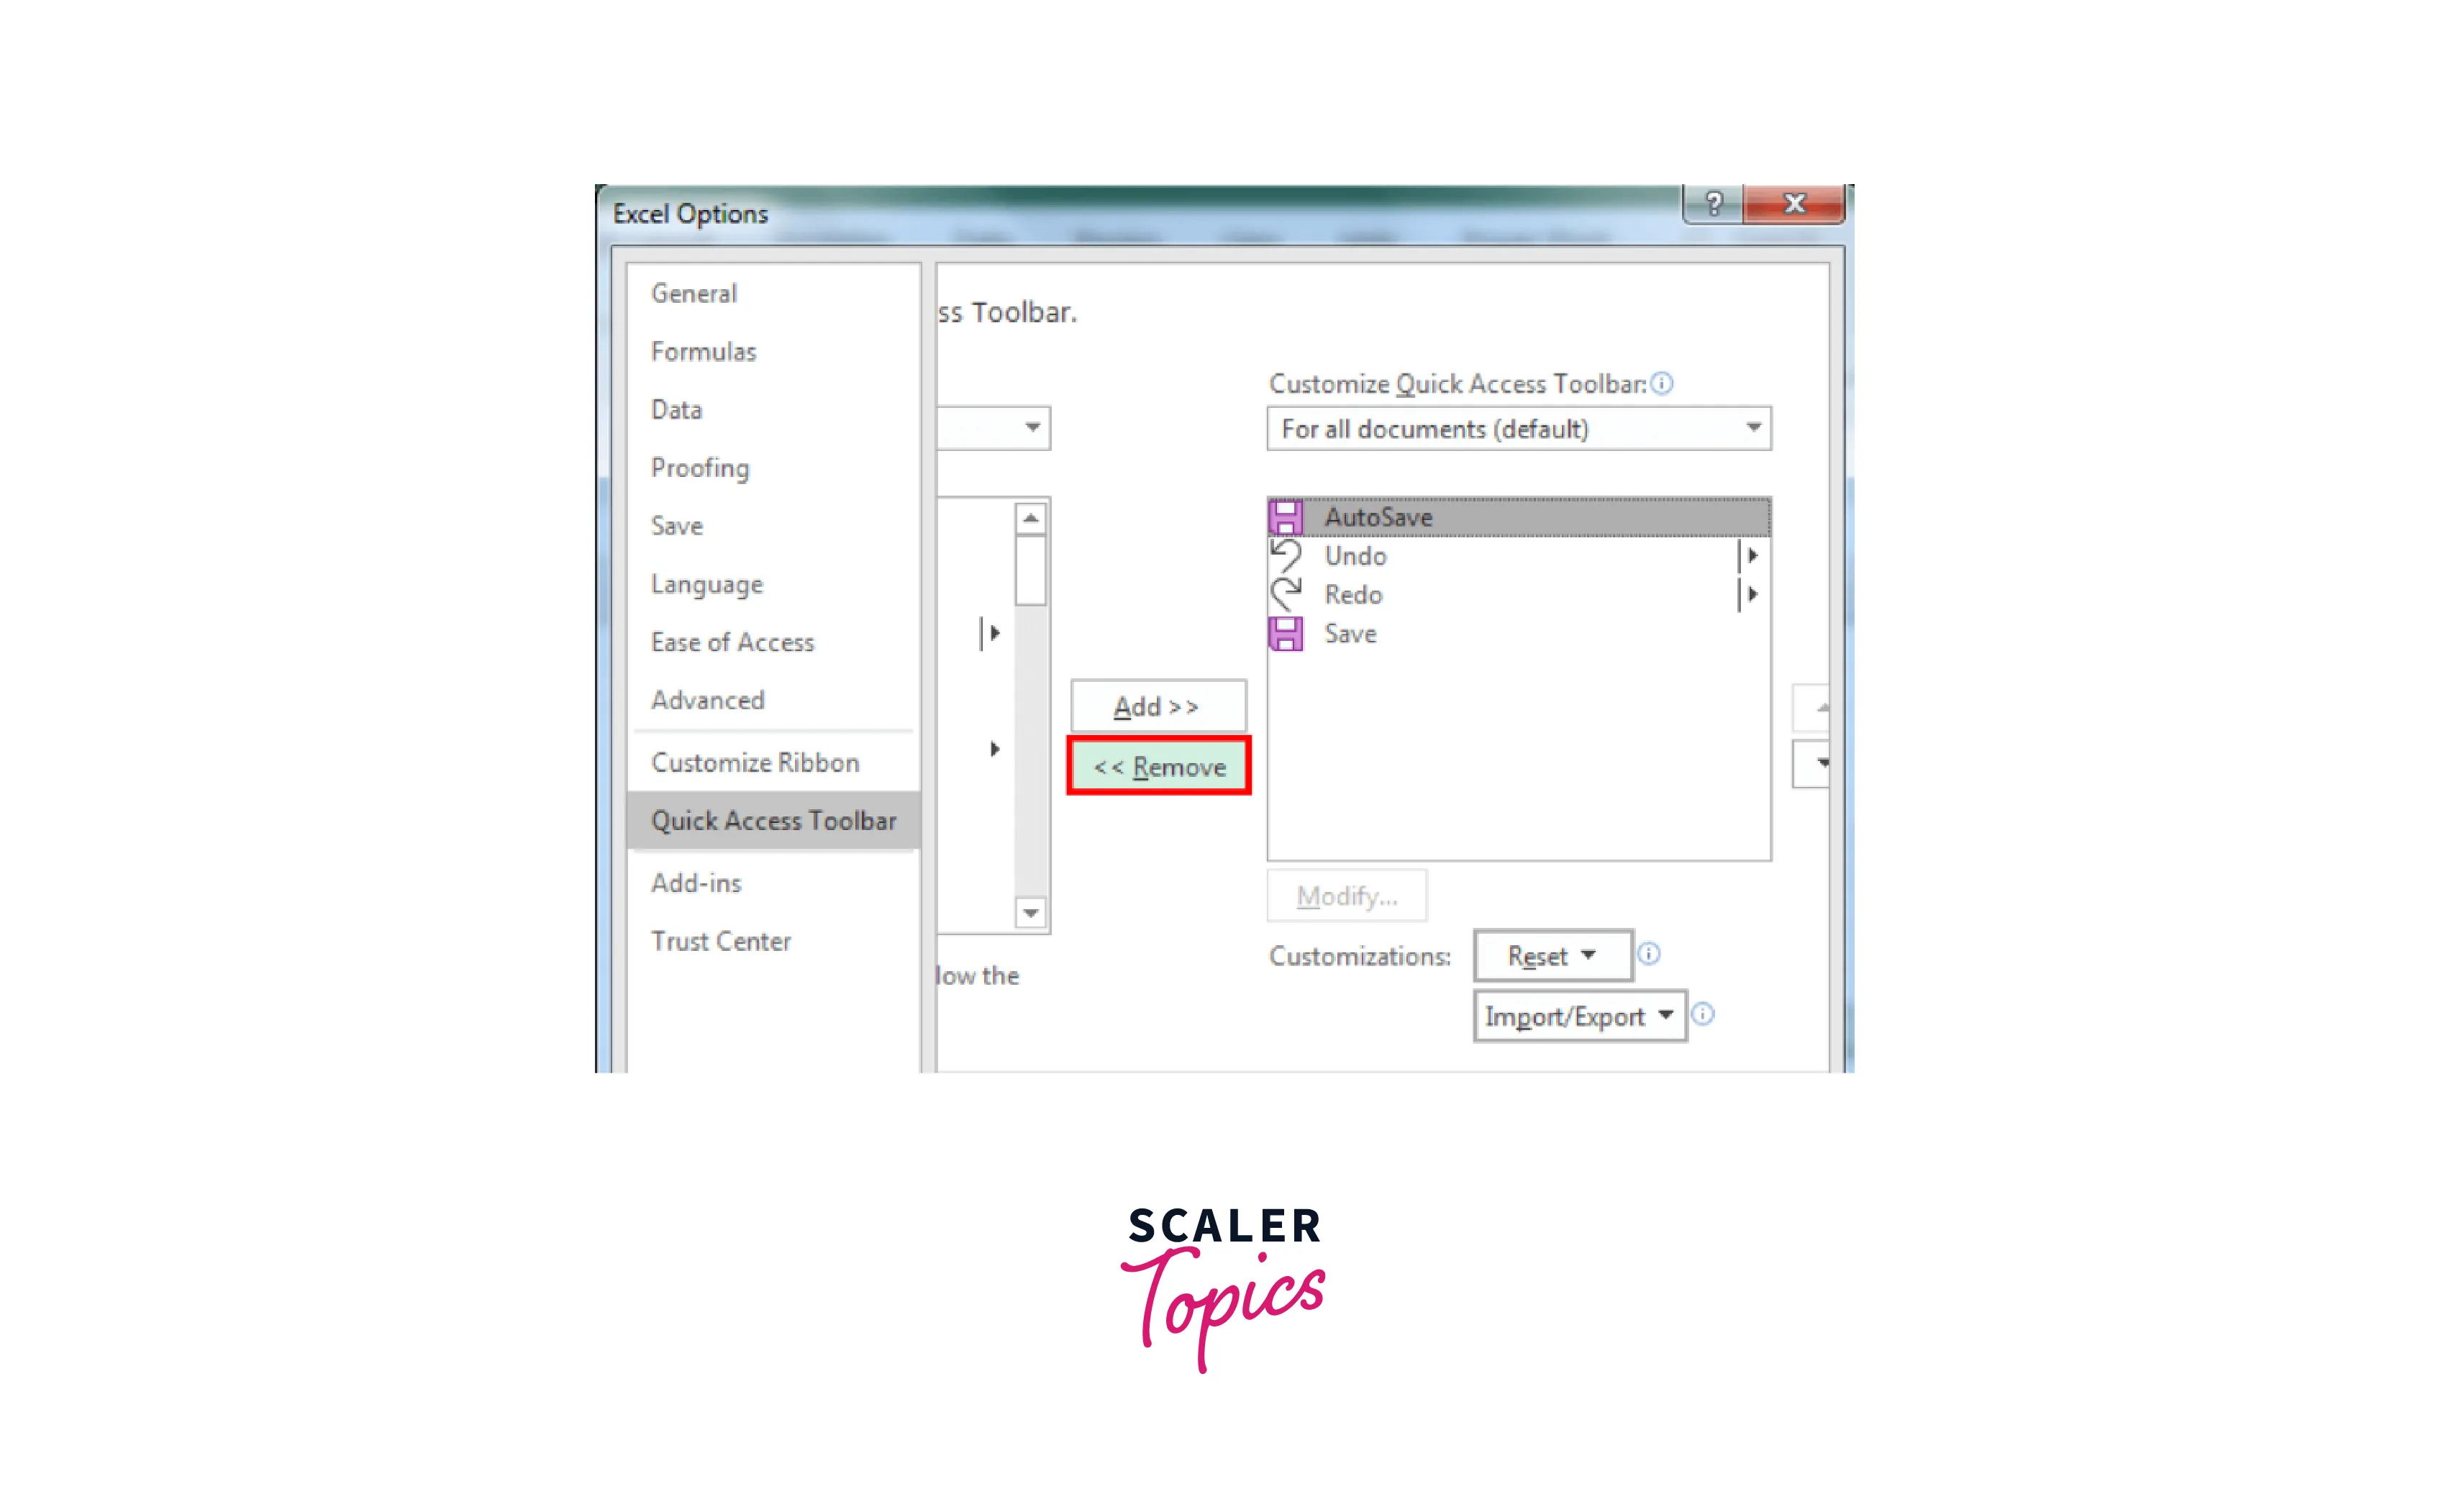
Click on the drop-down arrow on the QAT and select "More Commands." This will open the Excel Options dialog box, where you can select the command you want to add and click the "Add" button. You can also remove commands from the QAT using the "Remove" button.
Deleting Features from the Toolbar
To remove a button or command from the toolbar, right-click on the button or command you want to remove.
Select "Remove from Quick Access Toolbar": A context menu will appear after you right-click. From that menu, select "Remove from Quick Access Toolbar." This will remove the button or command from the Quick Access Toolbar (QAT) located above or below the ribbon.
Modifying the Sequence of Commands and Resetting to Default Settings.
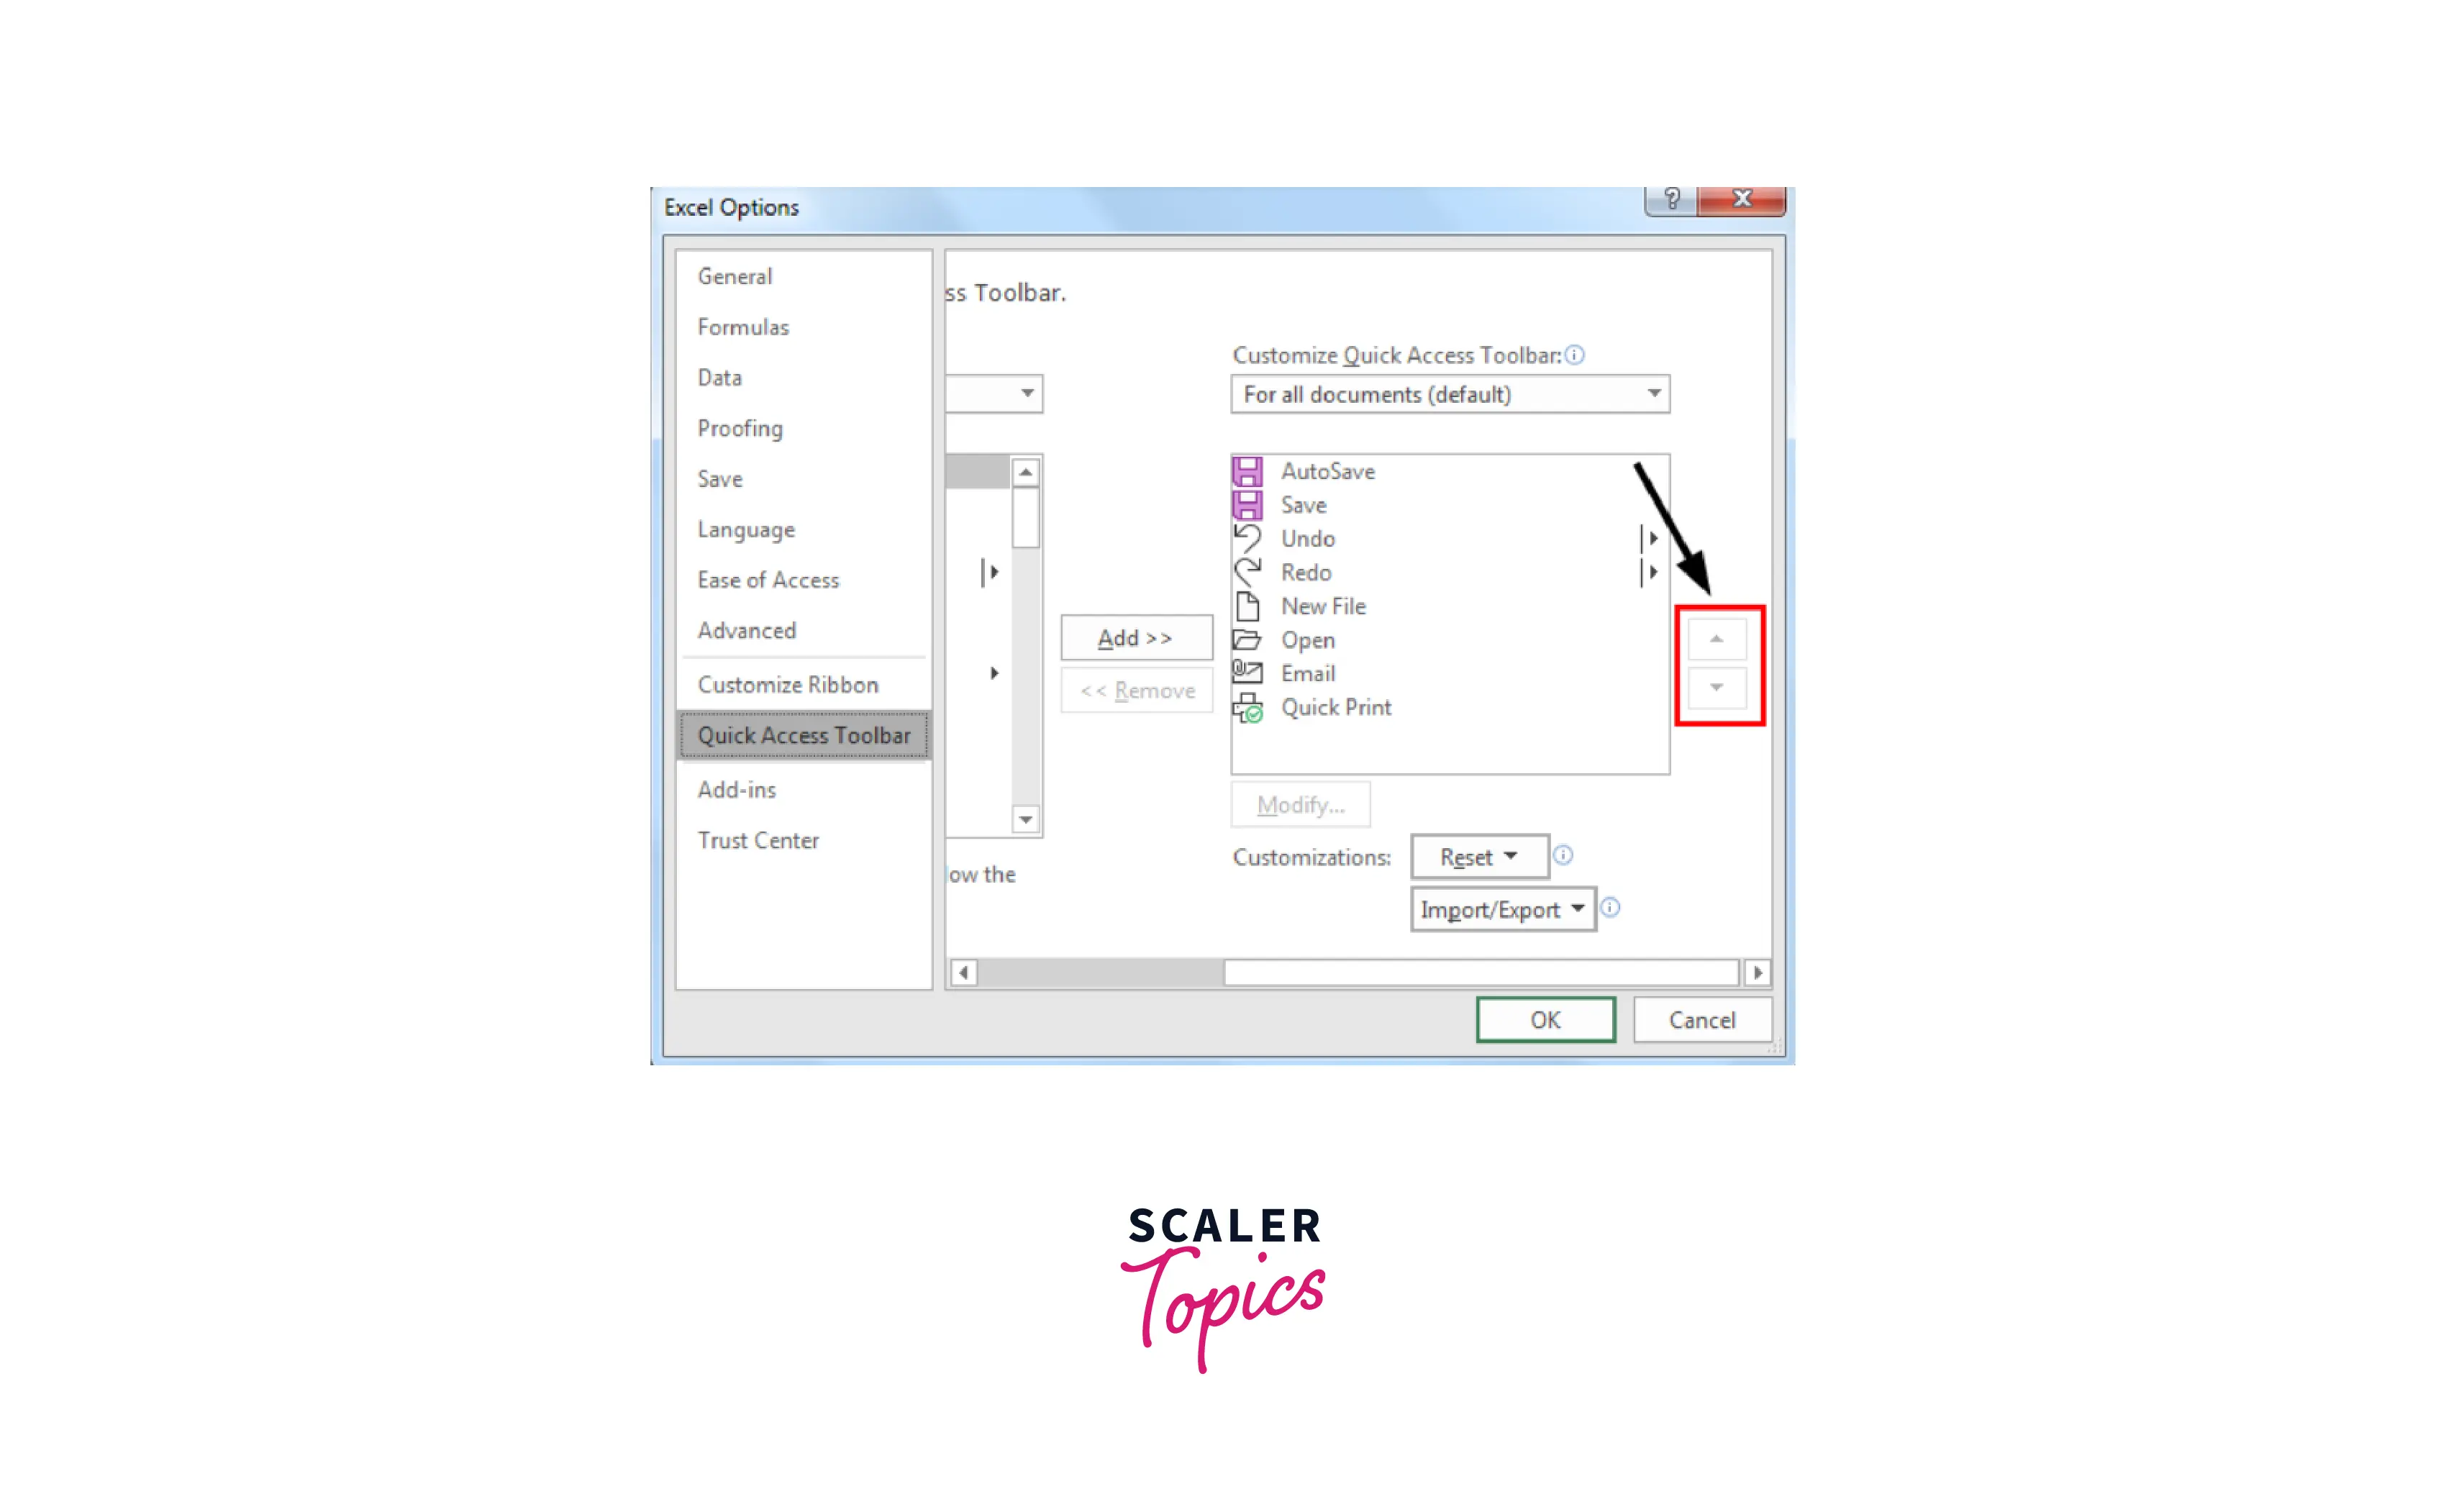
The up and down buttons on the “Customize Quick Access Toolbar” present the option in the order per user. Users can discard the changes by clicking the “Reset” option to get the default settings.
Conclusion
The key takeaways from this article are:-
- MS Excel is important because it enables users to organize, analyze, and manipulate large data sets efficiently.
- The quick access toolbar provides quick access to commonly used commands and functions, allowing you to work more efficiently.
- The worksheet area in Excel is the main working space where you create and manipulate your spreadsheet data.
- The Name Box in Excel is a small text box next to the formula bar that displays the current cell address or the name of a selected range of cells.
