How to Build a Snake Game in JavaScript?

Overview
Every programming language that exists has its complexity, syntax, and logic, therefore, if we have to master any programming language then we must develop or work on hands-on projects which will eventually help to gain basic as well as advanced-level concepts of a particular programming language. In this article, we will learn to develop a famous old-school video game which is known as Snake Game with the help of JavaScript, HTML and CSS. We all came across this game in our childhood days as it was available on almost every platform including Mobile Phones and PCs. The primary goal of the game was to let the snake navigate and eat as many apples as it can without having any connection with walls or the snake's own body.
Introduction
The Snake Game was a buzz in the early 90s as it was easily accessible to everyone and at the same time, it was even enjoyed by everyone. The main aim of the game was to let the snake eat as many food points as it can while navigating around the screen with conditions like the snake should avoid making contact with the walls and its own body. The more the snake will eat the bigger it will become and the player has to make sure that the snake should eat as many food points as it can and becomes as big as it could to score more points.
Have you ever wondered, how this video game was developed and how the underlying complexities are working? Therefore, here, we will cover each aspect of the development and we will also develop the entire game which is the snake game with the help of tools like JavaScript, HTML Canvas, and CSS.
Following are the steps involved in the complete development of the JavaScript snake game:
- STEP 1: We will display the canvas or the game screen where the game has to be played.
- STEP 2: We will display that how the snake in the game should look.
- STEP 3: We will set up the concerned arrow keys for navigation on the game's screen.
- STEP 4: We will incorporate the food part and according to food intake, the score will increase.
- STEP 5: The length of the snake will increase based on food intake.
- STEP 6: We will set up the condition for collision detection.
- STEP 7: We will put all the logic and steps together to develop the complete game.
Each step will be explained and elaborated separately in the upcoming sections concerning codes and output which will help us to understand the overall development procedure in a lot easier way.
Now, let's discuss the knowledge one should possess before starting with the development of the JavaScript snake game.
Prerequisites
The prerequisite knowledge required to develop a snake game is as follows:
- HTML Canvas :- The HTML canvas or <canvas> tag is a container used for the graphical objects. HTML canvas is used to create and draw smooth graphics. A canvas is a rectangular-shaped area on an HTML web page specified with the canvas element. By default, a canvas has no content and no border.
- CSS:- CSS or Cascading style sheet is a language used to provide styling in a basic HTML structure. It describes how an HTML document or structure should look.
- JavaScript:- JavaScript is an object-oriented programming language used on web pages. JavaScript is the web programming language used on both the client and server sides to provide dynamic and interactive behavior in a webpage. It is a lightweight and easy-to-understand programming language. JavaScript is the most popular programming language in the world.
If anybody knows the above-given languages then they can go ahead with the development procedure of the JavaScript snake game.
JavaScript Snake Code Example
Let's take a look at a sample code of the snake game which shows the actual application and running of the game on a web browser.
In this example, Inside an HTML page, we have used a canvas element with a black background which will be used as the play screen where the snake will navigate to feed on food. From maintaining the size of the snake to detecting the collision of the snake with the walls or its own body is done by using JavaScript. Now, Let's have a look at the Codes:
HTML Code
JavaScript Code
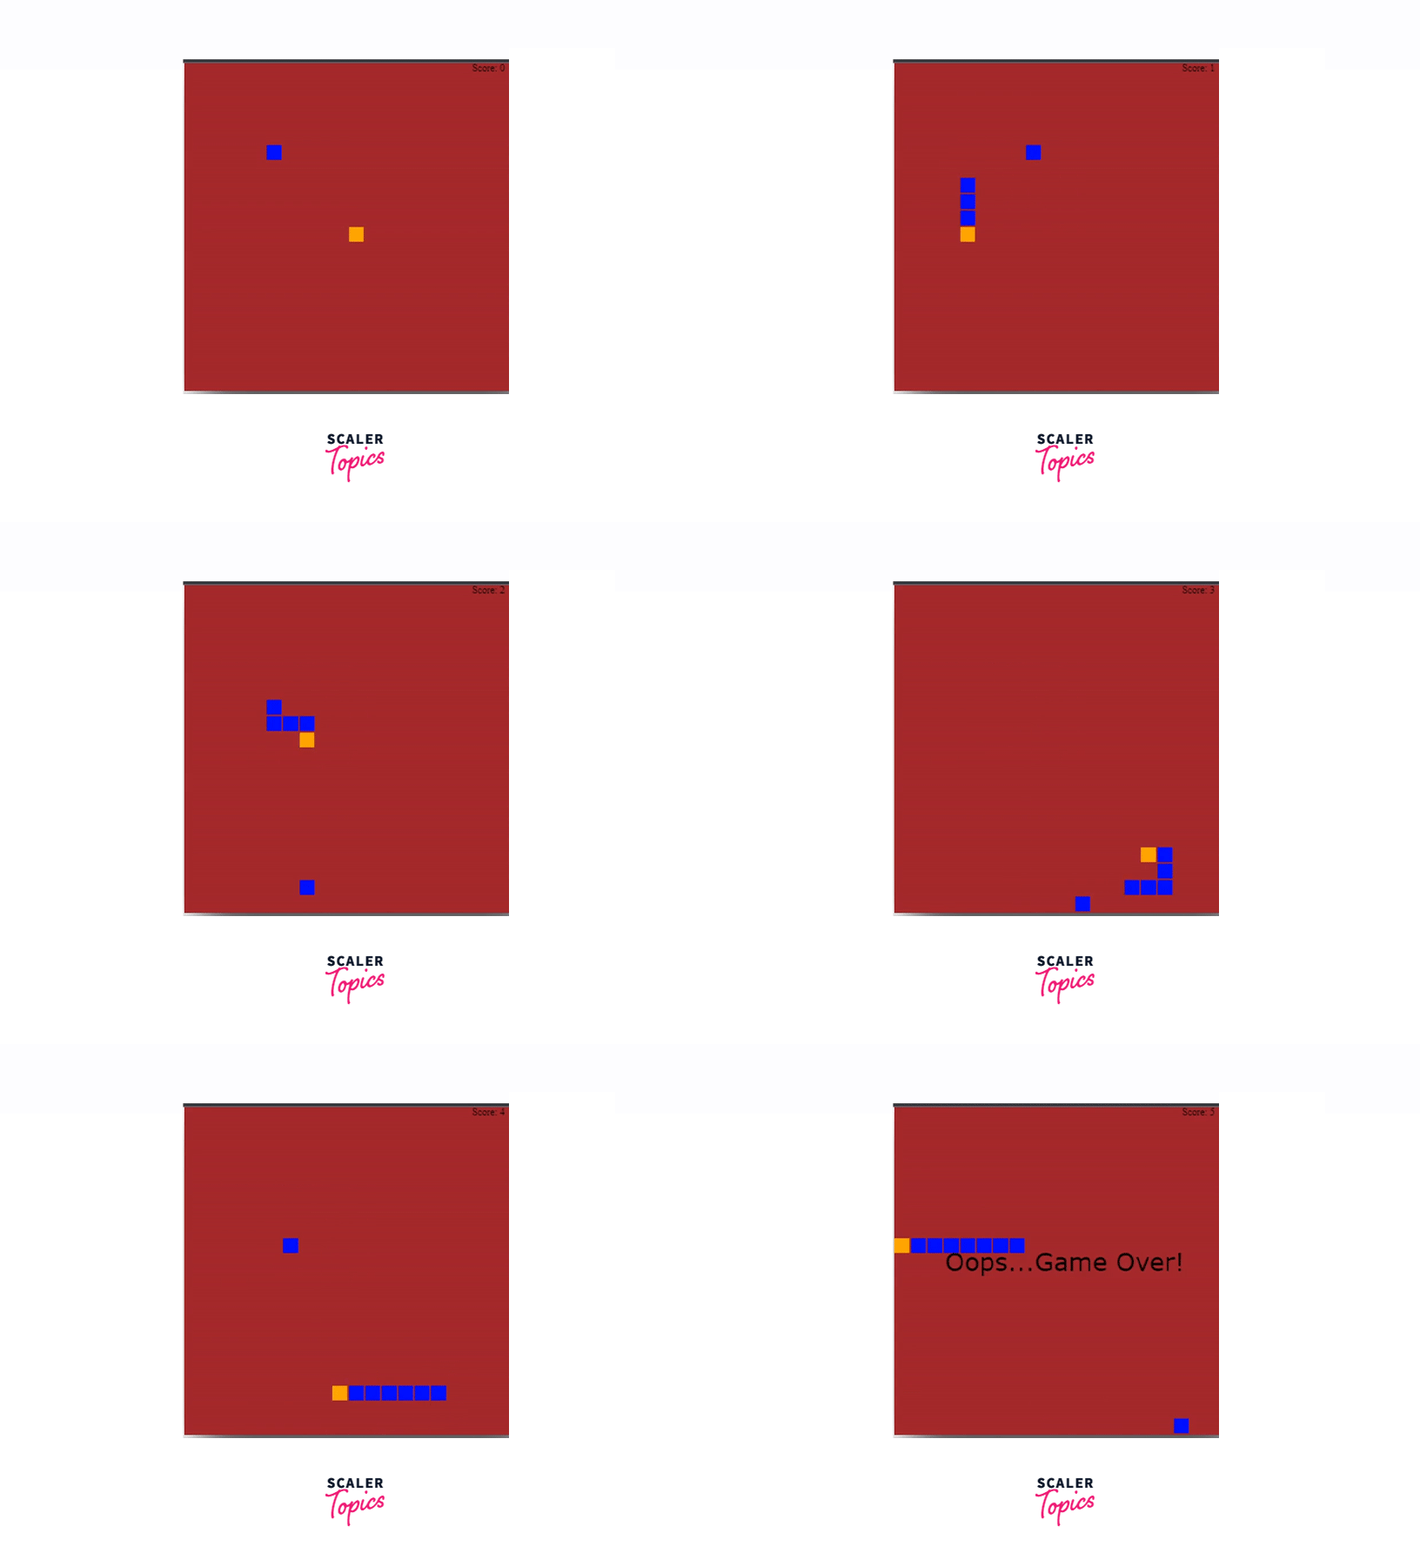
Output (Interface of the Game while playing and when it collides with the wall)
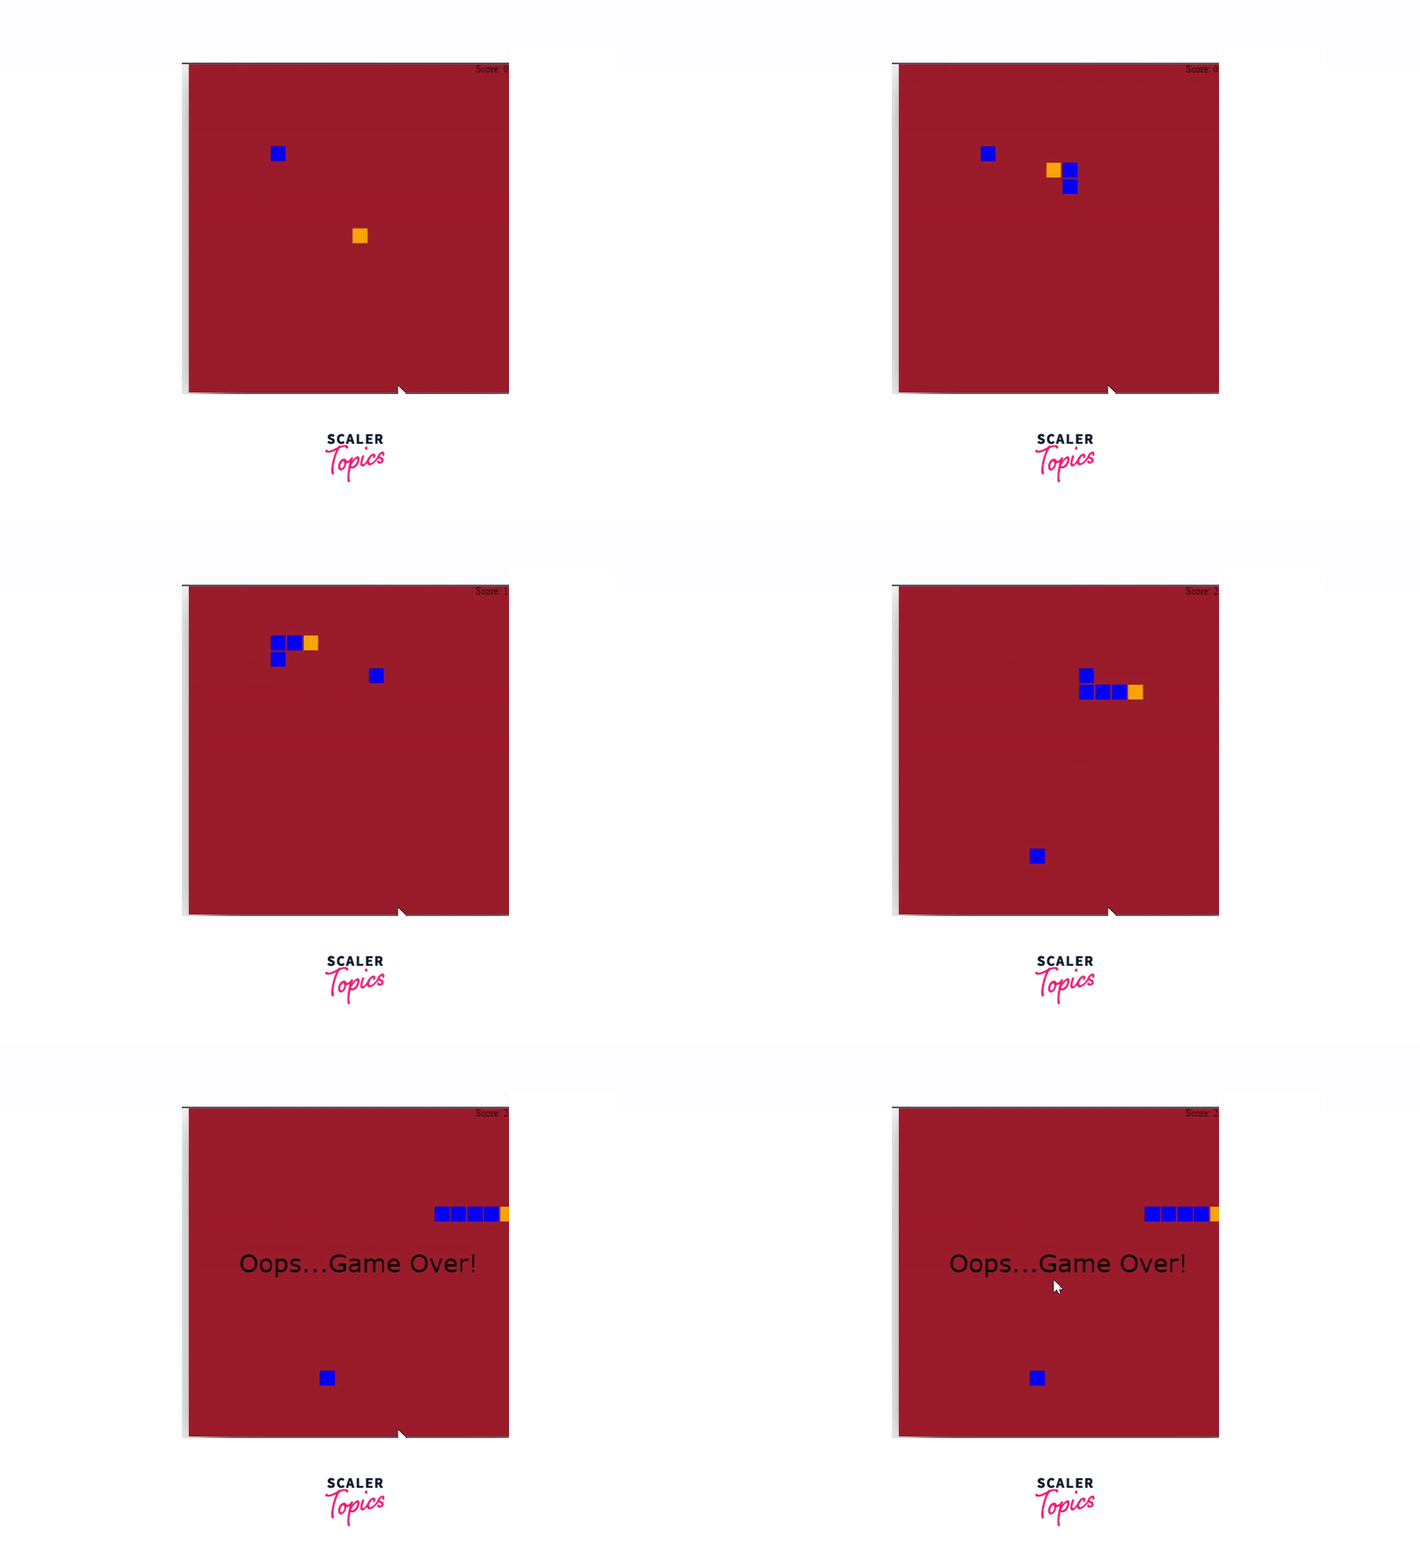
As we can see in the above outputs, the JavaScript snake game is displayed. There are different functions or methods which represent every aspect of the game including the score part, the increase in the snake's length, the food of the snake, etc. Each of the functions has its implementation and logic.
In the next section, we will be developing the full game with a step-by-step explanation of each method along with the codes.
JavaScript Program to Build a Snake Game in JavaScript
Let's get started with the step-wise development of the JavaScript snake game as we have discussed earlier in the previous sections we will start with displaying the game canvas or screen followed by displaying the snake and so on.
Displaying the Canvas or the Game Screen
We have to display the canvas where the game has to be played. As we know, HTML canvas is used to draw smooth graphics which represent our gaming screen. The canvas needs to be created inside an HTML file therefore, a file will be created which will have the code of the canvas and the styling which is done using CSS inside the <style> tag. Now, let's create the canvas using the HTML <canvas> tag with an id which is used to identify the canvas to implement dynamic properties and styling.
- id has taken height and width as properties (props).
Now, since the canvas has no styling and background color nothing will be visible on the browser's screen. We have to write some styling which includes some properties like margin, padding, etc. for the canvas and the entire body of the HTML page using the CSS. We will use a box-shadow property for the canvas which will enhance the design of the canvas by giving a shadow-like effect.
After, styling the canvas we will link an external JavaScript file test.js to the HTML file which will contain all the methods related to the game.
We will write this piece of code written above after closing the canvas tag (</canvas>).
Now, inside the JavaScript file, at first, we will make the canvas which will be accessible using the id=mycanvas in 2d context so that it will be shown in a 2D space.
Along with that, we will add the background color of the canvas by creating a method setScreen() inside the JS file which will be invoked in the primary method startGame().
- The startGame() method where setScreen() is invoked.
In the above piece of code, the fillstyle is a method used to fill the gaming screen with brown color which is used along with the fillrect() method which ensures the coordinates of the space or rectangle by specifying the height and width of the canvas inside the method.
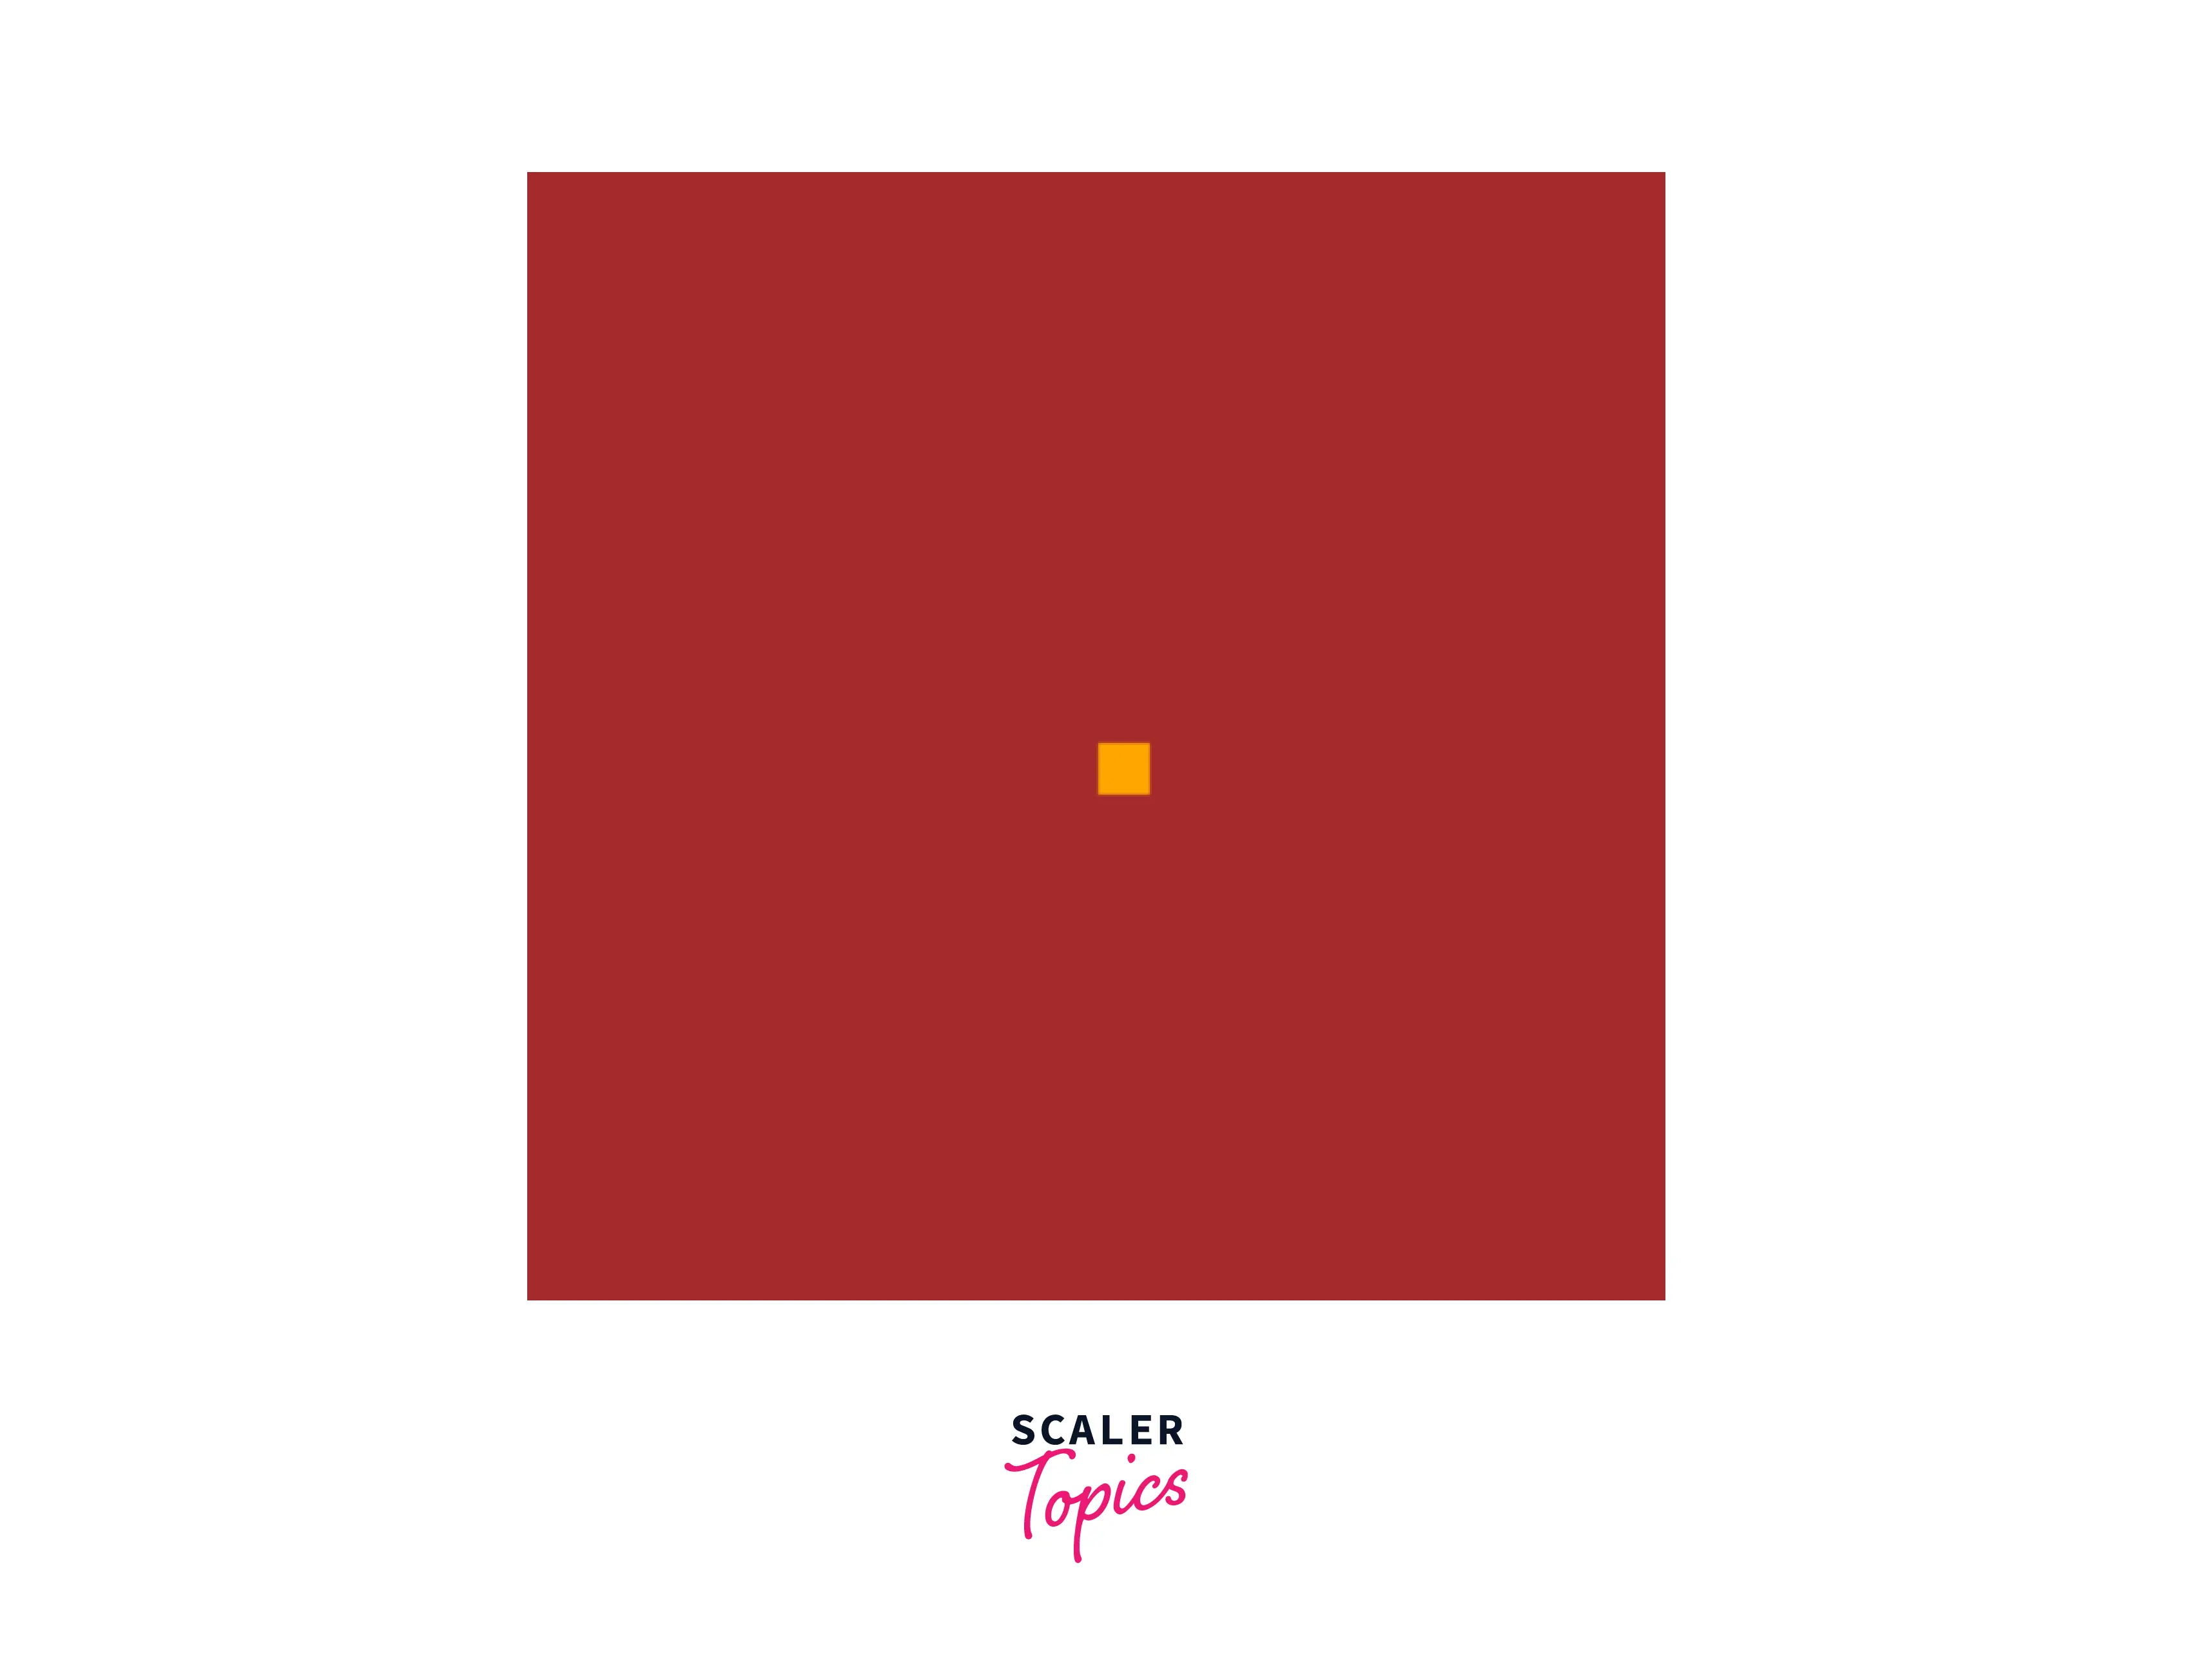
The canvas will be displayed as shown in the below-given output:

Now, we have to specify a setTimeout function which will take care of the interval between each update. This method will update the game screen 7 times every second.
Displaying the Structure of the Snake
Now, let's move towards the next section of displaying the structure of the snake for that at first we will initialize a variable tileCount which will divide the game screen into 20 square pieces. After this, we will initialize variables headX and headY with value 10 which represents the horizontal position and vertical position of the snake respectively. Now, we will initialize the initial size of the snake by creating a variable tileSize.
To display the structure of the snake, we will create a function drawSnake(), and then after creation, we will invoke it from the primary method startGame().
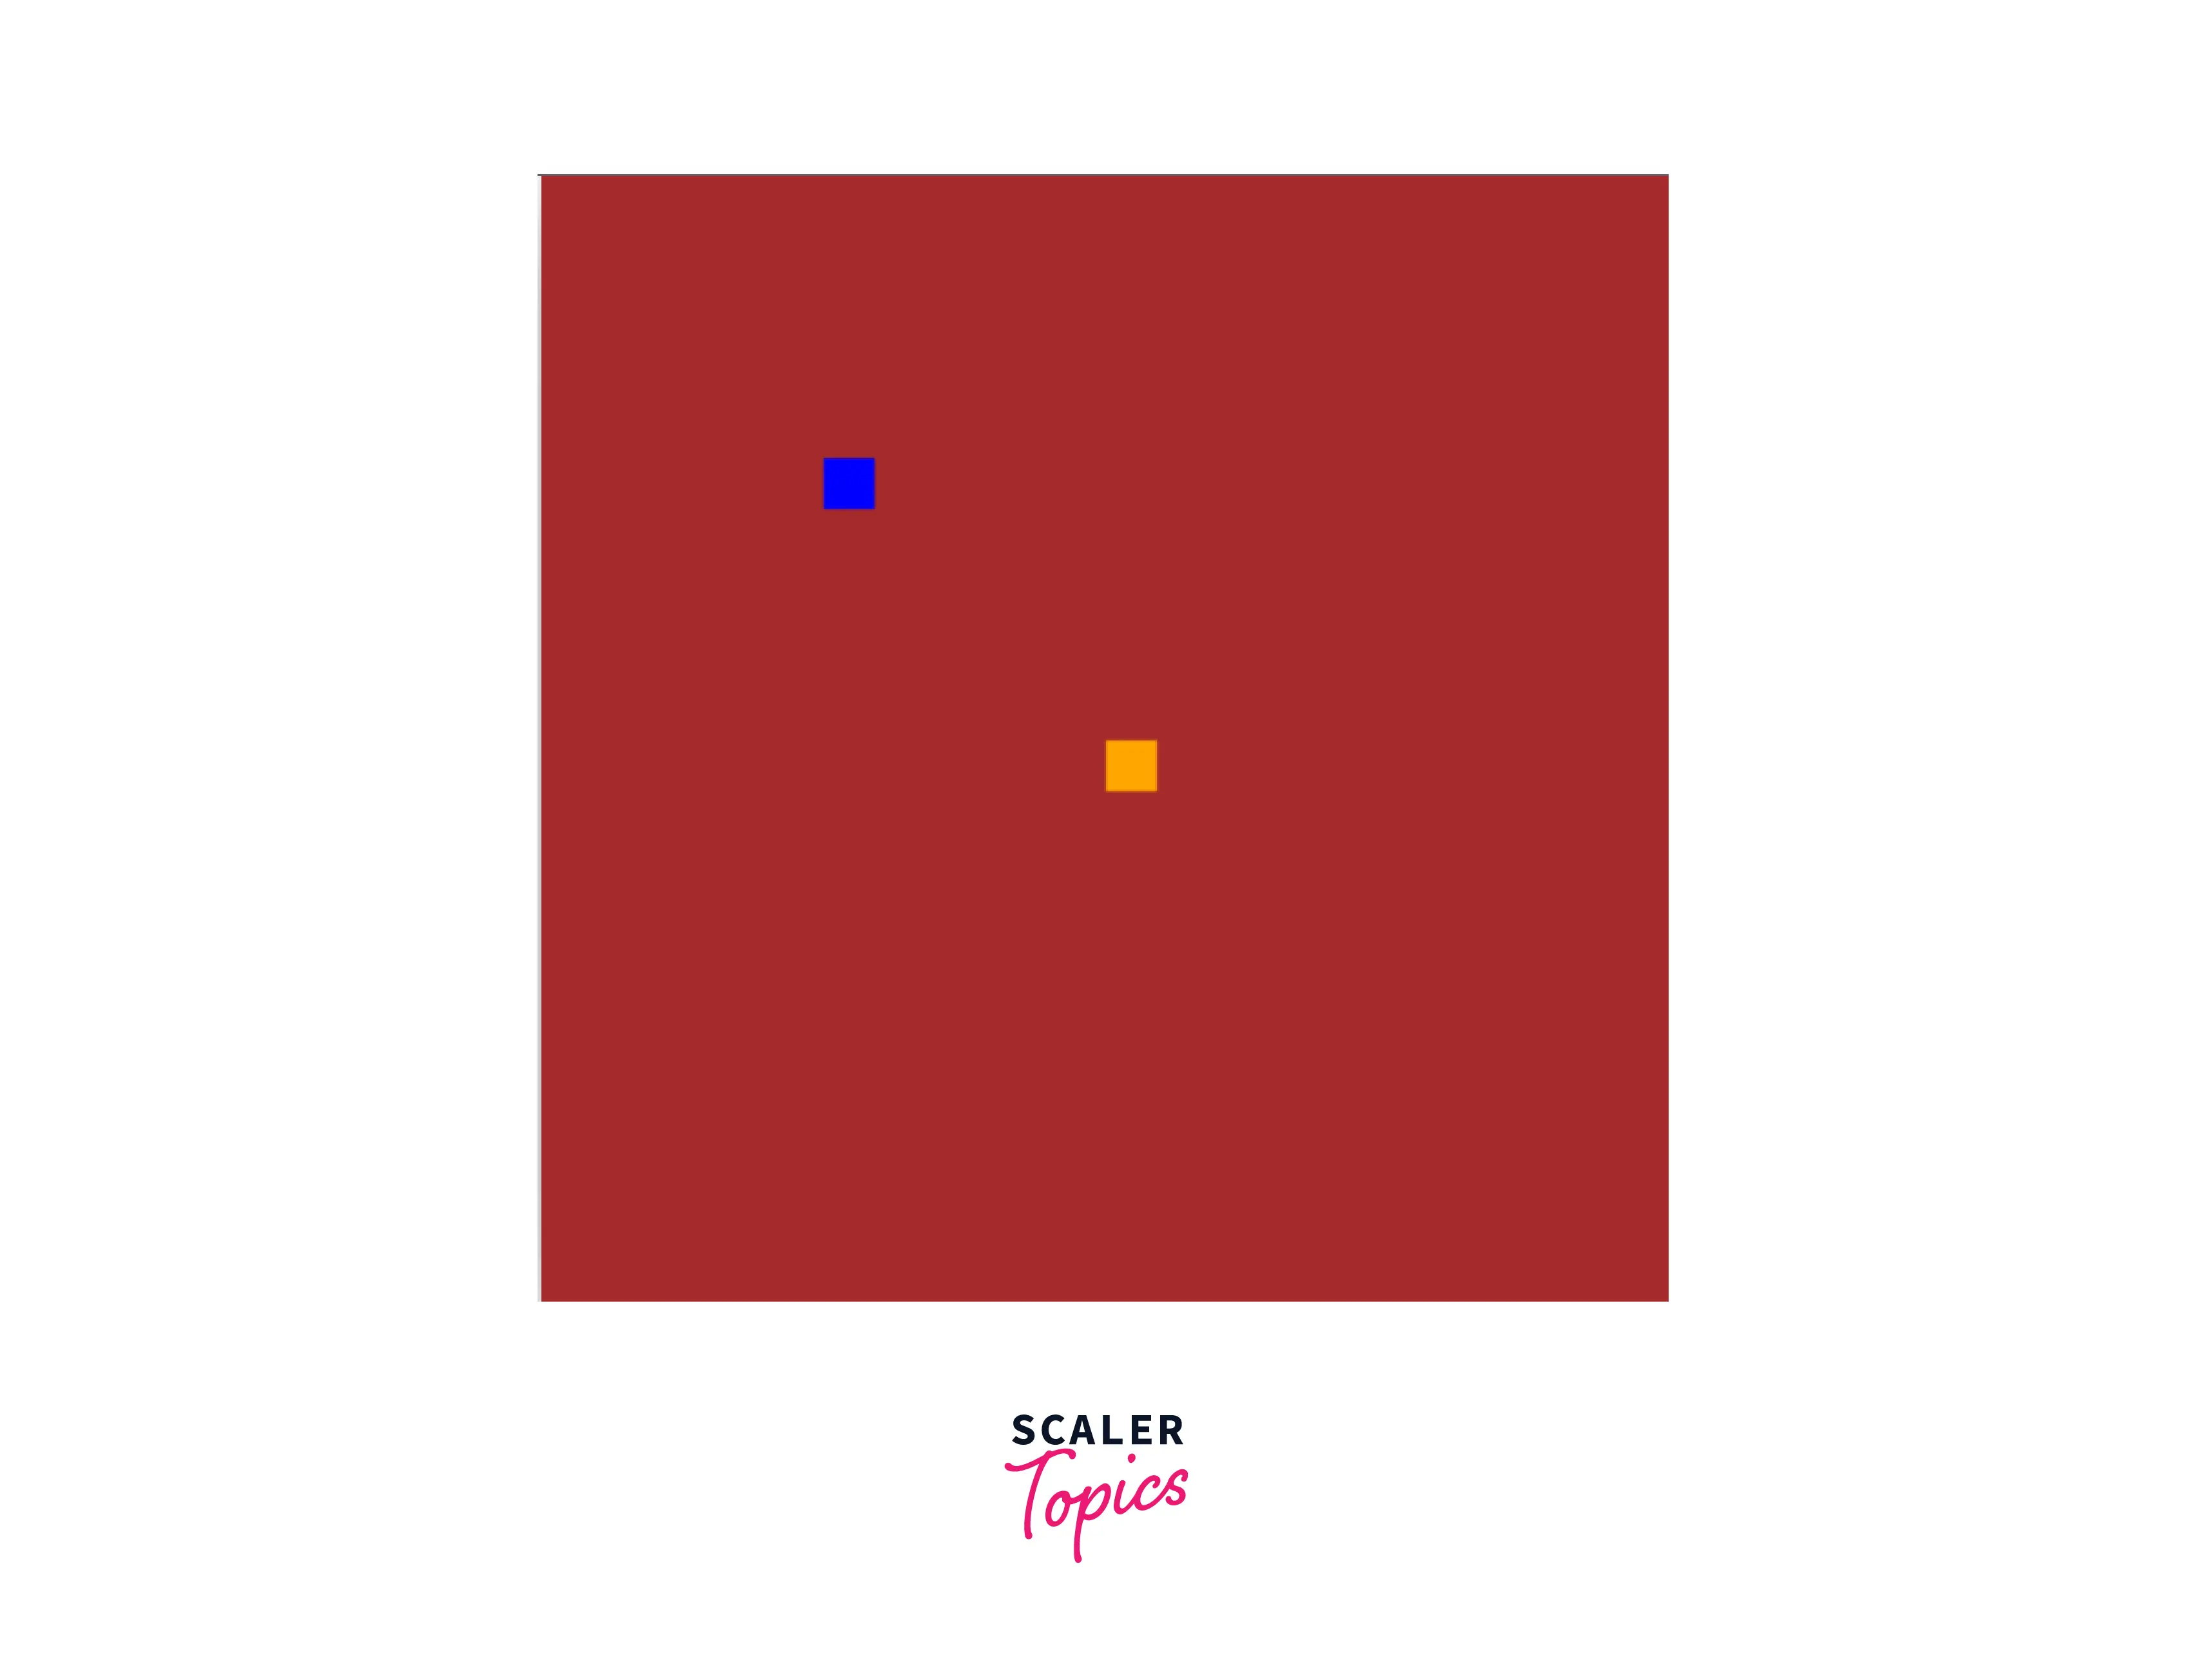
Let's look at the output produced by the above code snippet which will display the initial size of the snake.
Configuring Keys for Snake's Navigation
After displaying the structure of the snake, we have to configure the arrow keys for navigation of the snake inside the game screen. For this, we will initialize two variables xSpeed and ySpeed with zero.
To use arrow keys for the snake's movement inside the game screen we have to create an event listener.
Now, we will check for the arrow keys and whether the key pressed matches with conditions that are mentioned inside the keyDown() method. Here, we also make sure that the snake should not move in the opposite direction
If any condition matches then we have to change the direction of the snake which is done by using the changeInPos() method.
Appending Food
In the next step, the food of the snake will come into the picture which will help the snake to grow. For this, we will initialize variables foodAtX and foodAtY for defining the position of food in vertical and horizontal directions respectively. The food will be displayed by drawFood() method.
The output will be displayed as shown below where the blue part is the food and the orange part is the initial length of the snake.
Incorporating Food and Score
For incorporating food the function should generate a position where the food should be placed. We have to take care of the situation where the food should not be placed in the same position where the snake is currently residing. For this, we have created a function eatFood().
Here, We have initialized an array snakePart which will contain the snake parts and we have taken the initial length of the snake as 2 before start eating the food as seen in the code snippet above.
We have to make sure that the added food part should always come after the last value of taillength. For this, we have to use the constructor which ensures the new food part will append after the tail.
Now, the color of the added part will be initialized inside the drawSnake() method. In this case, the color of the added part or food will be blue.
Now, we will incorporate the score which will increase each time when the food is eaten by the snake. First, we will initialize a variable score with zero and it will be incremented whenever the snake eats the food. The score of the game will be displayed with the help of a function drawScore() where the font is set as black and its position is at the top right corner of the canvas.
The score will also be incremented along with the tail of the snake which will be done inside the eatFood() method.
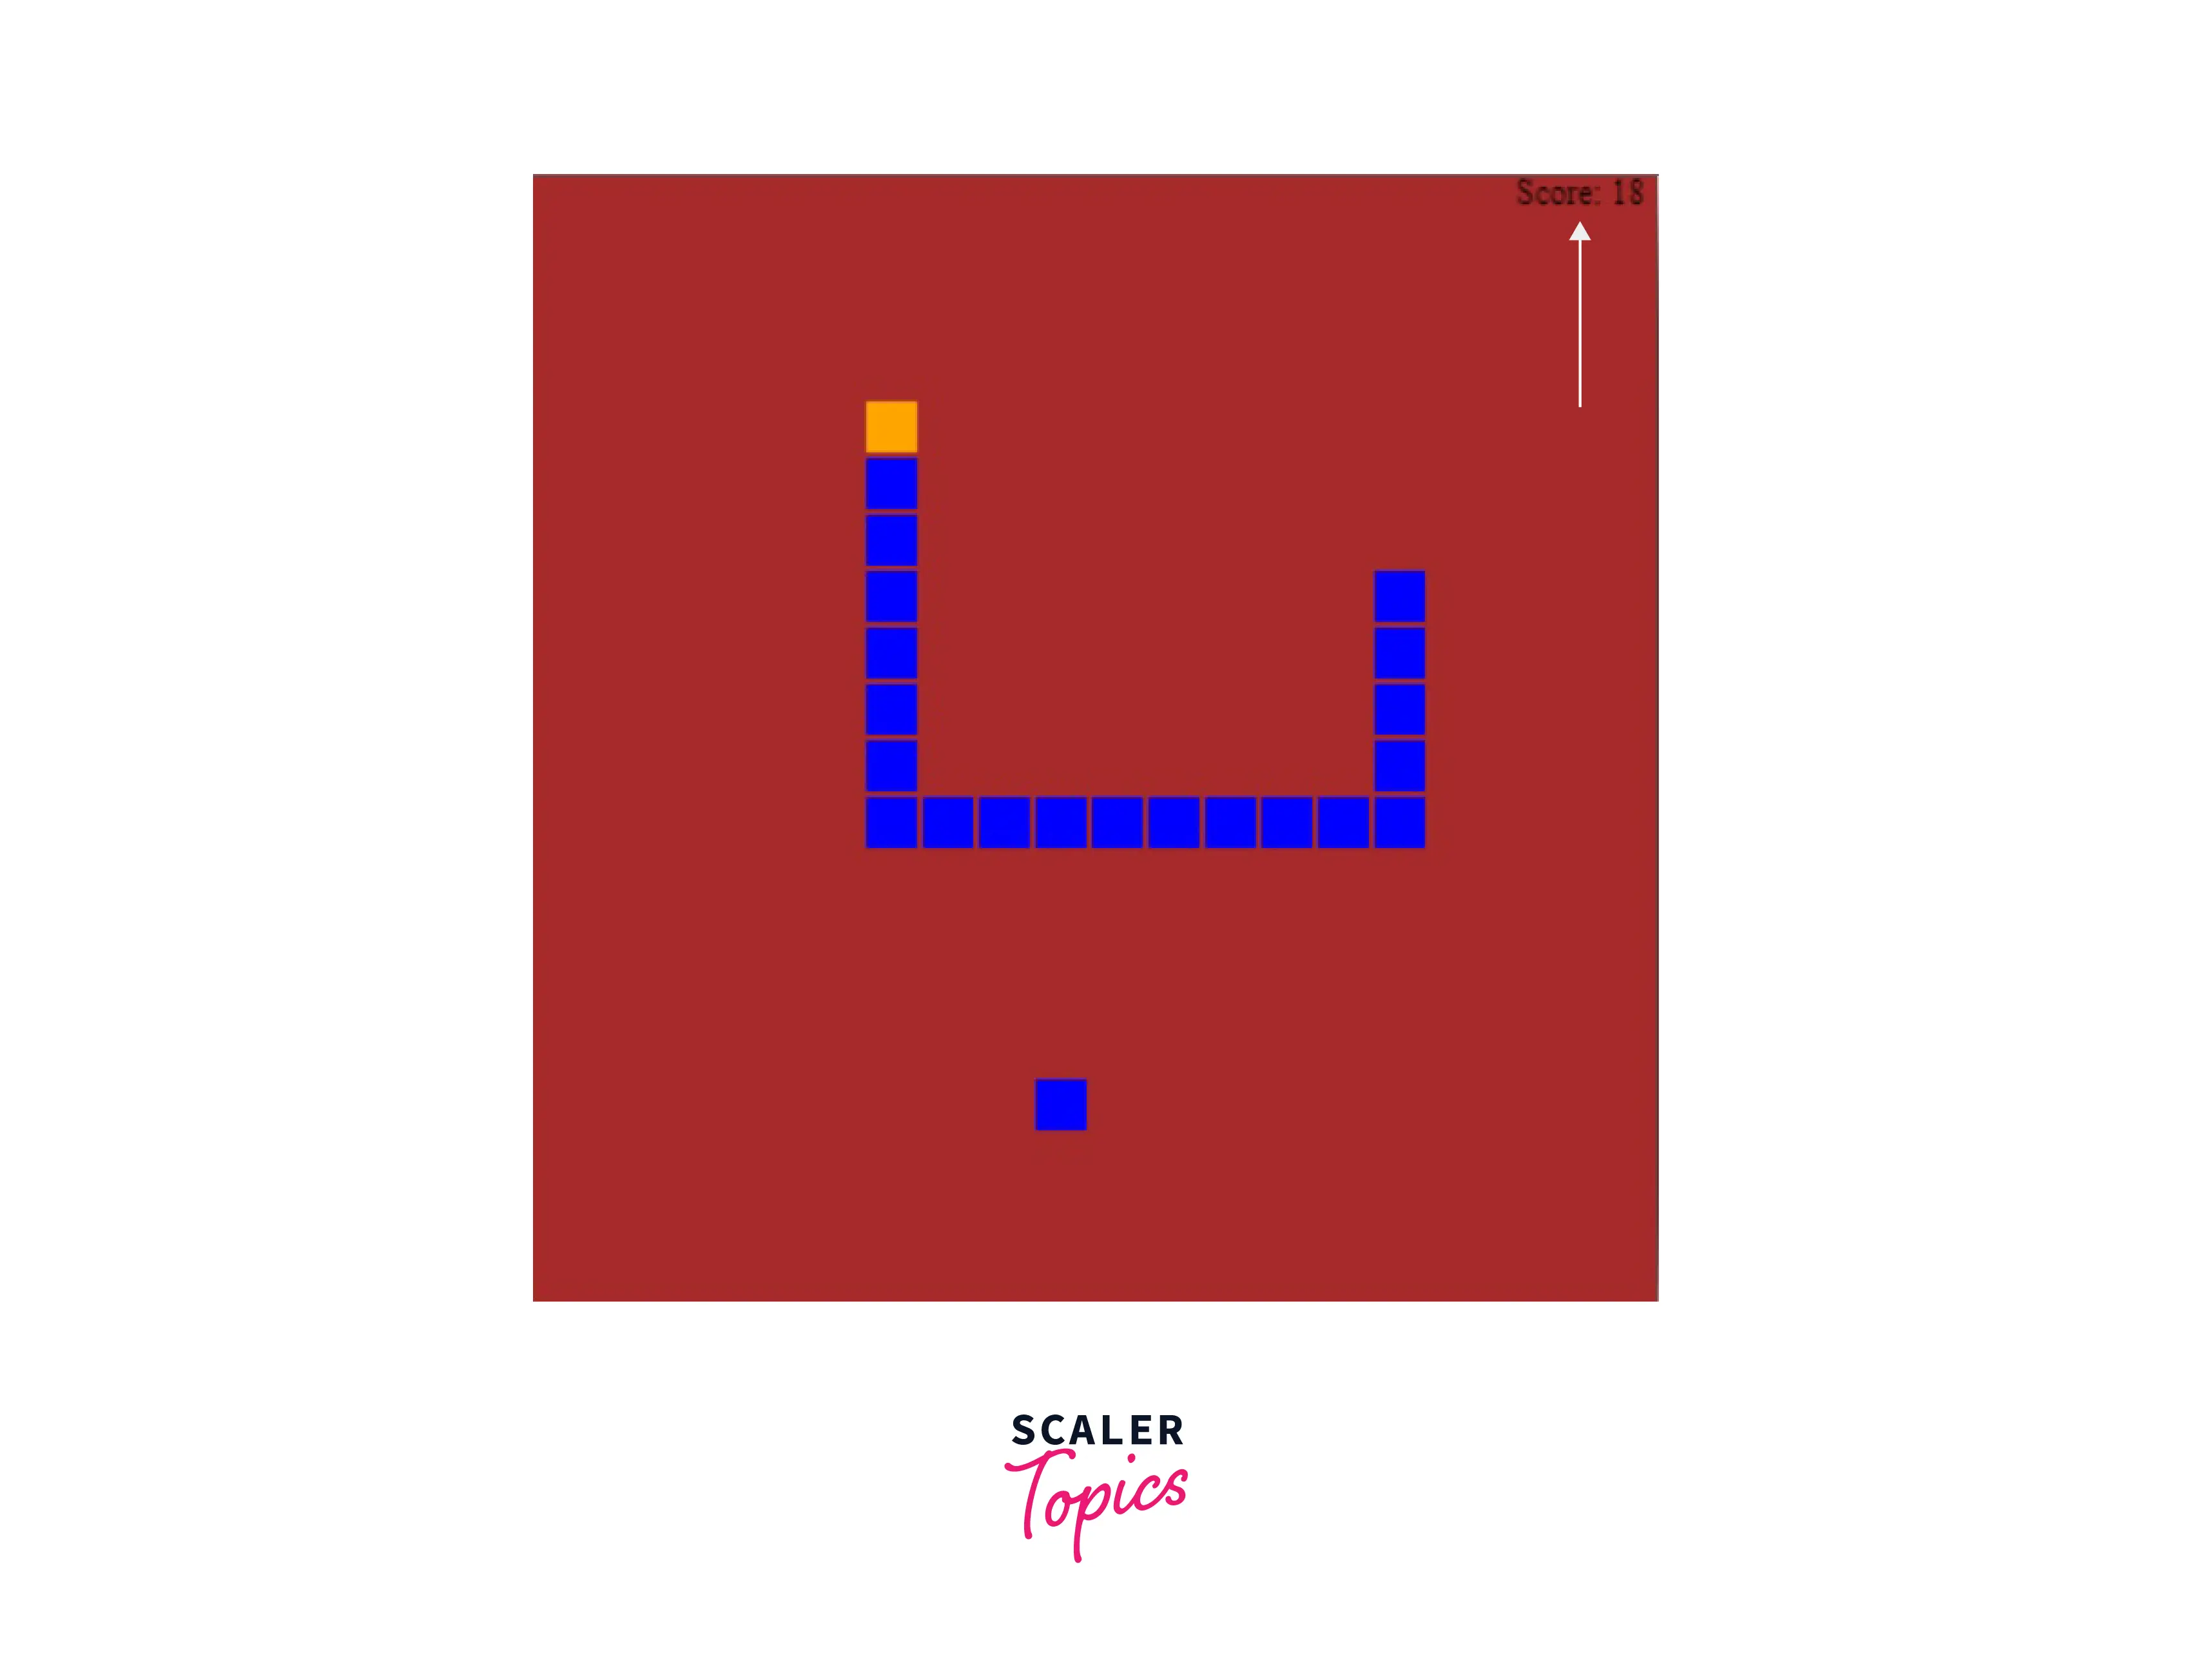
As we can see in the output above that the Score element is displayed at the top right corner.
Setting Condition for Collision Detection
After incorporating the food and score in the game, we have to check for the conditions related to the collision of the snake with the wall or its own body. There are two cases:
- When collides with the walls.
- When collides with its own body. For this, we have to declare a function isGameOver() which returns true or false. Initially, the variable gameisover will be initialized as false which could be changed based on the conditions given inside the function.
After this, we will check whether the function isGameOver() has true or false. If true is returned then the execution of the game will be terminated.
If the execution of the game is terminated then we will display a text message on the screen. The text message will display "Oops...Game Over!". We will write the code of this text message inside the isGameOver() method only.
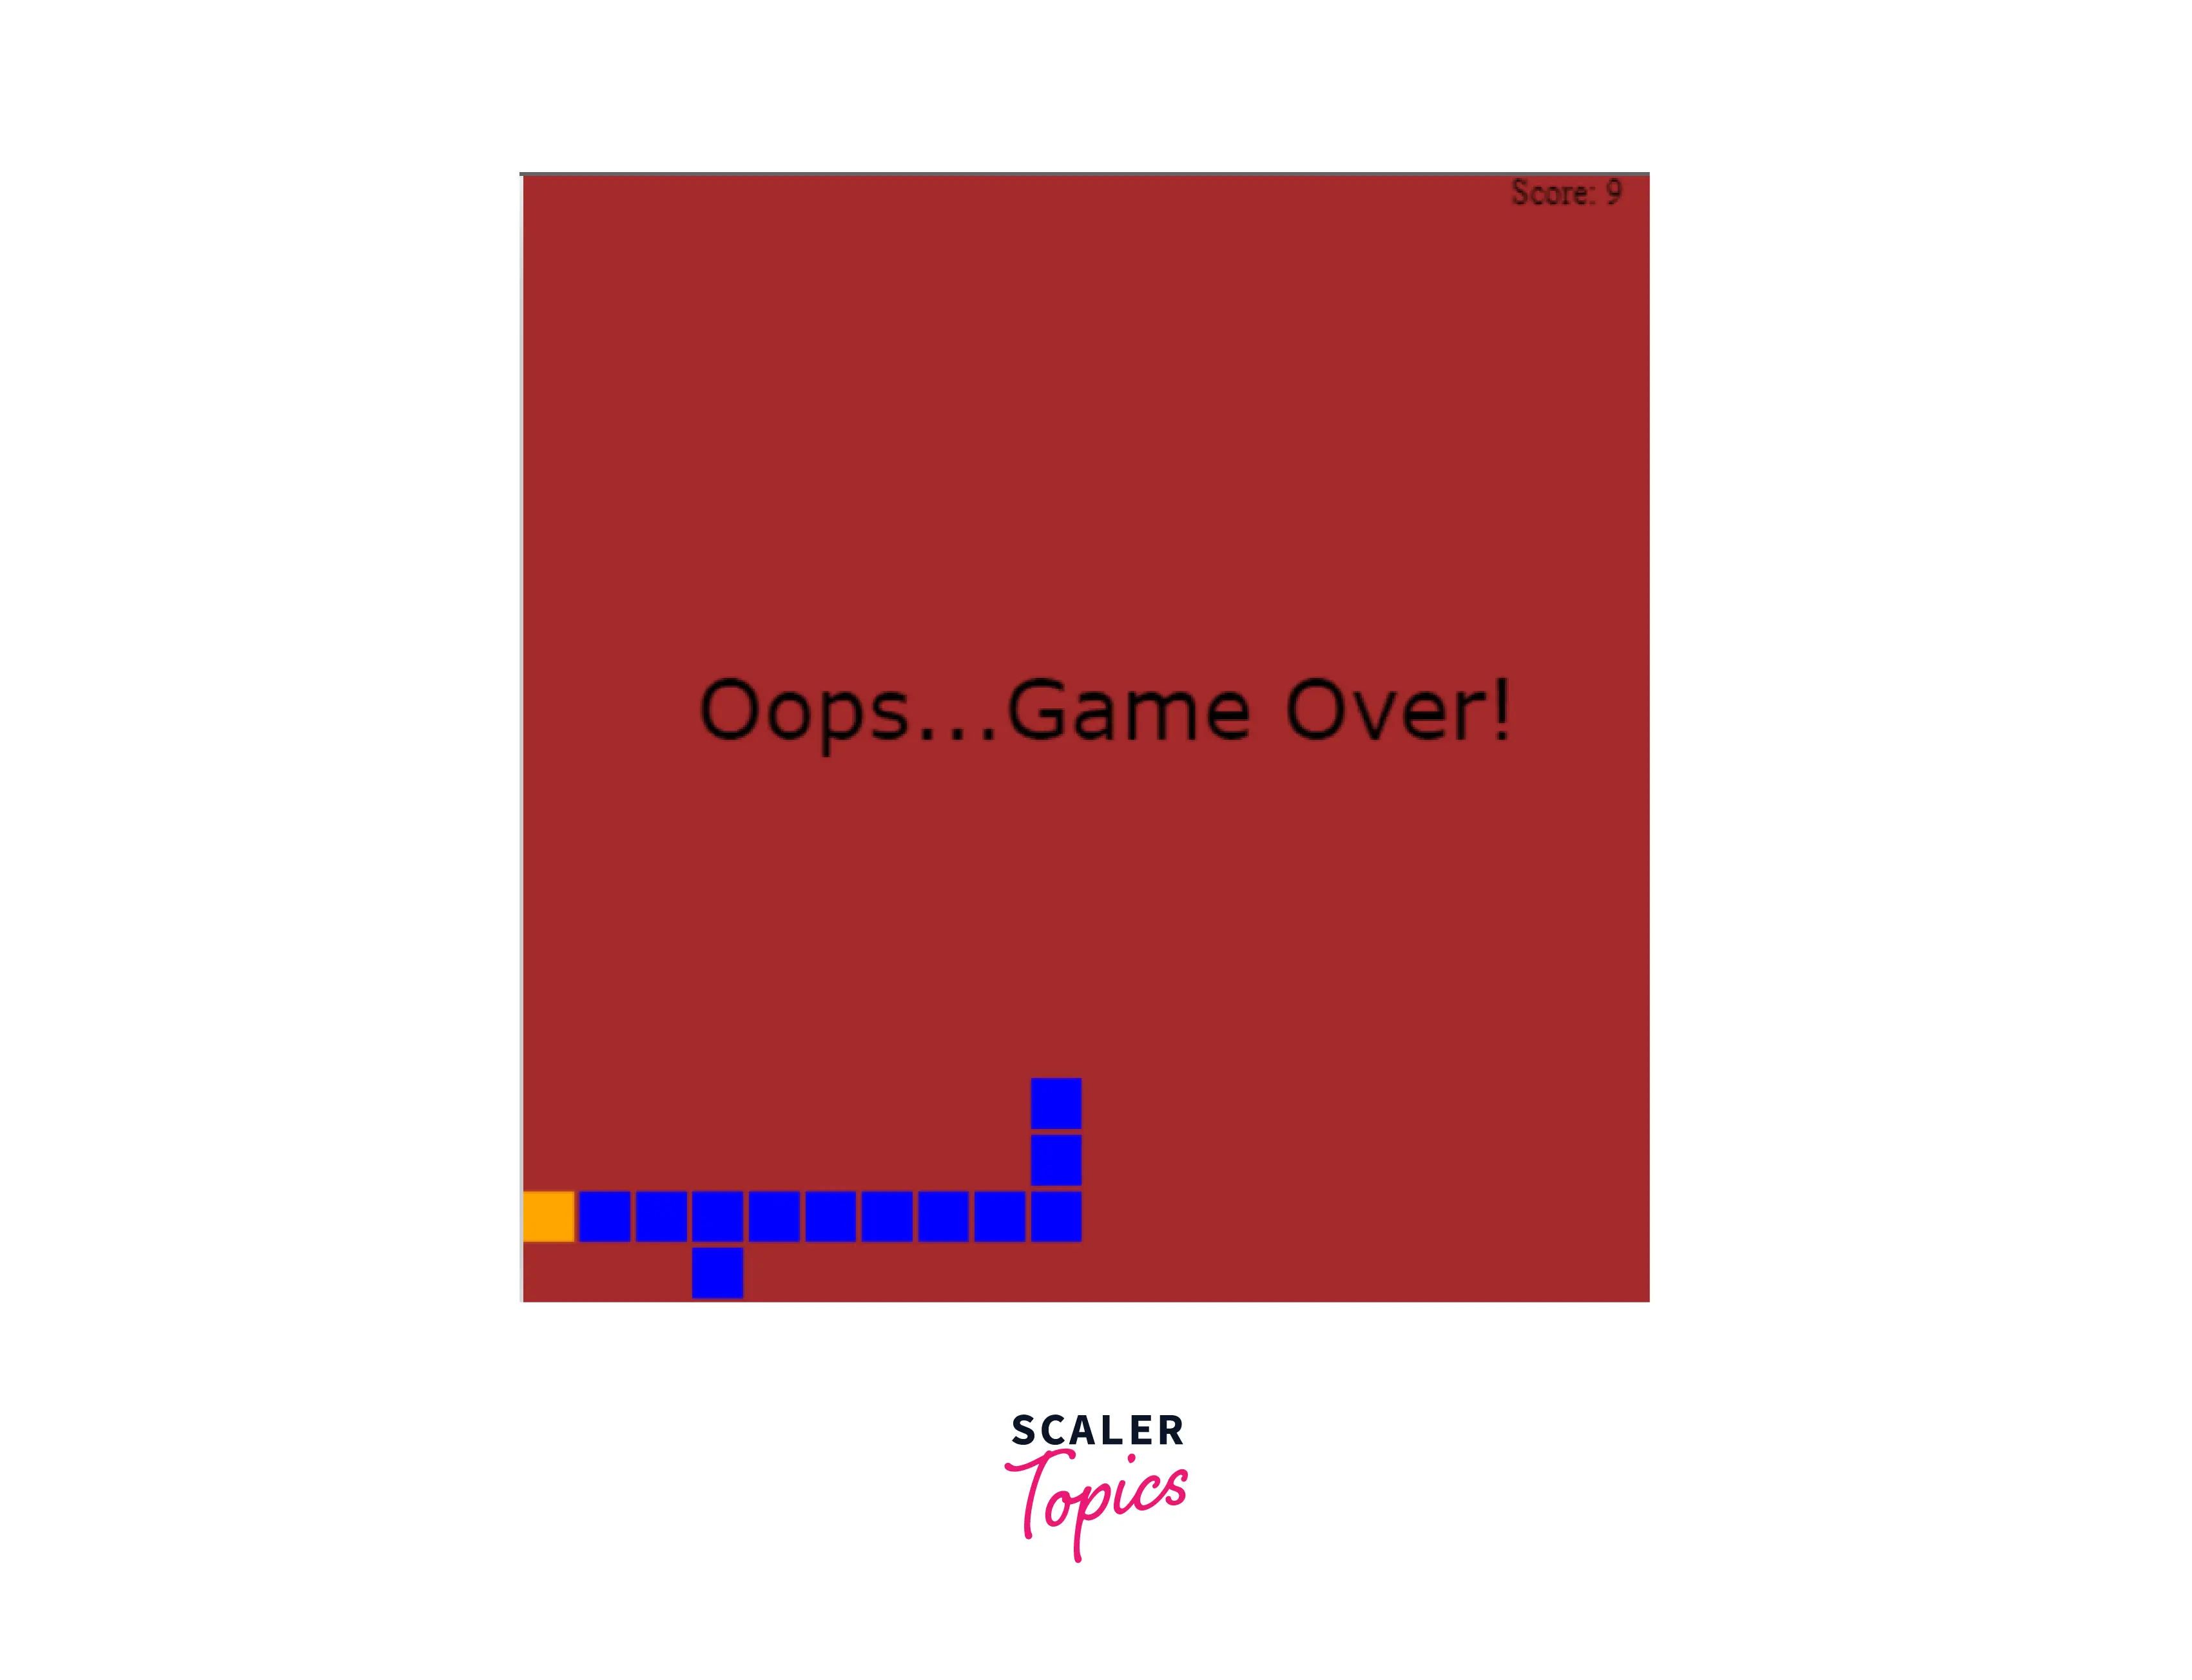
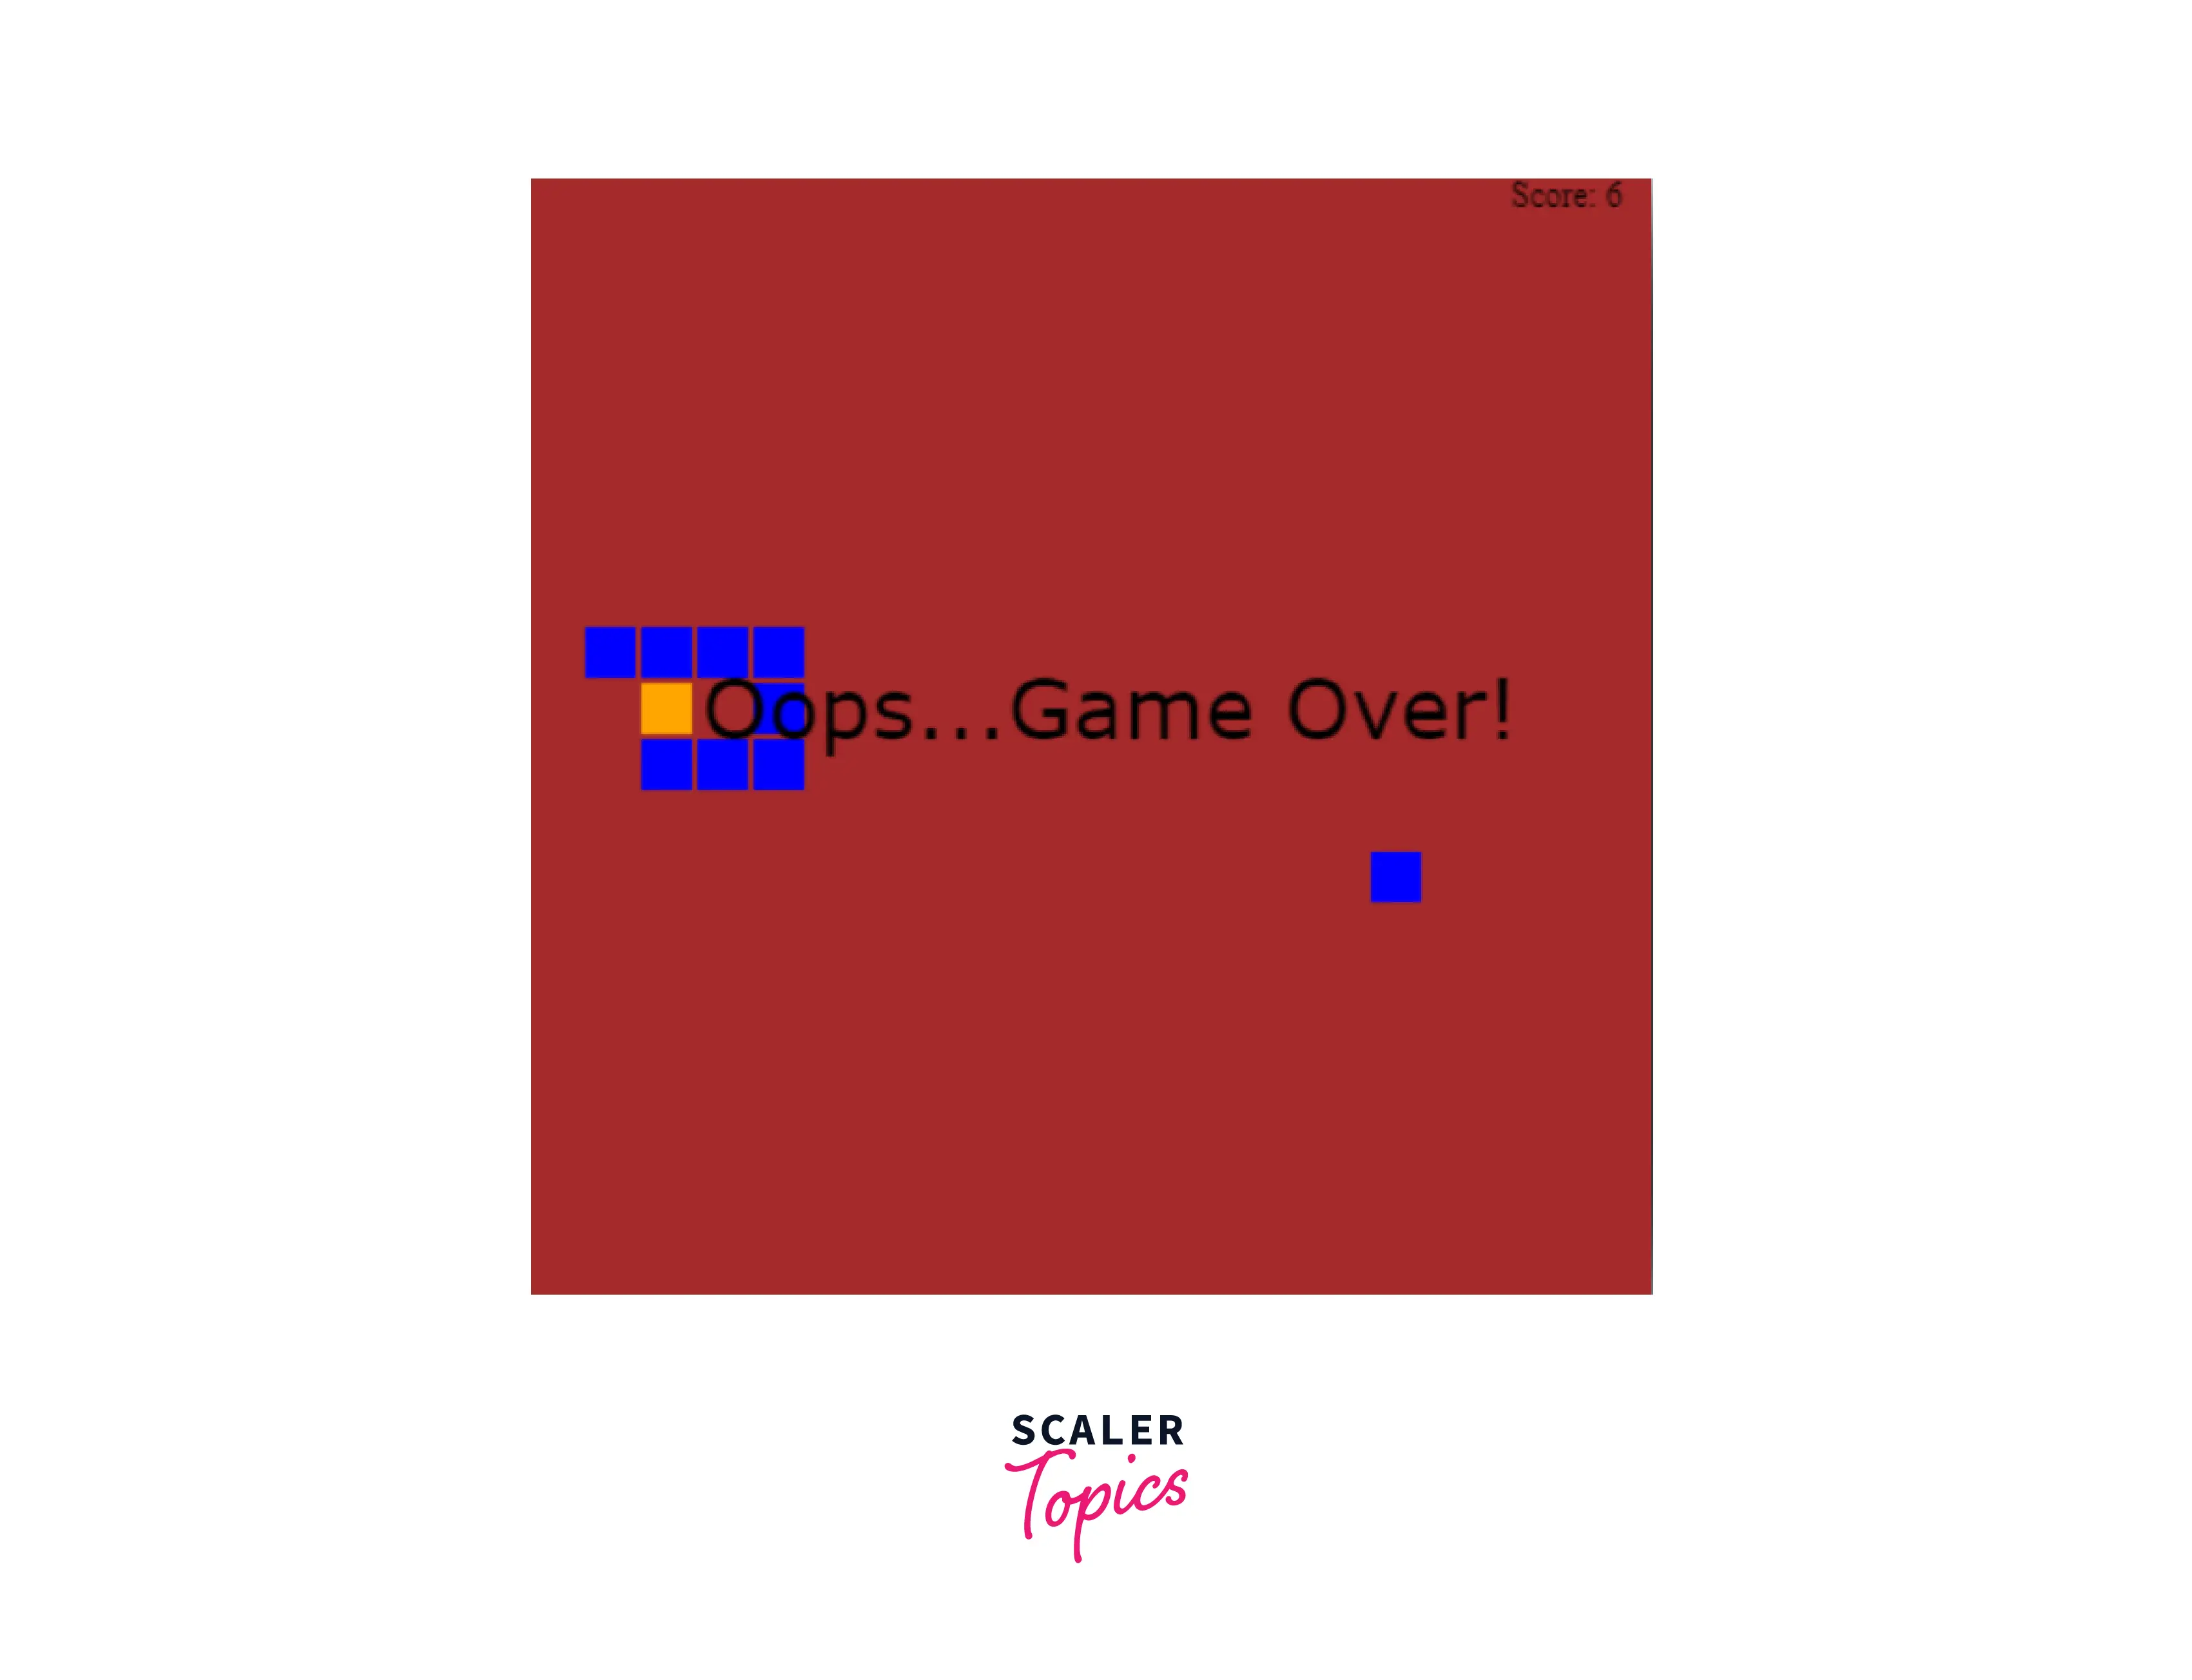
As seen in the outputs when the snake hits the walls or its own body the execution of the game gets terminated and the message gets displayed on the game screen.
Output (When snake collides with the wall)
Output (When snake collides with its own body)
We have completed developing the logic and code of all the parts and methods of the JavaScript snake game. Now, we will merge all the different steps which are involved in the development of the individual methods.
Wrapping All the Steps Together
Now, let's check out the overall code of the JavaScript snake game along with the concerned output.
Code (HTML)
Now, take a look at the JavaScript code part.
Code (JavaScript)
Final Output
Output (Interface while playing the game and When snake collides then the execution of game terminates)
Conclusion
- The Snake Game was a buzz in the early 90s as it was easily accessible to everyone and at the same time, it was even enjoyed by everyone.
- The primary goal of the JavaScript snake game is to let the snake navigate and eat as many apples as it can without having any connection with walls or the snake's own body.
- The snake game is developed with the help of tools like JavaScript, HTML Canvas, and CSS which are also the prerequisites.
- The JavaScript snake game is developed and explained in a step-by-step manner. The steps include:-
- Displaying the game screen
- Displaying the structure of the snake
- Configuring keys for snake's navigation
- Incorporating food and score
- Setting Conditions for Collision Detection
- Wrapping all the steps and logic together to form a full snake game.
