Data Input Pipelines in TensorFlow and Keras
Overview
In this article, we are going to learn how we can train models using the Data Input Pipeline. Data Input Pipelines are the basic building block of the MLOps which is implemented in the process of Model training as well as in Deployment. We will be discussing three types of Data Input Pipelines tf.data, Keras Utils Sequence, and Python Native pipeline in depth.
Why do We Need Optimized Data Input Pipelines in Deep Learning?
Data Input pipelines term refers to the independent and reusable module designed and is created in such a way that it can connect the Machine Learning (ML) or Deep Learning (DL) model with the User Input Data. You can construct an extremely optimized, asynchronous data pipeline using the Dataset API to safeguard your GPU from data starvation. It sends data to the GPU in batches, applies optimized transformations, and loads data from the disk (text or images). Previous information pipelines make the GPU trust that the computer chip will stack the information, prompting execution issues.
Data Input Pipelines are the backbone of any Deep Learning (DL) or Machine Learning (ML) model. Every model accepts the data input in some specified format that is applicable for Training, Test, and Validation Set but Test and Validation Set data augmentation step is excluded. If the input data on which model is going to make its prediction does not have been preprocessed as the Training data have been processed then the output from the models can differ or the model can start throwing errors/exceptions. A Machine Learning pipeline can be explained as a way to codify and automate the workflow it takes to produce a Machine Learning (ML) or Deep Learning (ML) model.
The Data Input pipeline enables us to utilize the underlying function of Keras API i.e, utilizing GPU by parallel processing, reducing training time. Most important if we train the model using the Data Input Pipeline we can easily transport the model to the production or UAT environment. In other words, a data pipeline is a set of tools that are used to extract, transform, and load data from one or more sources into a target system. It’s broken down into three steps: data sourcing, data processing, and data delivery.
Introduction to tf.data and Its Functions
batch()
Batch size is a term used in machine learning and refers to the number of training examples utilized in one iteration. The batch function is used to group the data samples into batches which will be fed to the .fit function while training the model.
shuffle()
The shuffle function is used to shuffle the dataset.
map()
The map function is used to preprocess the samples in the dataset. We can use the lambda function inside the map or we can call the custom/ tensorflow function inside the map function. The called function will be applied to all the samples in the dataset.
filter()
As we know that map function will be applied to all the samples but what if we want to manipulate the sample based on the value in this case the filter function comes into action. Its functioning is the same as the map function but the only difference is that the manipulation of the samples will be applied based on some conditions.
prefetch()
The prefetch function is used when we want to keep the next batch/batches ready so that once the GPU iterate over the current batch working on the forward and backward propagation the next batch is immediately available. We can use this concept where the bached dataset in produces by the CPU and consumed by the GPU. We just need to add object.prefetch(1) at the end of the pipeline (after batching) so that at least one batch is ready at any point of time. Even we can prefetch more than one batch.
cache()
The cache function is used to cache a dataset, either in memory or on local storage. It helps in saving resources for some repeating operations such as file opening and data reading from being executed during each epoch.
Building a Data Input Pipeline from Numpy Arrays
In this section, I will discuss the building tf.data, keras.utils.Sequence, and normal python generator pipeline while training and evaluating a small MNIST-Digit classifier model with these data input pipelines in Keras.
Importing Packages
The below code snippets import the libraries which we will be using to create our data input pipelines in Keras. I have imported packages related to Tensorflow and Keras which will be used for making the Deep Learning (DL) model and Tensorflow Data input pipeline along with that I have imported sklearn packages for making a custom normal python generator pipeline.
Data Loading
In this step, I will load the MNIST-Digit dataset which is comprised of 60,000 train images and 10,000 test images of the Fashion MNIST dataset which will be used to make the data input pipelines in Keras for the MNIST-Digit classifer model. The dataset is already split into Test and Training sets so we can directly load the dataset and convert it into a numpy array. The code is shown below:
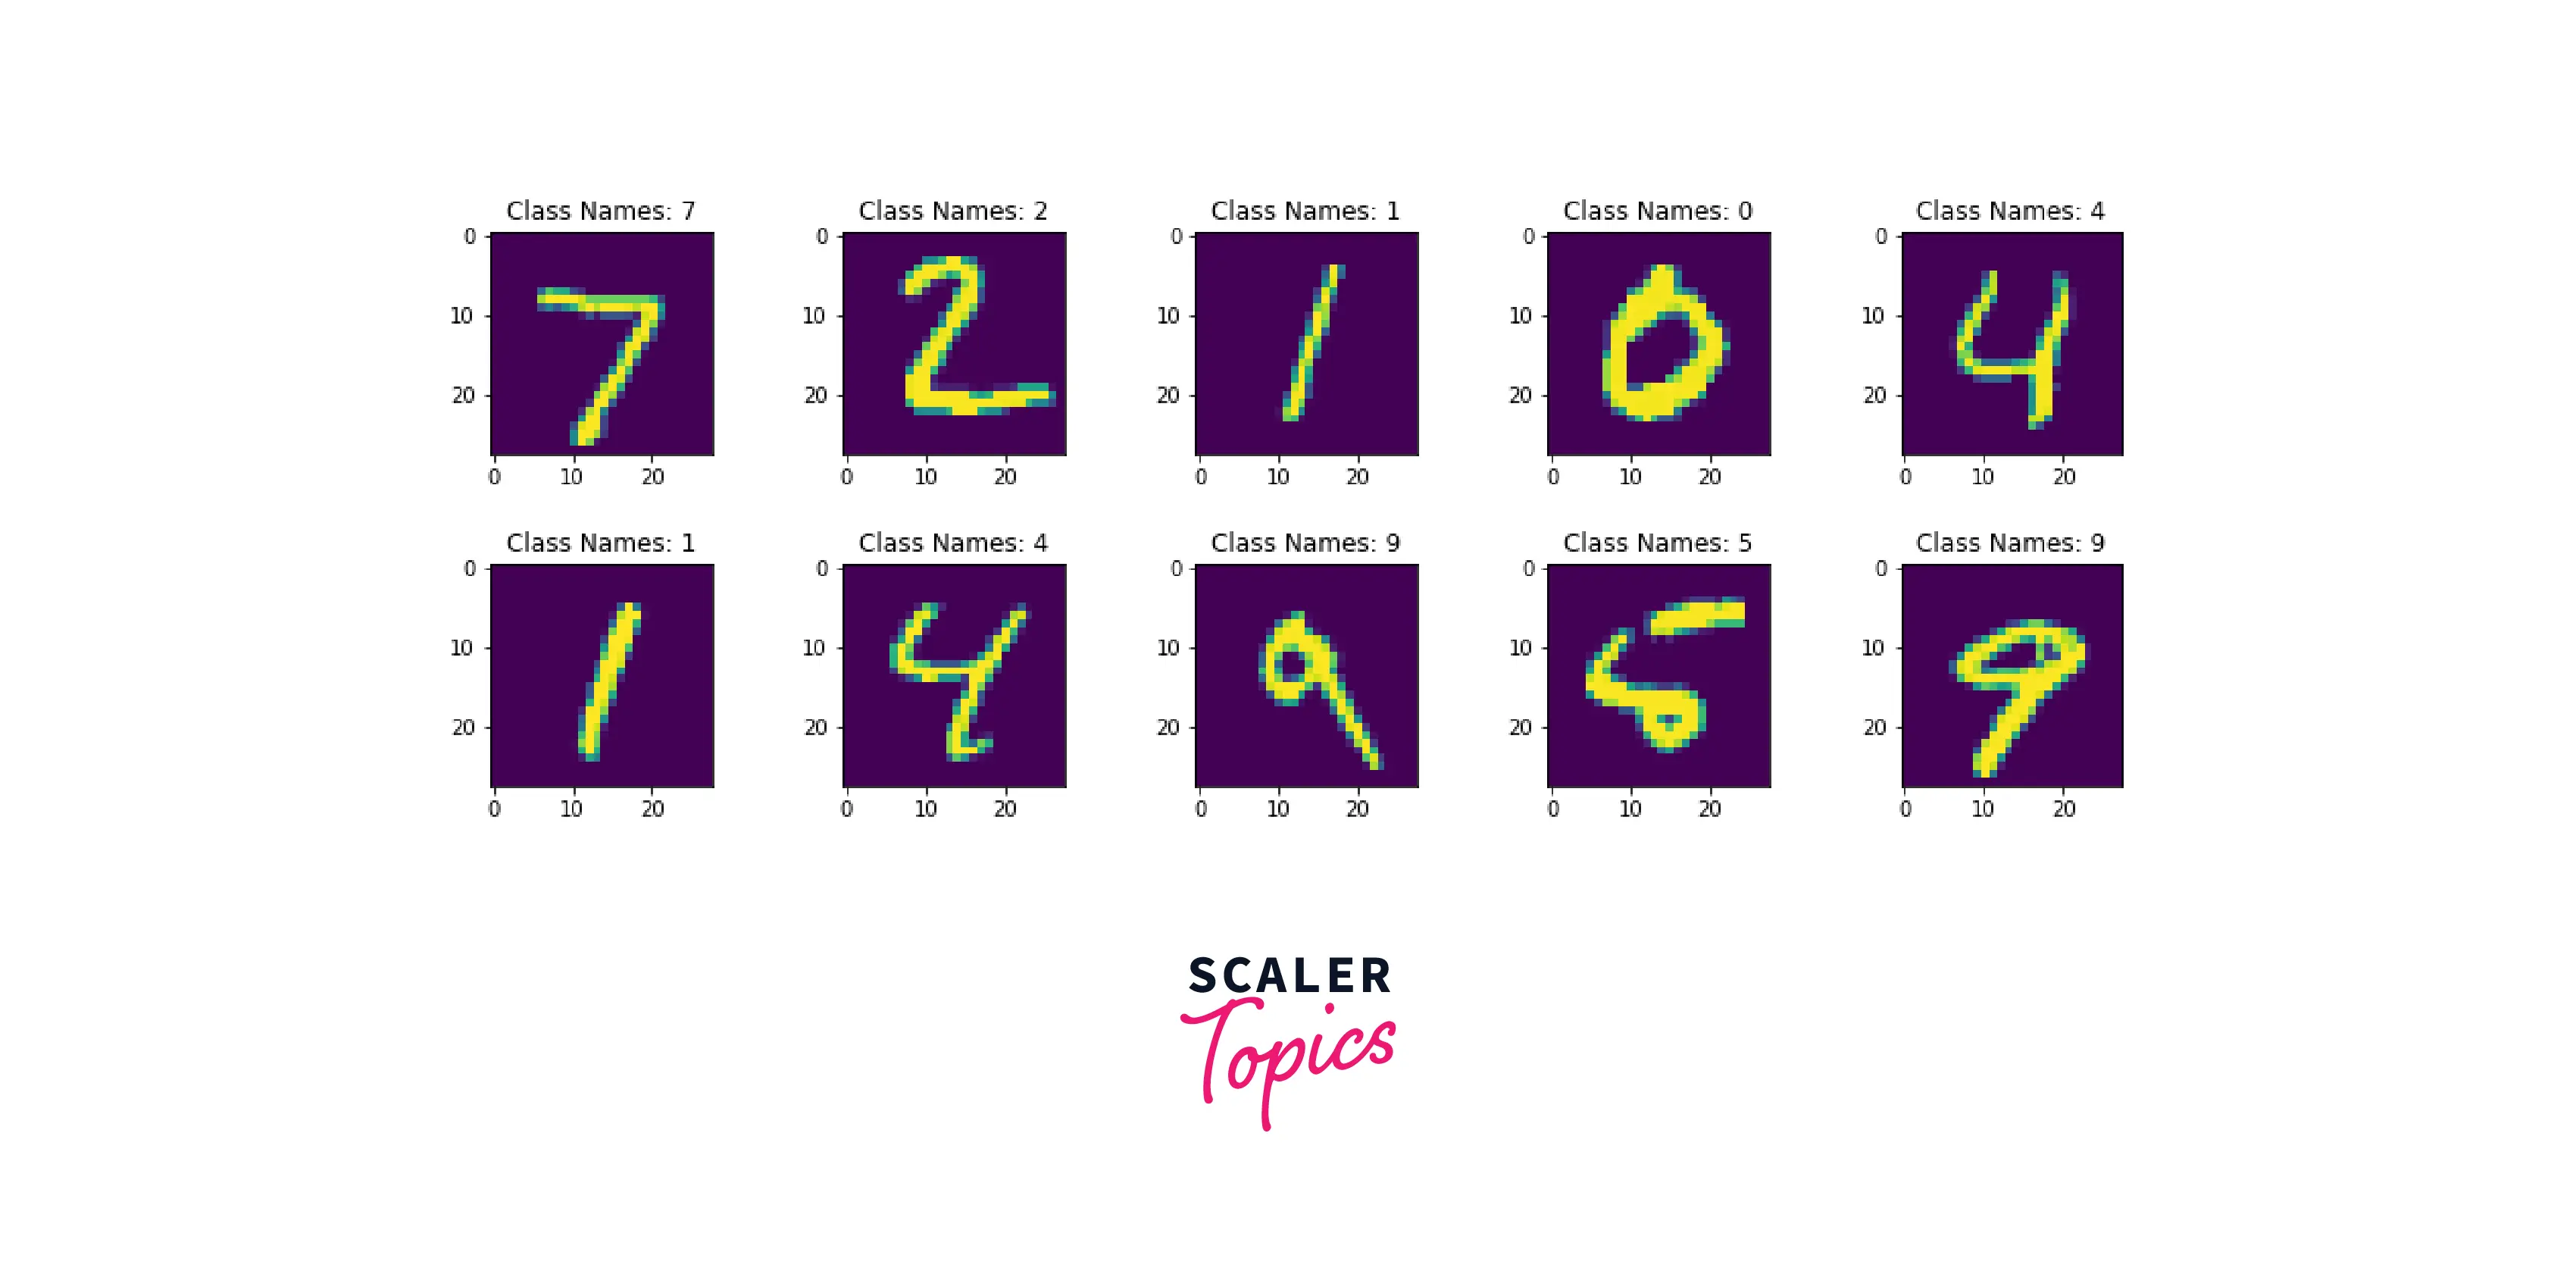
Visualization of the Dataset
Data visualization is one of the most important parts of any Machine Learning (ML) / Deep Learning (DL) project. So, here I have visualized the dataset using the matplot library.
I will plot 10 data samples from the training dataset, that's why I have created a subplot with 2 columns and 5 rows. In the below code, I am extracting 10 samples from the training dataset reshaping it into 28*28 metric, and displaying it along with its associated labels using the matplot library. The code snippets are shown below for the training and testing set respectively:
Creating tf.data.Dataset object
In this step, I will load the MNIST-Digit dataset into tf.data pipeline. I have created two pipelines one for Test data and one for Train data by implementing tf.data.Dataset.from_tensor_slices- which is used to load the dataset directly from a numpy array.
Tensorflow Pipeline
In this step, I have made the data input pipelines in Keras for the MNIST-Digit classifer model. The function preprocess accepts an image and labels it as an argument. The image pixel is then by divided by 255, so that the value of the image pixel is between 0 and 255 the process is also known as pixel scaling, and finally the images are reshaped into 28*28*1 and it is returned back along with the labels.
The map function is called on the dataset input pipeline which will invoke the preprocess function for all the samples present in the dataset after preprocessing the dataset. Basically, the map function will send one sample at a time to the preprocess function. The next step is of shuffling the dataset i.e, randomly arranging the dataset sequence so that association between the dataset sample can be ruled out. Finally, we are converting the dataset into a batch size of 32 and applying prefetch with AUTOTUNE. Prefetch will keep at least one batch ready at any point of time so that there is no delay while feeding the batches into the training phase of the model.
The identical data input pipeline is applied for the Test data pipeline but we are not shuffling the dataset samples and also we are not Prefetching any of the batches.
Python Native Generator Pipeline
Here, I created a data pipeline with a python native generator. Python native generator is basically a collection of the python functions or classes that are invoked in a sequential manner i.e, one after another for Training, Test, and Validation set. For demonstration purposes, I have created a pre_process function pre_process which takes two input arguments i.e, image and label. The image is then pre-processed by normalizing the pixel range between 0 to 255 by dividing the pixel by 255 the process is also known as pixel scaling. We are also expanding the dimensions of the images from, 28*28 to 28*28*1 and returning the label as well as the preprocessed images. After that we are reshuffling the dataset i.e, randomly arrange the dataset sequence so that association between the dataset sample can be ruled out. . This step is performed for the test data input pipeline also except the shuffling process is not included.
Keras Utils Sequence Pipeline
In this step, I have made the full data input pipelines in Keras for the MNIST-Digit classifer model. The class preprocessingSequence inherits the tf.keras.utils.Sequence class and overwrites the three methods i.e, __init__ which initializes the class variable with arguments passed, __len__ which returns the number of samples in each batch and finally the __getitem__ function which accepts the id and returns the data samples for training after preprocessing the batches. Here we have preprocessed the dataset by scaling the pixel and reshaped into 28*28*1. The function are discussed below:
__init__: This function is invoked when the object of the class preprocessingSequence. It accepts three arguments x_set which is the MNIST-Digit images, y_set respective label of the images, and batch_size this is an optional argument by default the value of the batch_size is set to 32. The __init__ function initializes the class variable with the argument received i.e, x_set, y_set, and batch_size.
__len__: The __len__ method is used to just return the number of samples in each batch by dividing the length of the samples by batch size and applying math.floor method for rounding off to the integer value.
__getitem__: This is the most important function the sole objective of this function is to return the preprocessed data into batches. The __getitem__ accepts idx as an argument and it returns the sample in accordance with the batch_size which was initialized during initializing the object of the preprocessingSequence class. It returns two numpy array of the preprocessed images and the respective labels in batches.
All these functions are implemented implicitly while training the model.
The below lines I have initiated the object for the train and test dataset with the Training and Testing set with batch_size of 16.
Model Creation
Now after preprocessing the dataset it’s time for creation of the model which we will train. For sake of simplicity I have constructed a simple 2D-Convolutional Neural Network model.
The first layer of the model is Input layer which specifies the input shape of the dataset i.e, None*28*28*1 which specifies the number of samples in the batch , the height and width of the image along with the number of image channels. Since our dataset is composed of grayscale images i.e, consists of only one channel. The model architecture also constitutes two Convolutional Neural Network Layers with feature maps of 64 and 128 with a kernel size of 33 respectively. After each Convolutional Neural Network layer, I have added the max pooling layer with the pooling size of 22. The Max pooling layer will extract the maximum value from the feature map patches and hence the feature maps obtained from the Convolutional Neural Network will be down-sampled. Dropout layer with a probability of 0.5 it signifies that during training time fifty percent of the neurons in the layer will be deactivated randomly to reduce the chance of overfitting.
The last layer is the Classification Layer. It is composed of the activation function known as Softmax which outputs the probability of the classes associated with the datapoint and has a range between 0-1, this layer has 10 neurons because we have to classify 10 different objects. The code snippets for the model is shown below:
After model creation we are displaying the summary in the outputs cell. Model summary is basically constitutes of parameter trainable or non-trainable, layer name and output shape of the layer. The summary of the created model is shown below:
Output:
TF Data Pipeline - Model Compilation, Training and Evaluation
In this section, we are going to compile our model. For compiling the model we need to specify the loss function, optimizer and metric. I have used sparse_categorical_crossentropy as our loss function because our dataset is multilabel dataset and we have not transformed the dataset label into the categorical Variable. Adam was selected as the optimizer to backward propogate the error. Adam is an extension of the Stochastic Gradient Descent and combination of the Root Mean Square Propagation (RMSProp) and Adaptive Gradient Algorithm (AdaGrad). For metric we have used accuracy for simplicity you can use any metric based on your problem statement. The below snippets depicts the code for model compilation.
After the successful compilation of the model, our final step is to train the model TF Data Input Pipeline. We have passed the object of the training TF Data Input Pipeline for Training and testing TF Data Input Pipeline for validation. The dataset is already batched into 32 so we do not need to specify the batch size explicitly. The model was trained for over 5 epoch only. The below snippets depict the code for model training.
Output:
The below code represents the code snippets for evaluating the model as we can see in the output section clearly that after trainning over 5 epochs the mode attain accuracy of 0.9721 with a loss of 0.1030
Output:
Keras Utils Sequence - Model Compilation, Training, and Evaluation
In this section, we are going to compile our model. For compiling the model we need to specify the loss function, optimizer, and metric. I have used sparse_categorical_crossentropy as our loss function because our dataset is a multilabel dataset and we have not transformed the dataset label into the categorical Variable. Adam was selected as the optimizer to backward propagate the error. Adam is an extension of the Stochastic Gradient Descent and combination of the Root Mean Square Propagation (RMSProp) and Adaptive Gradient Algorithm (AdaGrad). For metric we have used accuracy for simplicity you can use any metric based on your problem statement. The below snippets depicts the code for model compilation.
After the successful compilation of the model, our final step is to train the model Keras Utils Sequence Data Input Pipeline. We have passed the object of the training preprocessingsequence class for Training and testing preprocessingSequence for validation. The dataset is already batched into 16 so we do not need to specify the batch size explicitly. The model was trained for over 5 epoch only. The below snippets depict the code for model training.
Output
As you can see in the above image the model.fit_generator is showing warning i.e, it will be removed from the future version of the tensorflow. So we can use the data generator with the model.fit which supports data generators also.
The below code represents the code snippets for evaluating the model as we can see in the output section clearly that after training over 5 epochs the mode attain accuracy of 0.9916 with a loss of 0.0249
Output:
Python Generator Pipeline - Model Compilation, Training, and Evaluation
In this section, we are going to compile our model. For compiling the model we need to specify the loss function, optimizer, and metric. I have used sparse_categorical_crossentropy as our loss function because our dataset is a multilabel dataset and we have not transformed the dataset label into the categorical Variable. Adam was selected as the optimizer to backward propagate the error. Adam is an extension of the Stochastic Gradient Descent and combination of the Root Mean Square Propagation (RMSProp) and Adaptive Gradient Algorithm (AdaGrad). For metric we have used accuracy for simplicity you can use any metric based on your problem statement. The below snippets depicts the code for model compilation.
After the successful compilation of the model, our final step is to train and evaluate the model, with data input pipelines in Keras. The below snippets depict the code for model training and model evaluation with the python generator pipeline.
Output:
The below code represents the code snippets for evaluating the model as we can see in the output section clearly that after training over 5 epochs the mode attain accuracy of 0.9941 with a loss of 0.0183
Output
Pipeline Comparison
In the above sections, we have implemented three different types of Data Input pipelines.
Python Native Generator Pipeline : It is a basic python function chained one after another according to their implementation. It processes the whole dataset at once. We can implement parallel or distributed computing manually. It has a very high time complexity. It has very high coupling with humans and the data input process. It can be cannot scaled easily
tf.data : It is one of the predefined ways of creating a Data Input Pipeline in Keras or Tensorflow. tf.data has basically 5 built-in functions which help us to achieve the goals. It has inbuilt functionality to utilize the full GPU as well as to implement parallel or distributing. It has very less time complexity as compared to the Python Native Data Input Pipeline. It has very low coupling with humans and the data input process. It can be scaled easily without disturbing the whole pipeline,fully automated workflow.
Keras Util Sequence: This pipeline is created by inheriting the base Sequence Class. It gives us more flexibility and fine-grain control over the Data Input Pipeline. It has inbuilt functionality to utilize the full GPU as well as to implement parallel or distributing. It has very less time complexity as compared to the Python NativeData Input Pipeline. . It has very low coupling with humans and the data input process. It can be scaled easily without disturbing the whole pipeline, a fully automated workflow.
Below I have compared the Keras Util Sequence, tf.data, and Python Native Generator Pipeline pipelines with respect to our dataset and preprocessing step.
| Feature | tf.data | Keras Util Sequence | Python Generator |
|---|---|---|---|
| Running Time | 72.5 ms | 6.91 ms | 998 ms |
| Space Complexity | O(samples) | O(samples) | O(samples) |
| Ease of implementation | Intermediate | Basic | Advance |
| Tensorflow Coupling | Intermediate | None | High |
Advantages of Data Input Pipelines in Keras
The following are the advantages of using a Data Input Pipeline.
- Understandable code hence easy to debug.
- Model executing time and preprocessing time is less.
- Easy to take the model into deployment stages.
- We can utilize the underlying functionality of Tensorflow i.e. of distributive or parallel preprocessing.
- Utilization of the full hardware functionality.
- Automated process and Code Reusability
- The whole Model along with the Data Input Pipeline can be shipped to Production or UAT environments easily.
- Automatic Updation i.e, fully automated process
- No human intervention is required i.e, fully automated
- Automated testing and performance monitoring
- Fast iteration cycle and Easy expansion
- Scalability and Customization
Conclusion
In this article, we have studied the data pipeline in Tensorflow. The following are the key takeaways:
- Data Input Pipeline is one of the basic building blocks of the MLops procedure.
- By integrating Data Input Pipelines we can easily ship our model from the development environment to the production or UAT environment.
- tf.data pipeline function batch,map,shuffle,catch, and prefetch is core of the tf.data Pipeline where map can be implemented to incorporate native python function in the pipeline.
- tf.data Data Input Pipeline is the best option for creating the Data Input Pipeline if we have very few preprocessing step.
- Keras Util Sequence Data Input Pipeline is the best option for creating the Data Input Pipeline if we have many preprocessing steps.
- Python Native Data Input Pipeline is one of the easiest methods to create the pipeline but it is less efficient and has very high Time Complexity.