How to Setup Port Forwarding on Linux?
Port forwarding is a technique that allows network traffic to be redirected from one port on a Linux machine to another port on a different machine or network. It enables users to access services hosted on remote machines or create secure connections for various purposes.
Port Forwarding in Linux Using Iptables
Port forwarding is an essential technique in network address translation (NAT) that enables proxy firewalls to redirect communication requests from one IP address and port to another. In Linux, you can configure port forwarding using iptables, a powerful utility for managing IP packet filter rules.
Prerequisites:
Before we proceed, make sure you have the following:
- Two Linux systems with internet access, both connected to the same private network.
- Administrative privileges on both systems.
Iptables Port Forwarding:
To secure your web application infrastructure, you can deploy a proxy firewall as a dedicated gateway, protecting your internal network from external threats. The following steps outline setting up a simple Iptables-based firewall to control network traffic to and from a web server.
Step - 1: Set up the Web Server
To configure the webserver to accept connections exclusively from the private network, follow these steps:
- Gather Web Server Network Interface Details:
- On the web server, open the terminal and execute the ip -4 addr show scope global command to list available IPv4 connections and note the interface names and their respective IP addresses.
- Set up Nginx:
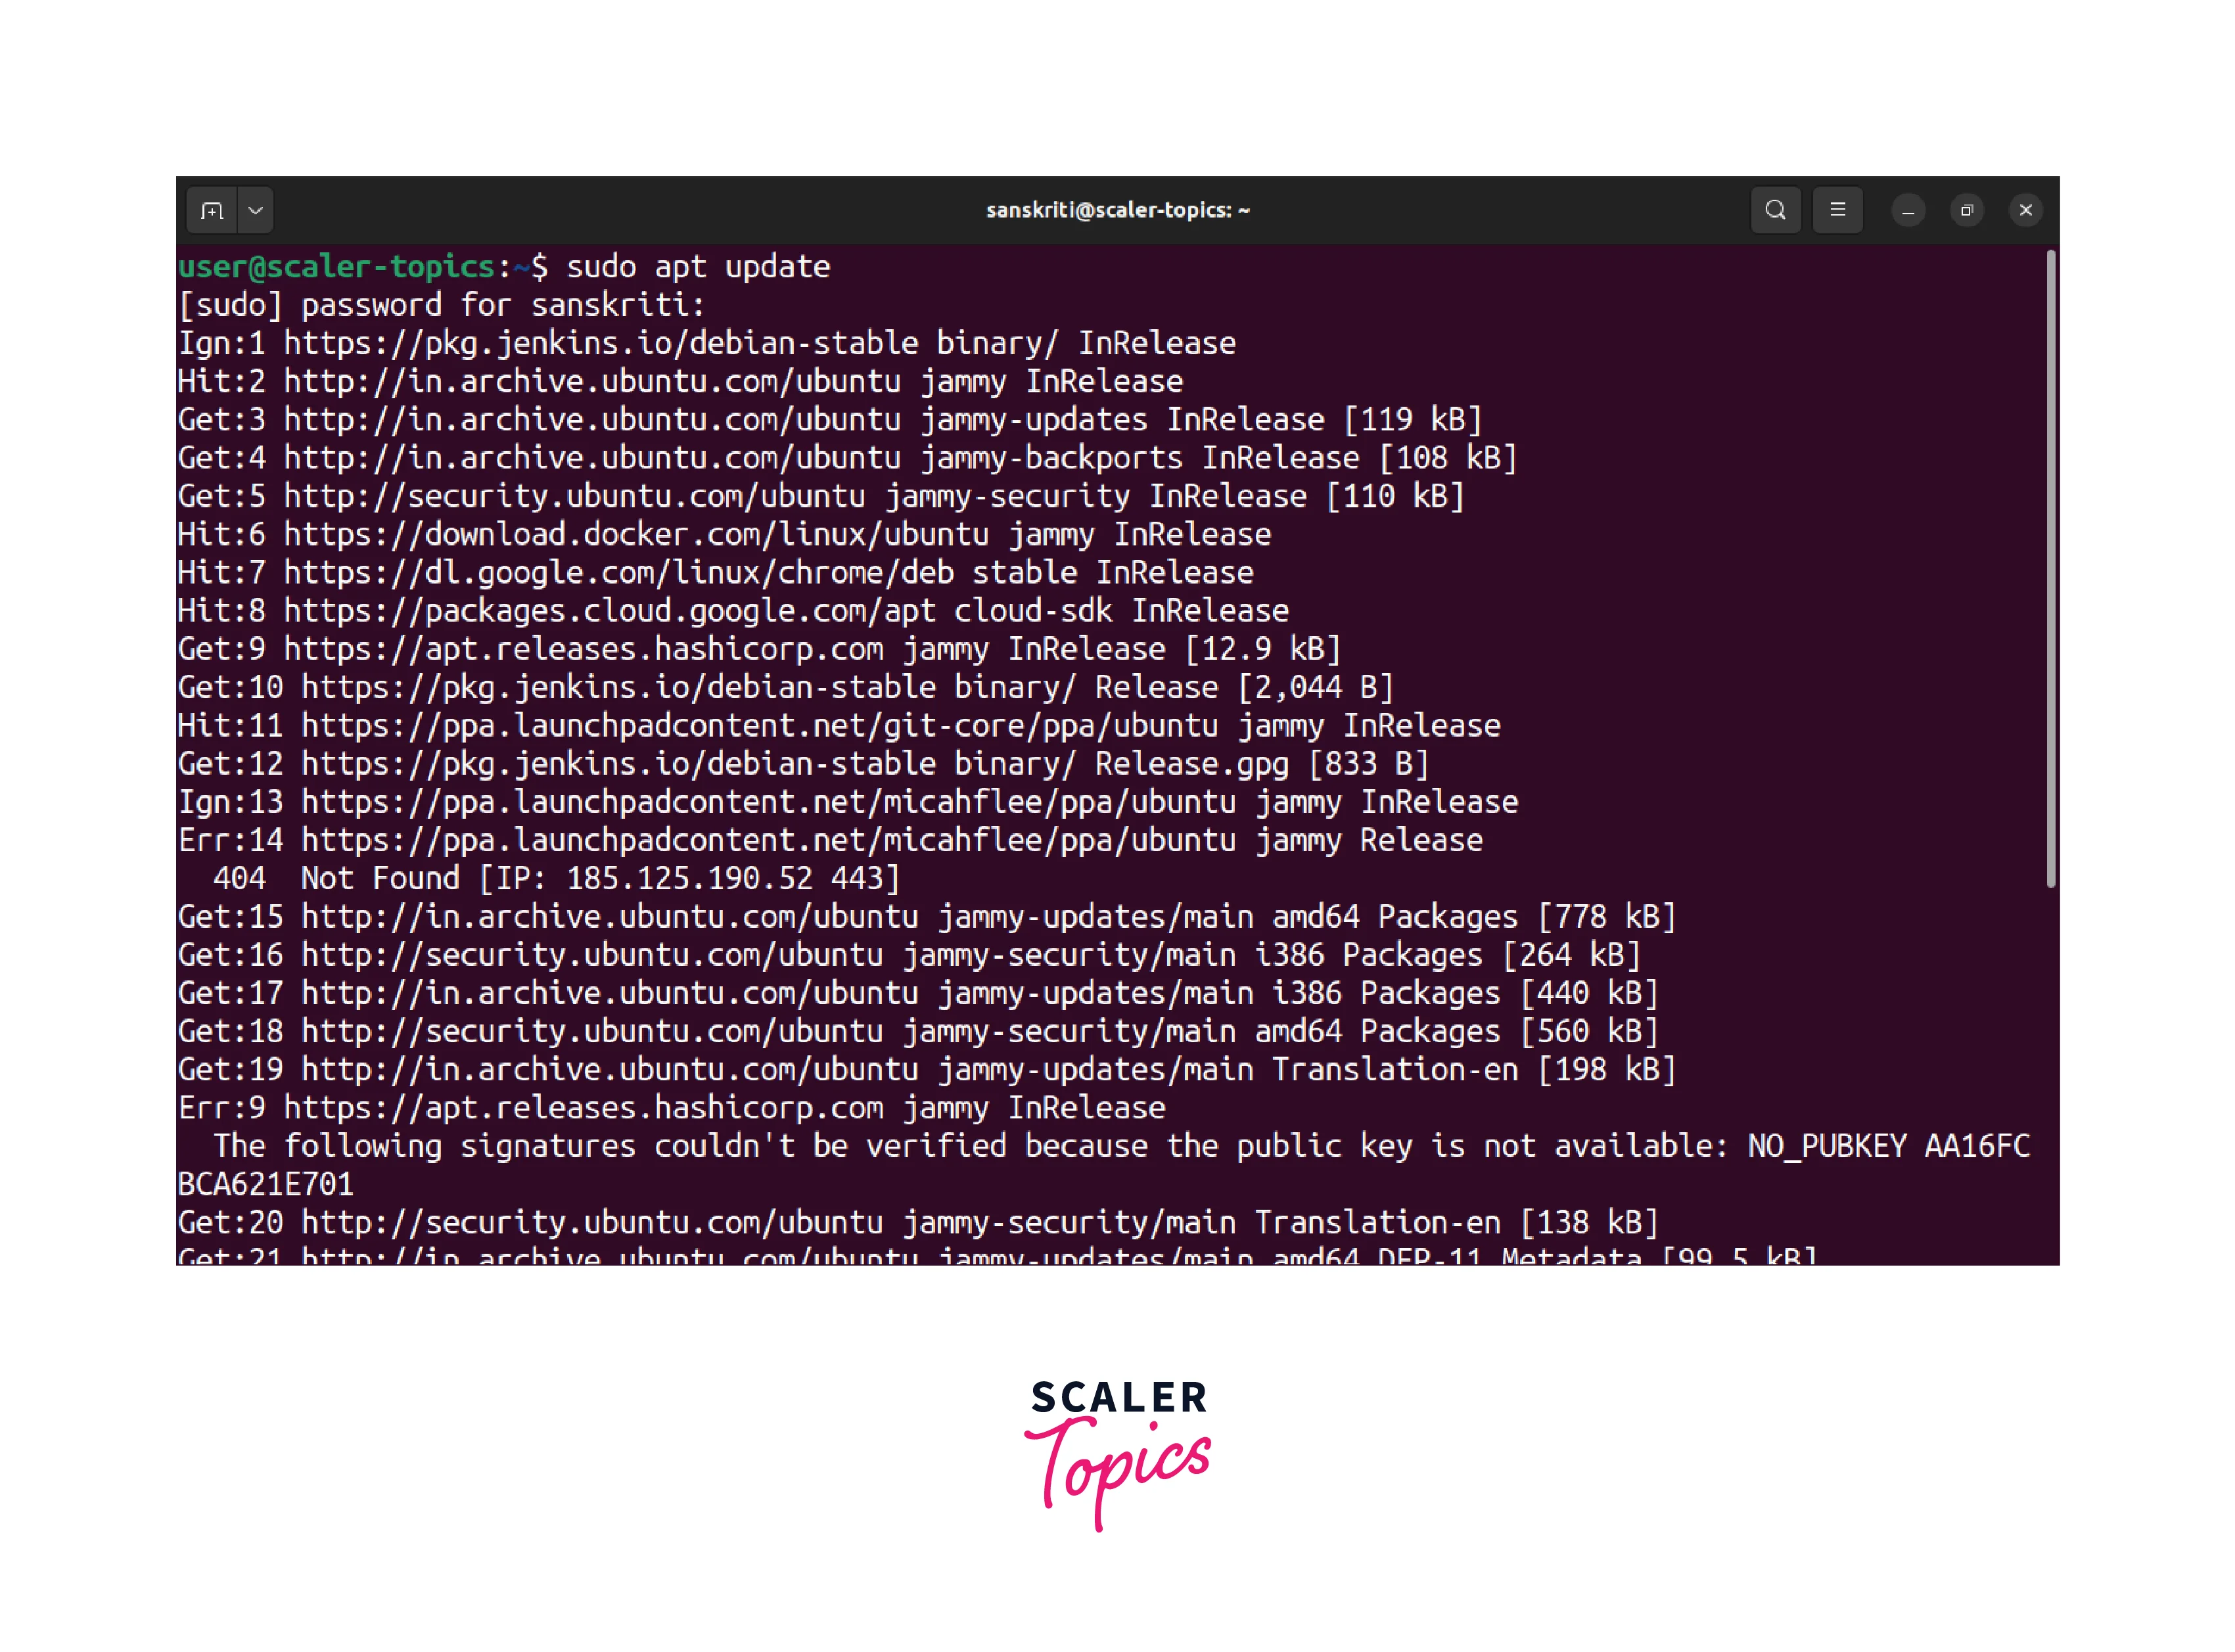
- Update the repository information using your Linux distribution's package manager (e.g., APT) with the sudo apt update command.

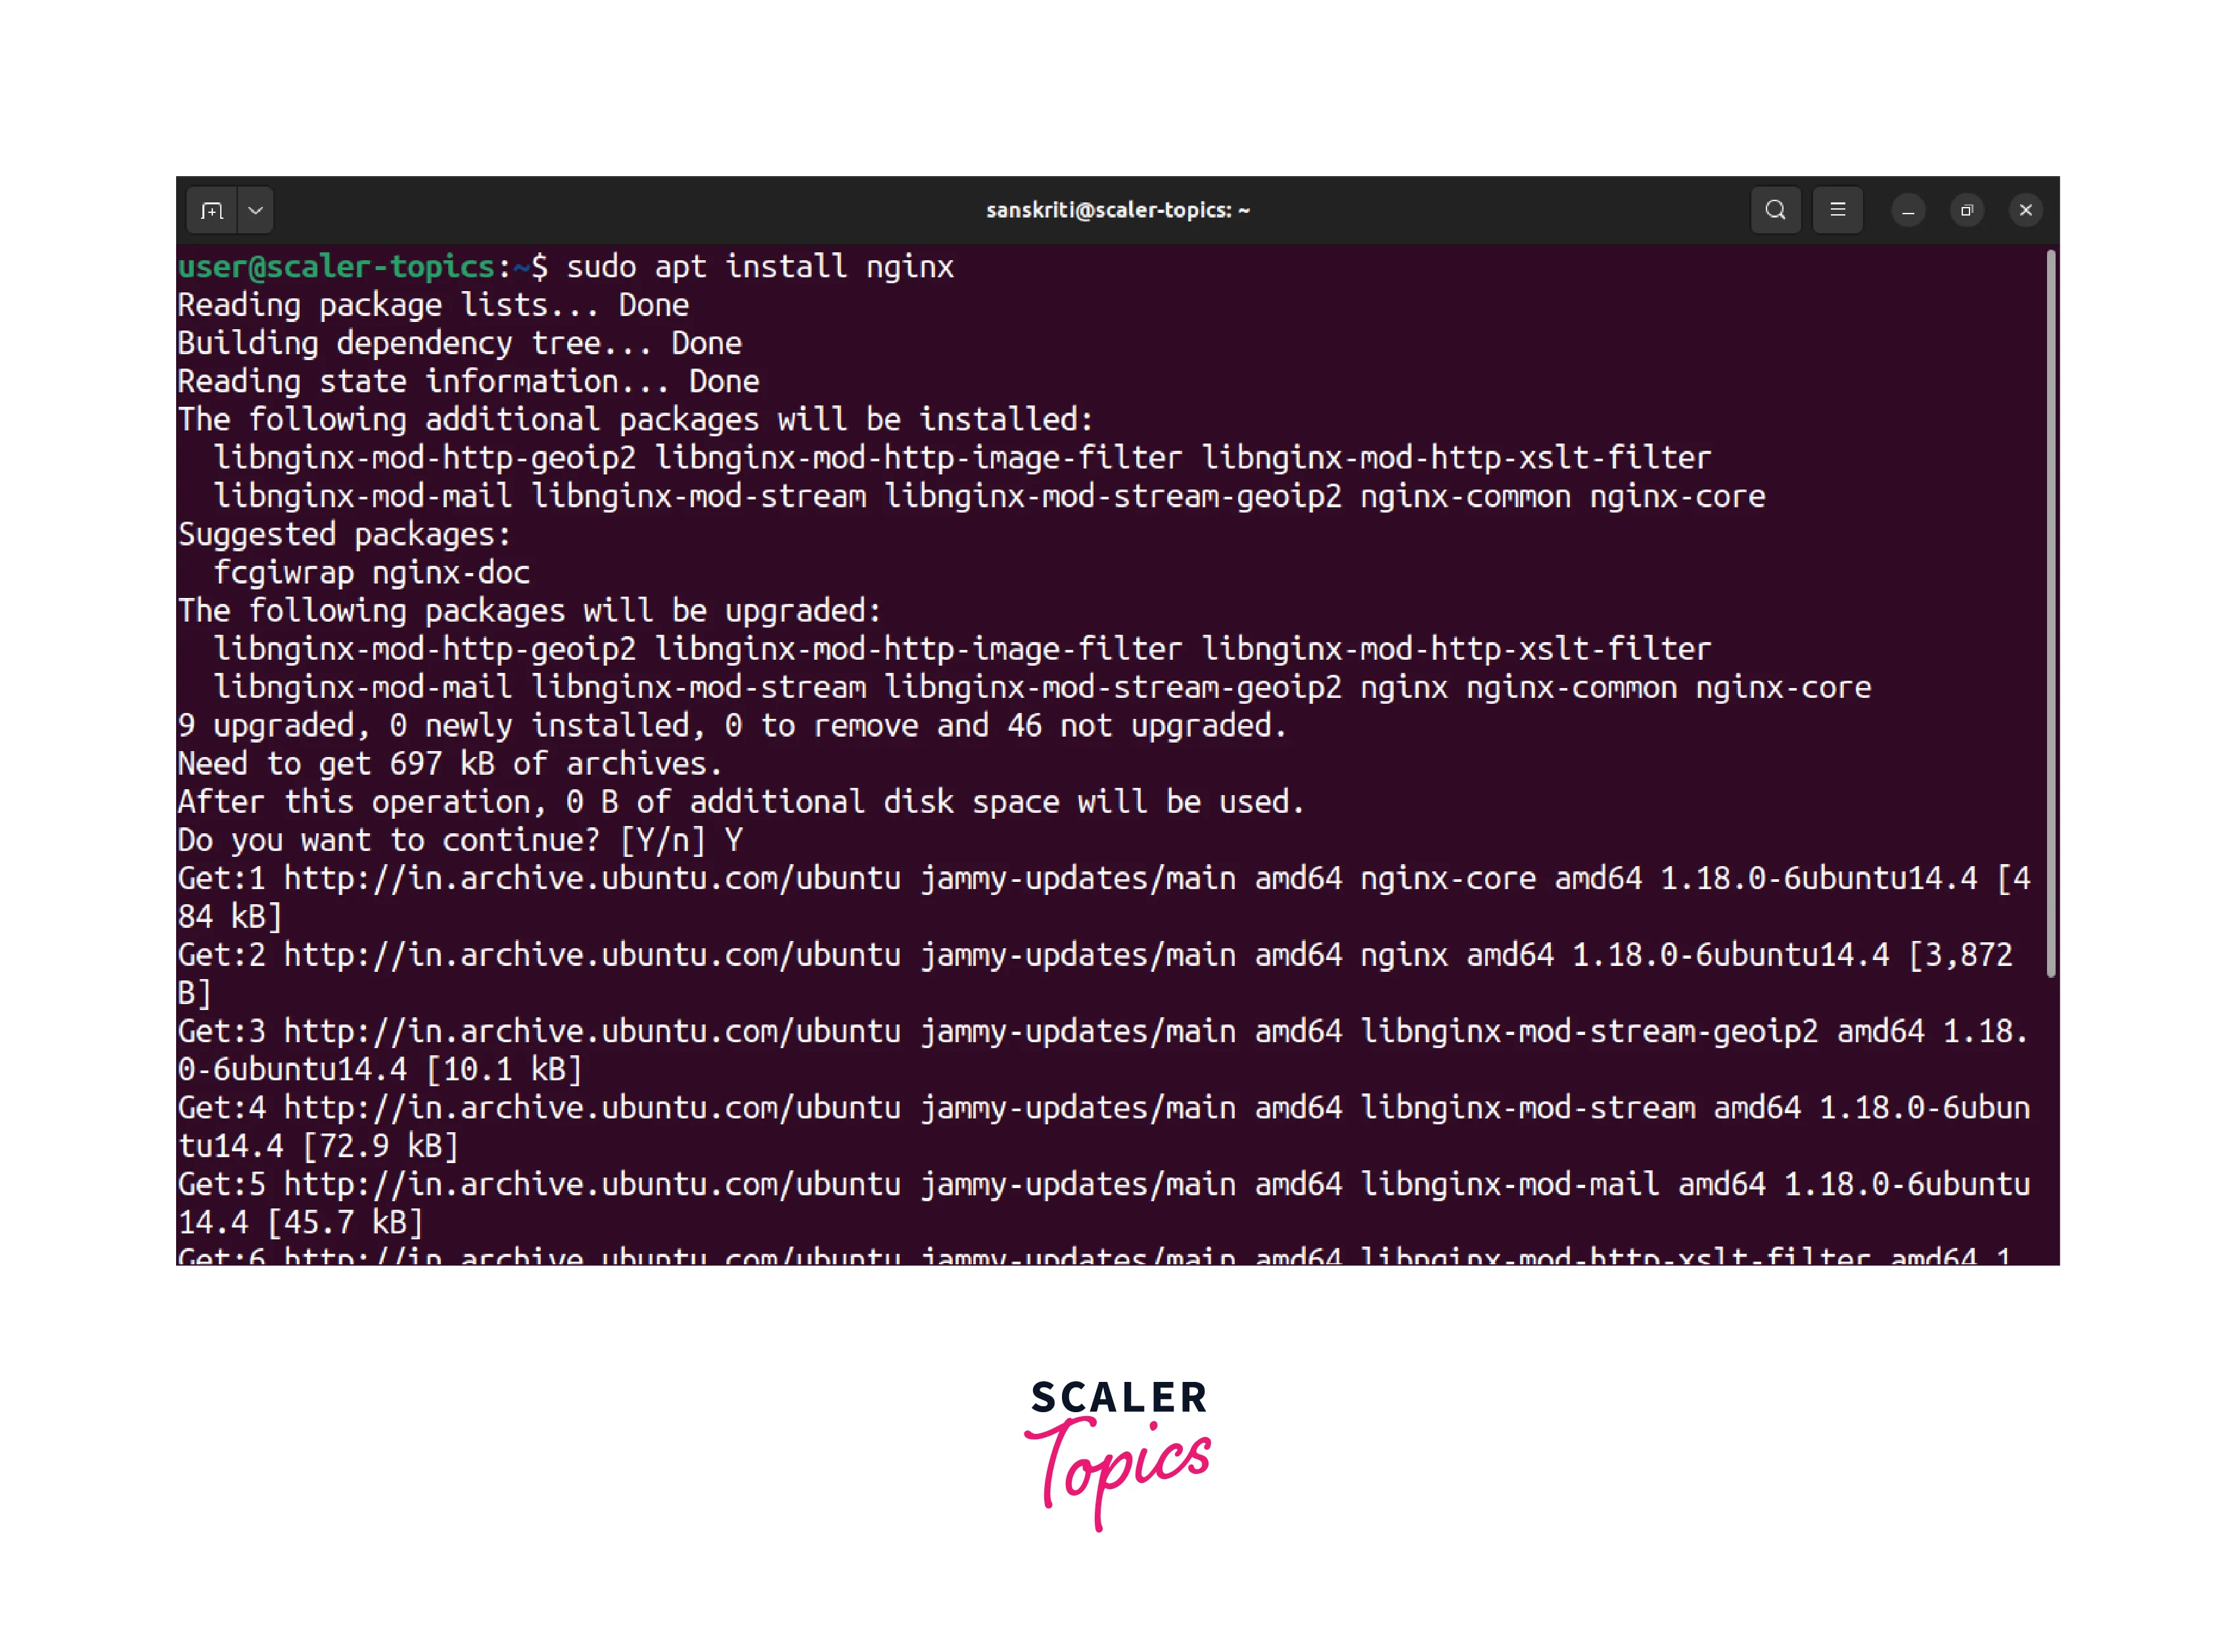
- Install the Nginx web server package with the sudo apt install nginx command.

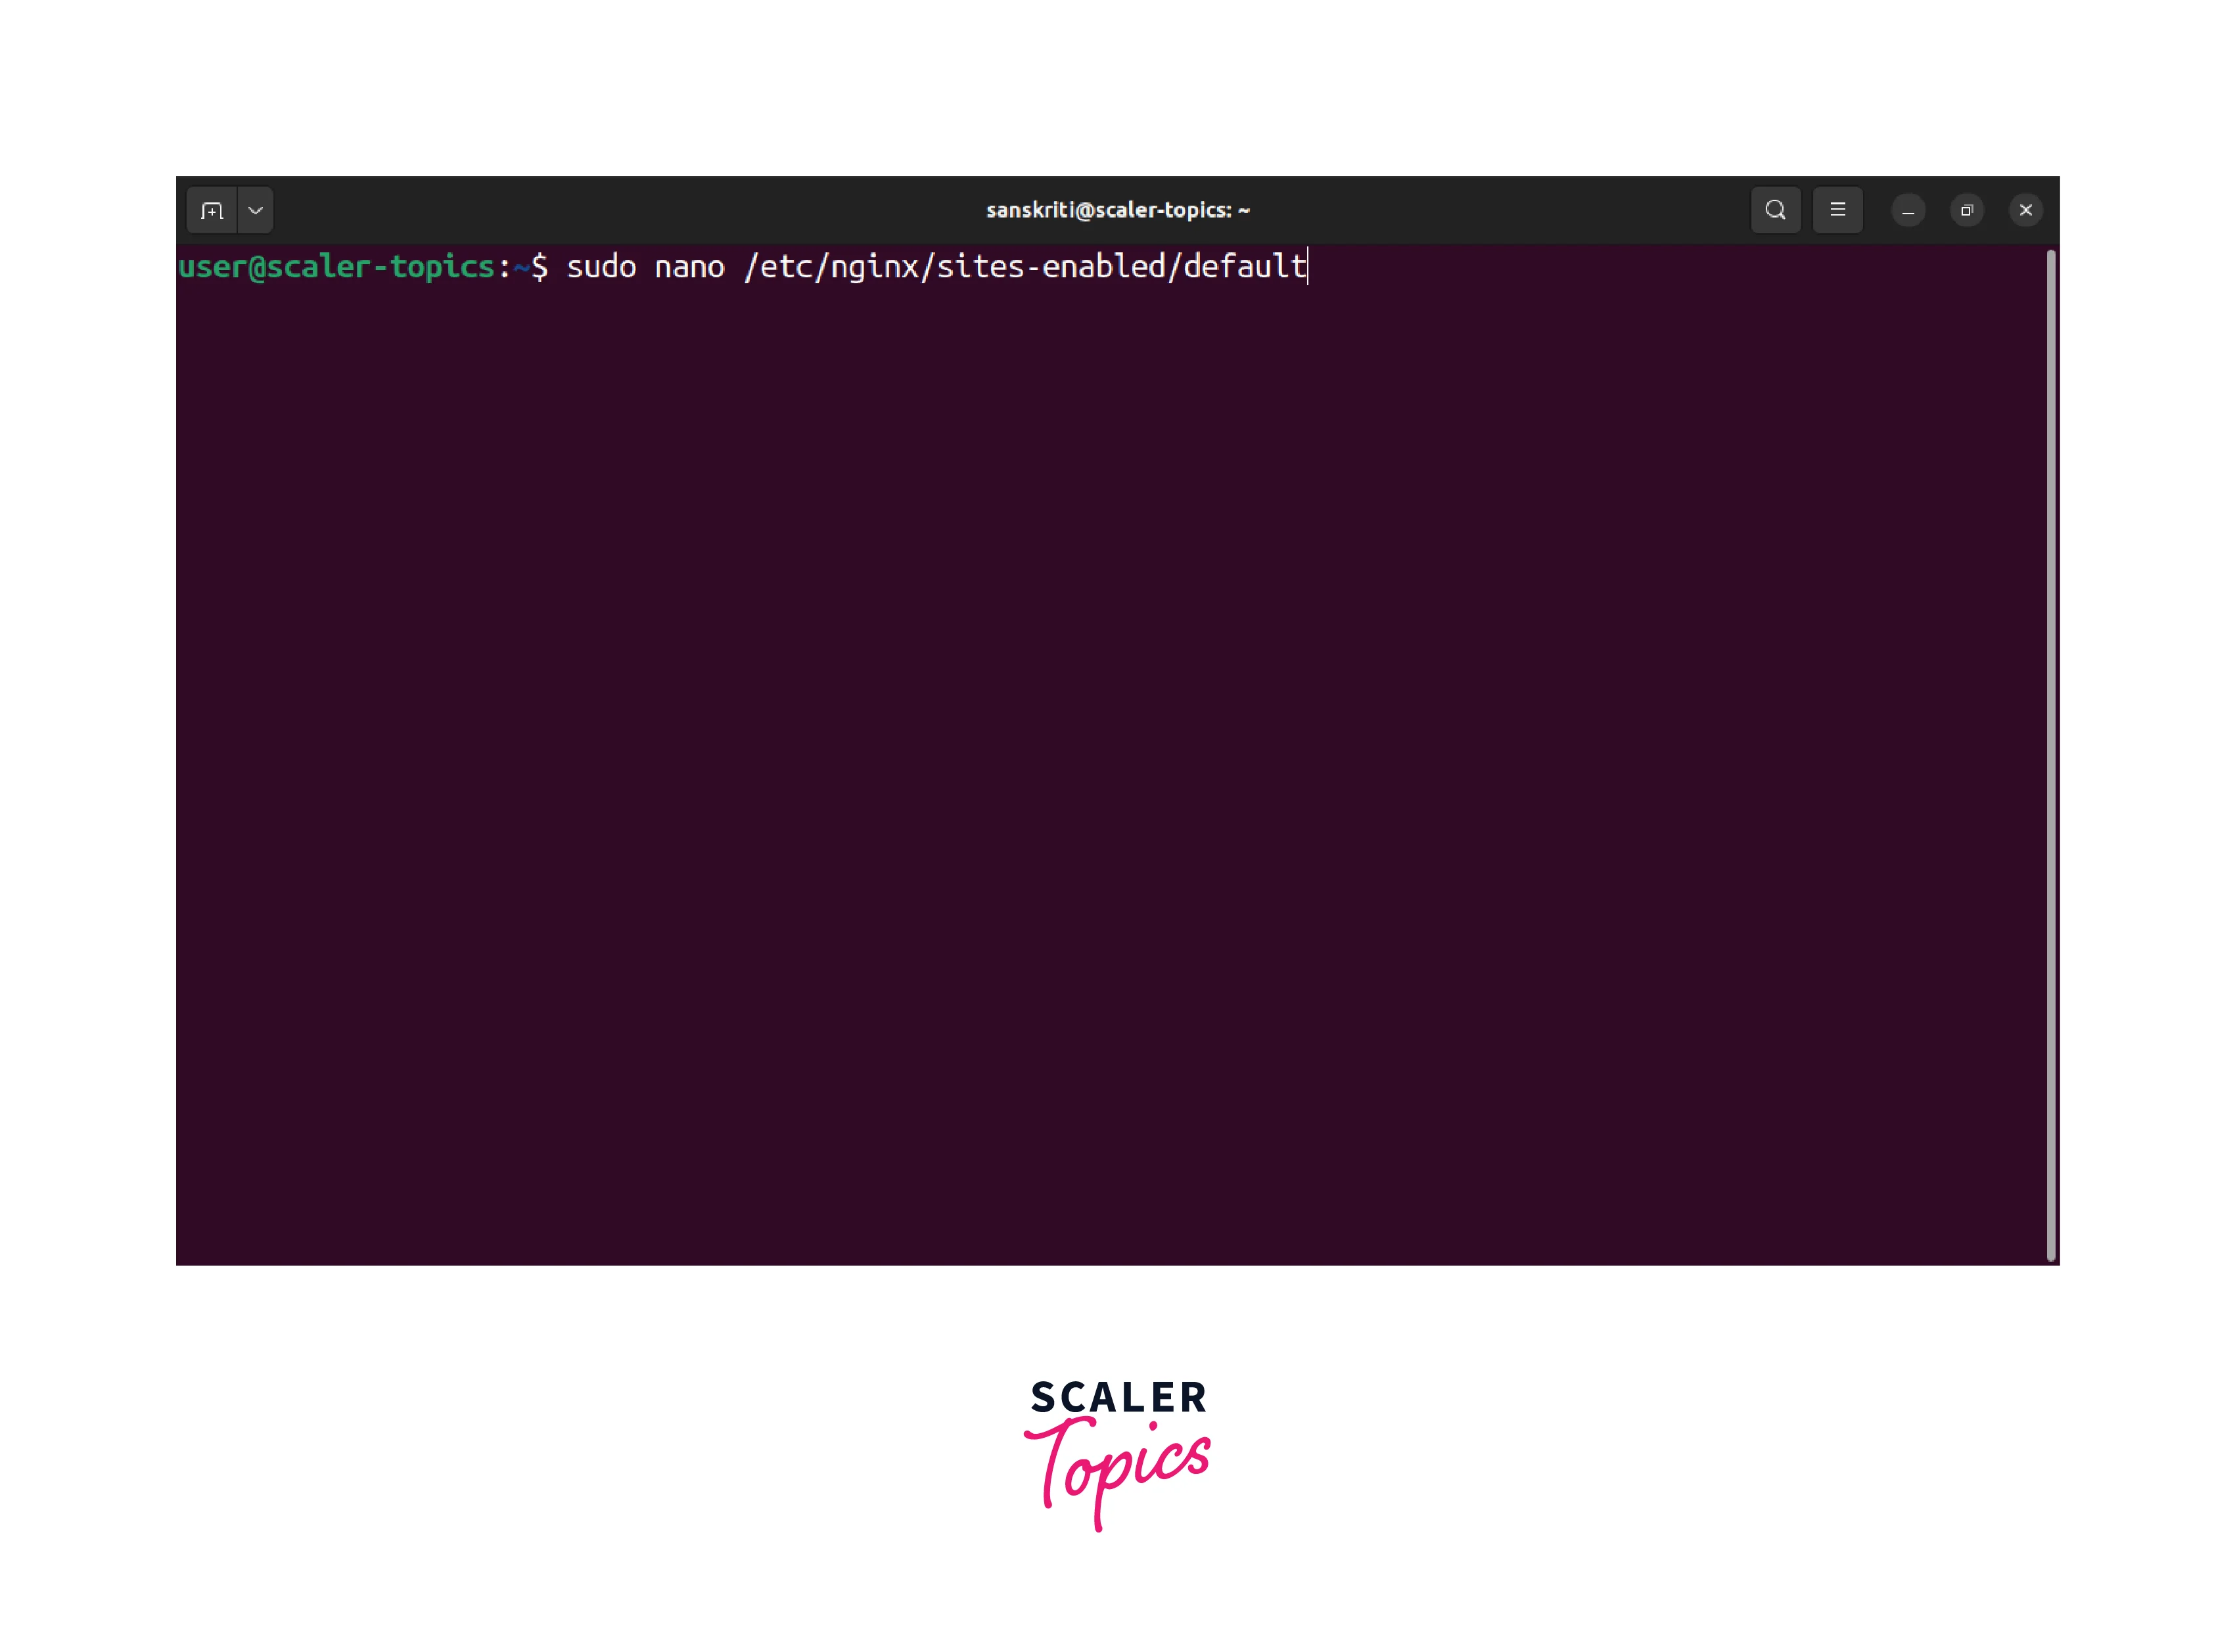
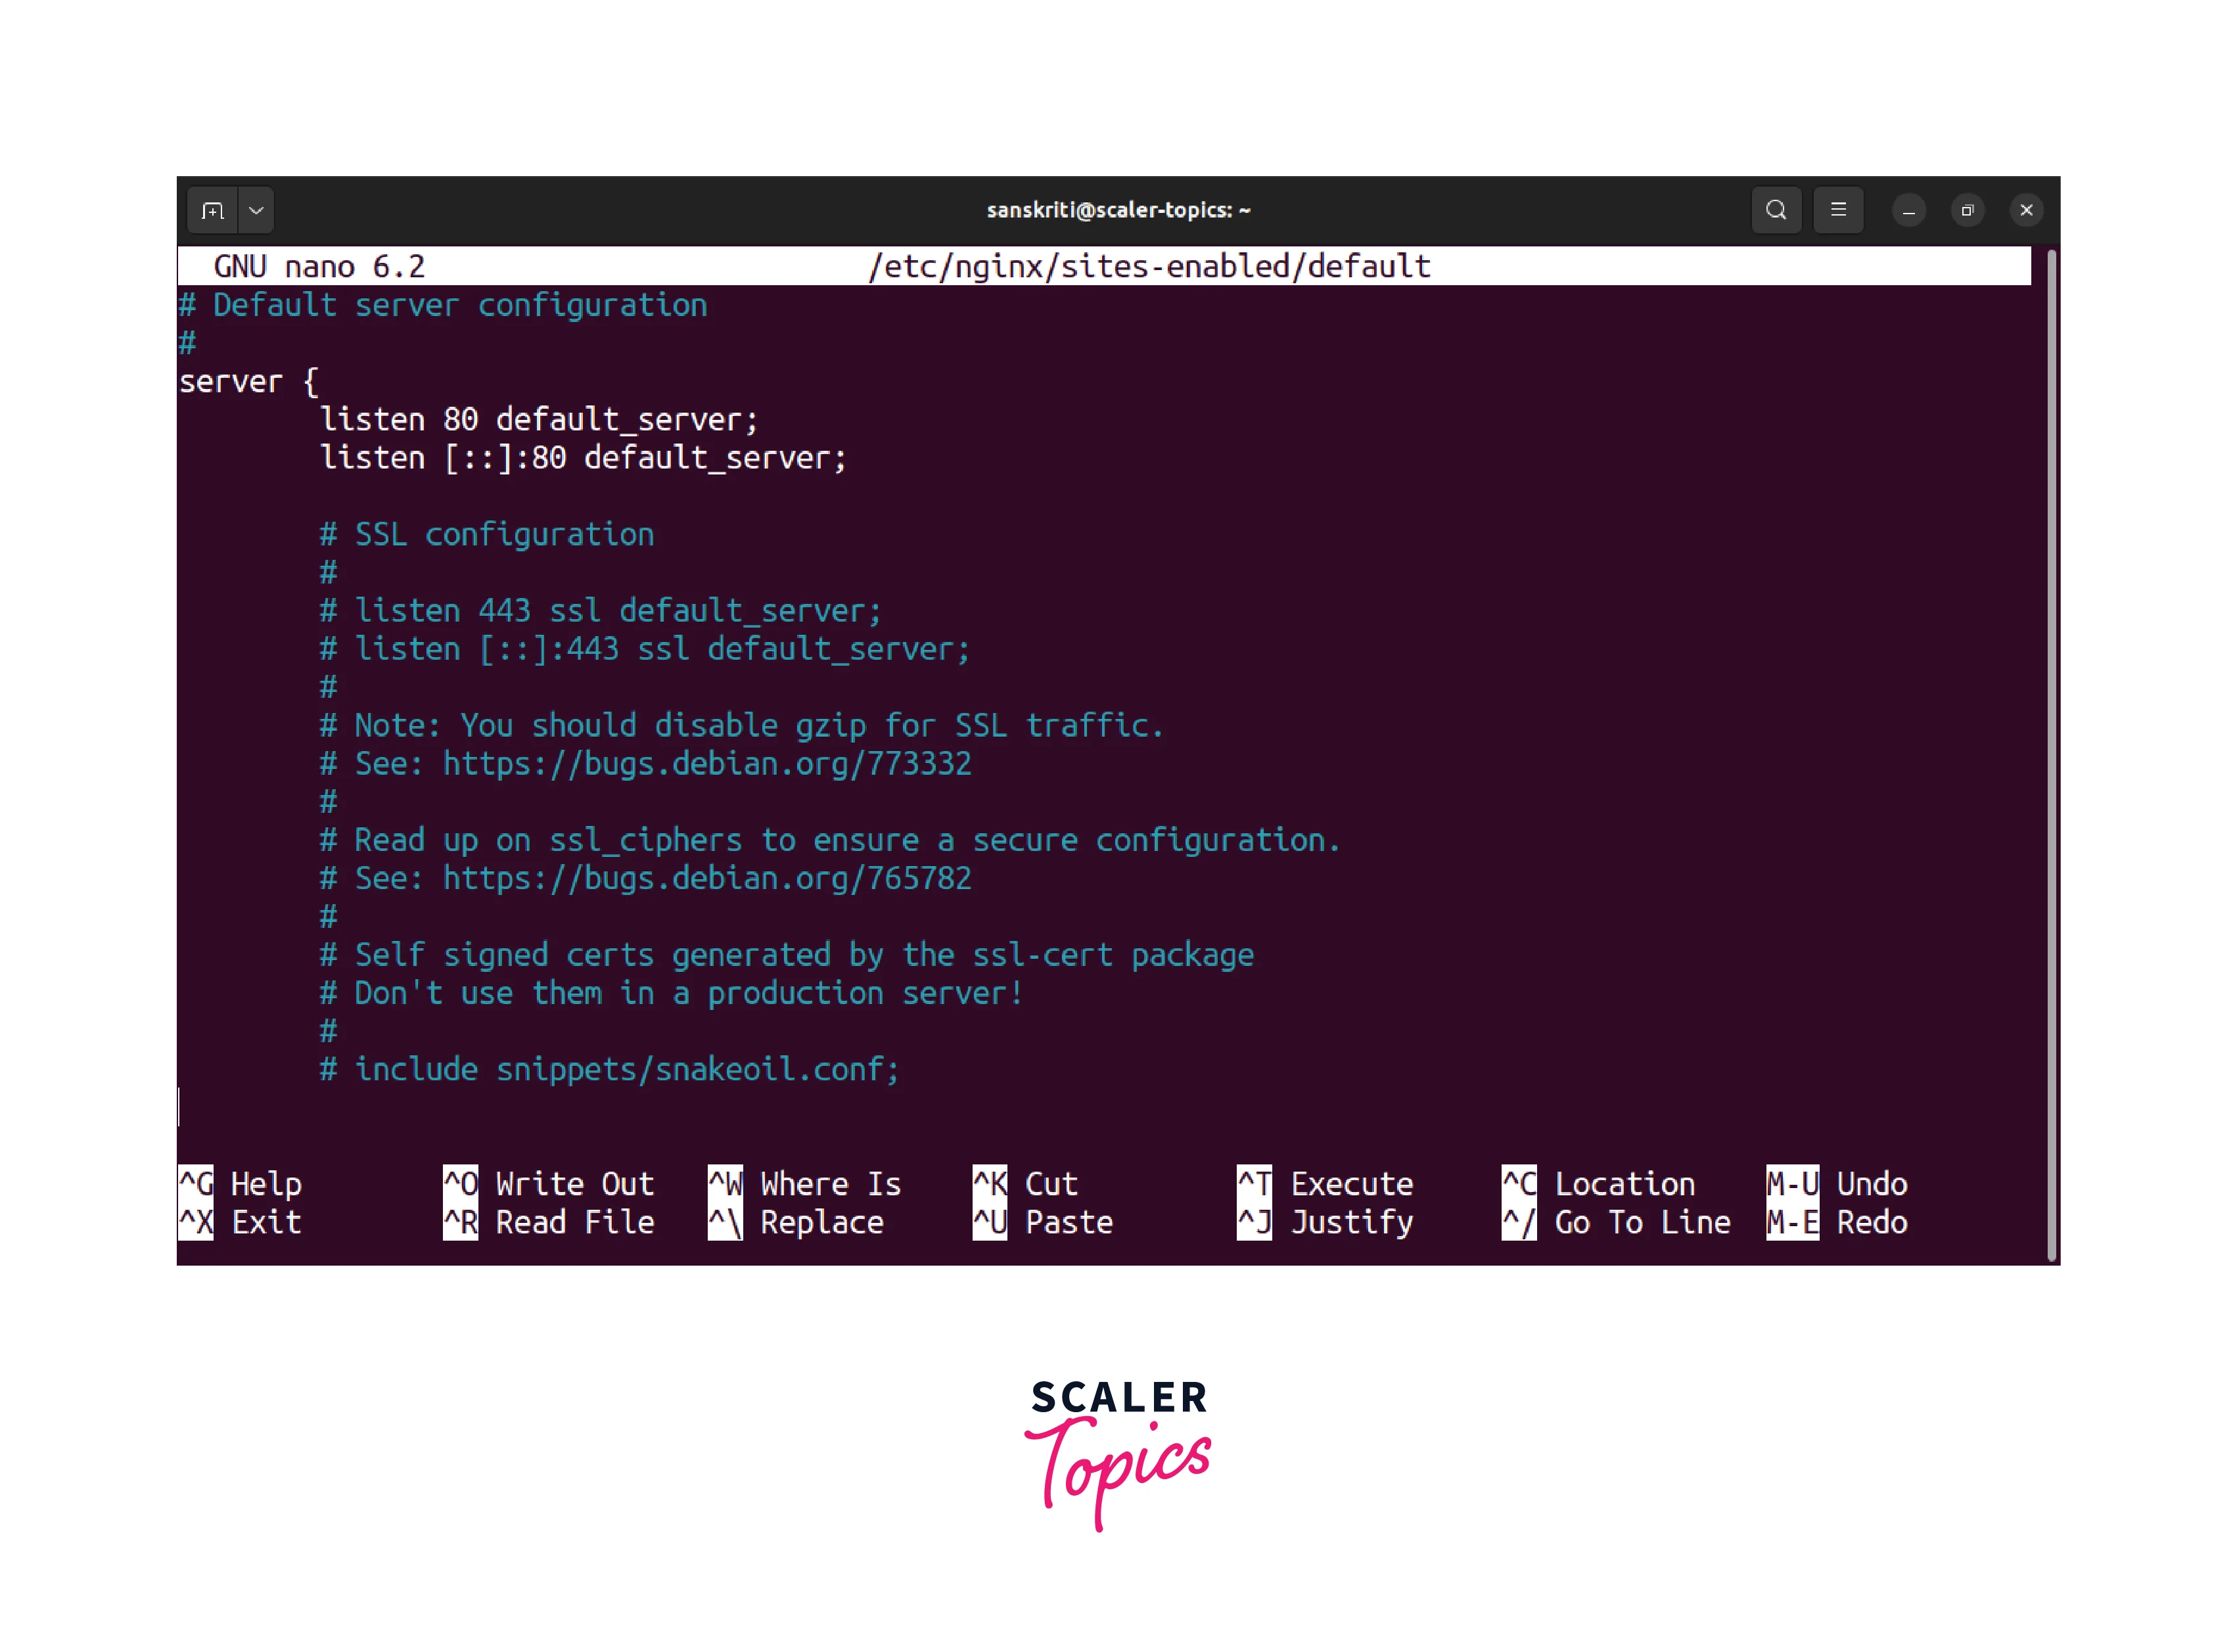
- Open the default Nginx server block configuration file using a text editor like Nano or Vim with the sudo nano /etc/nginx/sites-enabled/default command.

- Locate the server section in the file and add the server's private IP address before the port number in the first line, then remove the second line related to the IPv6 address.

- Save the file and exit the text editor.
- Test the syntax of the Nginx configuration with the sudo nginx -t command.
- Restart Nginx to apply the new configuration with the sudo systemctl restart nginx command.
- Update the repository information using your Linux distribution's package manager (e.g., APT) with the sudo apt update command.
- Test Web Server Configuration:
- From another computer on the same private network, execute curl [web-server-private-ip] to verify that the Nginx server works as intended, displaying the HTML data of the Nginx welcome page.
- Use curl [web-server-public-ip] to test that the web server refuses the connection from the public network since it is configured to accept requests only from the private network.
Step - 2: Set up the Firewall
After configuring the web server, create a proxy firewall on another machine. Follow these steps to set up a firewall with basic iptables rules:
- Gather Firewall Network Interface Details:
- On the designated firewall machine, use the command ip -4 addr show scope global to view available IPv4 network interfaces and note the public and private interface names and their corresponding IP addresses.
- Install the Persistent Firewall Package:
- Update the repository information with the sudo apt update command.
- Install the iptables-persistent package with sudo apt install iptables-persistent and choose "Yes" during installation to save the current iptables rules.
- Set up Basic IPv4 Rules:
- Open the rules.v4 file using a text editor with sudo nano /etc/iptables/rules.v4.
- Add the provided example configuration for firewall rules.
- Save the file and exit the text editor.
- Check the syntax of the rules.v4 file with sudo iptables-restore -t /etc/iptables/rules.v4. There should be no syntax errors.
- Apply the firewall configuration with the sudo service netfilter-persistent reload command.
- Verify the active rules by running the sudo iptables -S command.
Step - 3: Set up Port Forwarding
After configuring the web server and proxy firewall, you can establish specific forwarding rules to enable traffic flow. These rules will:
- Accept requests through the firewall's public IP address.
- Forward packets to the firewall's private interface.
- Further forward packets to the web server within the private network.
- Allow traffic from the webserver to reach the internet.
Enable packet forwarding in the current session by executing the command echo 1 | sudo tee /proc/sys/net/ipv4/ip_forward. For permanent forwarding, follow these steps:
- Open the sysctl.conf file with sudo nano /etc/sysctl.conf.
- Uncomment the line net.ipv4.ip_forward=1.
- Save the file and exit the text editor.
- Load the new configuration with the sudo sysctl -p command.
- Apply system changes with the sudo sysctl --system command.
With packet forwarding enabled, specify the forwarding rules as follows:
- Allow connections from the public interface on port 80 and forward them to the private interface:
- Allow ESTABLISHED and RELATED traffic from public to private interface:
- Allow the same traffic to return from the private to the public interface:
- Save all the Iptables rules with the sudo service netfilter-persistent save command.
To test the firewall configuration, use curl from another machine with the curl [firewall-public-ip] command. If successful, you'll receive the Nginx page served by the web server.
These steps provide a basic understanding of Linux port forwarding using Iptables.
SSH Port Forwarding on Linux
SSH port forwarding is a valuable technique to forward ports between a local and a remote Linux machine using the SSH protocol. SSH port forwarding can establish a secure connection, allowing you to expose a machine to the internet without an internet-routable IP address, enabling remote and secure access.
There are two main types of SSH port forwarding:
- Local port forwarding, and
- Remote port forwarding.
Installing SSH Utilities
Before proceeding with SSH port forwarding, ensure you have SSH utilities installed on the Linux machine. The installation steps may vary depending on your Linux distribution.
Installing SSH Utilities on Red Hat Enterprise Linux (RHEL) 7 and CentOS 7:
To install SSH utilities on RHEL 7 and CentOS 7, run the following command:
Installing SSH Utilities on Ubuntu, Debian, and Other Ubuntu/Debian-Based Distributions:
For Ubuntu, Debian, Linux Mint, and other distributions based on Ubuntu/Debian, use the following command to install SSH utilities:
Installing SSH Utilities on Arch Linux:
If you're using Arch Linux, you can install SSH utilities with the following command:
Please note that on Arch Linux, you will need to start the SSH server using the following command:
To ensure the SSH server starts automatically when the system boots, add it to the system startup:
After installing the SSH utilities, we can start setting up local and remote port forwarding.
Local Port Forwarding
Local port forwarding allows you to access a service on a remote server. Here's how to set up local port forwarding:
-
Consider a remote server named server1 with the IP address 192.168.199.153 running a web server.
-
On your local computer, establish an SSH connection to server1 using the command:
Replace user with your username and server1 with the hostname or IP address of the remote server. Enter your password when prompted.
-
Once you establish the SSH connection, access the web server on server1 as if running on your local machine.
- Open your web browser and navigate to http://localhost:6900.
Remote Port Forwarding
Remote port forwarding allows you to forward a port from your local server/computer to a remote server. It enables access to your local server using the remote server's IP and the forwarded port.
Here are the steps to set up remote port forwarding:
- Configure the Remote Server (server1):
- Edit the /etc/sshd_config file on server1 using the following command:
- Uncomment the GatewayPorts option and set it to yes.
- Save the file and restart the SSH server on server1 using the below command:
- Edit the /etc/sshd_config file on server1 using the following command:
- Set up Remote Port Forwarding on your Local Computer:
- Forward port 80 (HTTP) of your local web server to port 9999 on server1.
- Use the command:
- Replace user with your username and server1 with the hostname or IP address of the remote server.
- Enter your password when prompted to establish the SSH connection.
- Access the Local Web Server from the Internet:
- Once you establish the SSH connection, you can access the local web server from the internet.
- Use the IP address of server1 and the forwarded port 9999.
- Open your web browser and navigate to http://server1:9999.
In conclusion, SSH port forwarding is a powerful tool that allows secure connections and access to services on remote servers.
Conclusion
In conclusion, here are the key takeaways regarding port forwarding on Linux systems:
- Port forwarding redirects network traffic between different ports on Linux machines.
- Iptables is a powerful utility for managing port forwarding and network address translation (NAT) in Linux.
- Setting port forwarding involves configuring the web server, setting up the firewall, and creating forwarding rules.
- SSH port forwarding offers a secure method to forward ports between local and remote Linux machines.
- Local port forwarding allows accessing remote services as if they were running locally.
- Remote port forwarding enables accessing local services from the internet through a remote server.
- Installing SSH utilities is essential for SSH port forwarding on Linux machines.
- Implementing proper network security measures, such as firewall rules, is crucial for ensuring the security of port forwarding setups.
