Android Menus
Overview
In Android, a menu is a user interface component that provides a set of options or actions for users to interact with an app. It typically appears as a list of items when a user taps the menu button or icon. Android menus serve various purposes, such as allowing users to navigate within the app, trigger specific actions, or customize settings. There are three main types of menus in Android: options menus, context menus, and popup menus. Options menus contain actions related to the current screen or activity, context menus offer context-specific actions, and popup menus display additional options upon user interaction. Android menus enhance user experience by providing a structured and intuitive way to access app functionality.
Defining a Menu in XML
In Android, you can define menus in XML files to create user interface components that offer various options and actions. These XML menu resources are commonly used in the menu folder within the app's res directory.
A menu in XML typically consists of menu items, each represented by an XML element. These elements define the item's title, icon, and associated actions or intents.
Once defined, you can easily inflate and display these XML menus in your app's user interface, providing users with accessible and organized interaction options.
Types of Menu in Android
In Android, several types of menus serve different purposes. Let's explore each type and their functionalities:
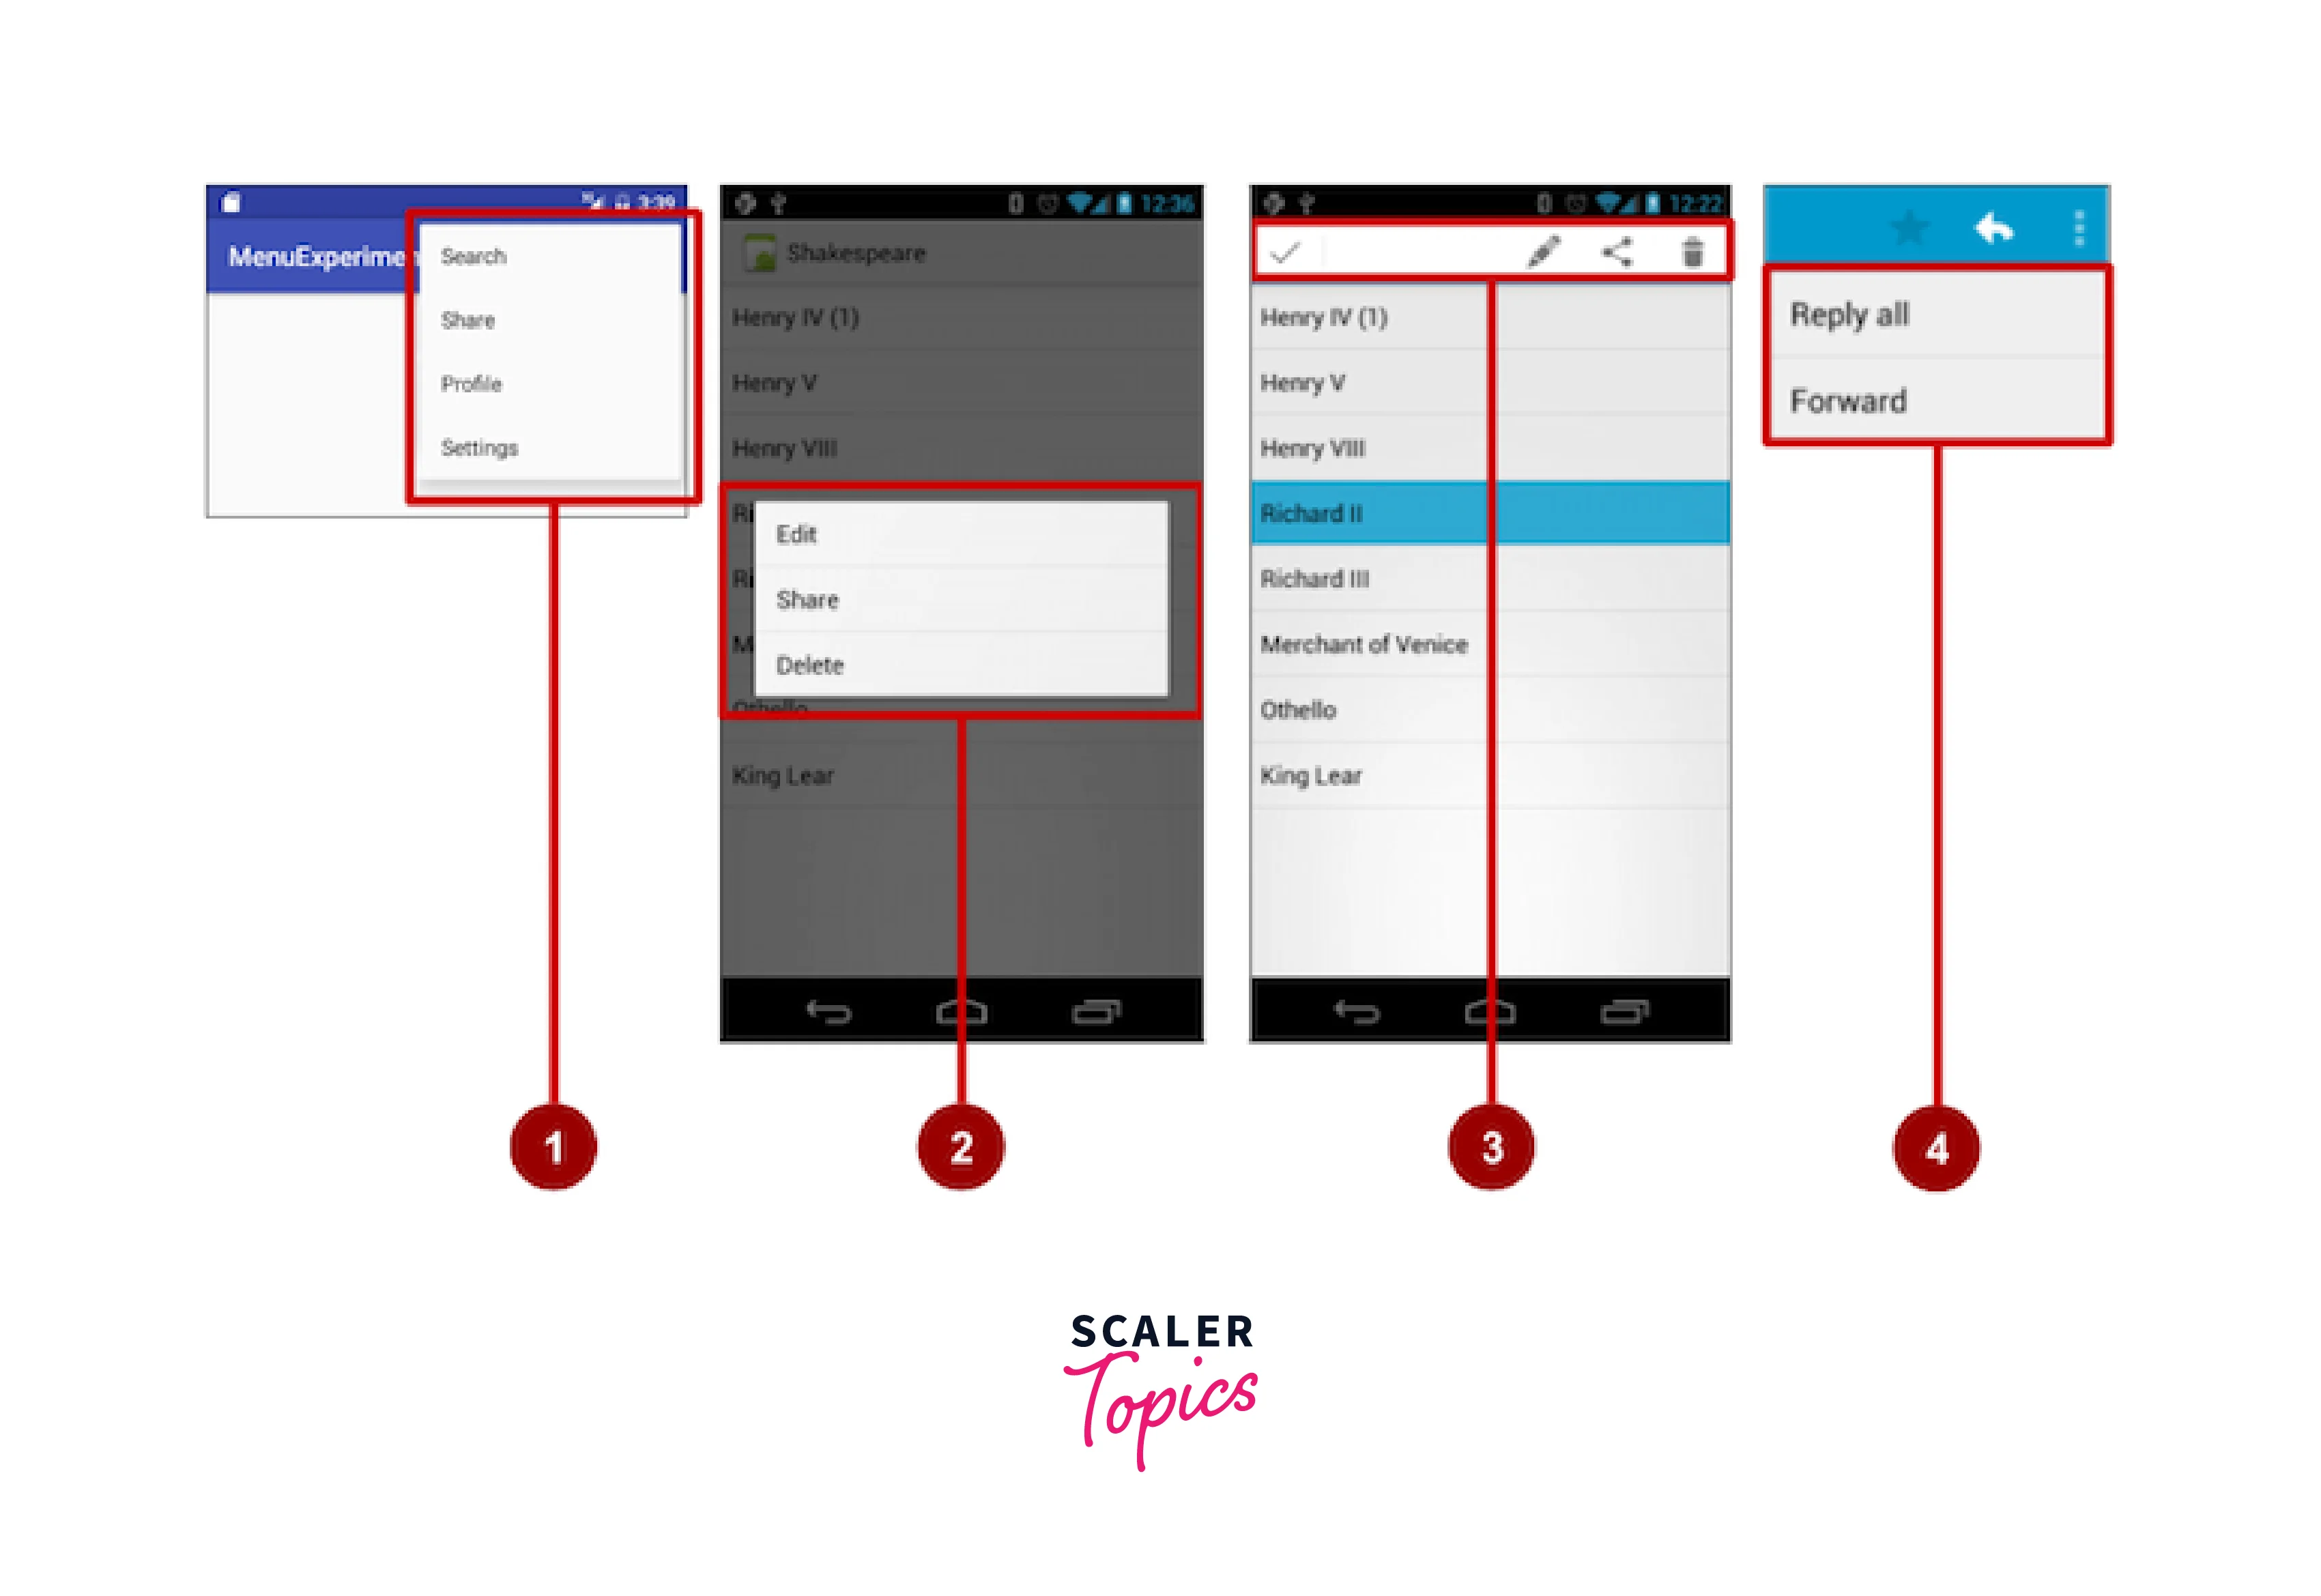
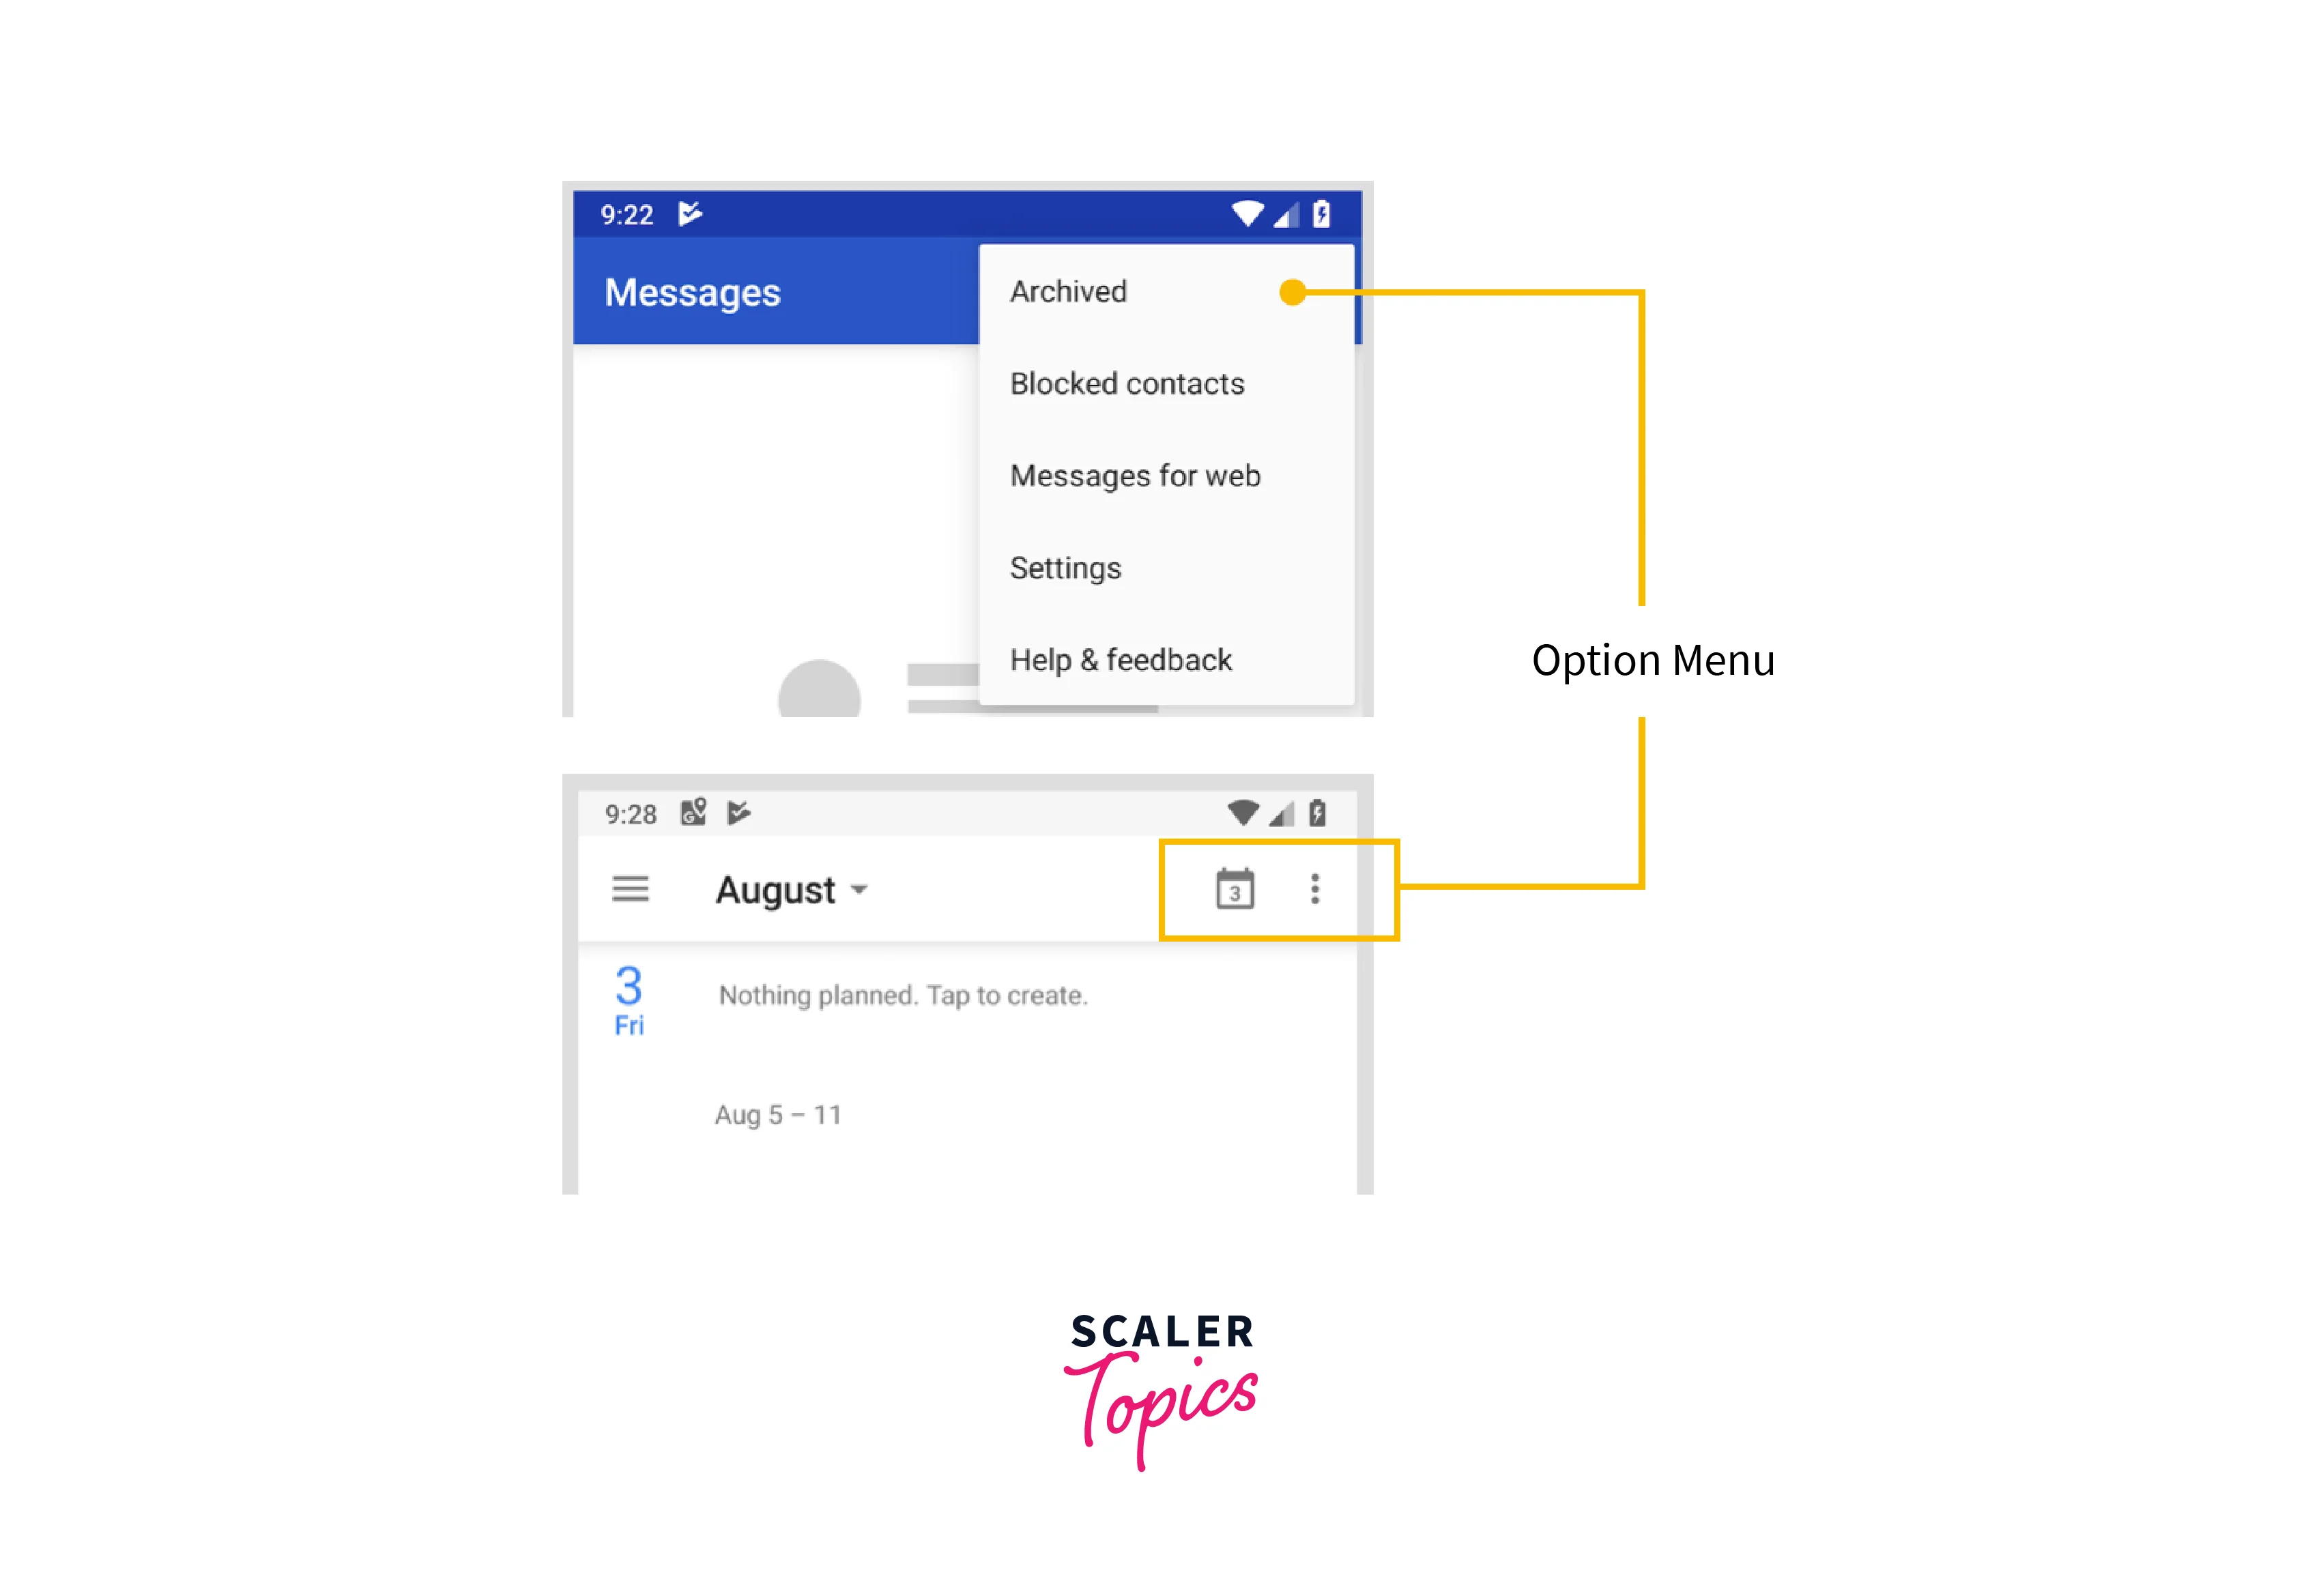
- Options Menu: The Options Menu is a common menu used to provide actions and settings related to the current activity or fragment. It typically appears at the top of the screen when the user presses the menu button or the overflow icon. It allows you to include items such as "Settings," "Share," or "About." To create an Options Menu, you override the onCreateOptionsMenu() method and inflate the menu XML file.
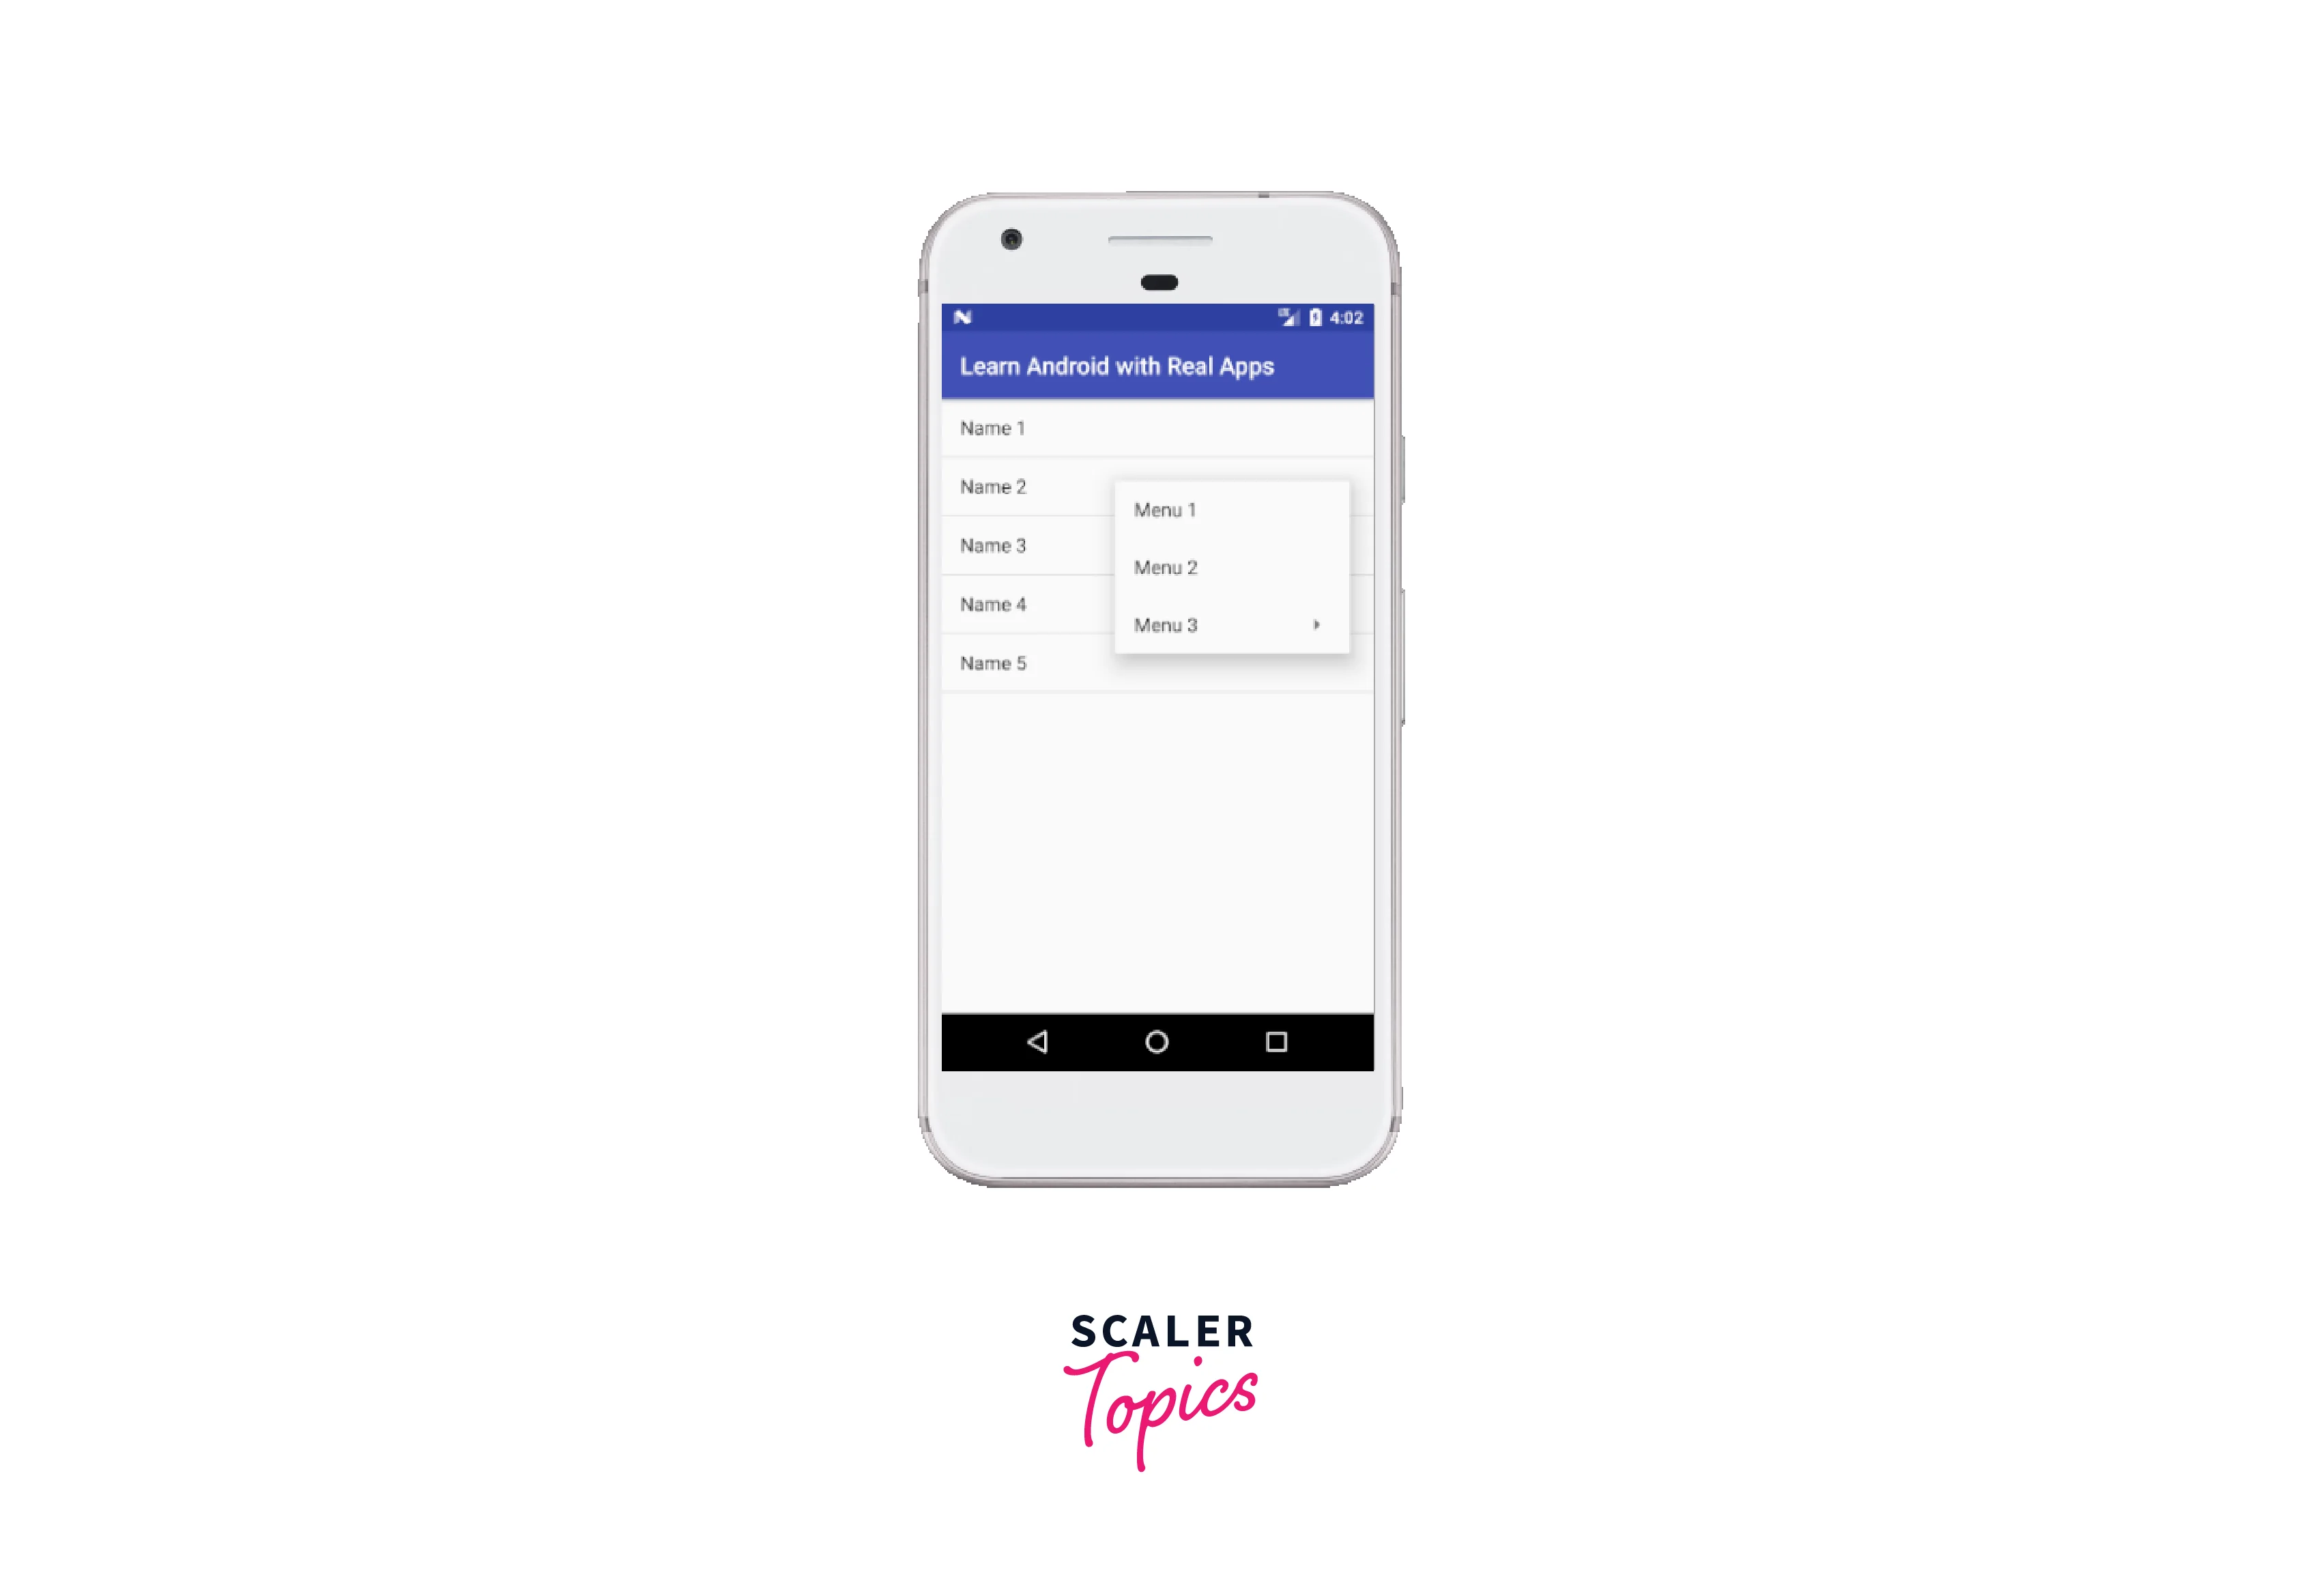
- Context Menu: The Context Menu is a menu that appears when the user long-presses on a view or item. It provides context-specific actions related to the selected item. For example, you can have a context menu with options like "Edit," "Delete," or "Copy." To create a Context Menu, you override the onCreateContextMenu() method and register the view or item for the menu.
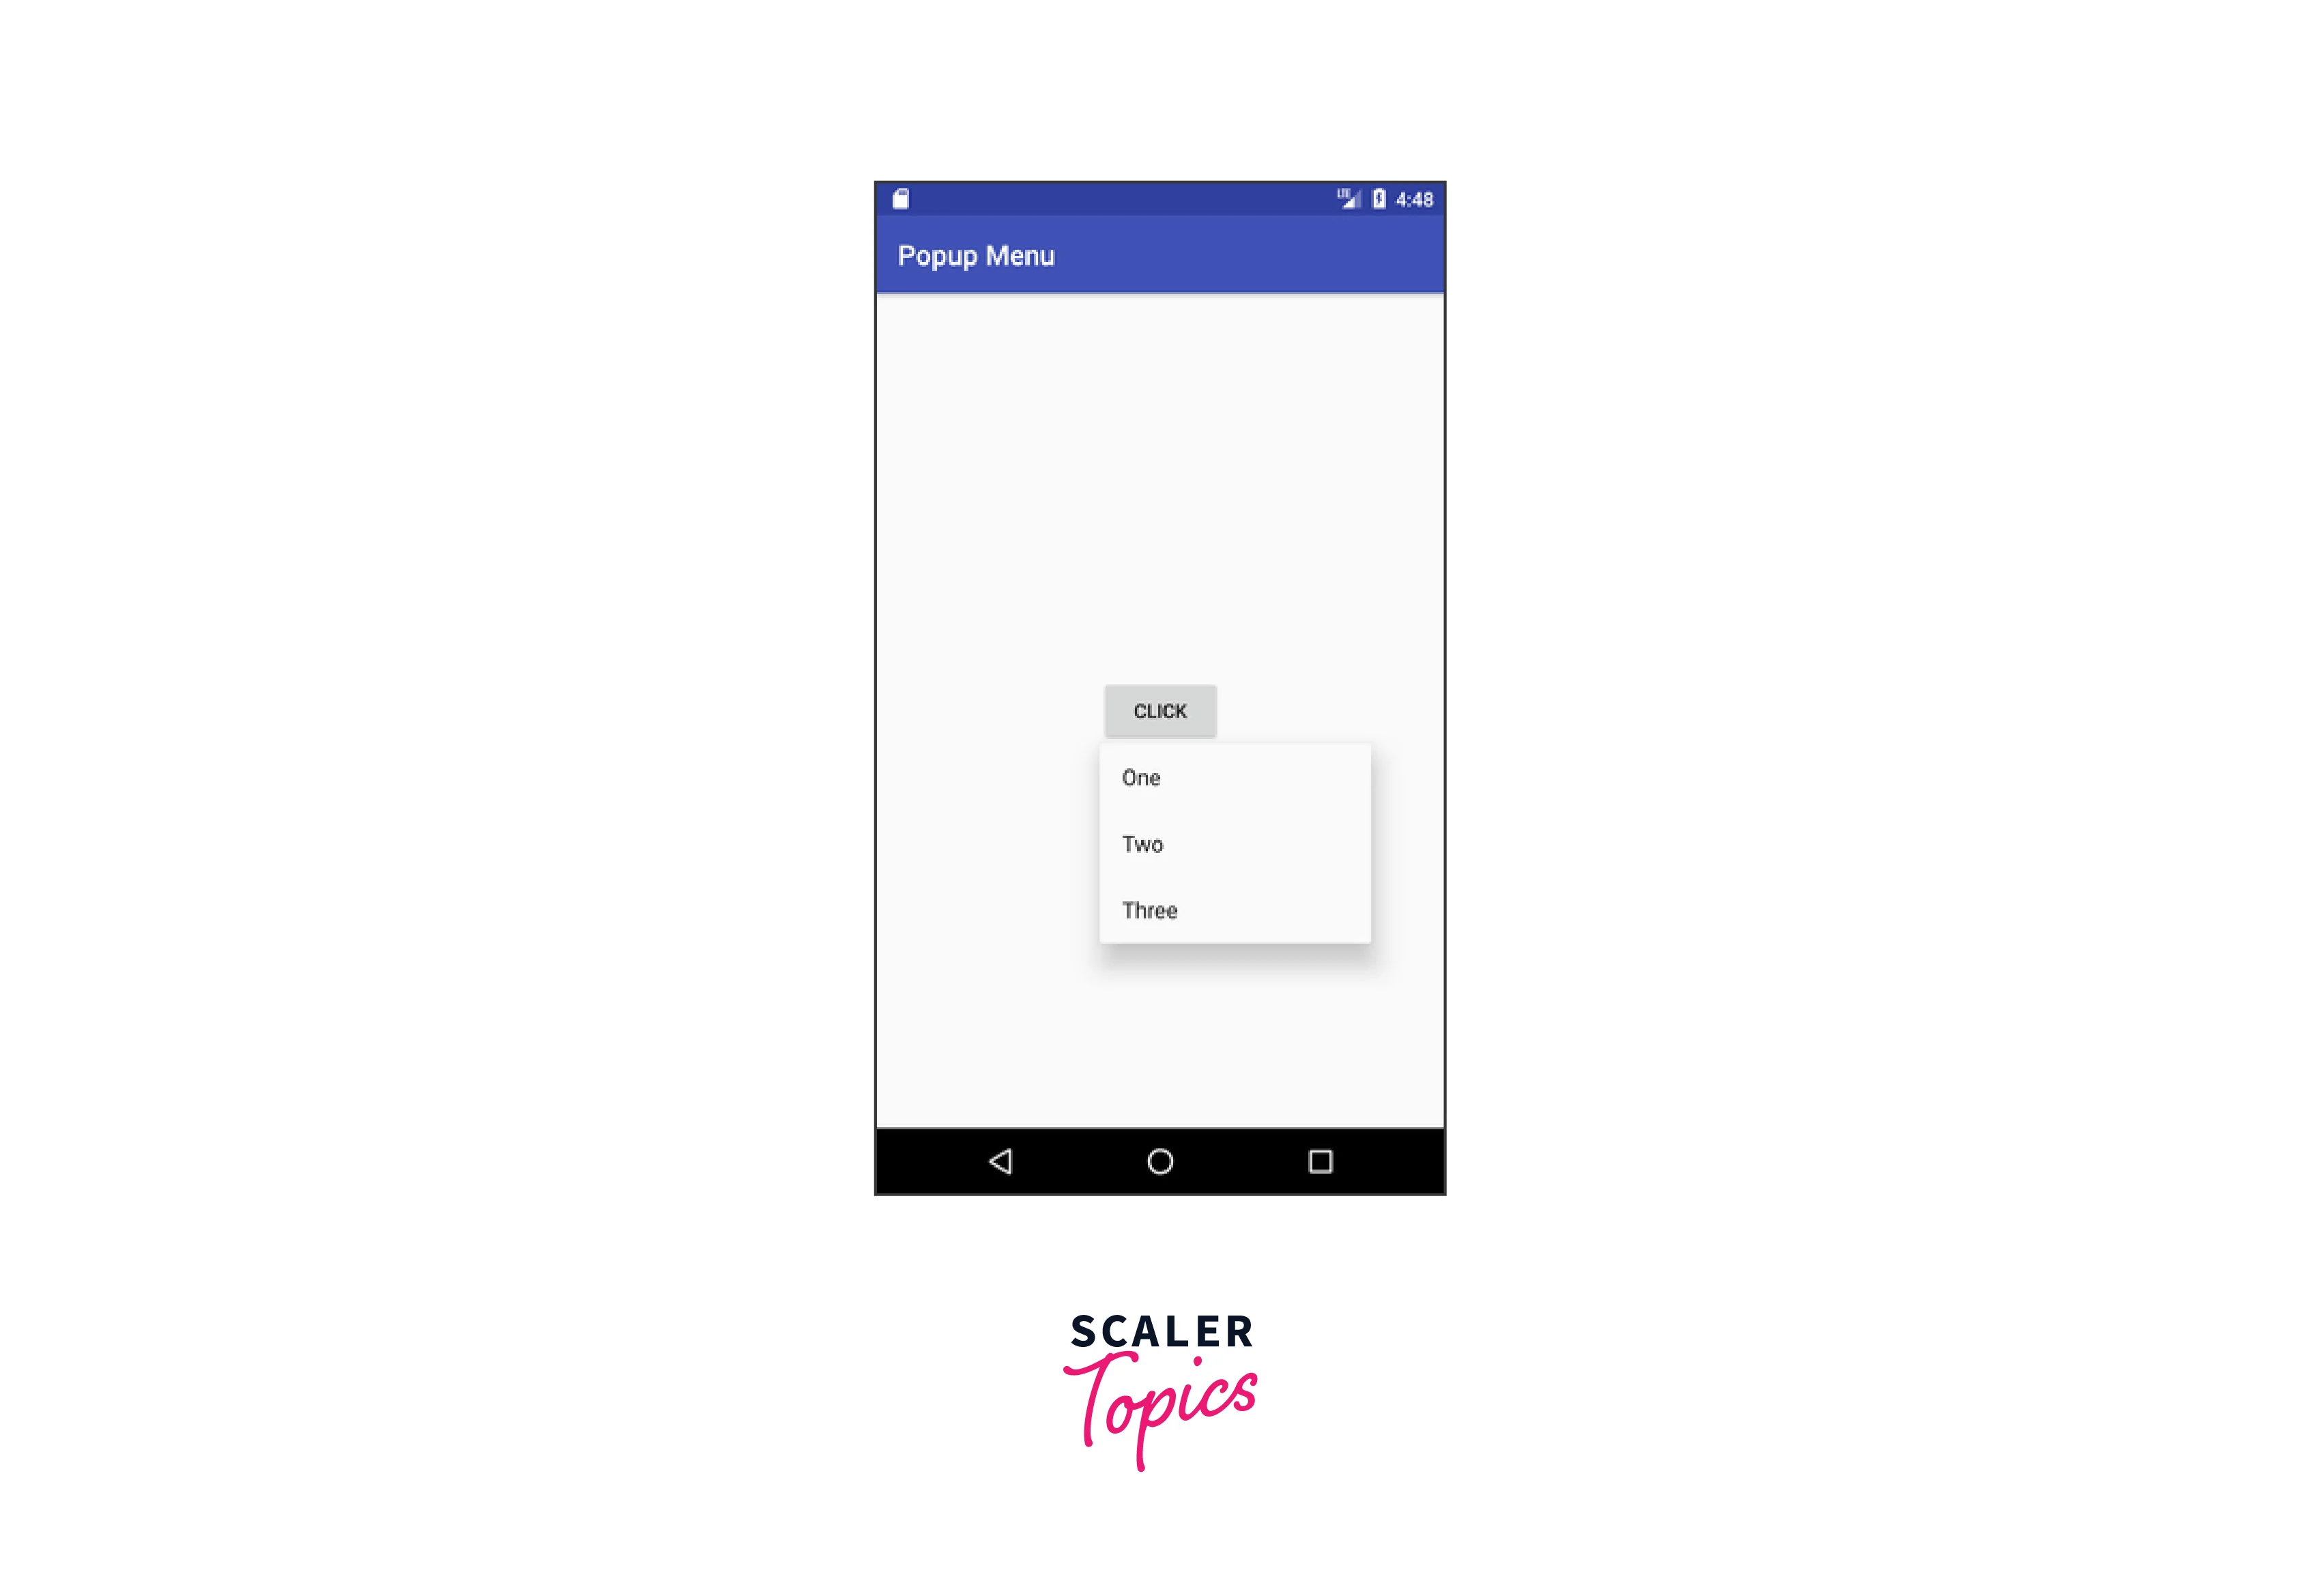
- Popup Menu: The Popup Menu is a menu that appears as a floating window anchored to a view. It is typically used to display a list of actions or options in response to a specific user interaction. For example, you can have a Popup Menu with options like "Sort by Name," "Sort by Date," or "Filter." To create a Popup Menu, you create a PopupMenu object and associate it with a view.
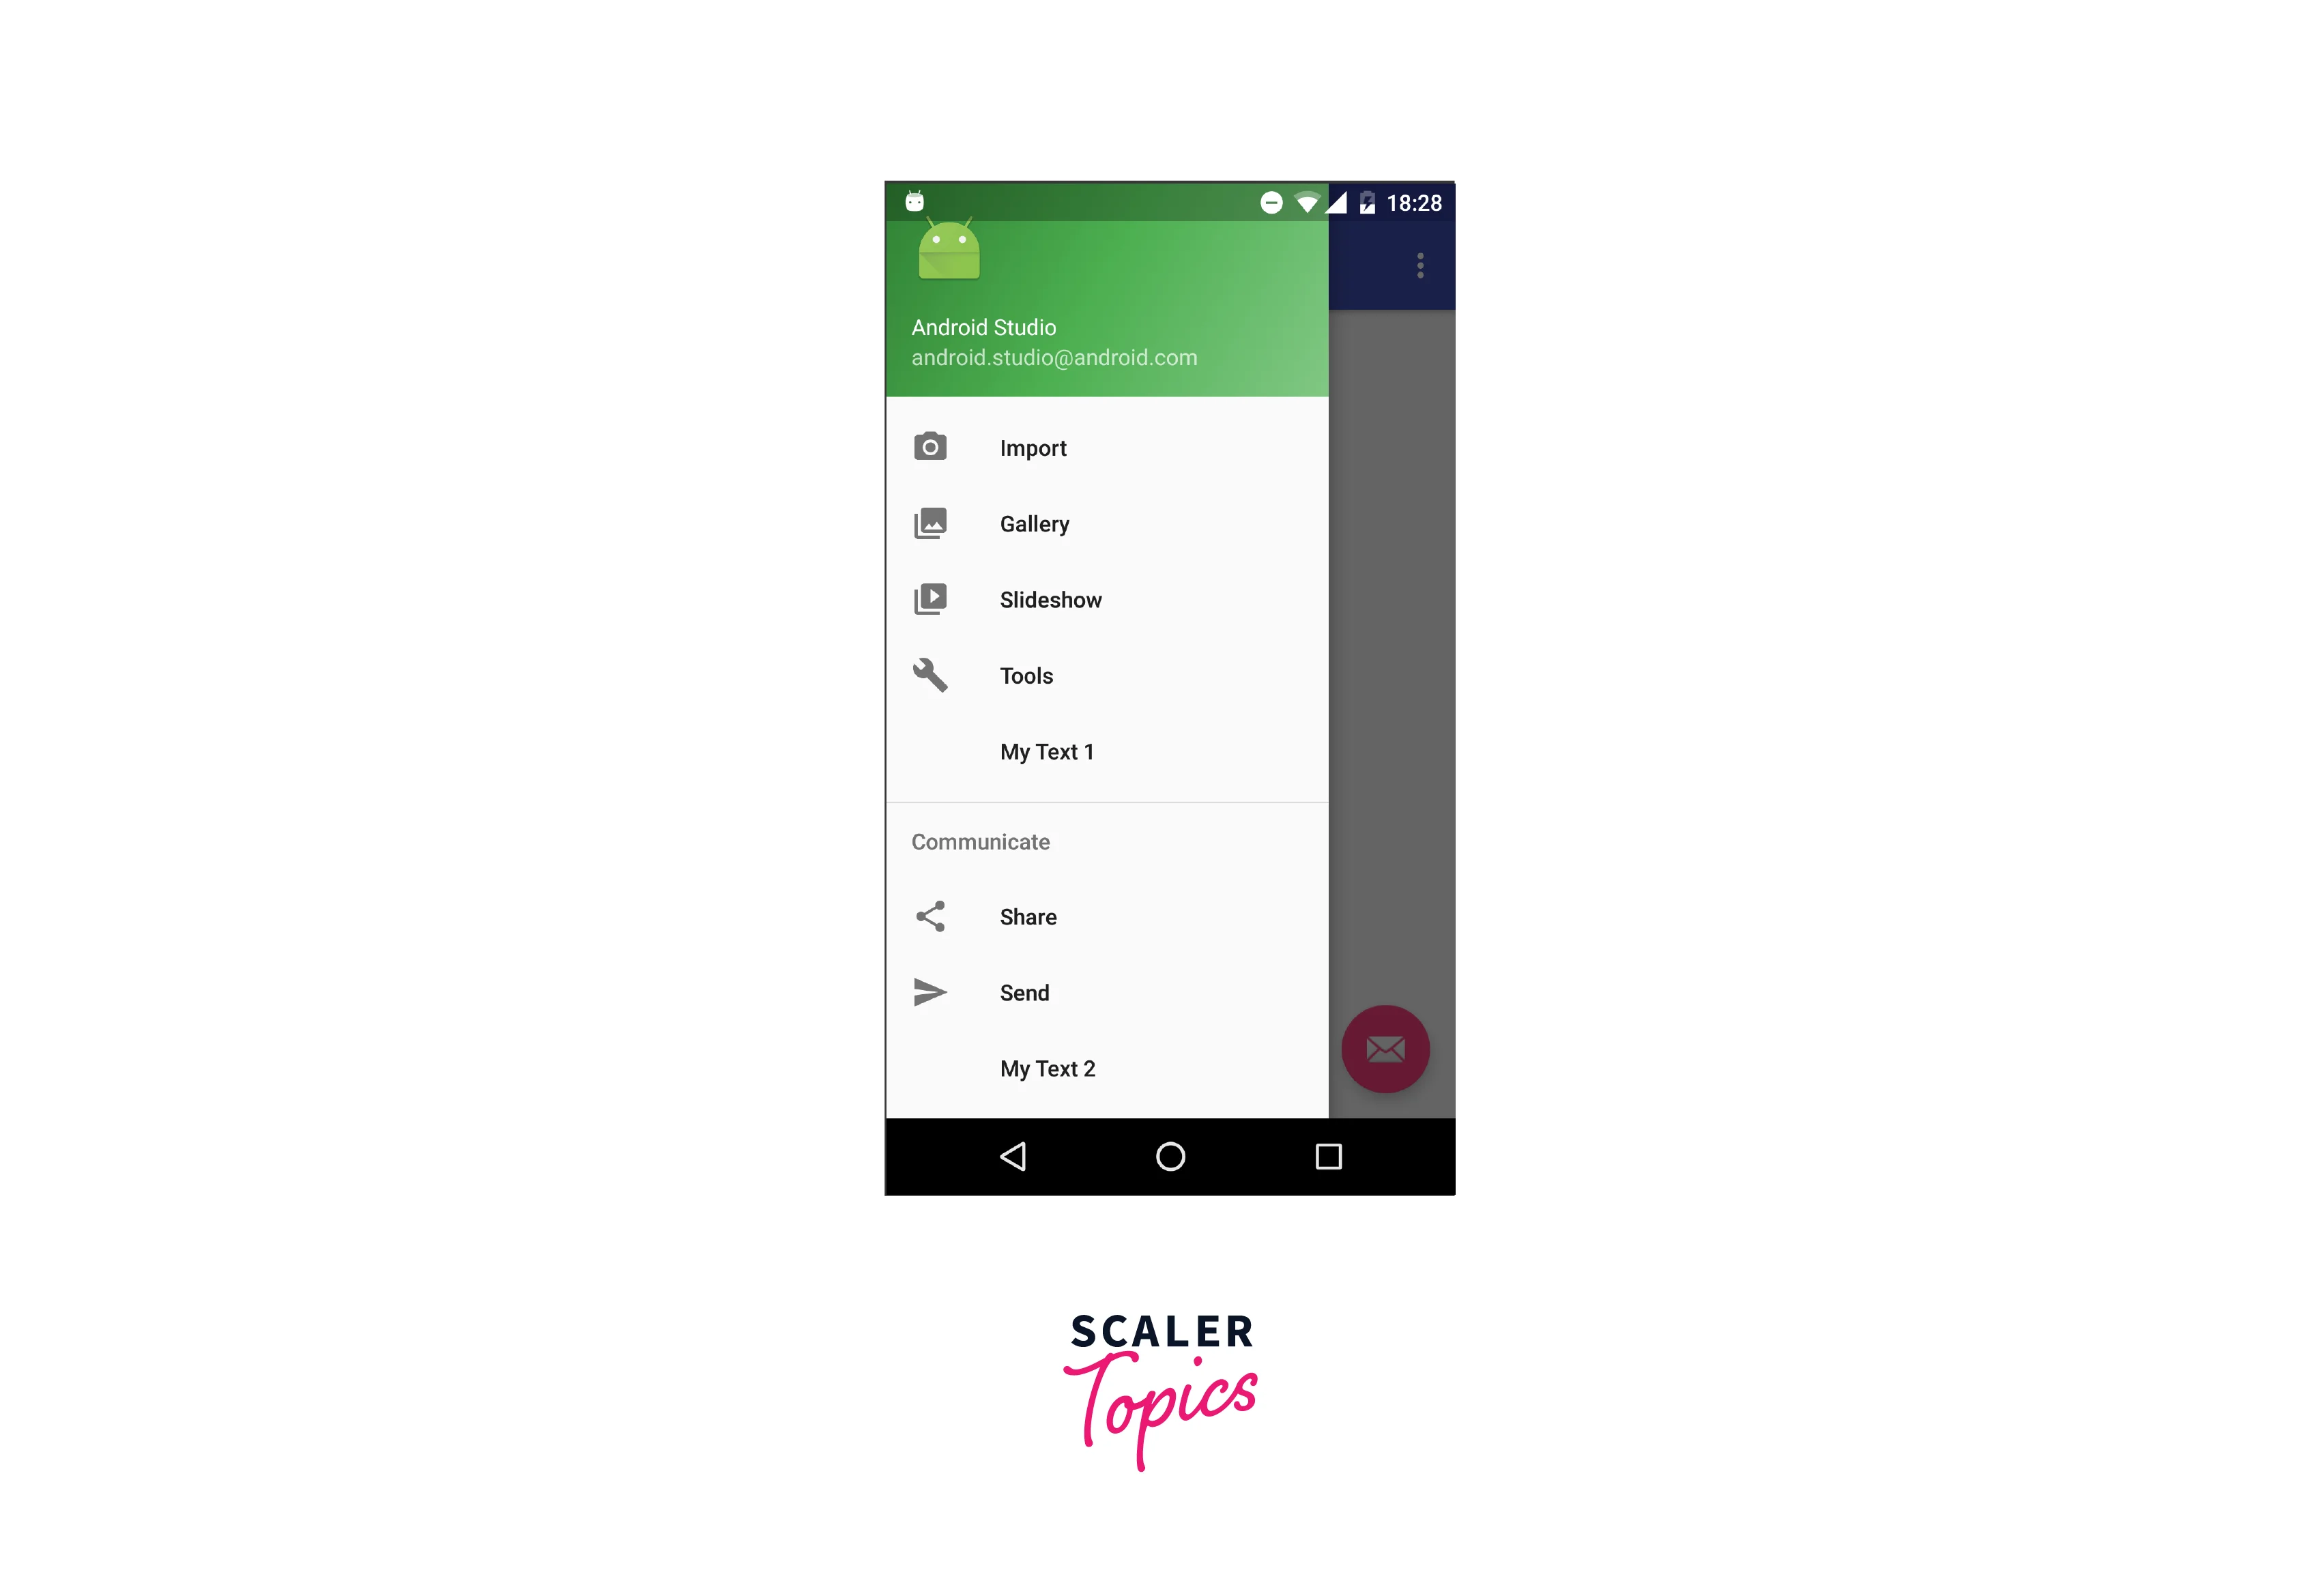
- Navigation Drawer: The Navigation Drawer is a panel that displays app-wide navigation options. It is usually hidden and can be revealed by swiping from the left edge of the screen or by tapping on the hamburger icon. The Navigation Drawer is commonly used to navigate between different sections or screens of an app. To implement a Navigation Drawer, you can use the DrawerLayout and NavigationView components.
- Bottom Navigation: The Bottom Navigation is a menu that appears at the bottom of the screen and allows users to switch between primary destinations in an app. It is commonly used to provide quick access to the main sections or features of an app. Each menu item in the Bottom Navigation is represented by an icon and optional text. To implement Bottom Navigation, you can use the BottomNavigationView component.
- Toolbar: The Toolbar is a flexible and customizable menu-like component that can be placed at the top of an activity or fragment. It is often used as a replacement for the traditional action bar. The Toolbar allows you to add various types of views, including buttons, menus, and search fields. To use a Toolbar, you include
Android Options Menu
Options menus in Android are like a handy toolbox that you can use to give users a bunch of actions or choices in your app. When they tap the menu button or the overflow button on their device, the options menu pops up at the top of the screen. It's a convenient spot for items like settings, help, or anything else that's relevant to your app. To create an options menu, you override the onCreateOptionsMenu() method and inflate the menu XML file. This file defines the menu items and their properties, like the ID, title, and icon. When the user selects an item from the options menu, the onOptionsItemSelected() method gets triggered, and you can handle the selected item to do whatever you want, like changing settings or launching a new activity. Options menus are a nifty way to offer users a variety of choices in a consistent and user-friendly manner. They make it easy for users to access different features and actions within your Android app.
Android Context Menu
Contextual menus are a convenient way to provide users with relevant options based on the item they interact with. When a user performs a long press on a view or area, a menu pops up displaying actions specific to that context. This can be useful for performing actions like editing, deleting, or sharing content. To implement a contextual menu, you need to register the view or component for which you want to show the menu. Then, you define the menu items and their properties in an XML file. You can customize the menu items dynamically based on the selected item or the app's state. When the user selects an item from the contextual menu, you handle it by overriding the onContextItemSelected() method. From there, you can perform the desired action or navigate to a different screen.
Android Popup Menu
Popup menus in Android are a nifty feature that allows you to present a list of choices or actions compactly and contextually. They are triggered by a long press or a click on a specific view. To create a popup menu, you define a menu XML file that lists the items you want to display, along with their properties like ID, title, and icon. Then, in your code, you associate the popup menu with a particular view using the PopupMenu class. When the user interacts with that view, you can show the popup menu by calling the show() method. Once the popup menu is displayed, the user can select an item from the list. You can handle the item selection by setting an OnMenuItemClickListener to the PopupMenu object, allowing you to perform the desired action based on the selected item. Popup menus are a great way to provide users with a visually appealing and intuitive means of accessing various options or actions within your Android app. They offer a seamless and contextual experience, enhancing the overall usability of your app.
Creating an Options Menu
To create an Options Menu in Android, you can follow these steps:
-
Create a new XML file in your project's res/menu directory. This file will define the layout and items of your Options Menu. You can use this menu in activities, fragments, or other UI components where you want to display the menu.
-
Open the XML file and define the menu items using the <item> tag. Give each item a unique ID and set the title and icon attributes. You can also specify other attributes like visibility, order, and shortcuts.
-
In your activity or fragment, override the onCreateOptionsMenu method. This is where you inflate the menu XML file using the MenuInflater and attach it to the activity or fragment. This method is typically called during the creation of the activity or fragment.
-
Override the onOptionsItemSelected method to handle the menu item selections. This method is called when a menu item is selected by the user. Inside this method, you can use a switch statement to perform different actions based on the selected item's ID. You can also handle any exceptions or errors that may occur during the execution of the menu item's action.
Here's an example code snippet to demonstrate the process:
Make sure to replace R.menu.menu_options with the ID of your menu XML file. The onCreateOptionsMenu method is typically placed in the onCreate method of your activity or fragment, while the onOptionsItemSelected method is placed within the same activity or fragment class.
Creating a Contextual Menu
To create a Contextual Menu in Android, you can follow these steps:
- Create a new XML file in your project's res/menu directory. This file will define the layout and items of your Contextual Menu. Make sure to provide context for code snippets by explaining where and when to use them in an Android project.
- Open the XML file and define the menu items using the <item> tag. Give each item a unique ID and set the title and icon attributes. If you need to handle exceptions or errors, you can include error handling or exception handling practices in the code examples where applicable.
- In your activity or fragment, override the onCreateContextMenu method. Inflate the menu XML file using the MenuInflater and attach it to the view or component where you want the Contextual Menu to appear. If you have specific code that should be placed in onCreate, onCreateOptionsMenu, or other relevant methods, please mention it.
- Override the onContextItemSelected method to handle the menu item selections. Use a switch statement to perform different actions based on the selected item's ID. If you need to handle exceptions or errors, you can include error handling or exception handling practices in the code examples where applicable.
Here's an example code snippet to demonstrate the process:
Make sure to replace R.menu.menu_contextual with the ID of your menu XML file.
Creating a Popup Menu
To create a Popup Menu in Android, you can follow these steps:
- Create a new XML file in your project's res/menu directory. This file will define the layout and items of your Popup Menu.
- Open the XML file and define the menu items using the <item> tag. Give each item a unique ID and set the title and icon attributes.
- In your activity or fragment, create a reference to the view that will trigger the Popup Menu.
- Override the onCreateOptionsMenu method in your activity or fragment. Inflate the menu XML file using the MenuInflater and attach it to the menu.
- Override the onOptionsItemSelected method to handle the menu item selections. Use a switch statement to perform different actions based on the selected item's ID.
- Finally, call the show() method on the Popup Menu to display it when the trigger view is clicked.
Here's an example code snippet to demonstrate the process:
Make sure to replace R.menu.menu_popup with the ID of your menu XML file and R.id.trigger_view with the ID of the view that will trigger the Popup Menu.
Creating Menu Groups
To create menu groups in Android, you can follow these steps:
-
Create a new XML file in the res/menu directory of your Android project, such as menu_main.xml. This is where you'll define the menu items.
-
Inside the XML file, use the <item> tag to define the menu items. Assign unique IDs to each item using the android:id attribute.
-
In your activity or fragment, override the onCreateOptionsMenu(Menu menu) method. This is where you'll inflate the menu XML file.
-
Use the MenuInflater and the inflate() methods to inflate the menu XML file and create the menu object. This should be done in the onCreateOptionsMenu() method.
-
To create a menu group, assign the same group ID to multiple menu items using the setGroup() method. You can customize the order of the items using the setOrder() method.
-
Customize the menu items and their properties as needed, such as setting icons or handling click events. You can do this in the onCreateOptionsMenu() method.
-
Return true from the onCreateOptionsMenu() method to display the menu.
Here's an example code snippet in Java:
In this example, we create a menu group by assigning the same group ID (groupId) to three menu items (itemId1, itemId2, and itemId3). The code should be placed in the onCreateOptionsMenu() method. Remember to handle any exceptions or errors that may occur during the menu creation process.
Conclusion
- Android menus are user interface components that present a list of options or actions for users to choose from. They enhance the interactivity and usability of an app.
- There are different types of menus in Android, including the Options Menu, Context Menu, and Popup Menu. Each type serves a specific purpose and is triggered in different ways.
- The Options Menu typically appears at the top of the screen and contains actions related to the current activity or fragment. It provides a convenient way for users to access common app functionalities.
- Context Menus, on the other hand, are triggered by long-pressing on a view. They display a set of options that are specific to the selected view, allowing users to perform contextually relevant actions.
- Popup Menus are floating menus that appear anchored to a specific view. They provide a compact and visually appealing way to present options or actions, making them ideal for situations where screen space is limited.