<meter> Tag in HTML

Overview
The <meter> tag helps to display a progress bar-like functionality to show a measurement of scalar data within a known range or a fraction of data.
The <meter> tag has attributes like value, min, and max, which take number input to show the meter bar. To revise the basics of HTML tags, head over to HTML Tags.
Introduction
The <meter> tag comes in pairs. The content is written between the opening (<meter>) and closing (</meter>) tags.
Attributes of <meter> Tag
The <meter></meter> tag support both global and event attributes.
| Attribute | Value | Description |
|---|---|---|
| form | form_id | Link the meter elements with a specific label tag. |
| high | Number | The lower numeric bound of the high end of the measured range. |
| low | Number | The upper numeric bound of the low end of the measured range. |
| max | Number | Sets the limit for the maximum known range to show the measurement of scalar data. |
| min | Number | Sets the limit for a minimum known range to show the measurement of scalar data. |
| optimum | Number | Optimal value for the range, the default value is- red: if the value is lower than low, yellow: if the value is between low and high, green: if the value is greater than high |
| value | Number | Value between the min and max range. If the range is not given, the value is given from 0 to 1(inclusive). |
How to Use <meter> Tag in HTML?
To use the meter tag, we have to write opening and closing <meter></meter> tags, then have to specify its value, min, and max attributes. To show a measurement of scalar data within a known range, we have to specify the value for min and max but to show a measurement of fraction data. We need only the value attribute.
Usage: meter tag can be used to show disk usage or anything similar where we show a measurement of scalar data within a known range or fraction value.
Example
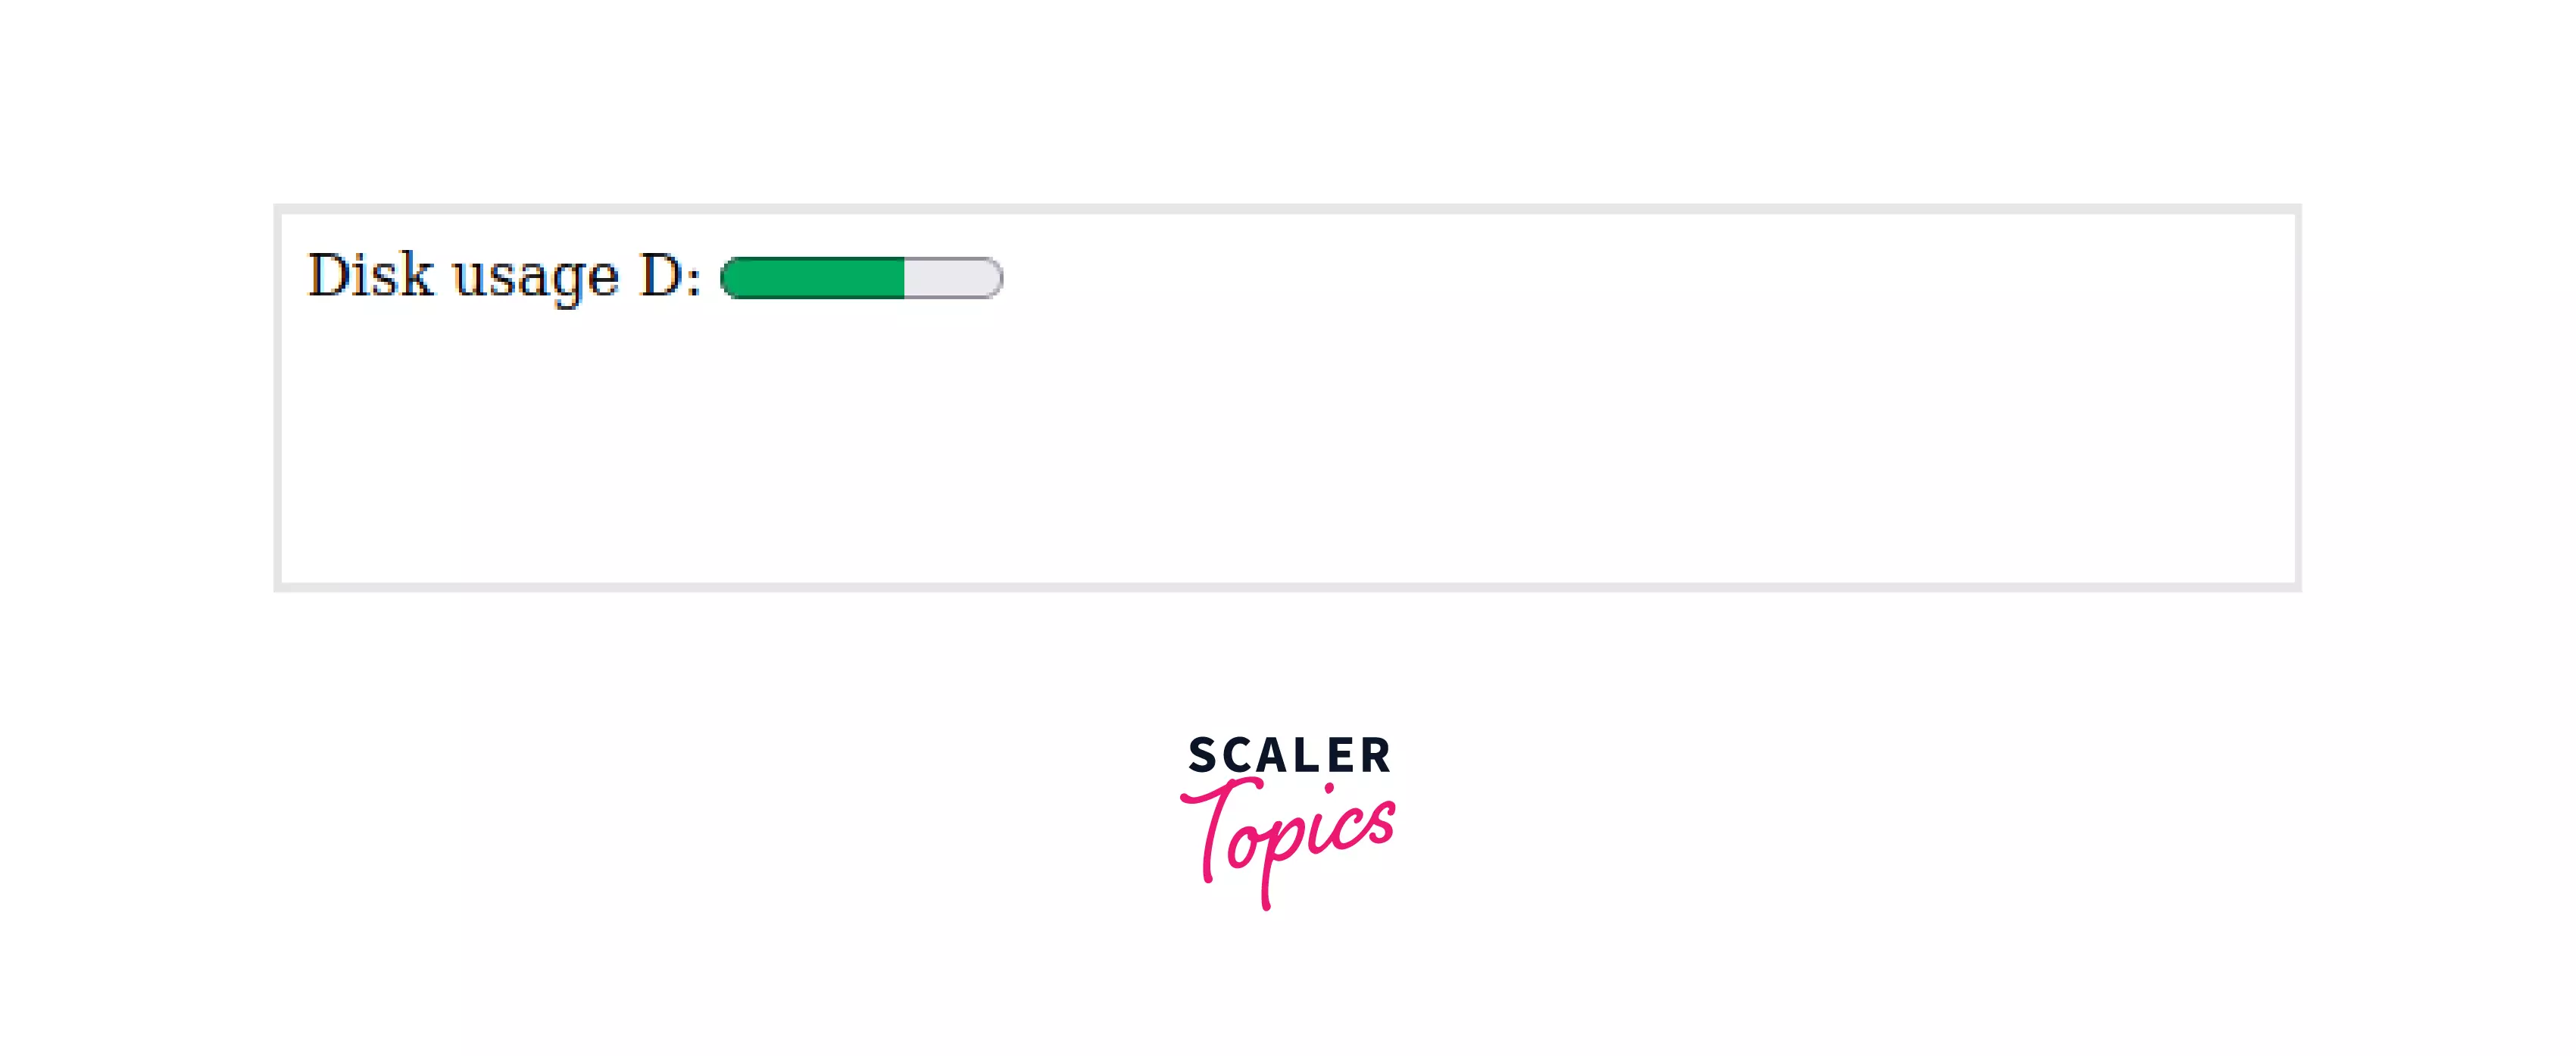
Output:

Above, we used the <meter></meter> tag to show the 65% used disk in the memory. To do so, we specify a value-to-value attribute that takes number input from 0 to 1(inclusive).
Note: The <meter></meter> tag should not be used to show the progress bar. For that purpose, use the <progress></progress> tag.
Examples
Example 1: Use the Meter Element to Measure Data within a Given Range
To measure data within a given range, we have to use the min and max attributes which sets the minimum and maximum range of data value for the <meter></meter> tag.
Output:

Above, we are using the <meter></meter> tag with min and max attributes to give a range of our data and specify the measurement of scalar data within the range using the value attribute.
Example 2: High and Low Range Example
To set a low and high range for data, we have to use the low and high attributes, which sets the low and high values of data for the <meter></meter> tag.
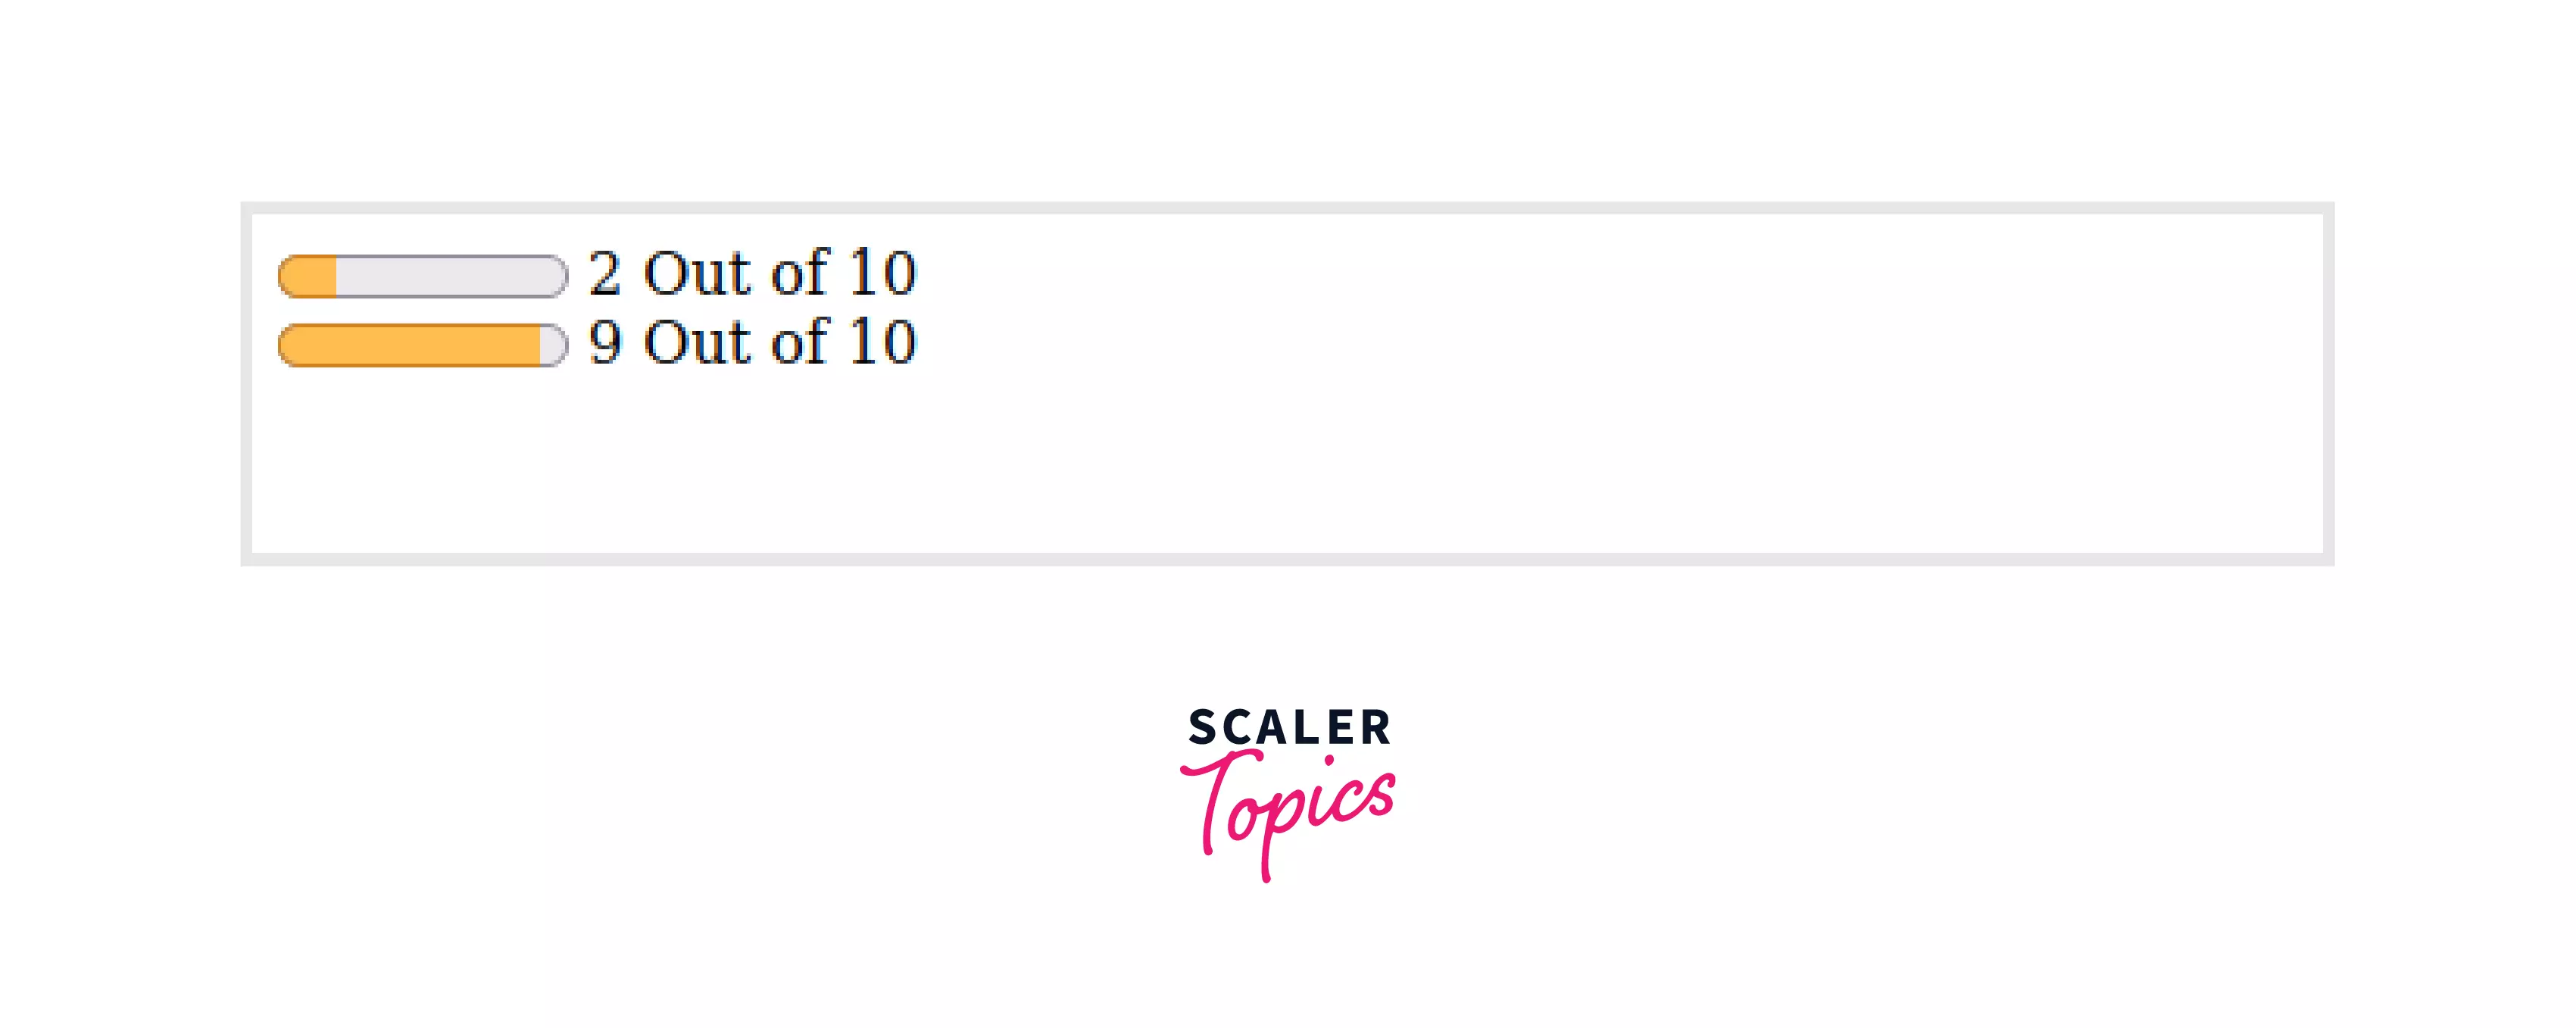
Output:

Above, we used the <meter></meter> tag with min, max, high, and low attributes to measure scalar data within a given range and set a high and low limit on it. If the given data value is lower than the specified low or higher than high, <meter></meter> will show a warning sign by changing the default color from green to orange.
Note: If the value of high is greater than the value of max, the new value of high will be equal to the value of max. Same with the low, if the value of low is smaller than min, the new value of low will be equal to the value of min.
Styling the HTML <meter> Tag
To style the <meter></meter> tag, we can use the pseudo-classes that are separate for major browsers. Here, will use some pseudo-classes provided by the Webkit/Blink fallback:
| Pseudo-class | Description |
|---|---|
| -webkit-meter-optimum-value | It is the current value of the meter element. By default, it's green when the value attribute is in between the low and high range. |
| -moz-meter-bar | It is the current value of the meter gauge that can be used to style the properties of the meter gauge value. |
Output:

Above, we used the pseudo-class to style the <meter></meter> tag using CSS and then applied the required styling. As a result, we can see a styled meter bar on the screen.
Note: Output may differ according to the browser.
Accessibility Concerns
The <meter></meter> tag works all alone to show the measurement of data, but it does not provide any information to the browser about our data, which can reduce accessibility. So, for accessibility purposes, we have to use the <label></label> tag, which labels the <meter></meter> tags and let the browser know about the measurement of data.
Example:
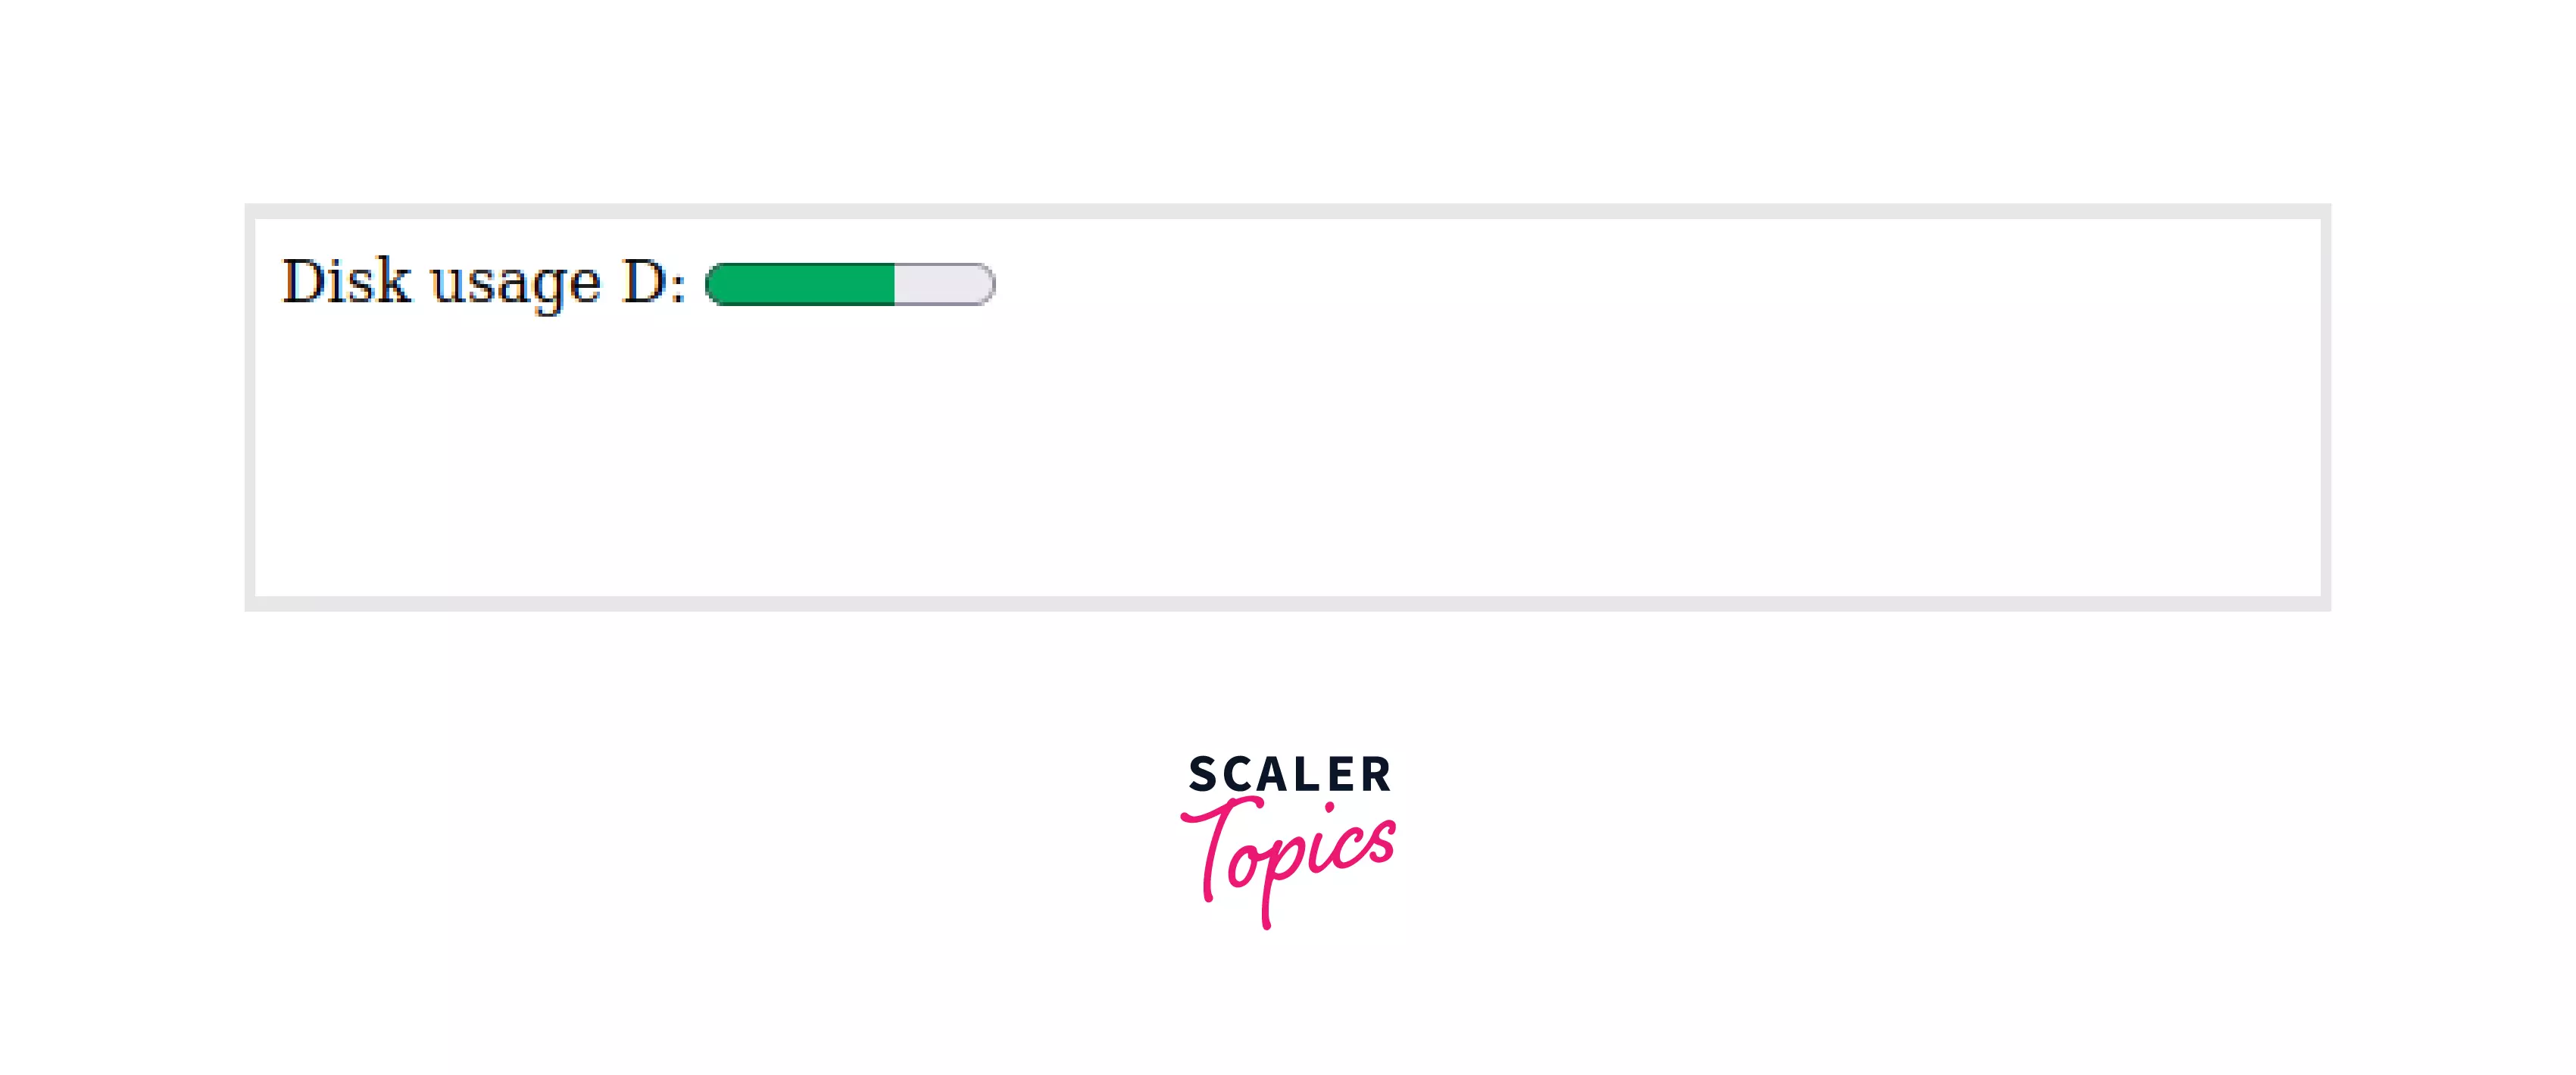
Output:

Above, we used the <meter></meter> tag to measure the fraction data and the <label></label> tag to add a label to our data. As a result, we improved the accessibility of search engine crawlers and screen readers.
Browser Support
- Chrome: Yes
- Firefox: Yes
- Safari: Yes
- IE: No
- Edge: Yes
- Opera: Yes
Learn More
-
The <label></label> helps to label the elements and learn about the <label> Tag in HTML.
-
Learn about the Attributes in HTML.
Conclusion
- <meter> tag is used to show the measurement of scalar data in a given range or fraction data.
- <meter> tag should always be used with <label> tag to improve the accessibility.
- To implement the progress bar we should use <progress> tag and avoid using the <meter> tag.
- We can change the default style of the meter tag using custom CSS.
Related tags
- <progress></progress>
- <label></label>
- <form></form>
