Connect to MongoDB
Overview
This article provides an overview of connecting to MongoDB, highlighting the various tools and methods available for establishing a connection. It covers essential concepts like connection details, authentication credentials, and advanced connection options to ensure a secure and efficient connection. The article also discusses fundamental database operations like data insertion, querying, and retrieval that can be performed once connected to MongoDB.
How to Connect to MongoDB?
To connect to MongoDB, you need to install MongoDB on your local machine or use a remote MongoDB deployment such as MongoDB Atlas. After installation, launch the MongoDB server using the mongod command and open a new terminal window to connect to the server using the mongo shell.
Following is the syntax for its implementation.
Once connected, use the use<database> command to switch to a specific database, and use commands such as db.collection.find() and db.collection.insertOne() to interact with the collections in that database. If authentication is enabled, provide your username and password when prompted.
You can also use a MongoDB driver in your preferred programming language to interact with the database.
Connect to Local MongoDB Setup Using mongosh Shell
The following is the step to step guide to connecting to the local MongoDB setup using the mongosh shell:
Prerequisites
You can download and install MongoDB on your local machine by visiting this website.
Connect to Database Deployment
You should follow these steps to connect to database deployment:
-
Open your terminal (command prompt or PowerShell for Windows, Terminal for Mac, or Linux).
-
Type mongosh to start the mongosh shell. This should launch the shell and show the version of MongoDB you are using.
- Type mongo to connect to the default MongoDB deployment on your local machine. This should connect you to the MongoDB server.
Note: If you have a custom MongoDB deployment, you can specify the connection string with the appropriate options.
For example, mongo "mongodb://localhost:27017/scalerdb" would connect to the scalerdb database on a MongoDB instance running on the local machine.
After getting connected, you can switch to any specific database using the use<database> command.
For example, using scalardb would switch to the scalardb database.
Now, to insert a document into a collection, we can use the insertOne command. In this example, we'll insert a document with fields such as, writerName and age into a collection named writers.
This will insert a document with the fields writerName set to "Alankrit" and age set to 21 into the writers collection.
We can also find a document using the find command. Let’s take an example to find all the documents in the writers collection.
This will find all documents in the writers collection and return them in a cursor. The output should look something like this:
Note that the _id field is automatically generated by MongoDB when the document is inserted.
Connect to MongoDB Atlas Using mongosh Shell
Moving forwards, let’s see how to connect to MongoDB Atlas using mongosh shell.
Prerequisites
- You should have installed mongosh shell in your system.
- You should have a MongoDB Atlas account.
Connect to Database Deployment
- Login into your MongoDB Atlas account.
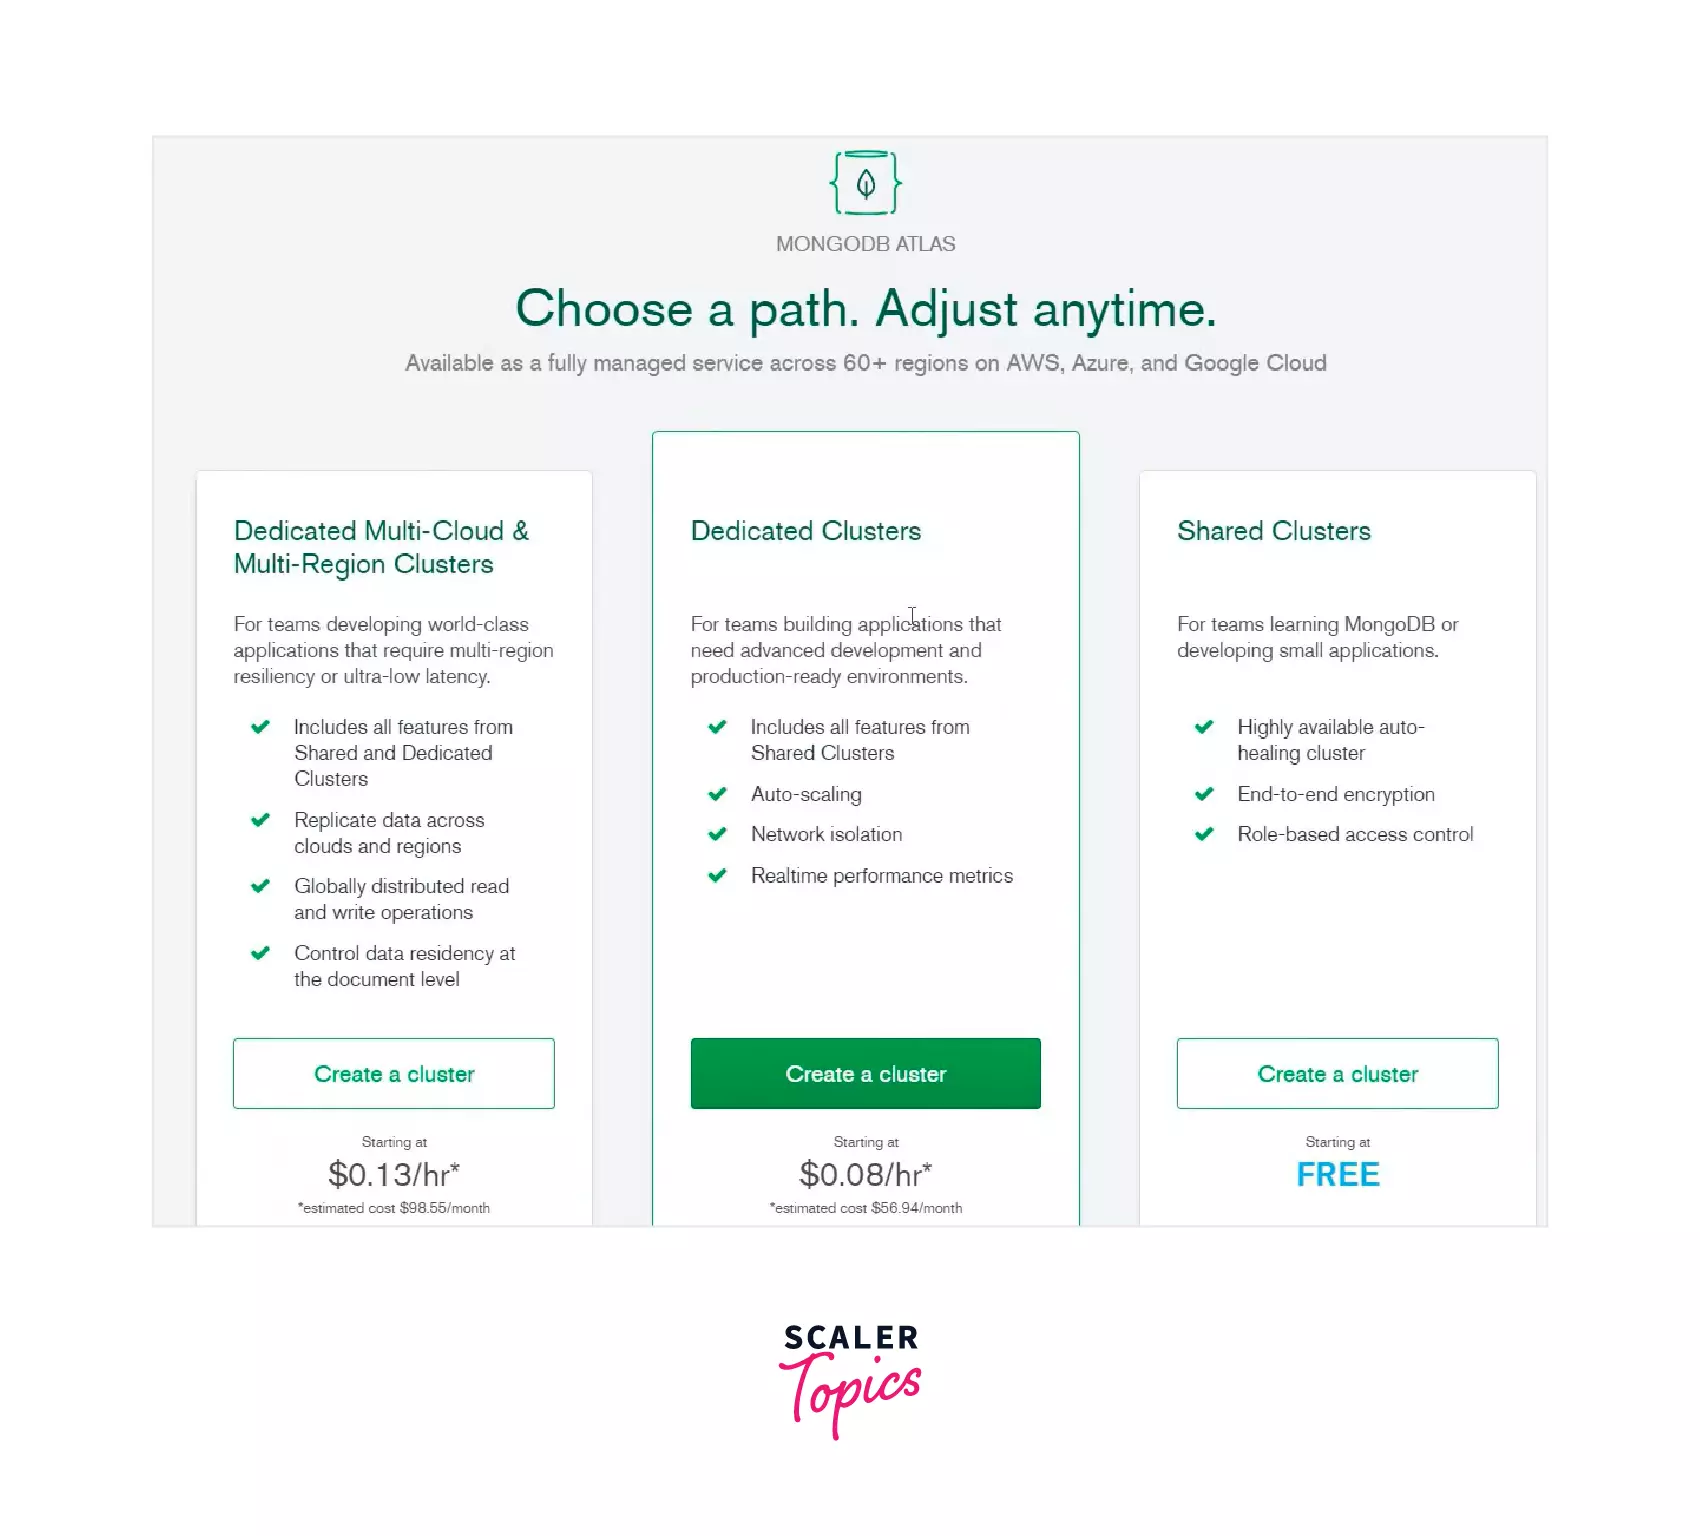
- Once logged in, create a new project and cluster by following the on-screen instructions.
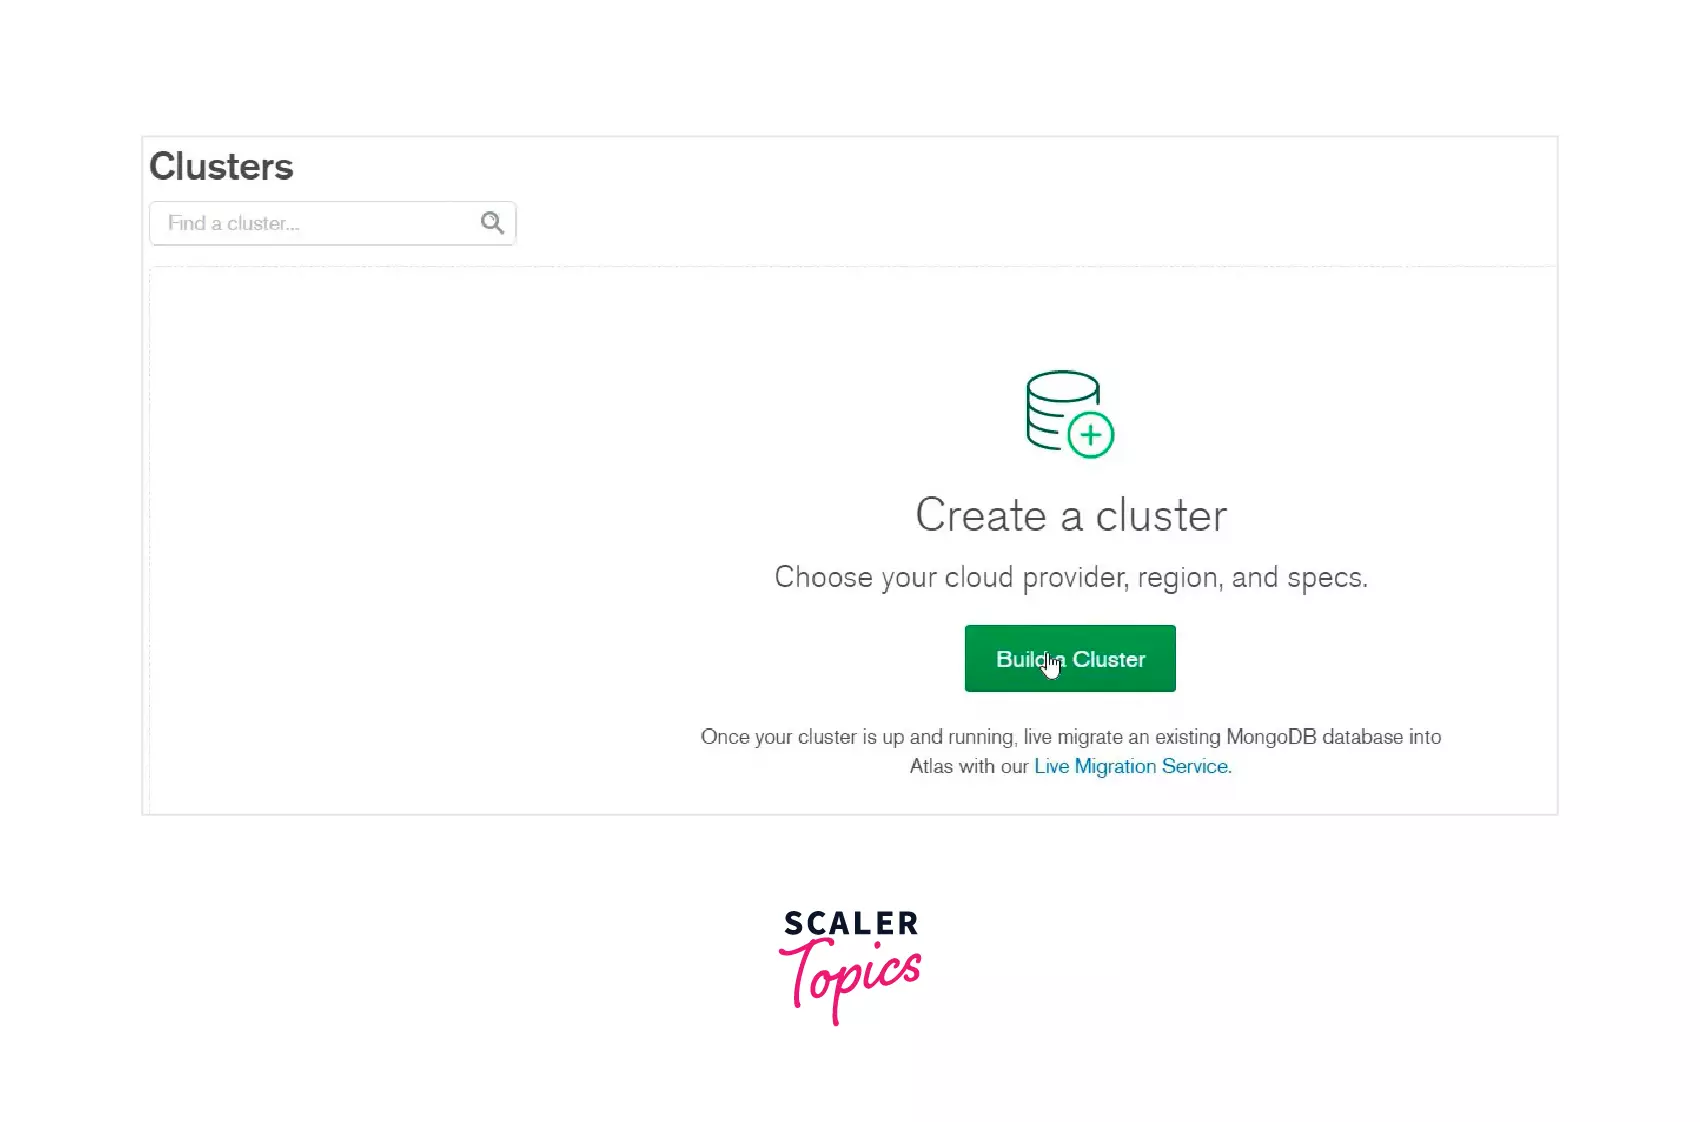
- Afterwards, you can choose the free tier option to get started.
- After creating the cluster, click on the "Connect" button to access the connection information for your deployment.
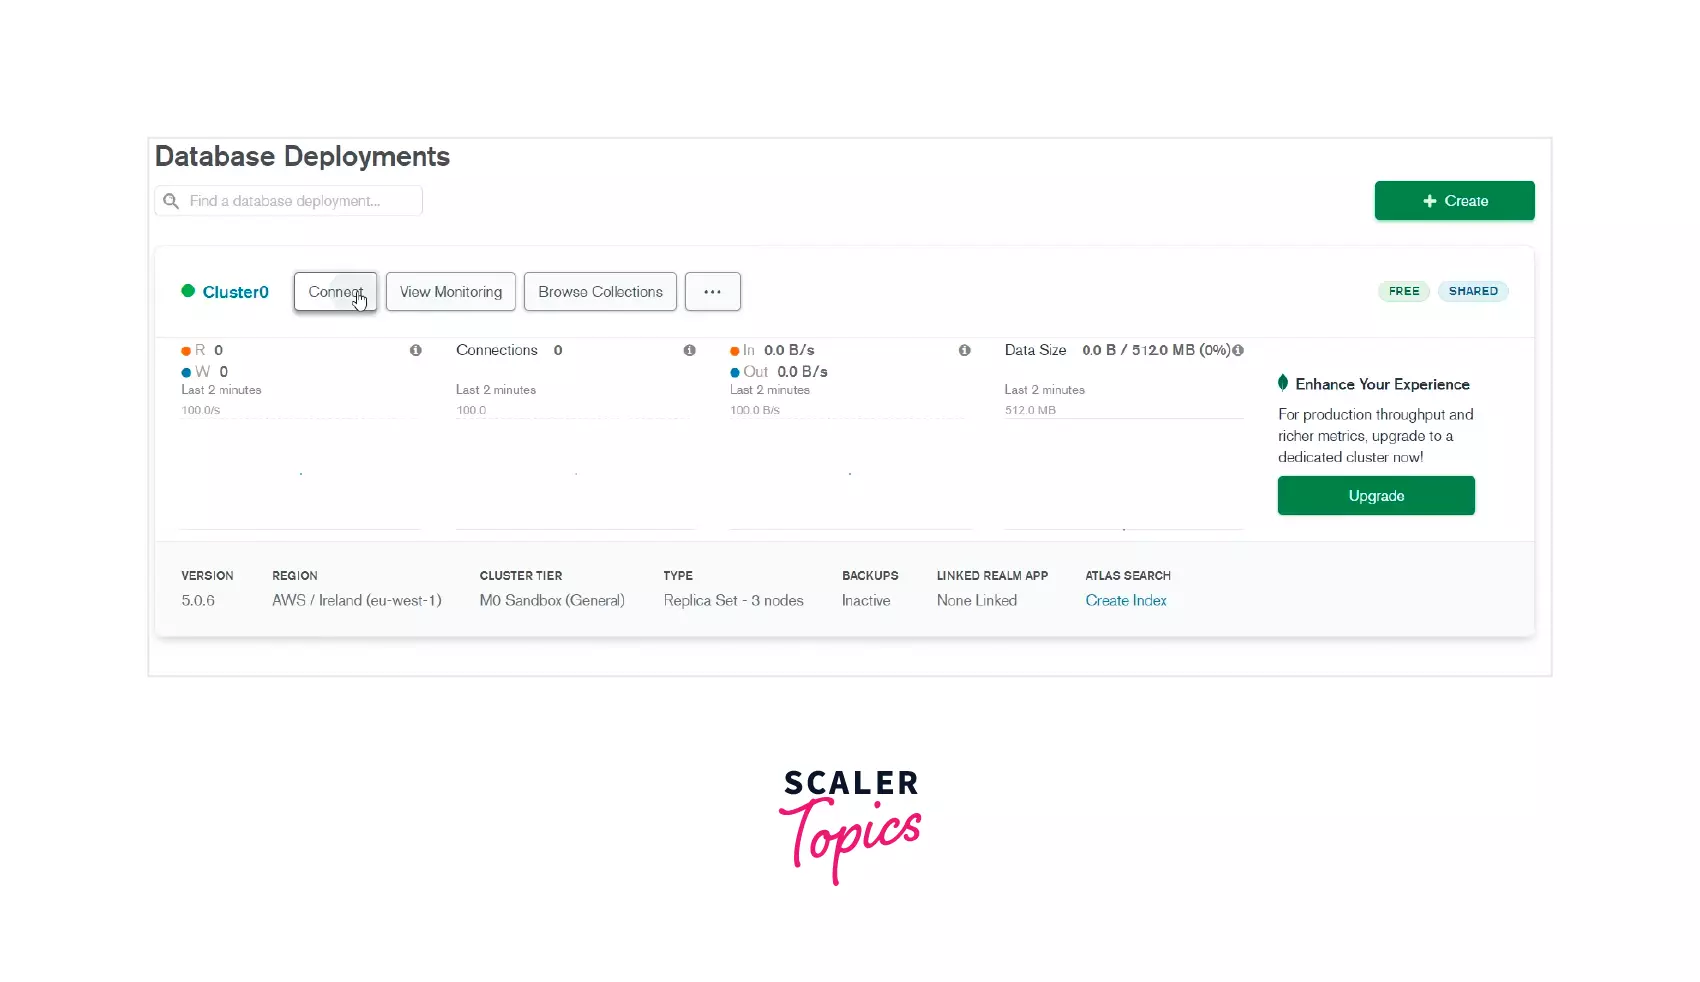
- Select "Connect with the MongoDB shell" in the connection dialogue and copy the connection string.
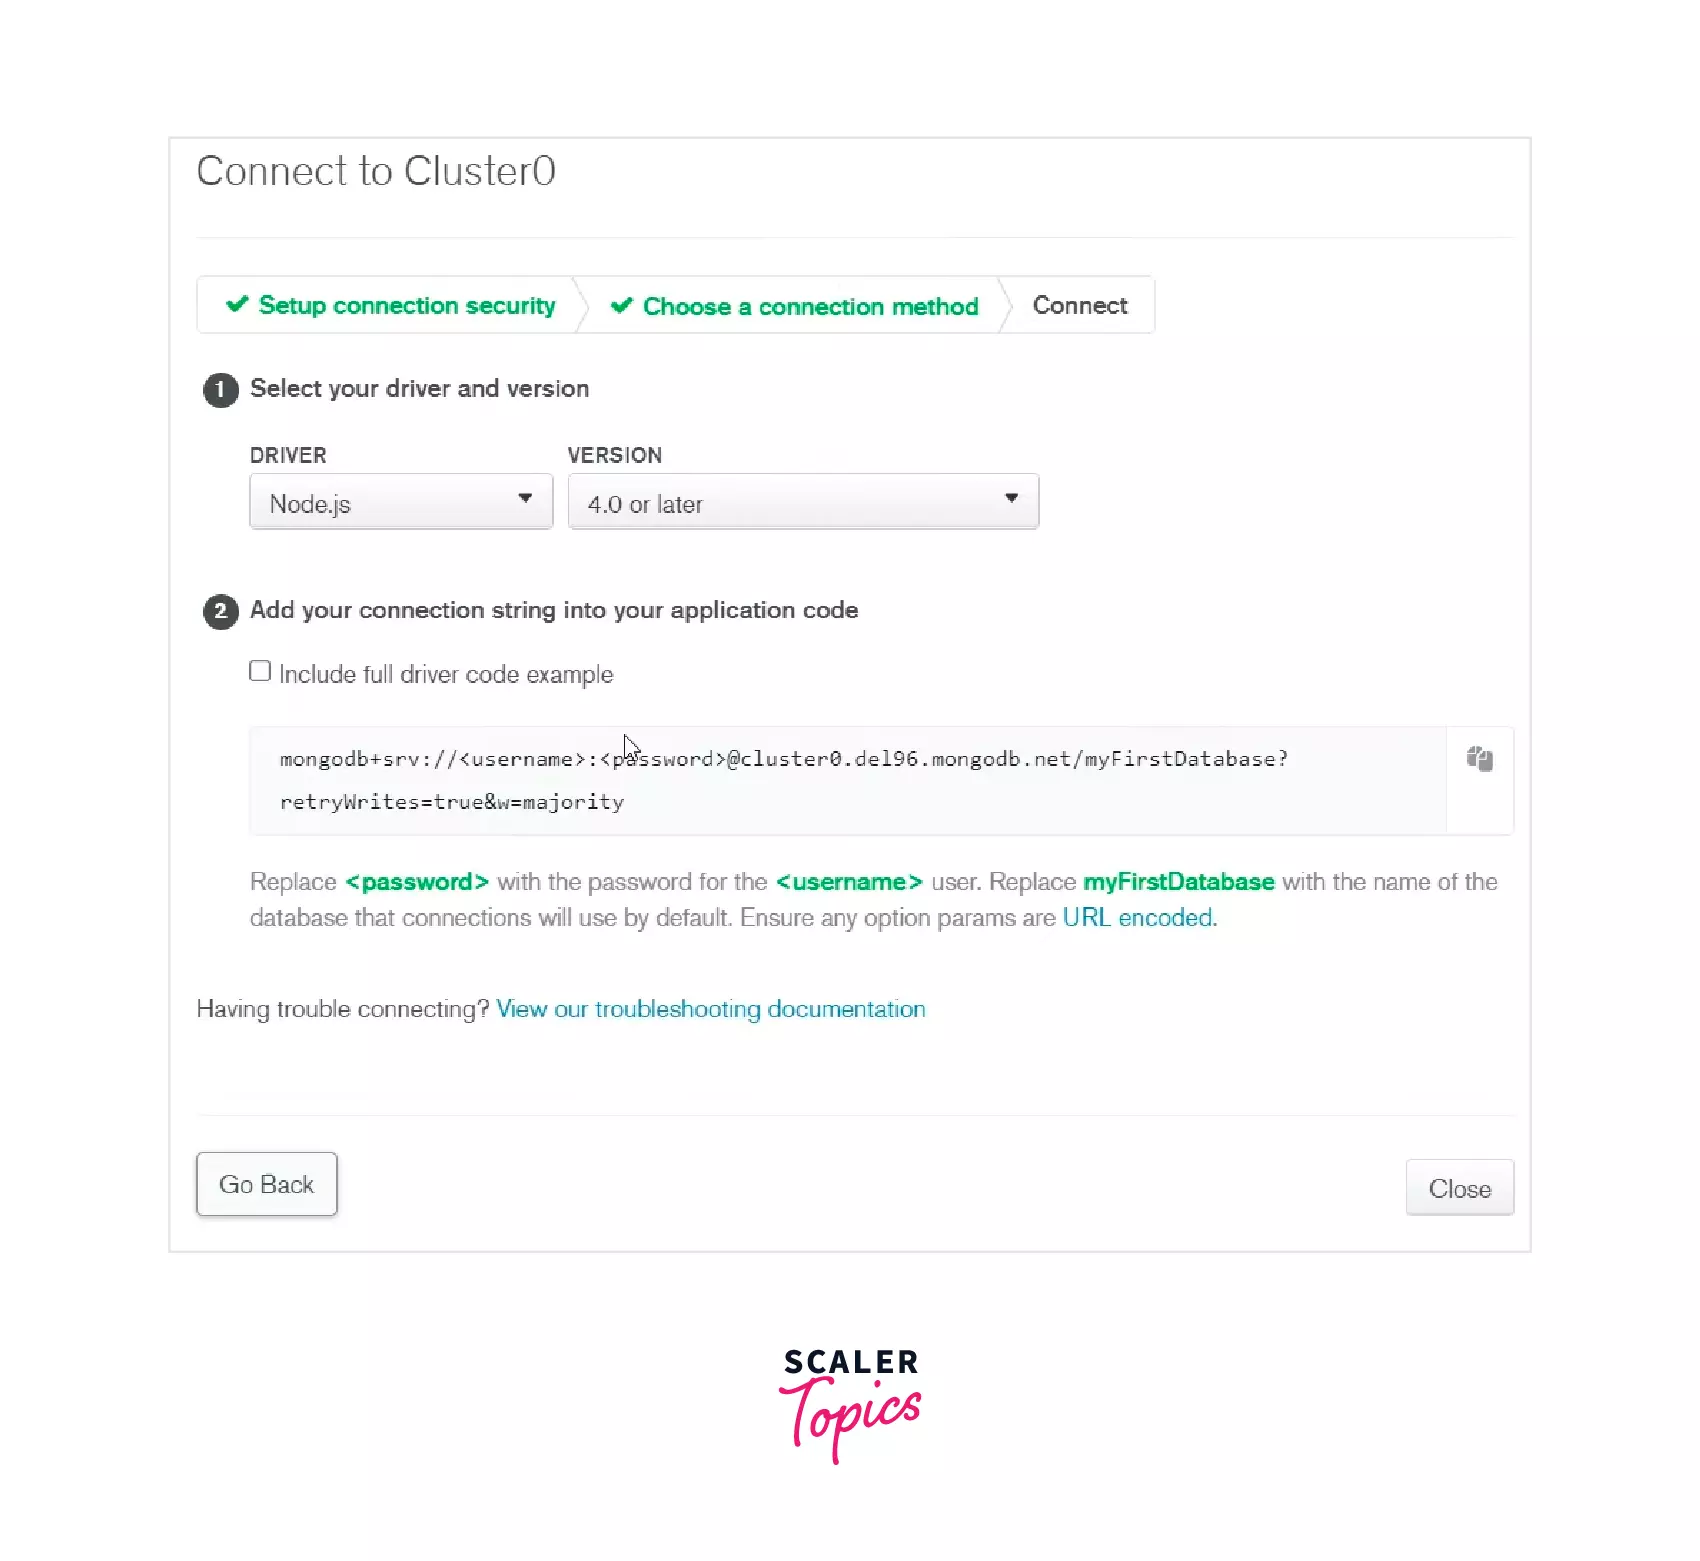
- Open a terminal or command prompt and type mongosh to launch the mongosh shell.
- Paste the connection string and press Enter. If your deployment requires authentication, you will be prompted to enter your username and password. Otherwise, you are good to go.
Selecting OS from Dropdown Menu
- Suppose you're having trouble copying and pasting the connection string. In that case, you can select your operating system from the dropdown menu and download a script to launch mongosh with the appropriate connection settings.
- After selecting your operating system, click the "Copy" button to copy the script to your clipboard.
- Open a terminal or command prompt and paste the script into the terminal to launch the mongosh shell with the appropriate connection settings.
Once you connect to MongoDB Atlas deployment using mongosh, you can use commands like use<database> to switch to a specific database, db.collection.insertOne() to insert data into a collection, and db.collection.find() to retrieve data from a collection.
Connect to MongoDB using Compass Software
Now let’s see how to connect to mongoDB using compass software.
Considerations
- Make sure you have installed the Compass software on your computer.
- You should have the necessary credentials to connect to MongoDB deployment.
Connection
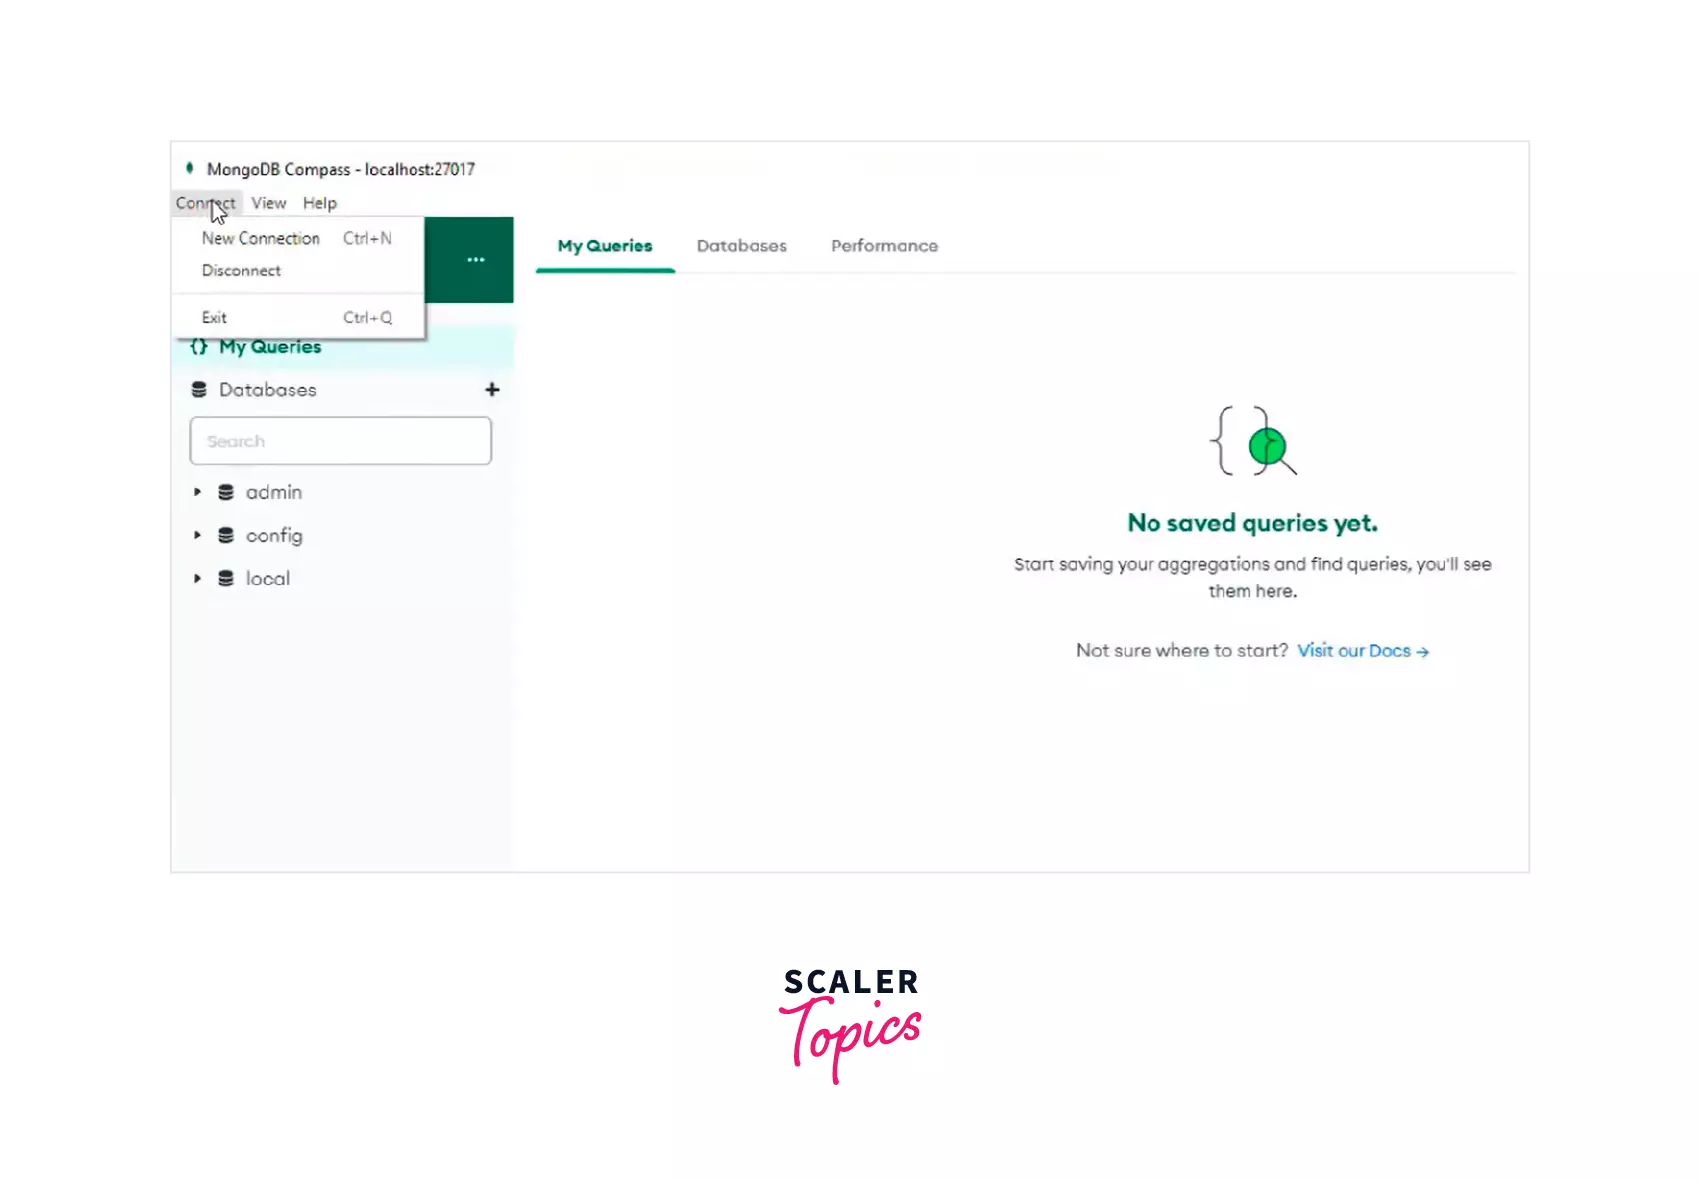
- Launch Compass software and click on the connect and then "New Connection".
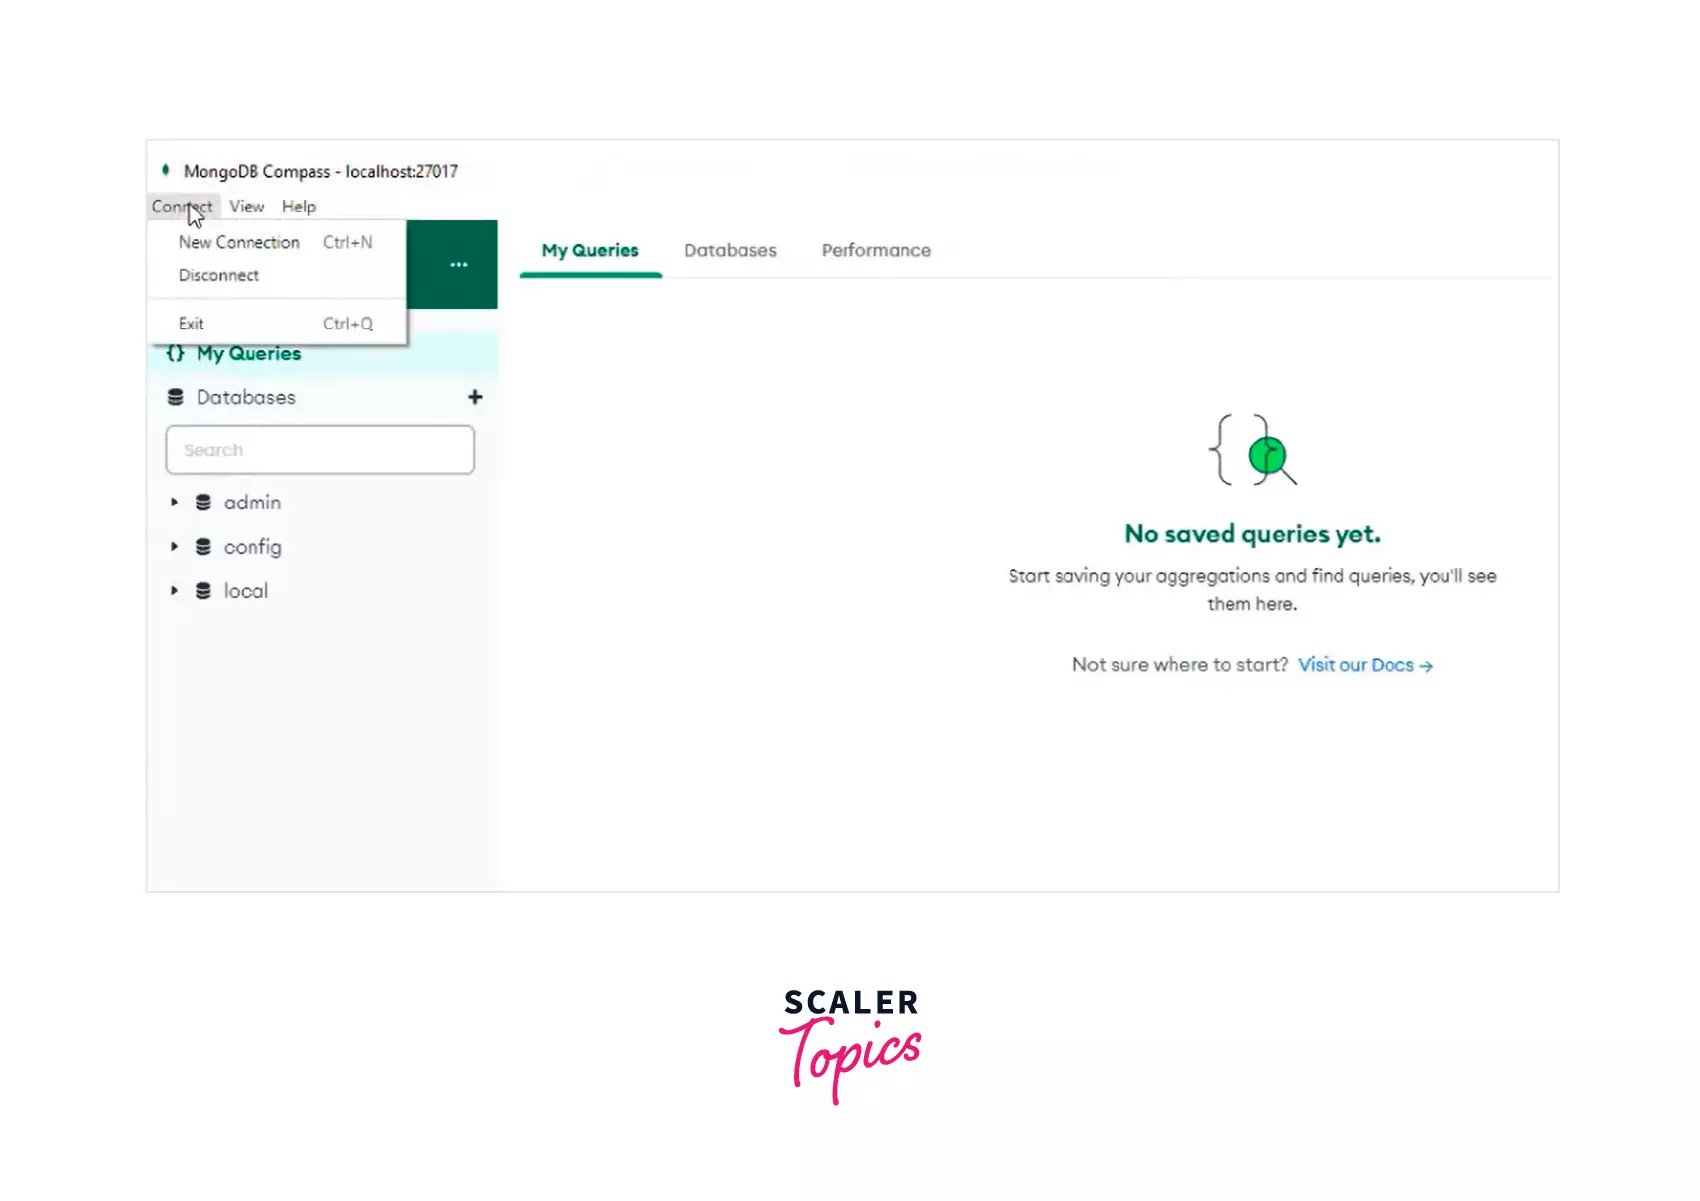
- In the "New Connection" dialog, enter the connection details for your MongoDB deployment. You will need to enter the hostname or IP address, port number, and authentication details.
- If you are using a MongoDB Atlas deployment, you can also click the "Fill in connection fields individually" link and enter your Atlas connection string directly.
Connecting to Compass from the Command Line
Alternatively, you can connect to MongoDB using Compass from the command line. To do this, open a terminal or command prompt and type the following command:
Replace <username>, <password>, <host>, and <port> with your specific information.
For example,
Here, MySystem is your MongoDB username, MySystem123 is your MongoDB password, and myhost is the hostname. You can also use the IP address of the MongoDB server in place of the hostname. 27017 is the port number on which MongoDB is listening.
Advance Connection Options
If you have more advanced connection options, you can click the "Advanced Options" button in the "New Connection" dialog to customize your connection settings. You can specify additional connection settings such as SSL, SSH, and replica set options.
Once you have connected to MongoDB using Compass, you can use the software to explore your databases, collections, and documents. You can create, read, update, and delete data using the intuitive GUI provided by Compass.
Conclusion
- In conclusion, connecting to MongoDB is crucial in working with the database.
- Multiple ways to connect to MongoDB include the mongo shell, Compass software, and various drivers and tools available for different programming languages.
- To connect to MongoDB, you will need the necessary connection details, such as the hostname, port, and authentication credentials.
- If you use a MongoDB deployment service like MongoDB Atlas, you can also use connection strings to connect to your deployment easily.
- In addition, advanced connection options are available for more complex use cases.
- Once connected to MongoDB, you can use the available tools and commands to interact with your data, including inserting, updating, retrieving, and deleting data as needed.