How to Navigate in Flutter ?
Overview
Navigation in Flutter refers to the process of moving between different screens or views within a mobile application. Flutter provides built-in widgets and APIs for handling navigation, allowing developers to create multi-screen applications with smooth user experiences. Using the navigational widgets and APIs that Flutter includes, developers may make multi-screen applications that offer seamless user experiences. To develop a robust and user-friendly navigation experience, Flutter also supports named routes, custom animations, state management during navigation, deep linking, and other best practices.
Introduction
In Flutter, an open-source framework for building mobile applications, navigation is made easy with built-in widgets and APIs that provide seamless and dynamic user experiences. Whether you're a beginner or an experienced Flutter developer, understanding the fundamentals of navigation is essential for creating modern and interactive mobile applications.
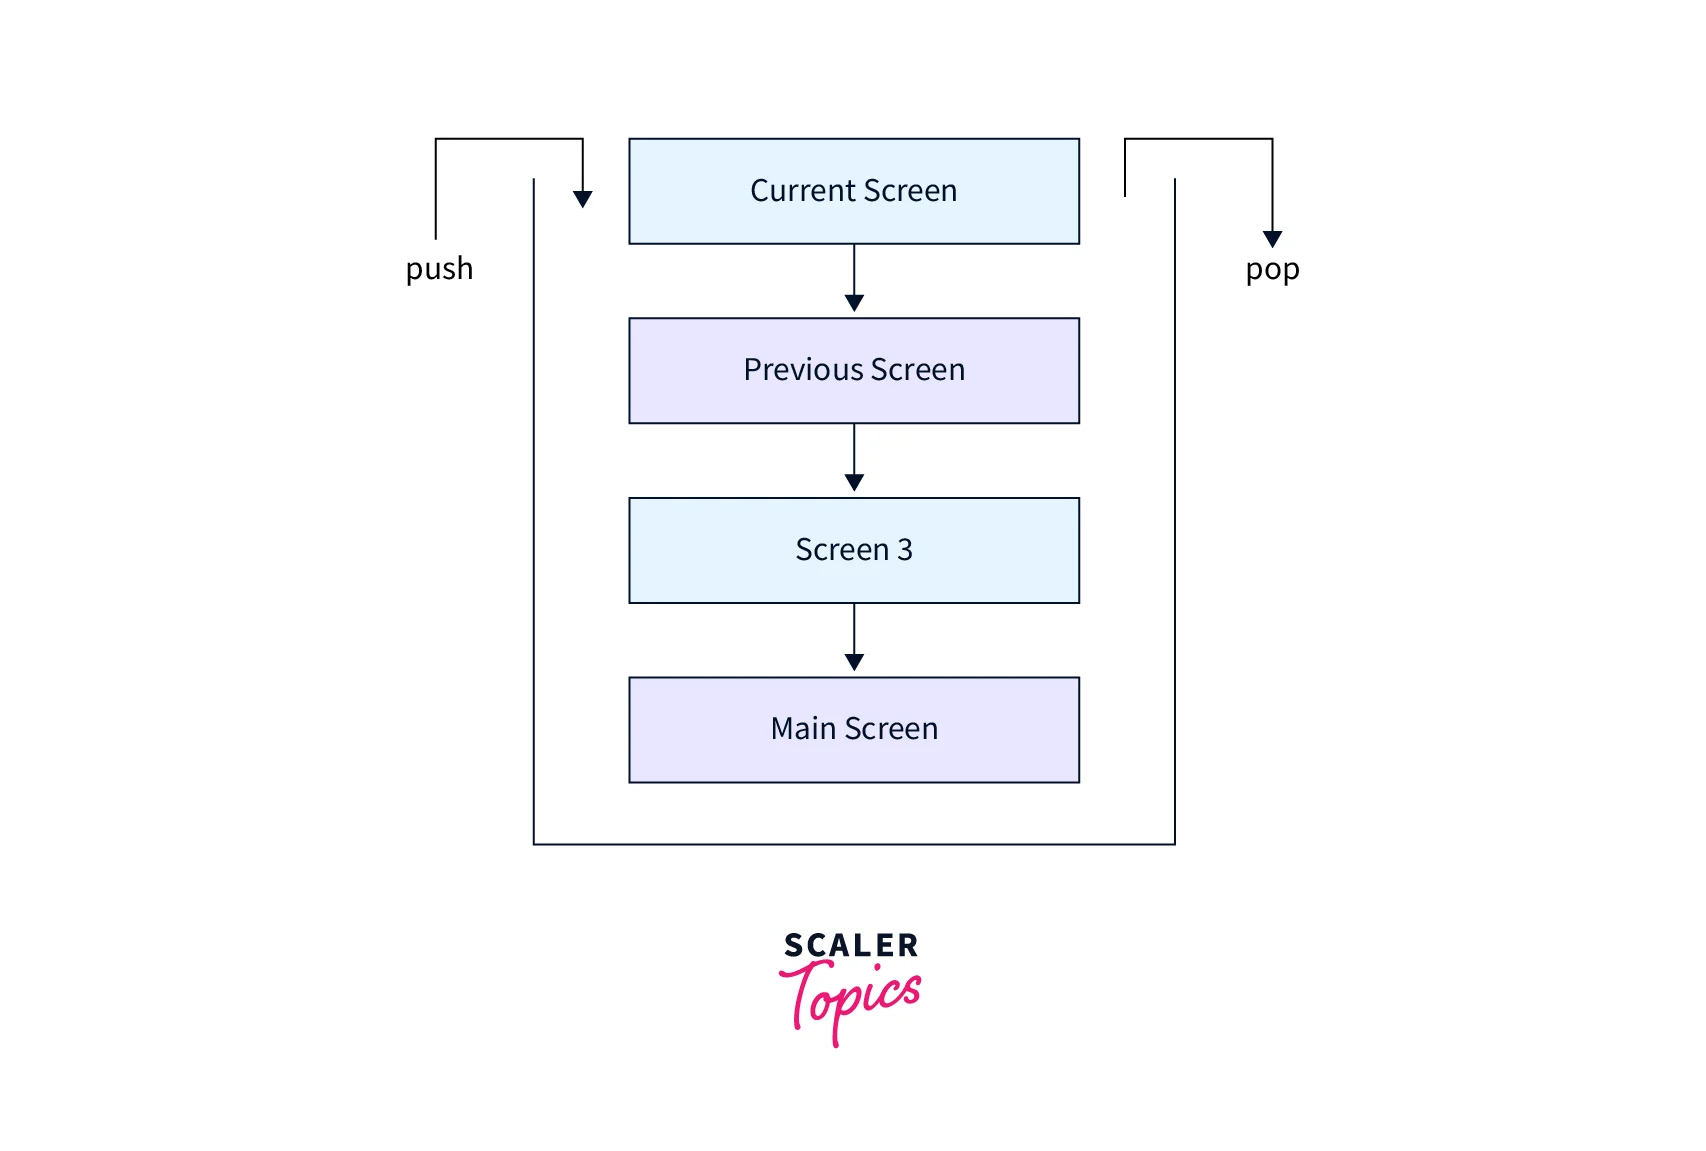
Navigation in Flutter is managed using a stack-based approach, where each route/screen is pushed onto a stack when navigated to, and popped off the stack when navigated back from. This creates a hierarchical structure of screens that can be represented as a stack.

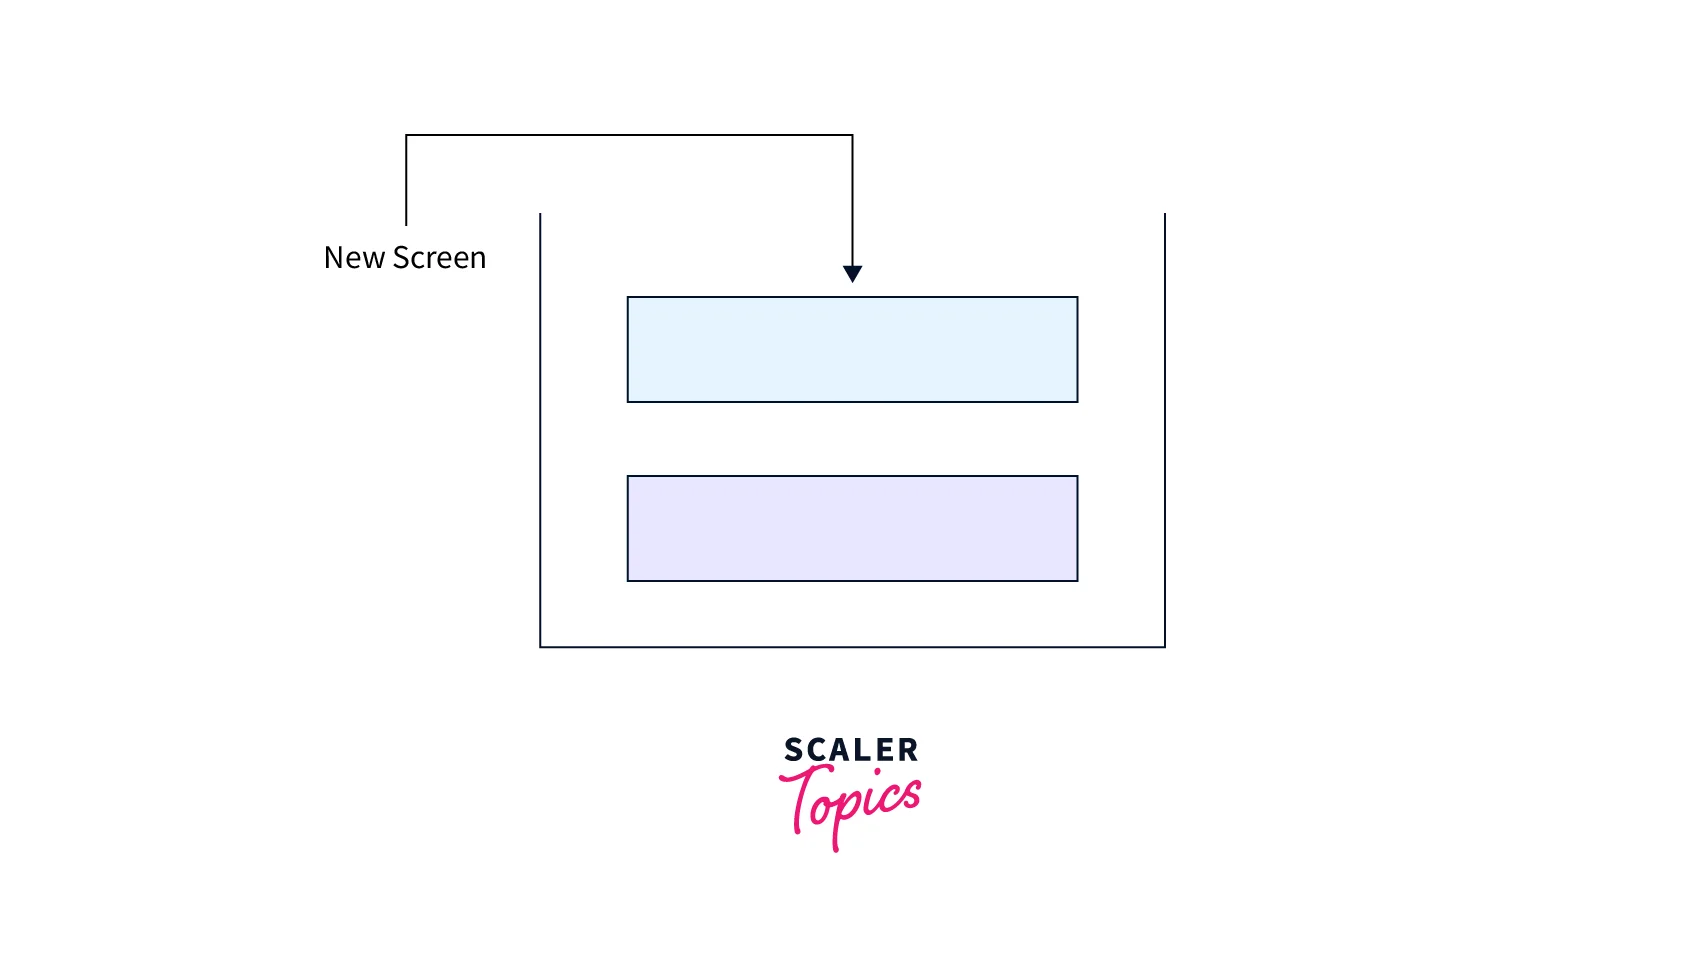
Each screen pushed gets linked to the previous screen like a stack and when one screen is poped it redirects back to the screen that was previously linked (The Navigator widget produces a new Route object and pushes it onto the stack whenever a new route is added to the stack using the Navigator.push() method. The Navigator widget removes the top-most Route object from the stack and displays the previous route when a route is popped off the stack using the Navigator.pop() method.)
Think of your application as a stack of cards, with each card representing a screen or route. A new card (representing the new screen) is added to the top of the stack each time you switch screens, and when you switch screens again, the top card (representing the current screen) is popped off the stack, revealing the card beneath. (representing the previous screen).

To Start Navigation in Your Application
The built-in Navigator API, which enables you to add and remove routes from a navigation stack, can be used to initiate navigation in your Flutter application. To add a new route to the stack and remove the top route from the stack, use the Navigator.push() and Navigator.pop() methods, respectively. Additionally, named routes can be created to control navigation using named identifiers. The new Navigator 2.0 system, which offers a declarative approach to routing and navigation with cutting-edge capabilities like deep linking and dynamic routes, is an alternative you might want to check out.
-
Step 1: Create Two Routes
Two routes must first be defined in your Flutter application. You can accomplish this by manually declaring the routes using the Navigator class or by utilizing the routes property in your MaterialApp widget. Here is a usage case for the routes property:
-
Step 2: Navigate to One Route from Another Route
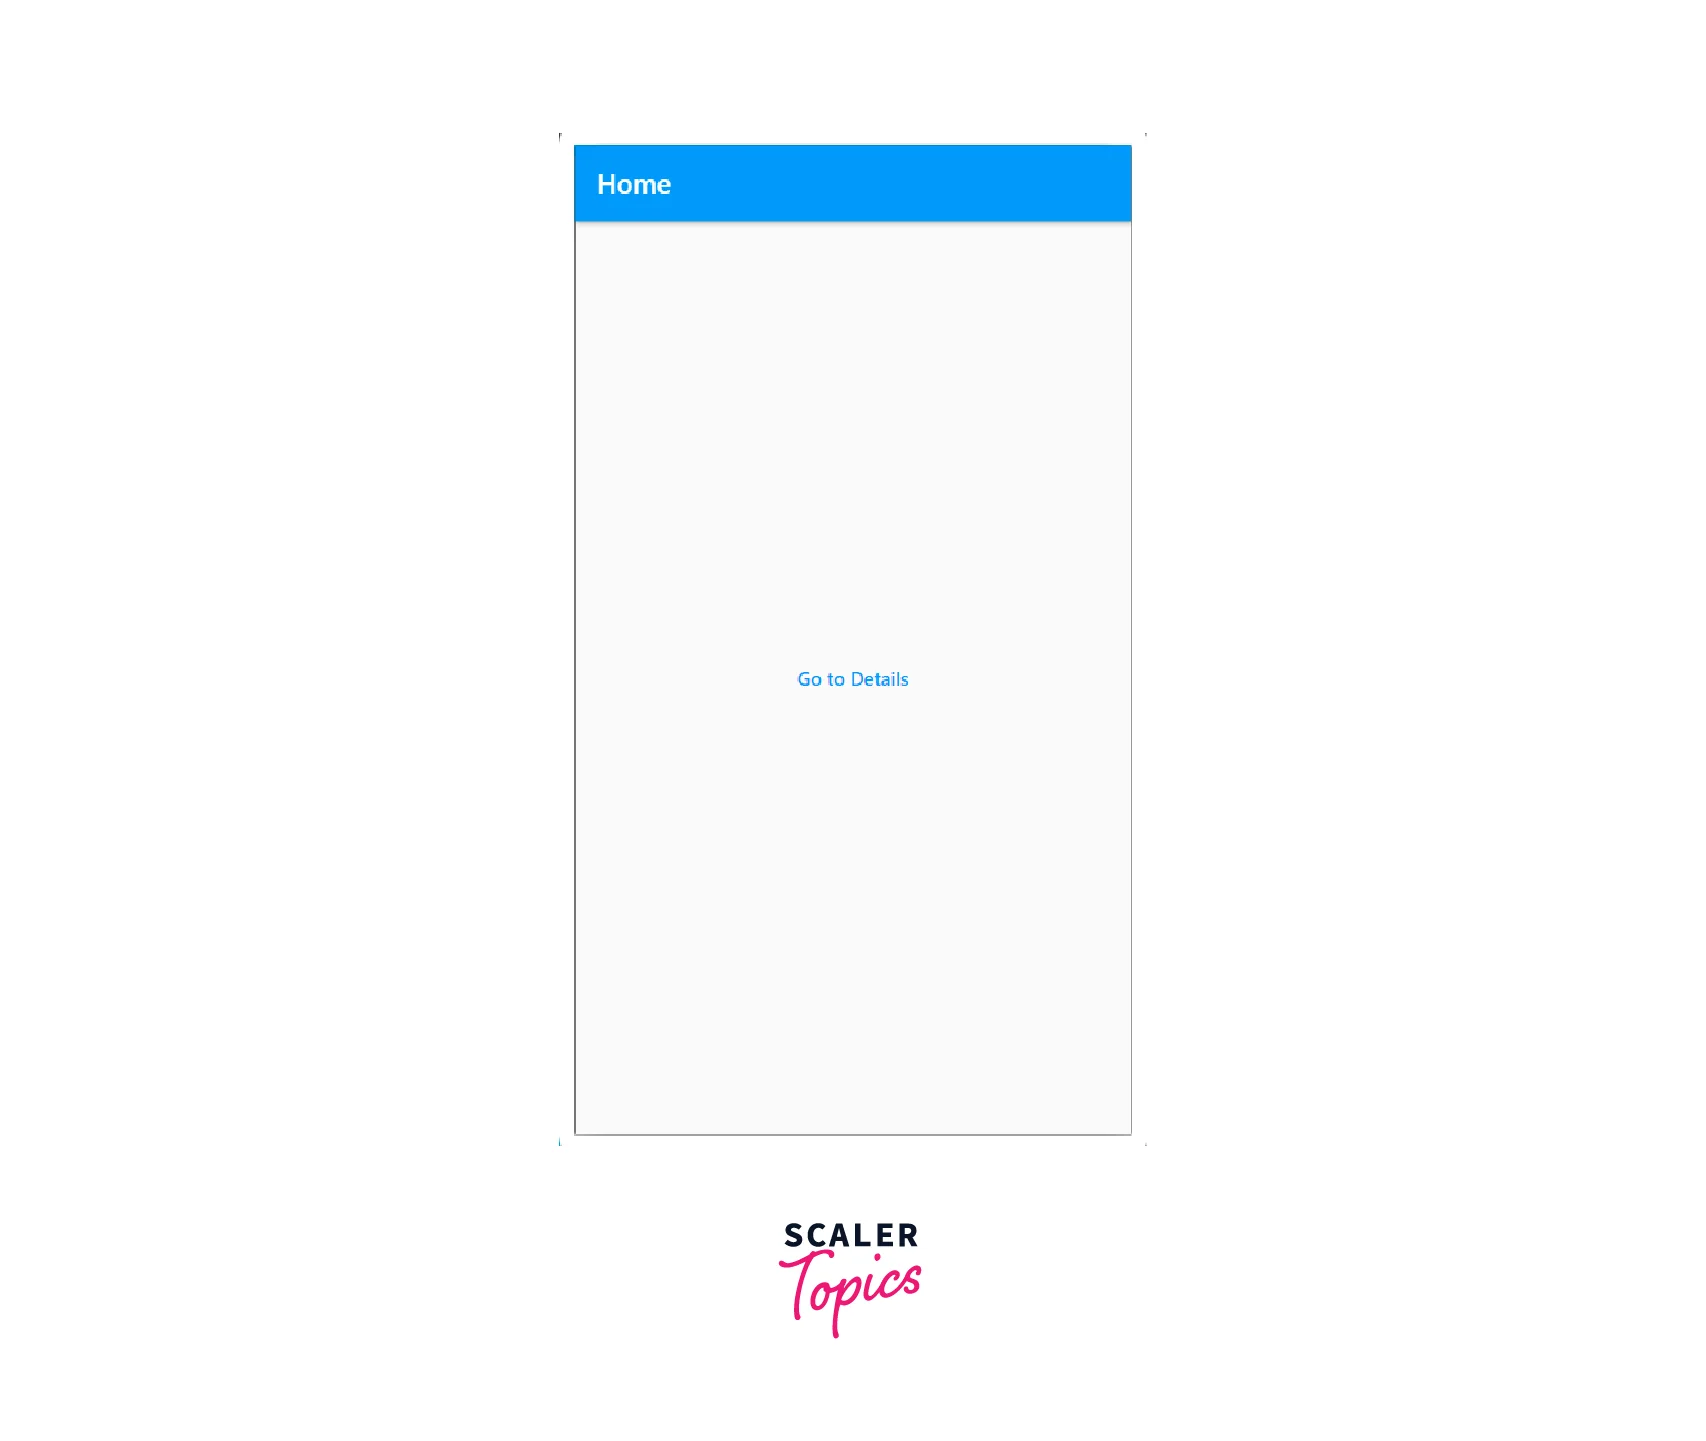
A button with the label "Go to Details" is created in the HomeScreen widget. The Navigator.pushNamed() method is invoked when this button is pushed, and it navigates to the DetailsScreen by passing the route name /details as an argument.

-
Step 3: Navigate to the First Route 'Go back' is created as a button in the DetailsScreen widget. The Navigator.pop() method is performed when this button is touched, returning the user to the previous route, in this case the HomeScreen.

Navigation with Named Routes
In contrast to using the real widget classes, named routes for Navigation in Flutter offer a mechanism to define and switch between routes using user-defined names. For managing navigation between various screens or pages in an app, Flutter's Navigation with Named Routes method is well-liked and advised. By using named routes, you may avoid calling the screen's constructor directly by giving each screen in your app a distinct name that you can use to navigate to it. Here is an illustration of how you may use named routes for navigation in your Flutter application:
-
Step 1: Define Named Routes
Define named routes in your Flutter application by using the routes property in your MaterialApp widget. Named Routes in Flutter are a method to define distinct names for various screens or pages in your app and link those names to the relevant widgets or pages. Use the routes property of the MaterialApp widget to define a Map of route names to MaterialPageRoute objects to define a named route in your Flutter app. Here's an example:
-
Step 2: Navigate to Named Route
In Flutter, going to a defined route is a typical method of controlling navigation between screens or pages. You can use the Navigator.pushNamed() method to navigate to a named route by supplying the context and the route name as a string. Here's an illustration:

-
Step 3:
In Flutter, one frequent task that can be completed using the Navigator is returning to the previous path or screen in your Navigator.pop() technique. The data that was supplied to this method when the route was pushed onto the stack is returned together with the topmost route. Here's an example:

Navigator 1.0
The initial Navigation in the Flutter system offered by Flutter for controlling screen transitions in a Flutter application was called Navigator 1.0. The application's routes were specified using a configuration-based technique, and the navigation was controlled by a navigator widget. This routing strategy was known as declarative routing.
To control the navigation stack and switch between different app screens or pages, Navigator 1.0 used the Navigator widget. It offered several methods for regulating the back button behavior, such as willPop(), as well as ways for pushing, popping, and replacing routes on the stack.
When using Navigator 1.0, you would typically make a MaterialApp widget as the app's root and then specify each screen as a different widget or page. The Navigator widget would then be used to push and pop these screens onto and off of the navigation stack as necessary, utilizing the different techniques it offers.
Here's an example of how Navigator 1.0 could be used in a Flutter application:


Note:
Please note that Navigator 1.0 has been deprecated in favor of Navigator 2.0.
Navigator 2.0
Navigator 2.0 is the latest version of the Navigation in Flutter system provided by Flutter for managing screen transitions in a Flutter application. It is based on a declarative navigation approach using a routing library called "Flutter Router", which provides more powerful and flexible features compared to Navigator 1.0. The ability to use named routes, which makes it simpler to move between different screens in your app, is one of the main advantages of Navigation 2.0. With named routes, programmers can give each screen a special name and use that name to get there from anywhere else in the app.
The capability to manage deep linking is yet another crucial component of Navigation 2.0. Deep linking enables users to bypass manual app navigation and open certain screens within an app immediately from a link. Deep linking is supported natively by Navigation 2.0, making it simpler for developers to add this function to their apps. Additionally, Navigation 2.0 offers a more potent method for dealing with state restoration. An app's ability to preserve and restore its state enables users to continue where they left off even after closing and reopening the app. State restoration is supported natively by Navigation 2.0, making it simpler for developers to include this function in their apps.
The key concepts in Navigator 2.0 are:
Router
A top-level widget that manages the route tree and handles route navigation. The Router widget is typically used as a child of a MaterialApp widget, and it takes a RouteInformationParser and a RouterDelegate as arguments. The Navigator widget produces a new Route object and pushes it onto the stack whenever a new route is added to the stack using the Navigator.push() method. The Navigator widget removes the top-most Route object from the stack and displays the previous route when a route is popped off the stack using the Navigator.pop() method.
RouteInformationParser
A callback function parses the current route information and converts it into a RouteInformation object. This allows for deep linking and handling of URLs.The current route and any other state data required to fully explain the current navigation state are both included in the route information object. The name of the current screen as well as any extra state information, such as the selected item or search query, may be included in the RouteInformation object, for instance, if your app has numerous screens.
RouterDelegate
A callback method that uses the current route data to construct the widget tree for the current route. The widgets for each route in the route tree must be built by it. RouterDelegate offers a means to manage deep links and other kinds of external navigation events in addition to controlling the navigation state of your app. You can parse incoming route information and modify the navigation state by putting the parseRouteInformation method into practice.
RouteConfig
A method of defining routes in the application based on settings. A named route, its associated widget, any additional parameters, and any nested routes are all defined by a route configuration. Utilizing the RouteConfig pattern has the benefit of giving you a central location to manage your app's navigation state, making it simpler to manage intricate navigation flows and maintain consistency across various screens.
Here's an example of how Navigator 2.0 could be used in a Flutter application:


We have two displays in this example: the HomeScreen and the DetailsScreen. When a button on the HomeScreen is tapped, Navigator 2.0 is used to travel to the DetailsScreen. A button on the DetailsScreen can be used to return to the HomeScreen. The MyRouterDelegate class, which extends RouterDelegate and manages the routing logic, is in charge of managing the navigation. The task of parsing and recovering the route information falls under the purview of the MyRouteInformationParser class.
Conclusion
- Flutter has a comprehensive framework for handling deep connections and switching between displays. Smaller apps with simple Navigation in Flutter requirements can use Navigator, but larger apps with sophisticated navigation needs should also use the Router to handle deep links appropriately on Android and iOS and to maintain sync with the address bar when the app is running on the web.
- Routes are created to Navigate between screens, Navigator has the latest version of Navigator 2.0.
- To Navigate between many routes Navigation can be done with NamedRoutes.
- Navigator 2.0 is capable of deeplinking.
