React-native-gifted-chat for Building Chat App with React Native
Overview
As the need for real-time communication increases, developers seek simple solutions to include dependable communication channels in mobile apps. In this article, we will explore how to use react-native-gifted-chat, a chat UI made to enable app developers to create cross-platform chat applications, to construct mobile chat applications for both iOS and Android.
Introduction to React-native-gifted-chat
React Native Gifted Chat is a popular open-source library that provides a flexible and customizable chat UI component for React Native applications. It offers a wide range of features and functionalities that make it easy to implement chat interfaces in your mobile app.
With React Native Gifted Chat, you can quickly integrate a chat interface into your application without having to build all the components from scratch. It provides a set of pre-designed UI components for messages, input box, avatar, and more, allowing you to focus on the core logic of your chat application.
Features
Here are some key features provided by the react-native-gifted-chat library:
- Message Input:
React-native-gifted-chat offers a customizable message input component that allows users to type and send messages. - Message Bubbles:
The library provides pre-designed message bubble components to display sent and received messages. These bubbles can be customized with different colors, fonts, and styles. - Message Types:
React-native-gifted-chat supports various message types, including text messages, image messages, video messages, and system messages. - Avatars:
The library allows you to display avatars for users participating in the chat. Avatars can be customized with images or initials. - User Interaction:
React-native-gifted-chat provides hooks and callbacks to handle user interactions such as tapping on messages, long-pressing messages, and scrolling through the chat. - Timestamps:
It supports displaying timestamps for each message, showing the time when the message was sent or received. - Input Toolbar:
The library includes an input toolbar that provides options for sending messages, attaching media, and displaying typing indicators. - Typing Indicators:
React-native-gifted-chat supports displaying typing indicators to show when a user is typing a message. - Message Threading:
It offers support for message threading, allowing users to reply to specific messages and display threaded conversations. - Localization:
The library provides support for localization, allowing you to display the chat interface in different languages. - Customization:
React-native-gifted-chat offers extensive customization options, allowing you to style the chat interface, message bubbles, avatars, and other components to match your app's design and branding. - Integration:
The library can be easily integrated with various backend services and chat platforms like Firebase, Pusher, Socket.io, and more. - Platform Support:
React-native-gifted-chat supports iOS and Android platforms, making it suitable for cross-platform development.
These are some of the key features provided by react-native-gifted-chat. The library offers a rich set of functionality to help you build robust and user-friendly chat interfaces in your React Native applications (according to the npm package):
- Write with TypeScript (since 0.8.0)
- Typing indicator react-native-typing-animation
- Copy messages to the clipboard
- Quick Reply messages (bot)
- Touchable links using react-native-parsed-text
- Avatar as user's initials
- Multi-line TextInput
- InputToolbar avoiding the keyboard
- Localized dates
- System message
- Composer actions (to attach photos, etc.)
- Load earlier messages
- Fully customizable components
- Redux support
Uses
Let us look at a basic example:
React Native Gifted Chat Props
- messages:
It is used for displaying array. (array) - isTyping:
It has a default state as false. typing indicator state. To override this ise renderFooter. - text:
It has a default state as undefined. It will override GiftedChat's internal state. The type of input text. - placeholder:
It is used as a placeholder when the test is empty. It has a default value of 'Type a message...' - messageIdGenerator:
It has default value of UUID v4. Used for generating an id for fresh messages. - user{_id, name, avatar}:
The values of the user sending the message. - onSend:
Callback when a message is send. - alwaysShowSend:
It has a default value of false and is shown when the text is not empty. Always display the transmit button in the input text editor. - locale:
Locale to localize the dates. - timeFormat:
It has a default value of 'LT'. Used rendering times format. - dateFormat:
It has a default value of 'll'. Used for rendering dates. - loadEarlier:
The "load earlier messages" button is enabled by this. - isKeyboardInternallyHandled:
It has a default value of true. Decide if the plugin should handle keyboard awareness. Set this to false if you use your keyboard handling outside of the plugin. - showAvatarForEveryMessage:
When this is false, avatars will only be shown if a series of messages are sent by the same person on the same day. - onPressAvatar:
It is a callback that is called when the avatar is clicked. - onLongPressAvatar:
It is a callback that is called when the avatar is longpressed. - renderChatFooter:
To be shown underneath the MessageContainer and is a custom component.
Installation
Establishing a fresh React Native app will be the first step. To start a fresh React Native app, open your terminal, go to your working directory, and enter the command shown below:
Once installation of the requirements has finished, switch to the GiftedChatApp directory and run the following command:
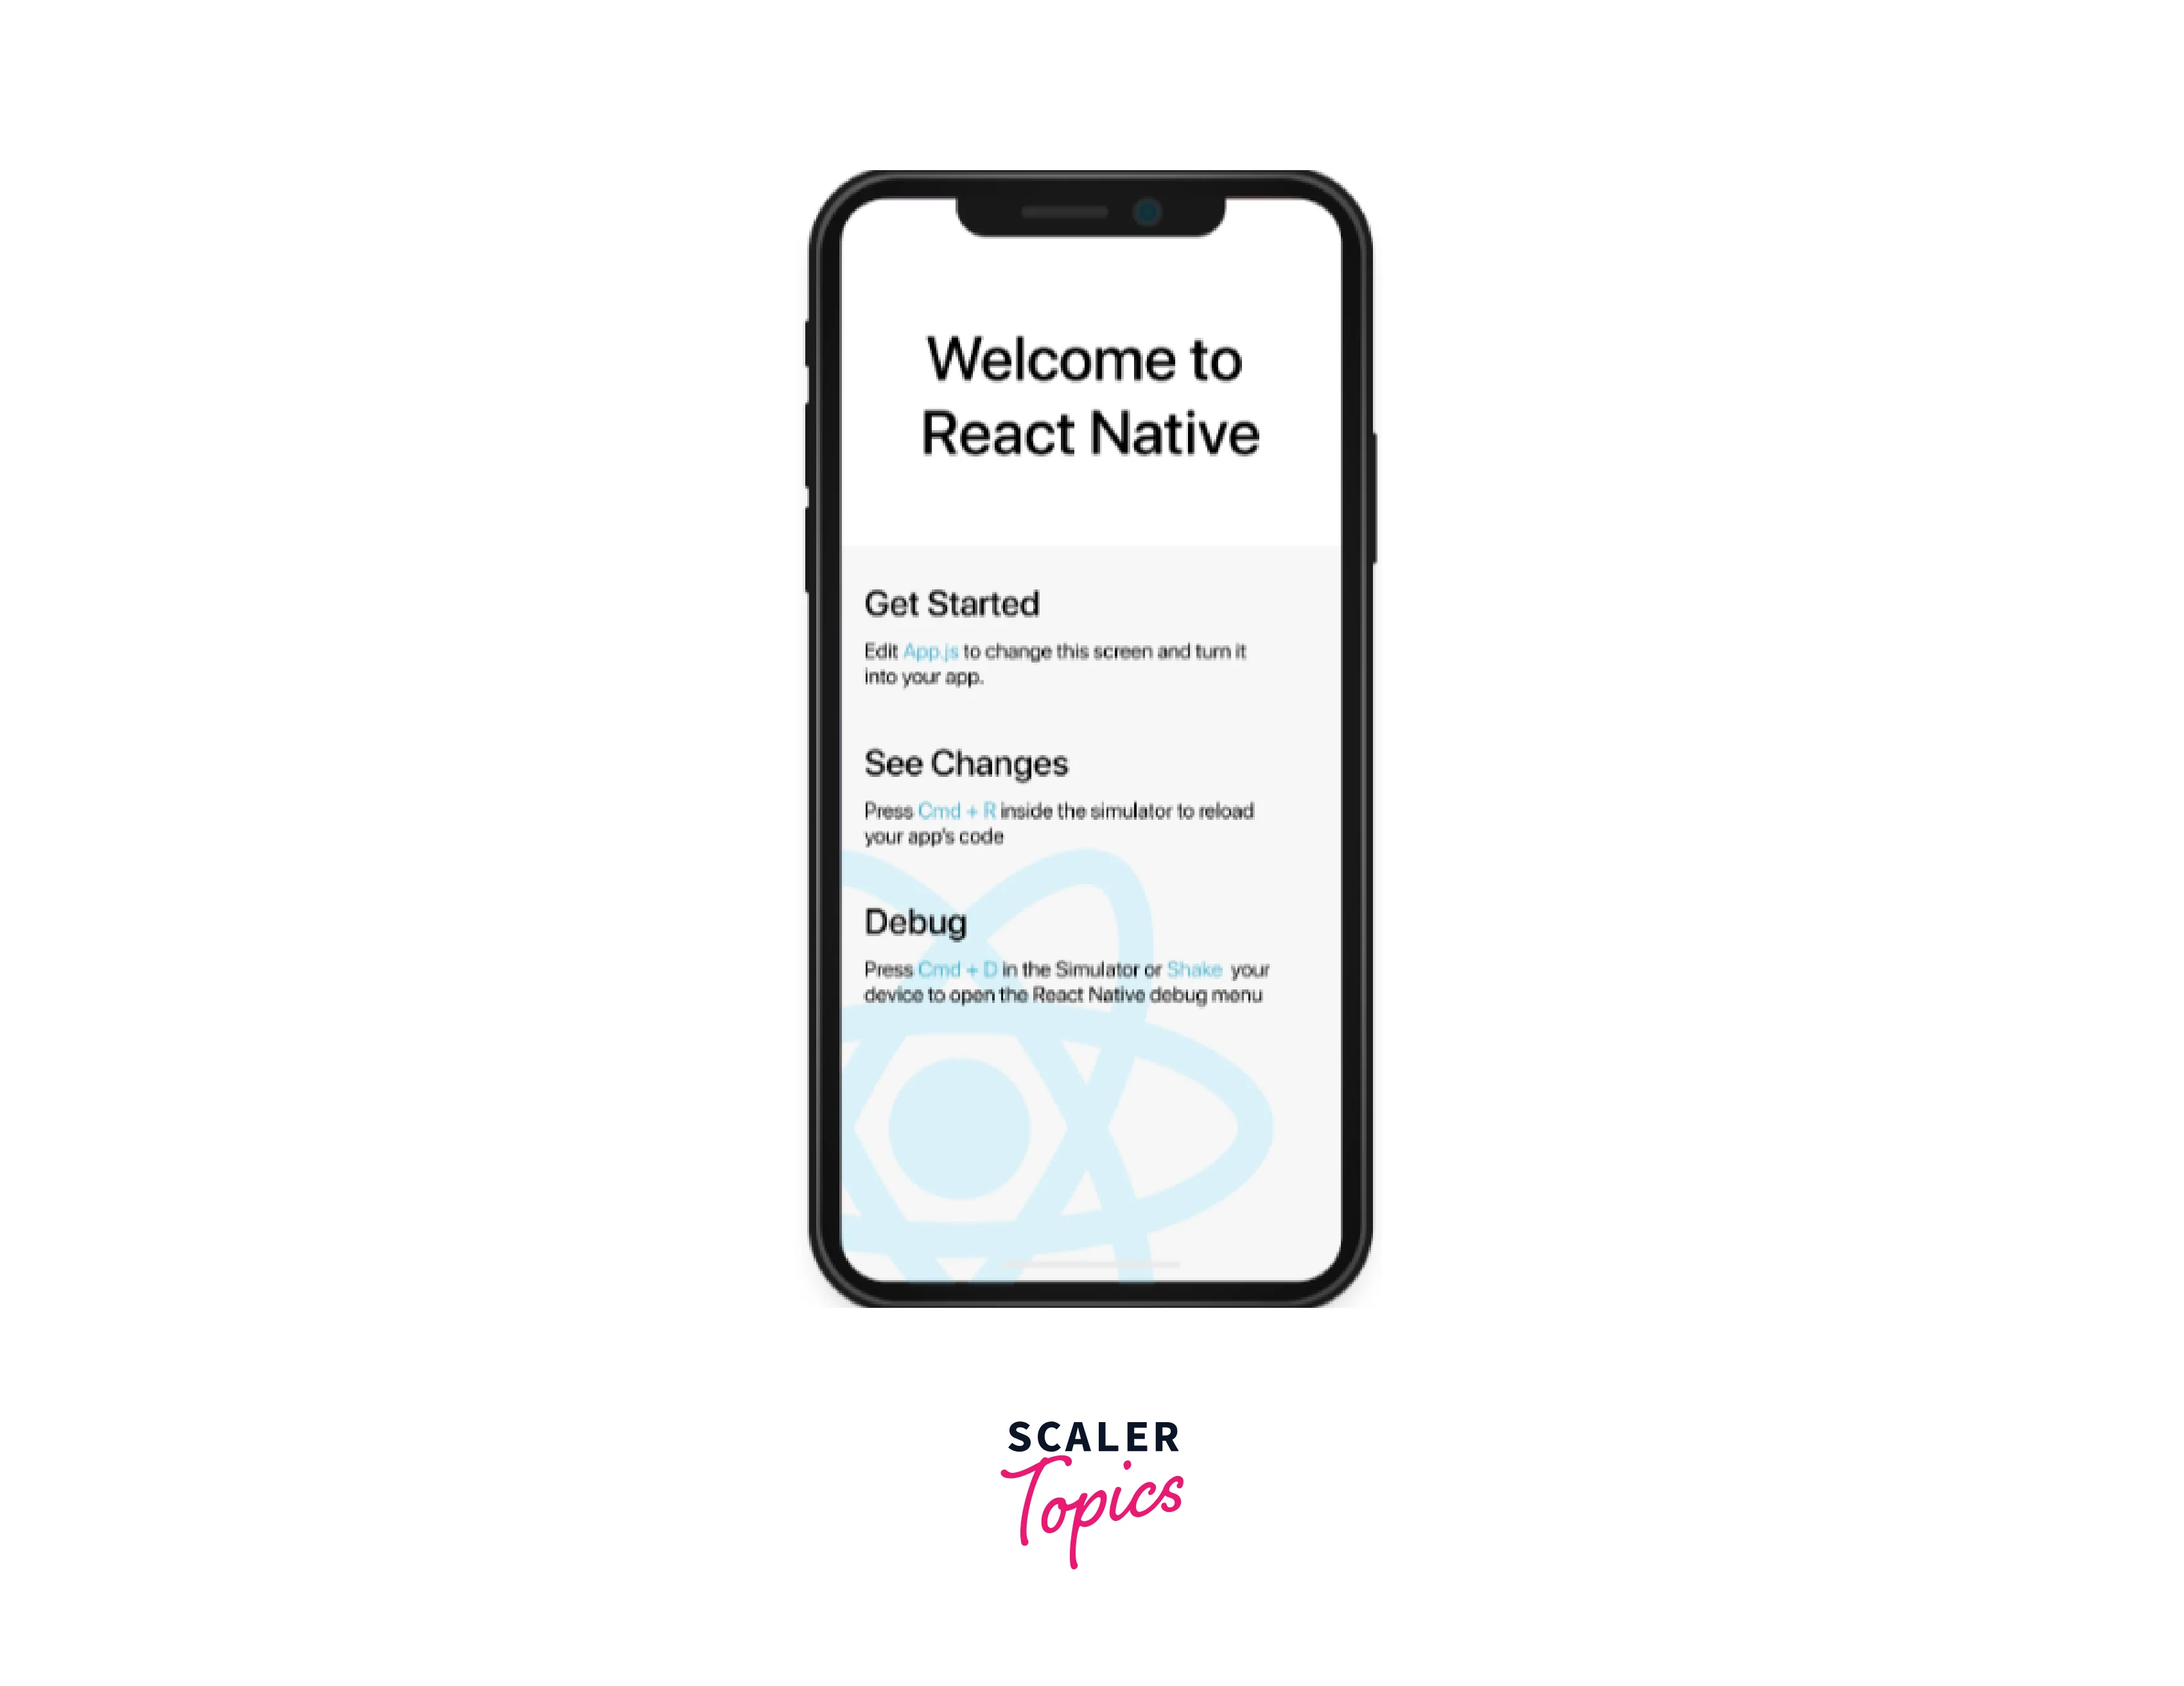
react-native-gifted-chat, react navigation and the other necessary dependencies will be installed in your project using the aforementioned command. If everything is configured properly, your app should appear as seen in the following snapshot after being executed with either npx react-native run-ios or npx react-native run-android:
The Login Screen
Let's change our code to enable screen navigation in App.js so we can start developing the login screen afterward. The following code should be copied and pasted into App.js:
Installing one more dependent is next. A UI toolkit called React Native Elements enables you to quickly design form elements and iconography. Start your terminal and enter the following code to install React Native Elements:
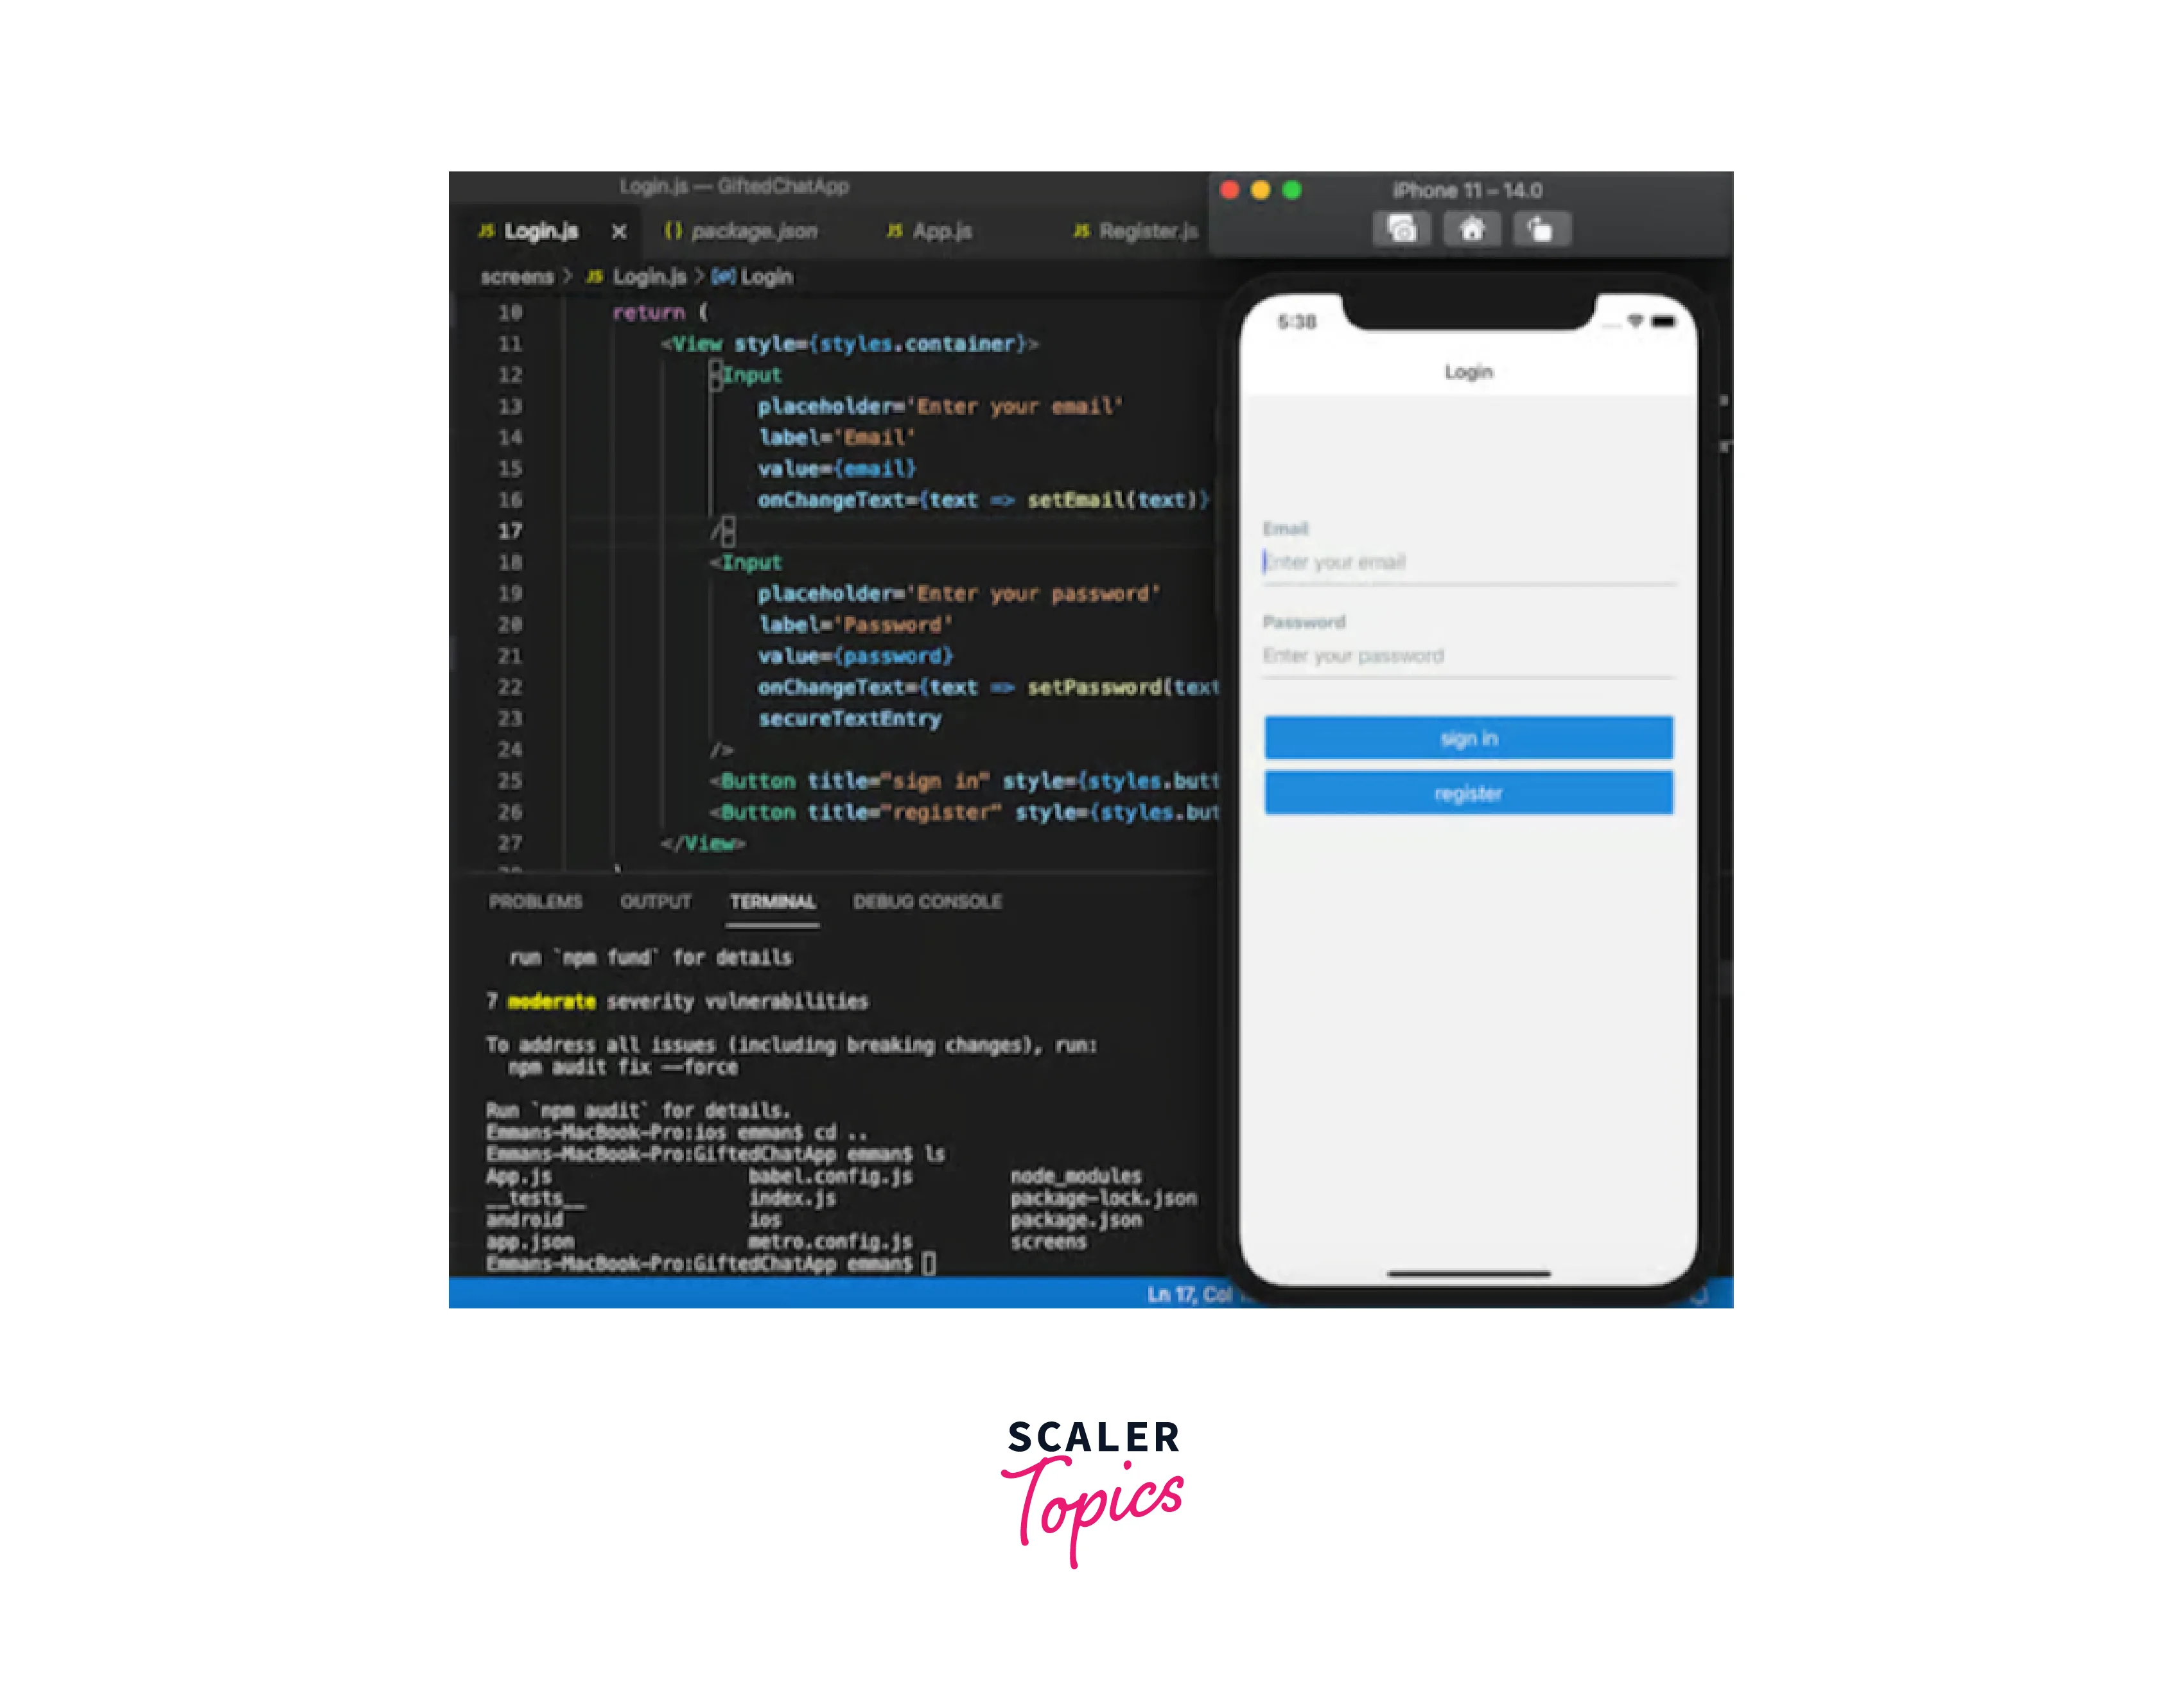
Next, enter your project directory, create the screens folder and Login.js file, and copy and paste the following code into each of those files:
The useState() Hook was imported, two states were made to store the email and password fields, React Native Elements were used to build the login input fields, and then styles were applied.
Run npx react-native run-ios or npx react-native run-android now, and your app ought should appear as seen in the following example :
The Registration Screen
Create a registration screen now so that we may add fresh users to our app.
Create a new file called Register.js in the screens folder, then copy and paste the following code:
React Native Firebase Setup
Once the login and registration pages are complete, let's add Firebase to our app so that users may authenticate themselves.

Run the code below to install Firebase:
The previously mentioned command will set up the most recent Firebase web SDK. We will make use of the Firebase v.9 modular library in this tutorial. Create a new project named Gifted Chat App on the Firebase website right now.
The Firebase project we just built will then have a web application added to it. Make a new file named firebase.js in the project's root directory. Copy the firebaseConfig credentials.
Change the credentials in firebaseConfig with those specific to your project:
A Firebase app and a Firestore database connection are set up by the aforementioned module. Additionally, the authentication instance is returned as auth, along with the initialized Firestore connection instance as database.
User Authentication with React Native Firebase
Let's implement email and password user authentication with Firebase. Select Email/Password under authentication in the Firebase console's sidebar menu. Select enable and save next.
Let's edit the Register.js code to authenticate a new user now that the Firebase setup and settings are finished.
Add the first imports related to Firebase:
Place the following code before the Register function's return keyword:
The auth object was first imported from the firebase.js file that was previously built. The createUserWithEmailAndPassword method was then called, and the auth object, new user's email, and password were supplied to it. Finally, we changed the user's name and avatar on their login information.
Next, using the onPress handler, we'll pass the register method to the register button:
Here is the whole source code of the modified Register.js file:
Next, update the App.js file as indicated in the following code to include the registration screen in the navigation stack:
Add the following code to the Login.js file to add a navigation action from the login page to the registration screen:
In your Firebase console, you may now add a new user that you registered using your app.
Finally Building the React Native Chat Screen
After successfully logging in, we'll bring them to the chat screen, which we'll construct next. In the screens directory, add a new file with the name Chat.js.
Copy and paste the following code into the document to build a simple chat app:
We developed the messages state and a mechanism to deal with a user logging out using the Firebase auth object. The header nav was then wrapped in a useLayoutEffect to produce a simple navigation effect.
We produced a fake message using the useEffect Hook, which we placed into the GiftedChat component. You are the user who is presently logged in, according to the user prop on the GiftedChat component.
Replace the existing login screen source with the following code to finish the Firebase authentication since we need to implement the login functionality to open the chat screen.
The conversation screen component has to be added to the navigation stack next. Replace the App.js source file's content with what follows code to finish building the main application screen:
Our chat software doesn't currently save any of the messages that are exchanged. We'll alter the onSend function to save messages in firestore:
The following new imports are required for the code sample above :
Additionally, remember to provide the proper rights to the Firestore console to meet development needs. For instance, the setup shown below enables total database read/write access for all logged-in users:
We'll utilize the useLayoutEffect to contact the database and get old messages from firestore. To load previous messages on the chat screen, copy and paste the following code within the useLayoutEffect hook callback already in place:
Check out the whole Chat.js source code and remote real-time messaging functionality with Firestore:
Keep in mind that we are avoiding many unnecessary state changes by simply utilizing one call to the setMessages method inside the onSnapshot listener. Test the real-time messaging application using two debug instances of the application on the simulator/emulator and a genuine hardware device.
FAQs
Q: What is a firebase project?
A:
-
The highest level entity in Firebase is a project. You may register your Apple, Android, or web-based applications in a project. You may include product-specific Firebase SDKs, such as Data analysis, Cloud Firestore, Crashlytics, or Remote Config, in your project after registering it with Firebase.
-
Within a single Firebase project, you should register your Android, iOS, and web app variations. To support several settings, such as development, the staging phase, and production, you may utilize different Firebase projects.
Q: How many Firebase Apps can I have in a Firebase project?
A:
-
For Firebase Apps for Apple, Android, and the web, a Firebase project serves as a container. Within a Firebase project, Firebase limits the total number of Firebase Apps to 30.
-
Performance begins to suffer at this point (particularly for Google Analytics), and with a higher number of apps, certain product functionality finally ceases working. Additionally, each app in your project receives an underlying OAuth 2.0 client ID if you use Google sign-in as your authentication provider. Within a single project, a maximum of about 30 client IDs may be generated.
-
From the standpoint of the end user, you should make sure that every Firebase App contained in a single Firebase project is a platform variant of the same application.
Q: What happens if I tag my project as a "production" environment?
A:
-
You may categorize your Firebase projects as either Production or Unspecified (non-prod) settings in the Firebase console. Your Firebase project's functionality and features are unaffected by the environment type you assign to it. The tagging, however, might aid in the management of your team's multiple Firebase projects during the app's lifetime.
-
If you designate your project as a production environment, we will add a vividly colored Prod tag to the project in the Firebase interface to serve as a reminder that any changes may have an impact on the production applications that are linked to the project. We may later offer more functionality and security measures for Firebase projects designated as production environments.
Q: Can I customize the appearance of the chat interface?
A:
- Yes, react-native-gifted-chat offers extensive customization options. You can customize the styling, colors, fonts, and other UI elements to match your app's design and branding.
Conclusion
- Features of react native gift chat include Touchable links using react-native-parsed-text, Avatar as user's initials, and Multi-line TextInput.
- react-native-gifted-chat is a popular open-source library for building chat interfaces in React Native applications.
- It provides a flexible and customizable UI for creating chat interfaces with features like message input, message bubbles, avatar support, and more.
- The library is actively maintained and has a large community, which ensures ongoing support and updates.
- It offers support for various message types, including text, images, videos, and system messages.
- React Native Gifted Chat Props include messages, isTyping, text, placeholder etc.
- Command to install Firebase is npm install --save firebase.
- Command to install react-native-gift-chat is npx react-native init GiftedChatApp.
- A UI toolkit called React Native Elements enables you to quickly design form elements and iconography.
- Google's Firebase is a collection of backend cloud computing solutions and application development frameworks.
- react-native-gifted-chat provides out-of-the-box support for common chat features such as typing indicators, timestamps, and message threading.
- It allows for easy integration with popular chat platforms and services like Firebase, Pusher, and Socket.io.
- The library supports iOS and Android platforms, making it suitable for cross-platform development.
- It provides hooks and callbacks for handling user interactions, sending messages, and managing the chat state.