React Native Splash Screen
Overview
When you first open an app on a mobile device, you may see a splash screen. A loading screen, also referred to as a launch screen or startup screen, appears when you first launch your app. After the loading is finished, you'll be transferred to a screen that is more useful and where you can take action. They help to build a brand and provide customers with pleasant distractions while they wait.
Prerequisites
You should have the following to follow along with this React Native splash screen tutorial:
- Basic knowledge of CSS, HTML, and JavaScript (ES6) is required.
- Node.js and Watchman must be installed on your development system.
- Android or iOS emulators must be present on your system for testing purposes.
- A code editor on your development system (e.g., VS Code or Atom).
- A working knowledge of React/React Native.
What is a Splash Screen?
The splash screen is the first screen the user sees before using any other features of your app. A splash screen is something that provides basic info about the app to the user, which can be the brand name and icon of your mobile application that can probably be made to stick in the user's mind the best through the use of a React Native Splash Screen.
Preloaders are used in web applications to provide information to animations that amuse users while server operations are being completed. As simple as it may seem, this is an essential tool for expanding and keeping your user base.
A React Native Splash Screen can be made easily and it offers many advantages. Consider preloading data from an API as an example. To give your user an organized, attractive display while they wait for the app to initialize, you should display a loader while they wait. Doing so as soon as the app launches will help you achieve this.
How does the Splash Screen Looks?
An app may have a splash screen, which will be the first screen you see when you launch it on a mobile device. It can be a loading screen, also referred to as a launch screen or startup screen, that appears when you first activate your app. After the loading is finished, you'll be transferred to a screen that is more helpful and where you can take action.
Splash screens only appear briefly on your screen; if you turn your head away, you might miss them. Typically, you'll see the company name, logo, and, with any luck, the company motto.
React Native Splash Screen are simple. Here are some guidelines to follow when creating your splash screen in this regard:
- Keep it free of pointless interruptions
- Use only one color or one logo.
- Use animation in a restricted way
- Incorporate it into the design at the beginning.
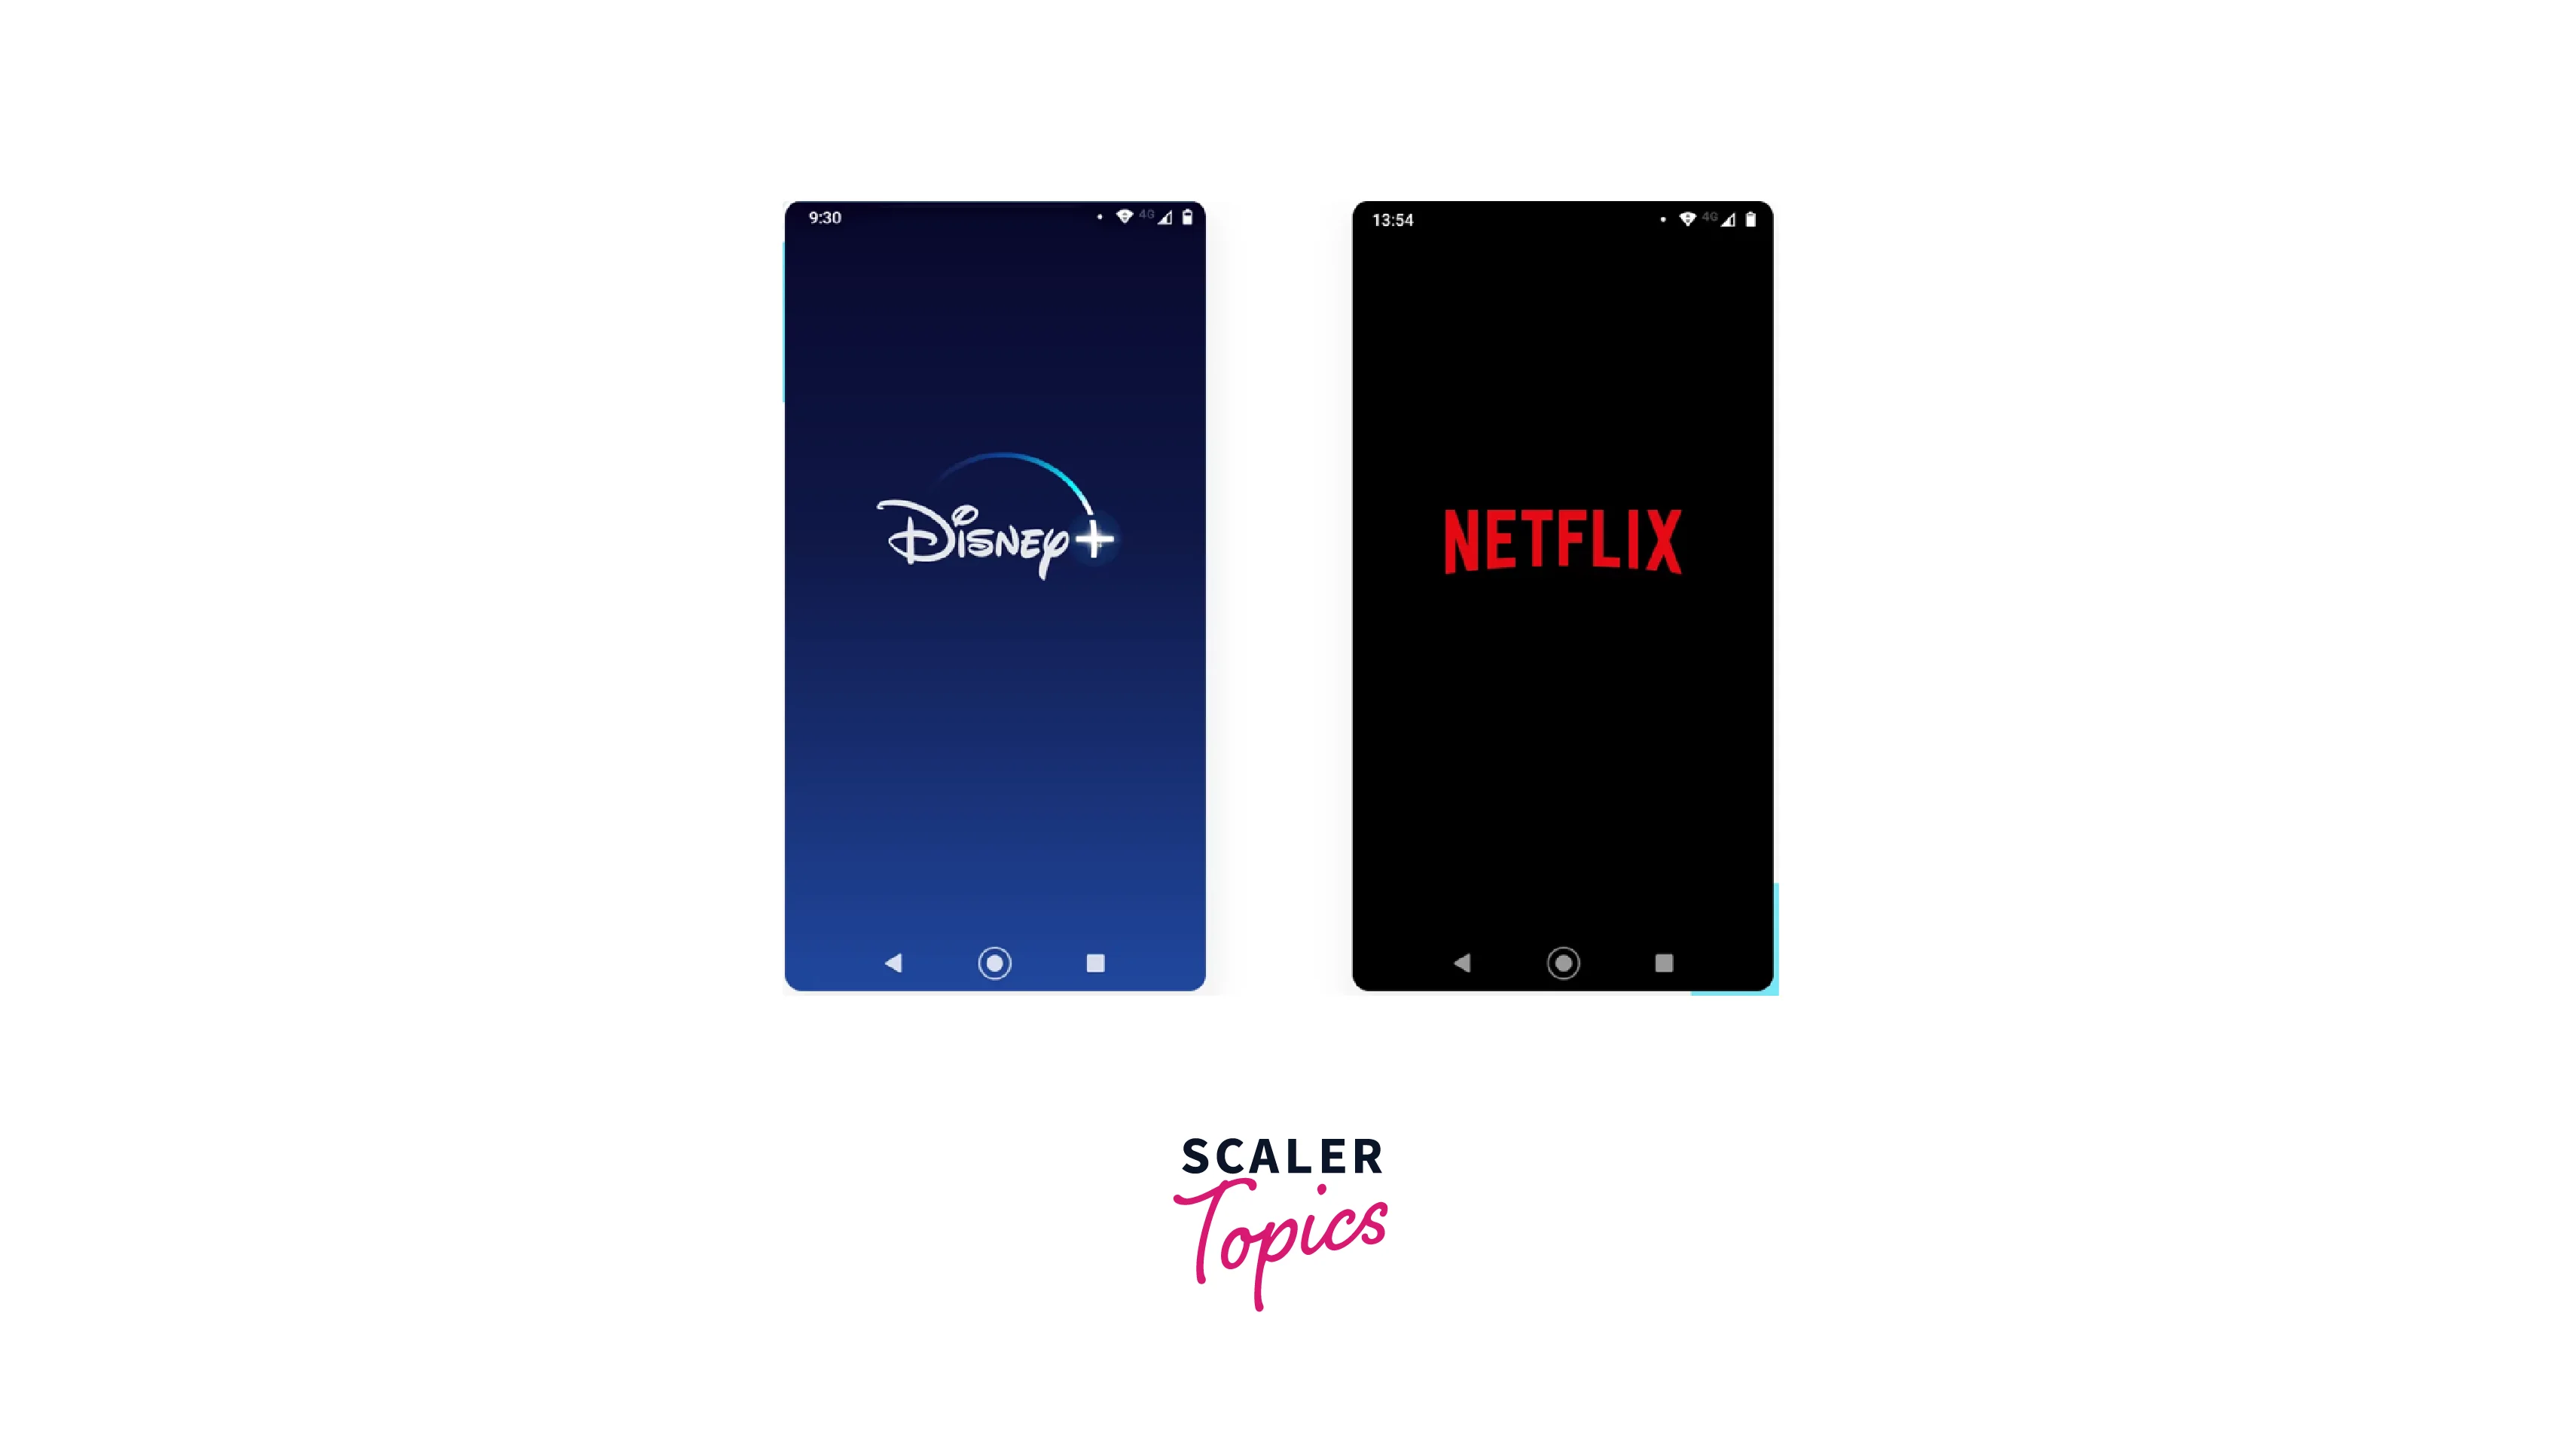
We will create an iOS and Android React Native Splash Screen for this react-native-splash-screen demonstration. You will be shown in the tutorial how to set the appropriate image sizes, update the required files, and remove the React Native Splash Screen when the app loads. Here is an example of a splash screen:
Importance of Image Size for Splash Screen
It can be challenging to design a React Native Splash Screen for a mobile application, and you do not want to run the risk of having display problems on some devices as a result of inconsistent splash screen resolutions. For instance, the requirements for an Android device and an iOS device are completely different. The necessary splash screen resolutions for both devices can be made from scratch by most skilled designers.
However, many third-party tools are readily available that can assist you in making a React Native Splash Screen for both iOS and Android. The App Icon Generator, an online tool for producing icons and images for Android and iOS apps, will be used in this tutorial.
Make sure you are prepared with a high-resolution, 2,000 by 2,000px (72 PPI) image before moving forward.
Building a Splash Screen with React Native
-
Choose a background color, and then obtain the RGB and hex values in the range of 0 to 1.
-
In my illustration, I chose #E0B9BB, 0.87843, 0.72549, and 0.73333 are the RGB values. You can easily obtain the RGB values by using the "EasyRGB" converter.
-
Now choose the image that will appear in the React Native Splash Screen center.
-
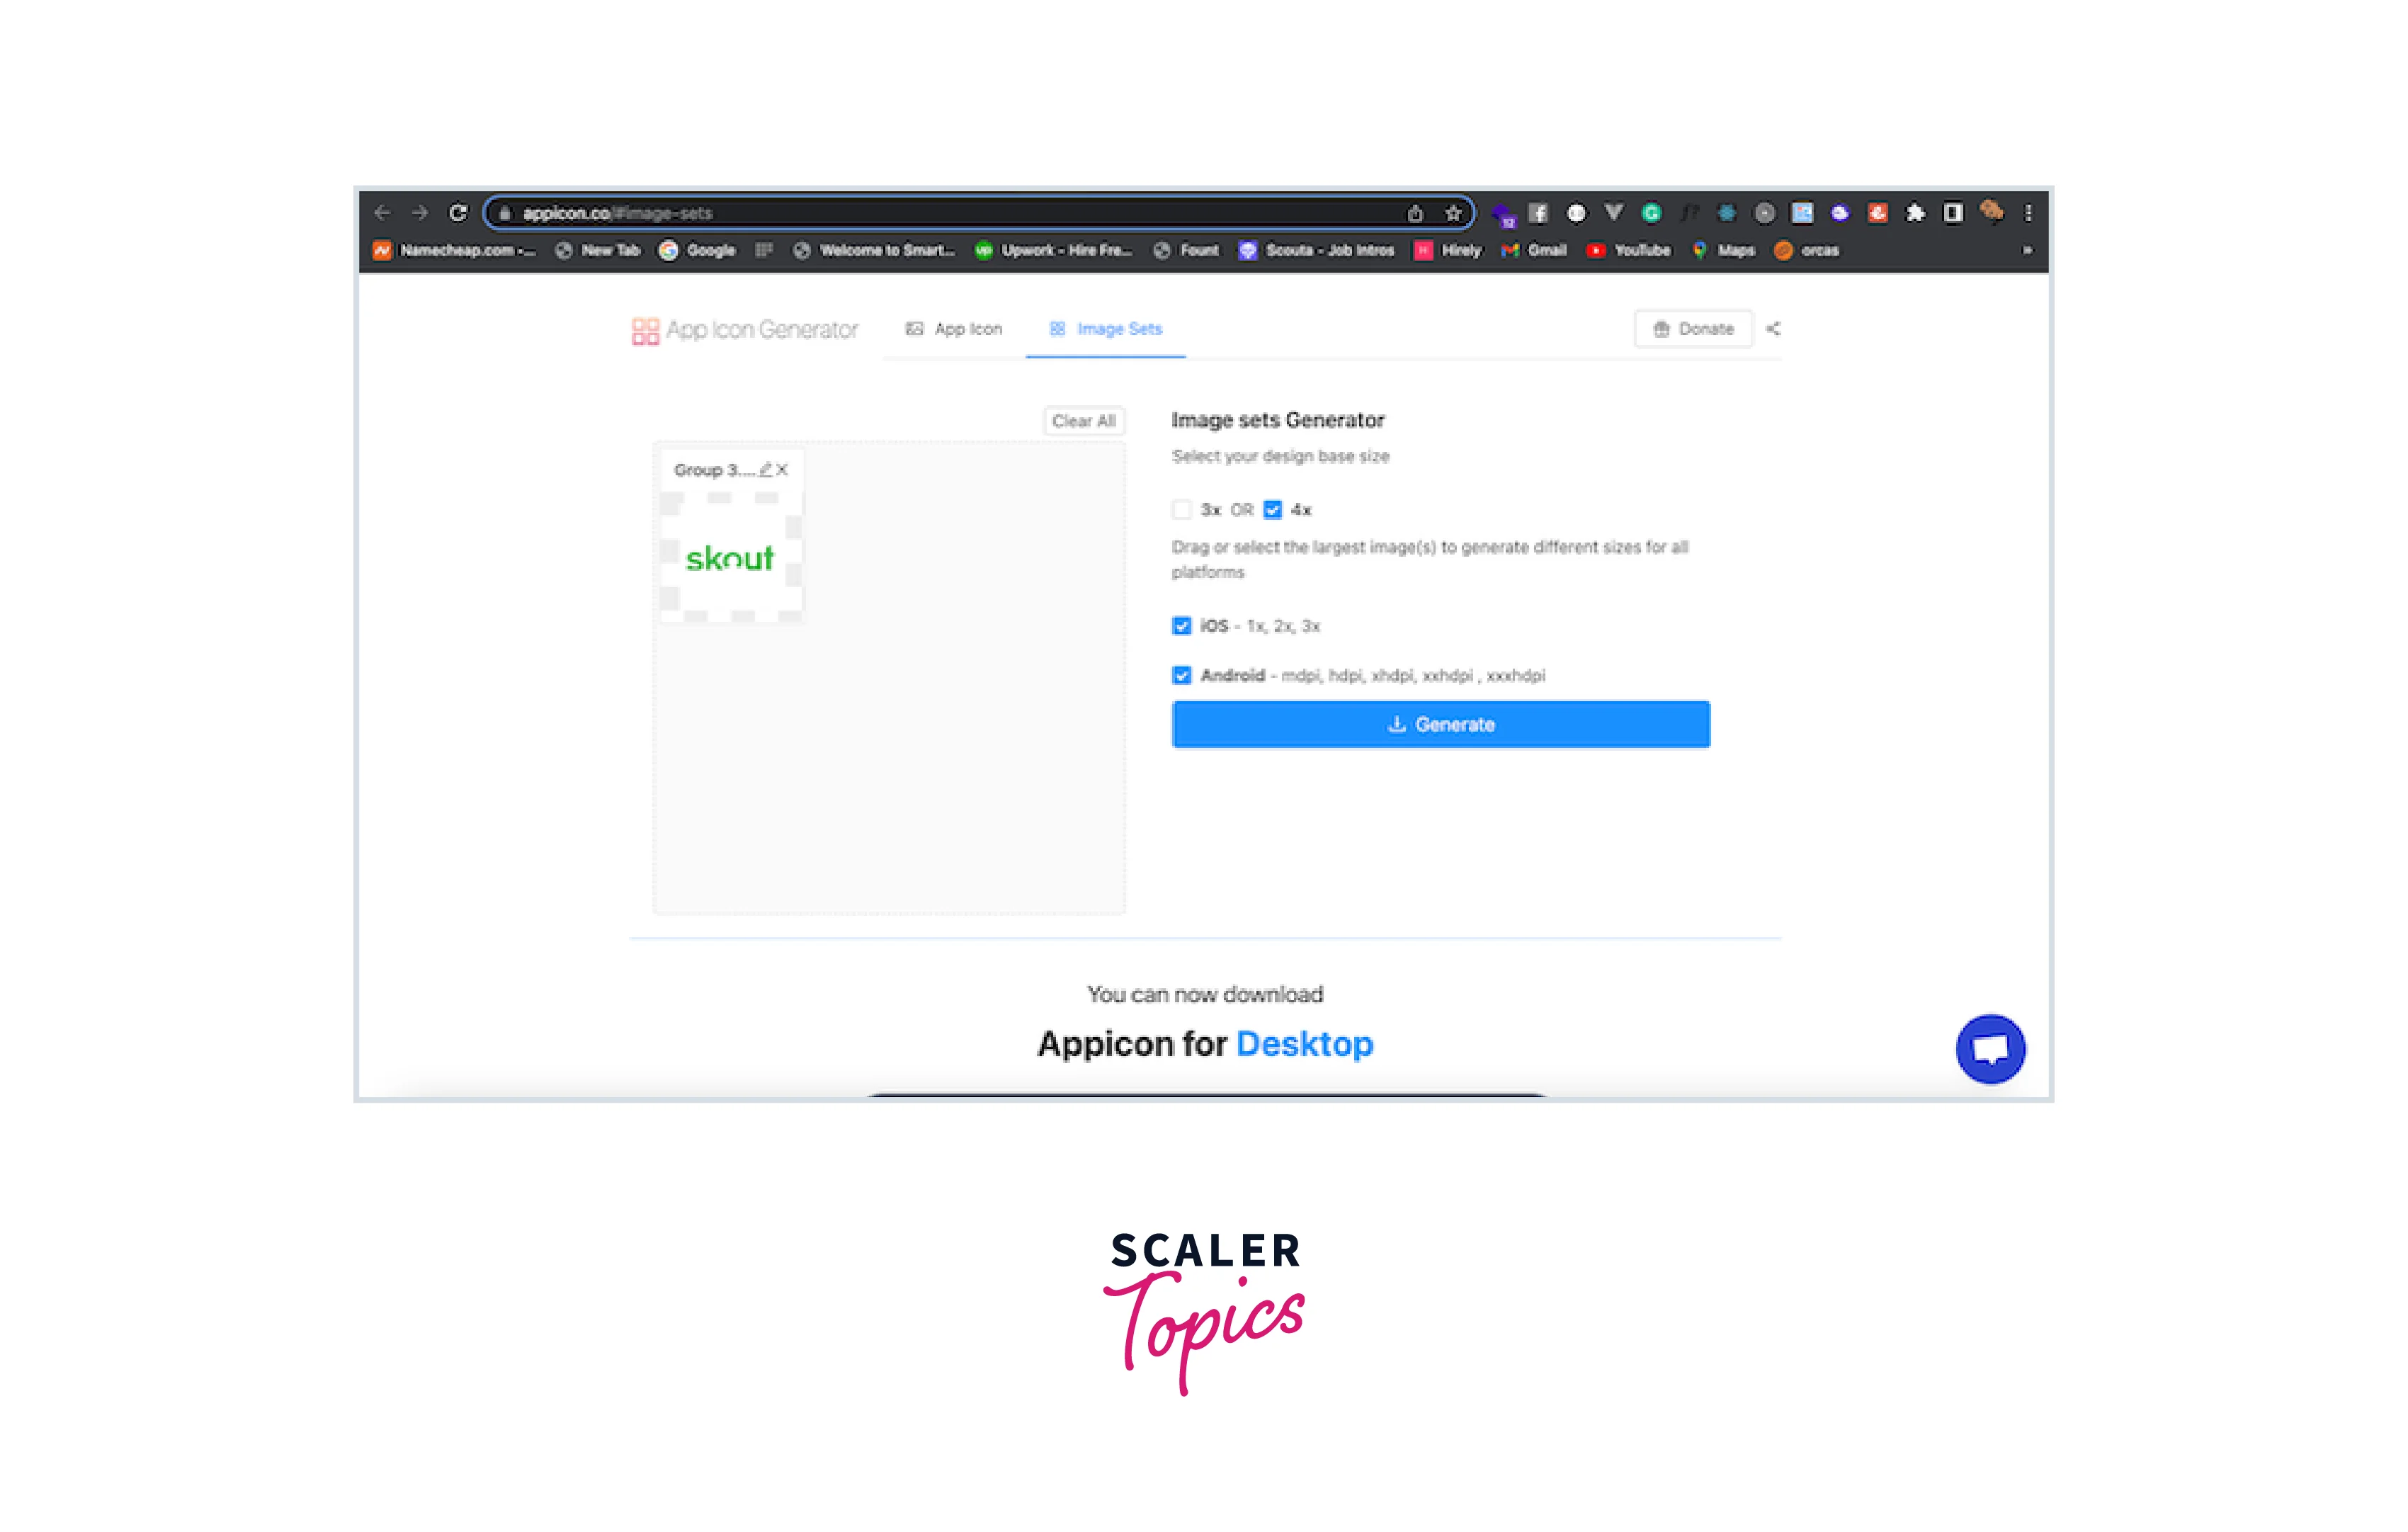
Start by going to Appicon. Drag your image into the available box, choose the base size of 4x, choose iOS and Android, and then click Generate.
-
Depending on your internet speed, it should take about two minutes to complete this process:
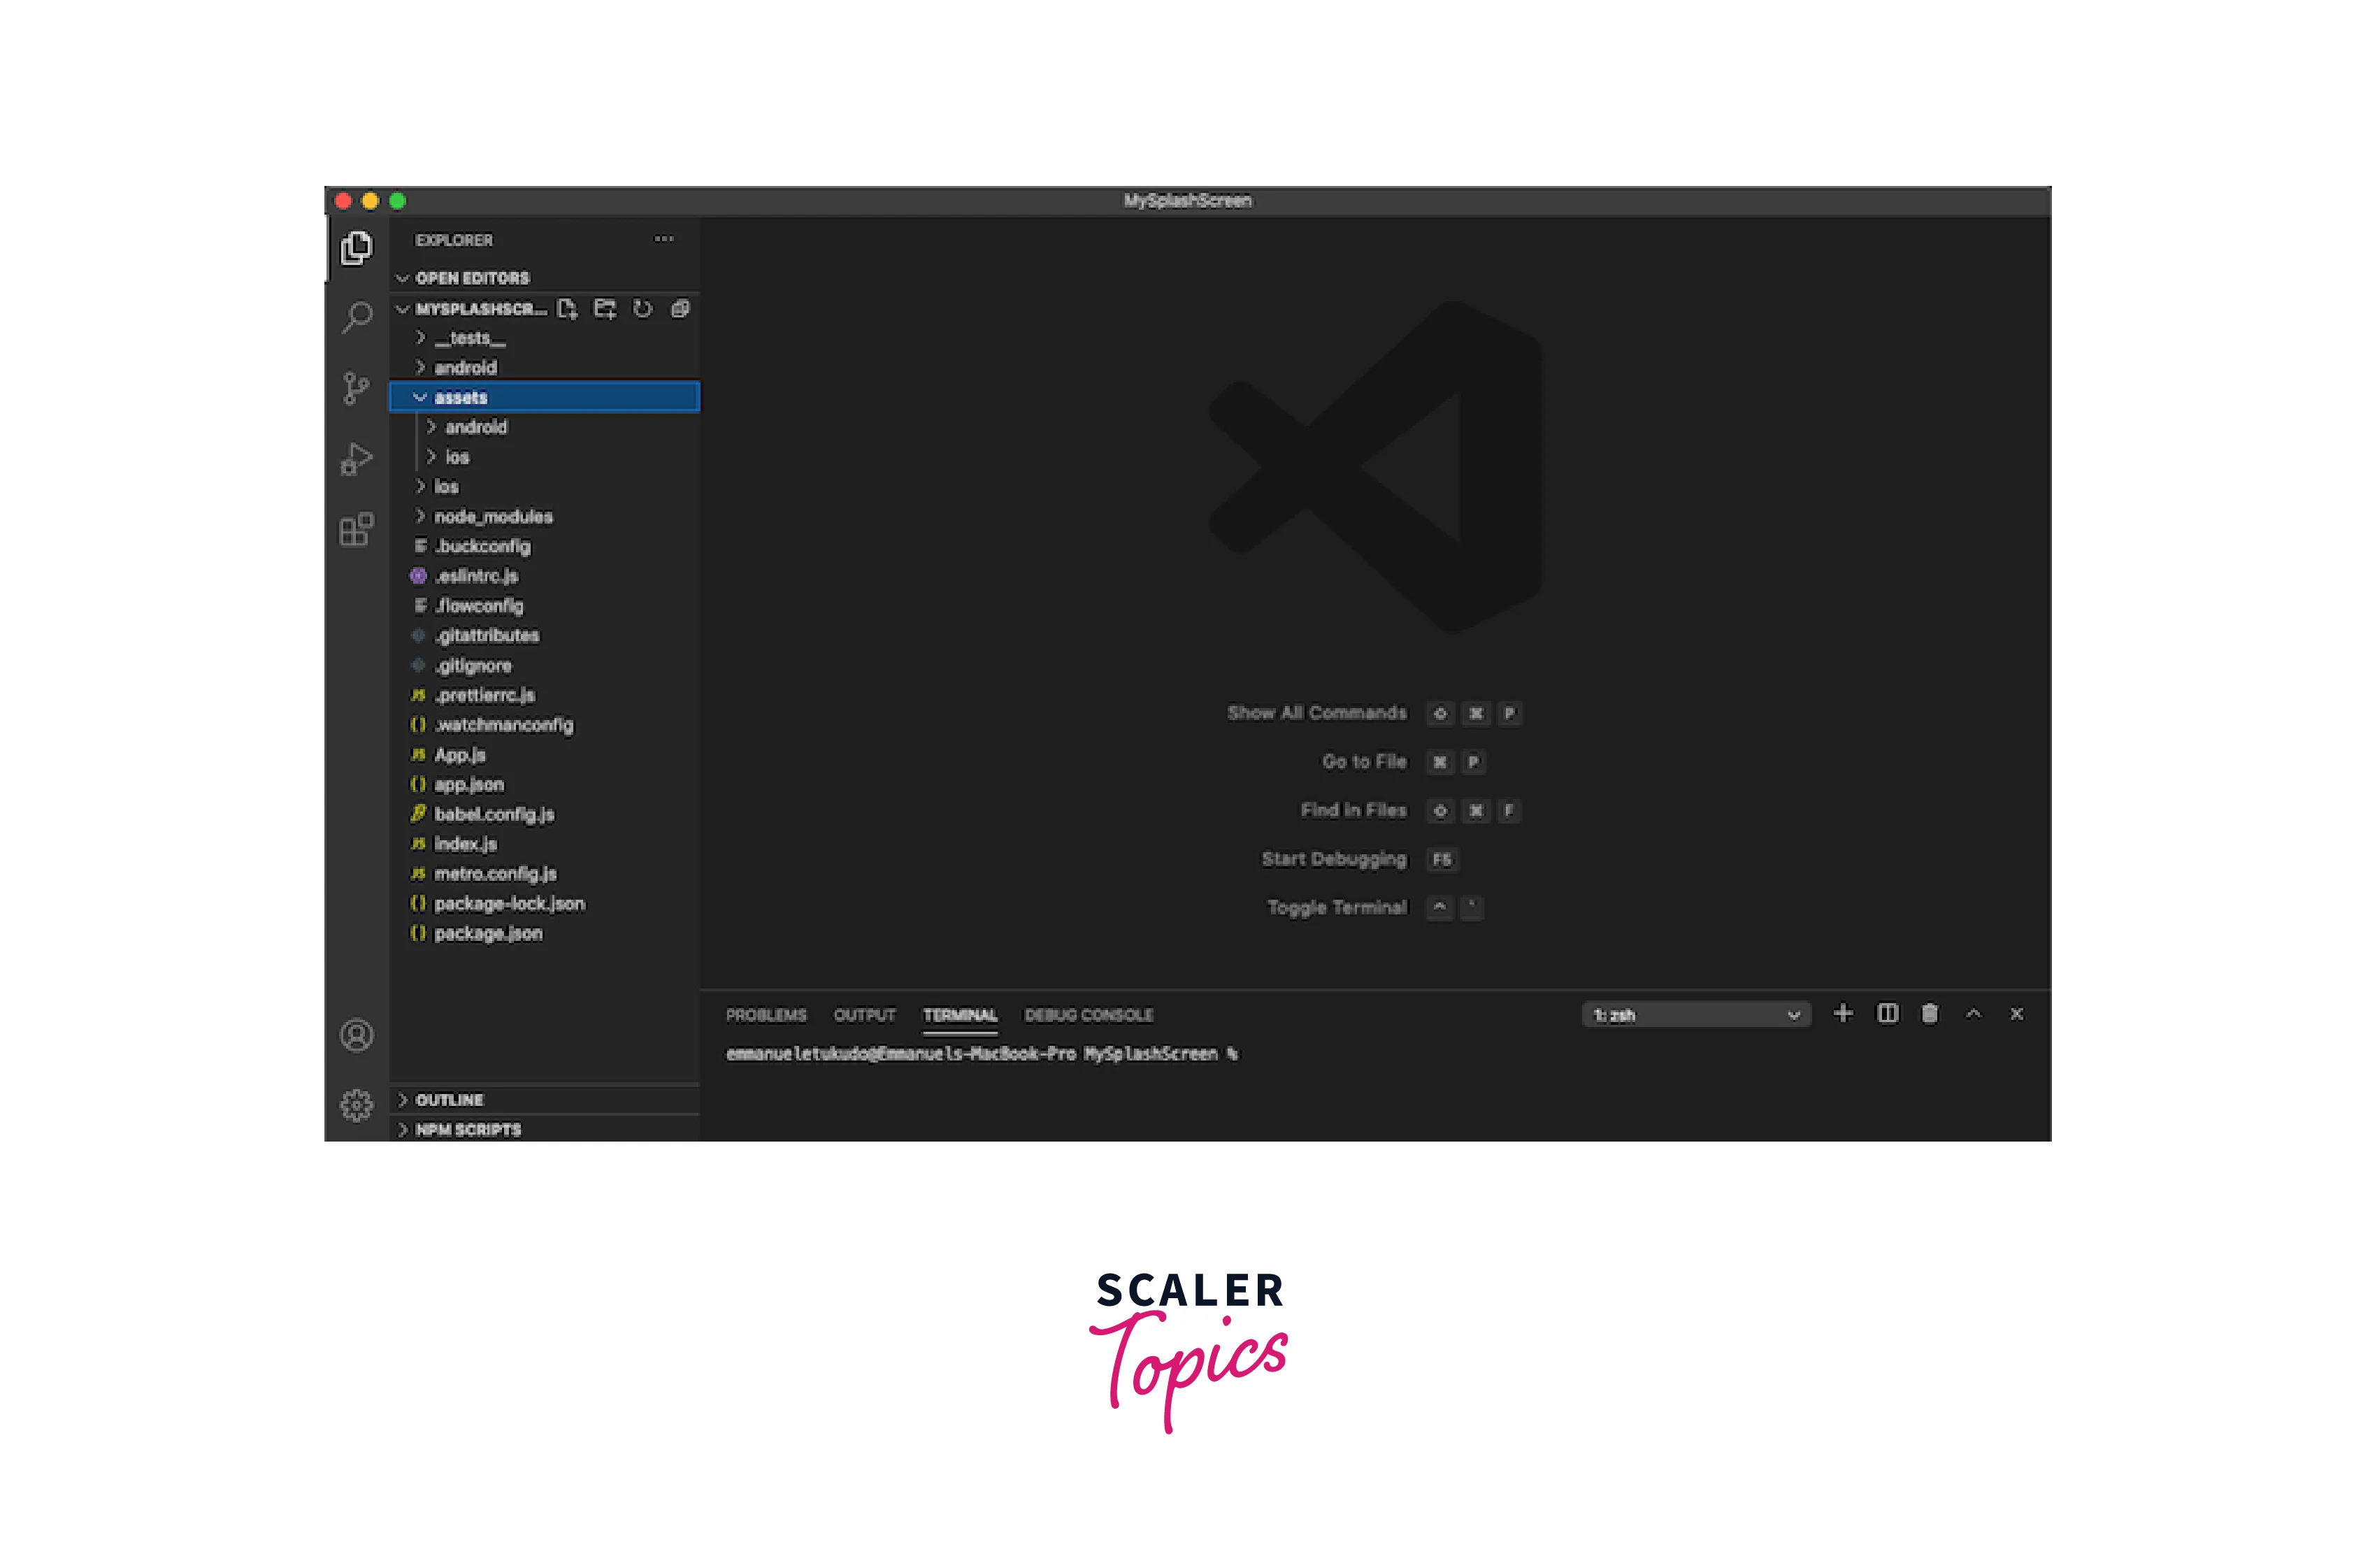
Extract the downloaded file after that, then copy the assets folder from the assets directory of the starter project you cloned to the iOS and Android folder:
There are a few adjustments needed when creating a React Native Splash Screen. To start, adhere to the guidelines below.
Run each command at the command prompt or terminal (Mac or Windows):
-
To install all the dependencies listed in the starter file, use npm i.
-
Install the RNSplashscreen package by typing
then navigate to the iOS directory and type pod install to link all dependencies.
-
Go back to the project's root directory by navigating there.
Building React Native Splash Screen for Android
Let's now show you how to create an Android splash screen using React Native.
Open MainActivity.java by going to Android > App > src > Main Folder on your computer. Update MainActivity.java with the following code to use react-native-splash-screen:
Now, make a new file called launch screen.xml in the layout folder of the app (if it doesn't already exist). Next, add the following code to the launch screen.xml file:
Note:
The android:src="@drawable/launch screen" is same as the <img src="your image" /> in HTML. Therefore, make sure to replace launch_screen with the actual name of the image you created from Appicon.
Changing Splash Screen Background Color
Additionally, you must understand how to alter React Native Splash Screen background color for Android applications.
First, transfer all of the Android assets to the res folder. Create a new file called colors.xml in the values folder, and then add the color primary_dark to it in the app/src/main/res/values/colors.xml in the following way:
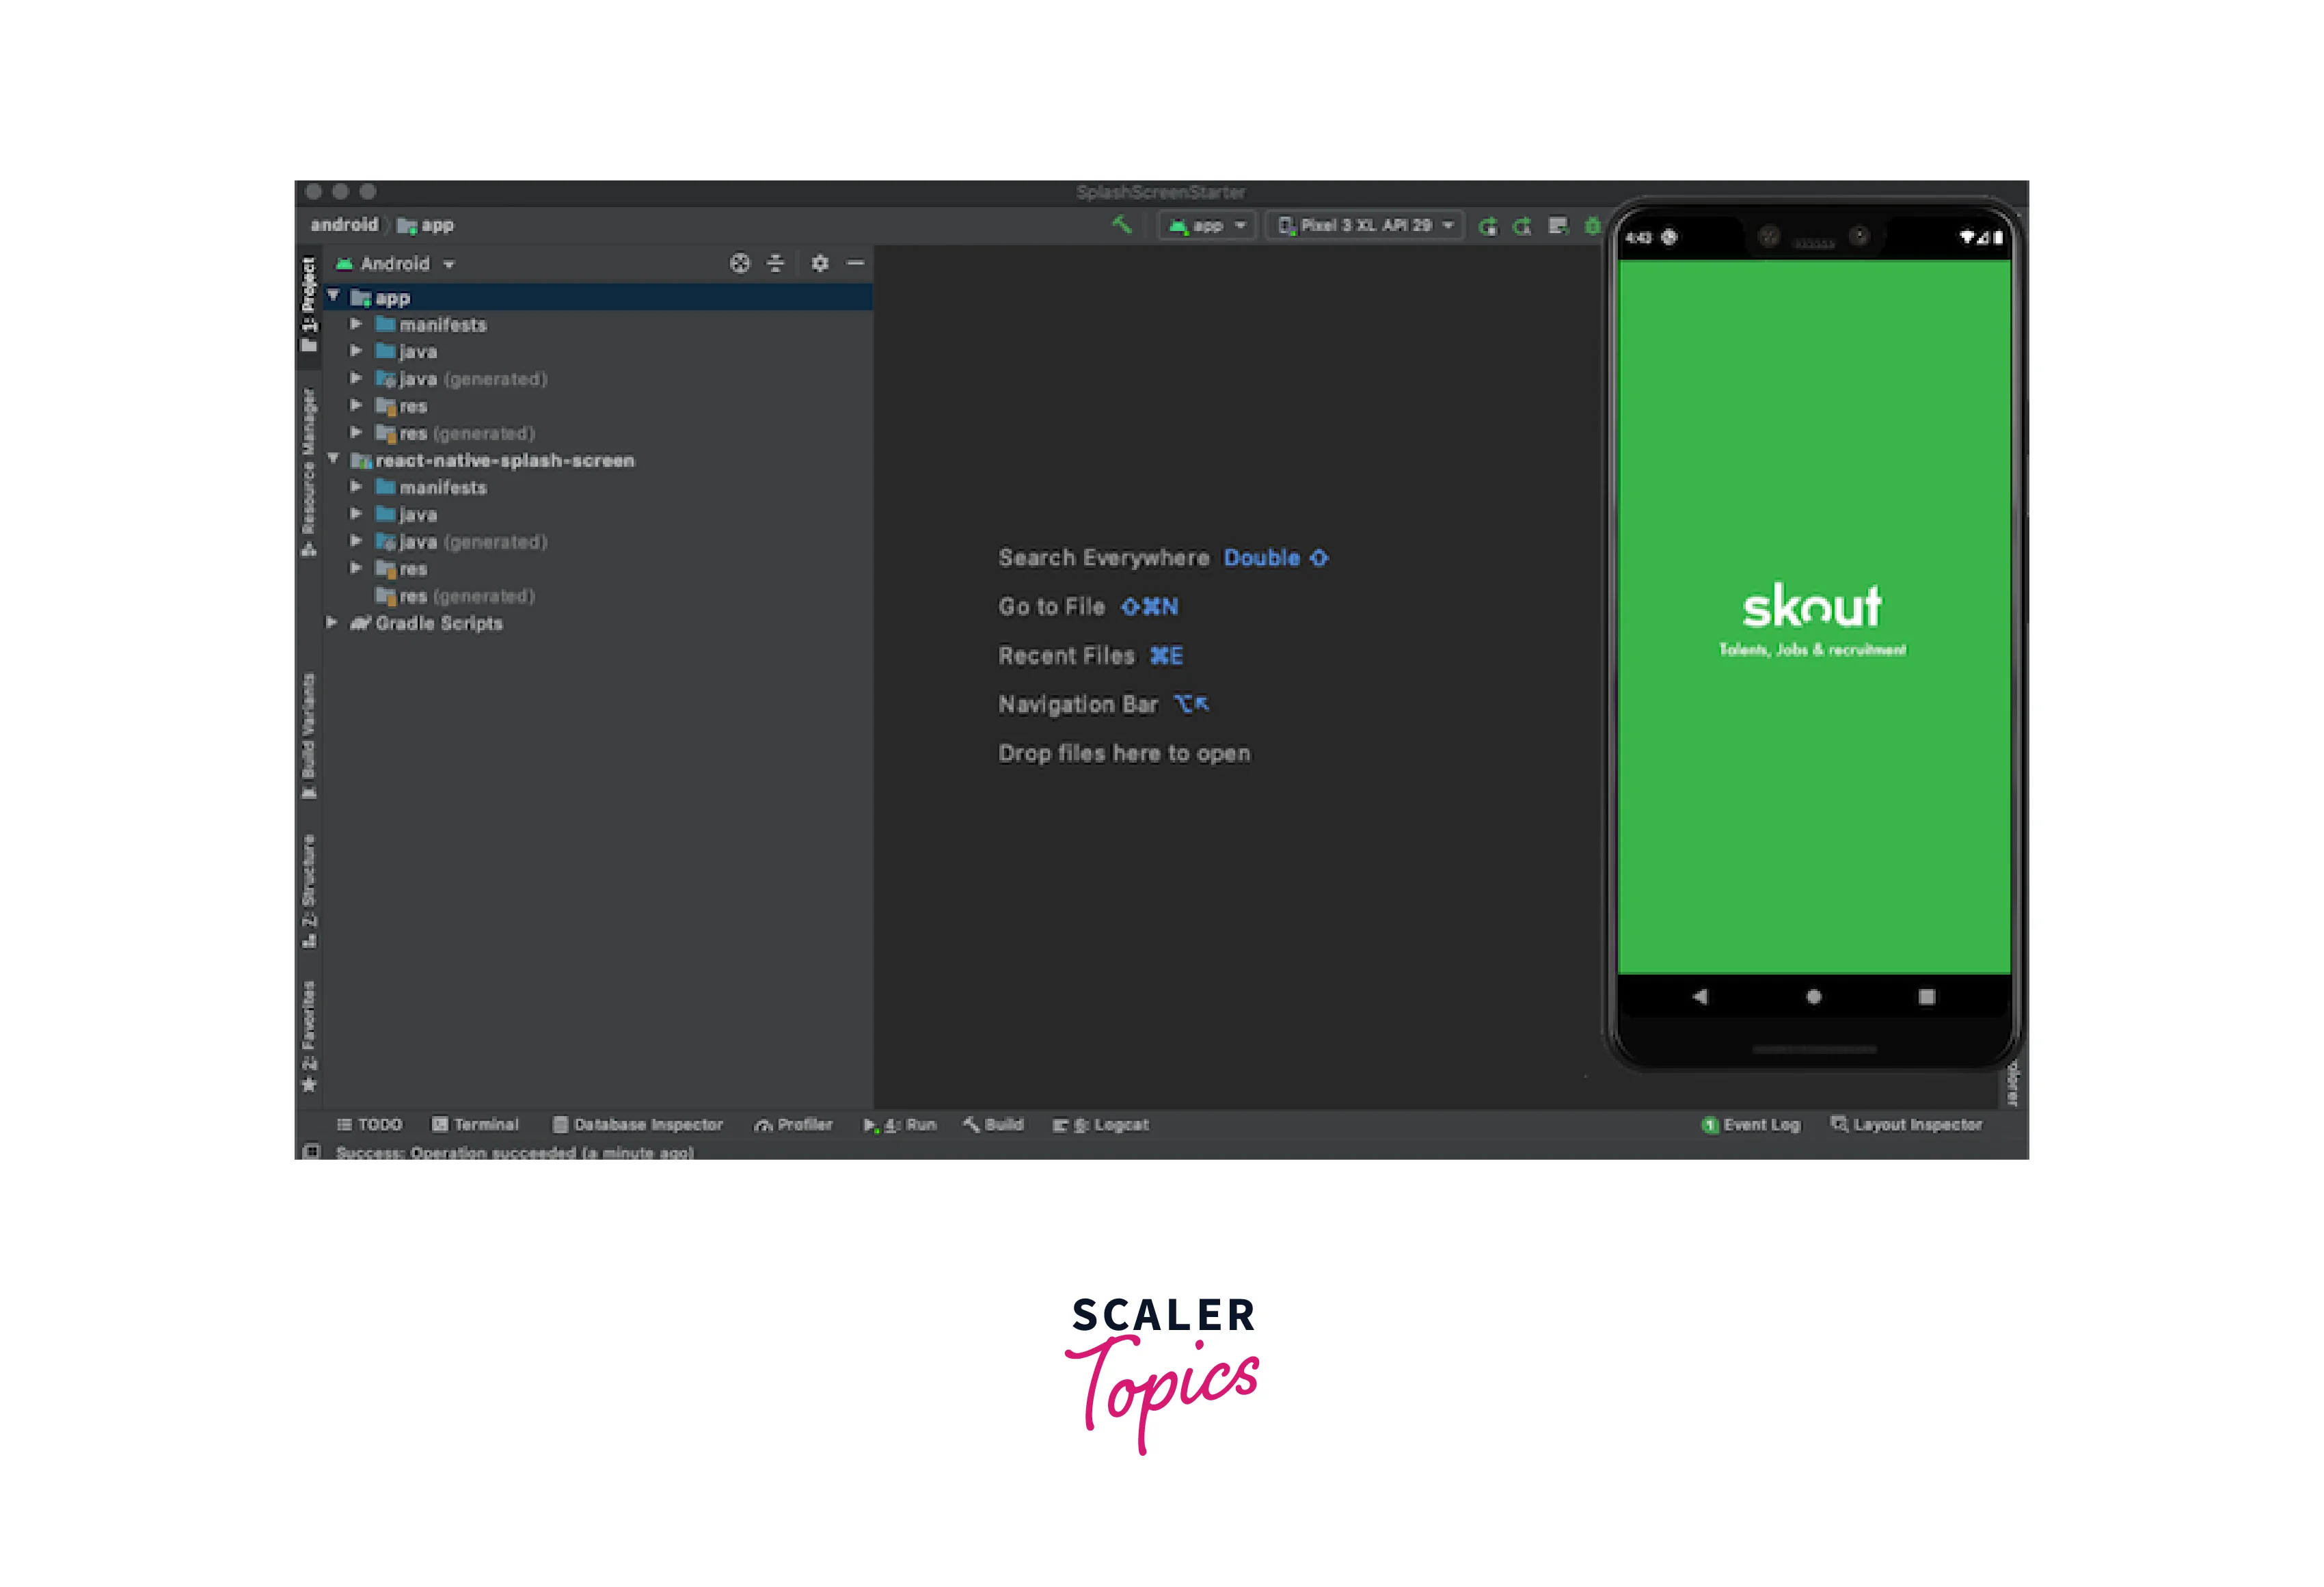
Launch AVD, launch the Android folder in Android Studio and run your application as demonstrated below. If everything is configured properly, the outcome should resemble the following screenshot:
Building React Native Splash Screen for iOS
Set the splash screen to display by default by selecting iOS > SplashScreen, opening AppDelegate.m, and adding the code #import "RNSplashScreen". For further information, see the comments in the code below:
Here, we modified the AppDeligate file in two important ways. The RNSplashScreen we previously installed was first imported into AppDeligate.m. Next, we use the code [RNSplashScreen show] to set the RNSplashScreen to display by default.
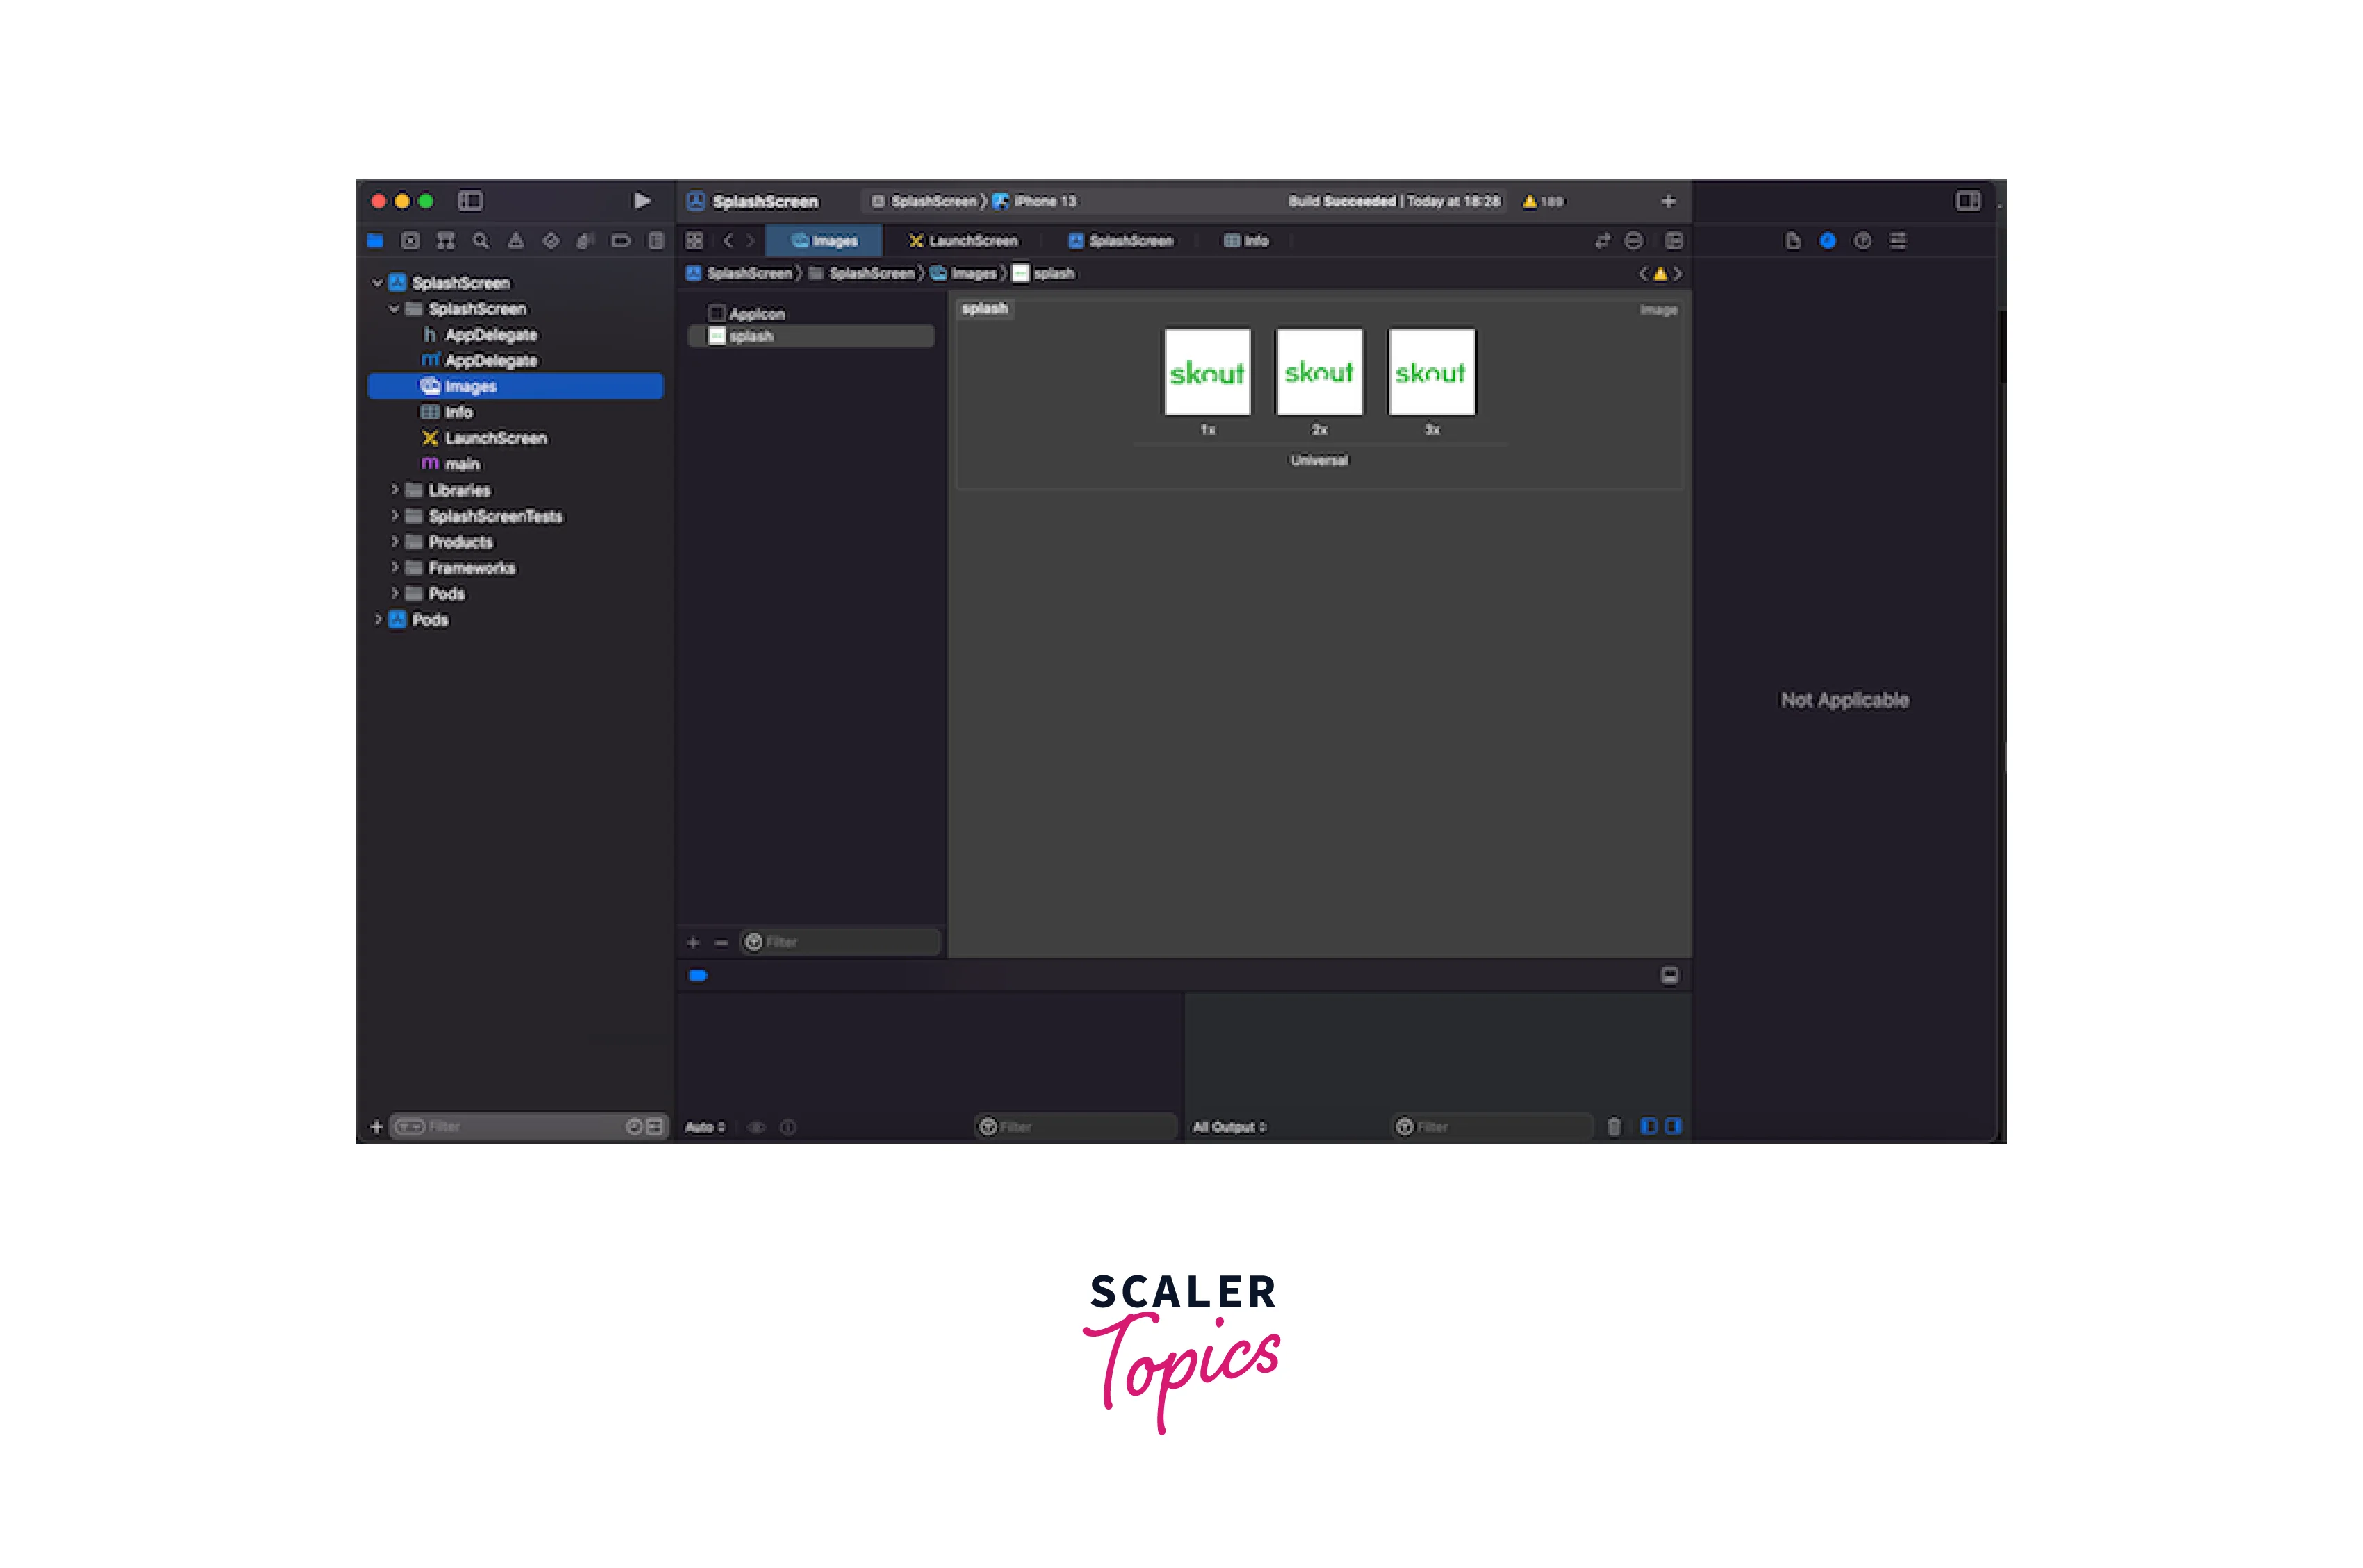
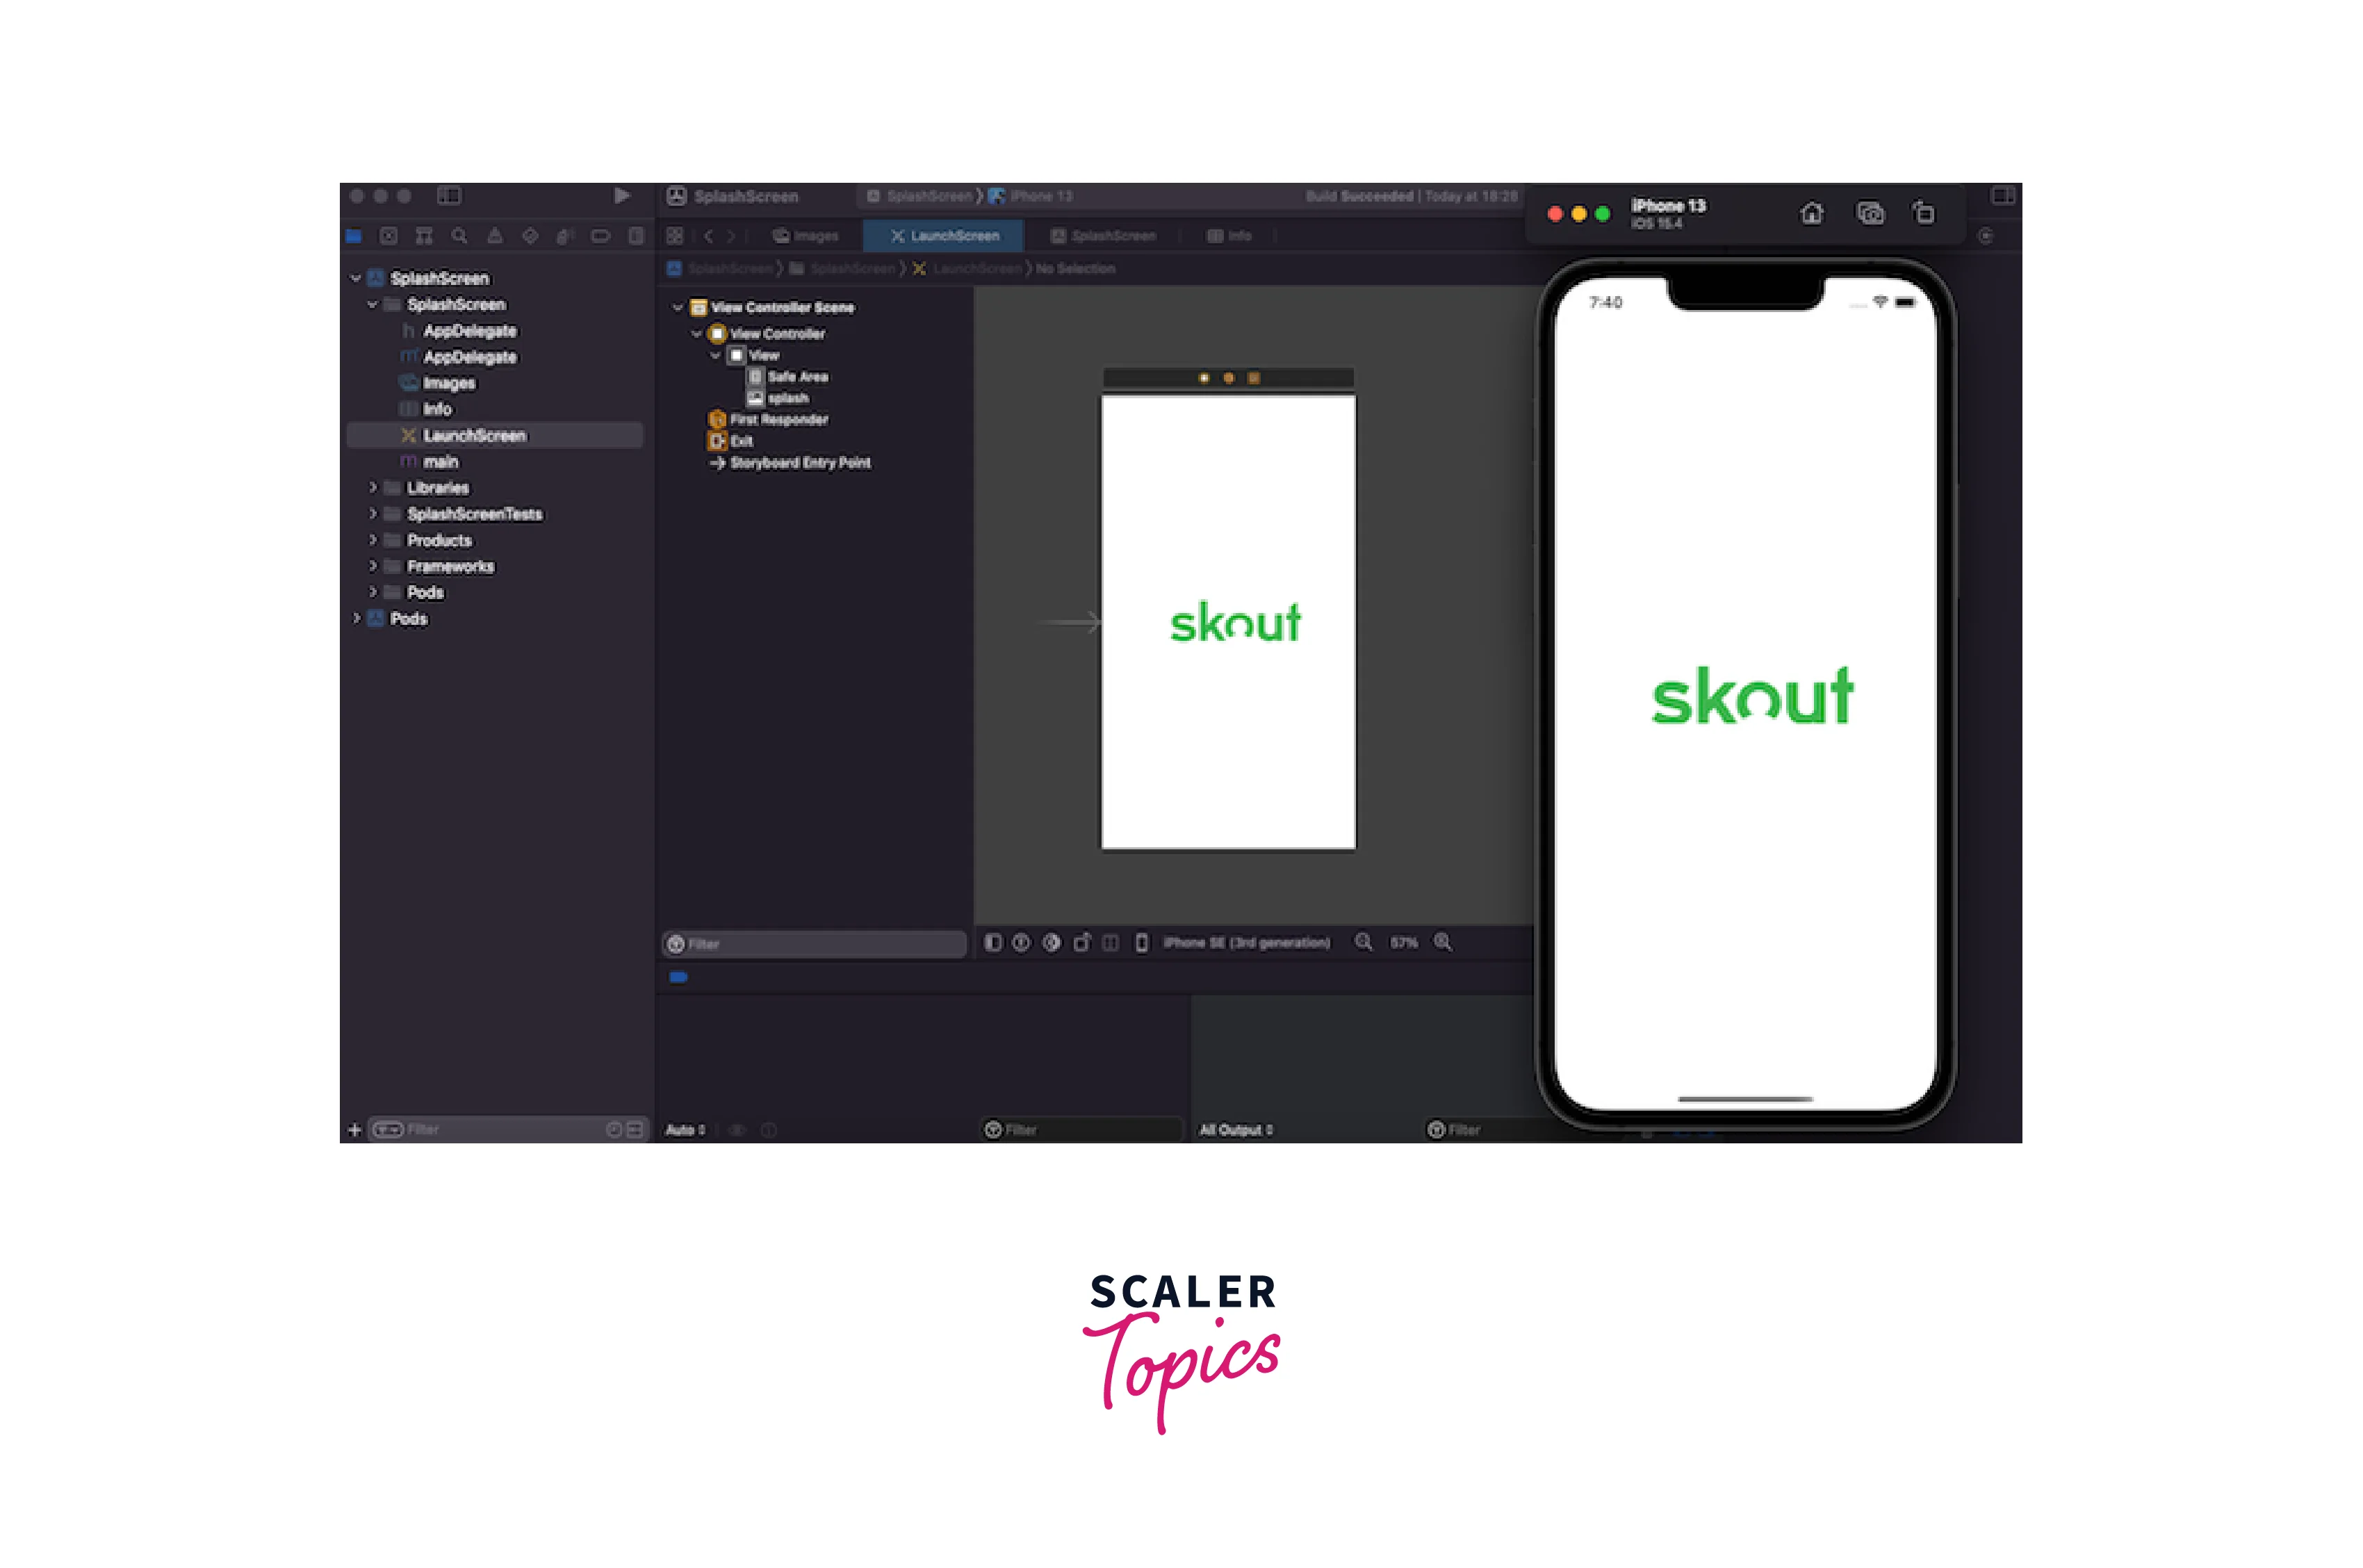
To create a new image set, click images, then right-click anywhere below Appicon in Xcode's project workspace. Open the assets folder, go to the iOS folder, and name the image splash. Drag the three images from iOS over the 1x, 2x, and 3x boxes in Xcode:
Choose LaunchScreen.storyboard next. Press the DELETE key on your keyboard after selecting the SplashScreen which is Powered by React Native labeled in the View Controller Scene > View Controller > View menu.
Next, choose View and then click the ruler icon in Xcode's top right corner. Click the plus icon +, type image view in the objects search input field, uncheck the Safe Area Layout Guide box, and then drag the image view to the View canvas:
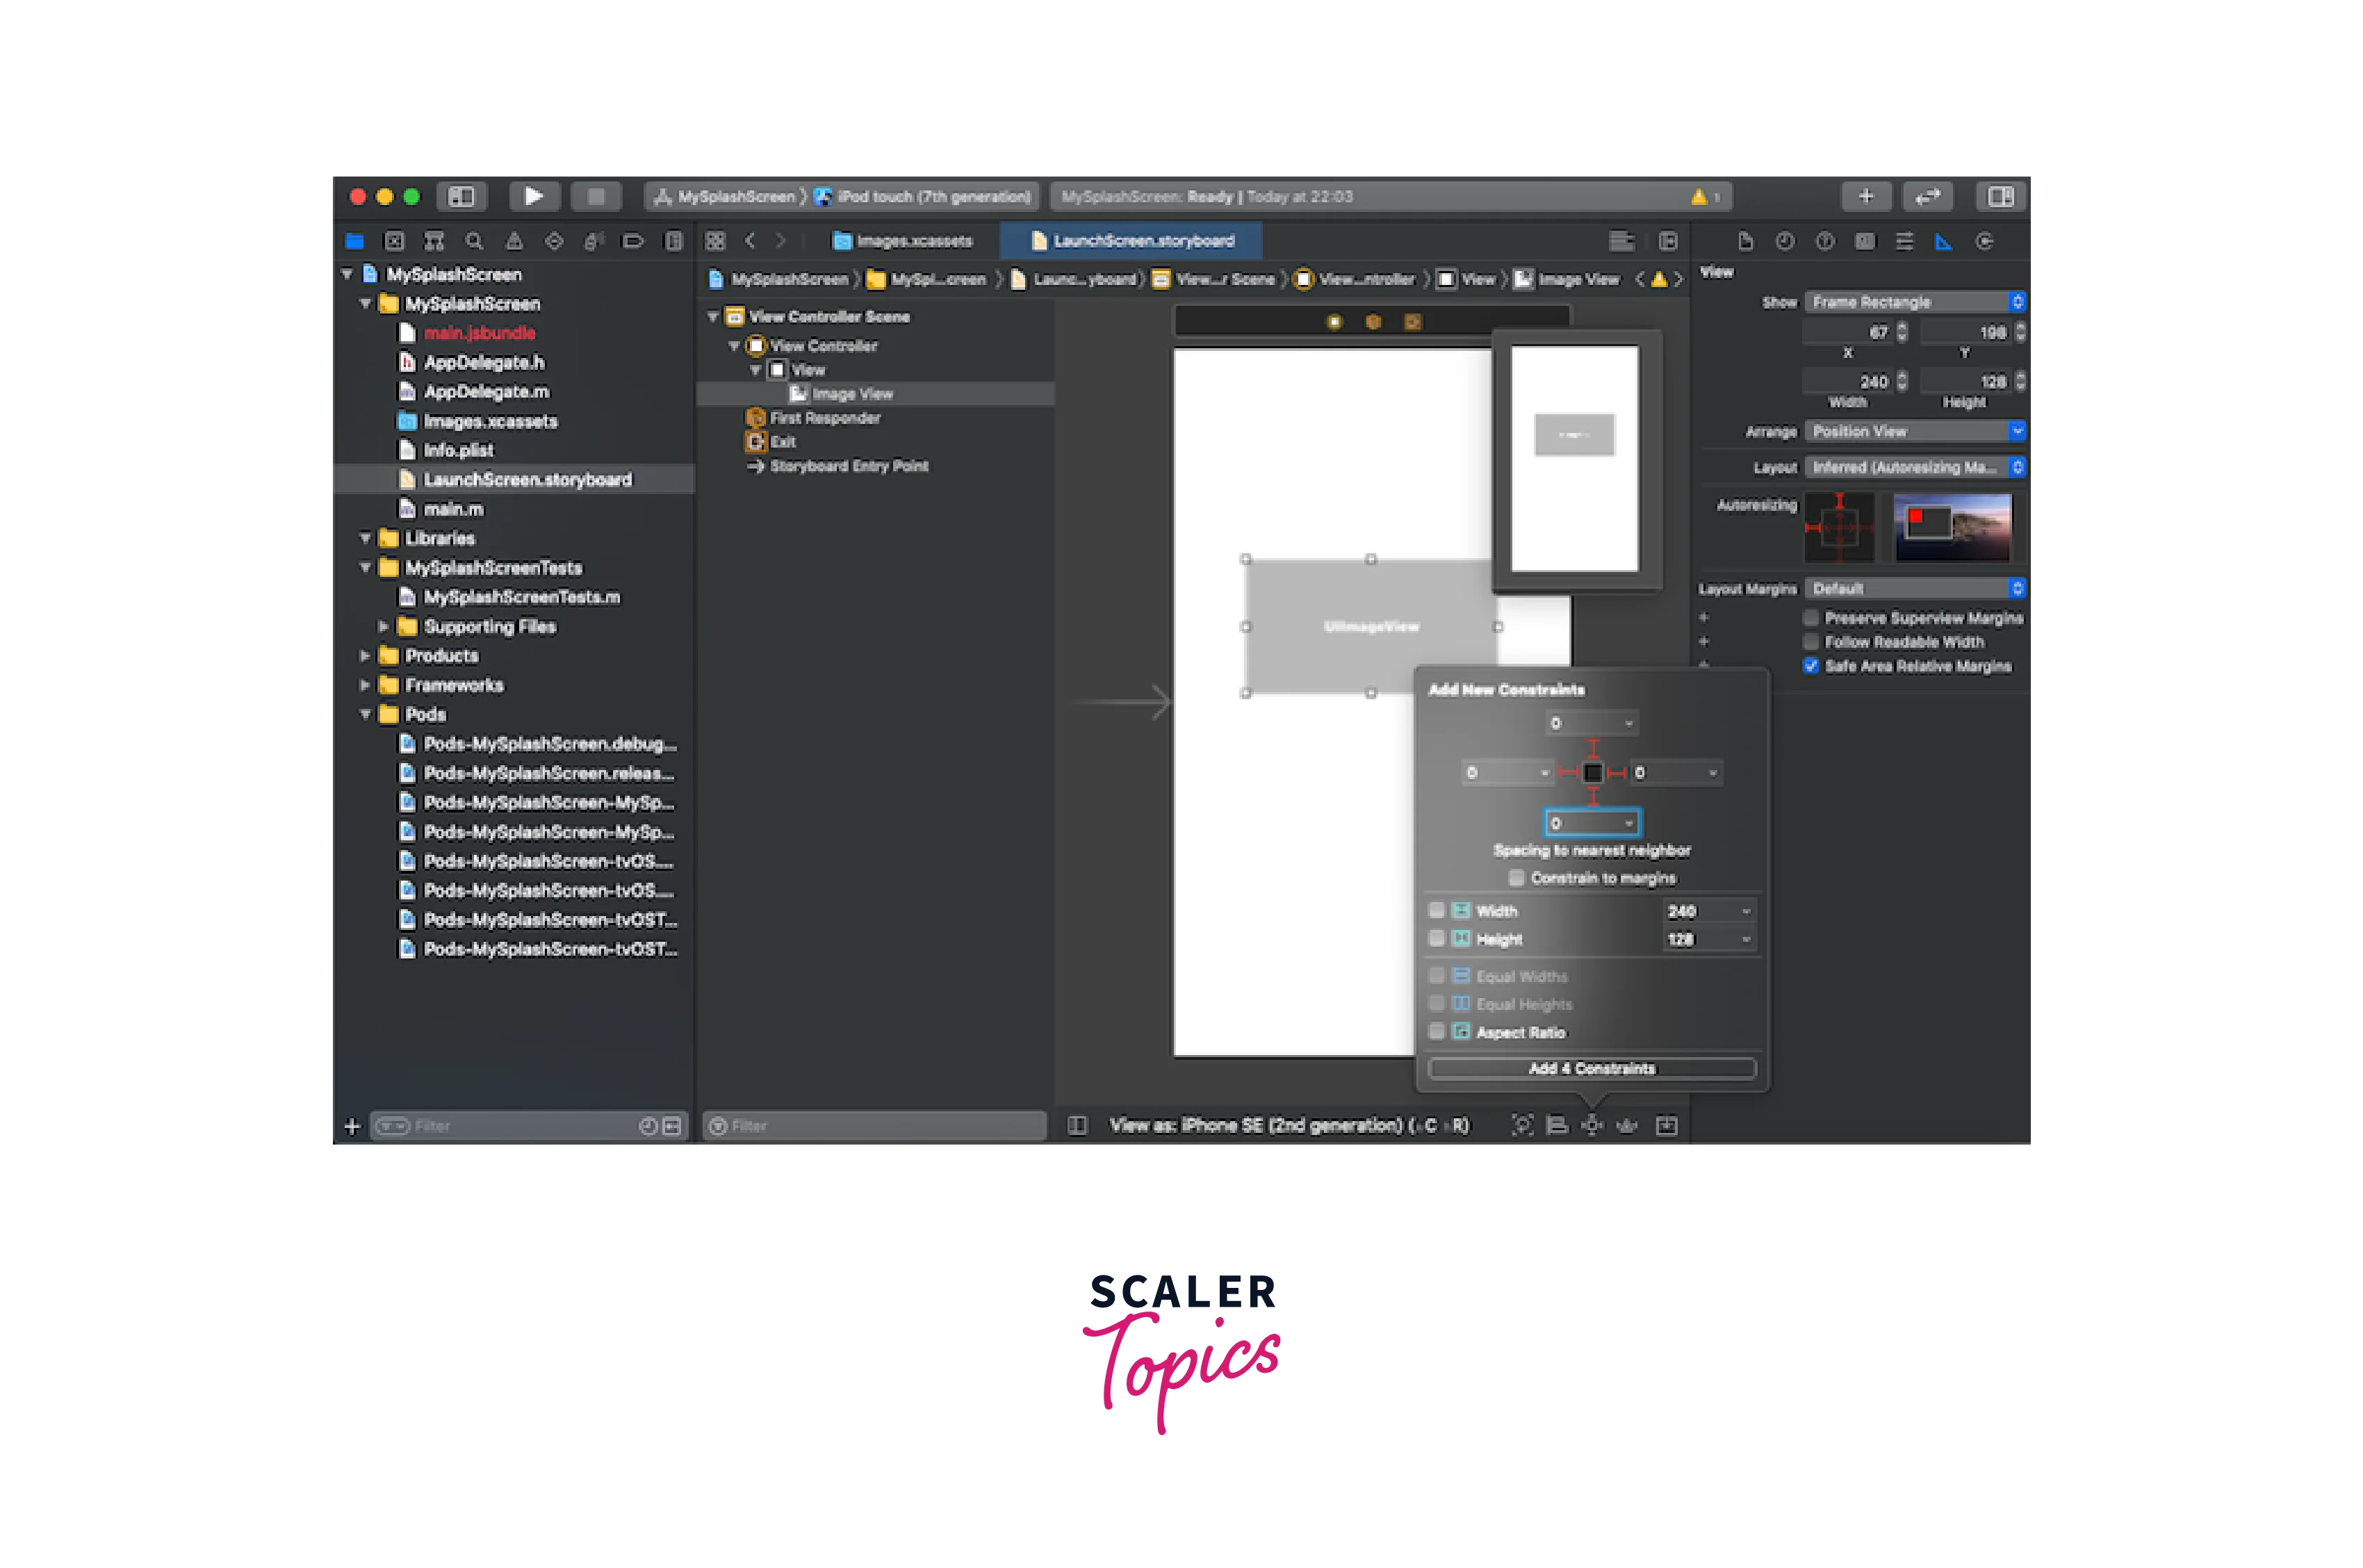
When you have finished setting up the image view, click the image property icon and switch the image to splash. Aspect fit should be selected for the content mod, as shown below:
Changing Splash Screen Background Color
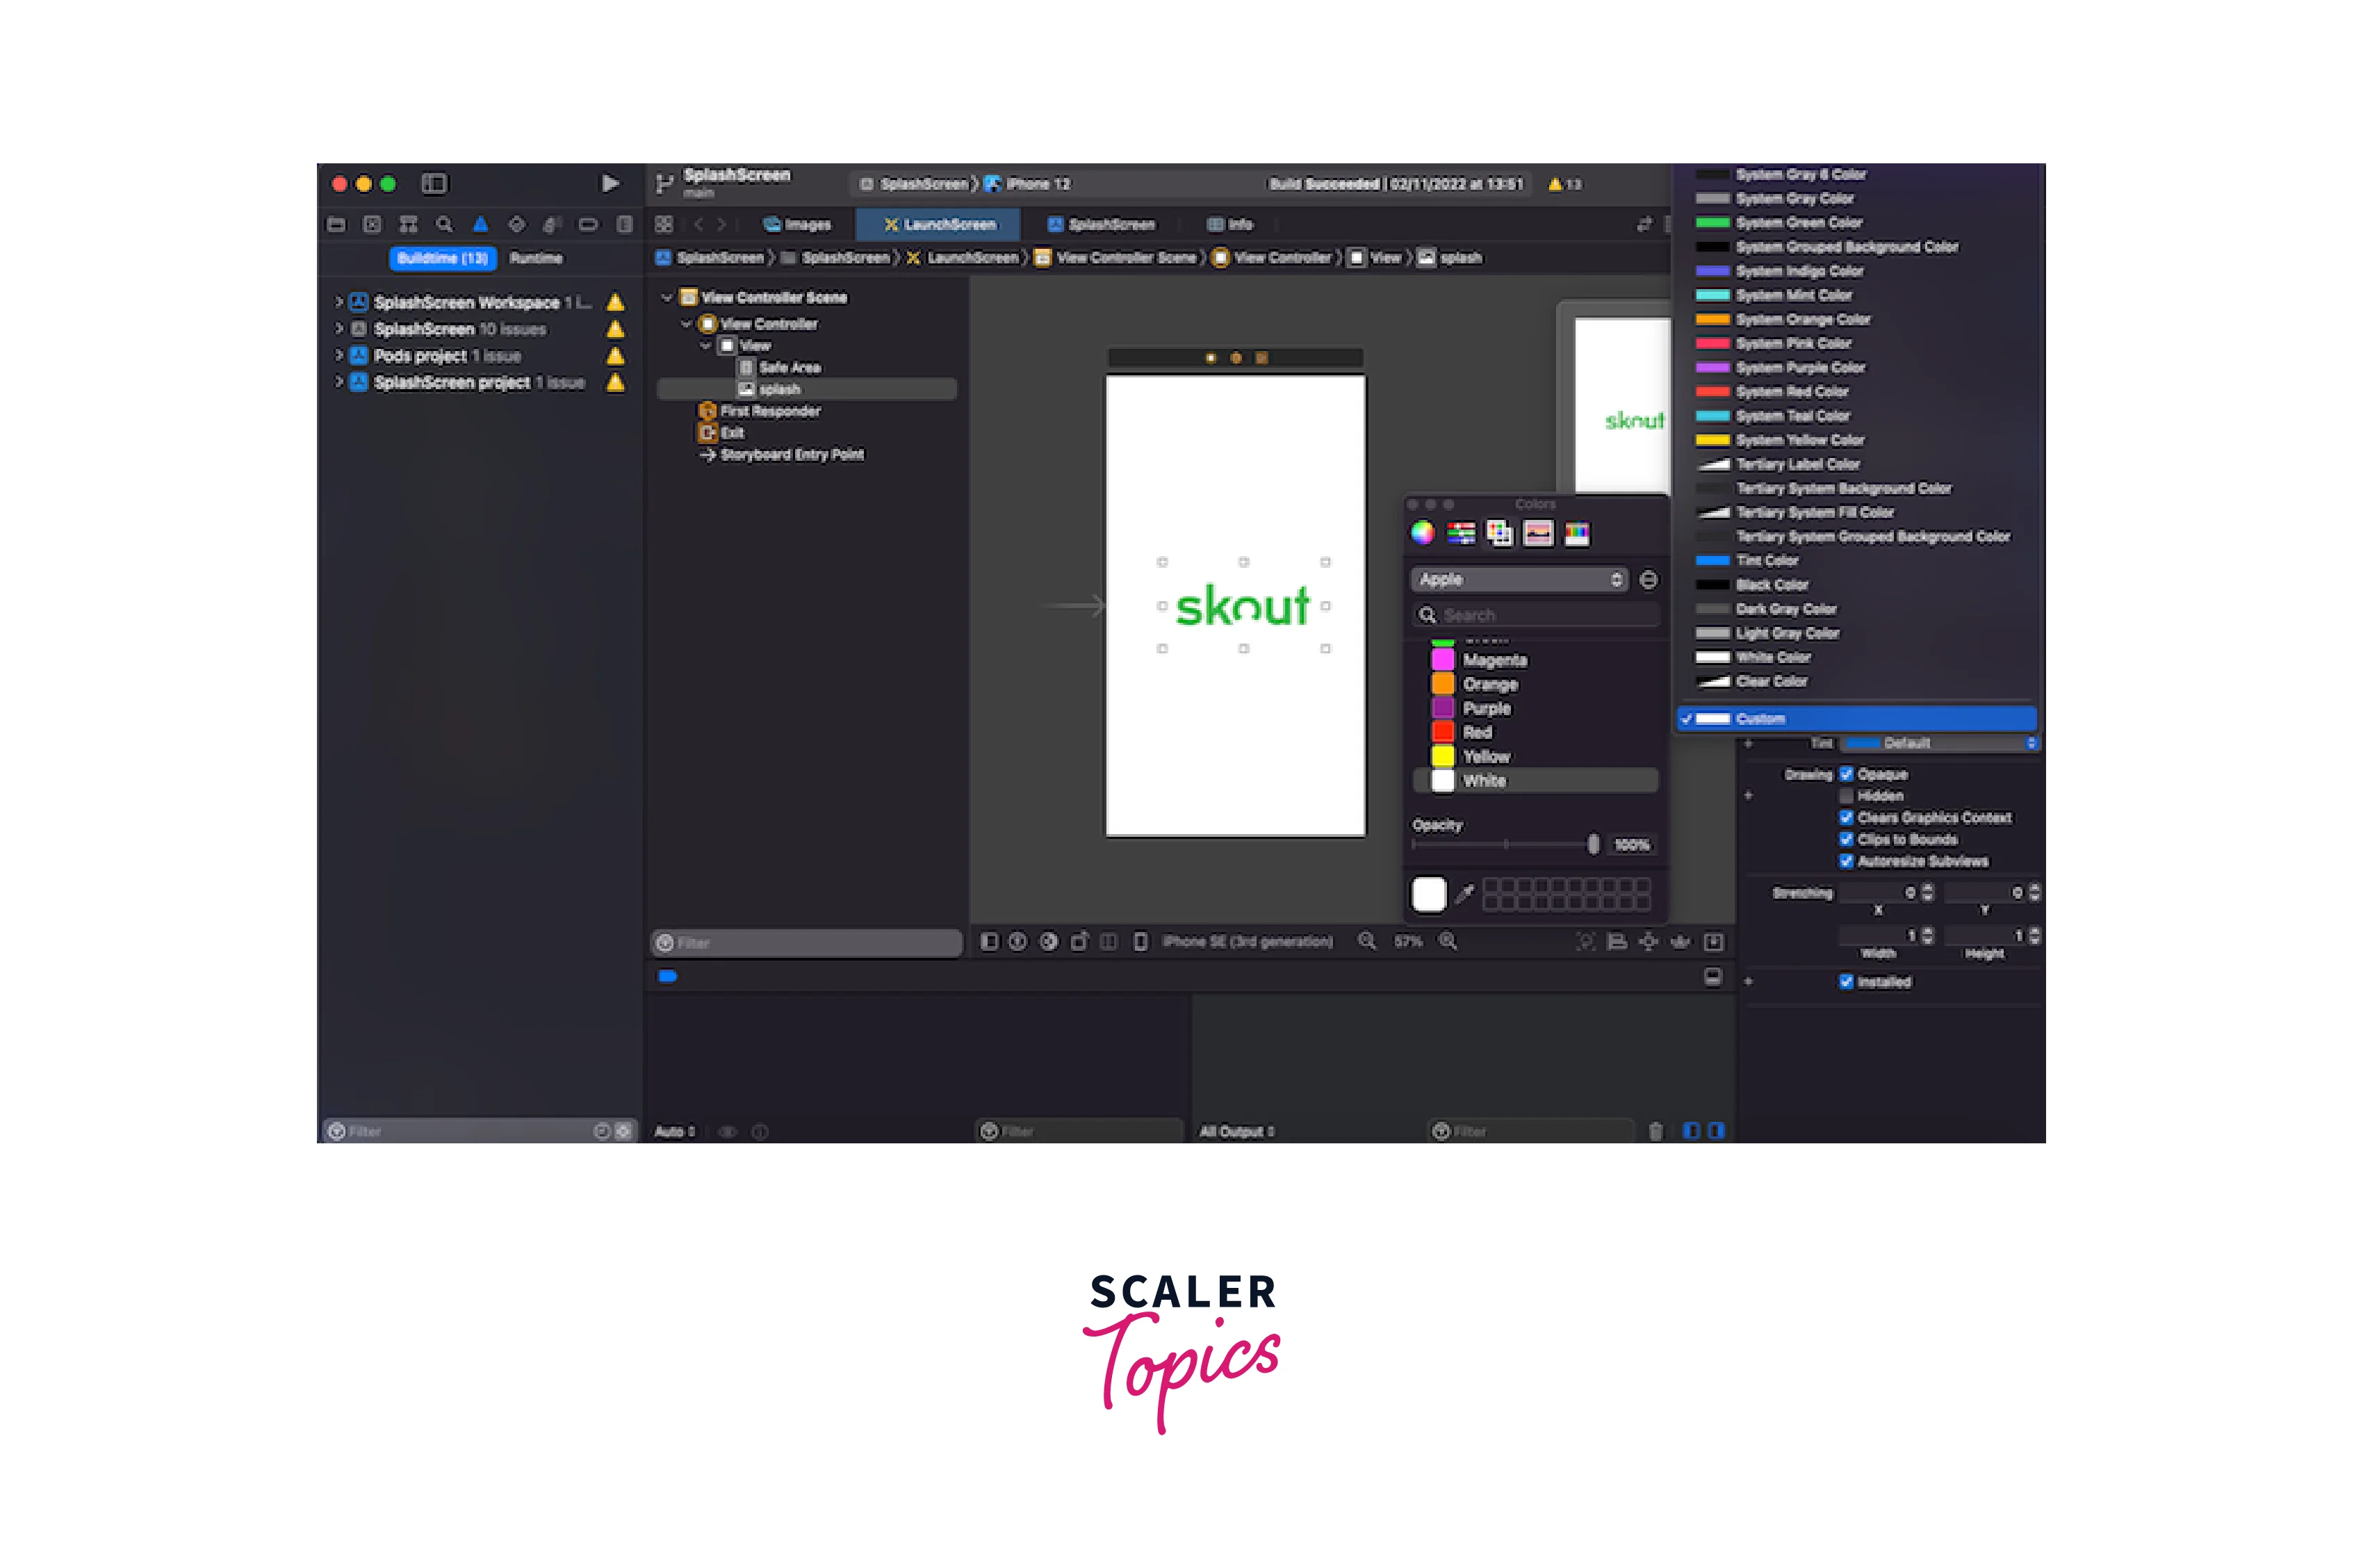
How do I change the splash screen background color in React Native is the next query you might have. Scroll down to where the background is and choose Custom from the dropdown to enforce a consistent background for the splash screen in iOS. Choose the splash screen's preferred color from the popup menu. In this instance, we chose white:
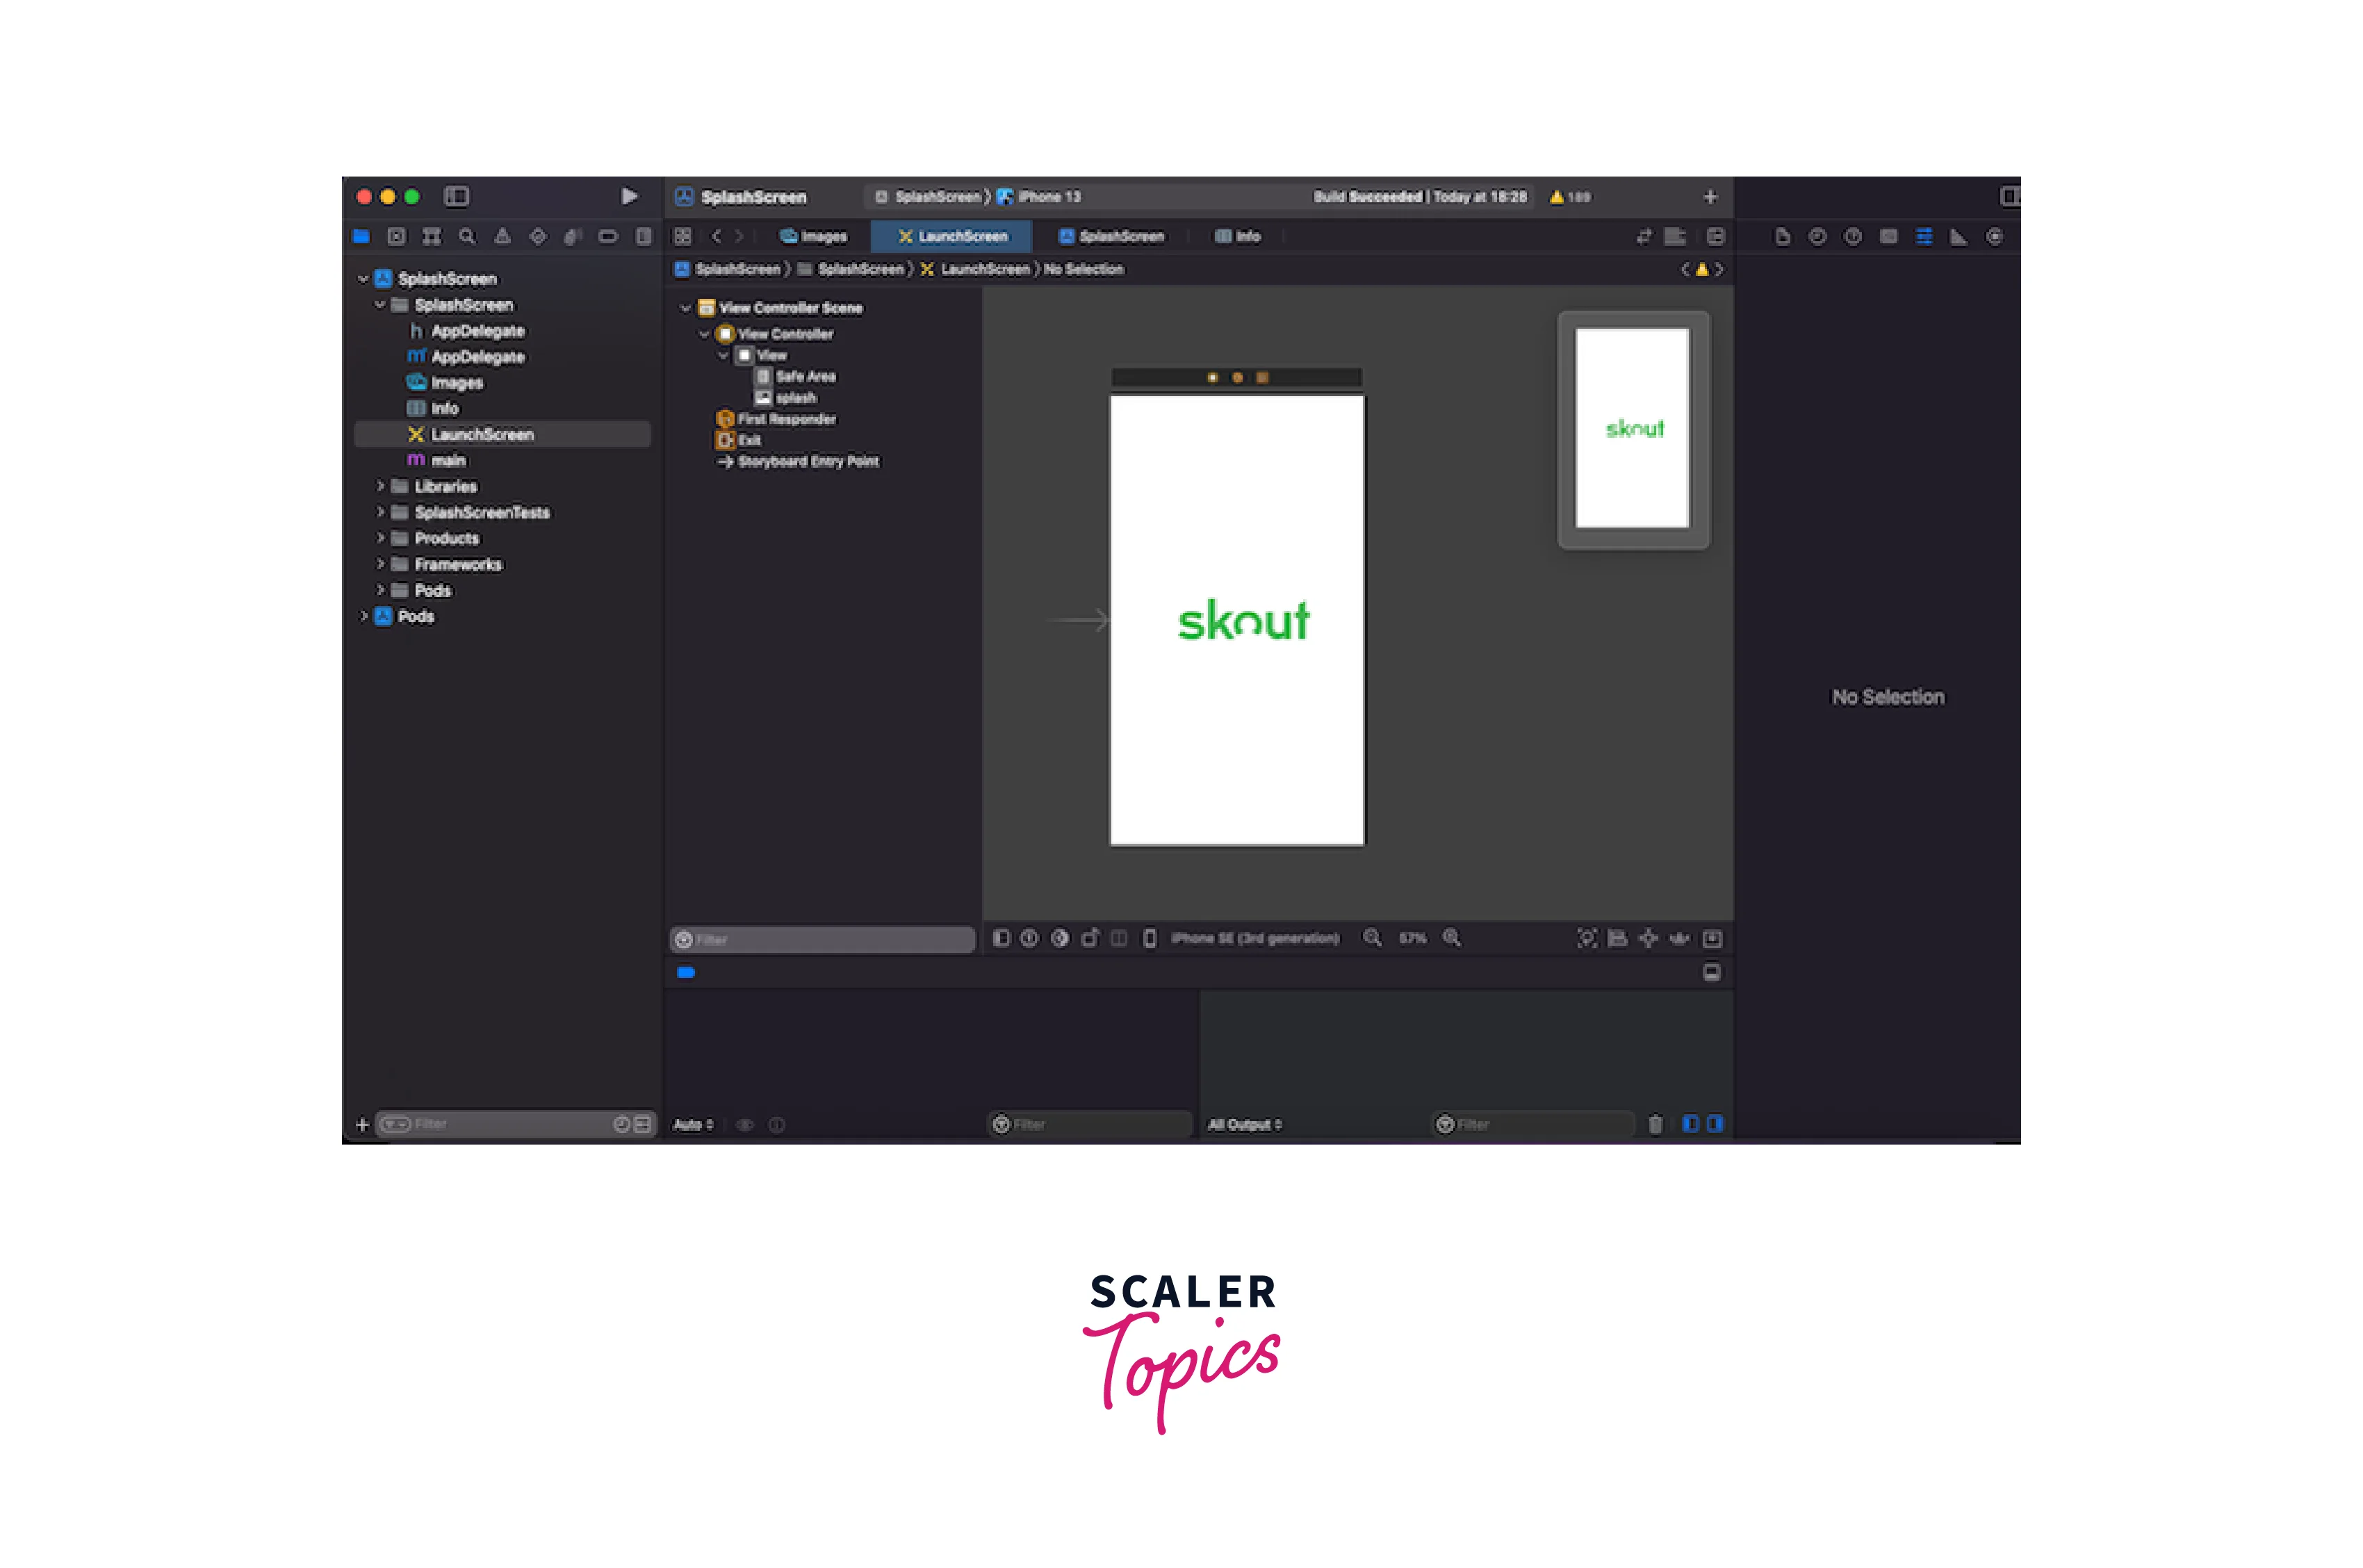
Run a build from Xcode to verify that your application can run successfully. You should see something similar to this:
How to Hide the Splash Screen After the App is Loaded?
You will need to take two steps to hide the splash screen when the app loads:
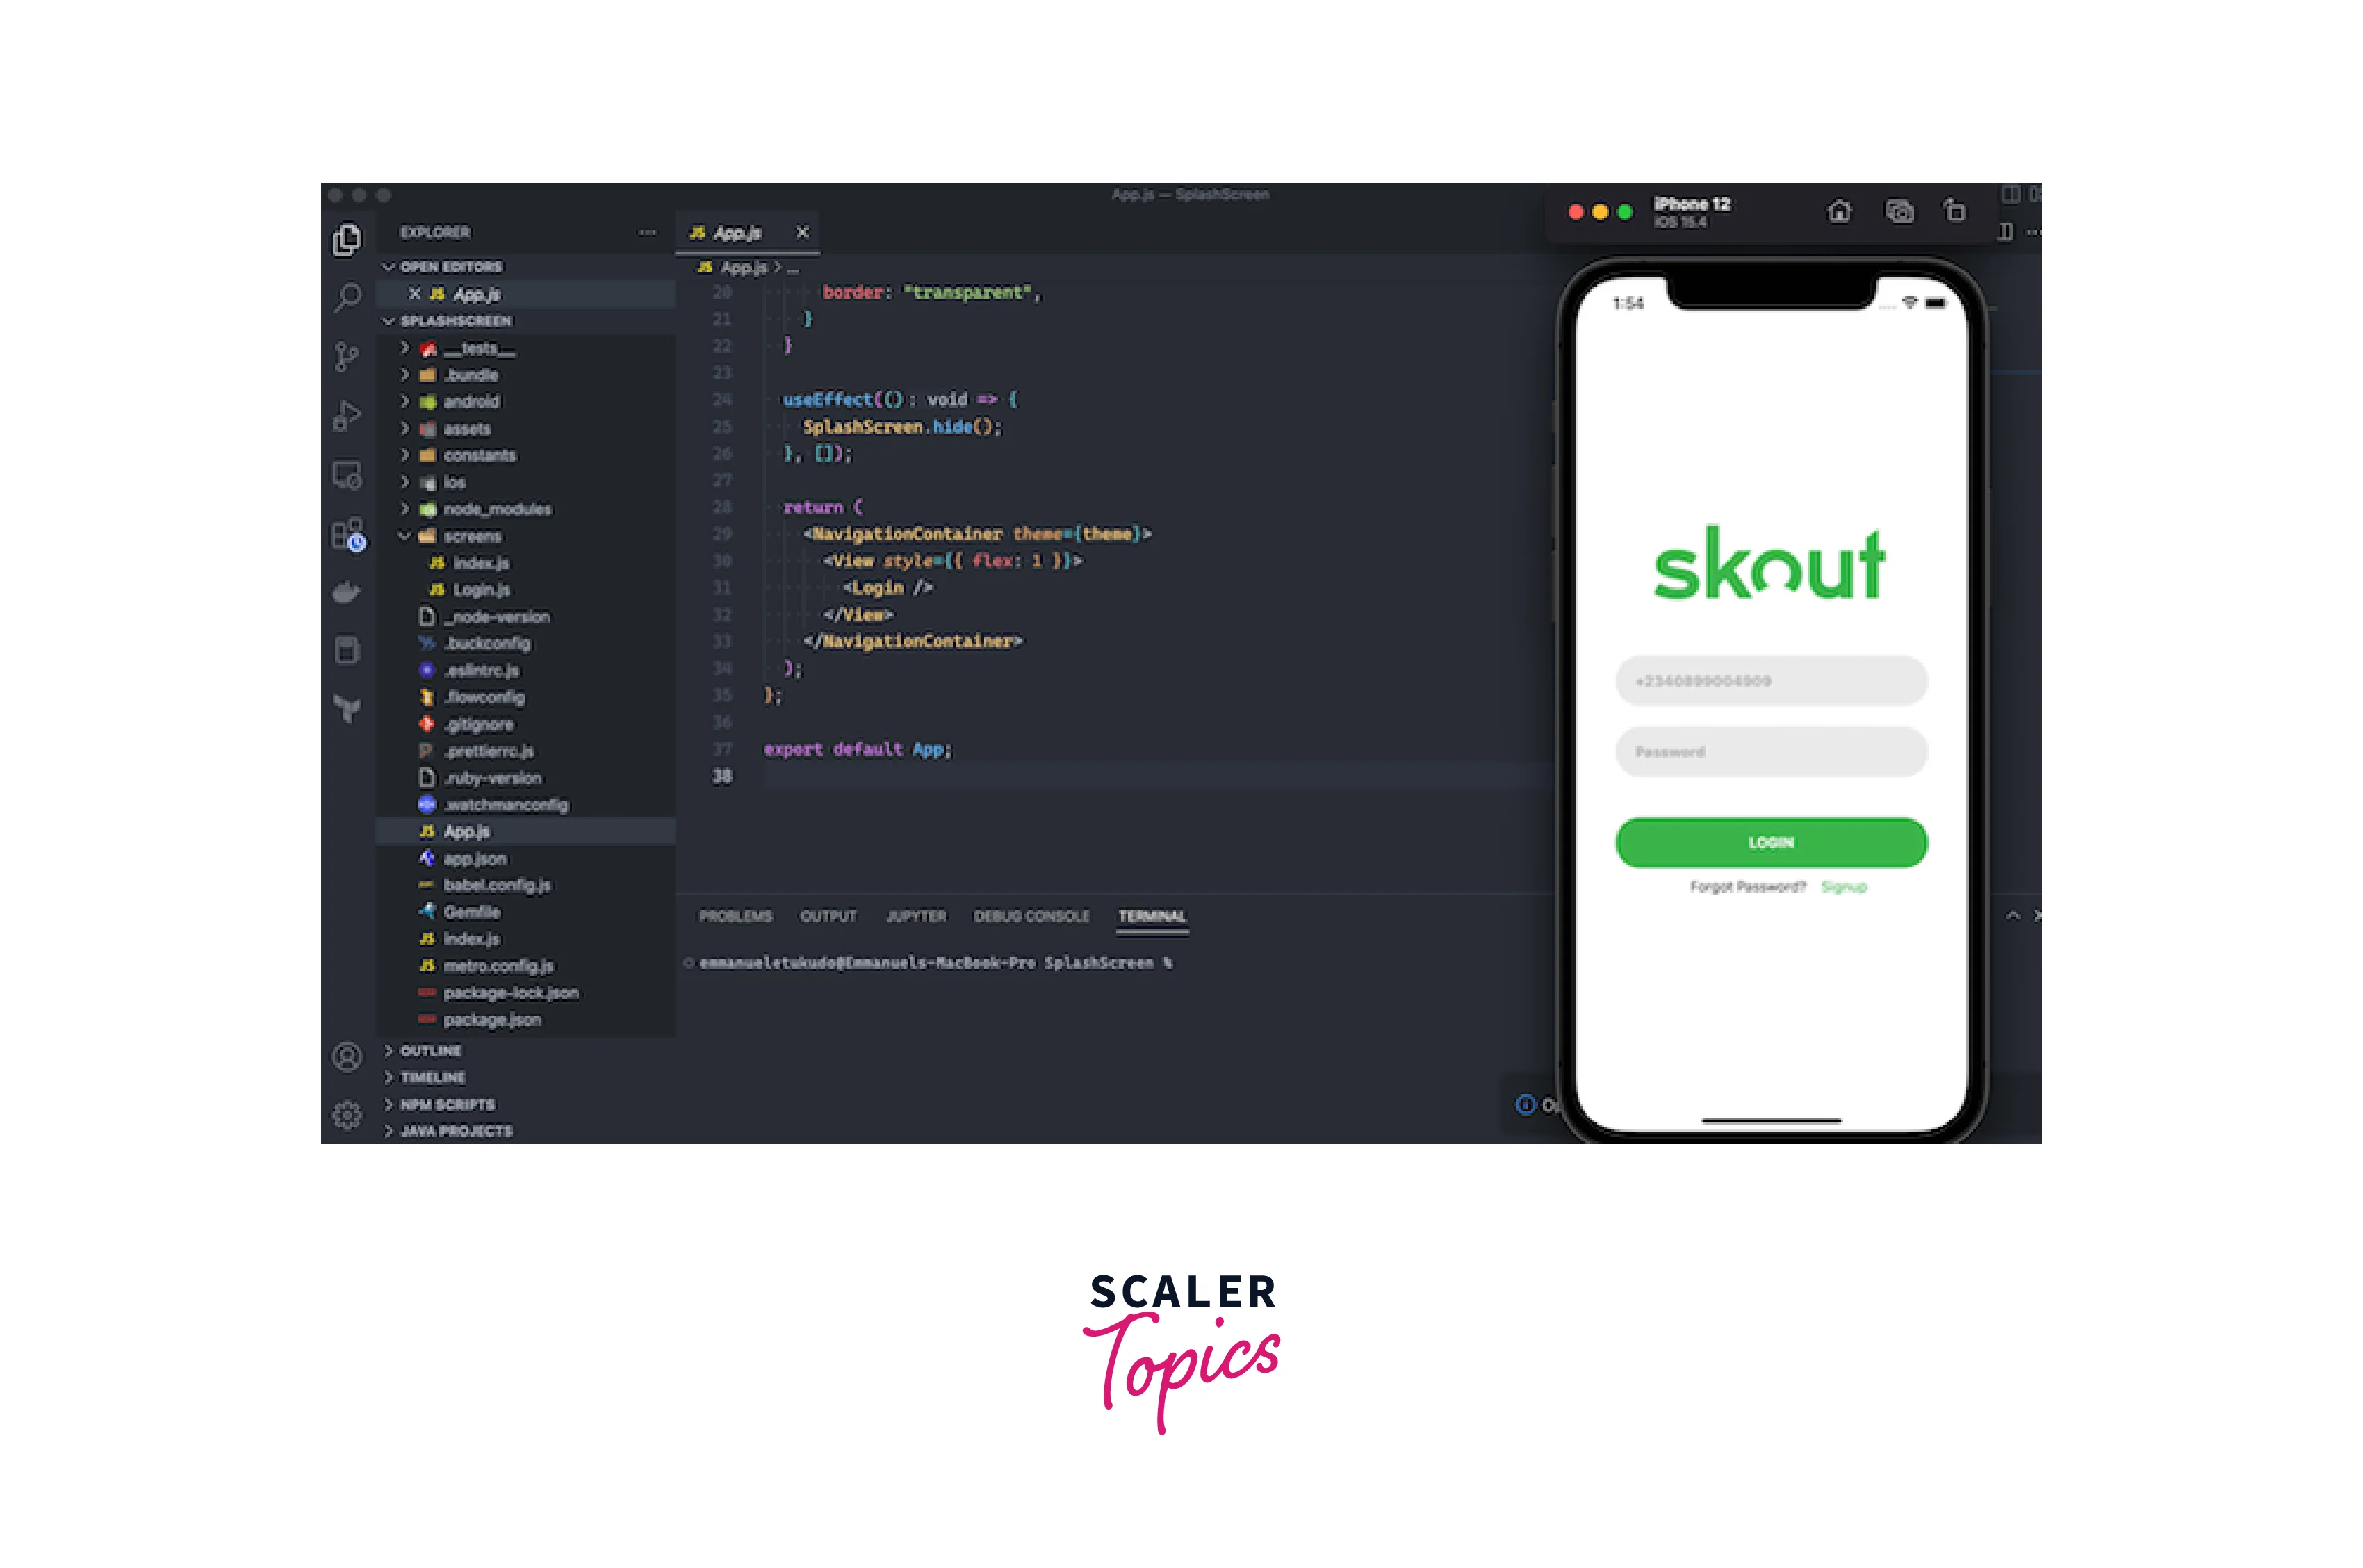
Add the react-native-splash-screen package to your React Native app's root component (App.js).
The following code uses useEffect() to hide the splash screen:
As mentioned above, I use @react-navigation/native to move between screens. For instance, you might want to show the dashboard or home screen after logging in. One of the fundamental packages for navigation in React Native is @react-navigation/native. Check out our in-depth guide to using React Navigation for a deeper dive.
The login page, which is the index screen, is displayed on the app after it has loaded. View the reference screenshot below:
FAQs
Q: What is the use of adding a splash screen?
A: A splash screen is a view that appears when an app first launches and contains text or images. When a mobile app needs specific data before it can function, it is used. The information may be loaded by the application from a local drive or an external API.
Q: What is the version of react native required for using react-native-splash-screen?
A: For v3.+ you will need to react native greater than 0.47.0. For v2.1.0 use React Native version less than 0.47.0.
Q: How to customize the status bar’s color when the splash screen is displayed?
A: If you wish to change the status bar's color when the React Native Splash Screen appears:
android/app/src/main/res/values/colors.xml should be made and added.
Q: What is the use of react-native-splash-screen?
A: A splash screen API for react-native that allows the splash screen to be programmatically hidden and shown operates on Android and iOS.
Conclusion
- The splash screen is the first screen the user sees before using any other features of your app.
- react-native-splash-screen is a splash screen API for react-native that allows the splash screen to be programmatically hidden and shown. Operates on Android and iOS.
- React Native Splash Screen serve to improve a brand and provide customers with pleasant distractions while they wait.
- A splash screen can be made easily in React Native, and it offers many advantages like preloading.
- Splash screen is added in Android by making modifications to MainActivity.java. The file launch_screen.xml has the code to point to the image used in the splash screen.
- In iOS, you can set the splash screen to display by default by selecting iOS > SplashScreen, opening AppDelegate.m, and adding the code #import "RNSplashScreen".