React Native Video Player
Overview
Implementing video is more difficult in the context of applications than it is on the web. The good news is that this issue already has some extremely well-liked solutions produced by the React Native community. react-native-video is the most widely used package to render videos in React Native. In this article, we will implement this solution with the help of many examples.
React Native Video to Add Video to React Native App
It offers a lot of characteristics and capabilities and is one of the greatest video players for React. It supports both local and remote file playback, allows users to choose between audio and text tracks, adjusts the rate, and, of course, supports iOS and Android platforms.
You must use the react-native-media-controls library because the package lacks built-in controls for playing and pausing the movie.
react-native-video features great documentation, is simple to use, and is adaptable, according to users. The only downside is that it can function poorly if you use numerous videos as Facebook feeds.
Prerequisites
For all of the examples, the pod linking is mainly required for iOS and it is mostly automatic for Android. The installation and usage may vary depending on the device you are creating for.
It is comparable to developing for different kinds of devices or platforms (like Android), but the distinctions you need to be aware of are thoroughly covered in the package documentation.
About React Native Video
React Native can display and use video components thanks to the react-native-video package. It has several features, including the ability to mute the video, play audio only and not video, and pause or resume video when notifications are displayed on the screen. It offers a lot of characteristics and capabilities and is one of the greatest video players for React.
It supports both local and remote file playback, allows users to choose between audio and text tracks, adjusts the rate, and, of course, supports iOS and Android platforms. You must use the react-native-media-controls library because the package lacks built-in controls for playing and pausing the movie.
Installing Package
Install the package in the project's root directory before you may use the library :
Run the following command as well if you're using a Mac to execute your native React application :
Please refer to the official installation manual for your platform for information regarding the various environments and application environments.
How to Use React Native Video
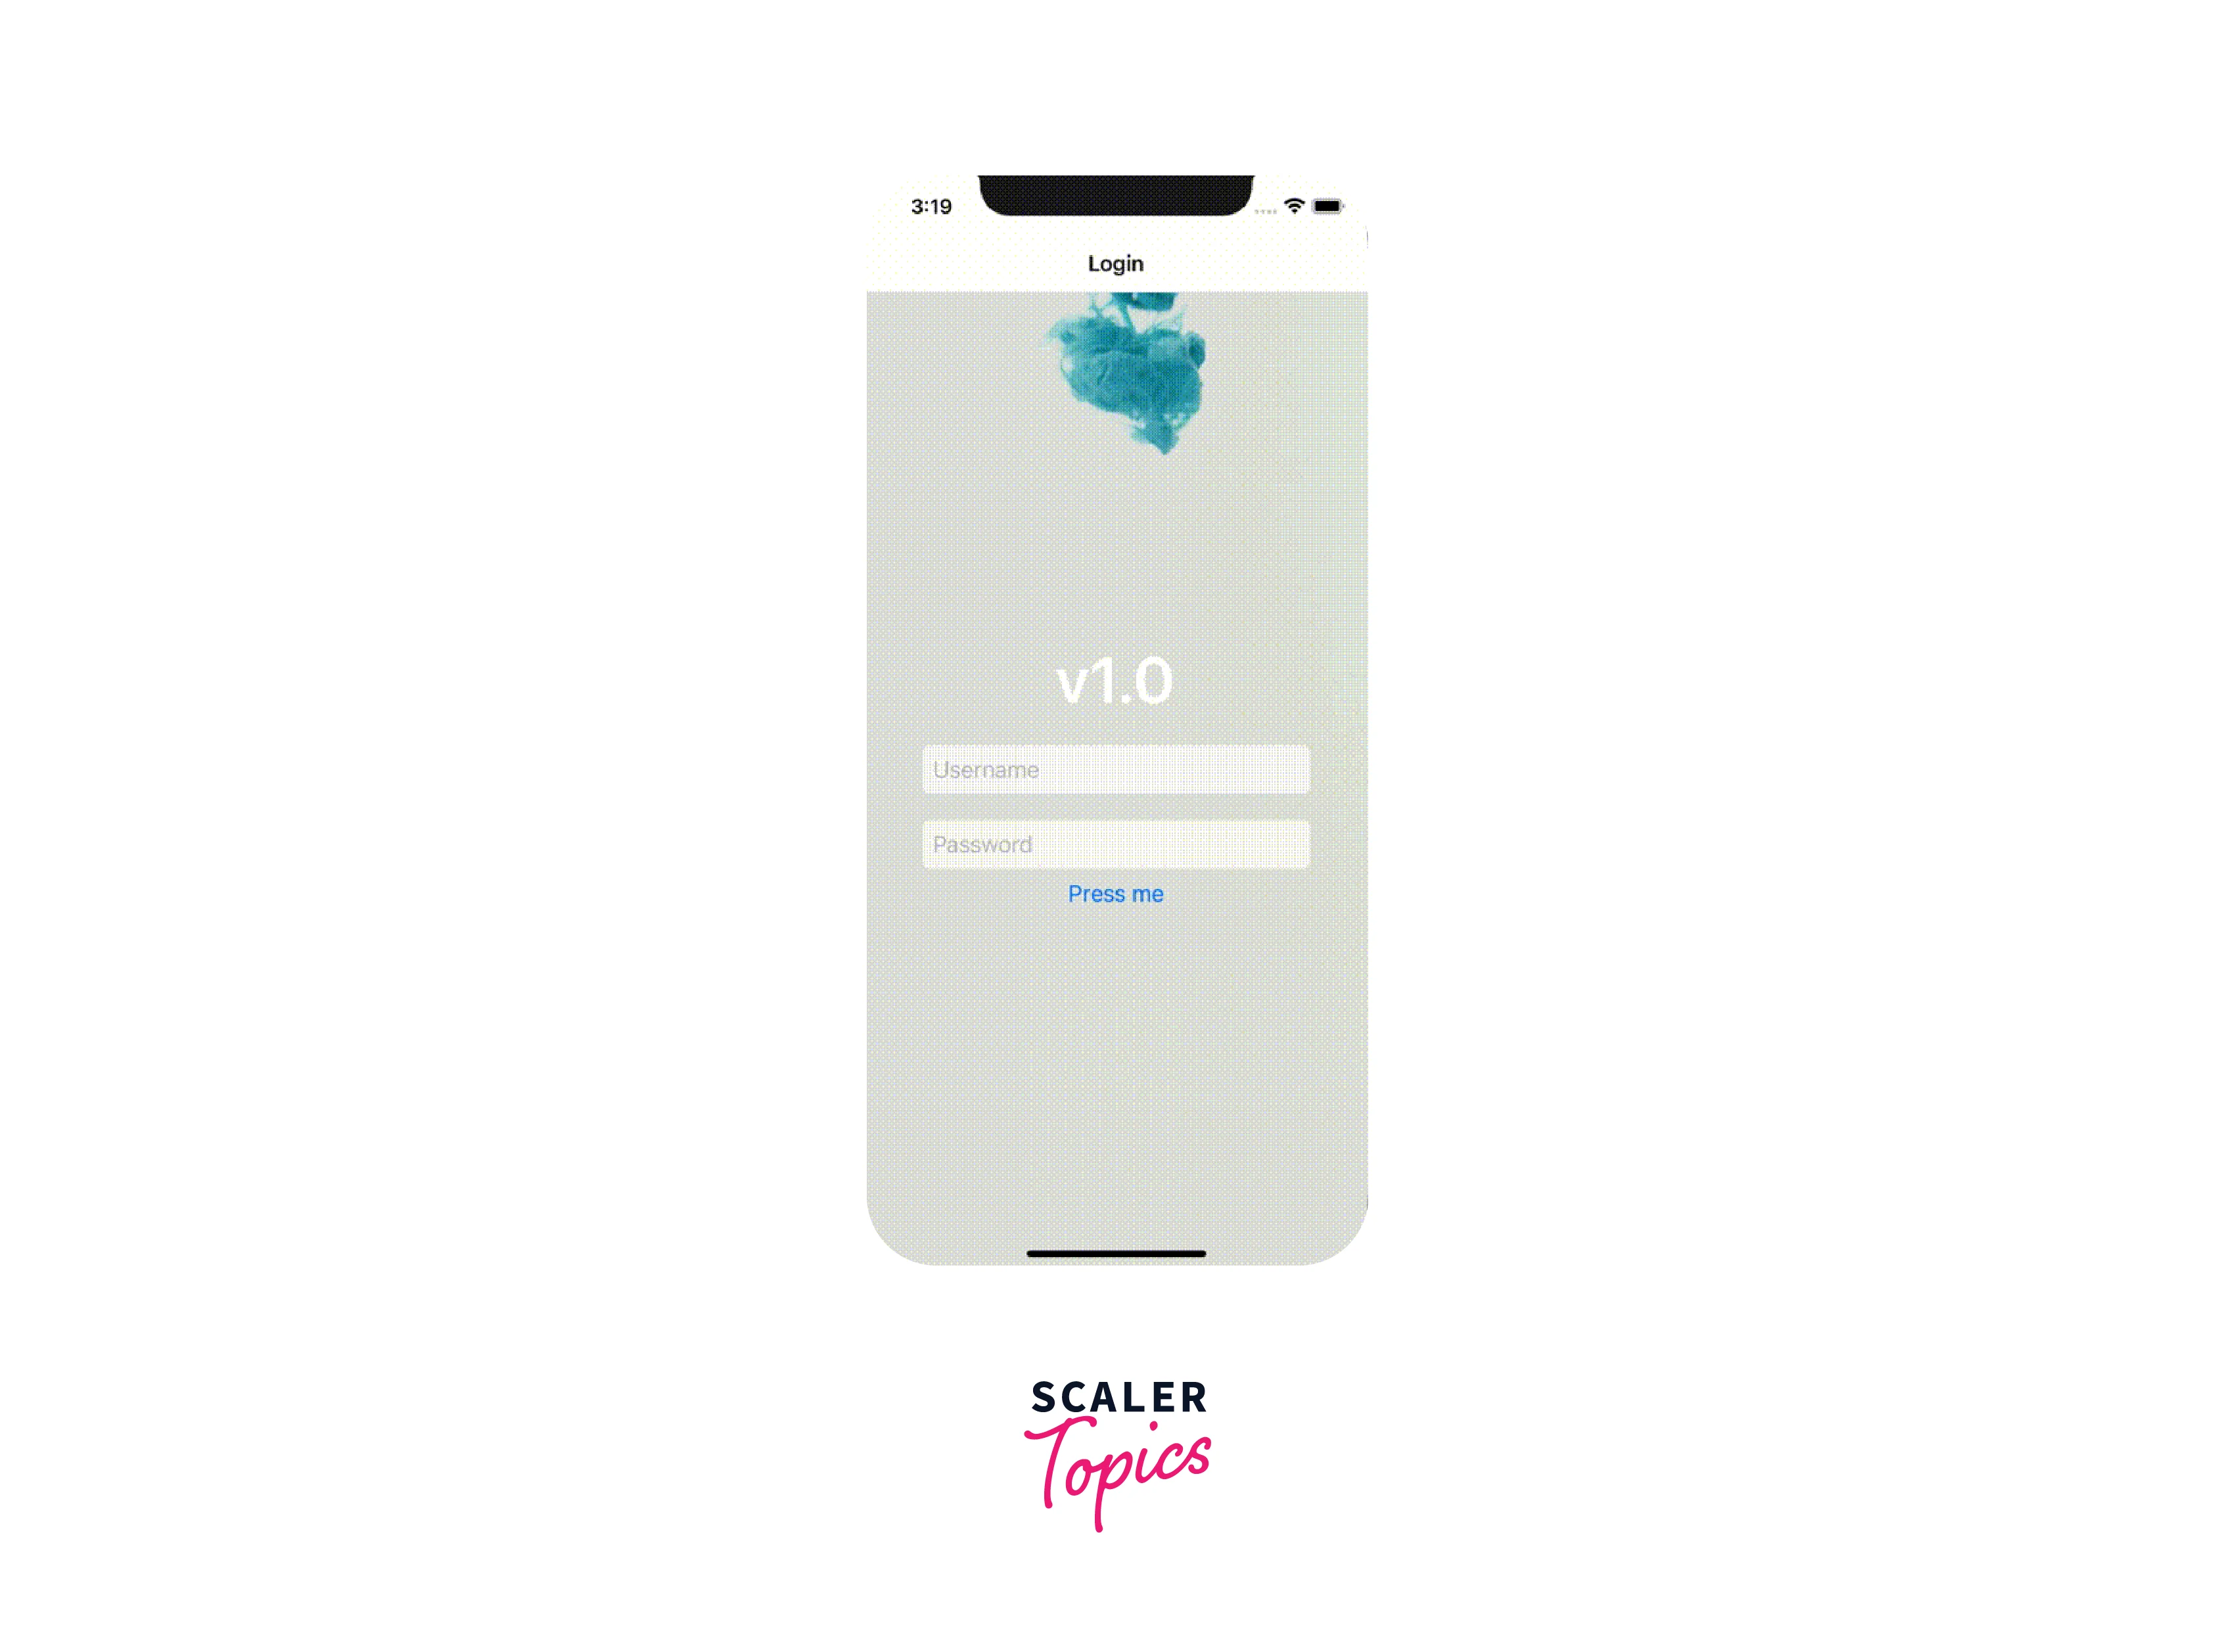
Let's start with an illustration of the goal we have in mind. We want to provide dynamic backgrounds in our app's login screen, which is a frequent use case for videos in apps.
It should resemble the following :
The component where the react native video will be displayed is first imported along with the video component from the library.
We require a video file for the React native video component to display anything. An internal project file or a link to an outside source can be used here. Let's now assemble everything :
As you can see, we have supplied the component with the video clip that was imported into our project directly. You may also use the source prop to link to an external video file if you'd prefer :
We also supplied the component with some React Native styles to give it the appearance of the backdrop video. Also, we tell the component to start the video immediately after by setting the prop pause to false. Also, we made the video loop by setting the prop repeat to true.
Remote Video URLs
The react native video component must then be imported from the react-native-video package. Enter the code in the App.js file shown below to import the other components.
There are a few aspects related to the react native video component that is significant. The video component in the example that follows displays appropriately on the React Native emulator. Thus, we've set the source attribute to an example mp4 file that we downloaded from a website. The react native video component's width and height have been set to 300. The controls property is set to true, which indicates that the user may see the video's controls, including pause and full screen. Normally, this is accurate. The controls won't be shown to the user if we set the attribute to false.
Moreover, there is a setting called audioOnly that, when set to true, only plays the audio track and not the video track. Nevertheless, the react native video component's poster property must also be set for this to happen. When the audio is playing, but the video is not, the picture that should appear should be displayed as specified by the string in the poster property. AudioOnly won't function if the poster property is not set.
Other important characteristics include stopped and muted, which, when set to true, pause or mute the video, respectively. The ref property, which essentially holds a reference of the video component so you can modify the react native video component without using props or state, is a crucial feature.
The property buffer is activated while the video is buffering. To perform an action or display something to the user while the video is buffering, you can set this attribute equal to a function. For instance, it can take some time for a huge video on a remote URL that you want to display to buffer. If the onBuffer value is true, you might give this value to the state, and the user will see a loading indicator. It might be useful in this situation.
Local Video File
In the section below, we'll demonstrate how to use react-native-video to add a local video file to your React Native app. The mp4 file can be found at the following Address. https://cdn.coverr.co/videos/coverr-stream-next-to-the-road-4482/1080p.mp4
Open the above link, then click the three dots next to the video, and last click download. Copy the video to the project folder's root after you have downloaded the file. You must now construct a variable in the render method that needs the mp4 file.
As you can see from the example above, the react native videocomponent's source has been set to equal the variable roadVideo, and we need the file road.mp4. In its place, the animated rabbit is now visible in the video as shown below.

- pictureInPicture (true/false) — This decides if picture-in-picture playback of the video is appropriate. (The documentation claims that this only functions with iOS.)
- playWhenInactive (true/false)— When the notification center is shown in front of the video, this controls whether the video will play. (The documentation claims that this only functions with iOS.)
- rate — (0.0–1.0) how quickly the video is playing. (The video is paused at 0.0, and then it is played at full speed at 1.0) on every platform.
- source — a source path of the media to be played. A local file, a URL, or a file from an SD card.
- onLoad — a callback function or event property that is activated when the media is played.
- onEnd — Runs a callback function after the media has finished playing. There are a lot of attributes, callback functions, and properties within those callback functions in the wonderful package react-native-video. If you plan to use video in your React Native app, this is a package you should explore and use.
Additional Components and Props
With just four of the component's props, we swiftly completed our use case. But there are a lot more applications for props. The complete list is available in the documentation, but we'll just highlight a few that are particularly useful.
- allowsExternalPlayback - Only iOS devices support this prop, which enables the video to be controlled by external devices like AirPlay or HDMI.
- playInBackground - With this option, you may decide whether the video should keep playing after the app has been closed. Of course, the video will stop playing after the application is closed; just the audio will continue to play in these circumstances.
- poster - This component generates an image that appears when the video is loaded or has not yet begun, similar to a YouTube thumbnail. The image can also be modified using posterResizeMode.
- controls - In the above-mentioned example, the video was simply playing in the background, as is the component's normal behavior. Therefore we didn't want to display the controls for it. Simply set controls to true, and the controls will appear automatically if you want the user to be able to control the video. On iOS, even if this flag is set to false, the controls are still shown in full-screen mode.
External Video Controls
It is also feasible to develop your distinctive user interface to control the video because the component comes with everything you need to do so. With React state, you may configure props like paused, muted, volume, onprogress, or rate and give any other element access over them. Here's a quick illustration of what we mean by that.
As you can see, we have the flexibility to control the movie as we want by utilizing buttons and a simple state, allowing us to create a fully unique user interface for the video.
Invoking Different Methods in Video Elements
To exert even more control over the react native video element, you can use methods such as save to save the movie to your device's photographs or adjust the full-screen mode of the video.
Example for Understanding
Let us look at another example. Run the following commands to create a new React Native project
Installing react-native-video and react-native-media-controls dependencies is required to use Video and MediaControls. Open the terminal and enter your project using to install this :
All dependencies will be copied into your node module directory using this command.
CocoaPods Installation
The command to install CocoaPods is as follows.
Code
Open App.js now and add the following code in any available code editor.
App.js
Now use the below command to run the project :
Unlock the Power of Full-Stack Development With Our Full Stack Development Course and Seamlessly Integrate JavaScript Across the Stack.
FAQs
Q. What is the React Native Version Required for Using react-native-video?
A. React-native >= 0.60.0 is advised for Android 64-bit builds and Android X compatibility in version 5.x. React-native >= 0.57.0 is required for version 4.x. React-native >= 0.40.0 is required for version 3.x.
Q. How Can I Add Controls to the React Native Video Player to play/pause the Video?
A. You must use the react-native-media-controls library because the package lacks built-in controls for playing and pausing the movie.
Q. Are Subtitles Supported?
A. Yes, you can add the subtitle track using the selectedTextTrack prop. Set the caption or subtitle that should be displayed, if any.
Conclusion
- React Native can display and use React native video components thanks to the react-native-video package.
- It supports both local and remote file playback and allows users to choose between audio and text tracks.
- Installation command for react-native-video is as follows :
- Additional components and props include allowsExternalPlayback, playInBackground, posters, and controls.
- Right Installation of react-native-video and react-native-media-controls dependencies is required to use Video and MediaControls.