React Native Image Component
Overview
The React Native Image component is a versatile tool that enables you to display various types of pictures in your app. With this component, you can show images from the internet, images stored on your phone, and images that are already a part of your app. You can also display pictures that you've just taken with your phone's camera. Essentially, the Image component functions as a dynamic picture frame that can showcase a diverse range of images in your app.
React Native Image Component
React Native's Image component is used to display images in your app. You can use it to display local images (images that are stored in your app's codebase) or remote images (images that are stored on a server).
Prerequisites
To display an image in React Native, you can use the Image React Native component provided by the framework. First, you need to set up a React Native project. Here are the steps to get started:
-
Ensure that Node.js is installed on your computer. You can download it from https://nodejs.org.
-
React Native comes with a built-in command line interface that you can use to generate a new project. You can access it without installing anything globally using npx, which comes with Node.js. To create a new React Native project named ReactNativeImage, run the following command:
-
This will create a new directory named ReactNativeImage with the basic files and folders needed for a React Native app. Change into the new project directory by running the following command:
-
Finally, run the following command to start the app on an Android emulator or device:
-
Here's a simple example of using the React Native Image component:
In this example, we have simply imported the image react native component and have provided the source uri property to it.
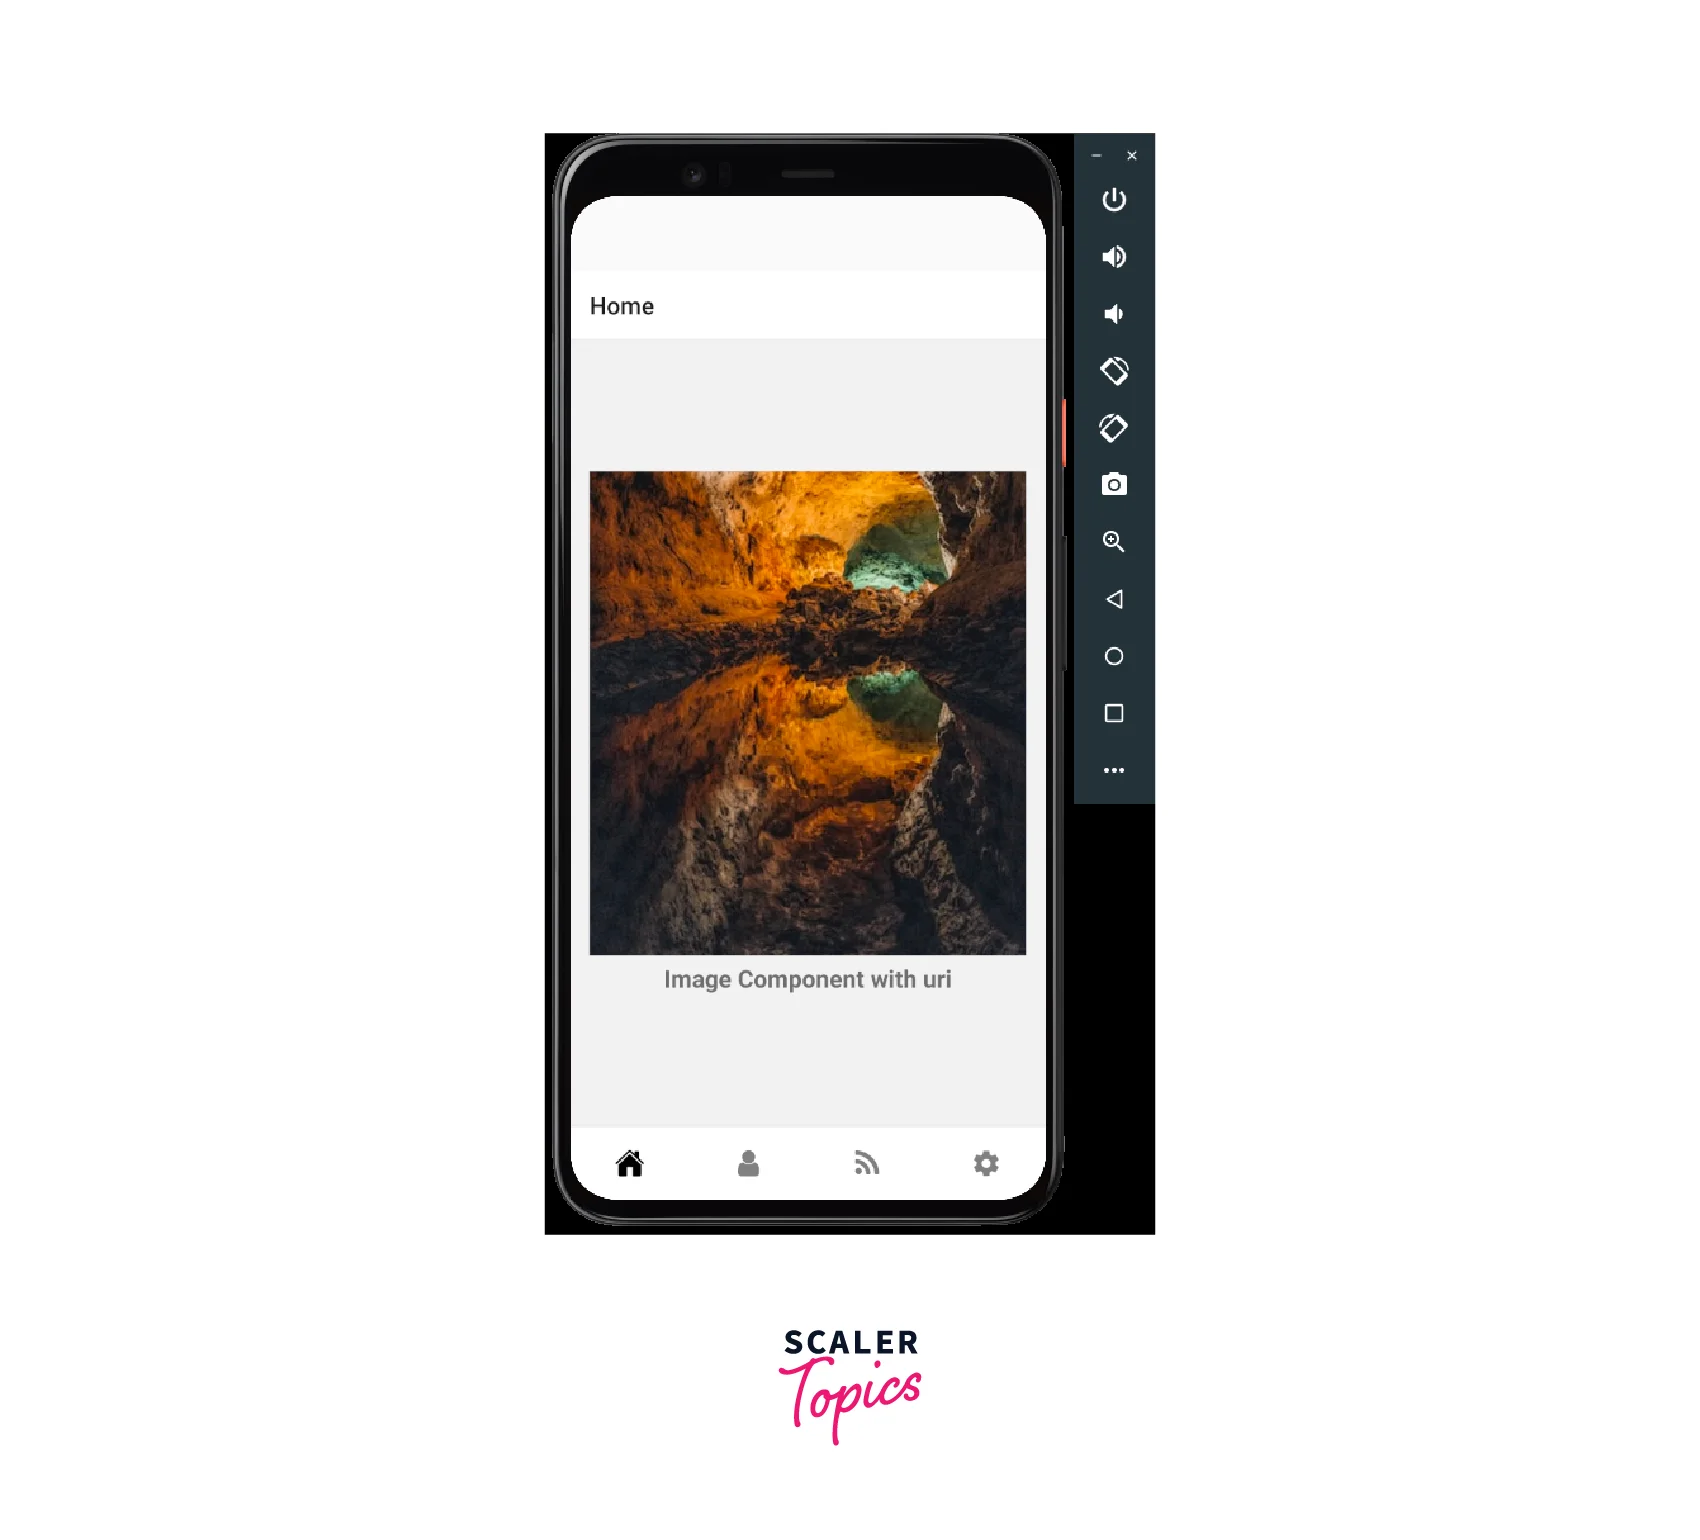
Image Types
The React Native Image component supports several types of images that you can display in your app. Here are the most common ones:
-
Network images: With Image React native you can display images that are hosted on a remote server by setting the source prop to an object that has a uri property pointing to the URL of the image. For example:
You can use any image URL in place of the uri property value.
-
Local images: With Image React native you can display images that are stored in your app's codebase by importing them and passing them as the source prop. For example:
-
Temporary local images: With Image React native you can display images that are stored temporarily on the device, such as those taken with the device's camera, by using the uri property of the source prop. For example:
-
Static resource images: With Image React native you can display images that are bundled with your app's code by using the require() function and passing the image's path as an argument. For example:
-
Base64-encoded images: With Image React native you can display images that are encoded in Base64 format by using the uri property of the source prop and prefixing it with data:image/png;base64, (or the appropriate MIME type for the image format). For example:
Image Formats
The React Native Image component supports several image formats that can be used in your app. Some of the most commonly used formats are:
- PNG: A lossless image format that supports transparency and high color depths. It is a widely used format for images on the web.
- JPEG: A lossy image format that can achieve high compression rates with minimal loss of image quality. It is often used for photographic images.
- GIF: An animated image format that supports multiple frames, which can be played back in sequence to create a short animation.
- BMP: A simple image format that stores image data in an uncompressed format. It is rarely used today due to its large file sizes.
- WebP: A modern image format that offers both lossless and lossy compression options. It is becoming more popular due to its smaller file sizes and improved image quality.
The React Native Image component can display images in all of these formats, as well as other less common formats.
If you're building your native code for Android, you should be aware that GIF and WebP are not supported by default.
To use these formats in your app, you'll need to add some optional modules to your android/app/build.gradle file. Here are the modules you'll need to add, depending on the needs of your app:
Screen Density
In React Native, images can be optimized for different screen densities by using the @2x and @3x suffixes in the image file names. This technique is called asset scaling.
When you add an image to the img folder of your React Native project, you can add the @2x and @3x suffixes to the file name to create versions of the image that are optimized for different screen densities.
For example, if you have an image named my-image.jpg, you can create two additional versions of the image for higher density screens by renaming them as my-image@2x.jpg and my-image@3x.jpg. The @2x version of the image will be used on screens with a pixel density of 2, and the @3x version will be used on screens with a pixel density of 3.
By using these suffixes, you can optimize your app's image assets for different devices, reducing the size of the app and improving its performance. When the app is launched on a device, it will automatically load the image that is appropriate for its screen density, rather than loading all the versions of the image, which would be wasteful and inefficient.
Network Images
In React Native, the Image component can be used to display both local and network images. While local images are stored on the device, network images are fetched from a remote server.
To display a network image in React Native, you can set the source prop of the Image React Native component to an object containing the uri of the image. For example:
In this example, the uri property of the source object specifies the URL of the image to be displayed.
In React Native, when displaying network images using the Image React Native component, it's recommended to specify the width and height of the image. This is because when the Image component is rendered, it needs to know the dimensions of the image to reserve the appropriate amount of space in the layout.
If you don't specify the width and height of the image, the Image component will try to guess the dimensions of the image by fetching it from the server. This can cause a delay in the rendering of the component, as the app has to wait for the image to be fetched before it can be displayed.
When displaying network images, it's important to consider the size and resolution of the image. Large or high-resolution images can take a long time to load, causing the app to become unresponsive. To optimize the performance of the app, you can use techniques such as lazy loading or image caching.
- Lazy loading involves loading images only when they are needed, rather than all at once. This can improve the performance of the app by reducing the amount of data that needs to be loaded at once.
- Image caching involves storing images in a cache on the device so that they can be loaded more quickly the next time they are needed. This can also improve the performance of the app, as the images don't need to be fetched from the server every time they are displayed.
Data URI Images
To display a Data URI image in React Native, you can set the source prop of the Image React Native component to an object containing the Data URI. For example:
In this example, the uri property of the source object specifies the Data URI of the image to be displayed. The Data URI is represented as a string of text, which starts with the data: prefix, followed by the MIME type of the file (in this case, image/png), and the contents of the file encoded in Base64.
It's also important to note that Data URI images are not cached by the browser, which means that they are downloaded every time they are displayed. This can affect the performance of the app, especially if there are many Data URI images on the same screen.
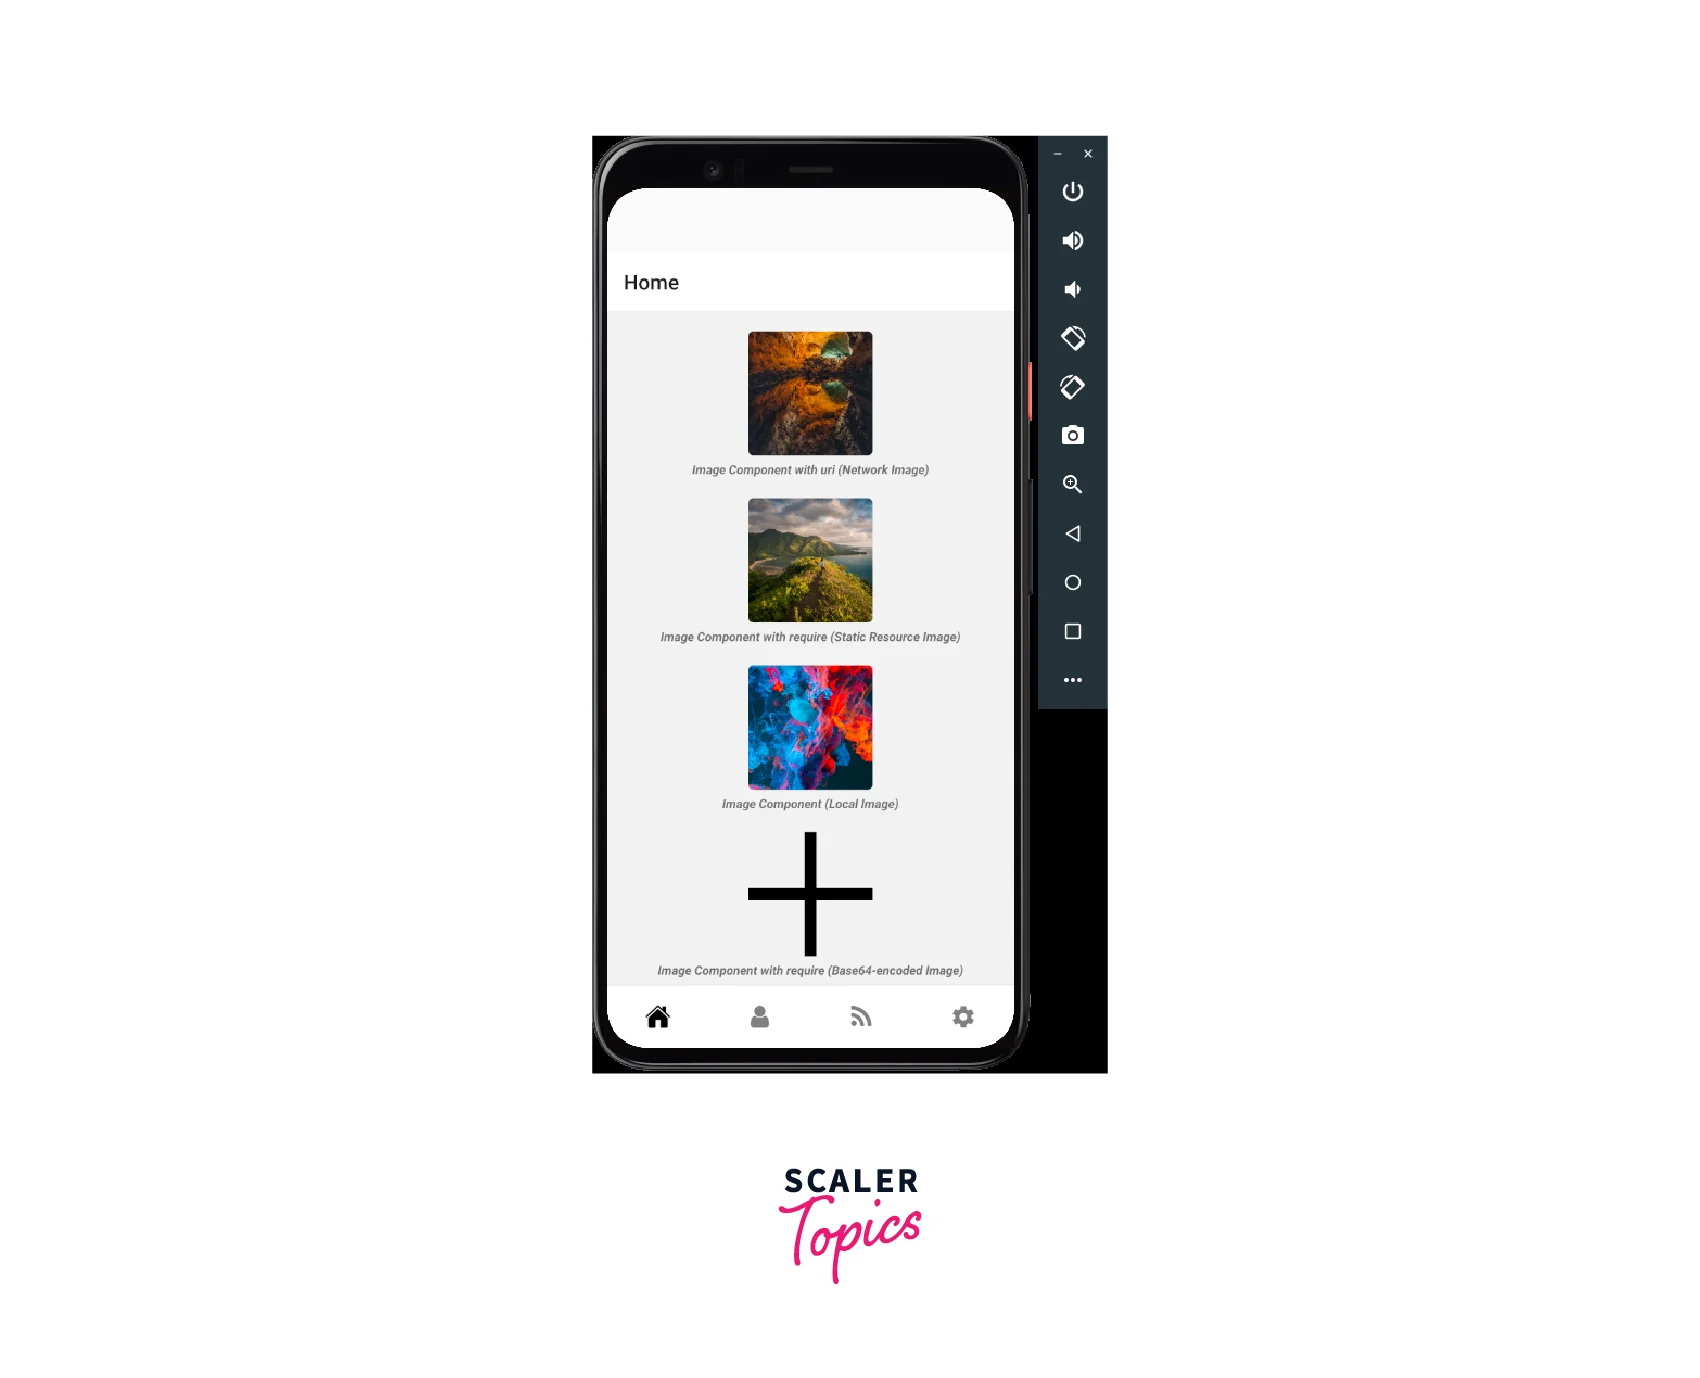
Examples
Here's an example demonstrating how to use different types of images using the Image React Native component:
React Native Image Props
The Image React Native component accepts several props that can be used to customize the way the image is displayed.
Here are some of the commonly used props of the Image component:
| Prop | Explanation |
|---|---|
| source | Specifies the source of the image. Can be a local or remote file, or a Data URI. |
| style | Applies styles to the image, such as width, height, borderRadius, etc. |
| resizeMode | Specifies how the image should be resized to fit the available space. |
| onLoad | A function that is called when the image is loaded successfully. |
| onError | A function that is called when there is an error loading the image. |
| defaultSource | Specifies a fallback image to be displayed if the main image fails to load. |
| loadingIndicatorSource | Specifies a loading indicator to be displayed while the image is being loaded. |
| blurRadius | Applies a blur effect to the image. |
| progressiveRenderingEnabled | Loads the image progressively, displaying a lower-resolution version first and then the full version. |
| fadeDuration | Specifies the duration of the fade-in animation when the image is displayed. |
| testID | Assigns a test ID to the image for automated testing purposes. |
These props can be used to customize the behavior and appearance of images displayed using the Image component in React Native.
Different Methods
React Native's Image component provides several methods that can be used to manipulate or retrieve information about the displayed image. Here are some of the commonly used methods:
-
getSize(uri, success, failure): This method retrieves the dimensions of the image specified by the uri parameter. The success callback function is called with the width and height of the image as arguments, while the failure callback function is called with an error object as an argument if there is an error loading the image.
-
prefetch(uri): This method preloads the image specified by the uri parameter so that it can be displayed faster when needed.
-
abortPrefetch(requestId): This method cancels a previous prefetch request specified by the requestId parameter.
-
resolveAssetSource(source): This method returns the resolved source object for the image, which includes the uri property with the actual image URL and other metadata.
- queryCache(): This method is used to perform a cache interrogation of one or more image URLs. When called with an array of URLs, it returns a Promise that resolves to a mapping from URL to cache status. The cache status can be one of the following values: memory, disk, or disk/memory.
These are some of the commonly used methods of the Image component in React Native. By using these methods, you can retrieve information about the displayed image, preload images for faster display, and capture snapshots of the image.
React Native Image Type Definitions
The React Native Image Component has some type definitions that can be used while handling images. These type definitions allow you to set various properties related to the image cache and load events, which are used in the respective callbacks.
-
ImageCacheEnum(iOS): This is an enumeration in React Native Image component which can be used to set the cache handling or strategy for the potentially cached responses. It has four possible values - default, reload, force-cache, and only-if-cached.
-
ImageLoadEvent: This is an object returned in the onLoad callback. It contains information about the loaded image, such as the source object, which in turn contains the image's width, height, and URI.
-
ImageSource: This is another type of definition, which can be passed as an object, an array of objects, or a number. If passed as an object or an array of objects, it can contain properties like URI, width, height, and scale, among others. These properties are used to set the default <Image/> component dimension, indicate the scale factor of the image, and specify the HTTP headers and body to send along with the request for a remote image, among other things.
How to Use React Native Image Component
React Native Image Component is a built-in component in React Native that allows you to display images in your application. Here's how you can use it:
-
Import the Image component from the react-native library:
-
Add the Image component to your JSX code with the source property set to the image URI:
-
Customize the Image component by setting optional props such as resizeMode, onLoad, onError, and more.
-
You can also use other types of images such as local images and static images by setting the source property to the image file name, which should be in the project's images folder.
Limitations
React Native Image Component has some limitations, which are:
- Limited image manipulation: React Native Image Component provides basic image processing features like resizing and cropping, but it lacks advanced image editing features like color correction, filters, and image effects.
- Limited format support: React Native Image Component supports only a limited set of image formats, including PNG, JPEG, and GIF. It does not support SVG images, which can be a drawback for some use cases.
- Network Requests: The image component in React Native requires a network request to download the image file. This can be a problem when the network connection is poor or slow, resulting in long loading times or images not loading at all.
- Size limitations: React Native Image Component has a maximum image size limit of 2 MB for iOS and Android, and exceeding this limit will cause the image to fail to load.
- Memory Management: React Native Image Component doesn't have advanced memory management features like automatic caching or memory cleanup, which can lead to performance issues in some cases.
These limitations should be considered while using the React Native Image Component in a project.
FAQs
Q. Can I resize an image component after it's been rendered?
A. Yes, you can use the onLayout prop to get the dimensions of the component and then adjust its size accordingly.
Q. How do I handle image loading errors?
A. You can use the onError prop to specify a function to handle image loading errors, for example, to display a fallback image.
Q. Can I use a local image file as the source for an image component?
A. Yes, you can use the required function to specify a local image file as the source for an image component.
Q. Can I set the dimensions of an image using React Native Image Component?
A. Yes, you can set the dimensions of an image using the style prop. For example: <Image source={require('./image.png')} style={{ width: 200, height: 200 }} />.
Q. Can I use GIF images with the React Native Image Component?
A. Yes, you can use GIF images with the component. Simply specify the URI of the GIF image as the source prop, and it will be displayed. However, keep in mind that GIF images can be quite large and may cause performance issues if they are too large.
Conclusion
- When developing a mobile application using React Native, incorporating images is a common requirement, and the Image React Native component provides an easy way to display images in your app.
- The React Native Image Component is a powerful and flexible component for displaying images in mobile apps.
- The main property used to load images is the source. The component supports various sources such as network images, static resources, temporary local images, and local disk images.
- However, it also has some limitations, such as limited support for image formats and potential performance issues when displaying large images.
- Despite these limitations, the React Native Image Component remains a popular choice for developers looking to display images in their apps.
- By understanding the capabilities and limitations of the component, developers can make informed decisions about how to best use it in their apps to provide a smooth and engaging user experience.