Facebook Login React
Overview
To integrate authentication in our react app, sometimes we use login functionality. It may be through username-password, Gmail, Facebook, etc. The login facility through Facebook provides users ease, therefore it is must-have functionality if our react app has a login feature.
In this article, we will see more about integrating Facebook login in our react app. The article aims to guide developers on how to effectively use the react-facebook-login library to add Facebook Login functionality using react Facebook login to their React applications.
Introduction to React-facebook-login
React-facebook-login is a powerful and easy-to-use library that allows developers to seamlessly implement Facebook login functionality in their applications. This library eliminates the need for manual integration of Facebook's SDK and provides a simple and user-friendly interface for developers to work with. This library provides a lot of features such as:
- It is a simple and easy-to-use library that eliminates the need for manual integration of Facebook's SDK.
- The component supports various features such as custom buttons, callbacks, and error handling, which makes it a versatile tool for different use cases.
- Facebook login react also supports the latest Graph API, which enables developers to access user data, such as their profile information, email, and friends list. This allows developers to create personalized experiences for their users, making their applications more engaging and interactive.
- The component is built on top of the official Facebook SDK, ensuring that it is always up-to-date with the latest features and security fixes in Facebook login react.
- It is compatible with both web and mobile applications, making it a versatile tool for different platforms.
- react-facebook-login is an open-source library, and it is available on GitHub, making it easy to contribute to and improve.
Important Installations
There are some installations we need to do before using react-facebook-login in our react app.
- React-facebook-login package:
To install the react-facebook-login package, use the following commandnpm install react-facebook-login or `yarn add react-facebook-login - Facebook SDK:
To install the Facebook SDK, use the following command npm install Facebook-sdk or yarn add facebook-sdk - App ID and App Secret:
To create a Facebook App and obtain an App ID and App Secret, follow these steps:- Go to the Facebook Developer website
- Click on the My Apps button at the top right corner and select Create App.
- Select the type of app you want to create (e.g. Website or Mobile App)
- Fill out the form and create the app
- Go to the "Settings" tab and select "Basic".
- Under the "App ID" and "App Secret" sections, you will find the App ID and App Secret for your app
- Callback URL:
To configure the callback URL, follow these steps:- Go to the Facebook Developer website
- Click on the "My Apps" button at the top right corner and select the app you created
- Go to the "Settings" tab and select "Basic"
- Under the "App Domains" section, enter the domain of your application
- Under the "Valid OAuth Redirect URIs" section, enter the callback URL
- Permissions:
To specify the permissions that the application needs from the user, you need to pass an array of permission strings to the component. - Scope:
To specify the scope of the data you want to access in the Facebook login react from the user, you need to pass an array of scope strings to the component. - Graph API:
To access the user data using Graph API, you need to pass the endpoint path to the component.
How to Use React-facebook-login?
To use react-facebook-login in our react app, follow the steps below :
1. Import the React-facebook-login Component:
Explaination:
To use the react-facebook-login component, you first need to import it into your application. You can do this by adding the following line of code at the top of your component file:
2. Create a State Variable to Store the User's Information:
Explaination:
In Facebook login react, we then create a state variable called user using the useState hook. This variable will store the user's information when they log in.
3. Render the Component in your JSX:
Explaination:
In the JSX of our component, we render the FacebookLogin component. This component takes in several props such as appId, autoLoad, fields, scope, callback, and render. we will see these pros in detail later.
4. Create the Callback Function to Handle the User's Information:
Explaination:
We have created the responseFacebook callback function. This function will be called when the user logs in and will receive the user's information as a parameter. In Facebook login react, We use this function to update the user state variable with the user's information.
5. Handle the Login Failure:
Explaination:
We also handle the login failure by creating a function handleLoginFailure that takes the error as a parameter, this function will be called when the user cancels the login, this function can be used to handle the error or to show an error message to the user.
6. Handle the Logout:
Explaination:
we handle the logout event by creating a function handleLogout in Facebook login react that will be called when the user logs out, this function can be used to clear the session or to show a logout message.
7. Use the User's Information in your Component:
Explaination:
we use the user's information in our component by checking if a user is not null, and then displaying the user's name and profile picture.
Parameters of Facebook Login React
In Facebook login react we have to pass some parameters, Here are some of the parameters that can be passed to the FacebookLogin component when using the react-facebook-login library:
- appId:
This parameter is a string that represents the unique identifier for your Facebook App in Facebook login react. This is required for the component to function properly. It is used to identify your app to the Facebook API and it is used to authenticate the user and retrieve their information. - autoLoad:
In Facebook login react, this parameter is a boolean that determines whether the component should automatically attempt to log in to the user when it is rendered. If set to true, the component will try to log the user in automatically, using the information from their previous session. If set to false, the user will need to manually click the login button to initiate the login process in Facebook login react. - fields:
This parameter is a string that specifies which fields of the user's information you want to request. This can include fields such as name, email, picture, and more. You can specify multiple fields by separating them with a comma. For example, you can request the user's name, email, and picture by passing in the string " name, email, picture". - scope:
In Facebook login react, this parameter is a string that specifies which permissions you want to request. This can include permissions such as public_profile, email, and more. You can specify multiple permissions by separating them with a comma. For example, you can request the user's public_profile and email permissions by passing in the string "public_profile, email". - callback:
In Facebook login react ,this parameter is a function that will be called when the user logs in. The function will receive the user's information as a parameter in the Facebook login react. This function can be used to store the user's information in the state of your component or to redirect the user to another page. - render:
In Facebook login react, this parameter is a function that allows you to customize the appearance of the login button. You can use this function to render a custom button or to style the button in a specific way. The function should return the JSX that you want to use to render the button. - onClick:
This parameter is a function that is called when the button is clicked. It is required when you are using the render property and it should handle the onClick event. - onFailure:
In Facebook login react ,this parameter is a function that is called when a login fails. This function receives an error object as a parameter, it can be used to handle the error or to show an error message to the user. - onLogout:
In Facebook login react ,this parameter is a function that is called when the user logs out. This function can be used to clear the session or to show a logout message. - isDisabled:
In Facebook login react, this parameter is a boolean that will disable the login button. If set to true, the button will not be clickable and the user will not be able to initiate the login process. - cssClass:
In Facebook login react, this parameter is a string that represents the CSS class that will be added to the login button. You can use this to add custom styling to the button. It is useful when you want to change the appearance of the button without using the render property
These are just some of the parameters that can be passed to the FacebookLogin component. There are many other options available that you can use to customize the behavior and appearance of the component. Be sure to consult the documentation for the react-facebook-login library for more information.
Integrating Facebook Login to a React App
a) Objectives
The main objective of this guide is to show you how to integrate Facebook Login into a React app using the react-facebook-loginlibrary. You will learn how to set up a Facebook App, install the react-facebook-login library, and add the Facebook Login feature to your React app.
b) React Facebook Login App Details
The React app that we will be building will be a simple app that allows users to log in with their Facebook account and view their basic information such as name, email, and profile picture.
c) Setting Up the Facebook App
Before we can integrate Facebook Login into our React app, we need to set up a Facebook App. This can be done by creating a new app on the Facebook Developer website and obtaining an App ID.
d) React.Js App
we will create a new React app using the create-react-app command. This will give us a basic structure for our app, including a package.json file and an src directory.
e) Installation of React-facebook-login Library
After creating our React app, we will install the react-facebook-login library using npm. This library provides a simple way to add Facebook Login to our React app.
To install the react-facebook-login library, you need to use npm (Node Package Manager) or yarn, which are package managers for JavaScript.
Here are the steps to install the library using npm:
-
Open your command line interface (CLI) in the root directory of your React project.
-
Run the following command:
This will install the react-facebook-login package and add it as a dependency in your package.json file.
Here are the steps to install the library using yarn:
-
Open your command line interface (CLI) in the root directory of your React project.
-
Run the following command:
This will install the react-facebook-login package and add it as a dependency in your package.json file.
Once the package is installed, you can import the FacebookLogin component from the react-facebook-login library in your React component file and use it to add Facebook login functionality to your app.
f) Finally Adding Facebook Login to the App
Now we will create a react app to learn how to add a Facebook login to the app.
Explanation:
This code example demonstrates how to use the react-facebook-login library to add a Facebook Login button to a React app. The example uses a functional component that contains the FacebookLogin component from the library, which is used to prompt the user to log in with their Facebook account. A callback function is also included to handle the response from the Facebook Login dialog and update the component's state with the user's information in React Native Facebook Login or react Facebook login. The user's name, email, and picture are rendered in the UI if they are logged in, otherwise, the Facebook login button is displayed.
g) How Does It Work?
Let's see the above-given example step by step to get a better understanding of each part.
-
We first import the necessary modules, including React and the react-facebook-login library.
-
In React Native Facebook Login, We use the useState hook to create a state variable called userData, which will store the user's information once they have logged in.
-
We create a function called responseFacebook, which will be executed when the user logs in. This function takes the response from the Facebook Login dialog and updates the userData state variable with the user's name, email, and profile picture.
-
We then return a JSX element that contains a conditional rendering. If the userData.name exists, it means the user has logged in and we will display the user's name, email, and profile picture. Otherwise, we will display the FacebookLogin component from the react-facebook-login library. This component takes several props, including the appId (which is your Facebook App ID), autoLoad (which controls whether the login dialog should be displayed automatically), fields (which specifies the user information that we want to retrieve), and callback (which is the function that will be executed when the user logs in).
-
In React Native Facebook Login, we export the FacebookLoginButton component so that it can be used in other parts of our app.
Note:
You need to replace "YOUR_APP_ID" with your Facebook App ID and make sure you have installed the react-facebook-login library by running the command npm i react-facebook-login in your project directory.
h) Run and Test
we will run our app and test the Facebook Login feature. To run and test this code example, you will need to do the following:
- Make sure you have a Facebook App set up and have the App ID ready. Replace "YOUR_APP_ID" in the code with your actual App ID.
- In your React app, import the FacebookLoginButton component and render it in your desired location.
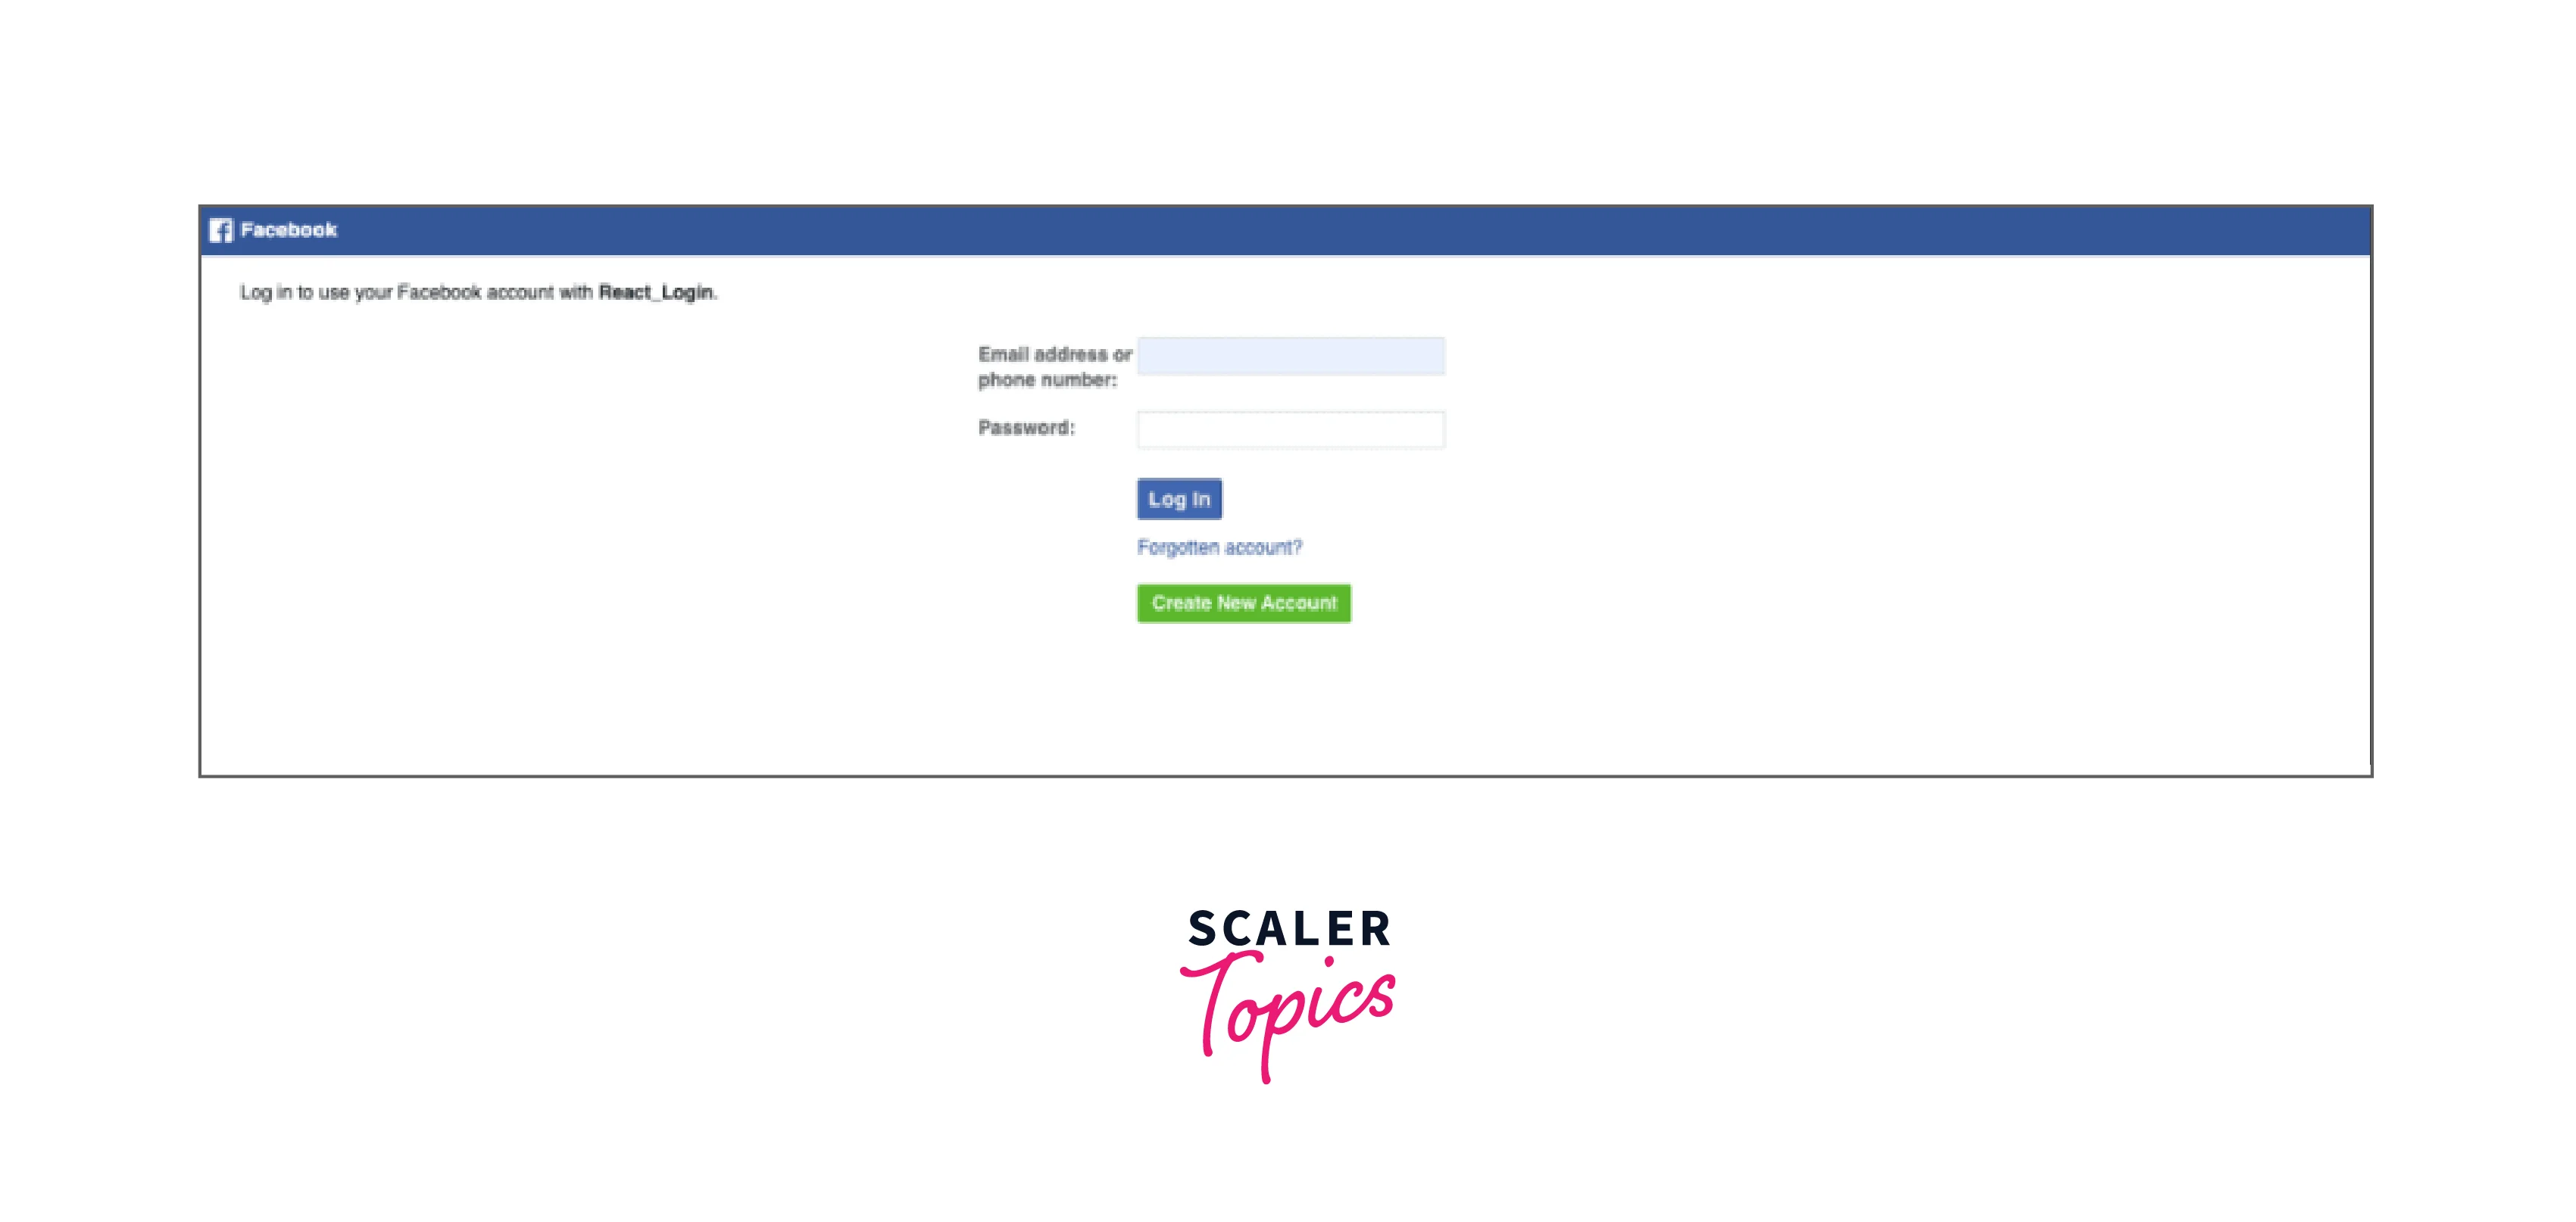
- In React Native Facebook Login, Start your React app and test the Facebook Login button by clicking on it. You should be prompted with a Facebook Login dialog.
- After logging in, the user's name, email, and picture should be displayed on the screen.
- Test the app in different scenarios like logging out and logging in again to check if the state is working as expected.
- Also test the app on different platforms like mobile, web, etc.
- Once the code is working as expected, it can be deployed to a live environment for users to access.
By clicking on this button, the user will be redirected to Facebook login page.
Conclusion
In this article, we have learned about react-facebook-login, which includes:
- react-facebook-login is a library that allows developers to easily integrate Facebook Login functionality into their React applications.
- Installation of the react Facebook login library is important and requires setting up a Facebook App, installing the react-facebook-login library in the React app, and configuring the App ID in the code.
- The react Facebook login library provides various parameters that can be configured to customize the user experience, such as specifying the fields to retrieve, and the callback function to handle the response.
- The example provided in the article demonstrates how to use the react Facebook login library to retrieve the user's name, email, and picture and display it in the UI using the state and the responseFacebook callback function.
- The app should be tested on different platforms and scenarios before deployment to ensure proper functionality.
- In conclusion, react-facebook-login is a useful and easy-to-use library for adding Facebook Login functionality to React applications, and by following the steps outlined in this article, developers can easily implement react-facebook login in their projects.