Formik in React
Overview
Validating user input to a form before the submission is one of the most fundamental tasks of a website. Many libraries can help with this process, but your choice will depend on your preferences for each library. But today we will cover how to validate user input using Formik and define the schema using Yup.
This article uses Yup, but you can use something else like Joi or Zod.
Of all the form validation libraries for React applications, I can honestly say that Formik is the most popular. And one of its great strengths is the number of resources available on its various learning platforms.
Introduction
Formik React is a third-party React forms library. Provides basic programming and form validation. It is based on controlled components and significantly reduces programming time for forms.
What is Formik?
Formik React is a library that helps you handle complex forms without having to worry about the state of the form. This helps solve the 3 most annoying parts related to forms.
- Get values in and out of the form state.
- Validate and report errors.
- Handle form submissions.
The main idea behind Formik was to create an extensible, immense-performance form helper with a minimal API that automates the process and leaves everything else up to us.
Why Should We Use Formik in React?
React simply provides a "presentation" layer to your application. This means that it provides only minimal information to create a form component. React components, states, and props are pieces of a puzzle and if we collect all pieces together then we create a functional form.
A form with two text fields requires more code. Remember the number of state values you have to record on a form with more than 10 inputs.
Of course, Creating forms with React is difficult and validation is also complicated in React. You must complete these fields in every form.
- Set state for form values, errors, and validity.
- Accept User Input and Change the Current State
- Create a Validation Function
- View Operations
Creating a React-style form requires writing every step of the process, from setting the state to submitting the form. I made a lot of React forms and always found this aspect of the process difficult and time-consuming. Formik React JS combo is awesome for developers.
Getting Values In and Out of Form State in Formik
Formik React internally sets the state to store user input via the initialValues property, so you no longer need to initialize the state in the constructor.
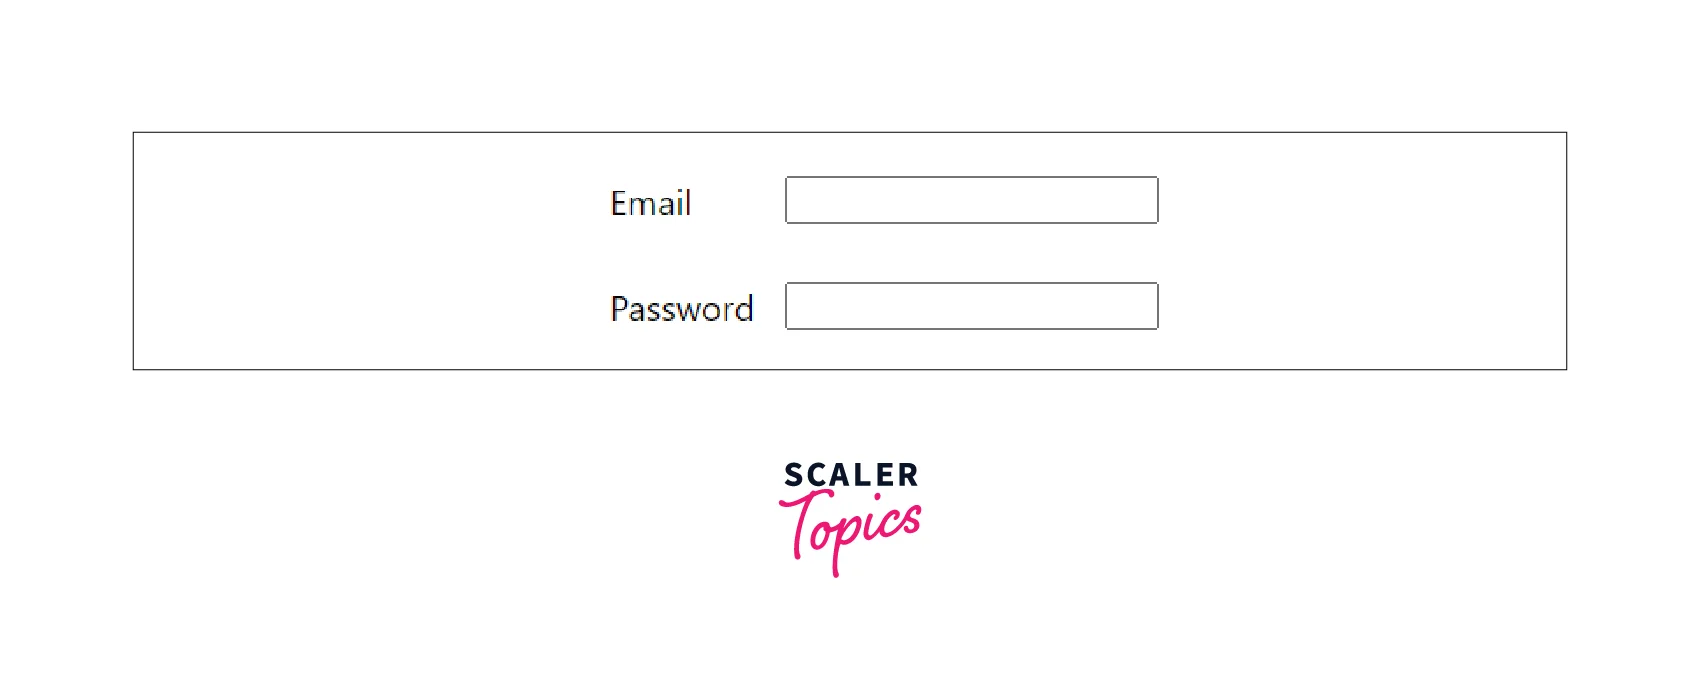
You can use the component instead of the plain HTML component to get values into and out of Formik's internal state. This component does wonders by synchronizing the input values with the Formik state, so you don't need to pass values and onChange properties to the component.
Output:

Using Formik’s handle change
With Formik React, you don't have to write your own handleChange method or initialize the state in the constructor. everything has been taken care of.
Formik React provides a default handleChange method that can be used to update the state with user data, eliminating the need to develop a custom handleChange method.
The handle change function changes the form value based on the updated input's name attribute.
For input elements, the handleChange method is used. Field components update values internally without implementing a handleChange method.
Example
In this case we have a name input for email. As you can see I added an onChange event handler. The handleChange method of the Formik object is called by the onChange event handler.
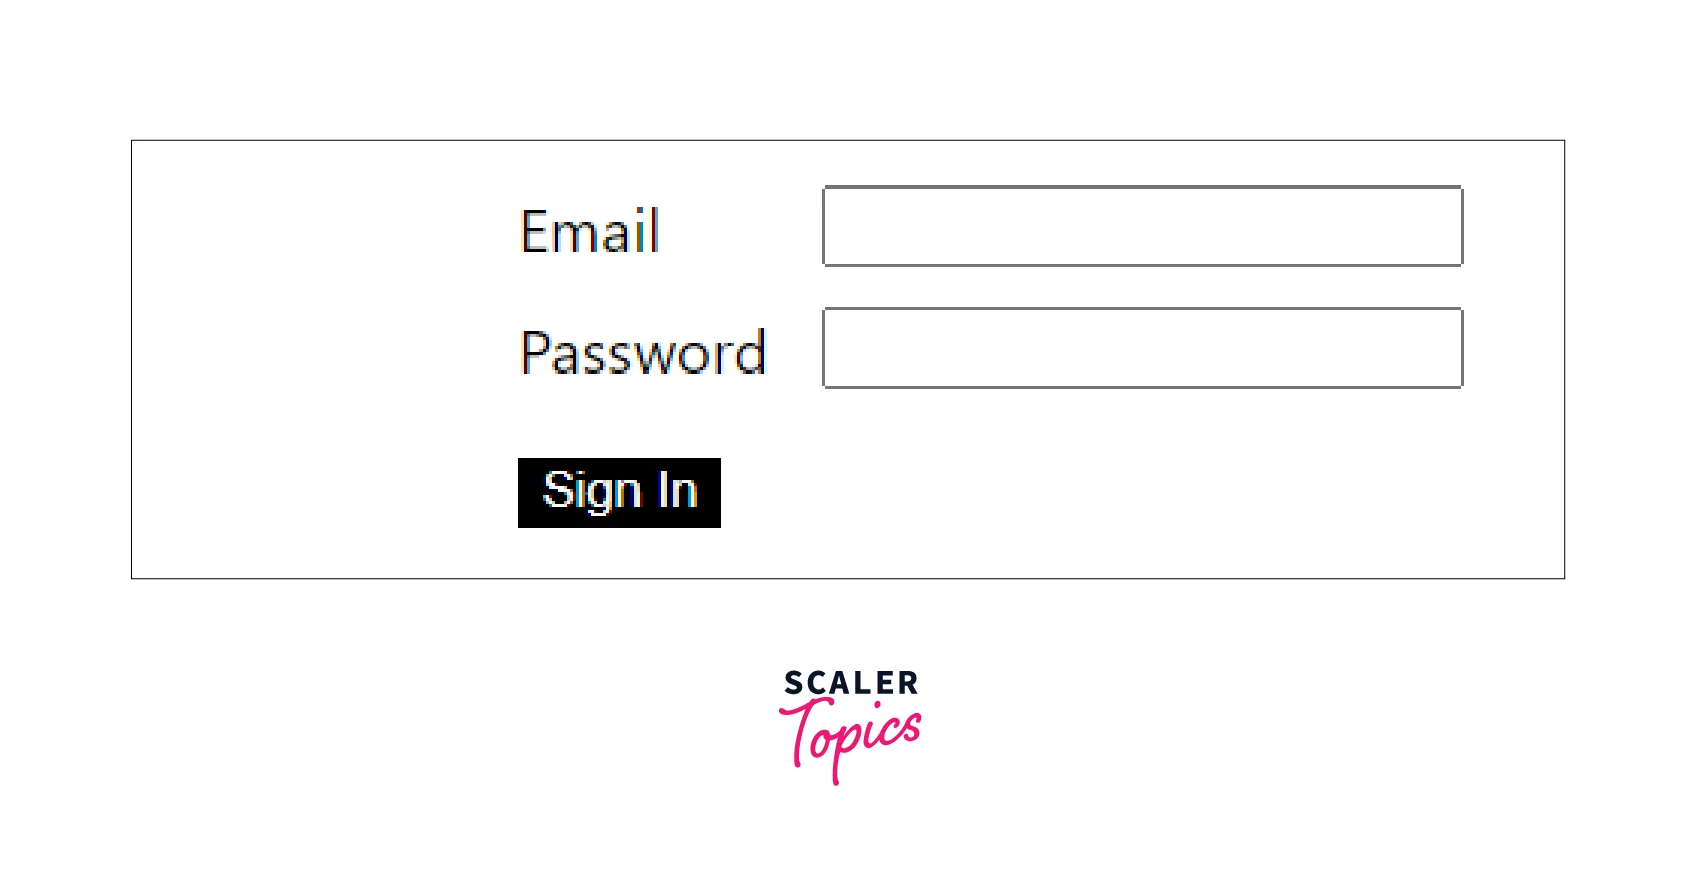
This changes the new value in the form object's value object, which you can get from the value object of the onSubmit property.
Output:

Validation and Error Messages in Formik
Validation is extremely important when creating forms. When forms are not handled perfectly Many errors can occur.
The form should tell the user which types of values are allowed in certain fields and which fields are necessary. And it gives a fair idea about what's going wrong with their input field.
Formik React gives a proper idea of how to knob validation and error messages. And in the next section, we will learn how to display validation and error messages in formik.
How do I Show Validation Messages in Formik?
Formik's validation is done automatically with certain actions. Every natural action like user input, change and submission is covered. For this, you have to pass a function to the Formik validation property.
Comparison between Formik validation and Vanilla React validation.
Formik validation code. Take values from Formik
Vanilla React validation code. Take values given by handleChange
How do I Show Error Messages in Formik?
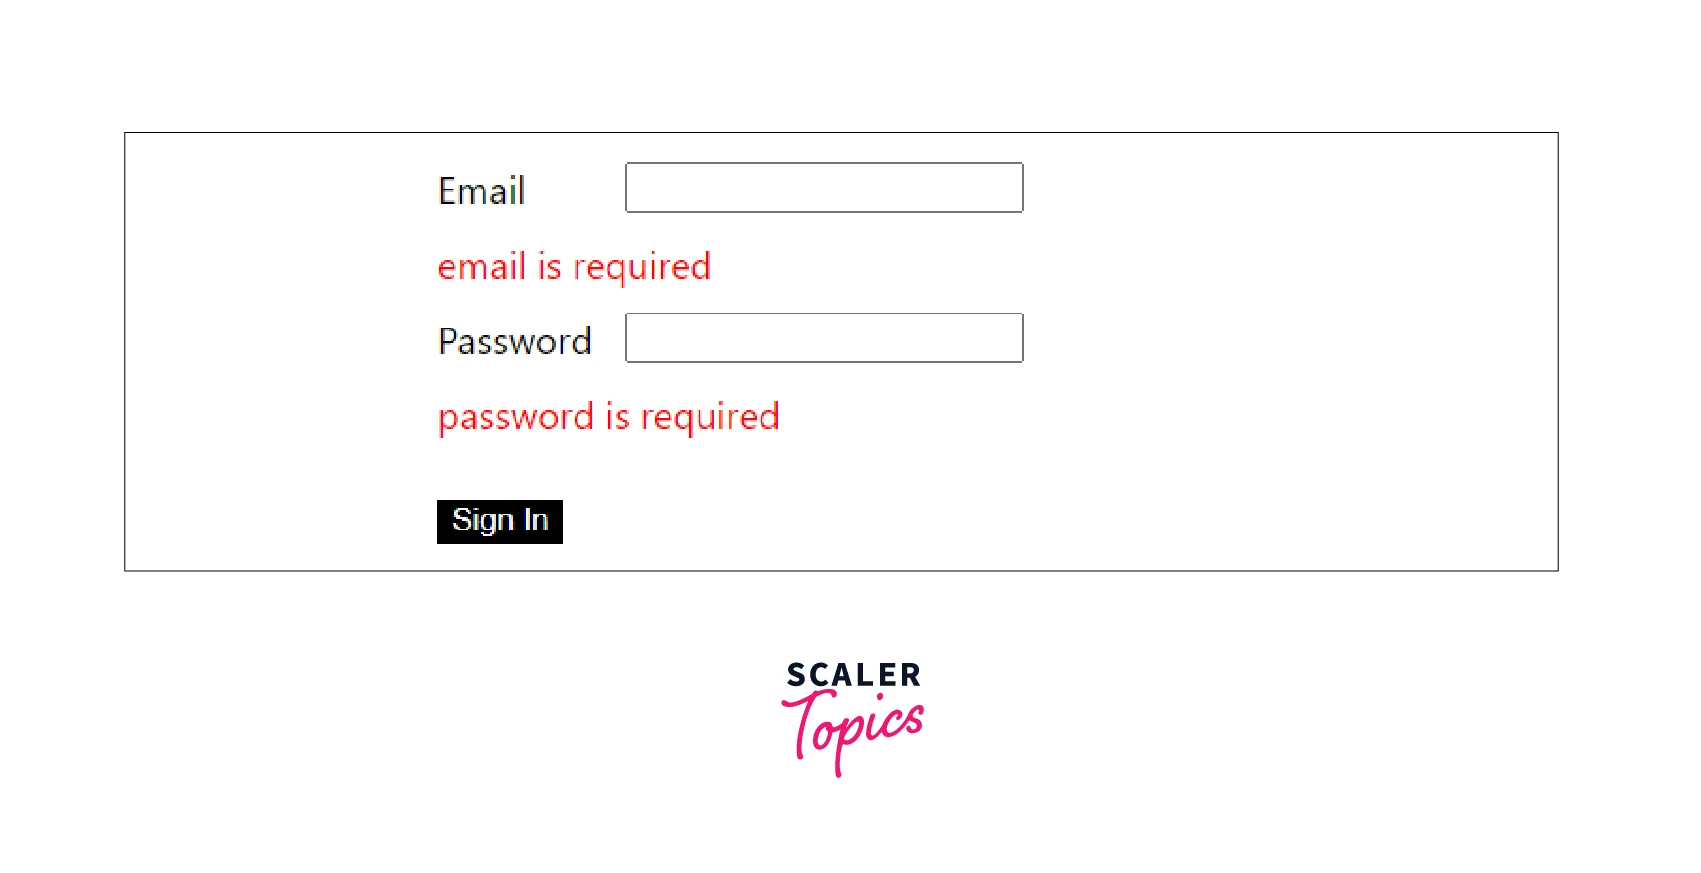
Now that the verification is complete, it should display an error message. The Formik React component automatically displays an error message for a component with a given name.
Allows customization of rendered HTML tags through component properties. Since this example form uses bootstrap styles, we also need to add the className attribute.
The error reporting code is practically the same, but the Formik validation requires a lot less code than plain React. Well done Formik!
Output:

How can I Validate Using Yup?
You're already feeling the benefits of using Formik in your validation process, but the Object Schema Validator makes it even easier.
The Object Schema Validator is a library that can determine the schema of a JavaScript object and verify that the object's values conform to that schema during the validation process.
This is especially useful when validating form data, as it is an object stored inside a Formik value property.
One such library is Yup, and Formik's authors love Yup so much that they've included special support called validationSchema that links Yup to Formik.
This prop automatically converts Yup validation errors into nice objects with matching keys and touching values.
Here is a Formik example using Yup as a validation scheme. Note how the validation prop is removed from the component.
You no longer need to manually write if conditions with Yup.
Form Submission Process in Formik
The Formik React component automatically runs the validation method and cancels the submission process if there is an error.
A normal element should contain an onSubmit attribute, but the Formik wrapper will execute the onSubmit attribute function passed to the component.
Formik submissions require at least 4 lines of code and do not require tracking the validity of form inputs. Pretty neat!
Using Formik’s OnSubmit
The Formik onSubmit property is a function that takes a value and returns a promise. You can use it to do something with the value before the submission process.
This function is very similar to vanilla JavaScript's onsubmit.
In form, values include all input values. FormikBag contains functions whose names begin with set and reset.
The onSubmit attribute is useful because it allows easy manipulation of the form and its values from the passed arguments. So this provides a huge advantage over using the HTML and forms JavaScript APIs because forms can be manipulated more easily.
Let's see how to use the onSubmit function with a Formik component.
Here we use the initialValues property to set the initial values. Then use the onSubmit function to do something with the values before the submission process.
There is a form element that calls the handleSubmit function on submit. This submit event is fired when the type="submit" button is clicked. Then the Formik component's onSubmit function is called.
When the form is submitted the onSubmit function is not called. As the Formik wrapper automatically runs the validation method and if there is an error then cancels the submission process.
Using Formik’s IsSubmitting
This is a boolean property that Formik sets when the form goes through the submission process. You can use this to display a download counter or disable the submit button.
You can use this attribute to check the status or progress of form submissions. Let's look at an example using this isSubmitting property.
You can see that I removed the isSubmitting property from the render properties of the Formik React component. Disable the submit button using the isSubmitting attribute and prompt the user to Load… Show indicator.
Using this isSubmitting property is nice because you can design a nice UI/UX for the user and notify the user when a background process is running in the background.
Using Formik’s SetSubmitting
Explanation:
- When the isSubmitting function is called with boolean true, isSubmitting is set to true.
- When the setSubmitting function is called with the boolean value false, isSubmitting is set to false.
Example
Explanation : When the form is submitted the setSubmitting function is true. This sets isSubmitting to true and disables the button, and displays the Loading... indicator.
Thread is suspended for some seconds, setSubmitting is false which sets isSubmitting to false and disables the button. The Loading... indicator got disappeared.
The Problem with Redux-Form
Of course redux form is excellent but for this, we have to use Redux. What if you use MobX? And if a more excellent library comes out in the future and you want to replace Redux with it?
First of all, do React forms affect the entire application?
what if the username text field has a global meaning to the application?
Otherwise, you don't need to track that value with Redux.
It stores form inputs in Redux storage. That's not good.
Conclusion
- Formik React is one of the open-source libraries you will need if you are building a lot of forms in your React app.
- Users either don't know or don't care how to handle form validation. But as a developer, this should be as painless as possible and I think Formik is a good choice in this respect.
- You have successfully explored some of the form validation options available in React. We've seen how to use Formik incrementally and how it works well with Yup in form validation.
- Formik React is one of the open-source frameworks you need if you are developing form-heavy React applications.
- Formik React provides very streamlined state management, reducing performance issues common when using and updating Redux frequently.
