ReactJS Props
Overview
Until now, we had solely used static data while working with components. In this tutorial, we will learn how to pass information to a component using React props. React props are a unique feature that makes it easier to pass data from one component to another. React props refers to how an application distributes data among various software components.
What are Props in React?
In React, we use props to transfer data across components (from a parent component to a child component or reverse). Props is simply a shortened version of properties. They come in handy when you want your app's data flow to be dynamic.
My App.js component looks like this:
Let's now make a new component called Tool.js. The information in this file will be about a product designer's preferred tool. The code will resemble this without any React props:
Tool.js
This component will now be imported into the App component. Which is:
App.js
Let's assume that the Tool component may be used to define various designers and their preferred tools across various components.
This specific component already has its data hard coded, despite the fact that React makes it simple for us to import a component's functionality without rewriting the code. This necessitates either rewriting that code for each additional component or use props in React to change the data for other components.
If you're still not sure how this works, props in React let us dynamically reuse a component's functionality. This indicates that the component's data won't be static. Therefore, the data for any other component that applies that logic can be changed to meet the specifications.
Pass Data
Now we will see how to Transfer Data From One Component to Another.
Using something called props (which stands for properties), React allows us to pass information to a component. React props are items that can be incorporated into a component.
We must first comprehend the interaction between parent and child components in order to comprehend how props function. You can only send props along the family tree in React. Only the children can receive information from a parent. Children are not allowed to pass objects up to their parents. This is React's example of a one-way data flow. Unless you use a separate state manager like Redux, it will always transmit props down the component hierarchy. Redux is a subject best left for another post. In order to pass a prop to a component all we have to do is name the prop and set our props element equal to some value
Passing Data Between Parent and Child Components:
You must first construct two components, a parent component, and a child component.
Parent.js
Child.js
The child component will then be imported into the parent component and returned.
Call the Child Component in the Parent Component
You'll then design a function and a button to activate it. To manage the data, you'll also establish a state using the useState Hook.
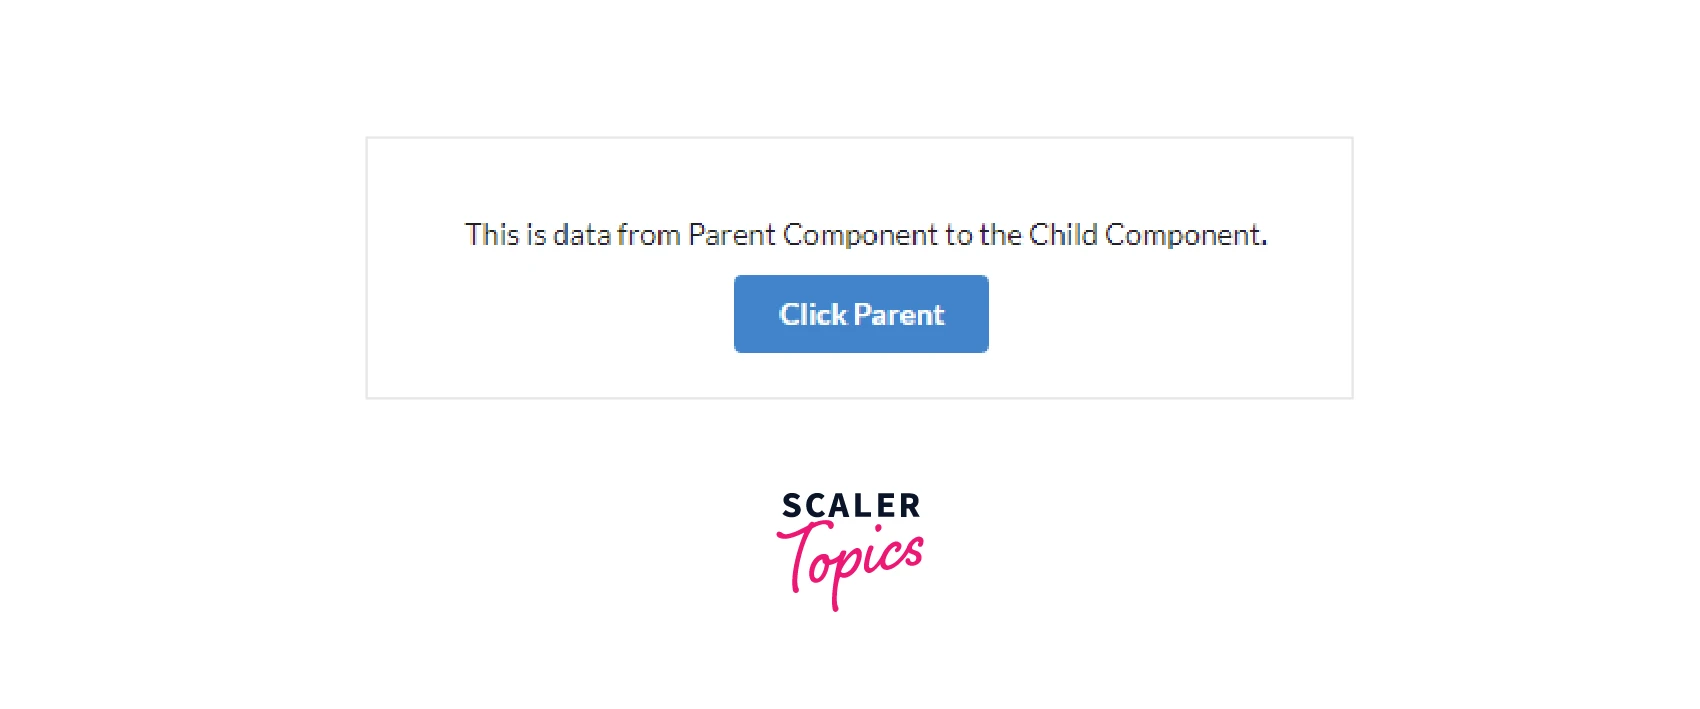
As you can see, whenever the Click Parent button is clicked, the parentToChild function is called. The This is data from Parent Component to the Child Component information is saved in the data variable when the Click Parent button is clicked.
Let's now communicate that data state to our dependent components. Props can be used for this. When contacting the child component, as in the following example:
Parent.js
Here, the data in the child component is being passed as data.
parentToChild is the prop's name, and data is the data that must be passed. The data in the child component must now be collected which can be done easily using the below instructions.
There are two possible scenarios here.
Case 1: If a functional component is being used, all you need to do is capture the parentToChild in the arguments.
Case 2: If you have a class component, then just use "this.props.parentToChild".
You will obtain the same outcomes either way:

When we press the Click Parent button, the data will be displayed on the screen below.
Above you'll see the complete code for Parent Component.
How to Pass Data Between a Child Component and a Parent Component
This one is a little more difficult.
The parent component must have a function called childToParent and an empty state called data.
Parent Component
After that, give the child component the childToParent function as a prop.
Passing childToParent to Child Component
Accept this function call as a prop in our child component now, and add it to an onClick event.
Declare a state that includes information, such as a string or a number. The parentToChild function should receive the data as parameters.
Child Component
Next, add this data as a parameter to the childToParent function in the parent component. After that, use the useState hook to set the data.
Parent Component
The return function should then display that data variable.
Parent Component
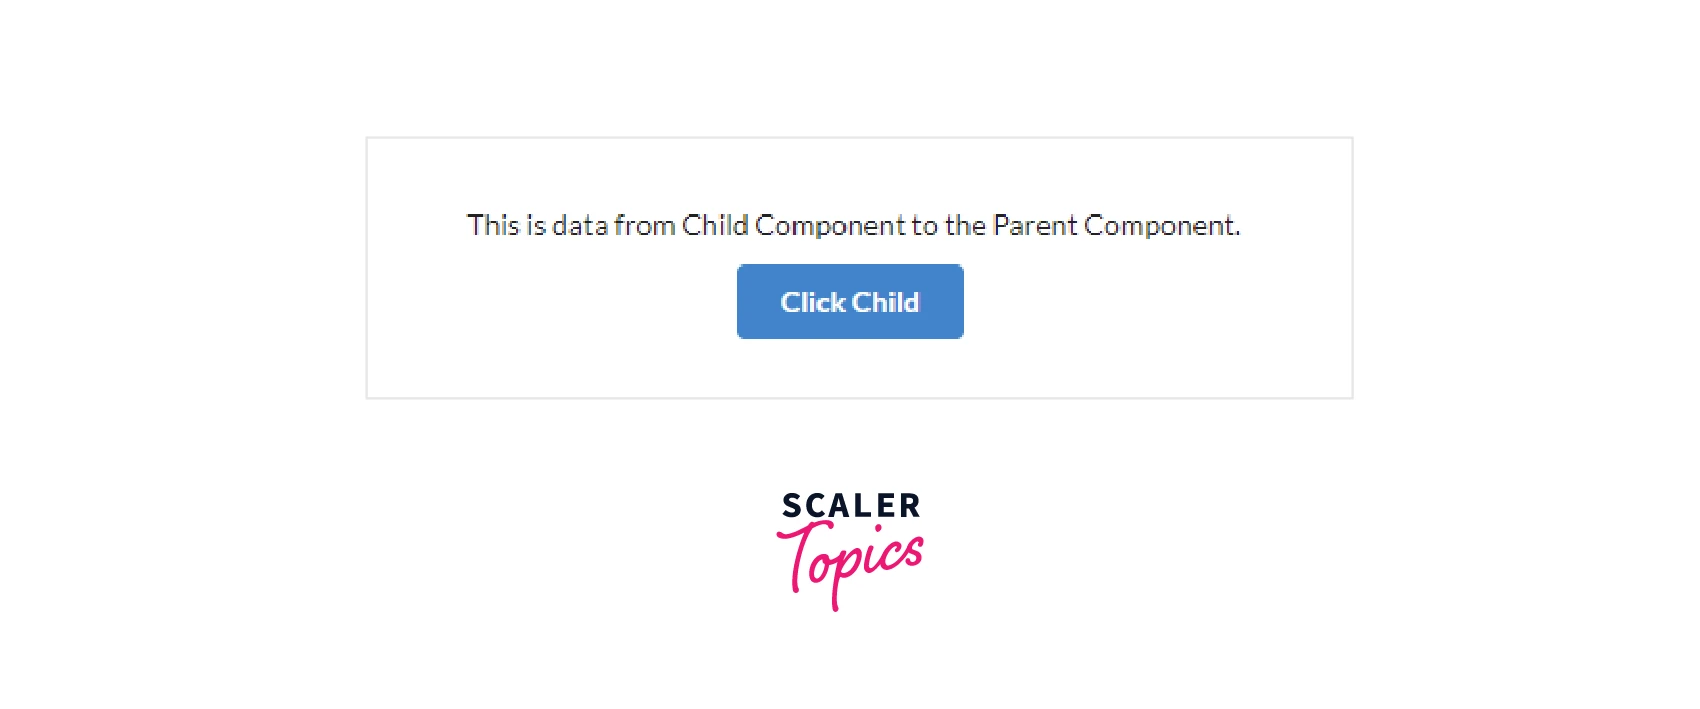
When the Click Child button is pressed, the child data will replace the parent data.

These are straightforward illustrations of data moving between components. Once you've mastered it, you'll be able to easily improve the data flow between your components and create applications that are more intricate. You may now transfer data between Parents and Children like a pro.
How to use Props in React
You will discover two methods for using React props in this section—one without destructuring and the other with destructuring.
How to use Props Without Destructuring
Props must be passed as an argument to your function in order to be used. This is similar to how conventional JavaScript methods accept parameters. Here's an illustration:
Tools.js
I'll now break down everything that just happened step by step.
Step 1 - Pass in props as an argument This is what function Tool(props){} in the code above does for us. As a result, you can use React props in the component of your React project automatically.
Step 2 - Declare props variable(s).
Tools.js
As you can see above, these variables are distinct from conventional variables since their data relates to props in React.
You can go ahead and send your props right into your template if you don't want to create variables for them.
Step 3 - Use variable(s) in JSX template.
You can now insert your variables into your code at the desired locations after declaring them.
Step 4 - Pass Data to props in the App component. Our React props are complete. Thus the following step is to send data to them. The Tool component, which we have already loaded, is currently visible in the browser:
To prevent your properties from showing up empty upon declaration, you can create default data for them. The final section will show you how to go about doing that.
Remember that the App component is currently in the following state:
You must be wondering just to whom the data would be sent. You enter the data in the form of attributes to achieve this. It appears as follows:
What has changed? Here:
from javascript!<Tool/> to javascript!<Tool name="Aman" tool="Figma"/>
Since those characteristics are linked to the properties defined in the Tool component, this won't result in an error for you.
This ought to be visible in your browser:
Be aware that the prop itself is not the name of the variable. If I'd made a variable in this manner:
And used the variable in my template like this:
If I did this, the code would still function flawlessly:
Instead of being generated from the variable name containing the prop, the name attribute is derived from props.name.
You can now dynamically produce data for any component using the logic specified in the Tool component. Numerous props can be declared.
You will now learn how to use props in conjunction with destructuring.
How to use Props with Destructuring
Except for the method for declaring the props, the code for this section is exactly the same as the code for the previous quarter. To use this method, you must know how to use destructuring in JavaScript.
We started our props in the following manner in the previous section:
But with destructuring, we don't need to do this. It's as simple as this:
Tools.js
The first line of code contains the distinction. We destructured and supplied the variables as the function's argument rather than the React props. Other than that, nothing has changed.
You may also pass in functions and even data from objects, so don't think you're confined to only using single variables as your props data.
Default Props in ReactJS
We can transfer data across React components using props. Callback functions and other types of information can be passed. Each component has several prop attachment points. Accessing and passing props is fairly easy. We will examine a few instances in this topic.
You can set default props for a React component made with the ES6 class syntax by including a static property called defaultProps in the component class. An object that represents the component's default props should be set as the defaultProps static property. You can achieve this by adding a defaultProps definition to the component class's function Object.
You can specify a default value if you don't want your props data to be empty when you create them. This is how to accomplish it:
We declared default values for our props right before the component was exported at the very end of the code. To start, we used the component's name and the built-in defaultProps that appear when you create a React app, separated by a dot and a period.
Now, instead of being blank whenever we import this component, those values will be the initial values. As we did in the previous sections, the default values are overridden when data is passed to the child component.
Conclusion
So in this article, we learned about the React props, which included:
-
What are props in React and its example.
-
Pass data to components using Props, in 2 ways:
- Passing data from parent to child components
- Passing data from child to parent components
-
How to use props in React in 2 different methods:
-
How to use props without destructuring in 4 simple steps:
- Step 1 - Pass in props as an argument
- Step 2 - Declare props variable(s)
- Step 3 - Use variable(s) in JSX template
- Step 4 - Pass data to props in the App component
-
How to use props with destructuring
-
-
What are default props in ReactJS.
