React Draft Wysiwyg
Overview
For capturing short text segments, like a login, city, or address frontend developers often utilize textarea components or raw text inputs. In some cases, users must be able to contribute styled, structured text as well as multimedia components in web applications.
Moreover, raw text inputs are unable to meet these needs, thus developers typically employ the idea of rich text editors. Thus we use react draft wysiwyg library.
React Draft Wysiwyg Introduction
When it comes to content creation, rich text editors have become a crucial part of how we interact with web apps. WYSIWYG HTML editors, which provide a visual display of the styled and generated text segments, are the most common type of browser-based rich text editors.
React and the Draft.js libraries were used to create the react-draft-wysiwyg library, a WYSIWYG (What You See Is What You Get) editor. It has a tonne of customizable built-in features including text styling buttons, keyboard shortcut support, the ability to embed media files, support for emojis, and more that you would expect from a contemporary HTML editor component.
React Draft Wysiwyg Features
Following is the list of features of react draft wysiwyg:
- Flexible toolbar with the ability to remove and add controls.
- The toolbar's controls can be rearranged in any sequence.
- Possibility of adding unique controls to the toolbar.
- Changing the toolbar's icon and styling options.
- Option to selectively conceal and show the toolbar.
- Italic, Bold, Underline, Subscript, StrikeThrough, Code, and Superscript styles are supported for inline text.
- H1–H6 block kinds, paragraphs, blockquotes, and codes are all supported.
- Support for custom types, font family selection, and font size adjustment.
- support for indenting and unordered/ordered lists.
- assistance with text alignment.
- Support for text or background coloring, with the possibility to set custom color values.
- assistance with adding and modifying connections
- More than 150 emojis are available, and you may even add your unicode emojis.
- support for mentions.
- assistance with hashtags.
- functionality for image addition and upload.
- functionality for image alignment, height, and width settings.
- Embedded link support, as well as the ability to customize width and height.
- There is a choice to eliminate further styling.
- Both a redo and undo option.
- RTL and Spellcheck behavior can be customized.
- assistance with the placeholder
- In favor of WAI-ARIA support qualities
- Using the editor as a managed or unmanaged React component.
- support for HTML, JSON, and Markdown conversion of editorial content.
- support for returning editor content to the HTML that the editor generated.
- assistance for globalisation.
Benefits of React-draft-wysiwyg
- A feature-rich package:
The react draught wysiwyg library provides a rich text editor component with functionality for hashtags and mentions in addition to all the standard WYSIWYG features. The pre-built editor may be mounted inside your app, giving you access to all the tools you require! - Simple integration and setup options:
Additionally, the react-draft-wysiwyg library has a straightforward API, component props that are self-explanatory, and well-written documentation. This enables setting up a rich text editor in the React project quickly and simply. Additionally, the rich text editor component supports both certain well-known Draft.js community libraries and core APIs. - Flexibility and ability to customize:
By not providing a flexible feature set, this library does not restrict the feature scopes of developers. Through a variety of component props, it enables developers to personalize the toolbar and functionalities. Even adding custom toolbar elements is simple!
Getting Started
Assuming you have working knowledge of React and have Node.js installed in your system. If you don't have node.js installed in your system then you can easily install it using the installer provided on the official website of Node.js. Now we will use create-react-app to set up the project.
- By using npx:
- By using npm (v6+):
- Yarn (yarn create is available in v0.25+) :
These will create a new React project with the directory standard structure.
Run it by going to the project's root directory with the help of the following command:
You can view it in the browser by using this to run the app in development mode on http://localhost:3000/
Install the Required Dependencies
The commands listed below add the react-draft-wysiwyg and draft.js packages to your react project:
Setting Up the Editor
We'll need to make some changes to the src/App.js file before we can start. We will import EditorState from draft-js along with the editor component and styles from react draft wysiwyg.
Without any styling, the editor makes use of the default Draft.js editor. The controlled ContentEditable component of the Draft.js editor is based on React's controlled input API. A snapshot of the EditorState is provided by EditorState. The cursor, contents, and undo/redo history are all included in this.
Add some code to make a rich text editor visible. Your App.js file should now contain the following code:
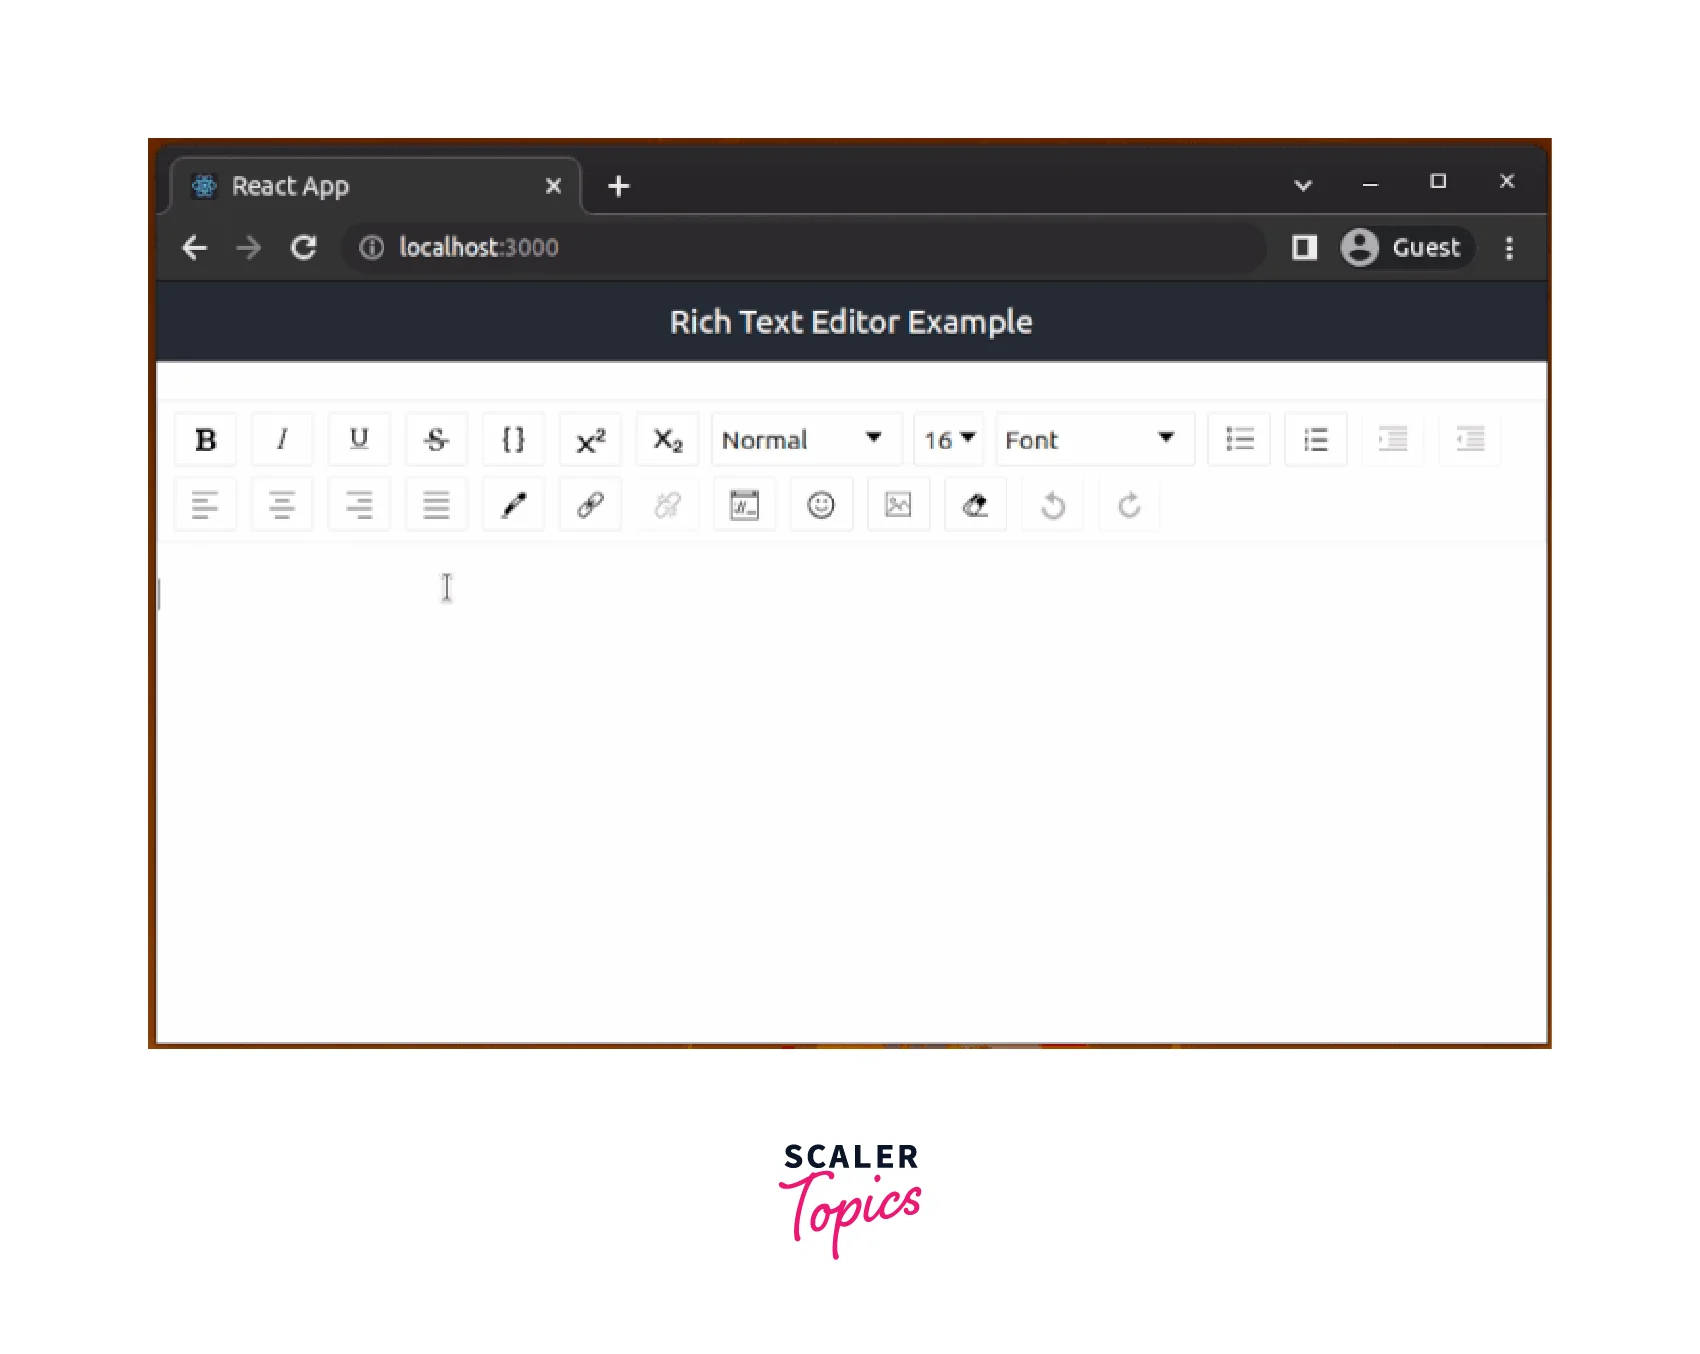
The createEmpty method of EditorState will be used to create an empty state as our start. EditorState is used by the editor as a prop. The view doesn't look great after saving the changes and updates, as you will see:
The App.css file will need a few modifications. Its contents should be changed to :
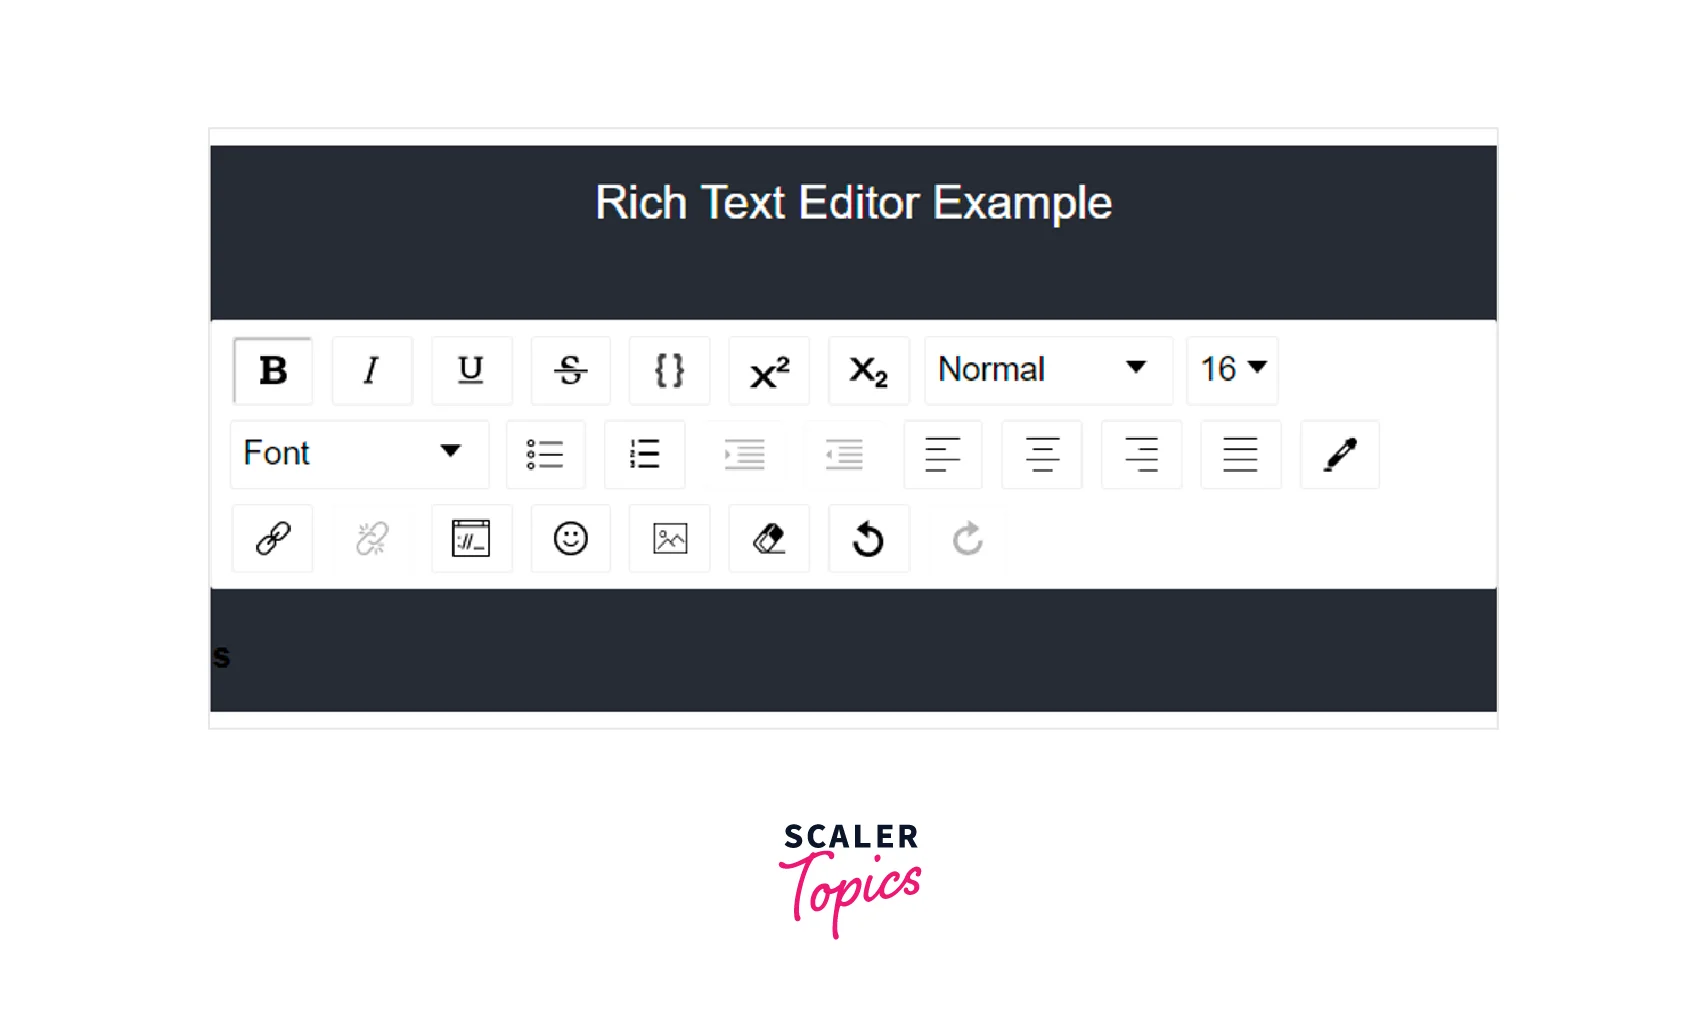
On the browser view, the editor is now properly positioned. By using the keyboard shortcut Control + B for bold text or toolbar icons, you can type some text and modify its styling:
Styling the Editor
It is very difficult to tell where one should enter text if you look at the editor we rendered above. Style props can help the editor's various sections stand out more clearly. The class used for a specific section or an object with the styles can be the props:
- wrapperClassName="wrapper-class"
- editorClassName="editor-class"
- toolbarClassName="toolbar-class"
- wrapperStyle={<wrapperStyleObject>}
- editorStyle={<editorStyleObject>}
- toolbarStyle={<toolbarStyleObject>}
To style the editor, add the following className props to the Editor component and the appropriate styles to App.css.
App.js:
App.css:
In the development mode, you might see a warning that reads, Can't call setState on a component. This warning message is displayed by React as a result of a problem with the react-draft-wysiwyg. Hopefully, library administrators will patch this problem as soon as possible. You can temporarily turn off React Strict Mode for this tutorial by doing the following:
Working with the EditorState
An uncontrolled or controlled component can both exist in the editor. EditorState, the editor's top-level state object, is used to create a controlled editor.
A flow type that indicates the expected structure of the raw format of the contents can be used to create an uncontrolled editor, such as EditorState or RawDraftContentState. The following props will be passed to the controlled editor if we want to create one:
- editorState: a Prop that uses a controlled way to update the editor's state.
- onEditorStateChange:
a function that receives an object argument of type EditorState and is called whenever the editor state changes.
These will be added to our editor component, and it will then appear as follows:
By passing defaultEditorState, EditorState can also be used to create an uncontrolled editor. Once the editor state has been created, initialize it with this object of type EditorState:
The use of RawDraftContentState is the alternative method for achieving an uncontrolled editor. The uncontrollable editor accepts these accolades:
- defaultContentState:
When the editor state is first created, it should be initialized with an object of type RawDraftContentState. - ContentStateChange:
a function that receives an object argument of type RawDraftContentState and is called whenever the editor state changes.
If RawDraftContentState were used to implement an uncontrolled editor, it would appear as follows:
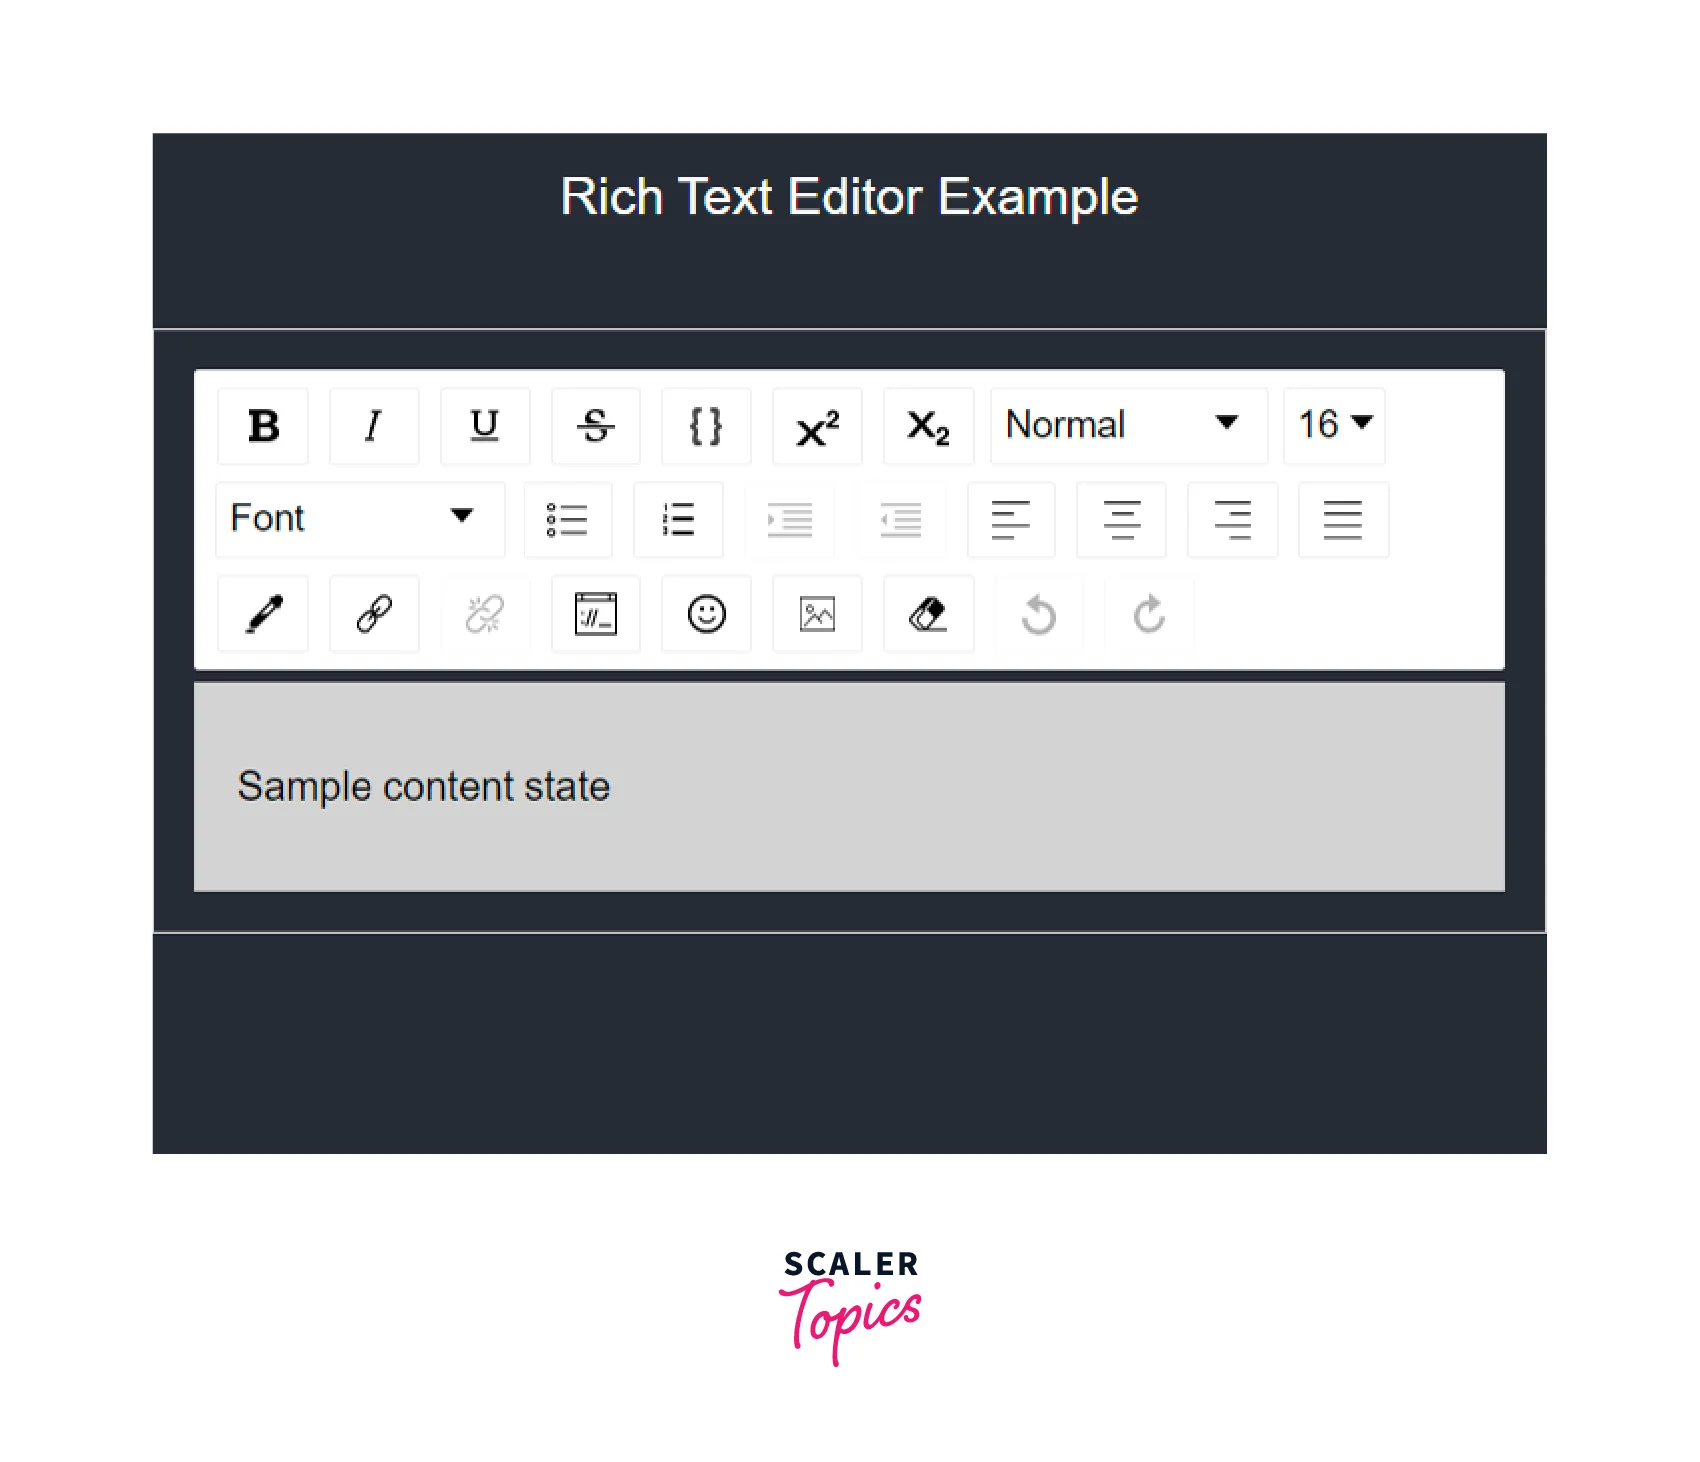
This will render the rich text editor with the following text loaded when rendered:
Using Data Conversion Functions
You will undoubtedly need to save the text or edit the text that has already been saved when using a rich text editor. As a result, you ought to be able to convert the ContentState to plain JavaScript and vice versa, as well as the other way around.
Three functions in Draft.js let you accomplish this:
- ContentFromRaw:
The raw state (RawDraftContentState) is converted to the content state. This function allows you to import a raw JSON structure from a database into a rich text editor. - ContentToRaw:
This function converts ContentState into its raw state. This function allows you to transform the current rich text editor state into a raw JSON structure that can be stored in a database. - ContentFromHTML:
This function creates an object from an HTML fragment that has two keys, one of which contains an array of ContentBlock objects and the other of which contains a reference to the entityMap. Then, using an HTML document, this object can be used to create a content state.
To store and display the editor state for our specific use case, we want to convert it to HTML. Using libraries like draft-convert or draftjs-to-html, we can accomplish this. Draft-convert will be used because it has more features than draftjs-to-html.
To install it, issue the subsequent command in your terminal:
Create a Preview for the Converted EditorState
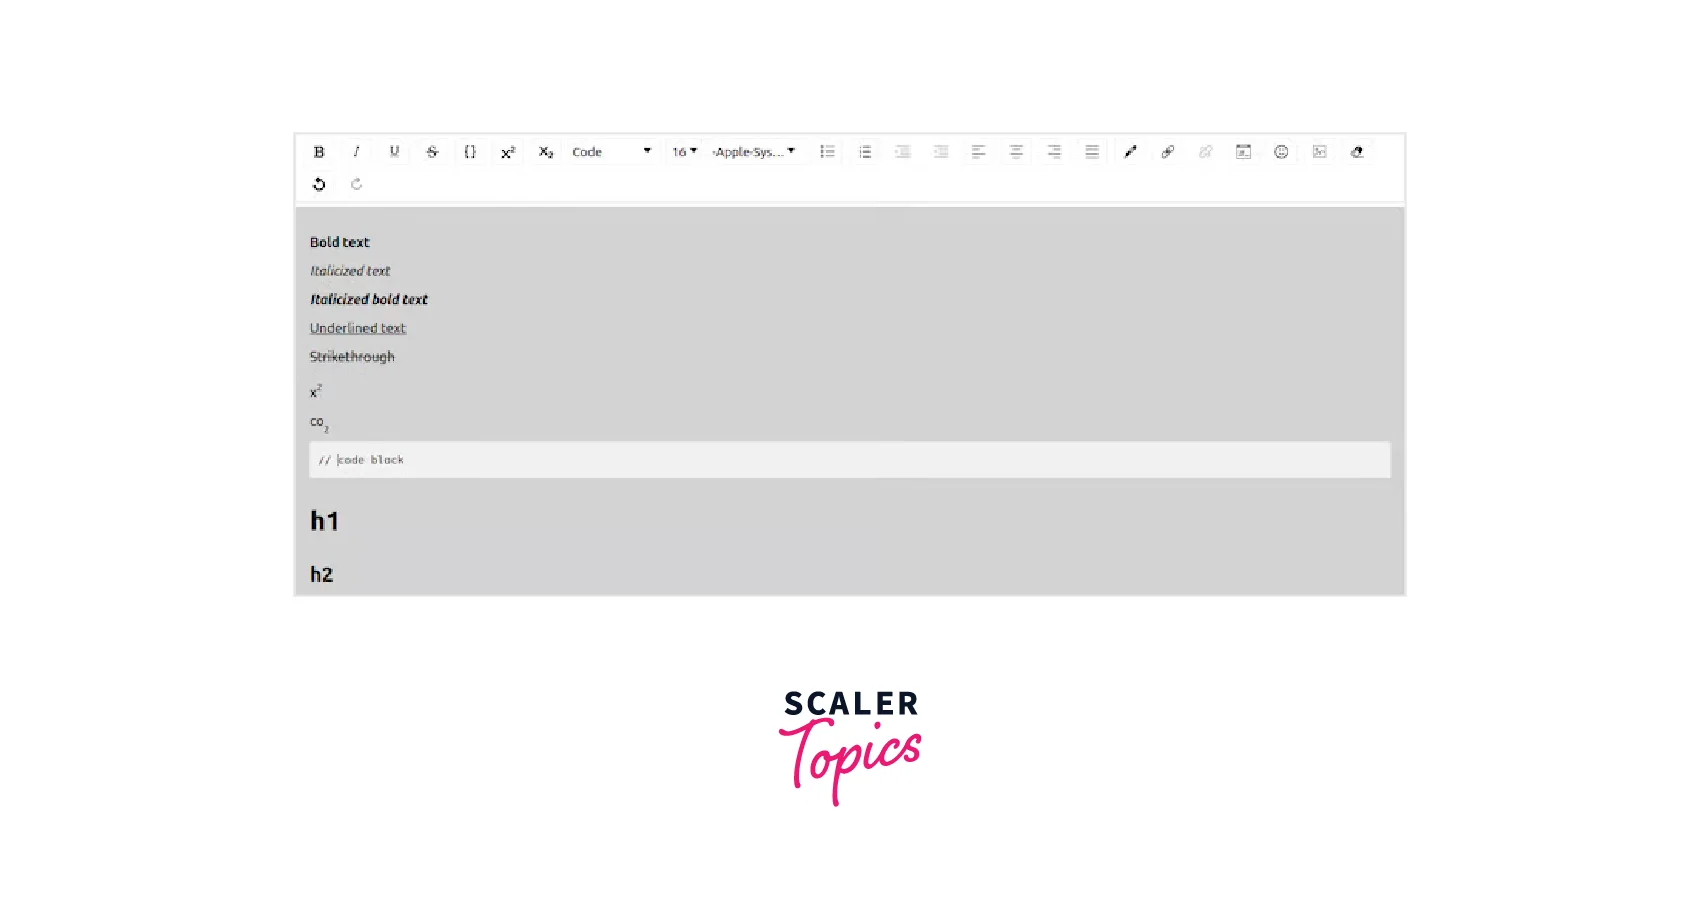
However, it is not yet prepared to save or preview the content that we have entered. Our rich text editor is ready to create some rich text. To learn how to create rich text, experiment with the editor and the various toolbar options. I was able to do a variety of things with the editor at this point, as demonstrated by the following examples:
This rich text will then be transformed into HTML. To convert it, we will use the draft-convert function's convertToHTML function, but first, we must enter the editor with the current content.
The EditorState class offers a method called getCurrentContent that returns the editor's current ContentState, which can then be converted to HTML.
We'll need to make a few adjustments to the way we manage changes in EditorState. The component calls a handler to update the EditorState and stores the HTML that was converted into a JavaScript variable.
Using the "useEffect" Hook
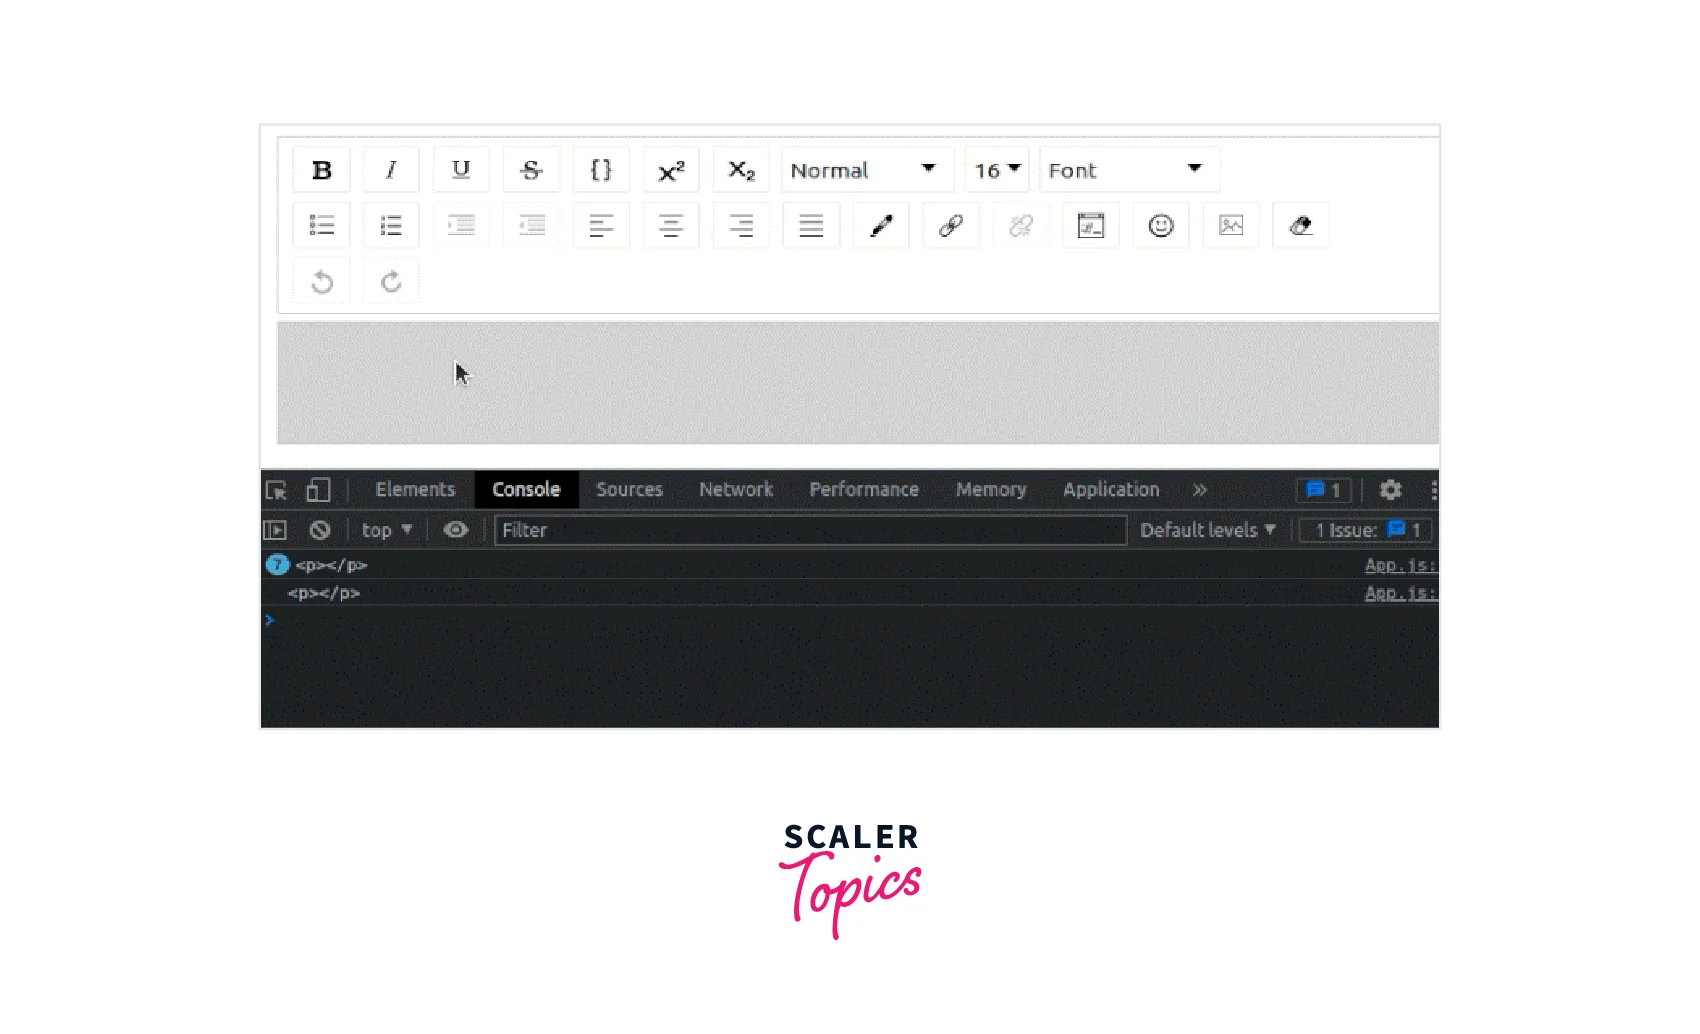
Let's add a module that will take the content from the editor, transform it into HTML, and print unprocessed HTML strings on the browser console:
Please be aware that draft-convert may not support all editor formats, which could lead to problems.
The value of the convertedContent state is updated by the code above using the useEffect Hook and the editorState dependency array. After running the above code and adding some text with styles, you can view the current editor's raw HTML content on your browser console as shown below :
We can now display the text entered in the editor because it was converted before the JSX structure was rendered. We'll make a div that displays the text that has been entered.
Therefore, we will use dangerouslySetInnerHTML to display the text. You might be wondering, "Why dangerously?" You put yourself at risk for cross-site scripting (XSS) attacks when you set HTML from code. The name serves as a subliminal reminder of the risks associated with doing this.
Sanitizing your HTML
Before adding HTML to your page, you must make sure that it is well-structured and clean. Making use of the dompurify library is a simple way to accomplish this.
Use this command to install this package:
Explanation:
An object with an html (two underscores) key is sent to dangerouslySetInnerHTML . The cleaned-up HTML will be stored in this key. Now that the HTML has been sanitized, we can add the methods to hold it in an element. Don't forget to import DOMPurify from dompurify.
Next, utilize the subsequent function implementation rather than the default console.log phrase :
Render the cleaned-up HTML now in a div as shown:
The createMarkup function takes an HTML string as an argument and outputs a sanitized HTML object as a result. DangerouslySetInnerHTML invokes this method with the HTML-formatted content.
Adding Styles to the HTML Container
Add some styles to the HTML container, and then finish.
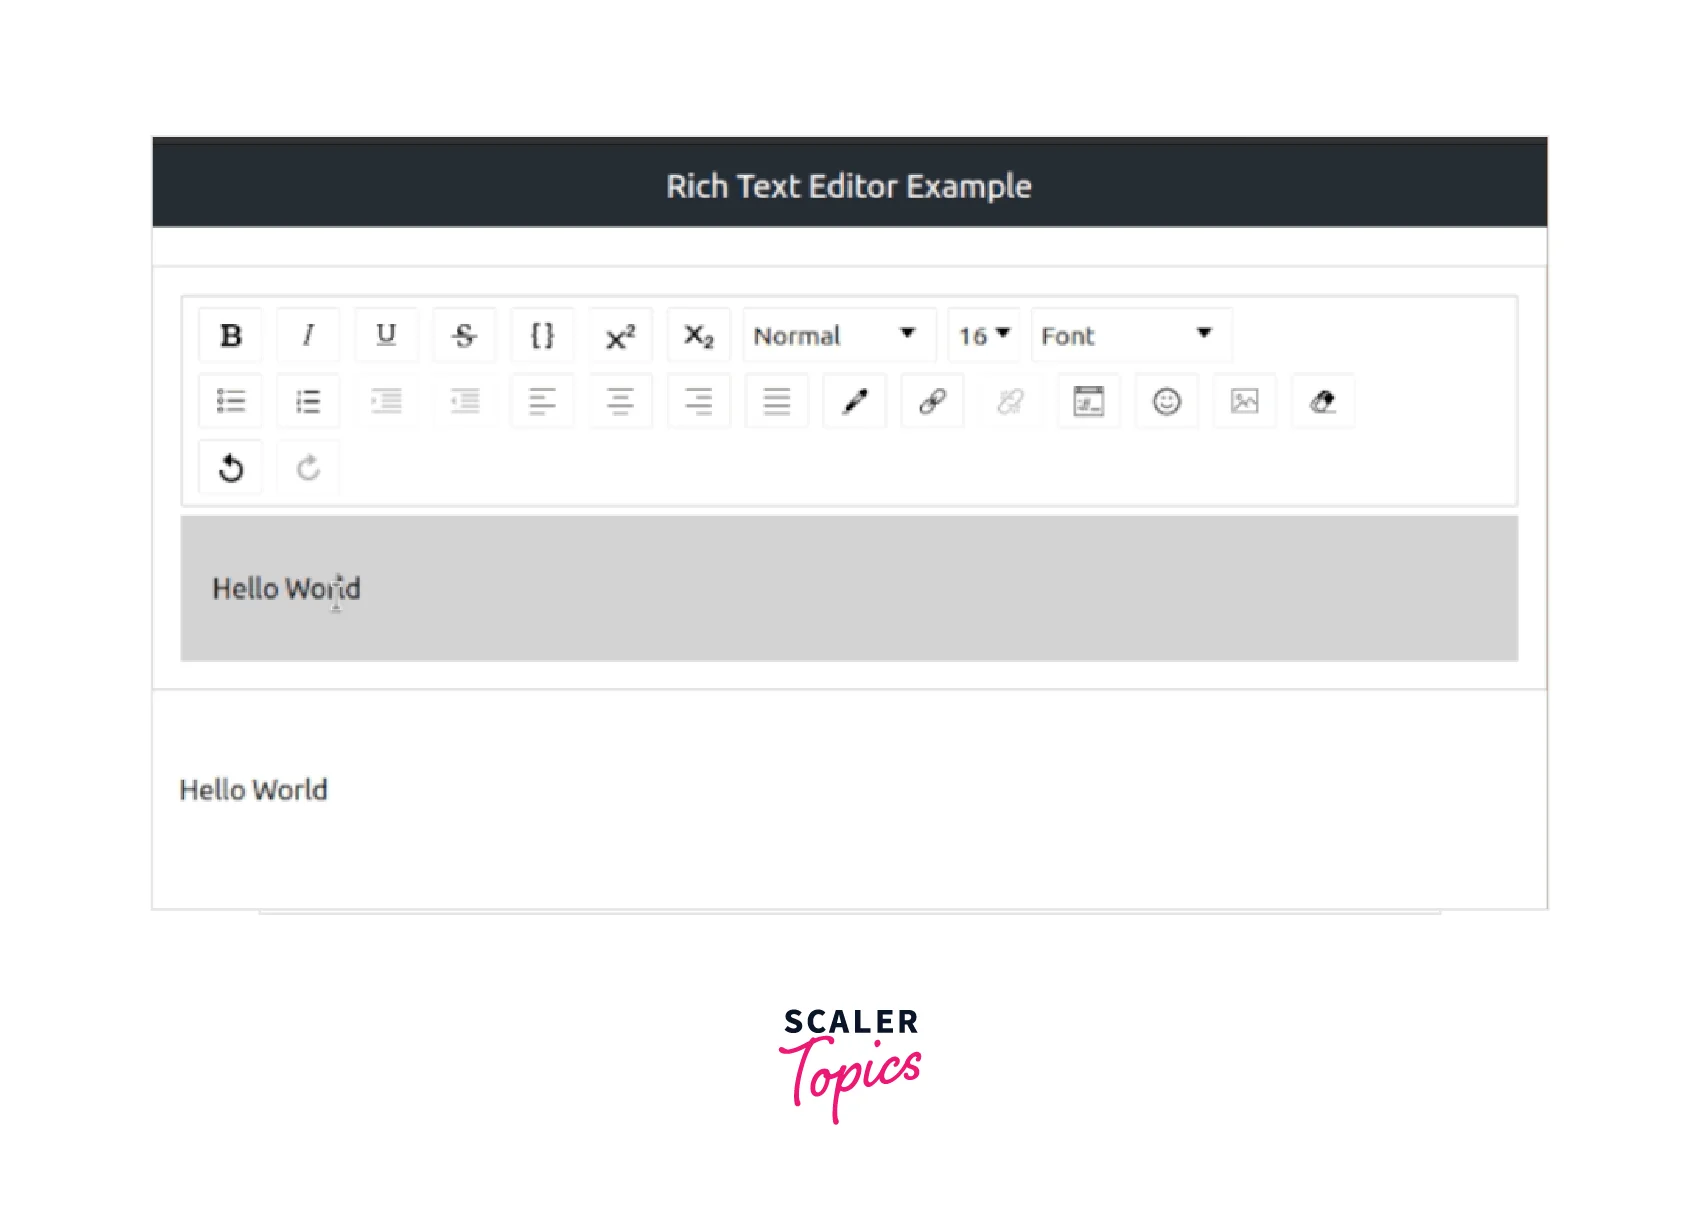
We can now type text into the editor and see how we formatted it displayed just below the rich text editor:
We have created a rich text editor that allows for flexible text formatting. The final App.js file code should read as follows:
Customizing the Rich Text Editor Component
When using the Editor component without customizations, this library renders standard WYSIWYG features by default. For instance, you automatically receive a toolbar with features like text styling and adding embedded items that you would expect in a rich text editor. The react-draft-wysiwyg library offers props to customize the toolbar and behavior, and enable additional features because it is so versatile and feature-rich.
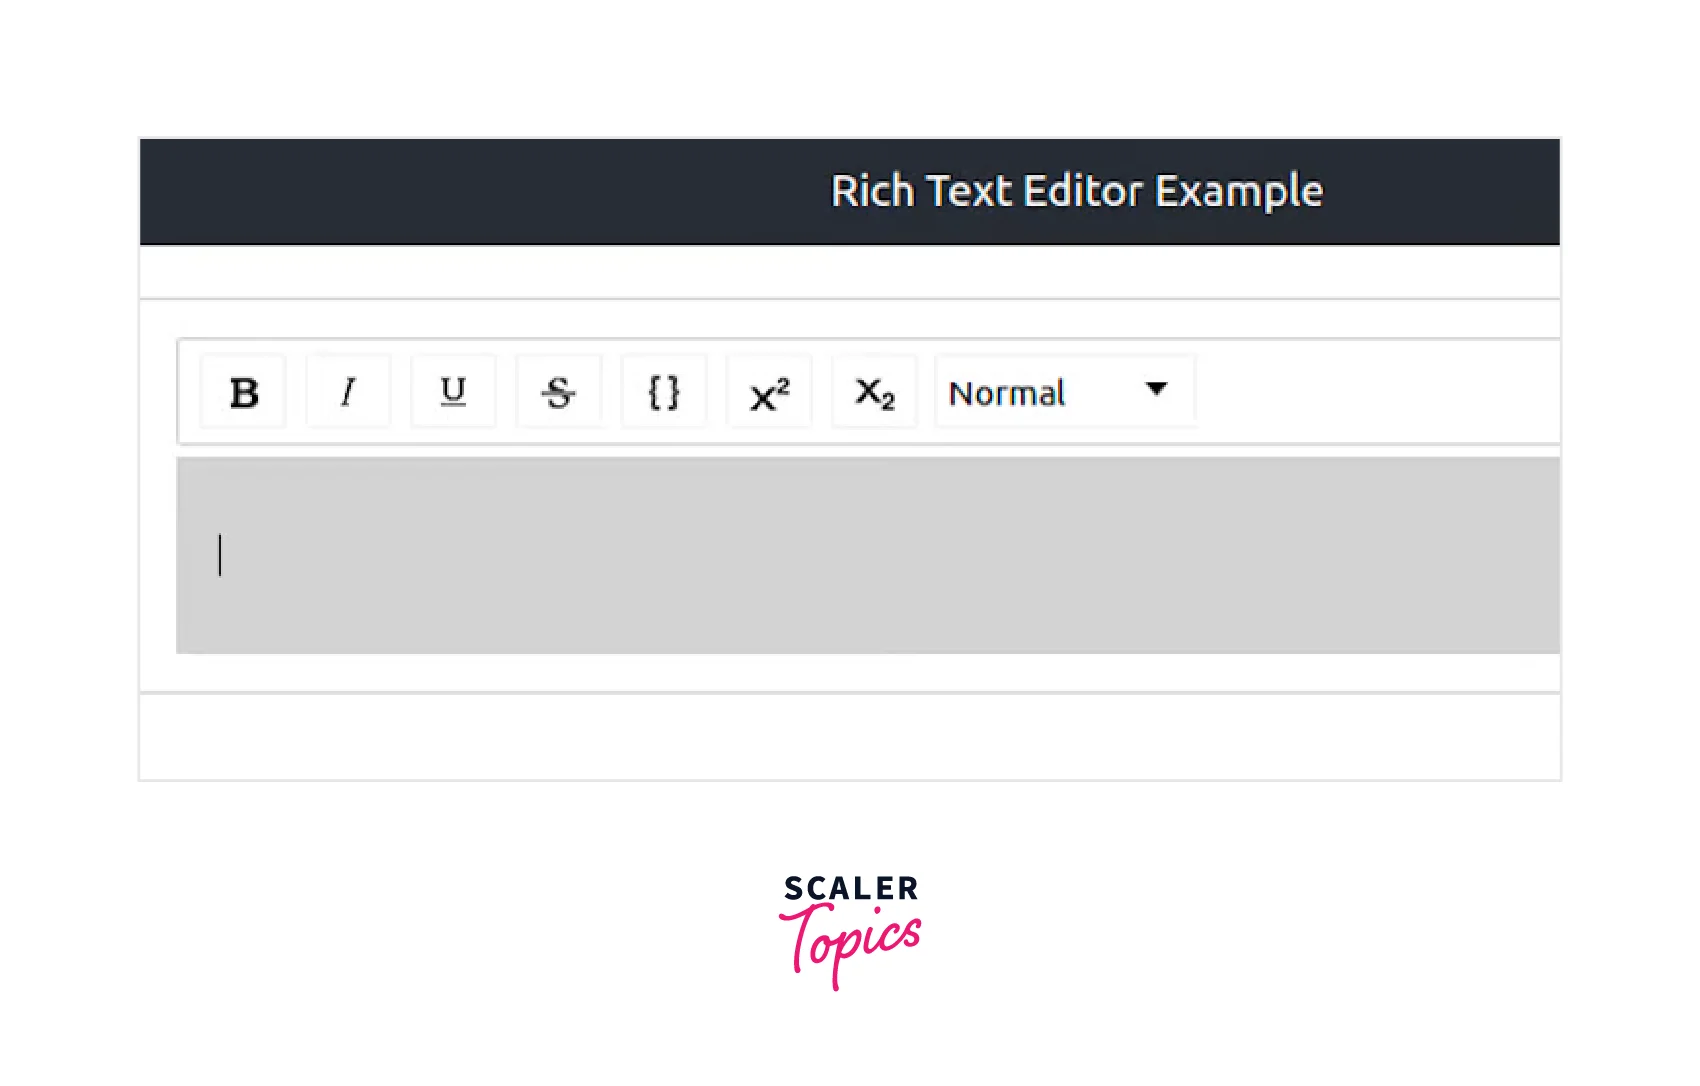
For instance, using the toolbar prop, you can make the following minimal toolbar:
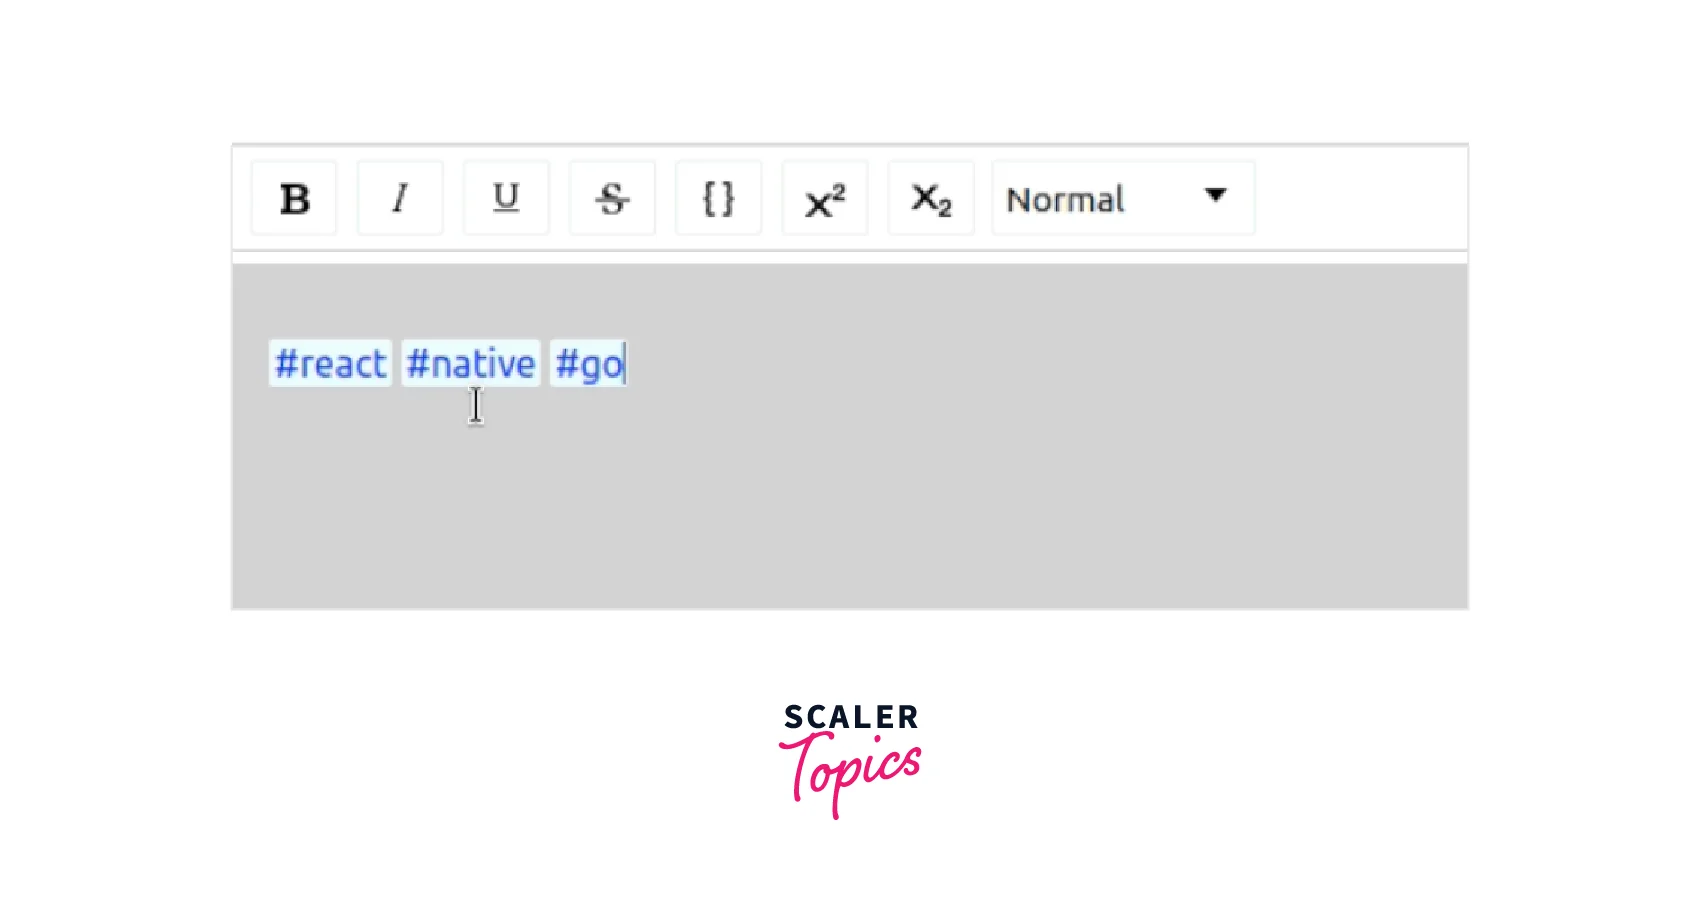
With the following props, you can also enable support for hashtags and mentions:
Additionally, you can enable support for hashtags and mentions with The following features are made possible by the above props:
Most Popular Open-source WYSIWYG Editors for React
-
Draft.js:
Draft.js is a highly extendable and adaptable JavaScript rich-text editing framework designed for React. It integrates naturally into React apps by abstracting away the specifics of display, selection, and input behavior using a recognizable declarative API. -
React Quill:
Rich text editors like React Quill are completely compatible with TypeScript and React hooks. It offers three pre-installed themes:-
Snow: the typical look of a quill,
-
Bubble: Comparable to Medium's inline editor Core.
-
theme: It has the minimal minimum necessary for modules like toolbars and tooltips to function.
-
-
Slate React:
Without your coding becoming bogged down in complexity, Slate enables you to construct robust, user-friendly editors like those in Medium, Dropbox Paper, or Google Docs. You are never limited by what is or isn't in "core" because all of its logic is done using a variety of plugins, which allows it to accomplish this. -
React Draft Wysiwyg:
Built using DraftJS and ReactJS, this is a compact rich text editor. It offers many features which are described above in the article. -
Official TinyMCE React component:
An powerful open-source text editor with a comprehensive core called TinyMCE is simple to incorporate into React projects. It is simple to set up the UI to coordinate with your website's, product's, or application's layout design. You can set up the editor with as much or as little capability as you'd like, depending on your needs, thanks to its versatility. With so many strong plugins readily available, expanding and adding new features to TinyMCE only requires adding a single line of code.
Conclusion
- Rich text editors offer a powerful solution for content producers to develop and publish HTML everywhere.
- React and the Draft.js libraries were used to create the react-draft-wysiwyg library, a WYSIWYG (What You See Is What You Get) editor.
- Some features of react draft wysiwyg are a flexible toolbar, support for mentions, hashtags, Spellcheck, etc.
- Benefits of react-draft-wysiwyg is a feature-rich package, simple integration and setup options, and flexibility and ability to customize.
- EditorState, the editor's top-level state object, is used to create a controlled editor.
- The EditorState class offers a method called getCurrentContent that returns the editor's current ContentState, which can then be converted to HTML.
- Three functions in Draft.js gives you the functionality of ContentFromRaw, ContentFromHTML, and ContentToRaw.
- Most popular open-source WYSIWYG editors for React are Draft.js, React Quill, Slate React, and the Official TinyMCE React component.