React Intl
Overview
With the rise of the internet, there has been a rise in the software industry and this industry has no geographical boundaries. To make that even more convenient for the diversified audience, we have the concept of internationalization and react-intl is one such library that helps us to achieve this internationalization. It involves methods to translate code, format numbers, strings, dates, etc in the locale-specific language and format.
Introduction
Writing React applications for a broad audience in many locations and locales requires making them linguistically accessible as globalization grows. The react intl library proves a way to properly translate file text into other languages.
This conversion of code language to local language helps in the better understanding of the code and developers from different areas can work better.
Internationalization and Localization
Before we dive deep into the library usage let's discuss the keywords internationalization and localization.
Internationalization is the process of designing a product like a React application in such a way that it can be used in several locations.
Localization on the other is the opposite of Internationalization, it focuses on translating the internationalized app into a specific language which is mostly a regional language.
Internationalization and localization are not just about translating code from one language to another, there are several other things to change while converting the code for a specific region, like numbers, dates, units, and currencies.
Setting up the React Project
Hands-on practice is the best way to learn to code. Let's set up a react application and start learning about the react intl library.
We plan to create a react app with English content and then we will convert it to some additional languages.
- Create a react app with npx create-react-app react-intl-app
- Make a folder names Components and inside it add the following files
- App.js
- Content.js
- Footer.js
- Header.js
- Add the following content to the files:
App.js
Content.js
Footer.js
Header.js
As you can see that there is nothing much other than simple code on these pages. Let's move ahead and start using the library.
Setting up the React Intl Library
Now we have
- A basic react project we can start using the react intl library.
- Install the library using npm install react-intl
- After installation, we will use <IntlProvider> and wrap our app in the provider component.
This <IntlProvider> component gives us all the APIs and components that we require to implement Internationalization.
What is the IntlProvider Component?
The IntlProvider component is a react component that allows us to use various configurations provided by the library to be used in the subcomponents of the library.
We call the components of React Intl formatted components and they are responsible for the proper translation and formatting at runtime.
Some of these components are:
- FormattedMessage
- FormattedNumber
- FormattedDate
- FormattedPlural
In the App.js file, we have to wrap the children with IntlProvider.
To see what IntlProvider contains, we can console log the provider
In the console, you will see all default configuration props. Let's add the required props in our IntlProvider component.
Let's understand these props: locale - This prop accepts a string that determines what language our app is rendered in.
messages - This prop accepts an object which contains a set of translated strings ready to display in the front.
defaultLocale - As the name suggests, this prop tells the app's default language.
Enough of the theory, let's focus on the code part.
In the Footer.js file add the following code
In this code, we have added some data that is different for different locales. If you run this code then you will see something like
Now, if we change the locale prop to de then this data will be formatted in German format
The FormattedDate and FormattedNumber components accept other props to customize their behavior
Example for the FormattedDate component
Output
Example for the FormattedNumber component
Output
To learn about all the props and options you can check out the official docs
Using the React Intl API
React intl library also provides other ways to format data. If we don't want to use the components provided by the library then we can use the API. The componet also uses this API behind the scenes to work.
We will now use the hooks that are provided by the react intl library. Since we are using hooks then this method will work only in the Functional components.
First, in the Footer.js we will import the useIntl hook
useIntl provides us with many functions that we can use. One function is formateDate.
In the Footer.js we will add the following code
In the output, you can see the formatted value.
We can also customize the date here by providing other arguments like
Now you know the ways to convert data in your app.
Translating the App’s Source Text String
Back to translating our app. Create a folder named i18n in the src and two files inside it with the names locales.js and messages.js.
The locales.js file will hold our supported locales and the messages.js file will hold the corresponding translations.
In the locales.js file add the following code:
You must be wondering what are these codes and where we have taken them. These codes are just language-COUNTRY hence it explains English-USA, english-GreatBritain, etc.
Translations in React
Heading over to the messages.js file, add the following code:
These messages are translated using google translate.
We have created a key-value pair and we can use this dictionary in our message prop of IntlProvider. To access any locale we can simply write
Import LOCALES and messages inside the App.js file
This code makes sure that English data is loaded up in the provider component.
Inside the Content.js file add the following code
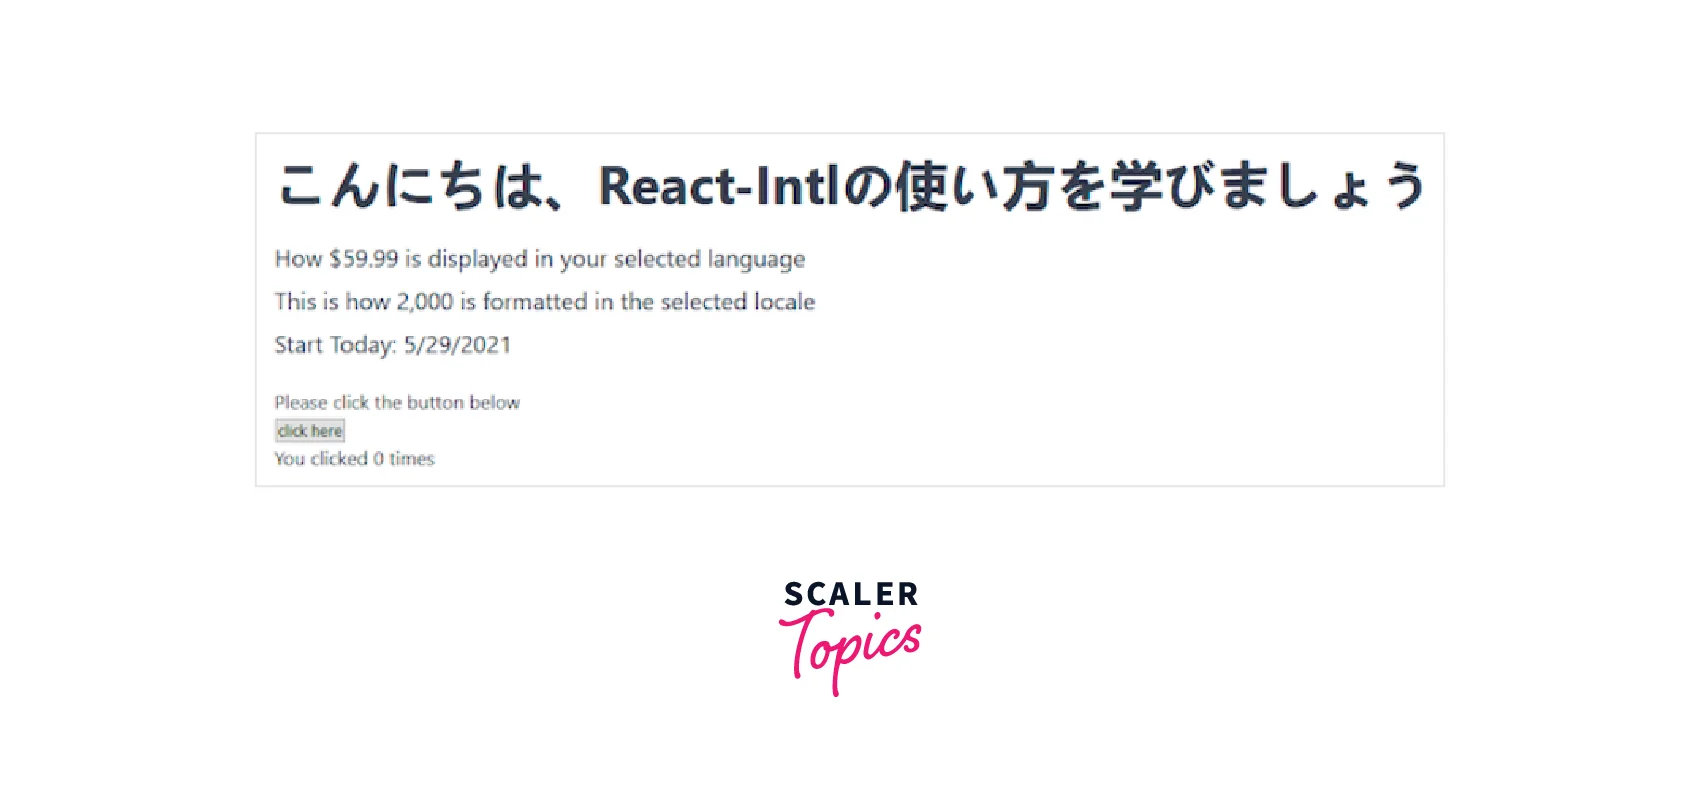
Now you have a fully working code, if you try to change the locale to JAPANESE
You must have noticed that we have used an id prop in the FormattedMessage component. This is a required prop for translating the message. This id is unique across all the supported locales present in the translation file.
Using Arguments
We have learned to format dates and numbers using FormattedNumber and FormattedDate, now let's learn how to use FormattedMessage In the FormattedMessage component we use the following format { key, type, format}
For example, we have to display the price then it will be written:
Here,
- n is the key
- number is the type
- Optional argument that tells about the type of n.
So, we can use
The id that we provide looks for the translation for the current locale. Going by this logic, our Content.js file will look like
This is how our app looks now

Pluralization with React Intl
We will learn to use FormattedMessage to handle plural text. Plurals also have a similar format.
The plural categories one and other, match singular and plural forms with the text in curly braces respectively. We can do the same for other languages also.
We can also translate the button text, for that we first have to add two more keys to the messages.js file
For English
For French
Now, we will utilize this knowledge in the Footer.js file.
We will now add translations for the Header component
This completes our translation of the apps.

Adding the Option to Switch Locales in the Frontend
We will now work to add an option to enable the user to change the locale using Frontend. For this, we have to make adjustments to our Header.js file.
Add a languages array of objects
This code gives us an interface where the user can select the locale, but this doesn't change anything because we are not updating any values here. We will use onChange and value props inside the select component.
For the data to change we have to pass the required data from App.js to Header.js.
This enables us to use the currentLocale in our Header component
Stitching all the knowledge blocks together we get a fully functional application.
Persisting the Selected Locale in the Browser Local Storage
The method we have used till now uses react state to change the locale, this approach has one small problem. If we reload the page then the selected locale will be cleared and switched back to the default locale. The user would like to want a persistent solution rather than changing the locale on every page reload.
For this feature, we can utilize the localStorage provided by the browser. We will be modifying the App.js to enable this functionality.
Create a function that will get data from localStorage
Update the state
Update handleChange
Also remove const locale = LOCALES.ENGLISH;
What we have done is quite simple:
- We are checking if any locale is present in the localStorage, if not then we are setting it to English.
- Then we are updating the state with that locale.
- In the handleChange we are updating the localStorage with the new locale
Conclusion
In this article you have learned:
- Internationalization means designing a product in such a manner that anyone around the globe can easily use it.
- Localization is the method that focuses on translating the app into the region-specific language.
- react-intl is a react library that helps us to enable internationalization and localization.
- react-intl provides an IntlProvider component which we can leverage for the purpose.
- react-intl also provides hooks that work similarly to the Provider component.
- Not only does the library support conversion of text, numbers, and dates, but it also handles plurals.
- For a better user experience we can store the locale in the browser's localStorage so that the choice persists.