React Timer
Overview
React Timers are very common UI components that communicate to the users how much time is left for an event to occur or how much time is left for an event to end. These React Timers are used mostly in cases such as counting down to a sale on some e-commerce website, a live event like a contest or a hackathon, or a deadline.
Introduction
React (also known as ReactJS) is a library for creating declarative and component-based user interfaces. It is much more powerful in terms of reusability, better code structure, and data flow with the addition of functional components and hooks. To handle state within components, web developers commonly utilize React's standard hooks such as useState and useEffect.
We'll make a countdown timer that allows us to specify a starting date and time to begin the countdown. When the date and time run out, it will display an expiry notification.
With the increase in virtualization due to COVID-19 in the past 2-3 years, the demand for online events has also increased. It is easy and more convenient to host an online event than an offline one with the latest technologies and event hosting websites.

Some Examples of Timers
You must have seen every event has some timer that allows you to track the time remaining for a specific event to start or end. This can be useful in a variety of situations, such as counting down to a sale, a live event, or a deadline. React is a popular JavaScript library that makes creating dynamic, interactive user interfaces easy. With the increase in popularity of ReactJS the demand for using React Timers has also increased.
How to Create a Countdown Timer Component Using React?
Without much of a delay, let us follow the steps below and learn how a React Timer Component is implemented.
Creating a New React Project
If you already have an existing project, and you want to add a React Timer Component to that, then you might skip this part.
To start with, we need to create a new React Project folder using the create-react-app as below:
Note: As per the new naming conventions of create-react-app we cannot use any UPPERCASE or camel casing in our project folder name.
After creating the new project folder, move into the folder using:
Now, inside src delete all the files other than App.js and index.js, and then remove all the related import statements.
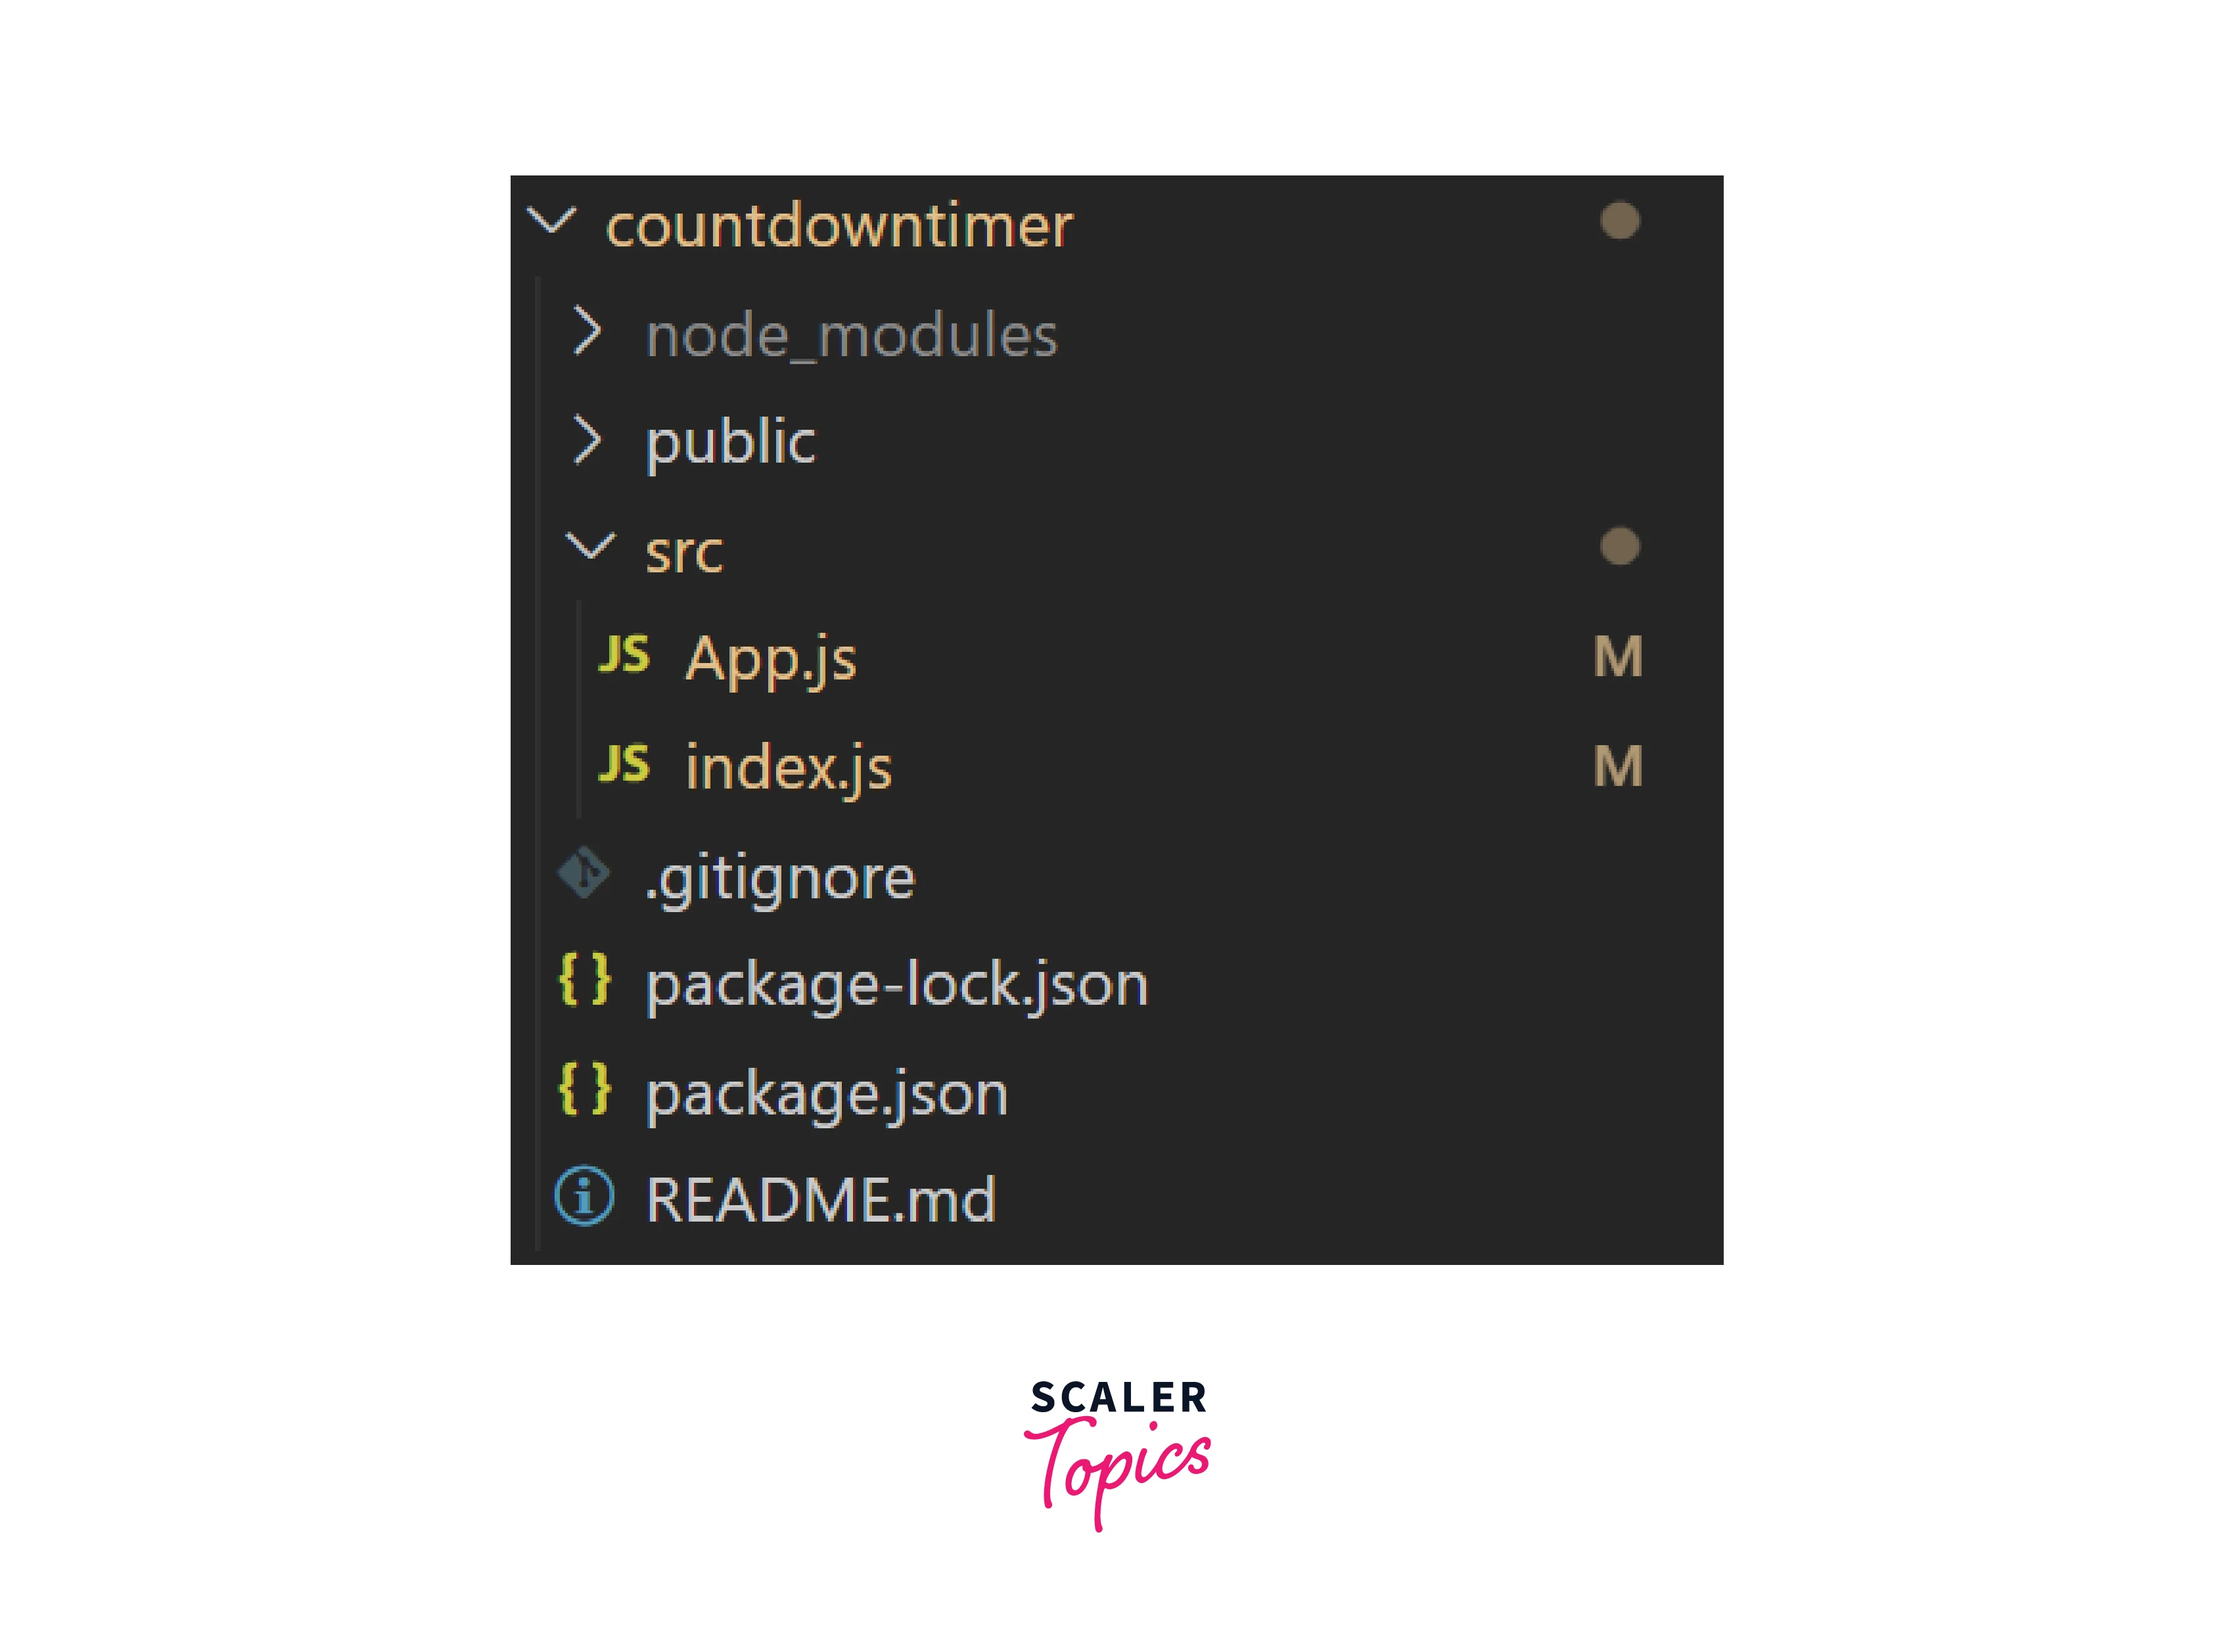
Project Structure:
Once you are done creating the new project, this is what the project structure would look like.

Now, code your App.js something like this:
Just run the App using npm run start to be sure things are working. You should see a “Hello” displayed on the app screen on render.
Calculating How Much Time Is Remaining
The main part begins now! We will be making a function that calculates the time left before the start of our desired event.
Let’s create the function named calculateRemainingTime as follows:
We have set the event date to be the last day of the year. The difference variable holds stores the time difference between the event date and the current date in milliseconds.
Note: By adding a plus sign (+) before a new Date object, JavaScript is instructed to cast the object as an integer, which displays the object's Unix timestamp as milliseconds since the epoch.
After calculating the total number of milliseconds remaining on the countdown timer, we need to translate the milliseconds into a format that is easier for humans to understand.
Formatting to Days, Hours, Minutes, and Seconds
In this section, we will construct an empty object named timeRemaining, check if there is time left using an if statement, and use arithmetic and the modulus (%) operator to get the total amount of hours, minutes, and seconds. The timeRemaining will be returned at the end.
Make the timeRemaining object, which will initially be empty before being populated with days, hours, minutes, and seconds in the if statement.
On adding the code for converting time remaining in milliseconds to some human readable format, the calculateRemainingTime method will look something like this:
Explanation Only if the difference is greater than 0 then we go ahead with the calculation of days, hours, minutes, and seconds. Otherwise, it means the event has already started or is over.
- To obtain the days: divide the time in milliseconds by 1000 (to get the seconds), 60 (to get the minutes), 60 again (since one hour has 60 minutes), and 24 (because one day has 24 hours), which is summarised in parenthesis as 1000 * 60 * 60 * 24. (abbreviated 86.400.000 can be used).
- To get the hours: divide the time in milliseconds by 1000 (to get the seconds), 60 (to get the minutes), and 60 again (since one hour contains 60 minutes), which is summarised in parenthesis as 1000 * 60 * 60. (abbreviated 3.600.000 can be used).
- To obtain the minutes: divide time by 1000 (to obtain the seconds) then divide by 60. (because 1 minute has 60 seconds).
- To obtain the seconds: divide the time by 1000.
To utilize the value elsewhere in the component, you must finally return the timeRemaining object.
Updating Your App State with useState and useEffect
We can now include the app state that will manage and update our timer because you have now constructed a function that estimates the amount of time before our event.
Without changing functional components into class components, we can add state management features to them using React Hooks.
To manage the state in this component, you will import the useState and useEffect hooks from React in this step.
Let us include useState and useEffect in our import line at the start of the App.js file:
We will use the useState hook to create a new state variable called timeRemaining that will store the remaining time until the event. The useState hook takes an initial value as its first argument, so we will set the timeRemaining state to the difference between the current time and the end time, which we will get from the calculateRemainingTime function.
Next, we will use the useEffect hook to set up an interval that updates the timeLeft state every second. The useEffect hook takes a callback function as its first argument, which will be called every time the component is rendered. The callback function should update the timeLeft state with the new time remaining.
Explanation The useEffect hook also takes an array of dependencies as its second argument. In this case, we want the effect to run every time the timeLeft state changes, so we include timeLeft in the dependencies array.
Note: It's worth noting that, the setInterval function is not the best way to handle time sensitive events when working with react, it is highly recommended to use setTimeout instead.
With this setup, our countdown timer component will update its state every second, providing a dynamic and accurate representation of the time remaining until the event.
Using Object. keys
To create a display component in this phase, you will iterate through the timeLeft object using Object. keys. The display element will be used to display how much longer it is till our event starts.
First, add a new variable named timerComponents which will be storing the JSX components for the display of time left.
The timeLeft object that your calculateTimeLeft method returned may now be iterated over using Object. keys.
Finally, the code for the timerComponents will be like this:
Explanation The timeLeft object's attributes are iterated through in this section of the code. The timerComponents array gains a new entry if the timer interval has a value other than zero.
Note: The additional " is required in the code to prevent the intervals that show the remaining time from colliding with one another when displayed on the screen. You may utilize JavaScript inside of JSX using the {}, and the "" adds space.
Now that our event is almost here, we're prepared to add the new JSX to the return statement of the app component!
Displaying the Time Left
In this step, we will add JSX components to the return statement of the app component. We will utilize a ternary operator to determine if there is still time or if our event has begun.
To utilize the timerComponents array, we should first determine its length and then either return it or notify the user that the timer has ended.
Now, our return statement will look something like this:
In React JSX components, we have used a ternary operator instead of a JavaScript if statement. This is because only expressions are permitted within JSX.
The timerComponents.length line of the code checks to see whether there is anything in the timerComponents array and renders it if there is, else it renders 00:00:00, indicating that the time has ended!
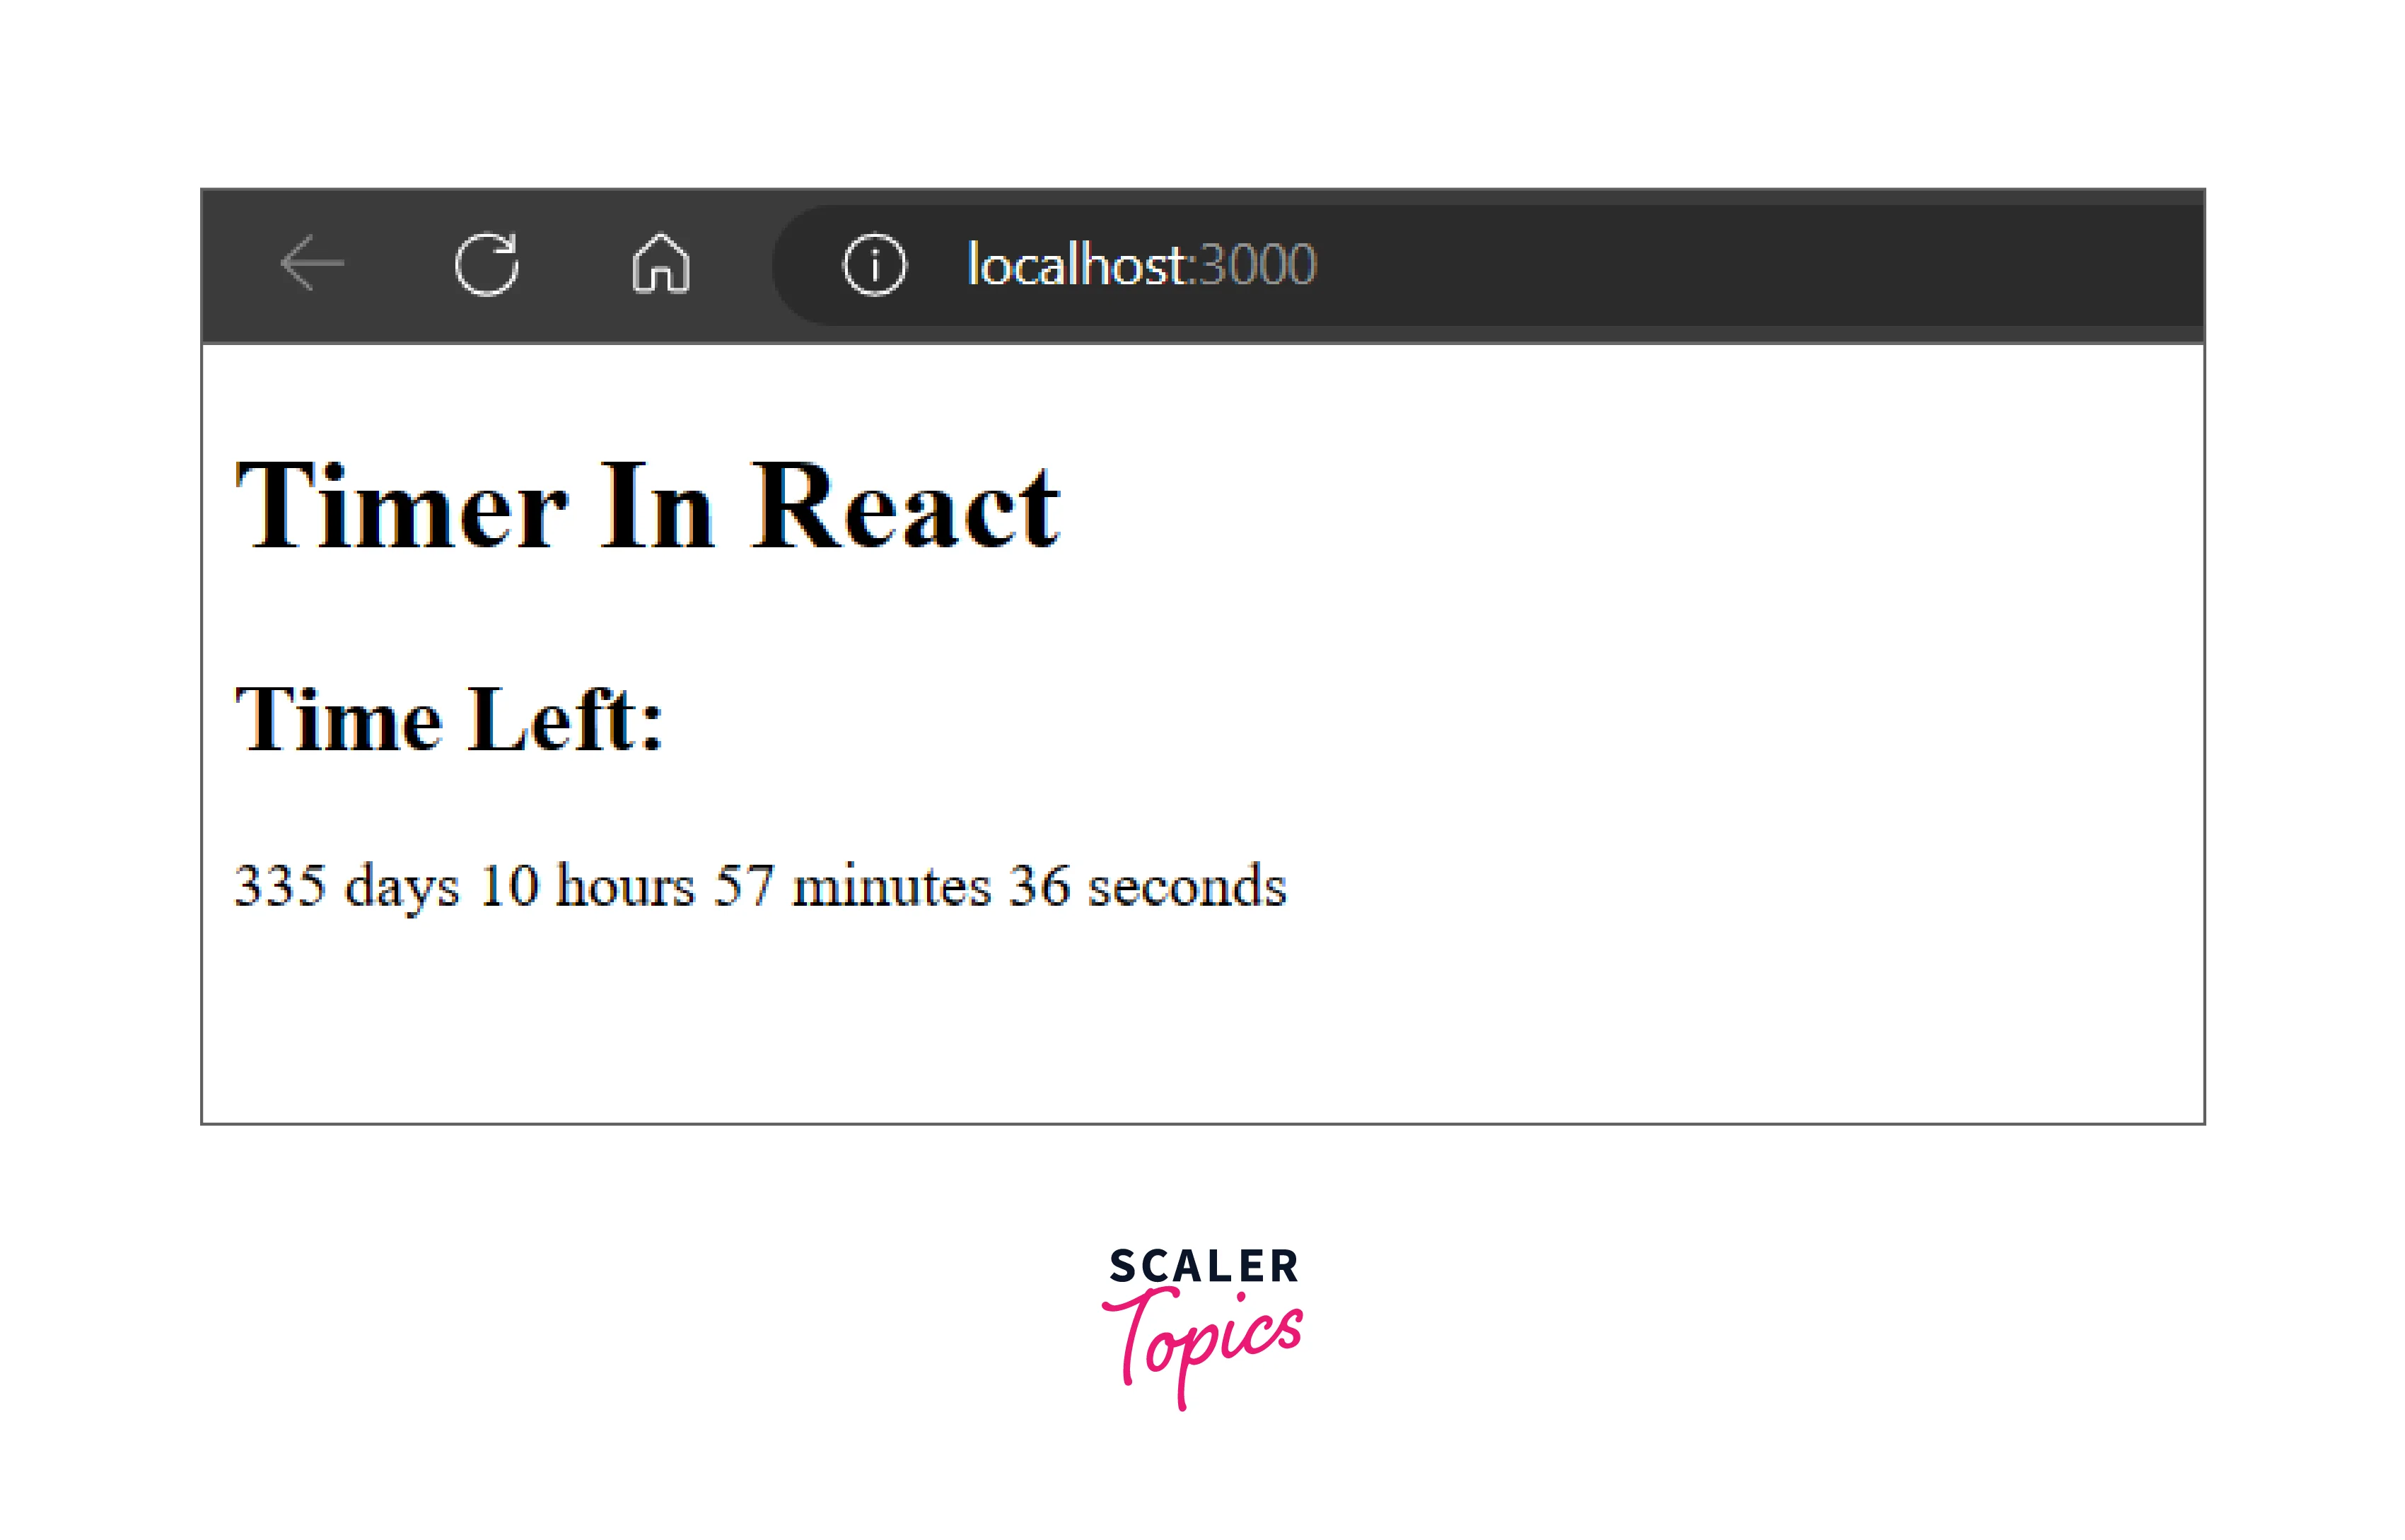
Now, let us see what our timer component looks like.

There you go! We have a perfectly working timer for our event! But looks pretty dull and basic, right? Let’s add some styling to our timer component.
Adding Some Style To Our Timer
Now, to add some styling, we need to have some class names for each of these elements. Let’s add some first.
For the time components, we will add classname inside the Object. keys section as below:
For the rest of the components, we can do inside the return statement, like:
Now, let’s apply some creativity and add some styling using CSS.
And, of course, do not forget to add the CSS to the component using:
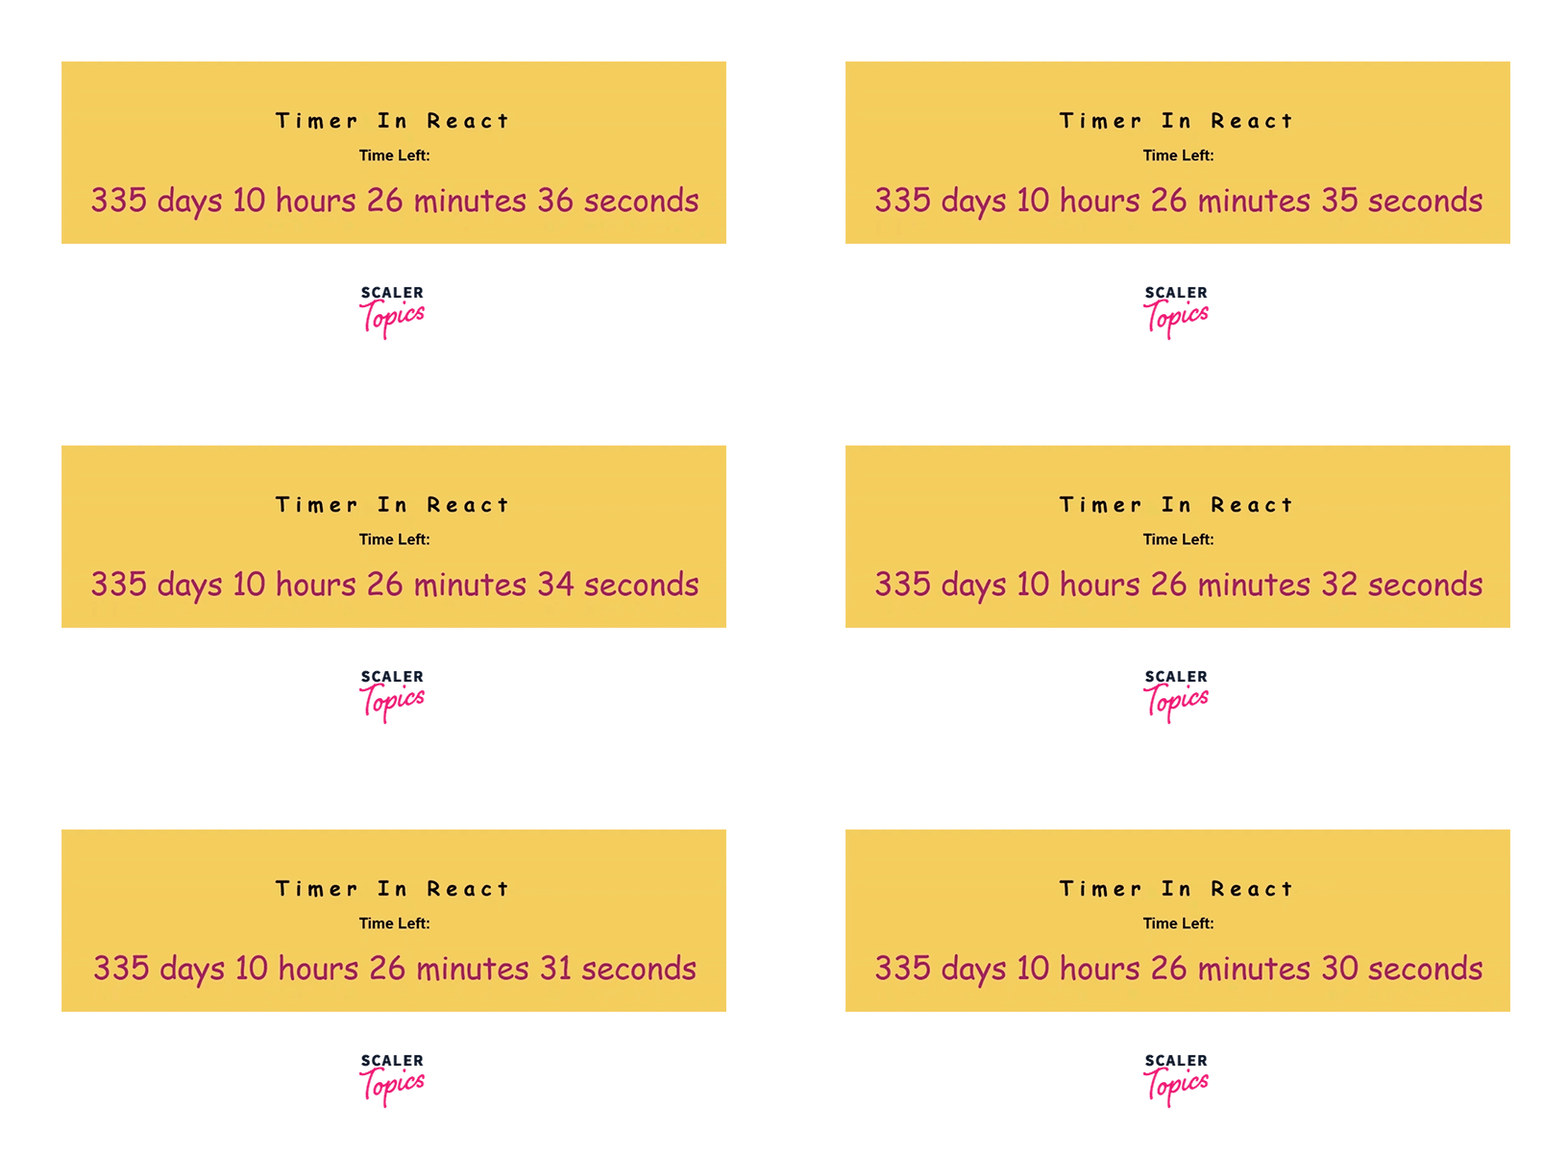
Now, let’s take a look at our timer component!

That’s something better than what we had earlier! Feel free to use all your creativity at this stage!
Note:
- The colorhunt website can help you find some great color combinations.
- Also, Google Fonts has some excellent fonts and style!
Let us take a look at the final code that we have for our react timer component.
Note: We can even make a separate file for the timer component and name it Timer.js and import it into our App.js for better modularity.
Timer.js:
Conclusion
Now that we have been through the entirety of React Timer Component, let’s take a quick review of what we have learned:
- React Timers are a very common UI that communicates to the users how much time is left for an event to occur or how much time is left for an event to end.
- Few of the common use cases of React Timers are the start of a sale on an e-commerce website, the start of a coding contest or hackathon, timer components running during an event to indicate how much time is left for the event to end, and many more.
- The five major steps for making a React Timer are as follows:
- Calculating how much time is remaining for the event from the current date in milliseconds.
- Converting that millisecond data into a human-readable data format like days, hours, minutes, and seconds.
- Updating the React Timer at every second using React hooks like, useState and useEffect.
- Forming the UI component using the human-readable data format
- Adding some styles and rendering.
- For updating the React Timer, the setInterval function is not the best way when working with React, it is highly recommended to use setTimeout instead.
