Web3 React
Overview
You've undoubtedly heard of blockchain and Web3 by this point, and you might want to create some decentralized applications (dApps) to share with your network. dApps have a backend and a frontend, just like a typical web application would.
Noah Zinsmeister created the Web3 react framework to aid blockchain developers in creating cutting-edge Ethereum dApps that utilize the React architecture. Building dApps with web3 react became very popular in the blockchain community in 2021.
Introduction to Web3 React
An easy-to-use, straightforward, extendable web3 framework called web3 react is used to create dApps for the Ethereum blockchain network. In a nutshell, web3 react is a state machine that maintains some vital pieces of information relevant to your dApp.
It supports injected providers ( injects a global API into websites visited by its users ) like WalletConnect, Meta Mask, Gnosis Safe, and Frame by default. It is simple to set up to use different wallets like Portis, Squarelink, and Arkane.
The most well-liked wallets that Web3 react:
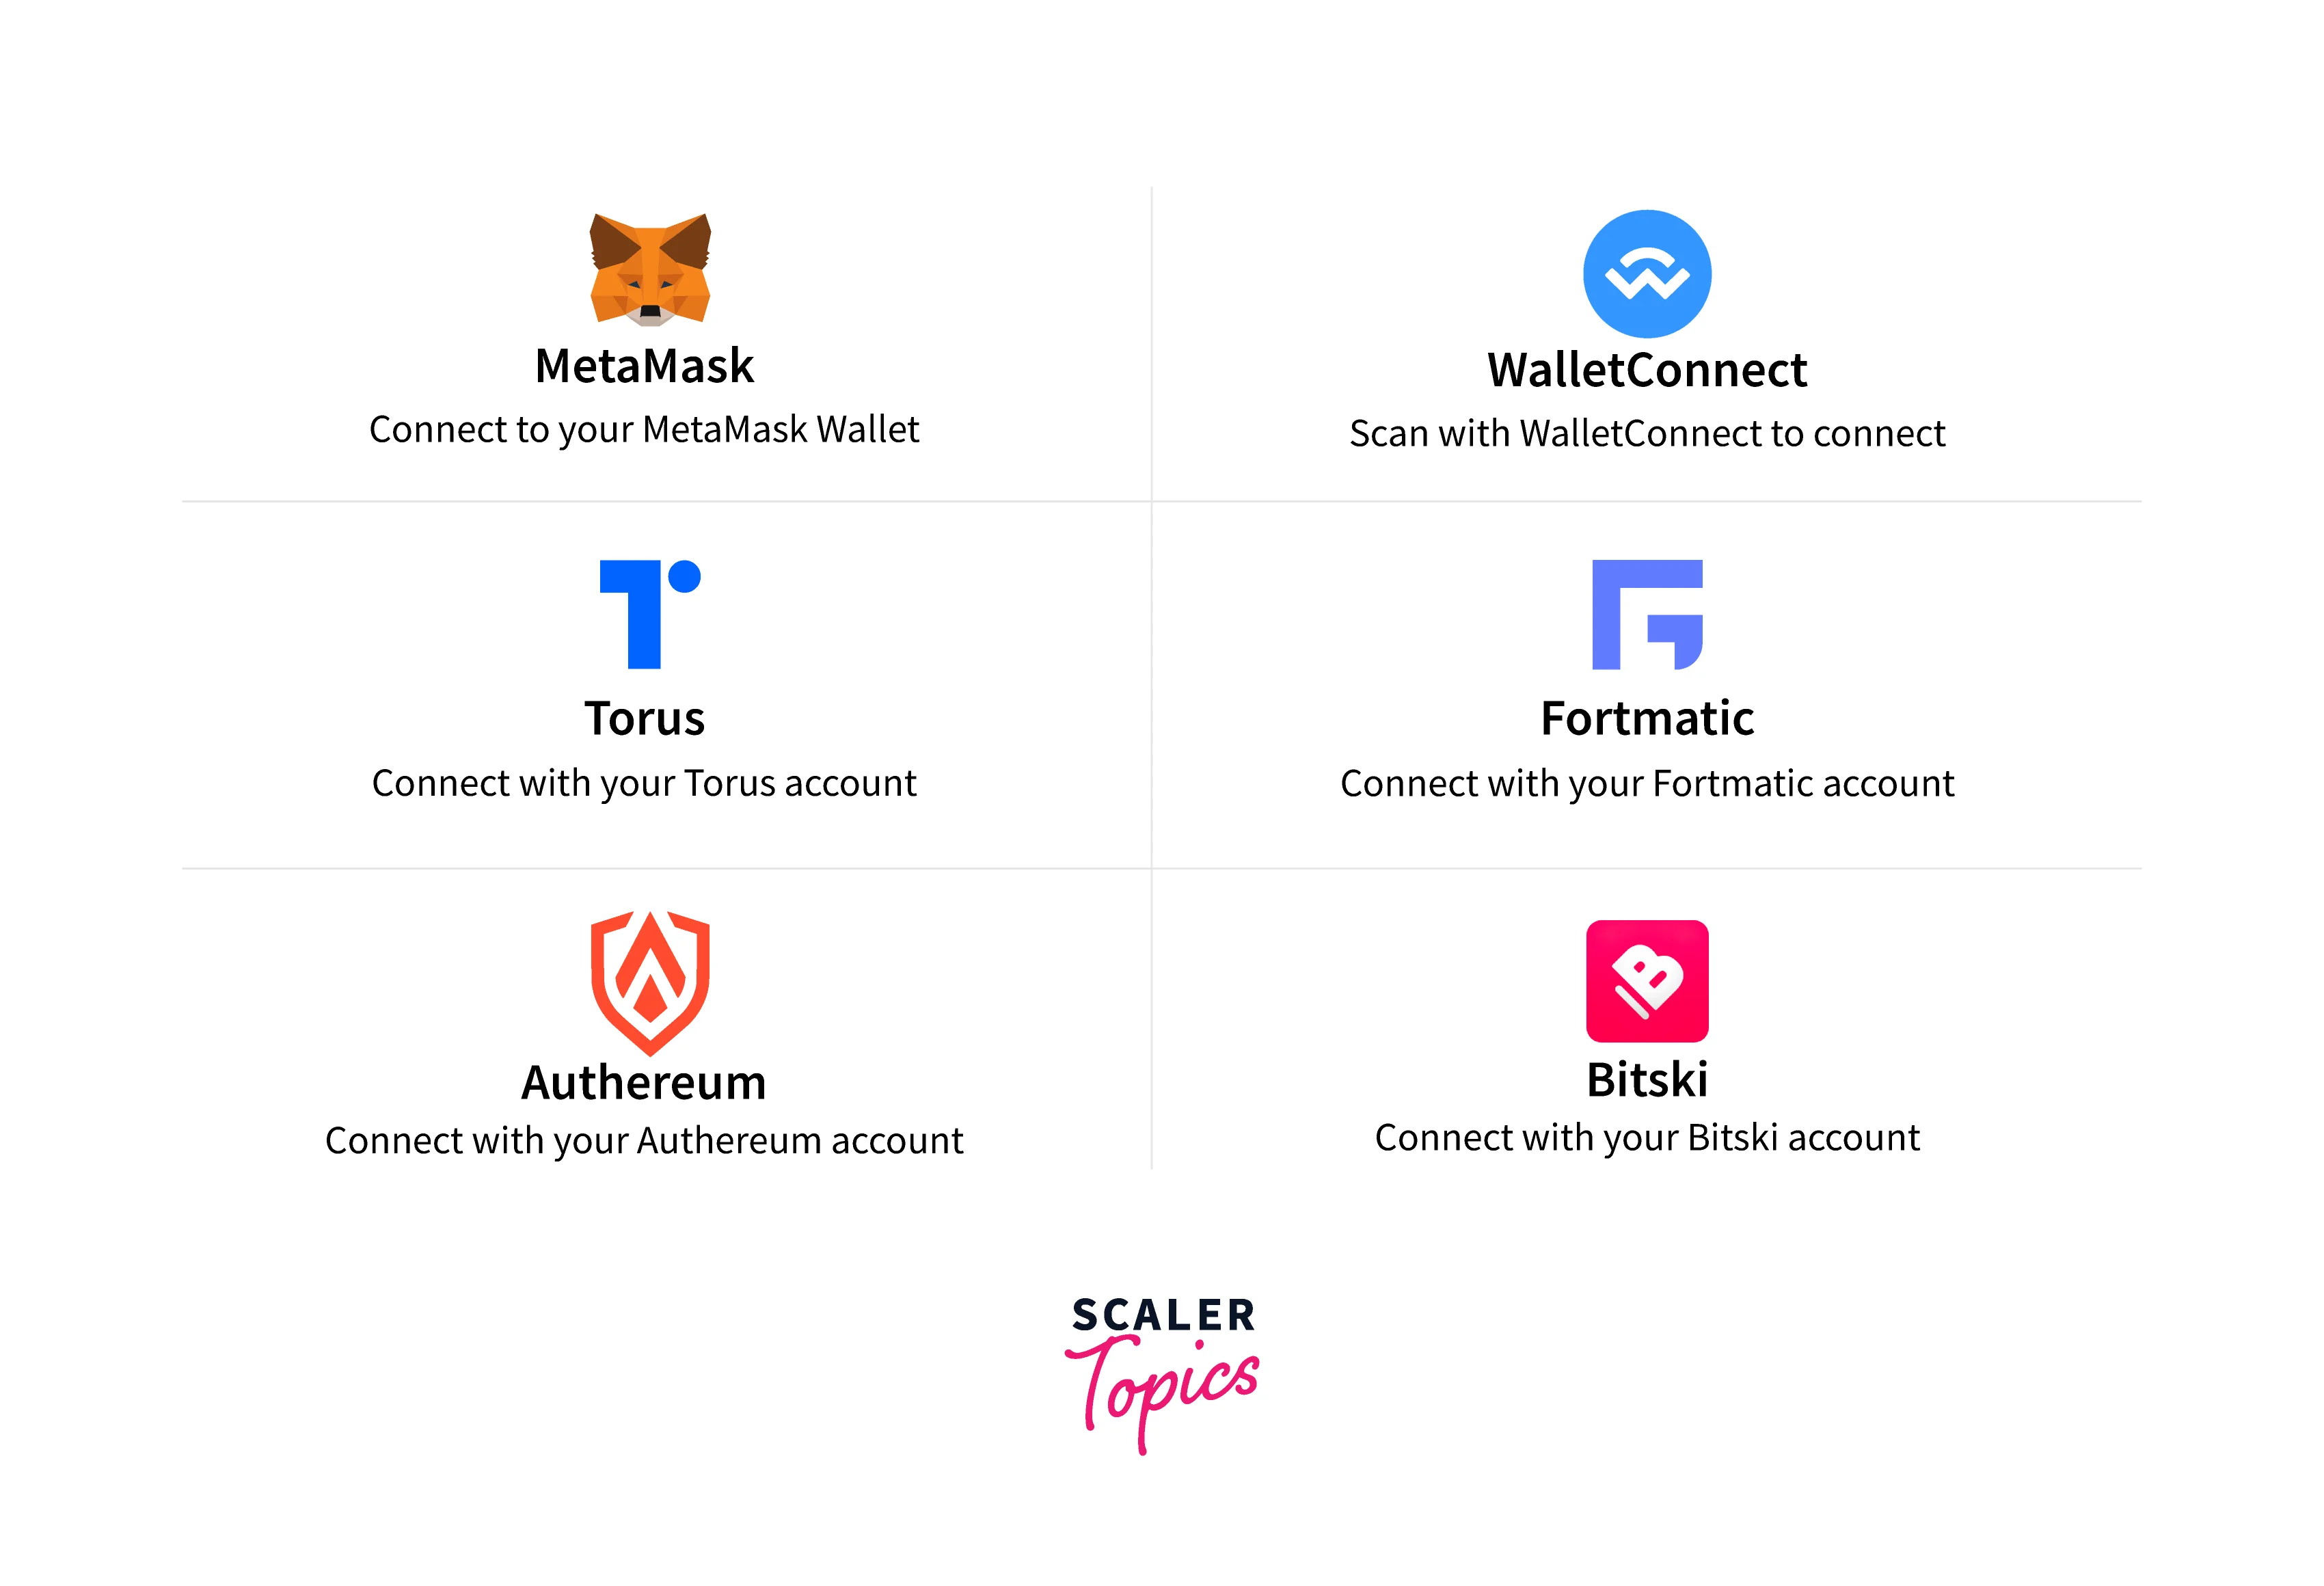
As was previously mentioned, web3 react builds the front end of dApps using the React framework.
Detailed key characteristics of web3 react are:
- Complete support for popular web3 providers, including as MetaMask/Trust/Tokenary, Infura/QuikNode, Trezor/Ledger, WalletConnect, Fortmatic/Portis, and more.
- A developer-friendly context accessible globally across your dApp via a React Context that includes an instantiated ethers.js or web3.js instance, the current account and network id, and more.
- The capacity to create fully featured, bespoke Connectors that control every face of your dApp's connectivity with user accounts and the Ethereum network.
Web3 react solidifies its position as a competitive choice for dApp developers.
The ability to build fully functional, fully customized connectors that control every aspect of your dApp's user account and Ethereum blockchain communication is a major plus. A web3.js or ethers.js instance, the current account and network id, and other data that is accessible globally across all of your decentralized apps are also included in this developer-friendly environment.
Web3 react is an effective framework for creating dApps because;
- You may create blockchain plugins programmatically.
- Traditional data architecture doesn't exist.
- You are able to create methodical, potent, and extendable dApps.
- The ability to quickly connect to blockchain nodes is another really crucial feature of web3 react.
Nodes are bits of software that are connected to other nodes, running in the cloud somewhere, and that have the ability to read from the blockchain and broadcast back to it.
How to Install Web3 React?
Installing web3 react is a relatively simple process. Installing a few packages is all that is required to get going.
Step 1: Install Yarn
Facebook developed yarn as a package manager to take the role of the NPM client. It makes it possible for groups to produce JavaScript code and share it via software packages.
The yarn installation manual is as follows:
Install via npm
It is advised to set up Yarn using the npm package manager, which is included when you install Node.js on your computer. The following commands can be used to install and upgrade Yarn once npm is set up:
npm install --global yarn
Check installation
Check that Yarn is installed by running the following:
yarn --version
After installation, verify the Yarn package version that was installed. Ensure that it is the most recent.
Step 2: Install react, and react-dom versions
Ensure that React and React-dom are installed in their most recent versions. Running Web3 react requires these packages.
yarn add react@latest react-dom@latest
Step 3: Install ethers.js
A comprehensive Ethereum wallet implementation and utilities are available in Ethers.js in JavaScript and TypeScript. On GitHub, you can find out more about Ethers.js.
It is a necessary package for Web3 react because it depends on the library internally.
Command: yarn add ethers
Optional: Install web3.js
With the help of the libraries in Web3.js, you can communicate with a nearby or distant Ethereum node through HTTP, IPC, or Web Socket. It is a Web3 react optional package.
yarn add web3
Step 4: Install web3 react
Installing Web3 react to your project is the last step. Running this command will download the most recent version of web3 react into your project.
yarn add web3-react@unstable
Alternatively, you can use this command to install the program's core version.
yarn add @web3-react/core
Congratulations! Finally, web3 react has been added to your project. You may now start building the front end of your dApps. Wasn't it easy to do?
Your dApp component ought to now appear something like this.
Set Up Web3 in Your React App
We are going to follow the given steps for above mentions task:
- Check if the user has connected their wallet.
- Connect user wallet and get account details.
- Allow users to Authorize and Send Transactions from their wallet.
- Disconnect/Logout users.
Why Would You Include Web3 in a React Application?
- Receive direct payment
- Direct customer payments are something you can accept.
- Identification and approval
- The ability to use a user's wallet for authentication will allow you to provide access based on the user's wallet status.
- Independent Identity
- Your application will be able to benefit from decentralized identity based on the wallet address, such as a .ETH domain name, and subsequently on NFT profile images.
Getting Started
We'll build a straightforward React app. For the sake of this demonstration, we will build a minting website that verifies a user's wallet and enables them to mint an NFT.
To create react app, run the following:
npx create-react-app react-minting-website
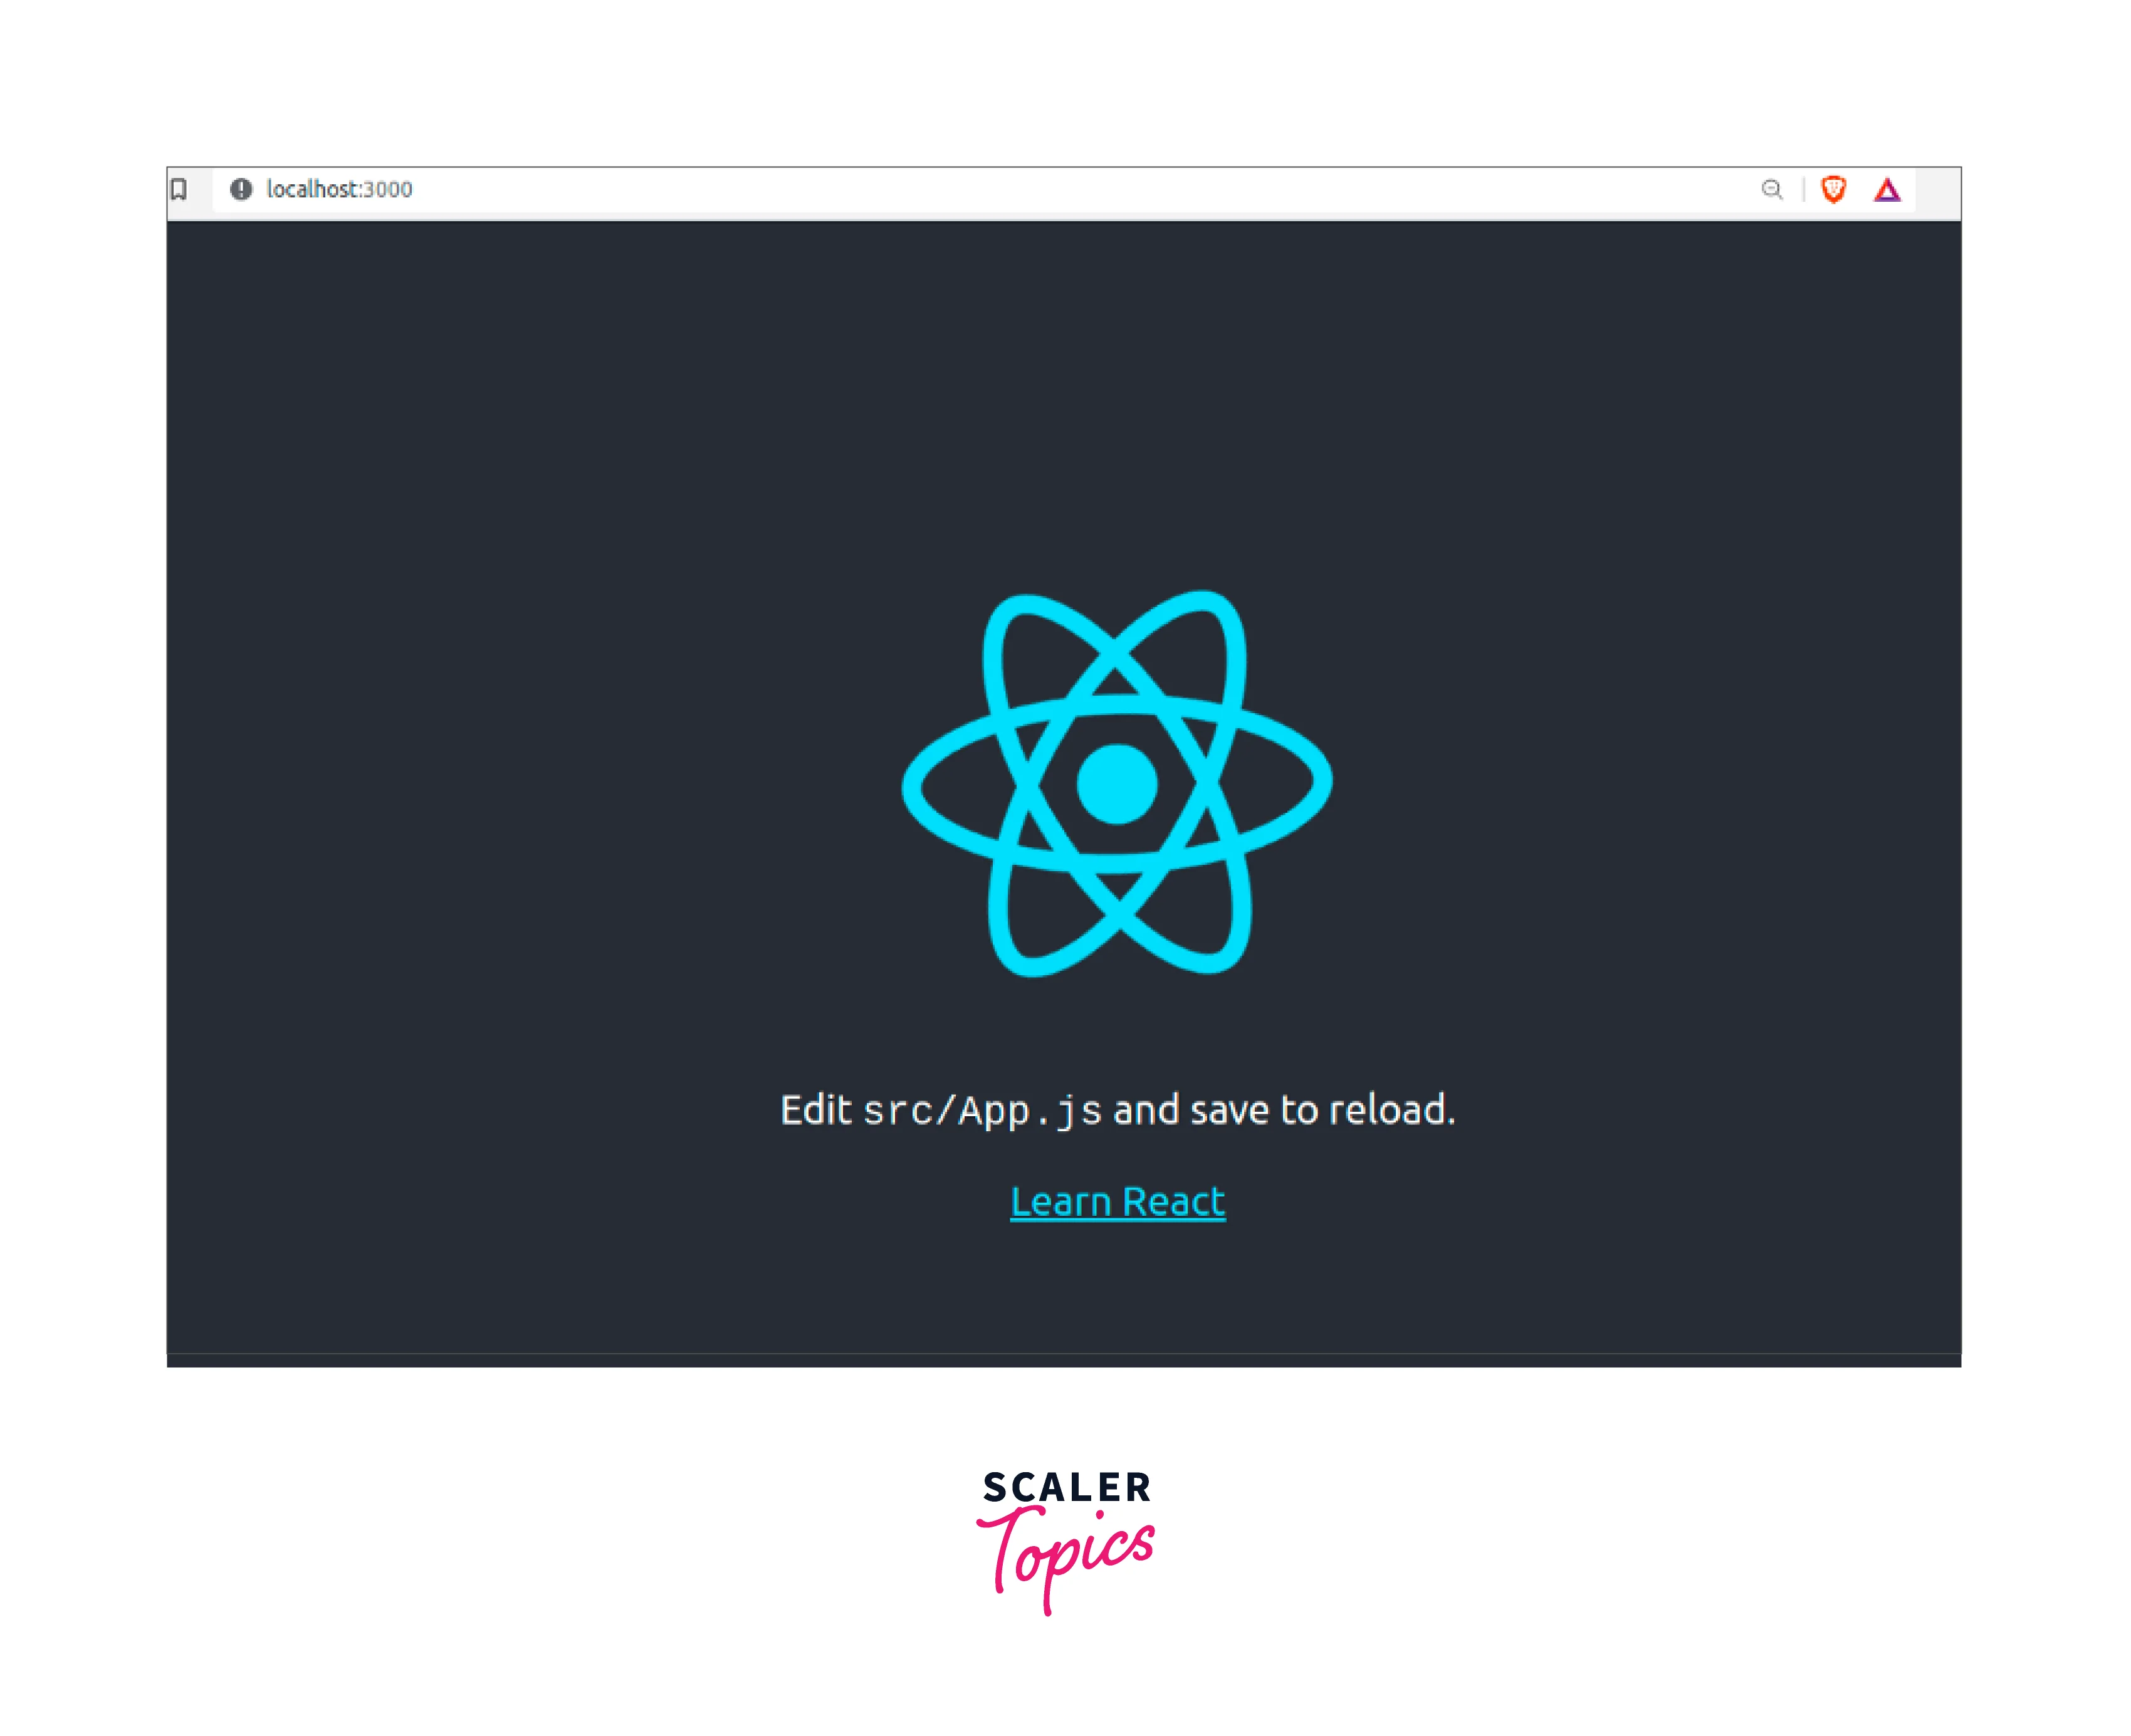
To serve the application locally at http://localhost:3000, run the code below :
npm start
View app at http://localhost:3000
As illustrated below, we will build the user interface for the minting website: Demo Link:
https://geoffmahugu.github.io/react-minting-template/
Updating the UI
Copy and paste the code below in App.css to get the styling.
Copy and paste the code below in App.js to get the jsx layout.
Configure Web3 Connector
As soon as we have all the necessary packages, we can begin configuring the web3 connector. Create a wallet folder ./src/wallet in the root folder ./src, which will house the connection settings for web3 react.
Create a Connect.js file and paste the following code inside the ./src/wallet folder.
Setup Web3 Provider
We must configure the web3 provider by enclosing the <App> component with a <Web3ReactProvider> in the ./src/index.js file in order to gain access to the global web3 object and hooks.
Example
Connect To Wallet
Since the App.js file houses our minting buttons, we will need to update it in order to connect to the wallet.
-
Import dependencies
-
Add web3React Hook
-
We can determine whether the user has connected their wallet by using the Active attribute, which returns a boolean.
-
The Account attribute provides the user's account information (or .eth name).
-
The Library property gives us access to web3React functions that we can use to communicate with smart contracts and the blockchain.
-
The function we will use to authenticate the user's wallet is the Activate attribute.
-
We will execute the Deactivate attribute's function to log the user out.
-
-
Add wallet connect functionality
We will build a connect function as shown below, inside the App component to connect to the wallet.
Let's edit the mint button as shown below in order to bind the connect functionality:
The user will be able to authenticate by using their wallet after hitting the Mint button. (I'm using Metamask in this example, but any browser wallet will do.)
As illustrated below, we will then implement some templating logic to make the button available only to authenticated users and prompt inauthentic users to login using their wallet.
Prompt user to connect

Mint / Charge Account Functionality
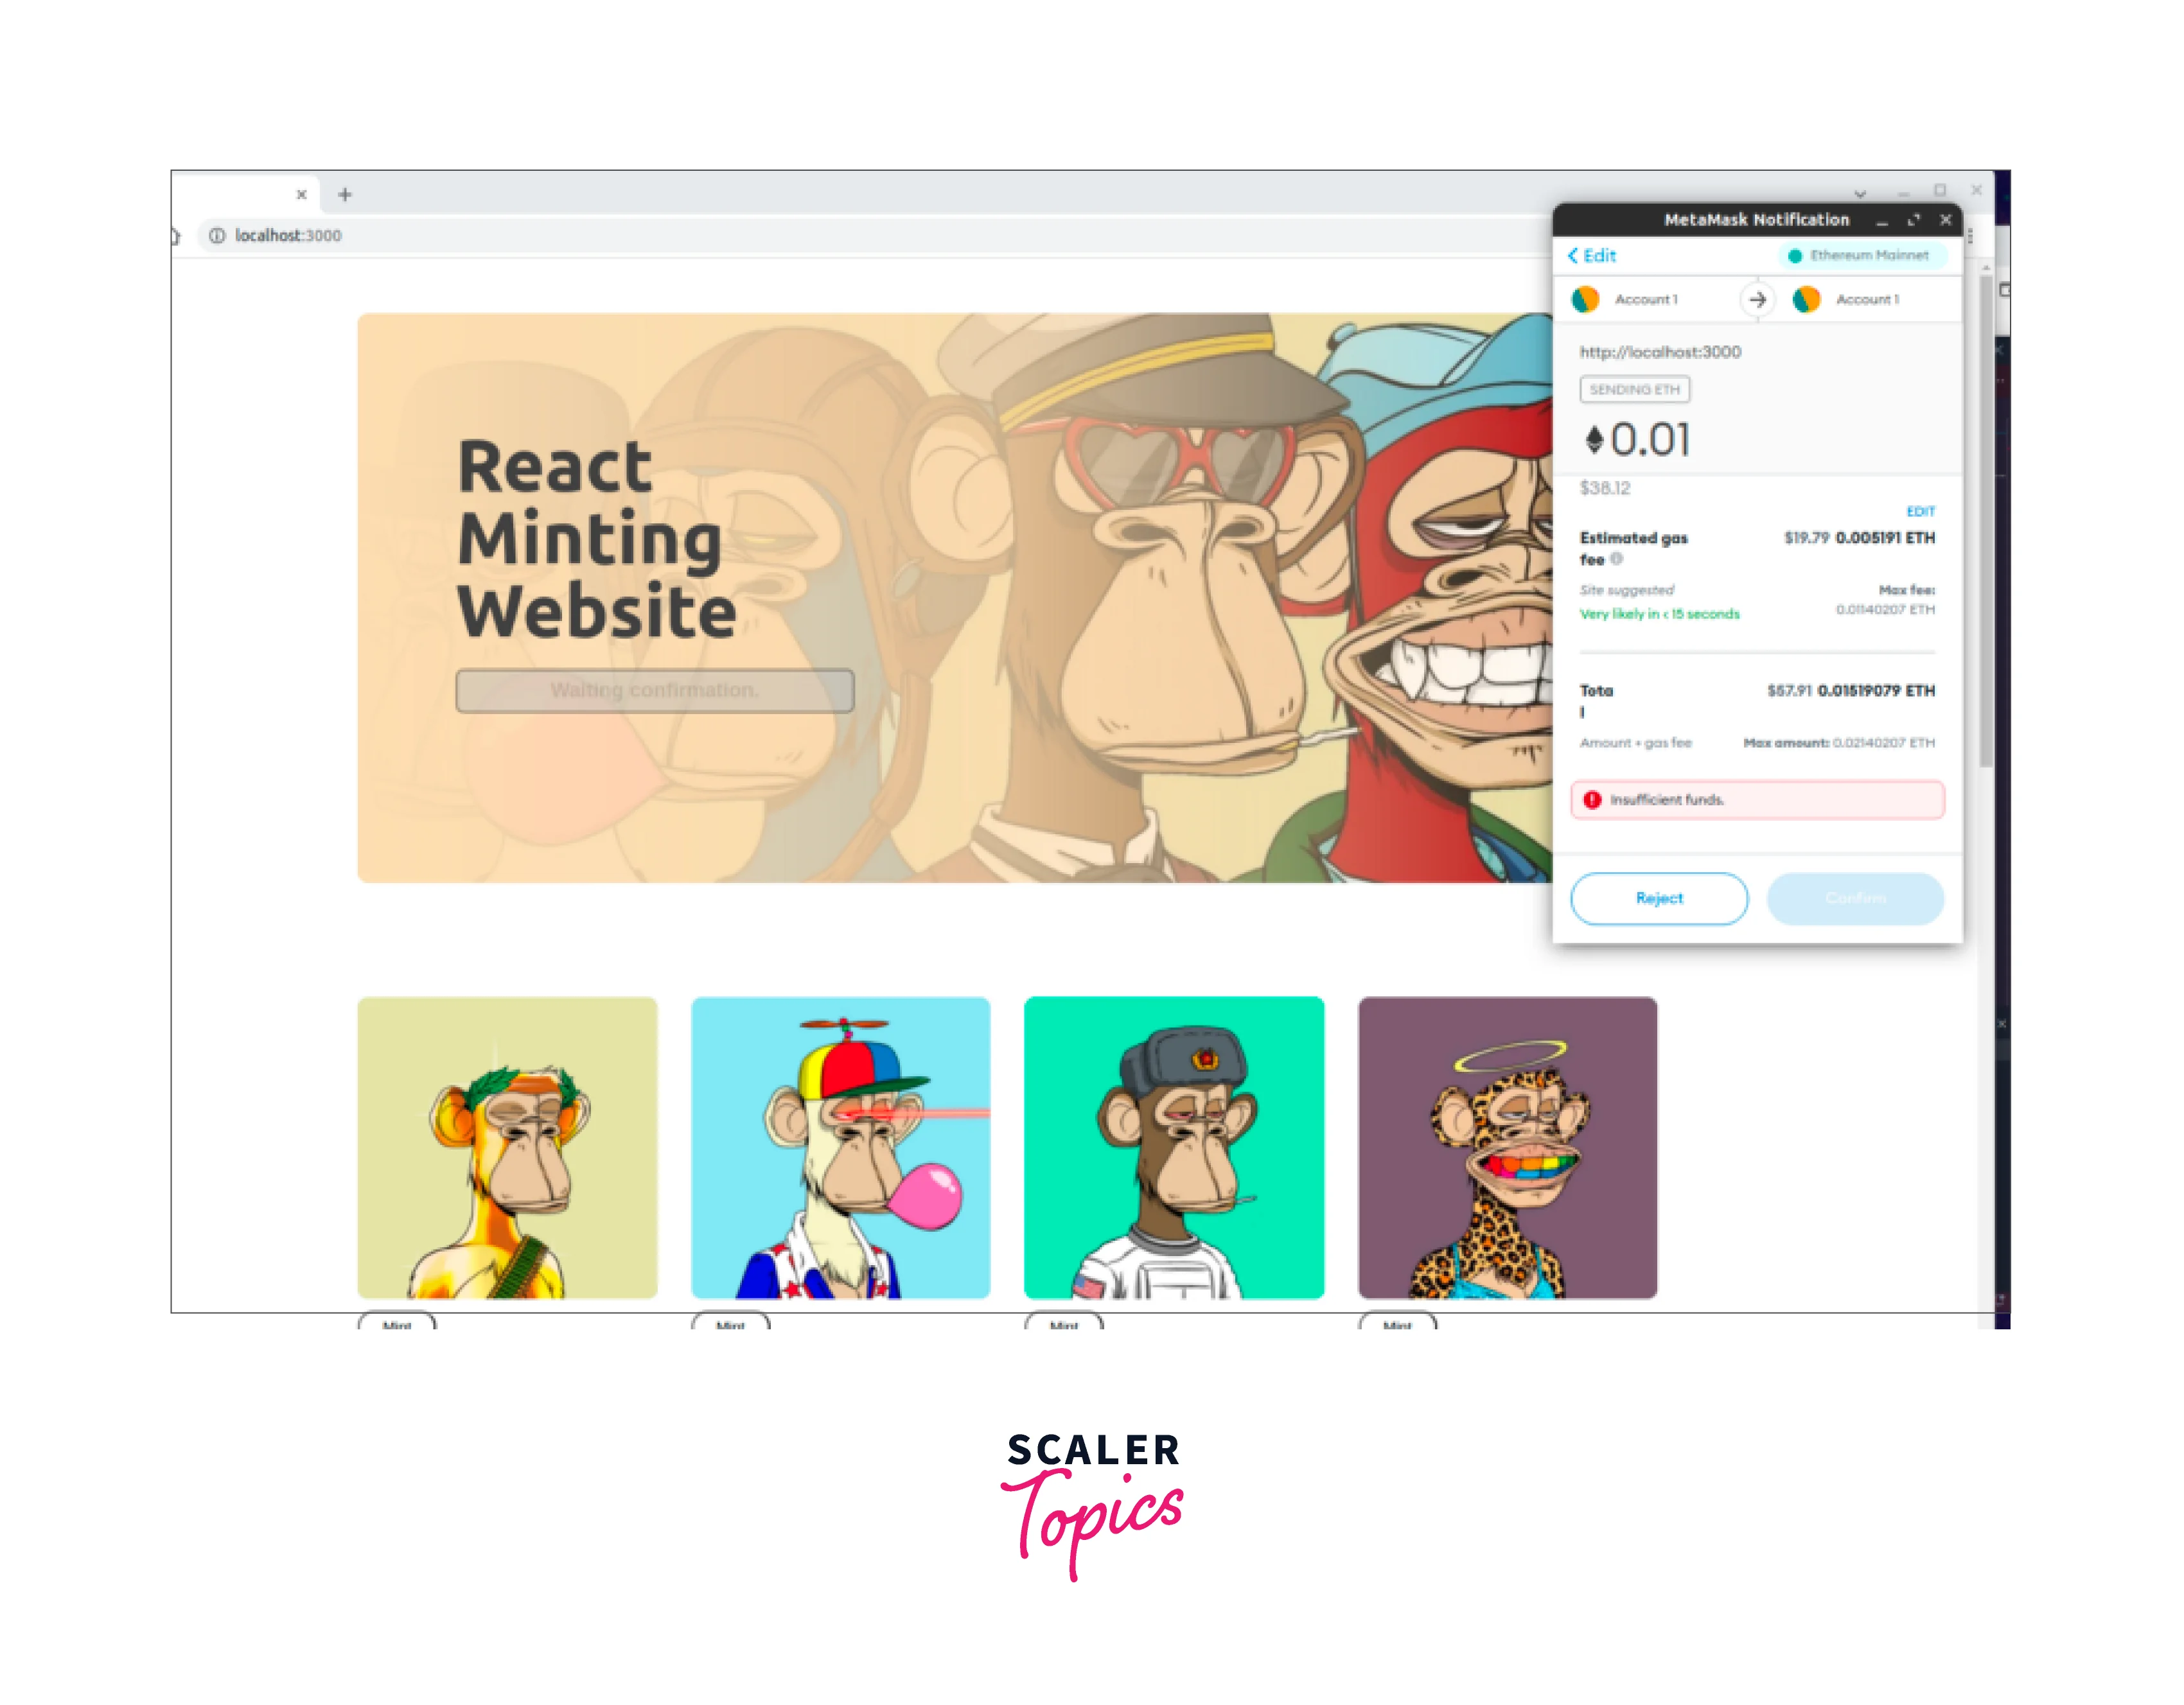
We must develop a Minting function that will ask the user to approve the purchase of the asset in order to charge the account.
Update the Mint button as indicated below to bind the functionality for minting:
Click on mint to allow Metamask to transact in order to try it all out.
Click Reject to cancel the transaction
Logout User
To log out the user, you simply deactivate the account instance. You can create a disconnect function as shown below:
How to Use Web3 React in Any Project?
We're presuming you've already set up and started using a React application. The finished working example of a multi-wallet modal integration is provided below if you feel more comfortable diving right into the code. To adapt the sandbox to the requirements of your dapp setup, we invite you to fork it.
Prerequisites
A working React application, set up using npx create-react-app <app-name> or similar. Setup Web3 react and Wallet Connectors
Step 1: Install ethers and web3 react
Install ethers.js so that web3 react may use it. You can also install the library if you're using web3.js to create your dapp.
Step 2: Import and Setup Web3ReactProvider
Import the Web3ReactProvider from web3 react and a Web3Provider from ethers.js or web3.js into your index.js file.
Create a getLibrary function that returns a Web3Provider instance. To make the provider globally accessible across your dapp, wrap the Web3ReactProvider around the root component.
Step 3: Import and Instantiate Wallet Connectors
Install your preferred wallet connections. Here, Wallet Connect, Coinbase Wallet, and an Injected connection are installed (used to connect with Metamask).
In your App.js file, instantiate the connectors to integrate into your dapp. Each connector has its own set of required parameters to pass in, such as a fallback JSON RPC URL or default chain ID.
Connect and Disconnect from Wallet
Add an import for the useWeb3React hook, which offers a series of methods to turn on and off the connection to the wallet of your choosing, to your App.js file.
Add your activate and deactivate methods to your app's function.
Then, include a button for each wallet in your app's HTML structure and link the methods to your UI elements.
It's done now! From your dapp, you will be able to effortlessly connect to Coinbase Wallet and other wallets.
Access Connection, Account, and Network Information
You'll need to import more variables from the useWeb3React hook in order to gain access to details about the user's connection status, Ethereum address, and associated network chain ID.
Adding the active, chainId, and account methods to your App function and attaching them to your HTML template would once more accomplish this:
Switch Networks or Add Custom Networks
Ethereum interactions are not supported natively by Web3 React. You must send a direct request (through EIP-3085 or EIP-3326) to the Web3Provider in order to add or change networks. The library context variable in the useWeb3React hook provides access to this provider.
Here is an illustration of how to switch networks and add a network as a backup in case it isn't already on the user's wallet:
To learn more about how to add this functionality, see the demo codesandbox.
Any Ethereum activities, like submitting a transaction or calling a contract, can be carried out similarly to the aforementioned example by sending a direct request through the library of your choice. The CodeSandbox demo contains a personal signature verification and signing sample. Start by using the signMessage function.
Web3 React Core Examples
The frontend of the dApps are built using web3 react by businesses like Uniswap. This demonstrates the power of the framework without a doubt.
Here are some web3 react core examples.
Connecting Your dApp with Meta Mask
A cryptocurrency wallet called Meta Mask uses software to communicate with the Ethereum network. With over 21 million users, it's one of the most widely used wallets worldwide.
Due to its many advantages, it is the default wallet for dApps:
- very fast and secure.
- Easy to use.
- Interactive with practically any form of DApp on the Ethereum Blockchain that is simple to use.
Let's now examine how to use Web3 react to integrate Meta Mask with our frontend.
Step 1: Add a Connector folder to your project.
This folder will house all of your connecting and interacting code with the wallet. Long-term management of your code will result from this.
Step 2: Inside the Connector folder, Add a file Connectors.js.
The connector.js file is used by developers to create code that interacts with and configures the protocol with the appropriate wallet.
Step 3: Assuming that you have installed Web3 react within your project, you should now install the dependency that allows you to connect to Meta Mask.
yarn add @web3-react/injected-connector
Step 4: Import Injected-Connector into your connectors.js file.
Step 5: You will need a frontend to export that data from Meta Mask.
Export data from Meta Mask using the front end. Congratulations! Meta Mask is prepared for usage in your project.
Connecting Your App with Any Other Wallet
Wallet Connect and other popular wallets are supported by Web3 react. Large dApp projects offer more ways to interact with the app than only Meta Mask.
Similar to how we implemented the Meta Mask injected-connector. For Wallet Connect, we must install Walletconnect-connector.
yarn add @web3-react/walletconnect-connector
Other choices exist, such as Portis, which can be connected using a Portis-Connector connector.
yarn add @web3react/portis-connector
Importing and exporting data from the wallets to your dApps is almost identical.
Disconnecting a Wallet
On Web3 React, there are two ways to disengage from a wallet: deactivate and close.
Deactivate: When you use this function, the wallet's data and user interactions are destroyed from the dApp. To connect with the wallet, the user might need to reauthorize the app.
The user is disconnected from the wallet when the Close function is performed, but the data is still saved in the dApp. With all the information still there, the user can quickly reconnect it to the wallet.
Sometimes, it can be challenging to determine which function is being called.
The lack of a close function in Meta Mask and the injected connectors, which can result in an error if used, and the fact that some wallets won't be removed from the DOM unless close is used suggest that Deactivate is ineffective.
To make sure that the proper procedures are launched when the wallet is completely removed, you might want to develop a general disconnectWallet function.
Conclusion
From the introduction to web3 to how to use it in our React app we have learned the following things from our article:
- We had an introduction to web3 and its advantages.
- How to install web3 in 4 simple steps, Install yarn, react and react-dom versions, ethers.js, and finally web3 react.
- Set Up Web3 in Your React App :
- Updating the UI, configure web3 connector and setup web3 provider.
- Connect to wallet, mint/charge account functionality, and logout User.
- How to Use Web3 React in Any Project, which included setting up web3 react and wallet connectors, connecting and disconnecting from wallet, Access connection, account, and network information, and switching networks or adding custom networks.
- Web3 react core example including connecting your dApp with meta mask, connecting your app with any other wallet, and disconnecting a wallet.