How to Install Ruby on Rails?
Overview
The well-known Ruby on Rails web application framework provides developers with a highly effective and flexible environment for building reliable web applications. This article is written to help you, whether you're a novice exploring the world of Ruby on Rails or looking to install it on a new system. This article will guide you through installing Rails on several operating systems, making sure it's installed correctly and ready for your exciting web development projects.

Pre-requisites
Let's check that the prerequisites are in place before moving on to the installation procedures. What you'll need to install Ruby on Rails is
- Ruby: Because Rails is built on top of Ruby, your system must have Ruby installed. Make sure Ruby is installed on your computer in a compatible version.
- RubyGems: A package manager for Ruby, RubyGems is included with most latest Ruby installations. Check to see if RubyGems is installed on your system.
If you don't have it installed, don't worry. In this article, we'll dive into how to install these prerequisites as well.
The installation procedures unique to your operating system will now be discussed.
Install Ruby on Rails on Windows
-
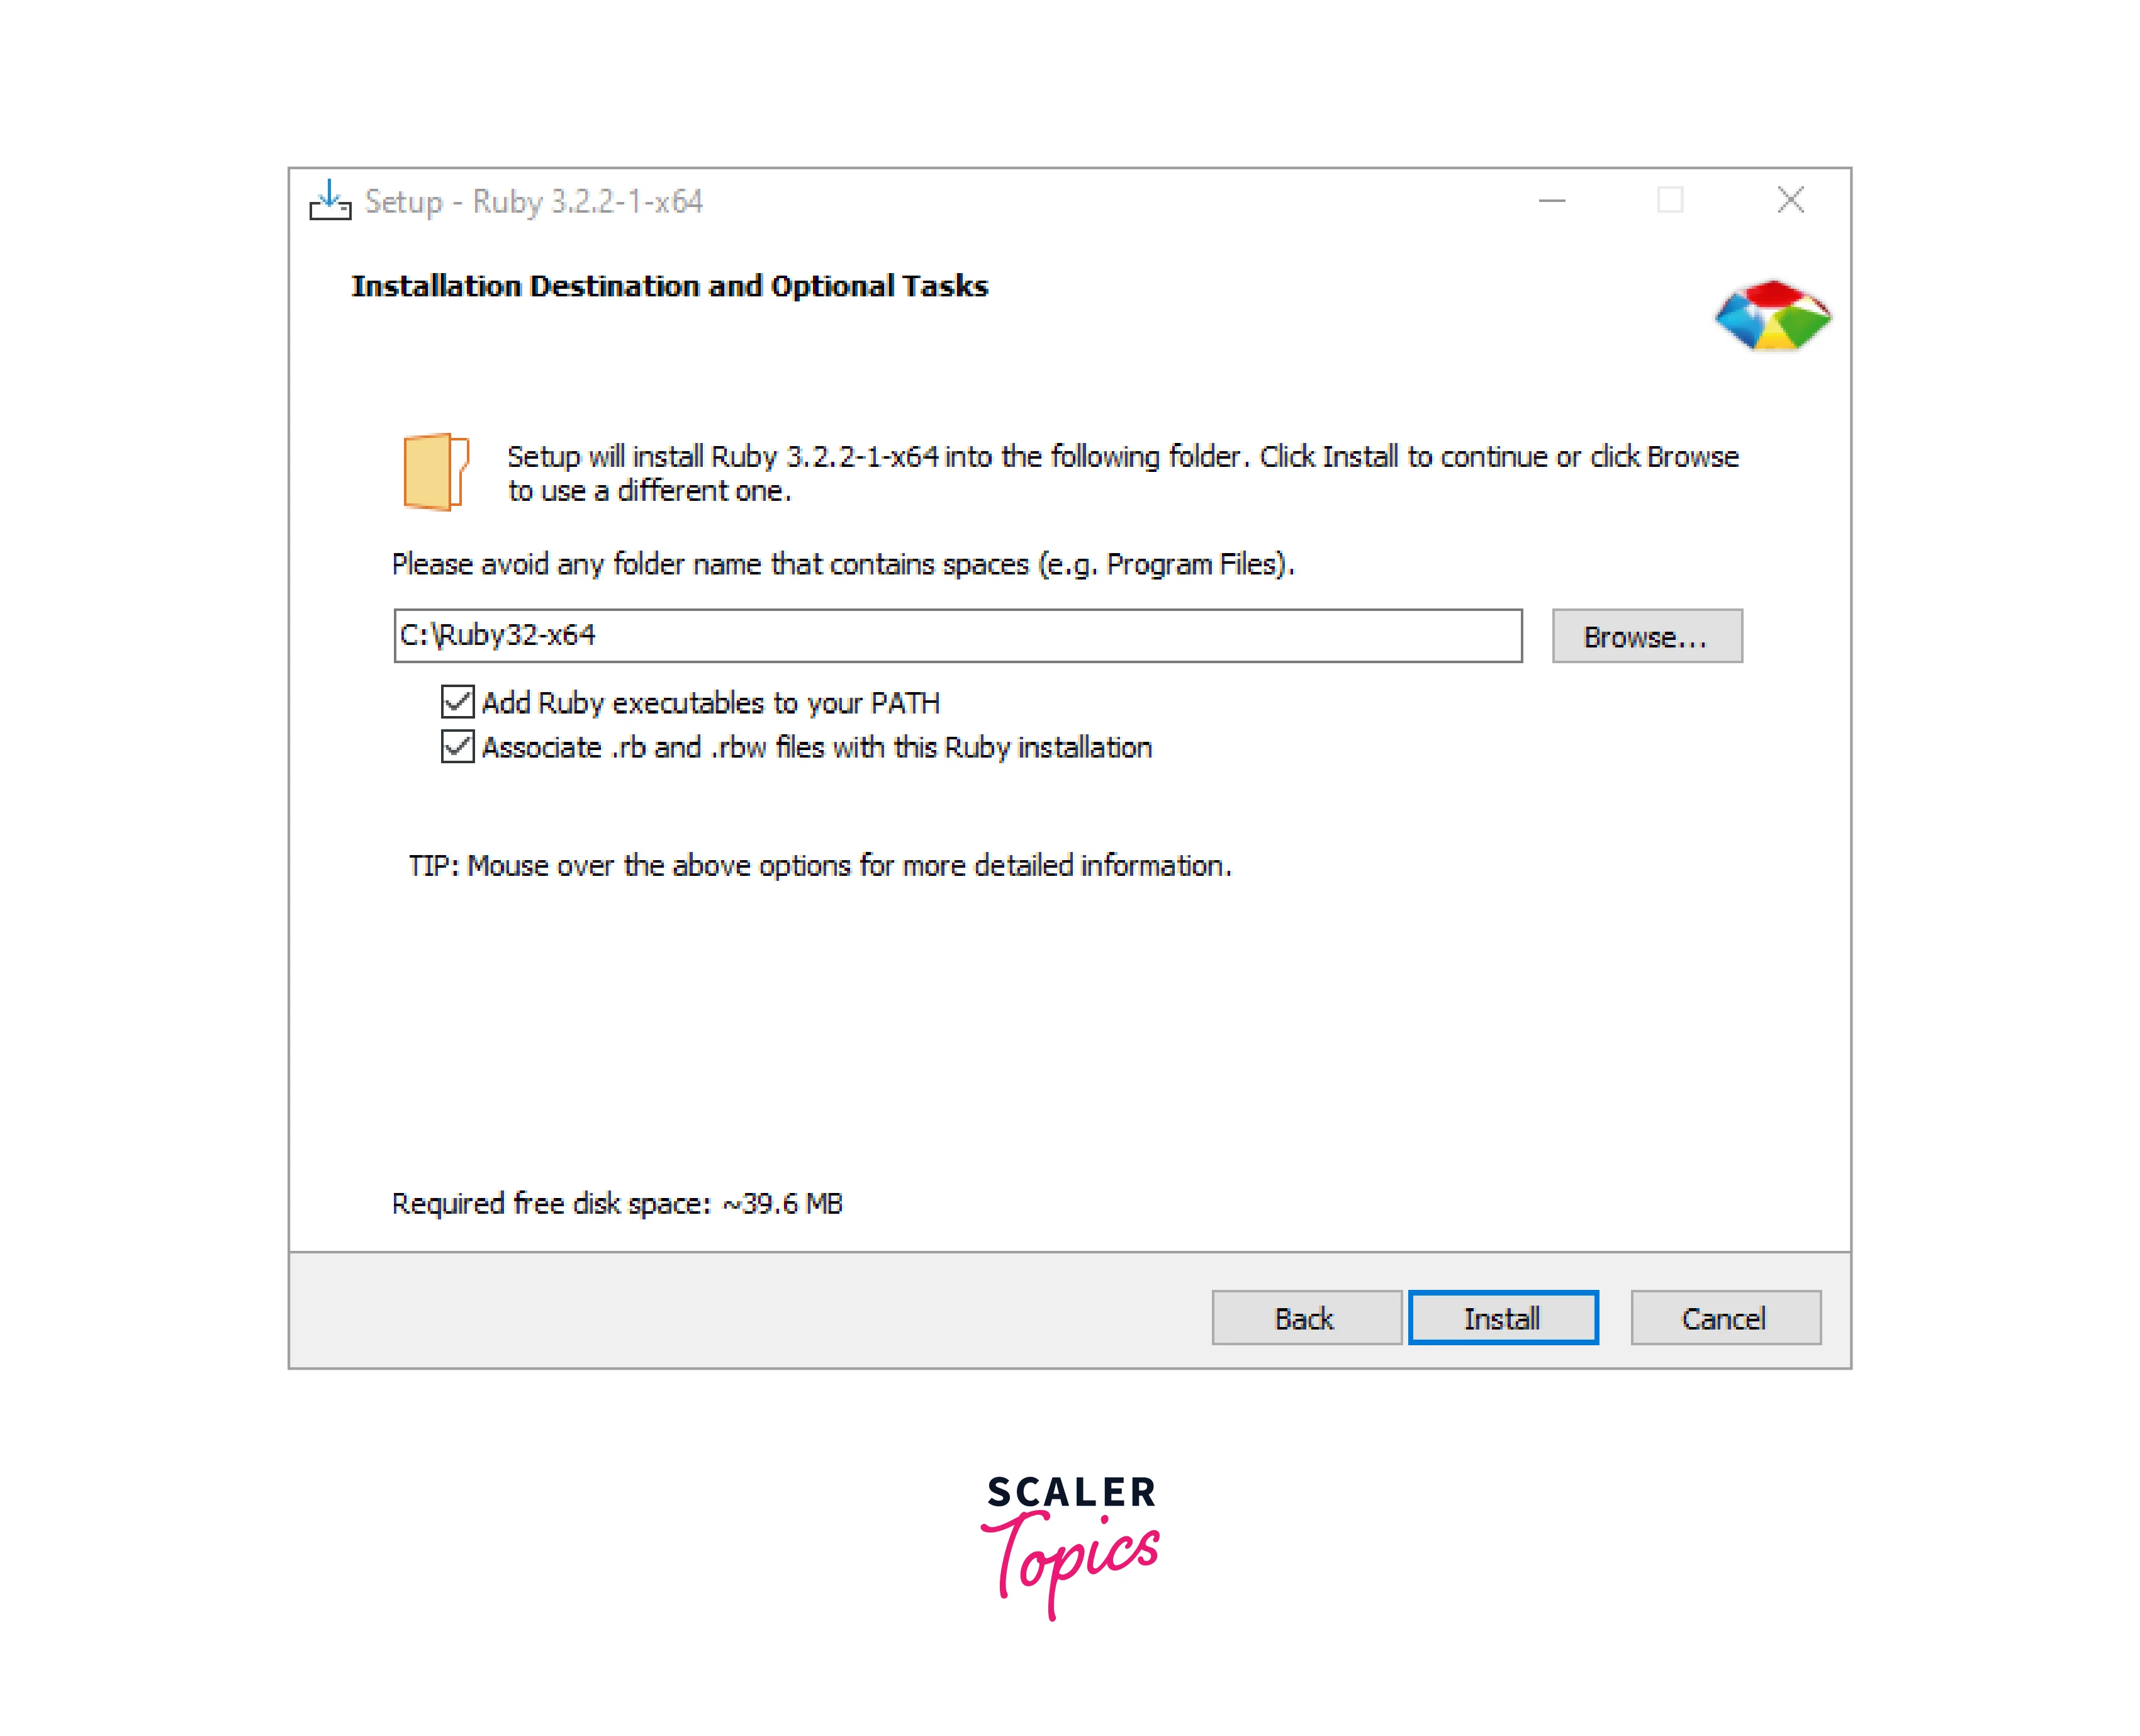
Install Ruby: Download the Ruby+Devkit installer from the RubyInstaller website https://rubyinstaller.org/downloads, and run the installer. Make sure to check the box that says "Add Ruby executables to your PATH" during the installation.
 After the installation is complete, open the command prompt and type the following command to verify the installation:
Output:
You should see the Ruby version printed on the screen like above.
-
Install Rails: In the command prompt, run the following command to install Rails:
After the installation is complete, verify the Rails installation by running the following:
Output:
You should see the Rails version printed on the screen like above.
-
Install SQLite: To install SQLite, visit the SQLite website https://www.sqlite.org/index.html and download the precompiled binaries for Windows. Extract the downloaded archive and add the extracted folder to your system's PATH environment variable.
To verify the SQLite installation, run the following command:
Output:
You should see the SQLite version printed on the screen.
Congratulations! You've successfully installed Ruby, Ruby on Rails, and SQLite on your Windows machine.
Install Ruby on Rails on Linux
Installing Ruby on Rails on Linux is relatively straightforward. Most Linux distributions come with Ruby pre-installed, but you'll need to install some additional packages. Here's how you can do it:
-
Install Ruby: Open the terminal and run the following command to install Ruby:
After the installation is com the plate, verify Ruby installation by running the following:
Output:
You should see the Ruby version printed on the screen.
-
Install Rails: Once Ruby is installed, you can install Rails by running the following command:
After the installation is complete, verify the Rails installation by running the following:
Output:
You should see the Rails version printed on the screen.
-
Install SQLite: To install SQLite, open the terminal and run the following command:
After the installation is complete, verify the SQLite installation by running the following:
Output:
You should see the SQLite version printed on the screen.
Great! You now have Ruby, Ruby on Rails, and SQLite installed on your Linux machine.
Install Ruby on Rails on macOS
Installing Ruby on Rails on macOS is a relatively straightforward process, thanks to package managers like Homebrew. Here's how you can do it:
-
Install Homebrew: Open the terminal and run the following command to install Homebrew:
-
Install Ruby: Once Homebrew is installed, you can install Ruby by running the following command:
After the installation is complete, verify the Ruby installation by running the following:
Output:
You should see the Ruby version printed on the screen.
-
Install Rails: With Ruby installed, you can now install Rails using the following command:
After the installation is complete, verify the Rails installation by running the following:
Output:
You should see the Rails version printed on the screen.
-
Install SQLite: To install SQLite, open the terminal and run the following command:
After the installation is complete, verify the SQLite installation by running the following:
Output:
You should see the SQLite version printed on the screen.
Fantastic! Ruby on Rails, Ruby, and SQLite are now installed on your macOS machine.
Install Ruby on Rails on Ubuntu
If you're using Ubuntu, you can follow these steps to install Ruby on Rails:
-
Install Ruby: Open the terminal and run the following command to install Ruby:
After the installation is complete, verify the Ruby installation by running the following:
Output:
You should see the Ruby version printed on the screen.
-
Install Rails: Once Ruby is installed, you can install Rails by running the following command:
After the installation is complete, verify the Rails installation by running the following:
Output:
You should see the Rails version printed on the screen.
-
Install SQLite: To install SQLite, open the terminal and run the following command:
After the installation is complete, verify the SQLite installation by running the following:
Output:
You should see the SQLite version printed on the screen.
Wonderful! You now have Ruby on Rails, Ruby, and SQLite installed on your Ubuntu machine.
Installation Verification
After installing Ruby on Rails, it's essential to verify that everything is set up correctly. Here are a few commands you can run to ensure that Rails is working as expected:
- Create a New Rails Application: Navigate to the directory where you want to create your Rails application. Then run the following command:
Replace "myapp" with the desired name of your application. This command creates a new Rails application with the necessary directory structure and initial files.
-
Navigate to the Application Directory: Navigate to its directory using the following command:
-
Start the Rails Server: To launch the Rails server and view your application in a web browser, run the following command:
This command starts the server on the default port, 3000.
-
Access the Application: Open your web browser and go to http://localhost:3000. You should see the default Rails welcome page, which means that your application is up and running.

Congratulations! If you've reached this point without encountering any issues, you've successfully created a new Rails application which confirms the correct installation of Ruby on Rails.
Keep Rails Up-to-Date
As with any software, it's essential to keep Ruby on Rails up-to-date to benefit from the latest features, bug fixes, and security patches. To update Rails, open the terminal and run the following command:
This will update Rails to the latest version available.
Learn More
If you're interested in deepening your knowledge and expanding your skills in coding and web development, Scaler Topics offers a range of comprehensive articles and tutorials. Here are a few articles related to the topics covered in this installation guide that you may find helpful:
Conclusion
- In this article, we walked through the step-by-step process of installing Ruby on Rails on different operating systems, including Windows, Linux, macOS, and Ubuntu.
- We also ensured that the necessary prerequisites, such as Ruby and SQLite, were installed along with Rails.
- By following these installation steps, you now have Ruby on Rails with Ruby and SQLite up and running on your machine, ready for web development.
- This will serve as a solid foundation as you embark on your journey in web development using Ruby on Rails.
