How to Configure Selenium in Eclipse
Overview
Selenium with Eclipse is a powerful combination for automating web applications. When used together, Selenium with Eclipse allows testers and developers to write, execute, and debug automated tests for web applications using Selenium's WebDriver API, Java programming language, and Eclipse's rich IDE features, such as debugging and reporting. It provides a flexible and robust environment for web application testing and automation.
Introduction
Eclipse is a popular, open-source integrated development environment (IDE) primarily used for Java programming, although it also supports other programming languages like C++, Python, and more. It provides comprehensive tools and features for developing, testing, and debugging software applications.
Selenium with Eclipse is a dynamic duo for web application testing and automation. Selenium, an open-source automation testing framework, offers a comprehensive suite of tools and libraries for interacting with web browsers. At the same time, Eclipse, a popular integrated development environment (IDE), provides a robust platform for Java development.
When combined, Selenium with Eclipse enables testers and developers to write and execute powerful test scripts using the WebDriver API and Java language, benefiting from Eclipse's advanced features, such as debugging, code completion, and project management.
- Seamless integration empowers teams to efficiently create, execute, and analyze automated tests for web applications, helping them ensure the quality and reliability of their software.
- The synergy between Selenium and Eclipse is a game-changer for software testing. Selenium's flexible and extensible nature, combined with Eclipse's rich set of tools and features, enables testers to write, execute, and debug complex test scripts with ease.
- Eclipse's powerful IDE capabilities, including its intuitive interface, code completion, and debugging, do writing and maintaining Selenium tests more efficient and productive.
- Furthermore, Eclipse's reporting and analysis plugins can be integrated with Selenium to generate comprehensive test reports, providing insights into test results and identifying potential issues.
Prerequisites
In this section, we set up some prerequisites which need to be done for configuring selenium in Eclipse.
1. Download and Install Java
Java is a prerequisite for working with Selenium and Eclipse because Selenium is a Java-based automation testing framework, and Eclipse is a Java IDE (Integrated Development Environment) commonly used for Selenium automation projects.
When configuring Selenium in Eclipse, you need to create a Java project, write Java code to define your test scripts and use Java-based Selenium WebDriver APIs to interact with web elements and perform automation tasks on web applications. Therefore, Java is a fundamental requirement for Selenium and Eclipse as it provides the foundation for writing and executing Selenium automation scripts.
We have to download and install Java in our system. If it is pre-installed, then you can move to the next step.
Follow these steps to download and install Java.
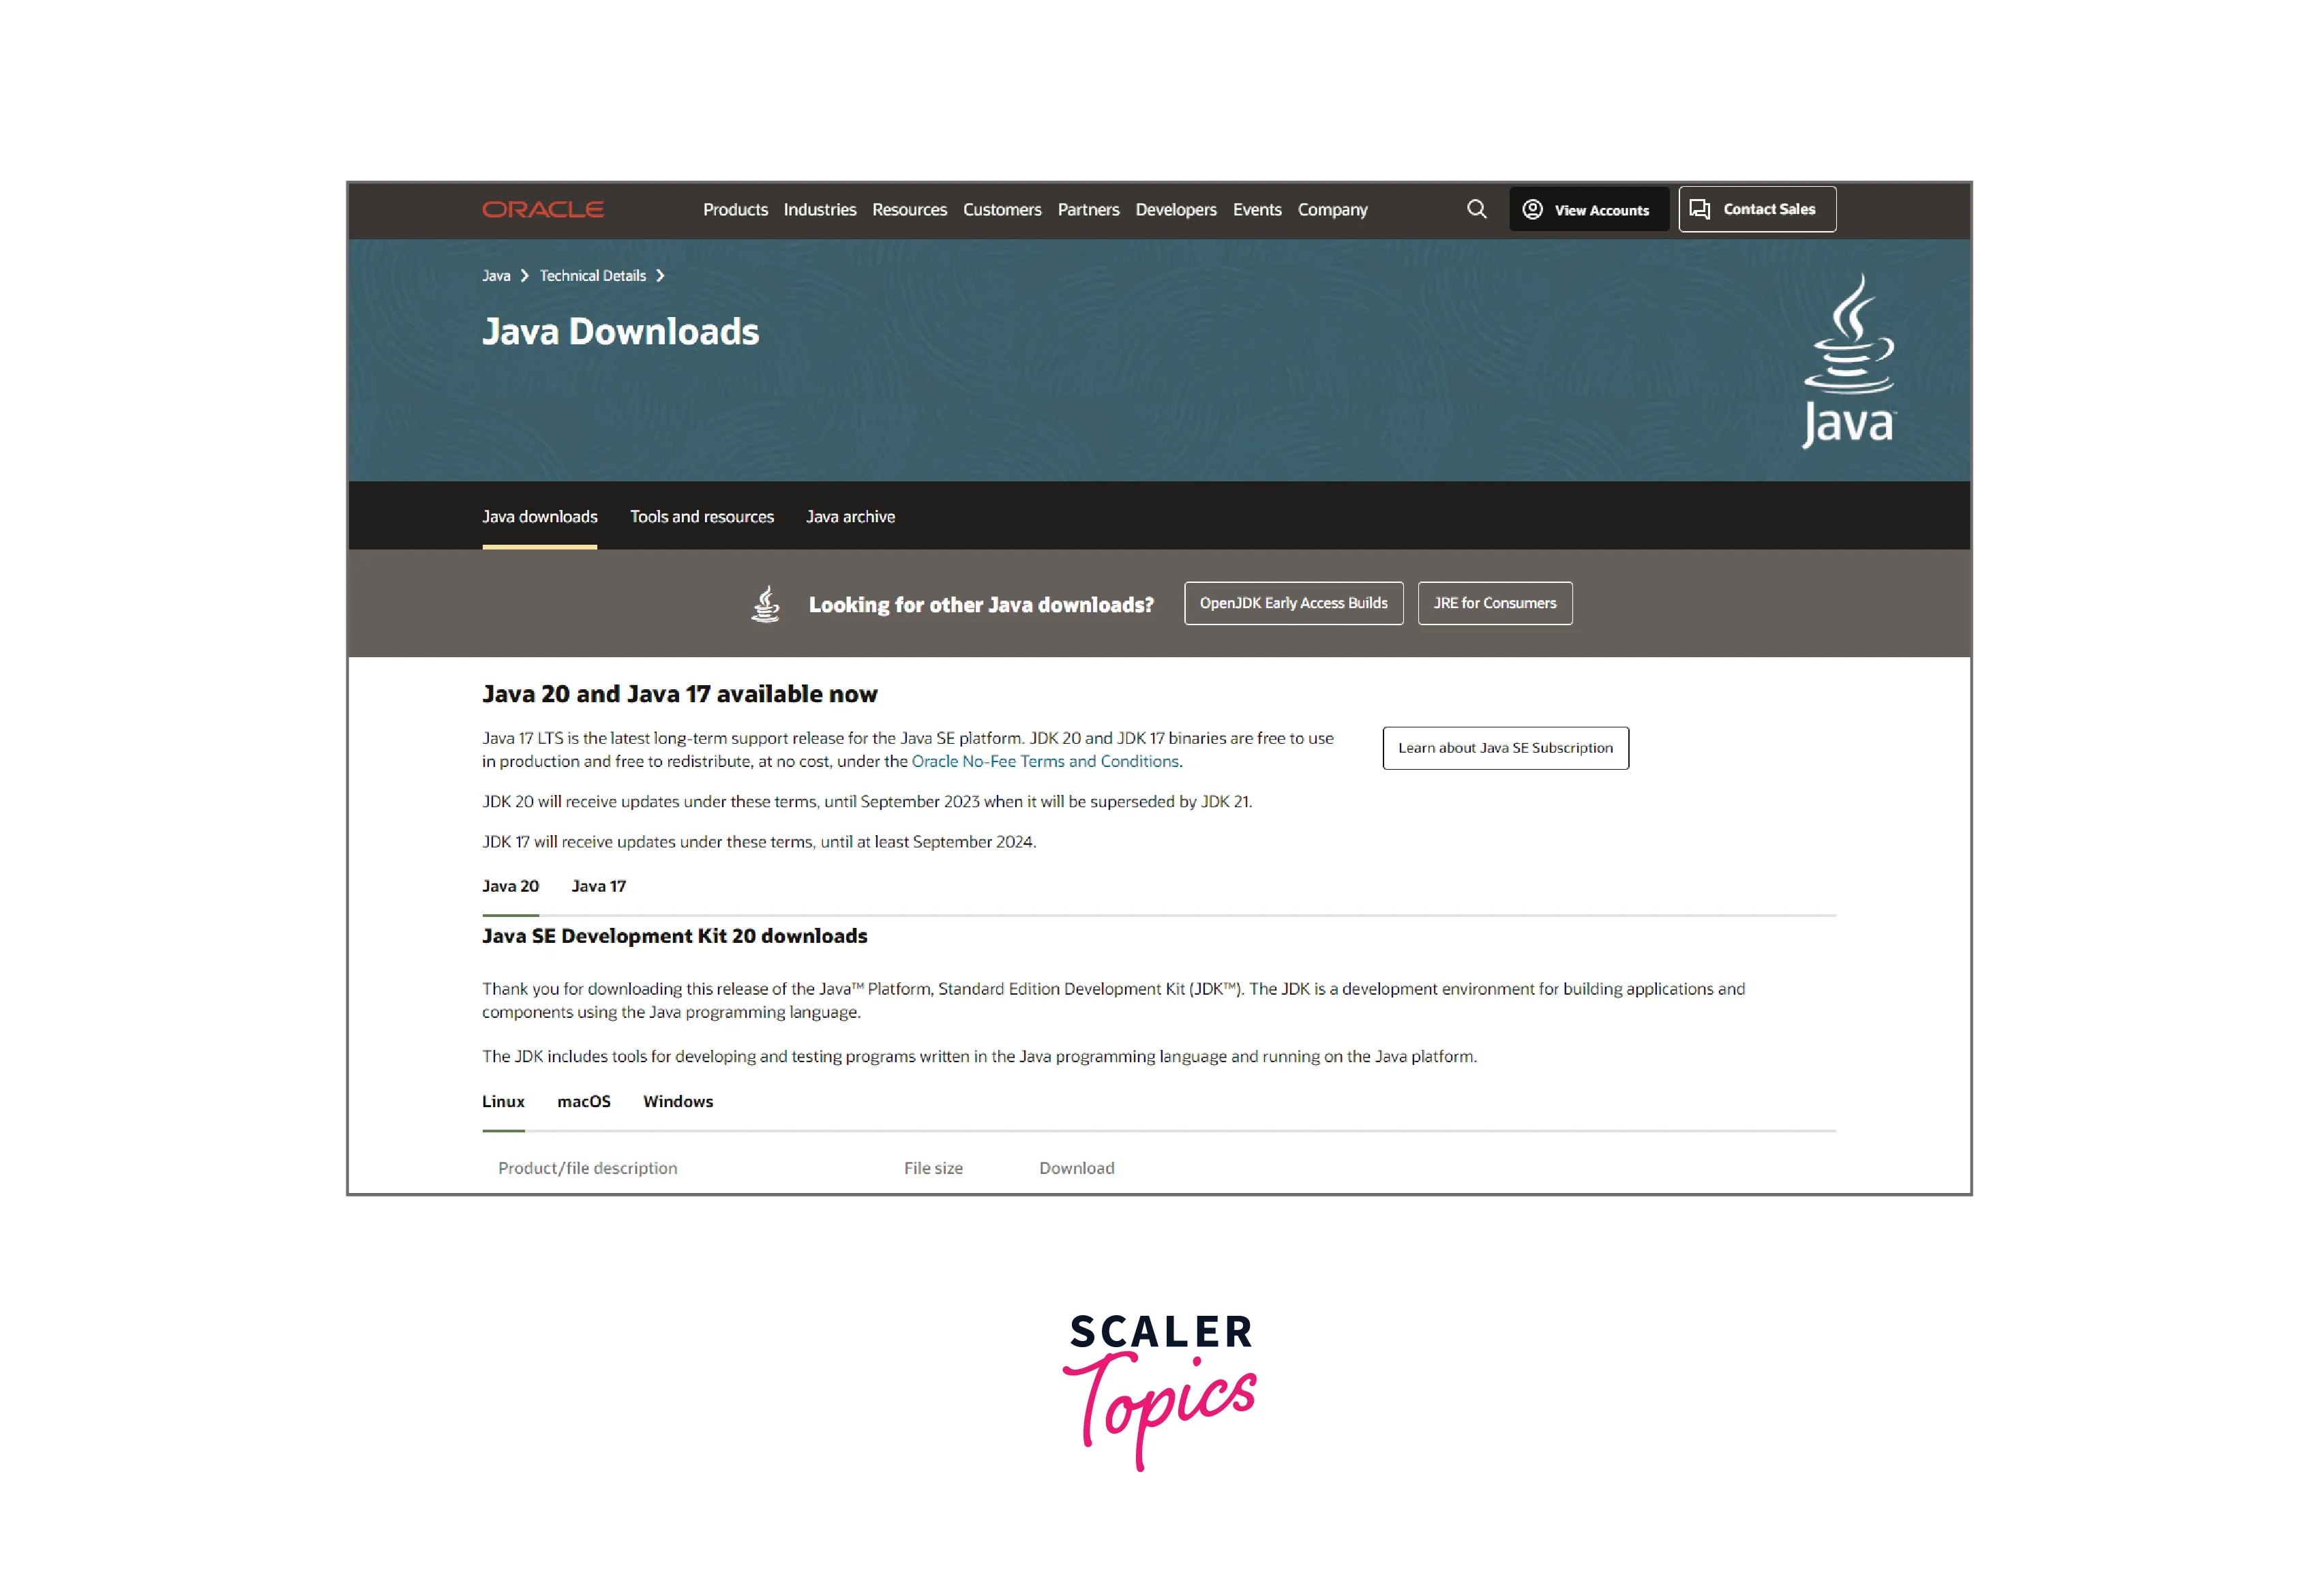
- Click on this link to go to the official website of Java to download the latest version.
-
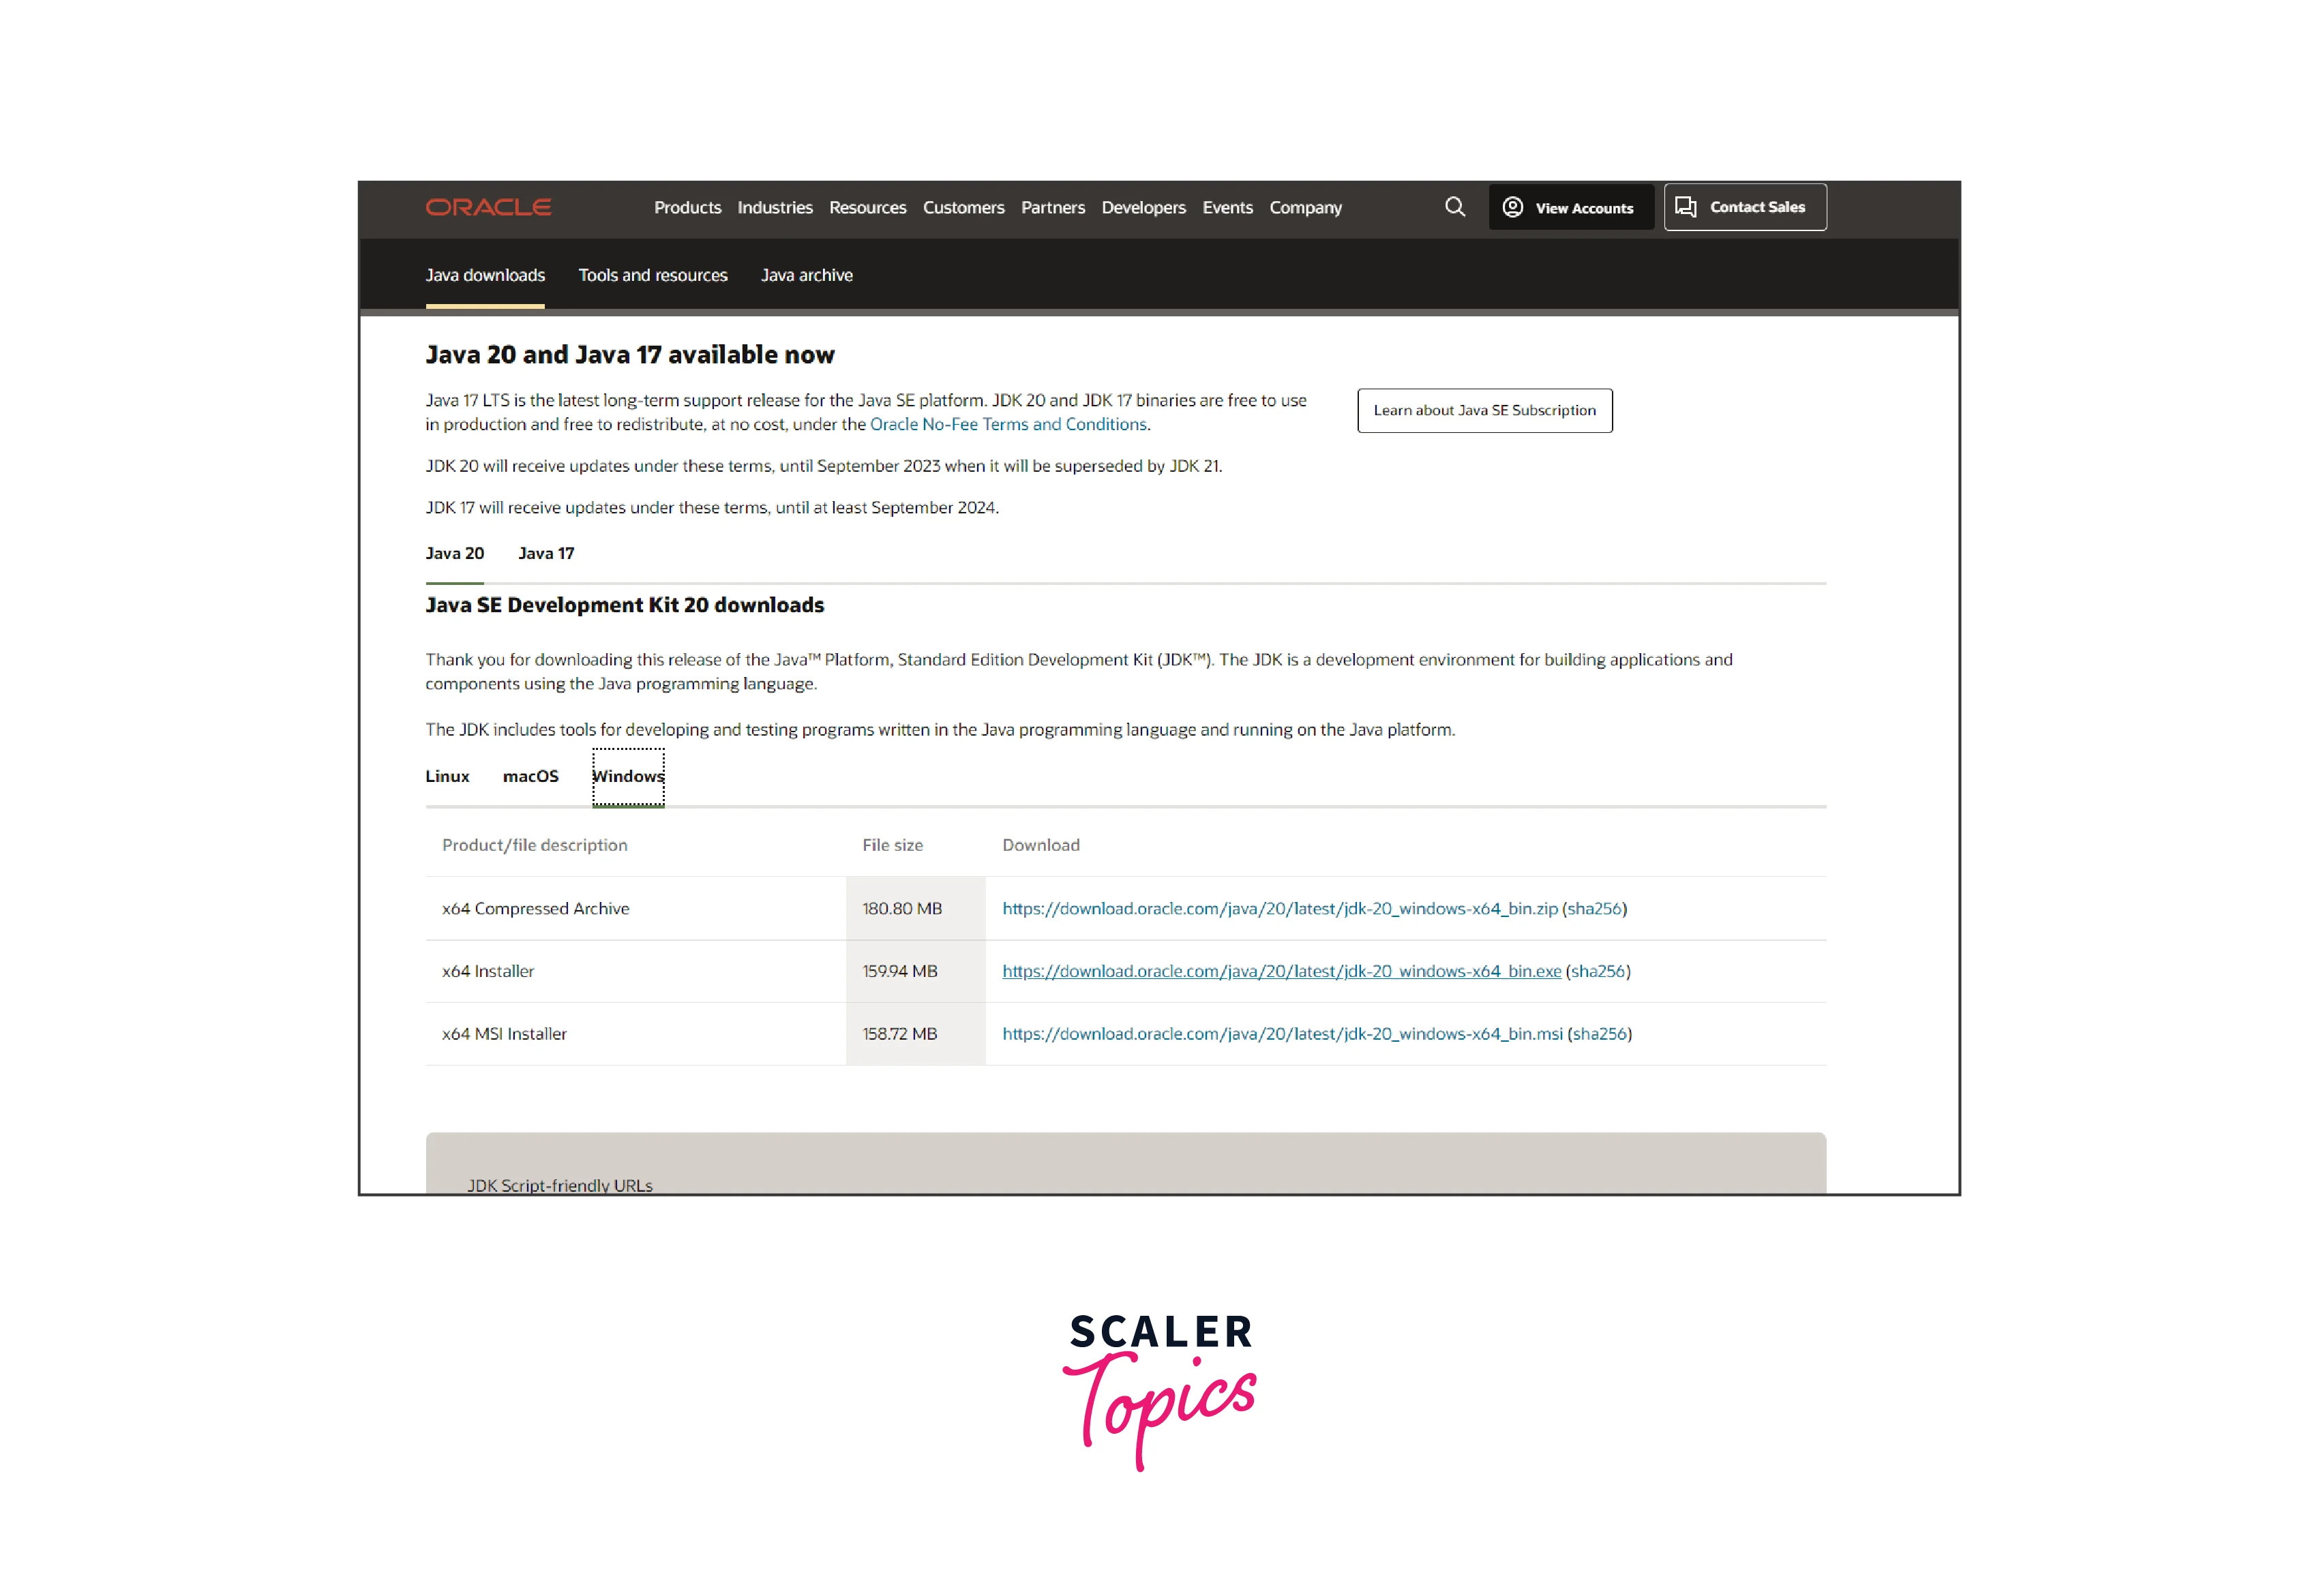
Click on Windows or choose your operating system and click on the link to download Java.
-
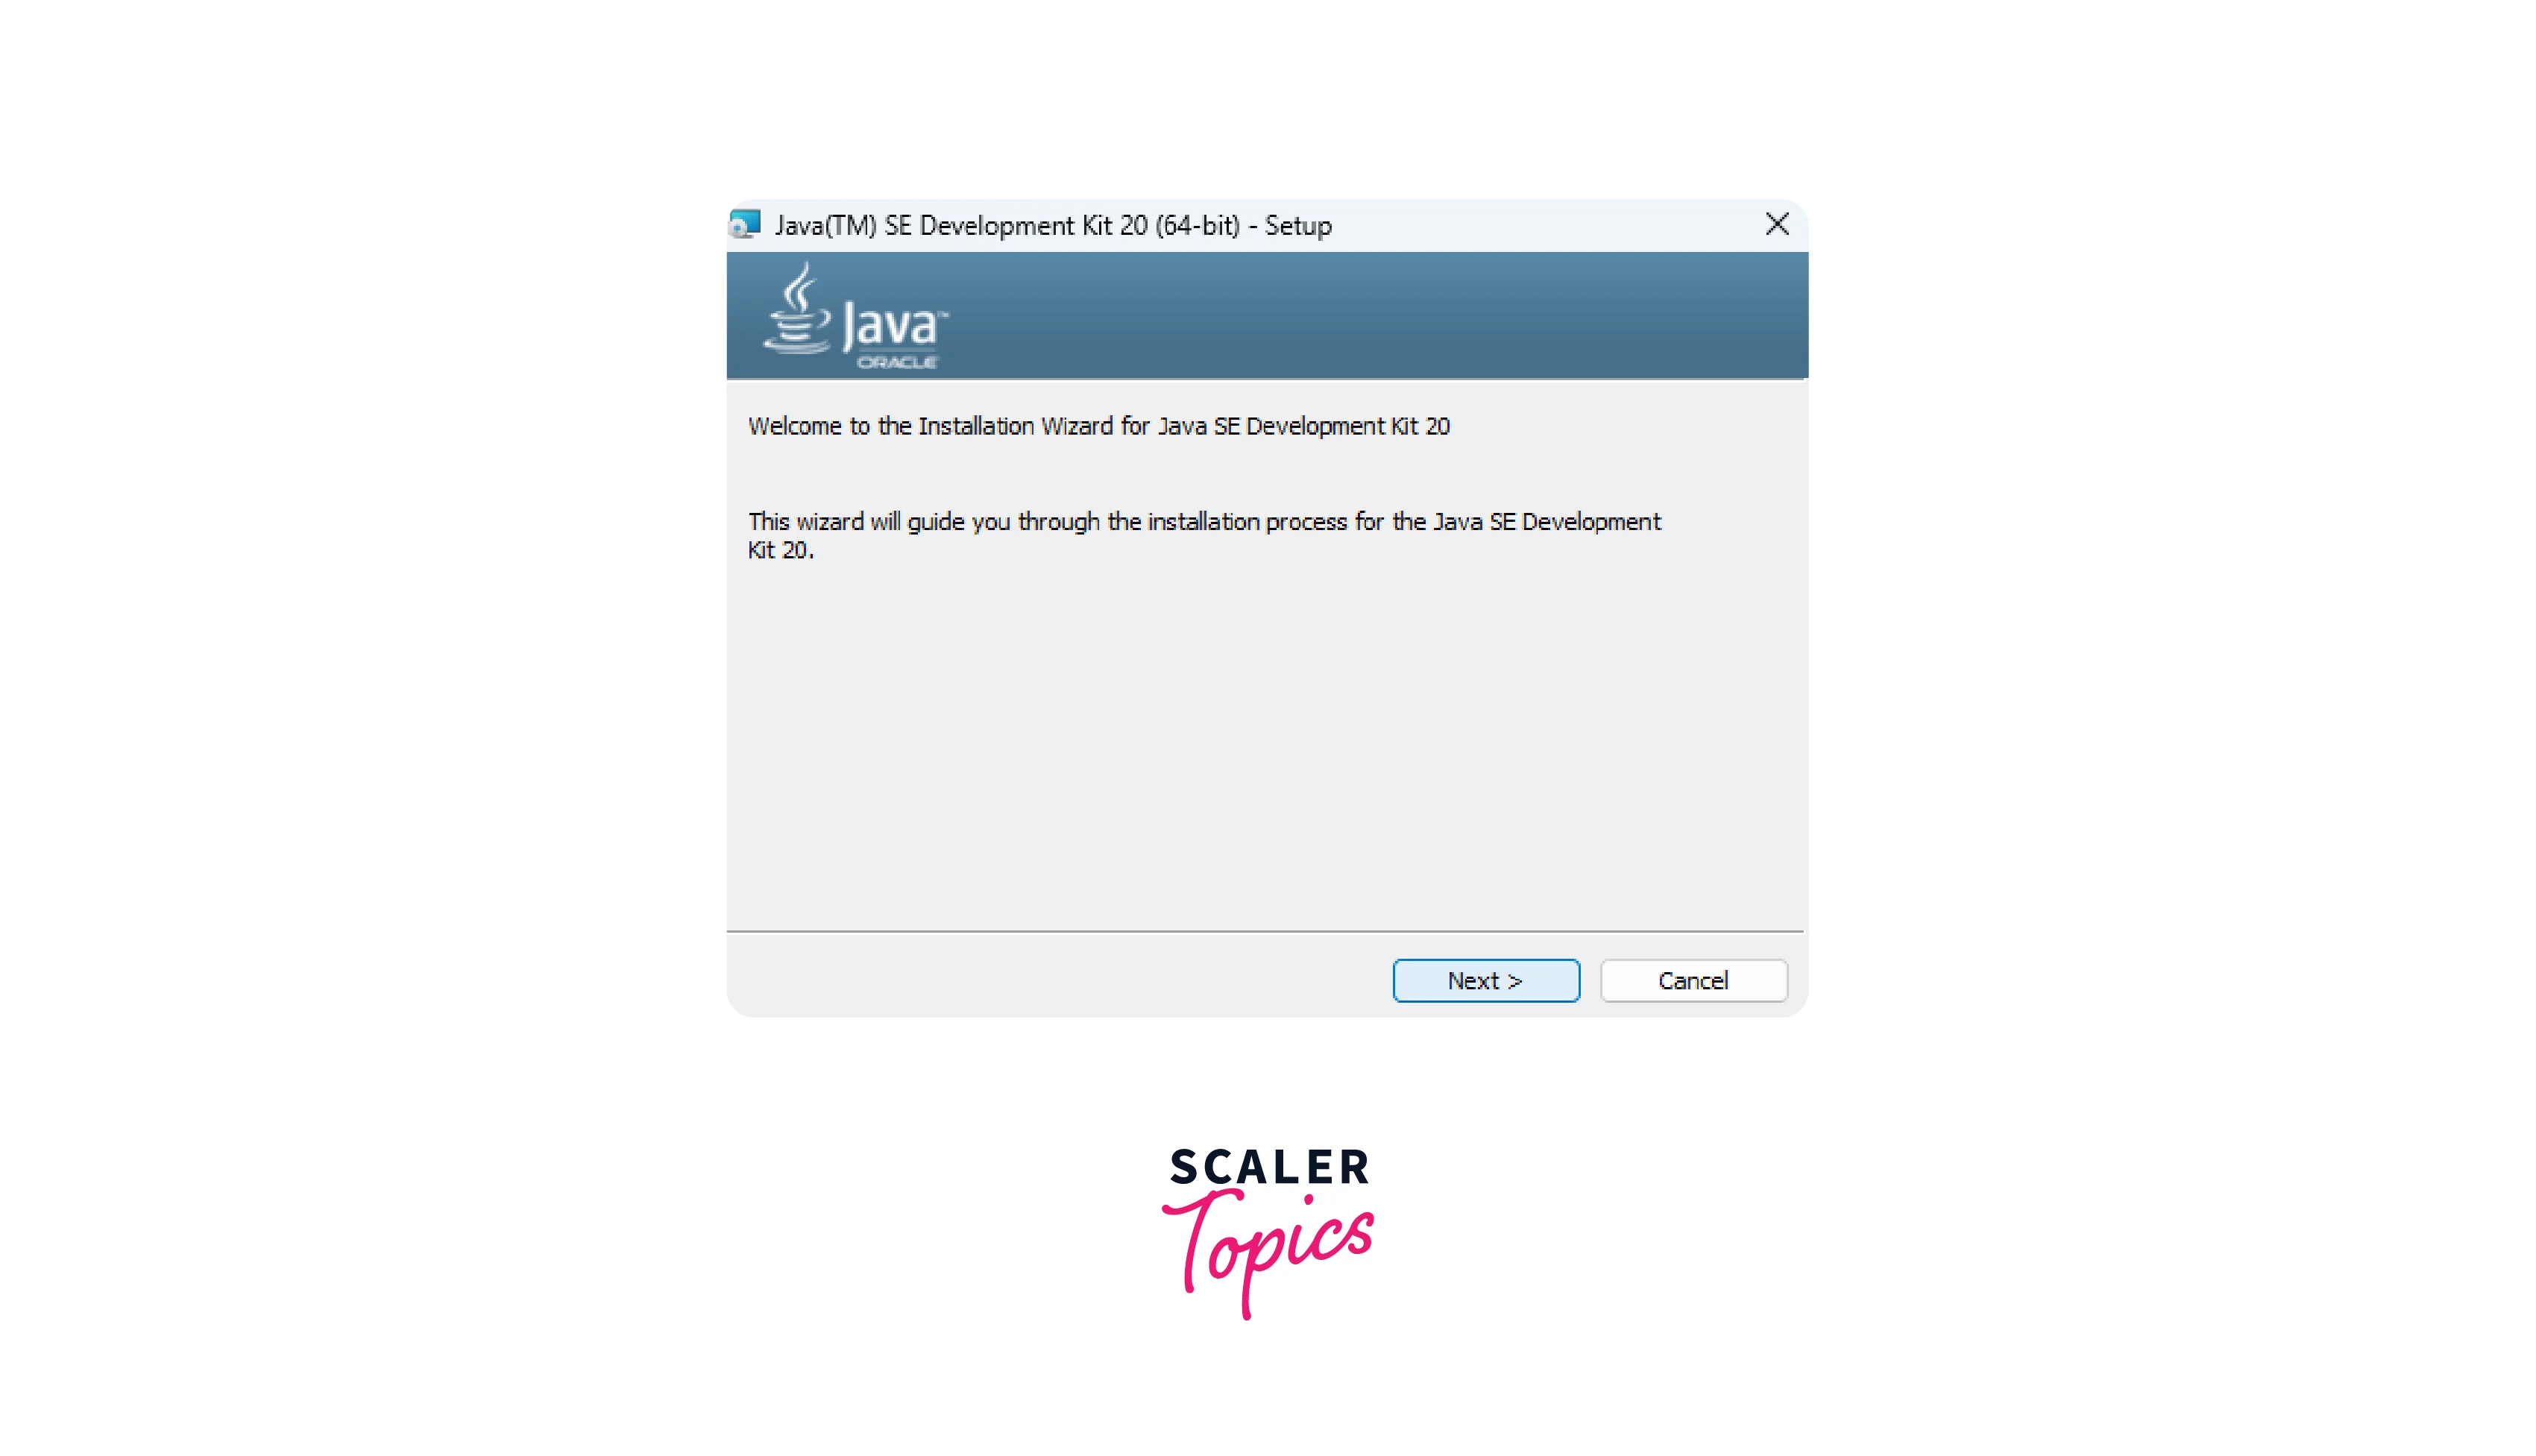
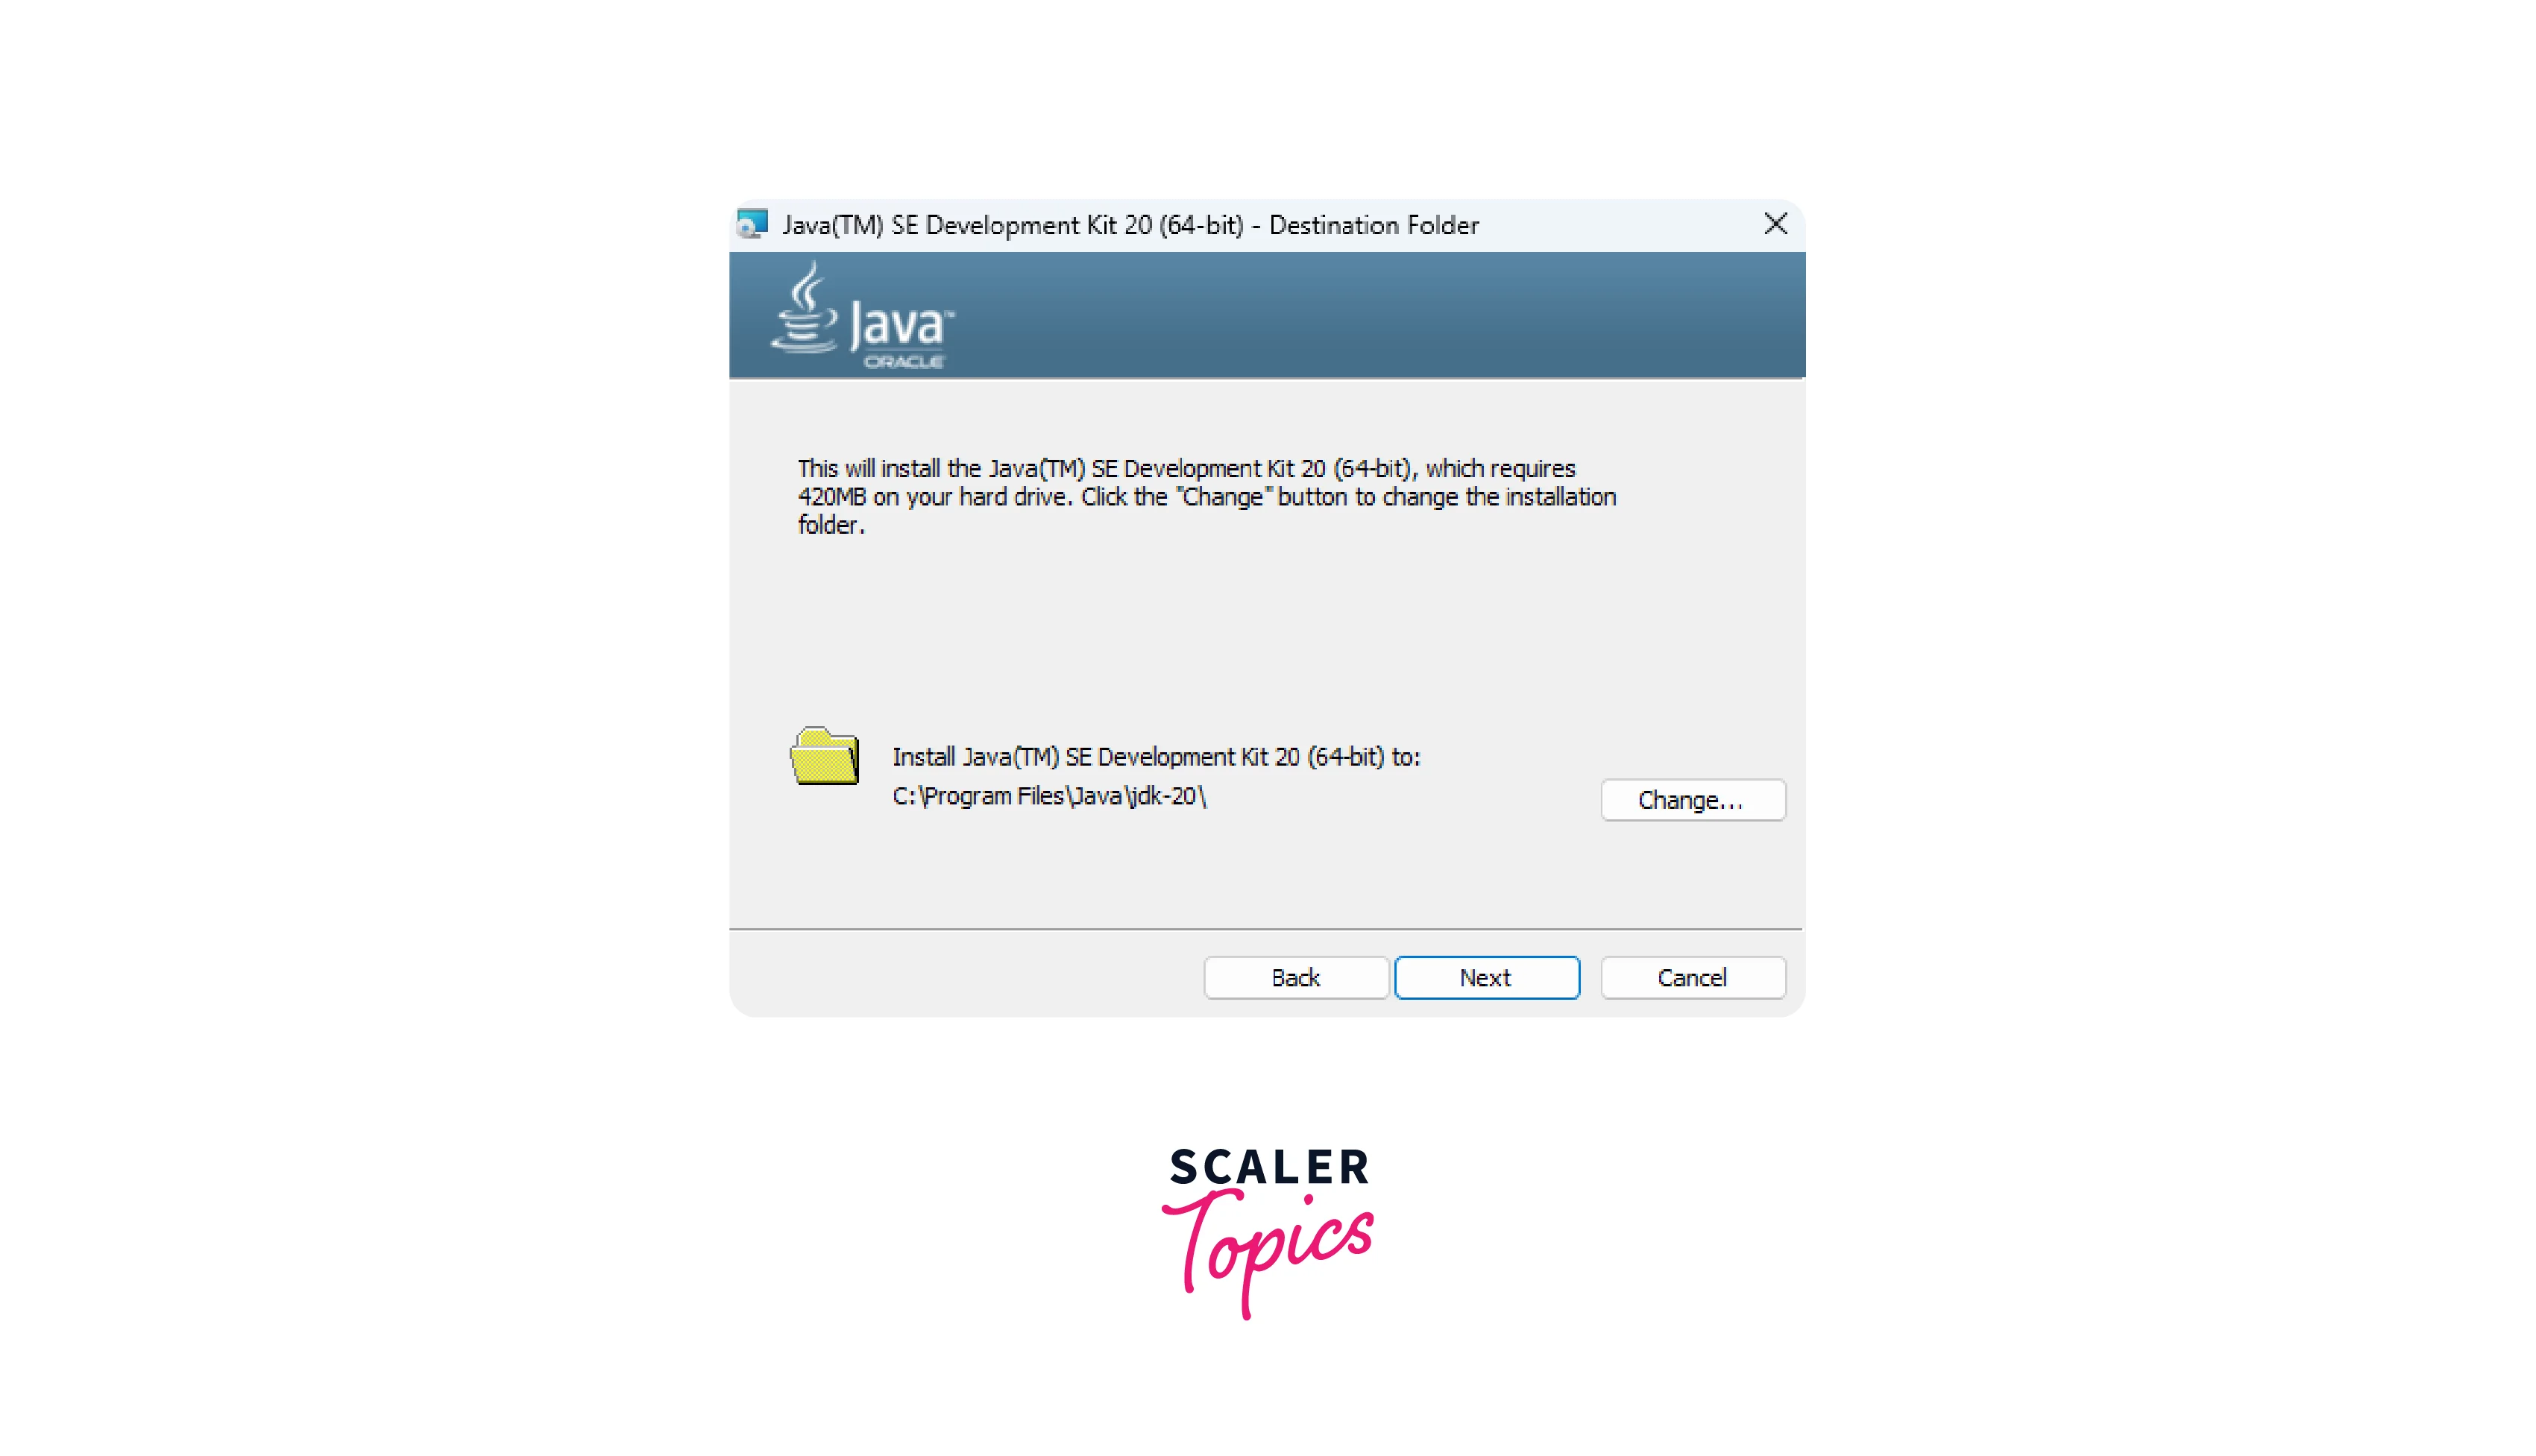
Open the downloaded file to install Java. You can leave the settings as default by continuing to click on next.
-
After a few seconds, java will be installed, then click on close.
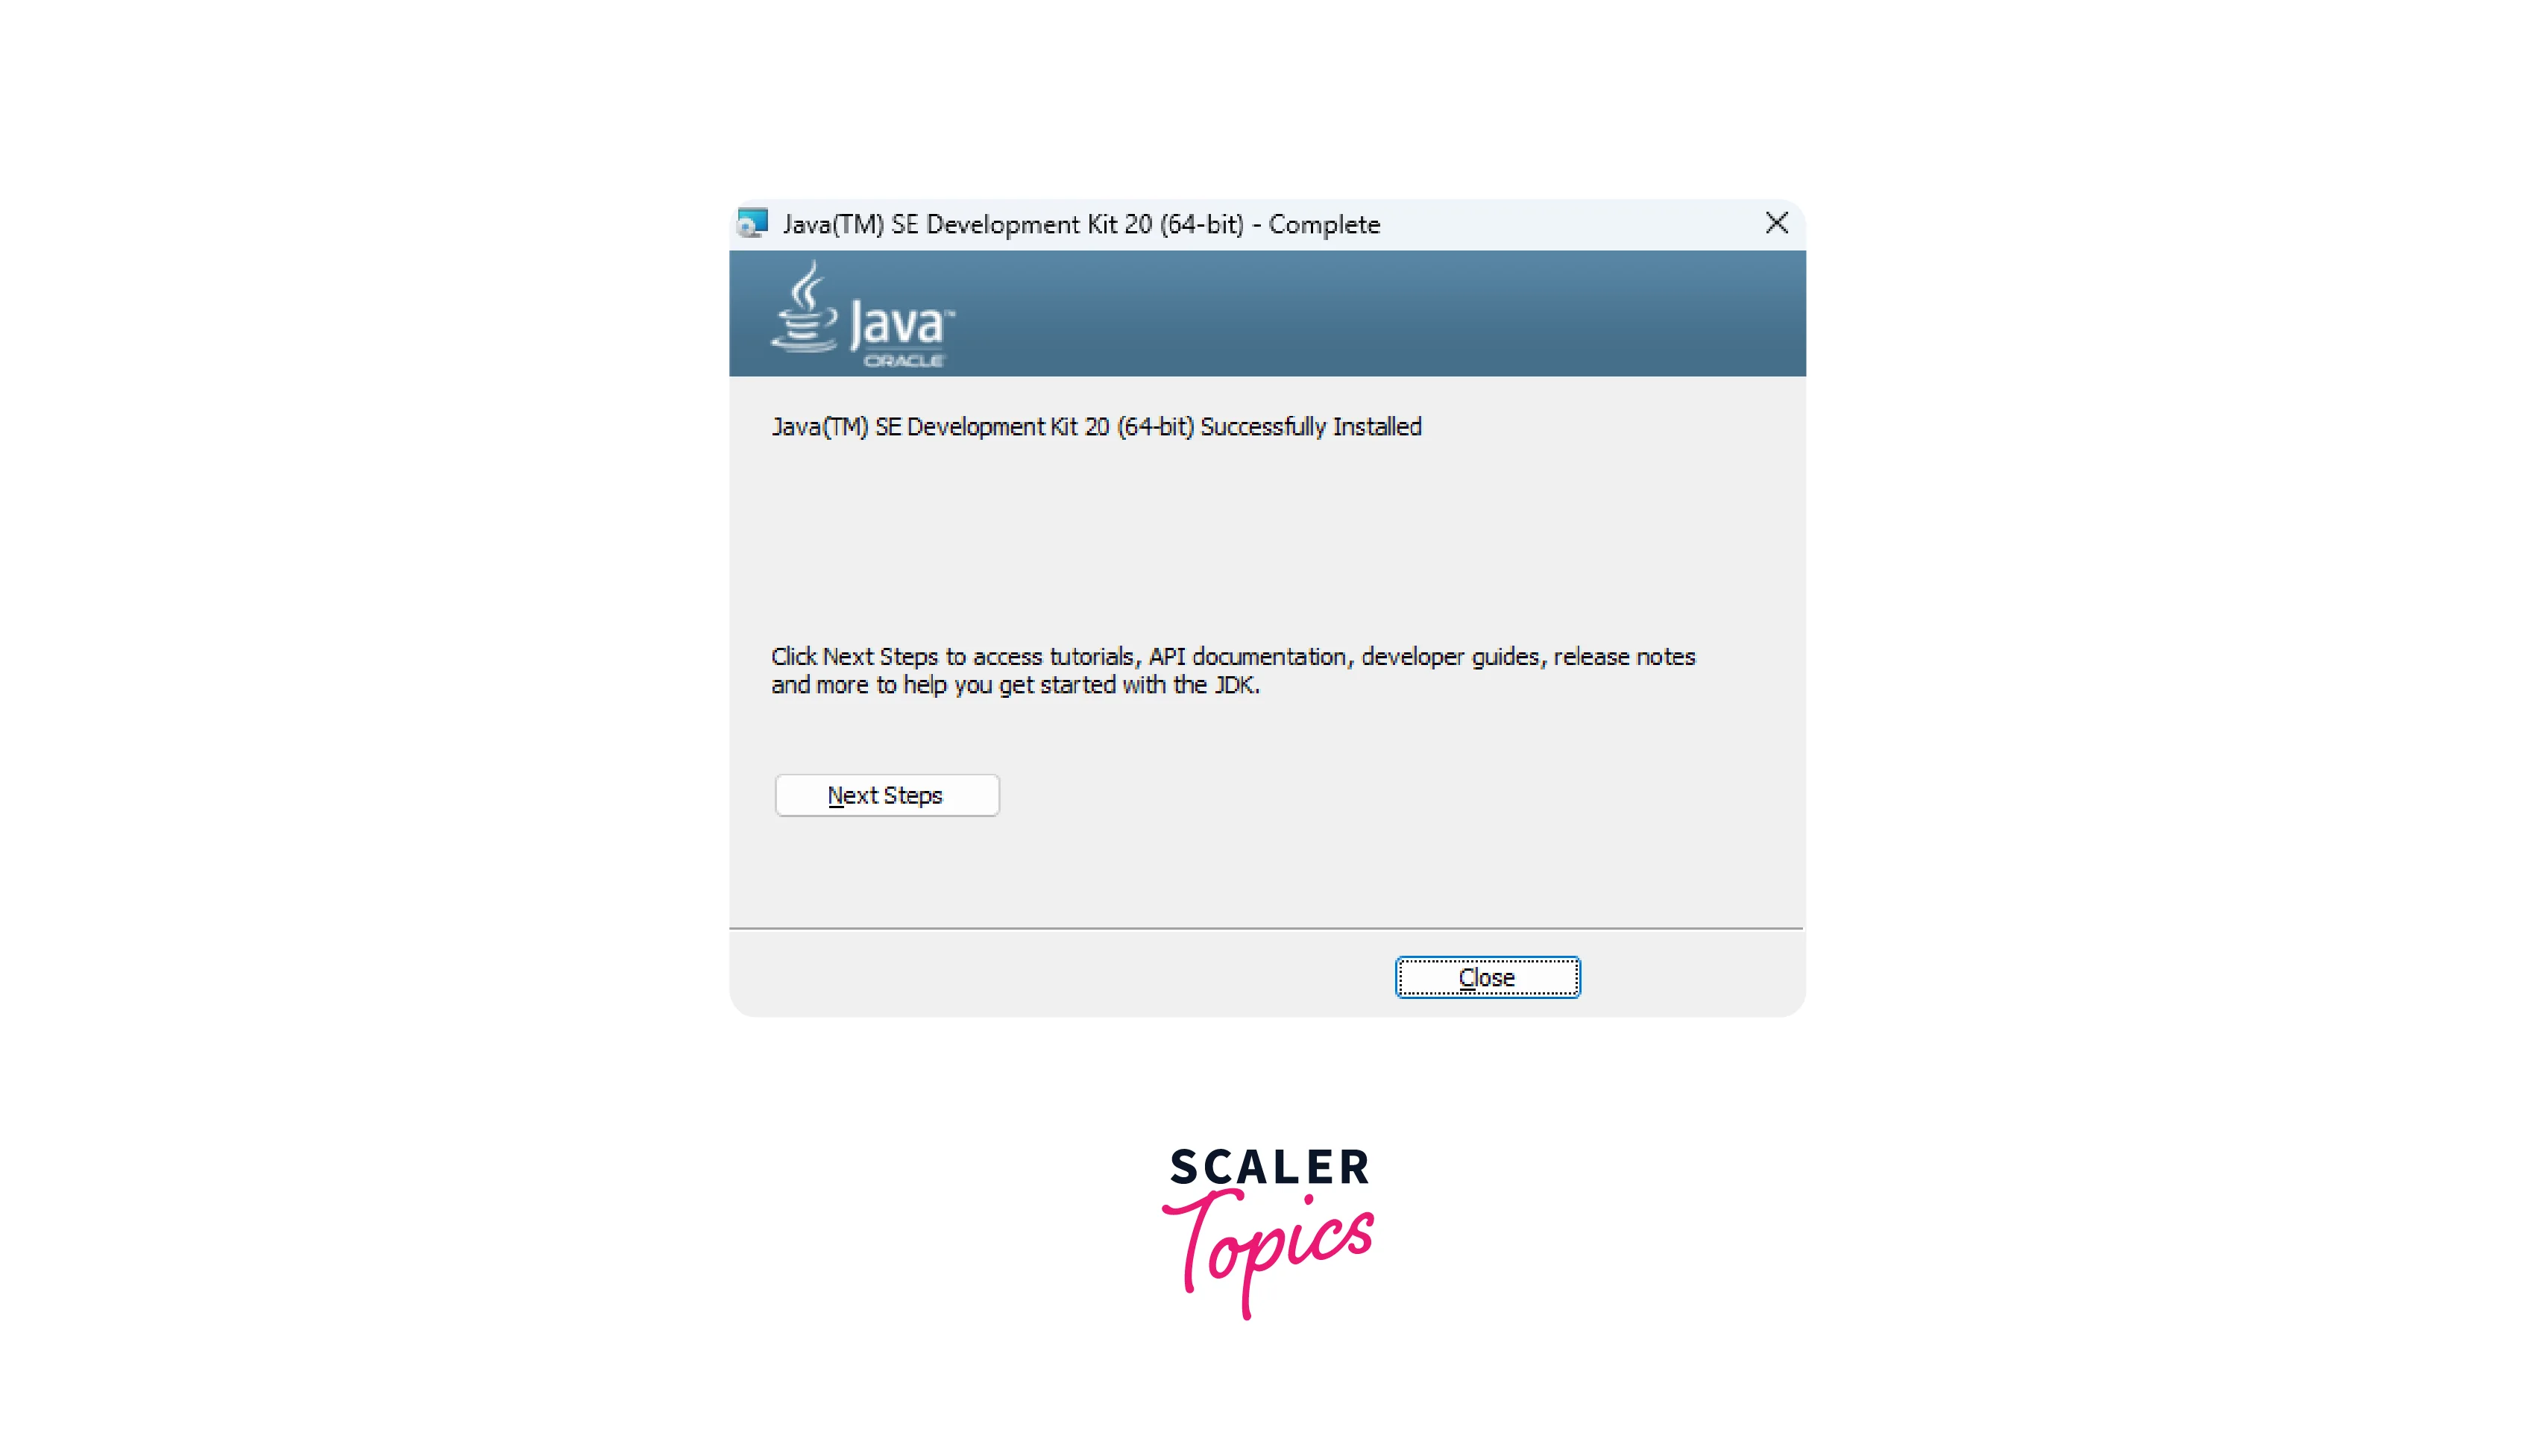
-
Open the command prompt to check whether it is installed or not. Run java -version in the command prompt.
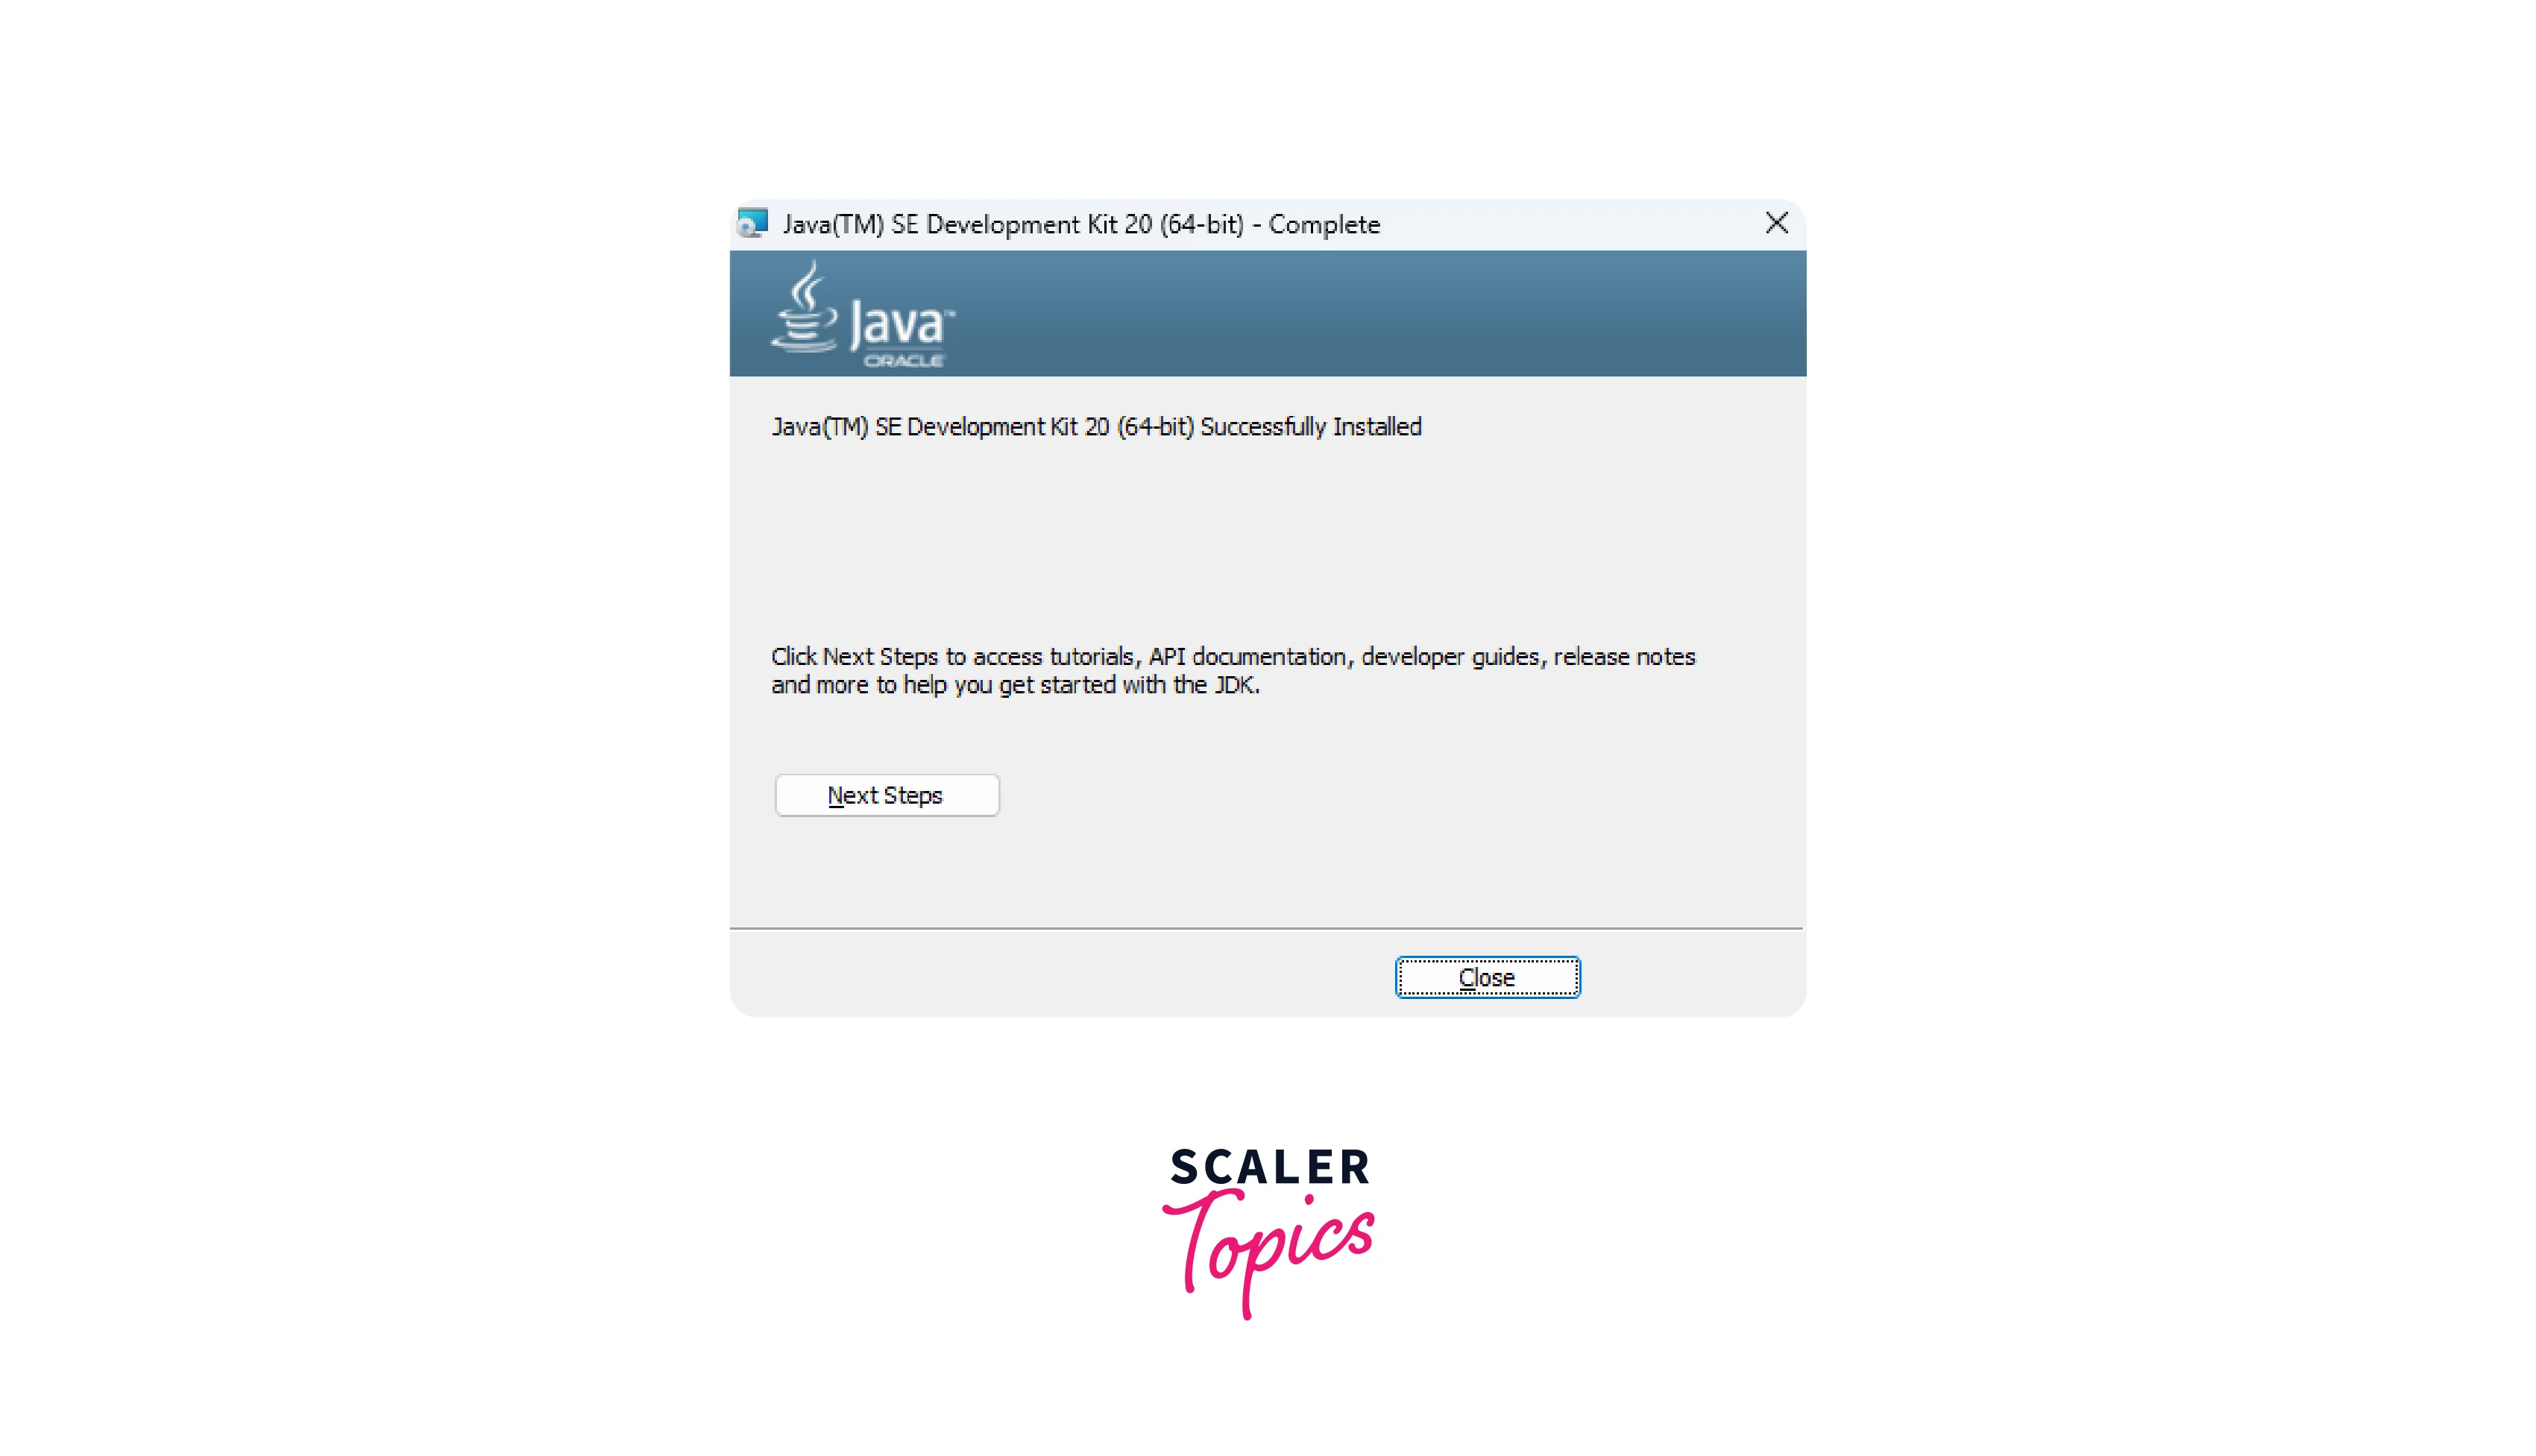
Java is installed successfully.
2. Install drivers for browsers
In Selenium automation, web browsers are used as the interface to interact with web applications. Selenium WebDriver, which is the primary component of Selenium, provides APIs to automate web browsers for testing web applications. However, to automate different web browsers such as Chrome, Firefox, Safari, etc., additional drivers are required.
These drivers act as intermediaries between Selenium WebDriver and the respective web browsers, enabling Selenium to send commands and receive responses from the browsers. These drivers are specific to each web browser and need to be installed/configured separately.
Therefore, It is necessary to install a driver for the browser. It helps Selenium to interact with the browser. It can be downloaded according to the browser and operating system.
Here is the link for some of the browsers:
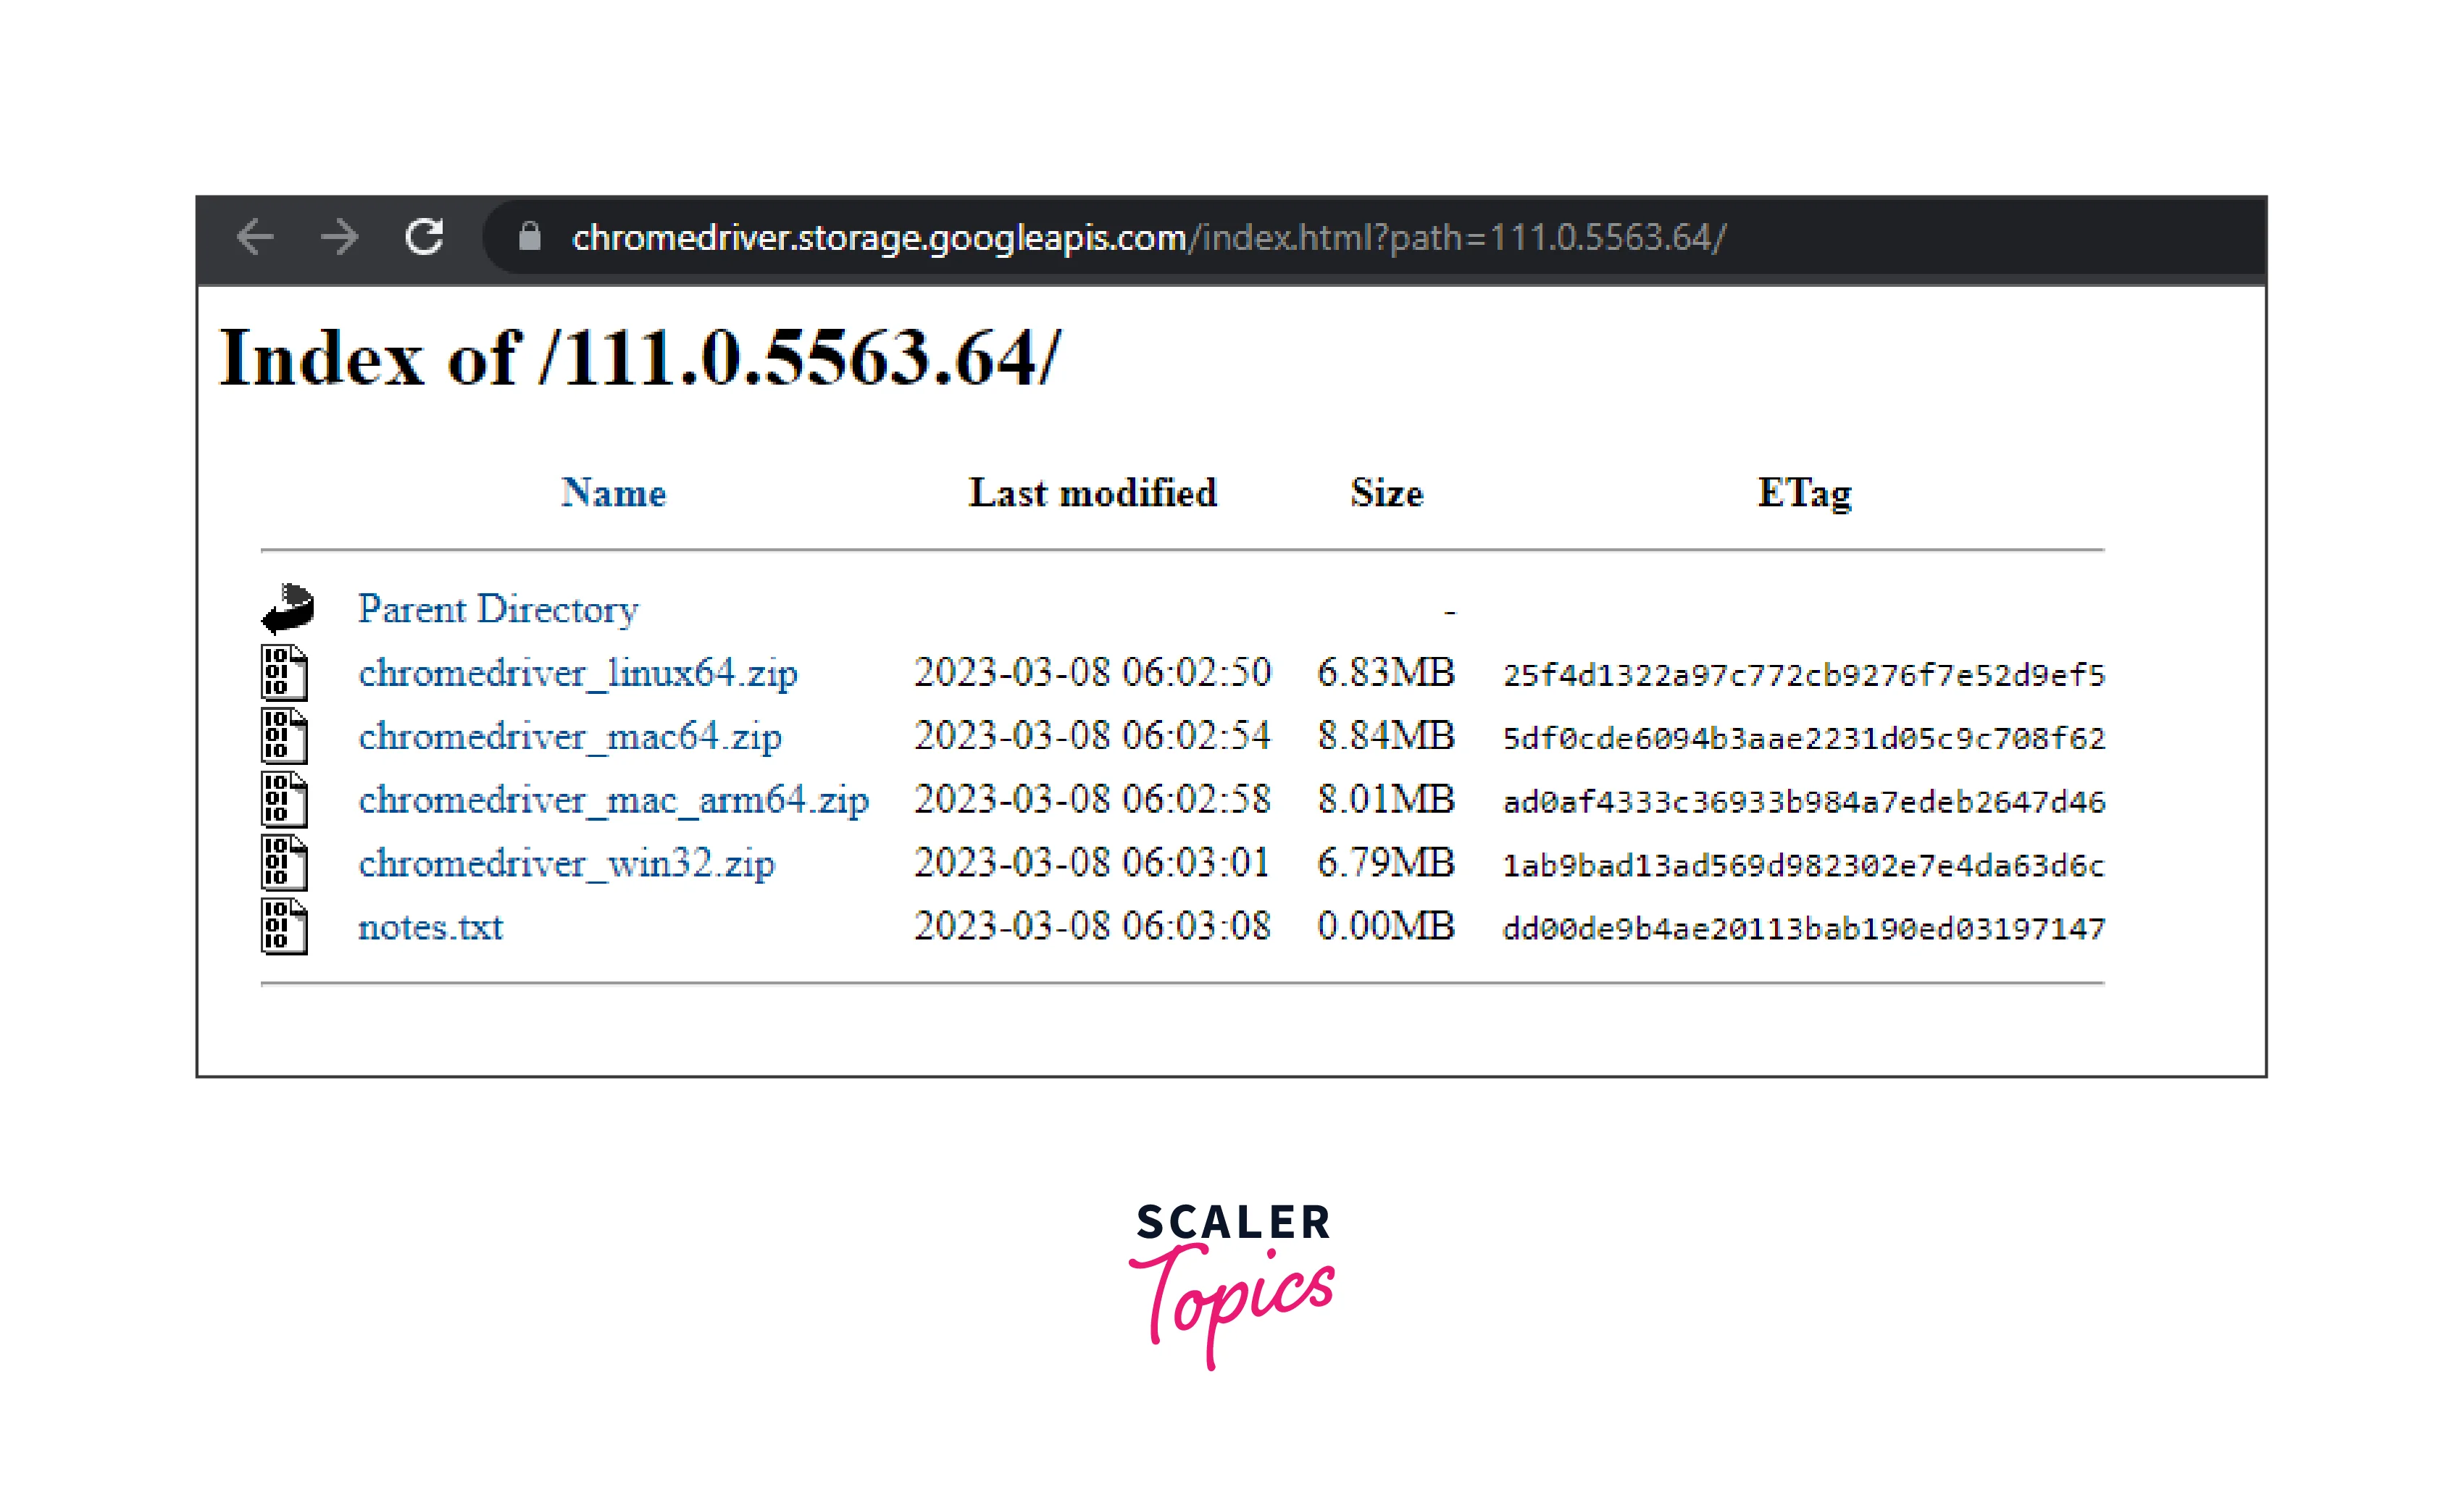
- Chrome: Click on this link to download the Chromedriver. Click on the Chrome driver link according to your Chrome version.
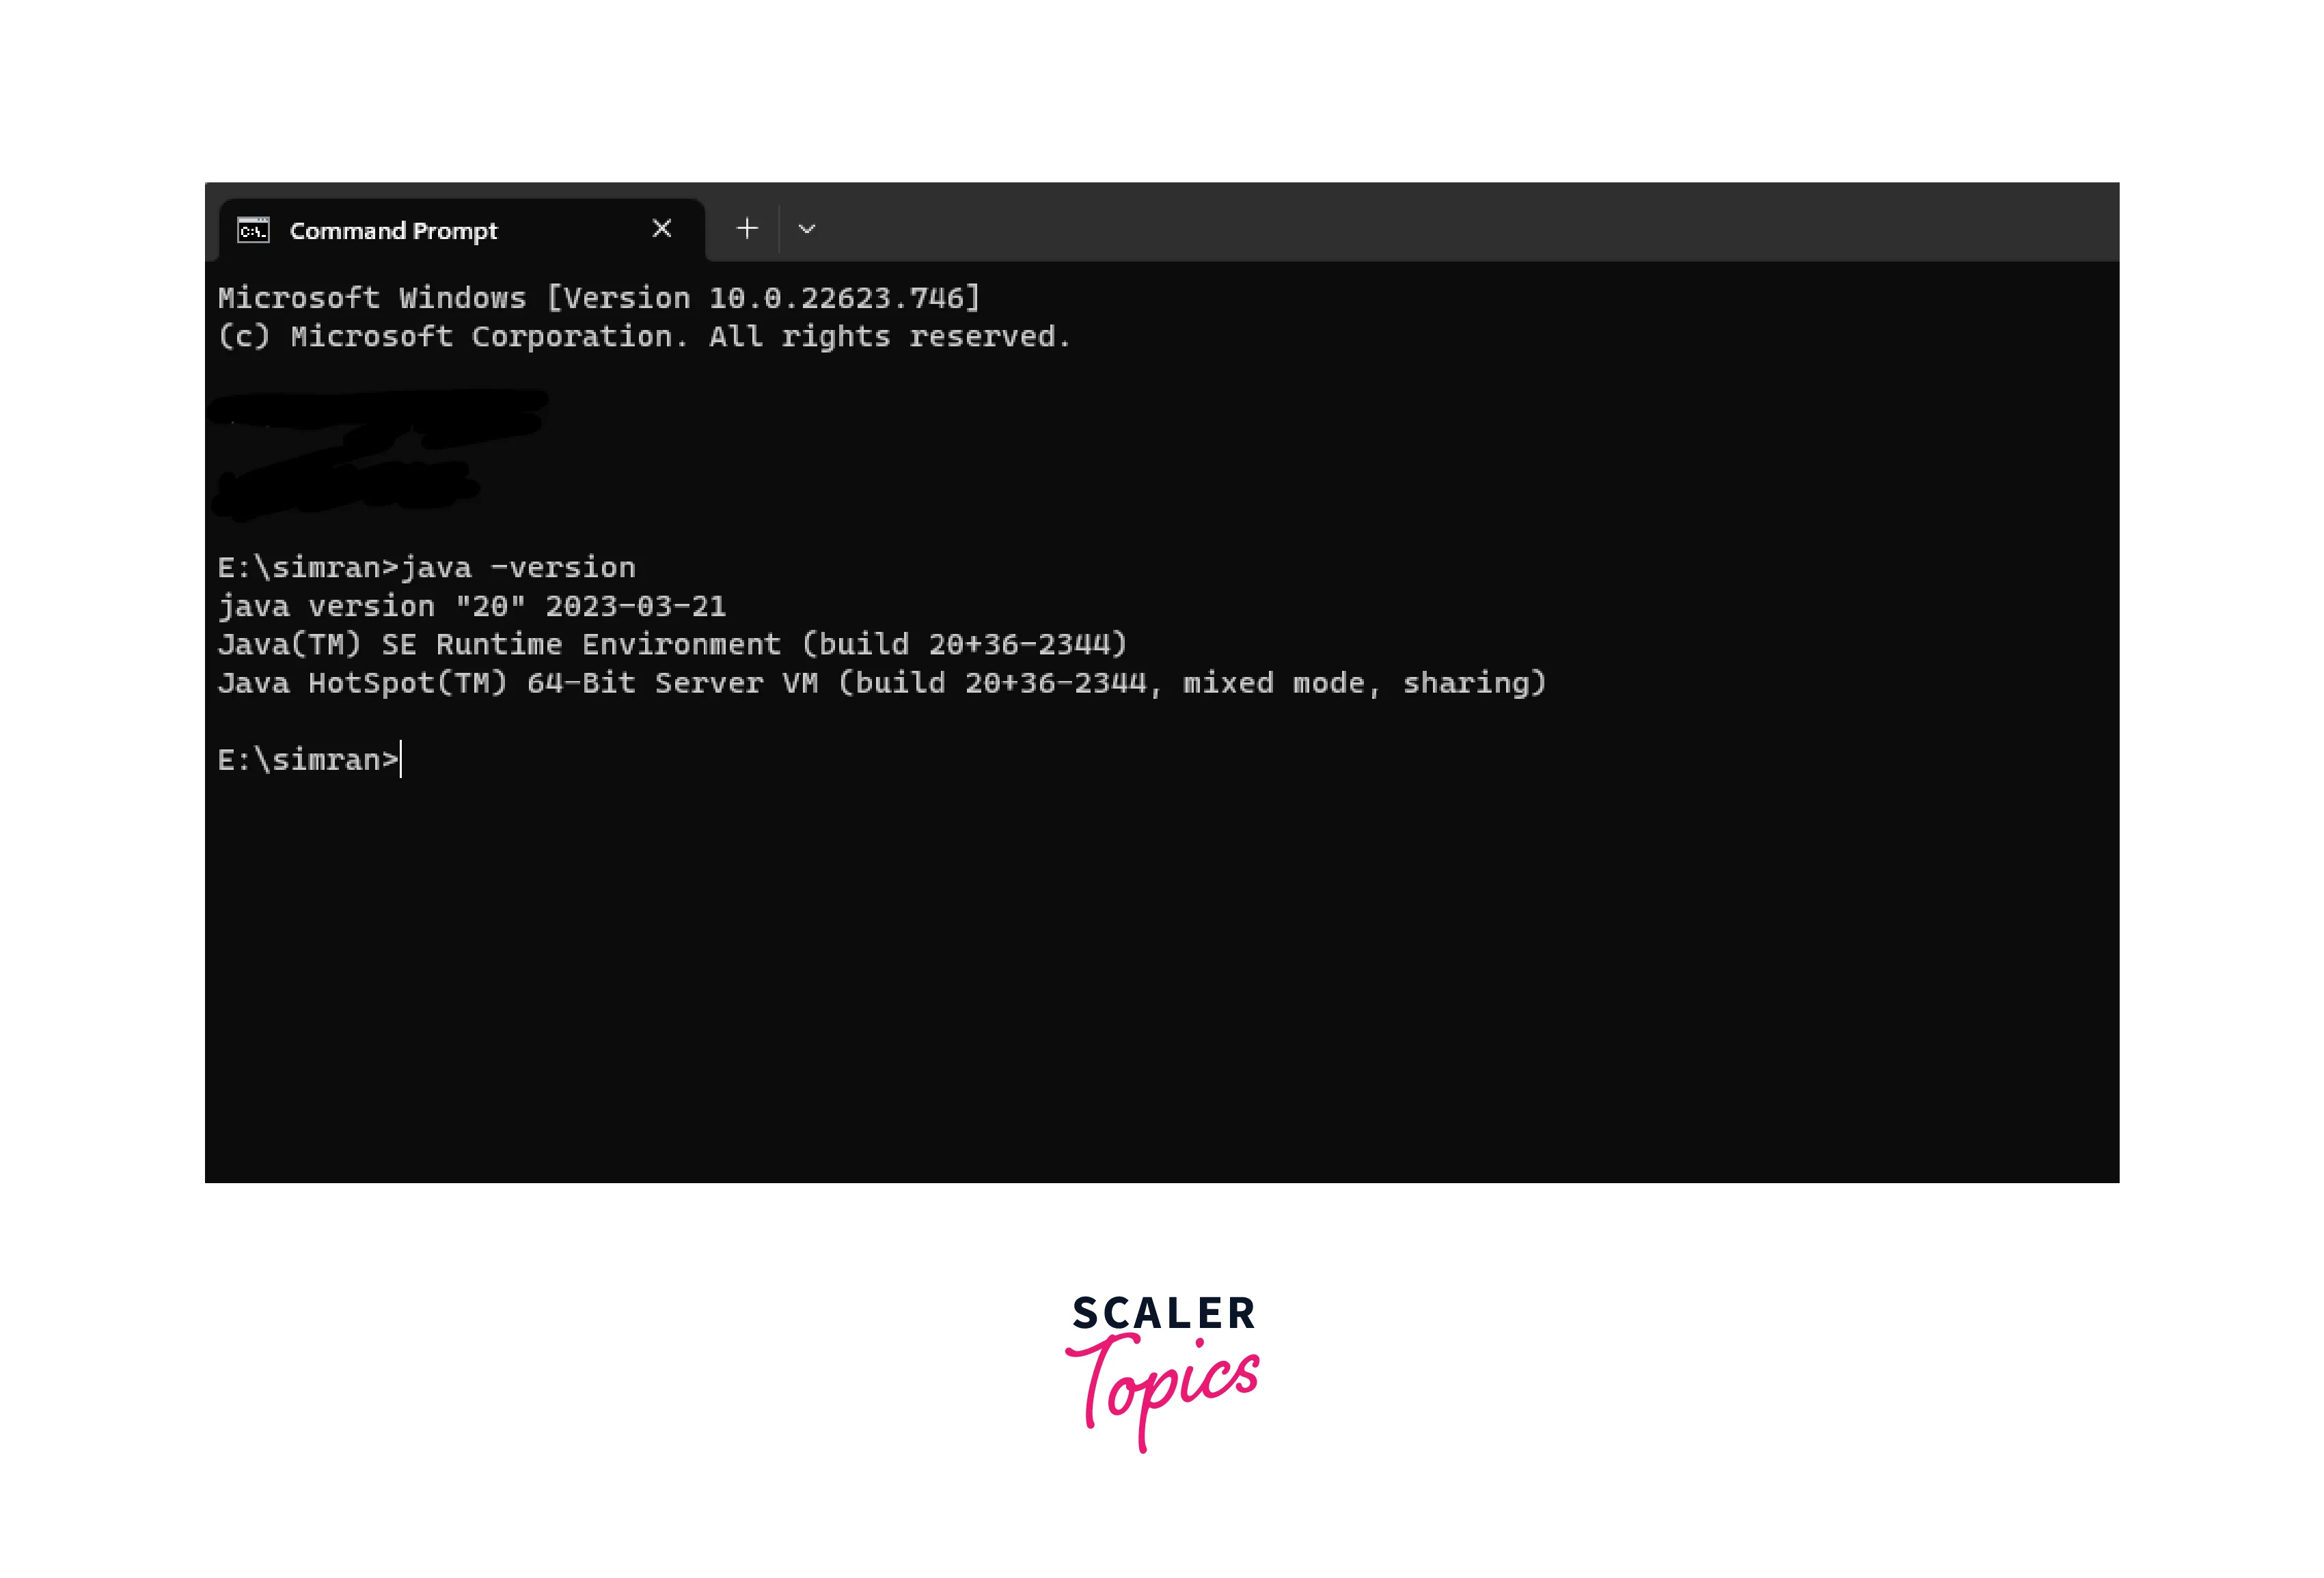
- Choose according to the Operating system. We will choose windows. Click on it.
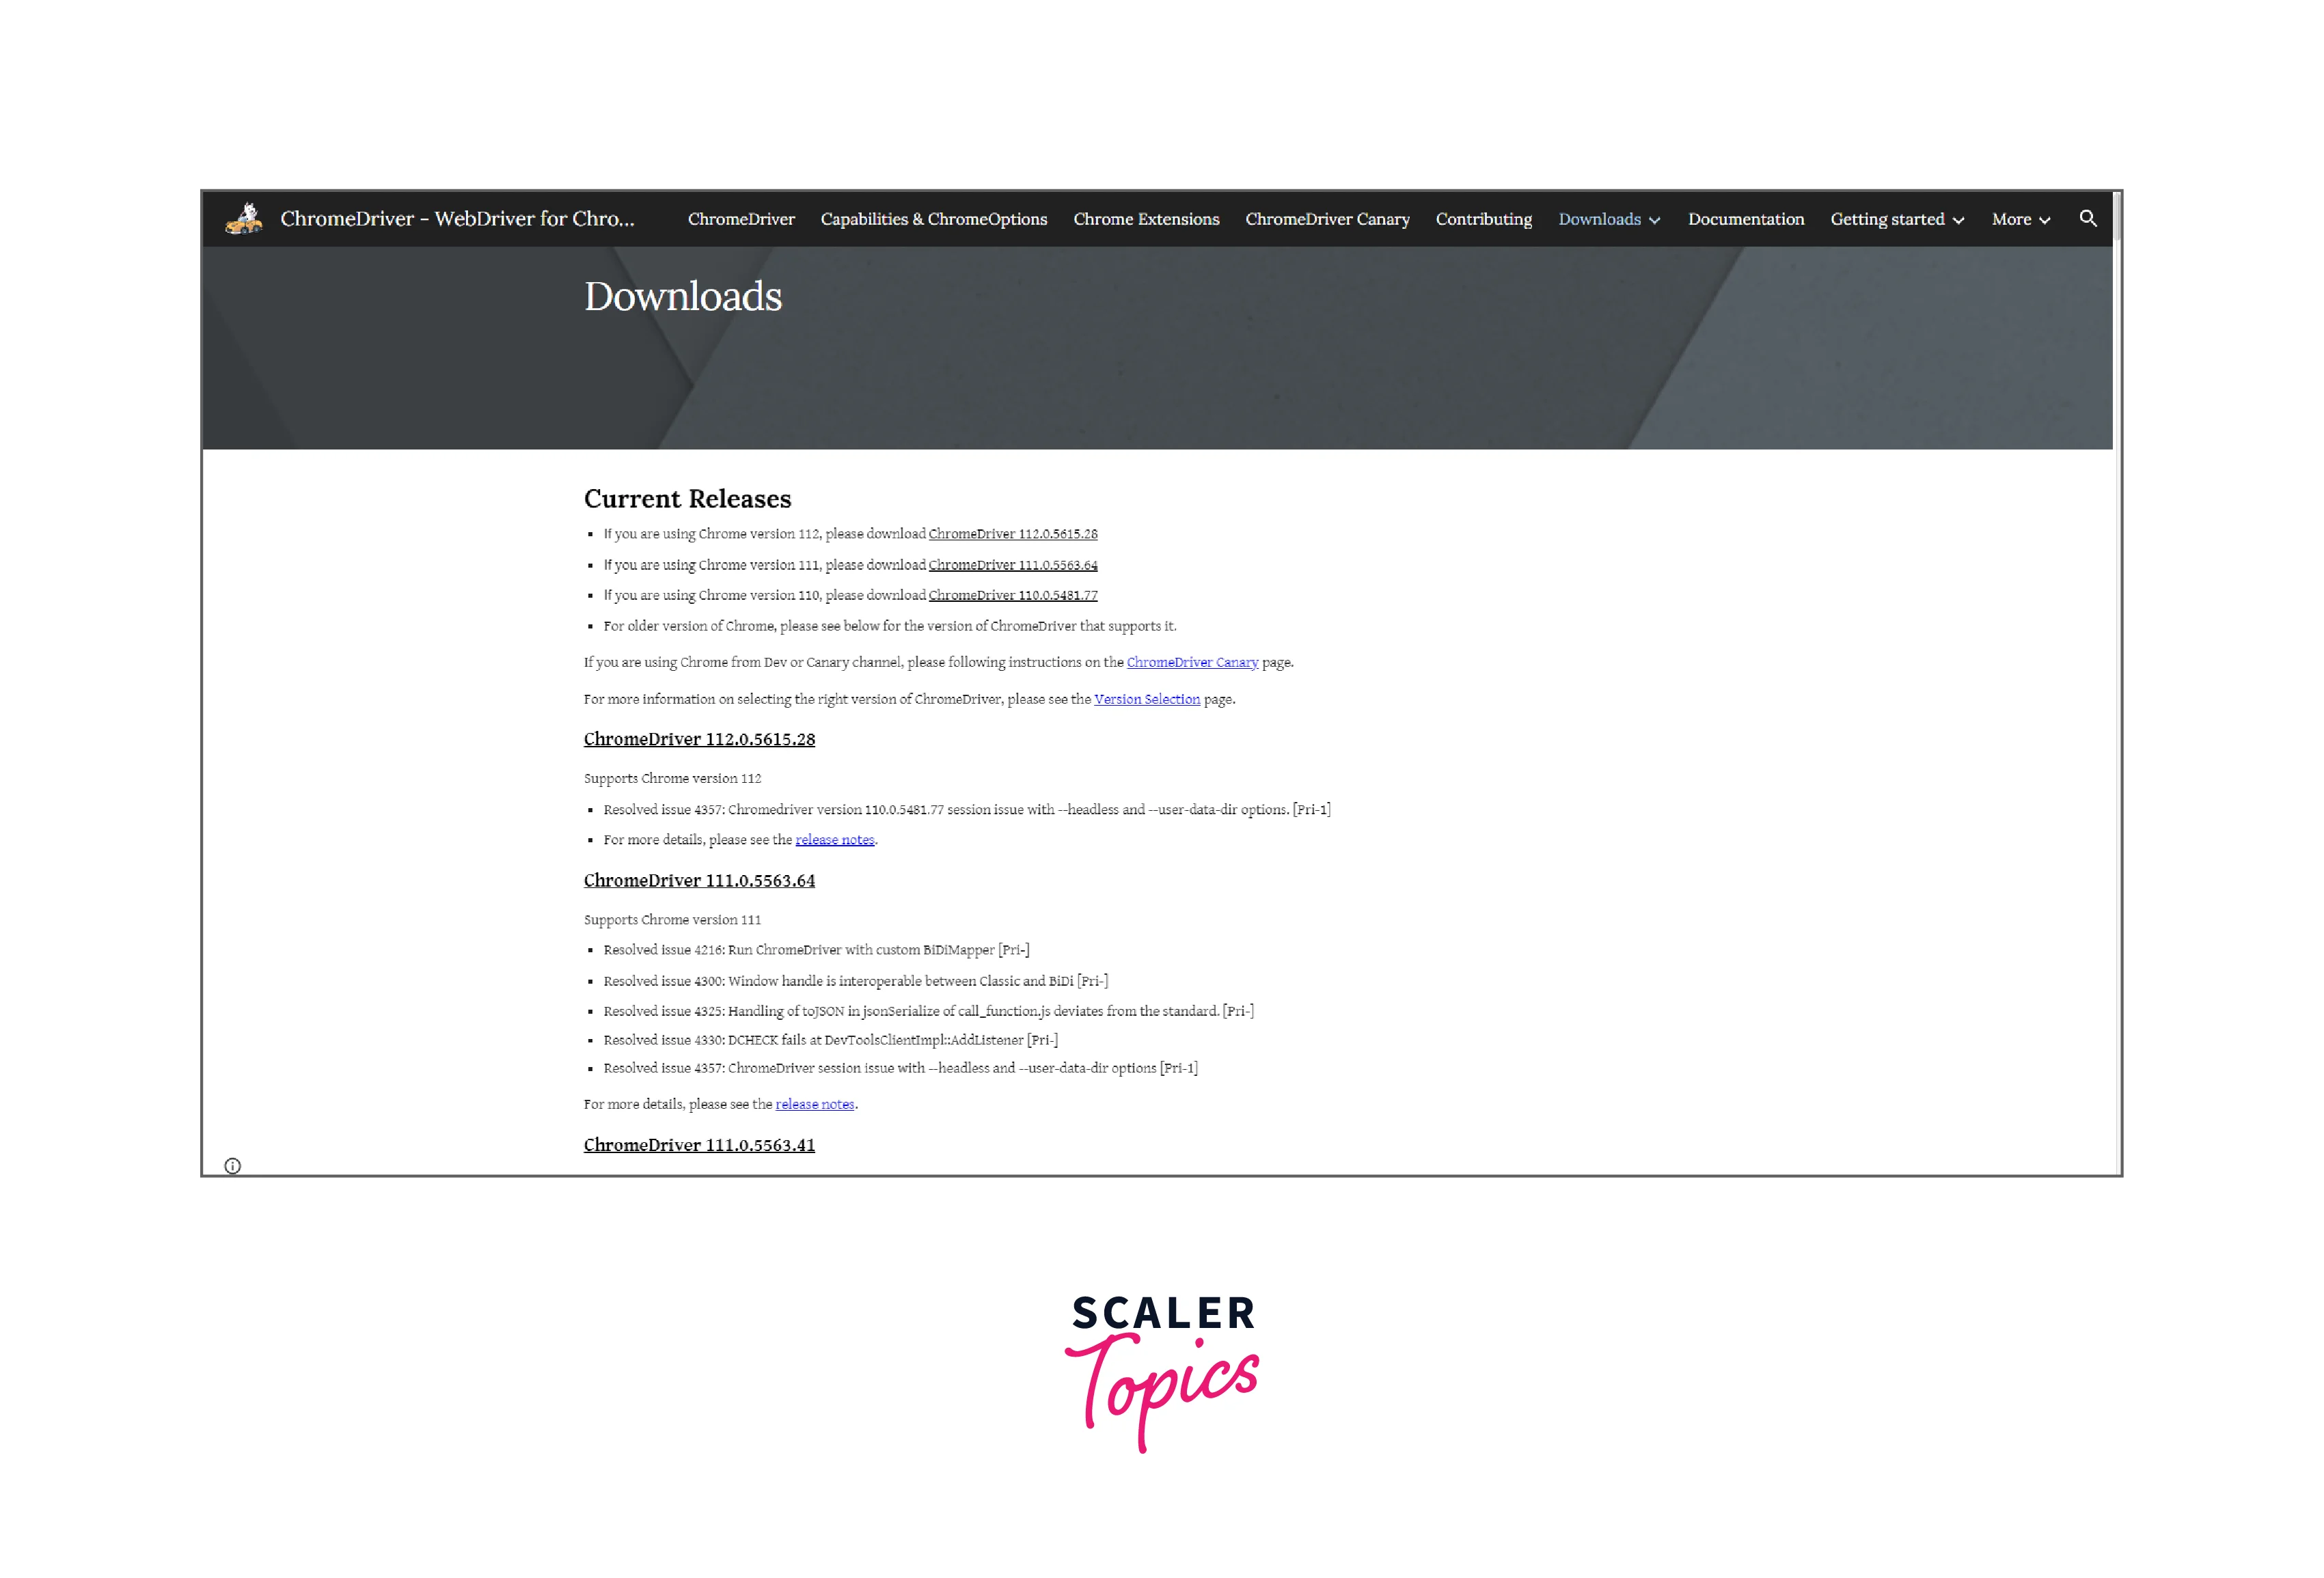
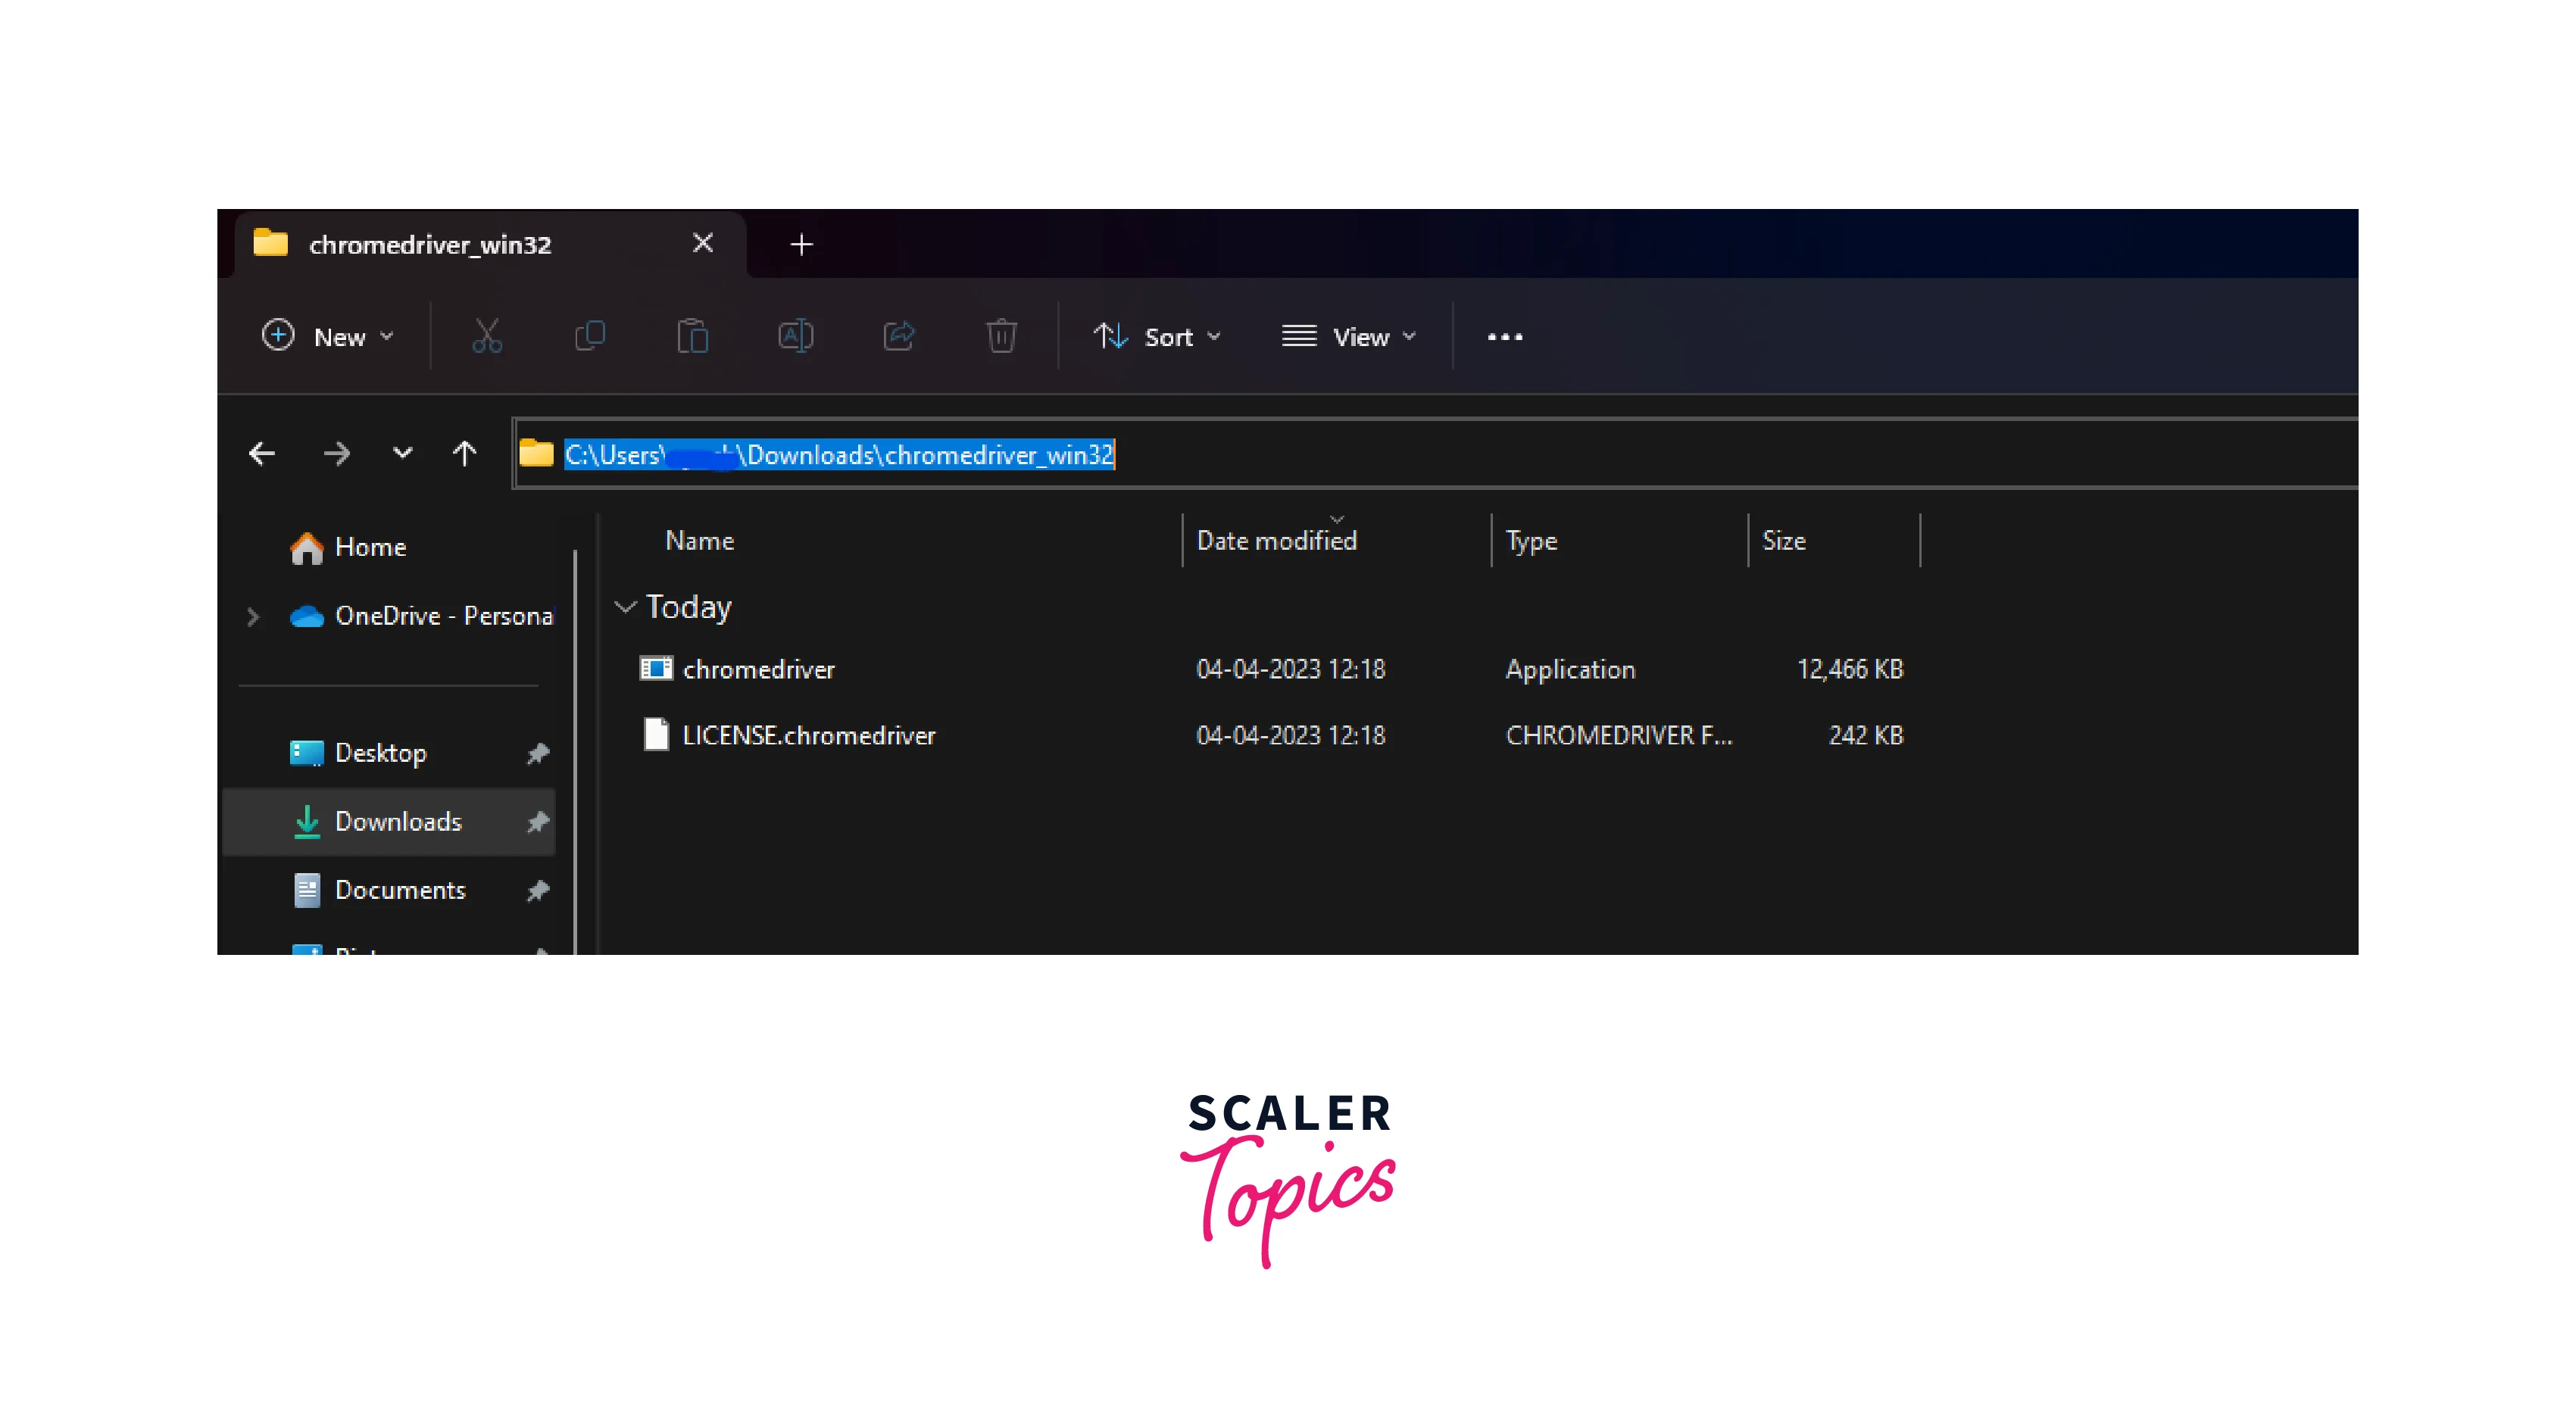
- It will download the Chrome driver in your system. Extract the zip folder.
- Copy the path and add it to the system environment variable.
 For the Firefox web driver, click this link.
Click on this link for the internet explorer web driver.
3. Download and install Selenium Client
Selenium Client is a Java library that provides APIs for interacting with Selenium Server and WebDriver components. It bridges your Java code and the Selenium WebDriver, allowing you to write and execute automated tests for web browsers using Selenium.
Follow the given steps to download and install the Selenium client.
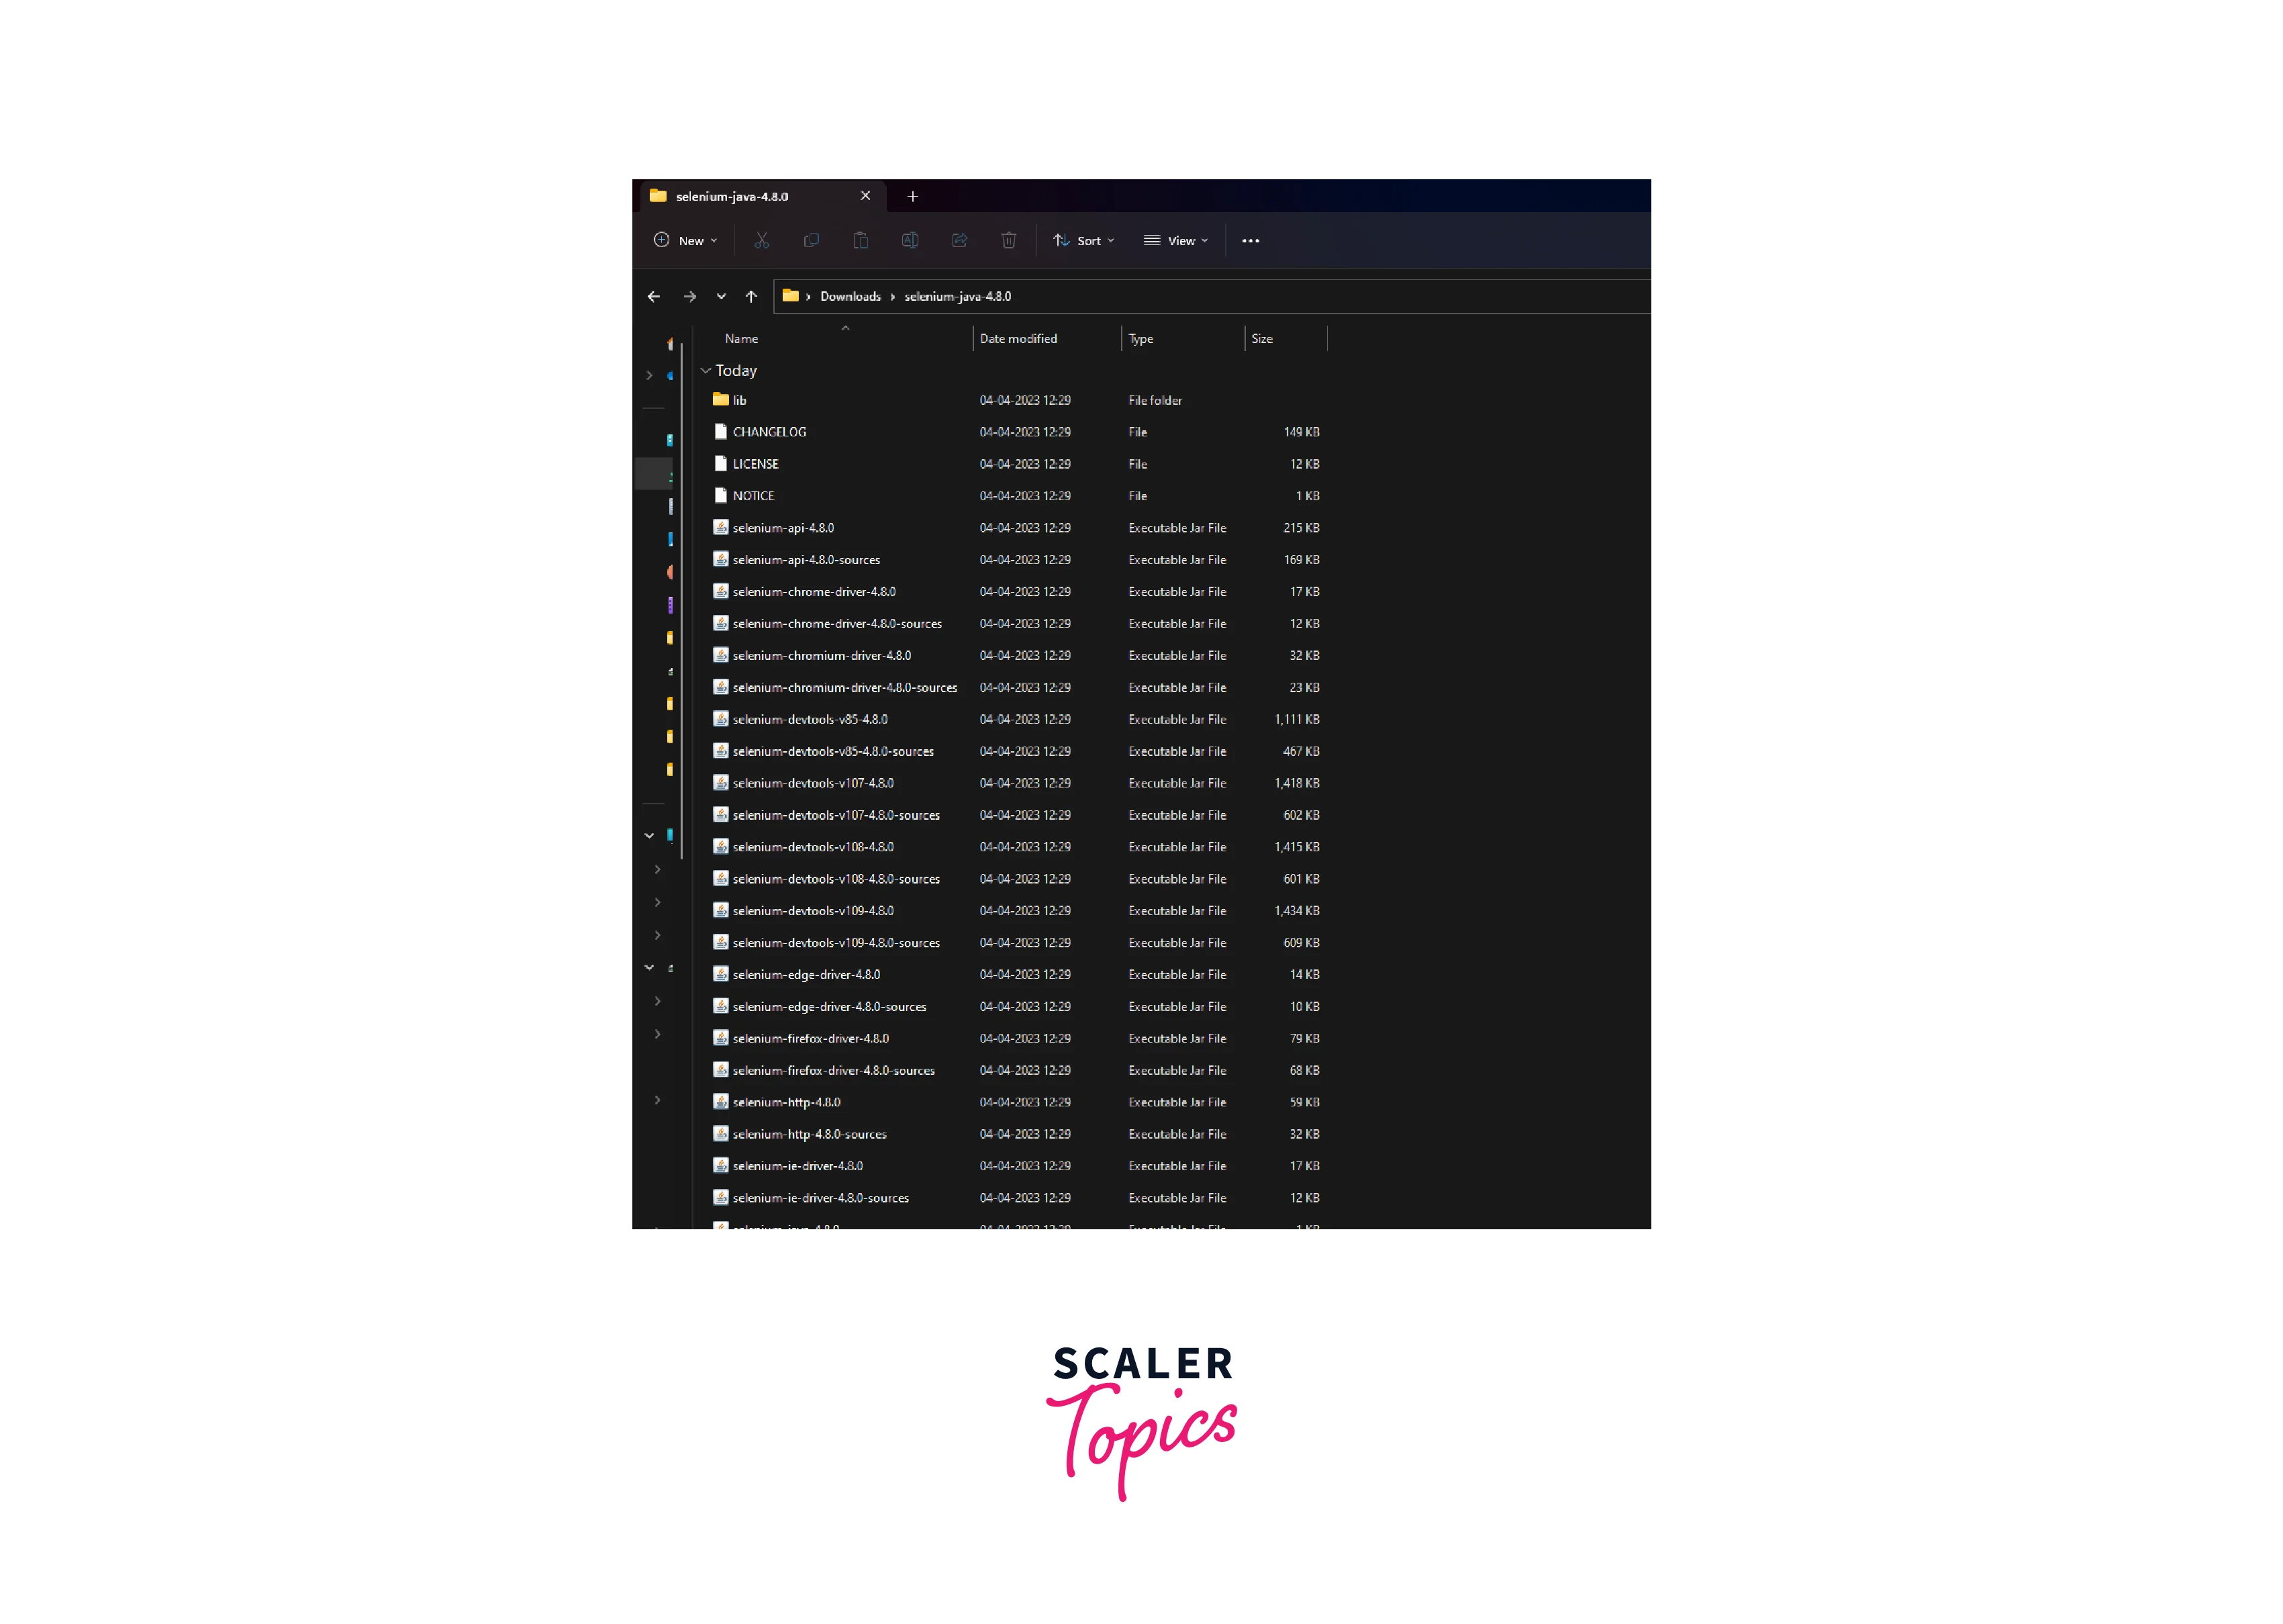
- Click on this link to download the Selenium. Extract this zip folder.
4. Download and Install Eclipse IDE
Follow these steps:
- Click on this link and go to the official Eclipse website and download Eclipse.
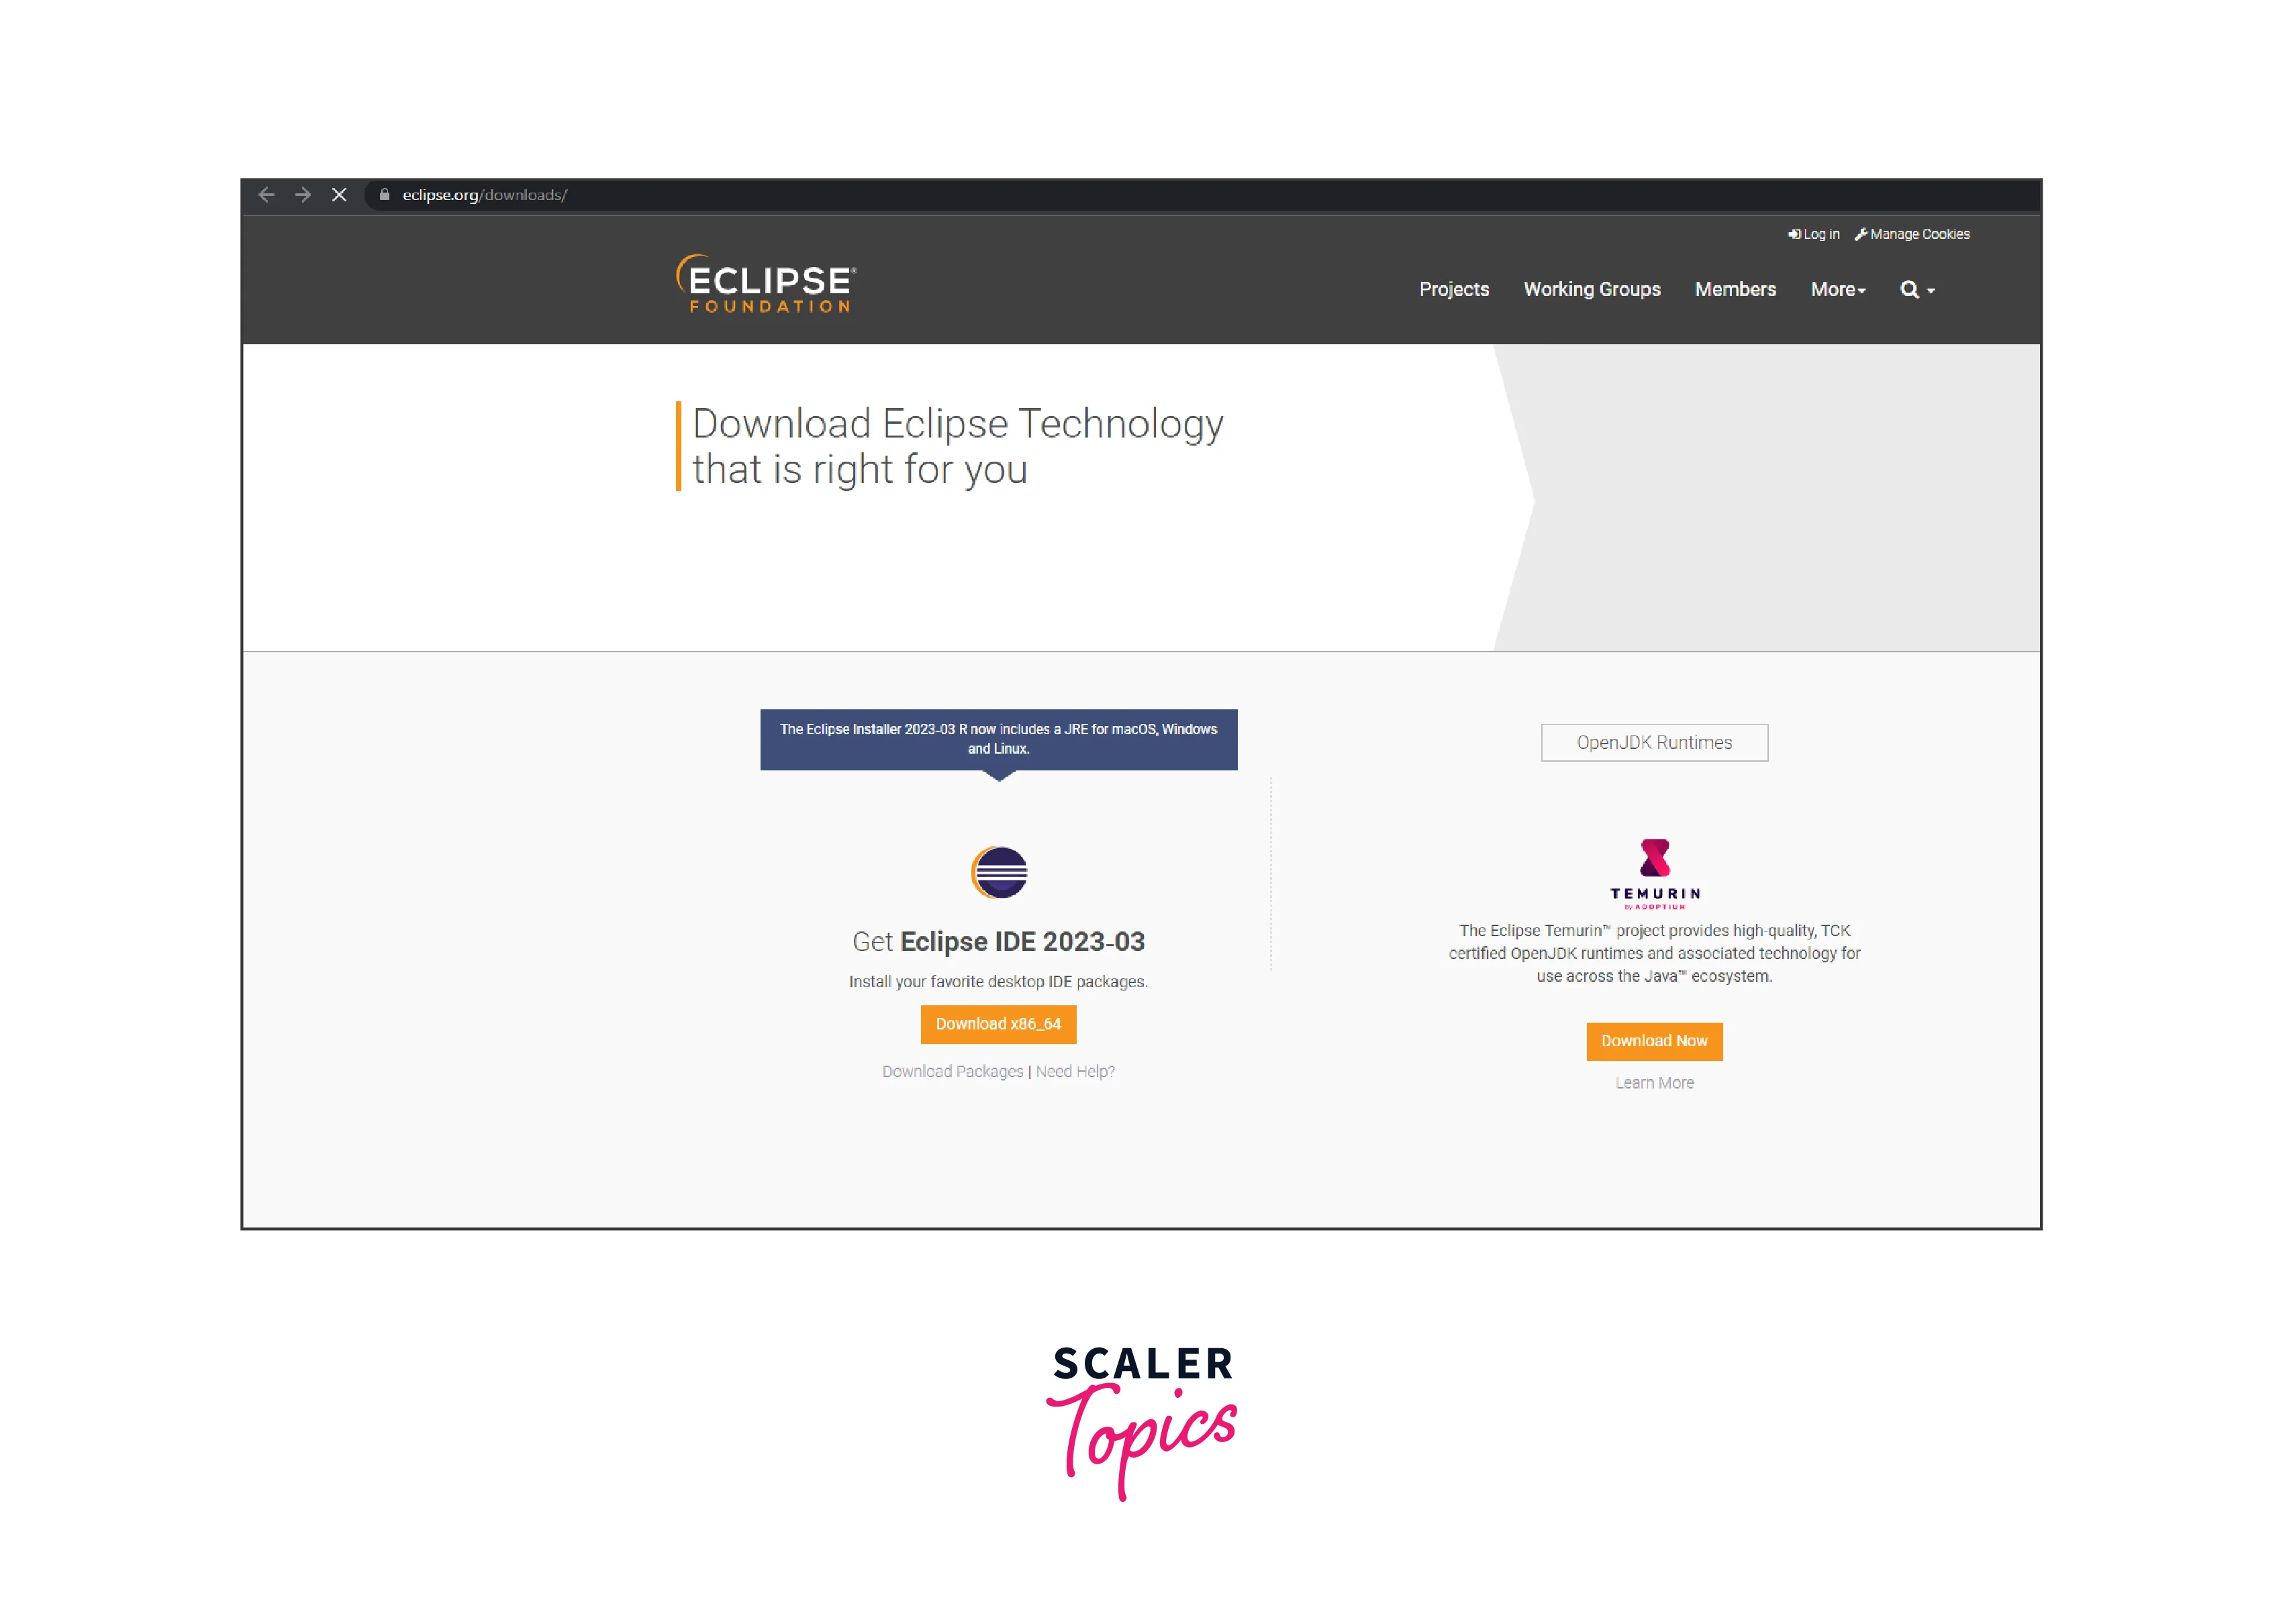
- Click on the Download packages.

- Click on it to download the Eclipse IDE for Windows.
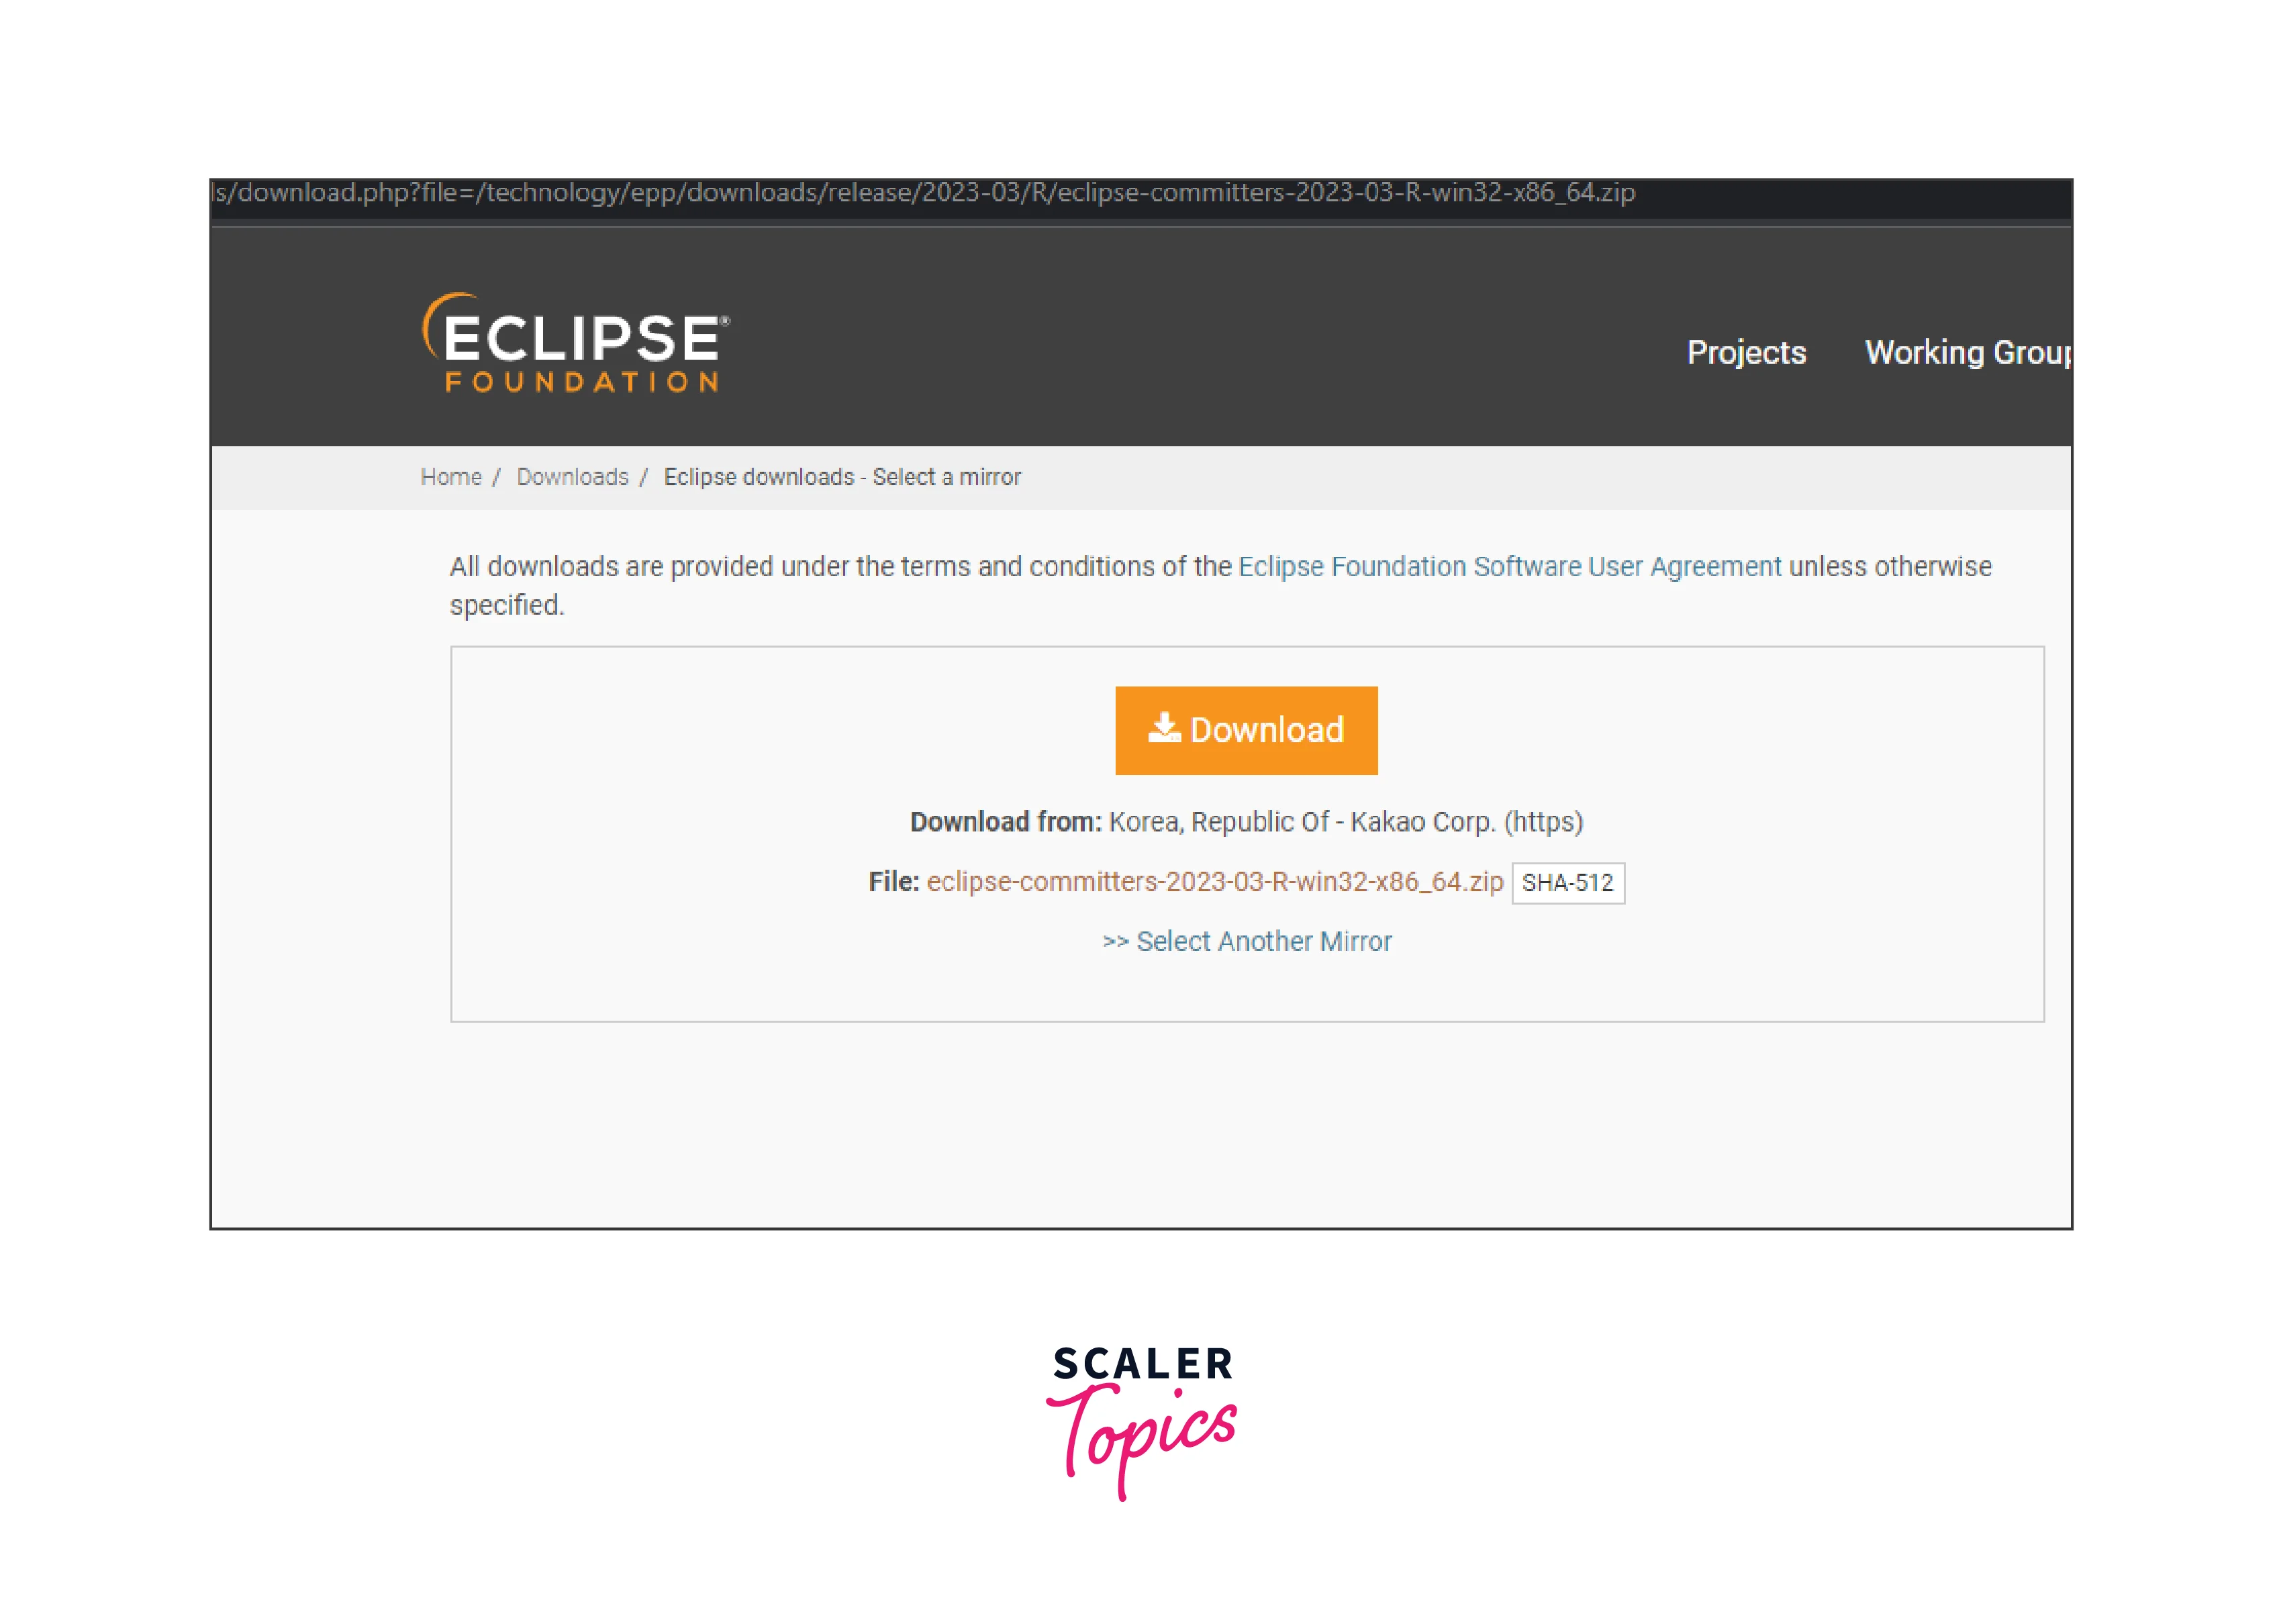
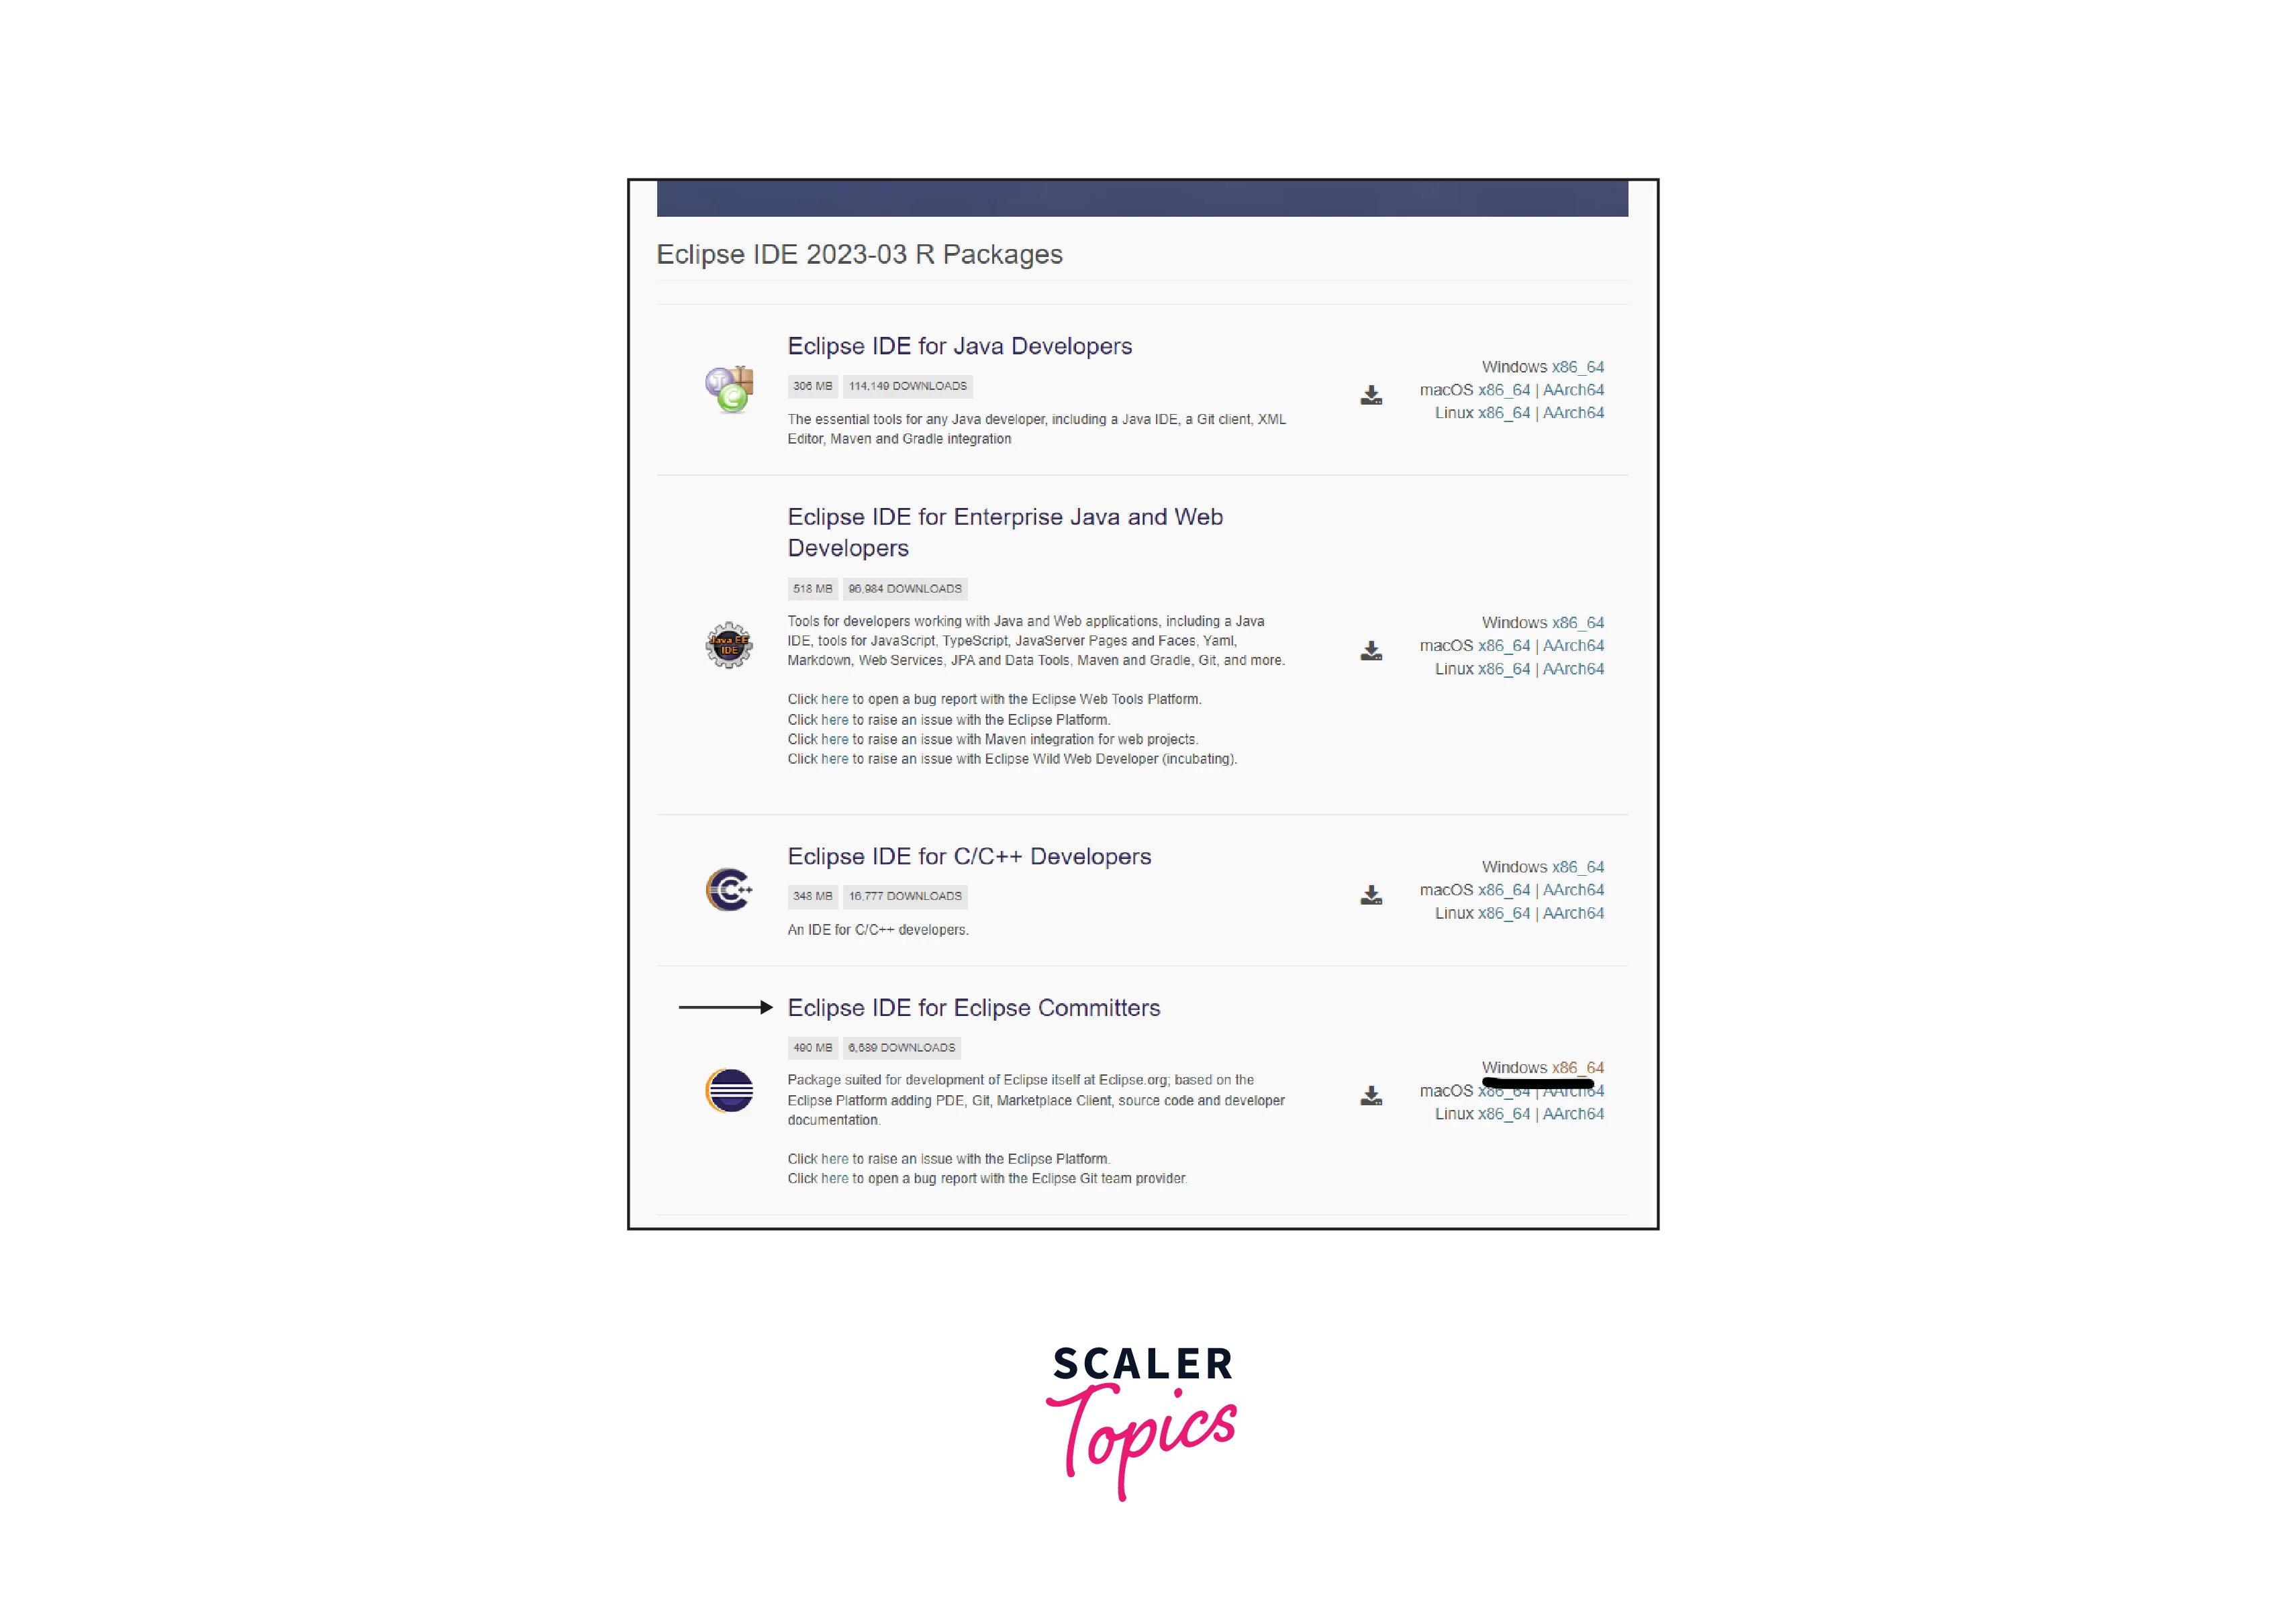 4. Click on Download.
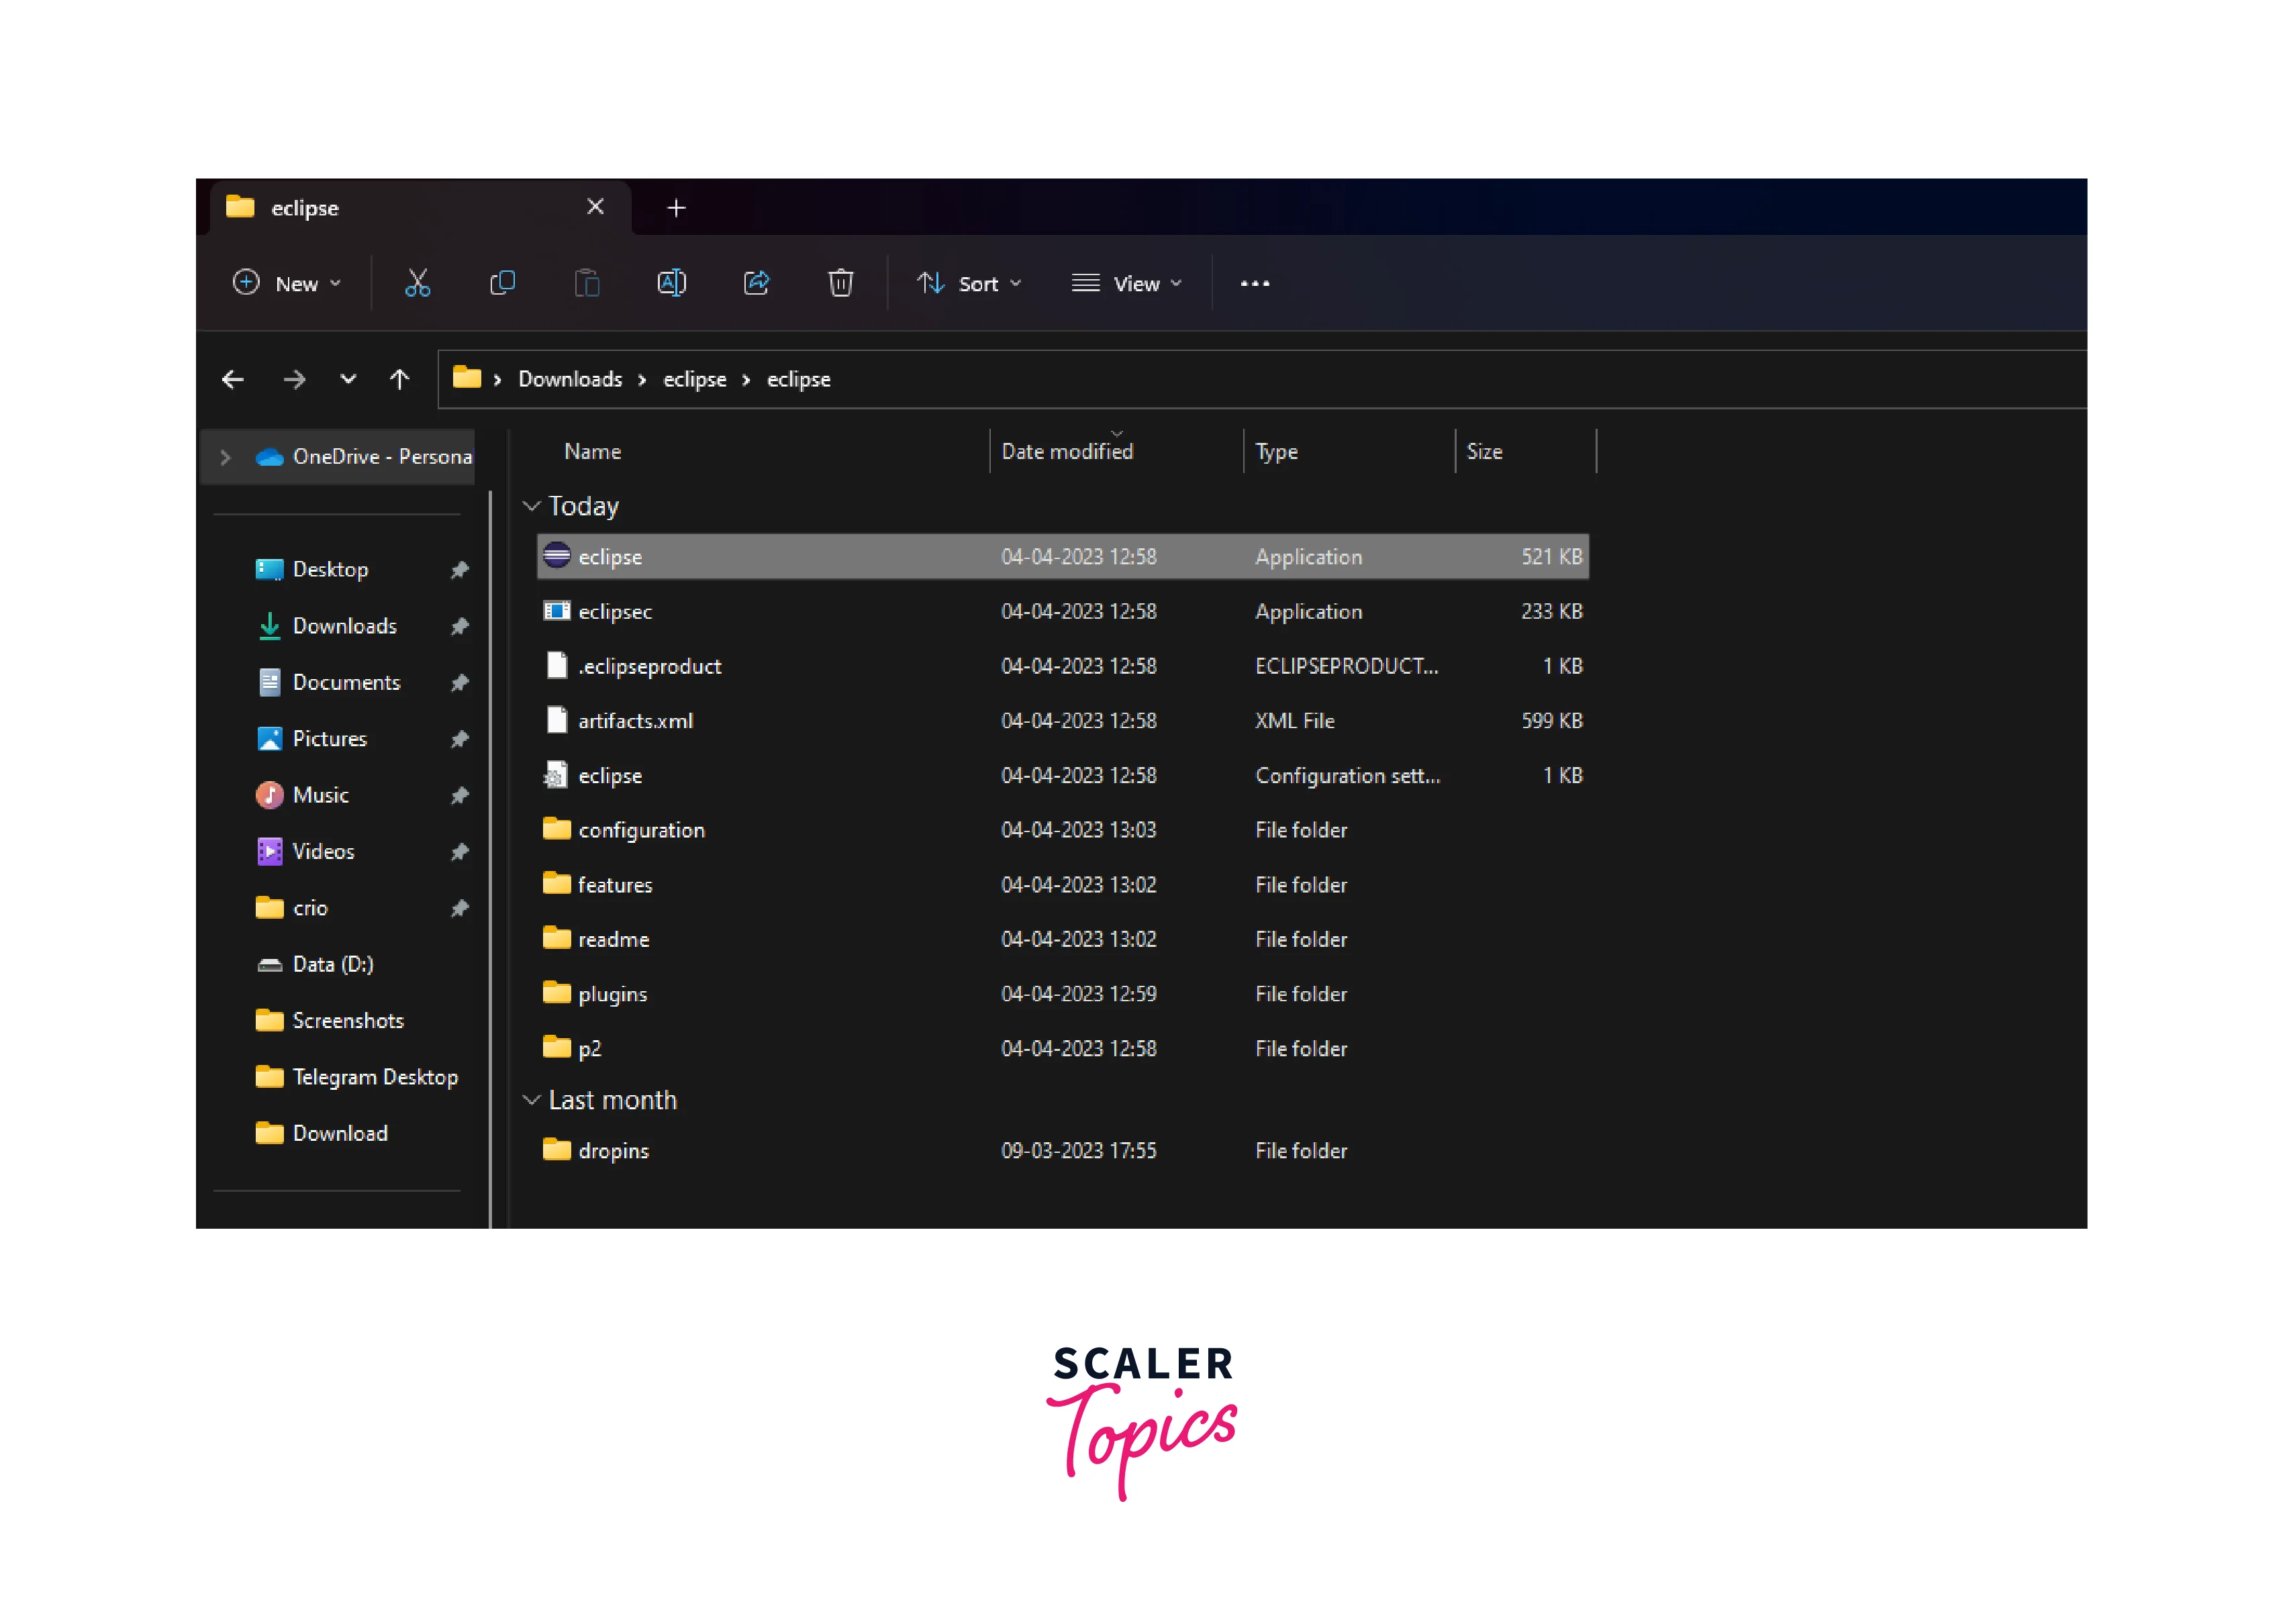
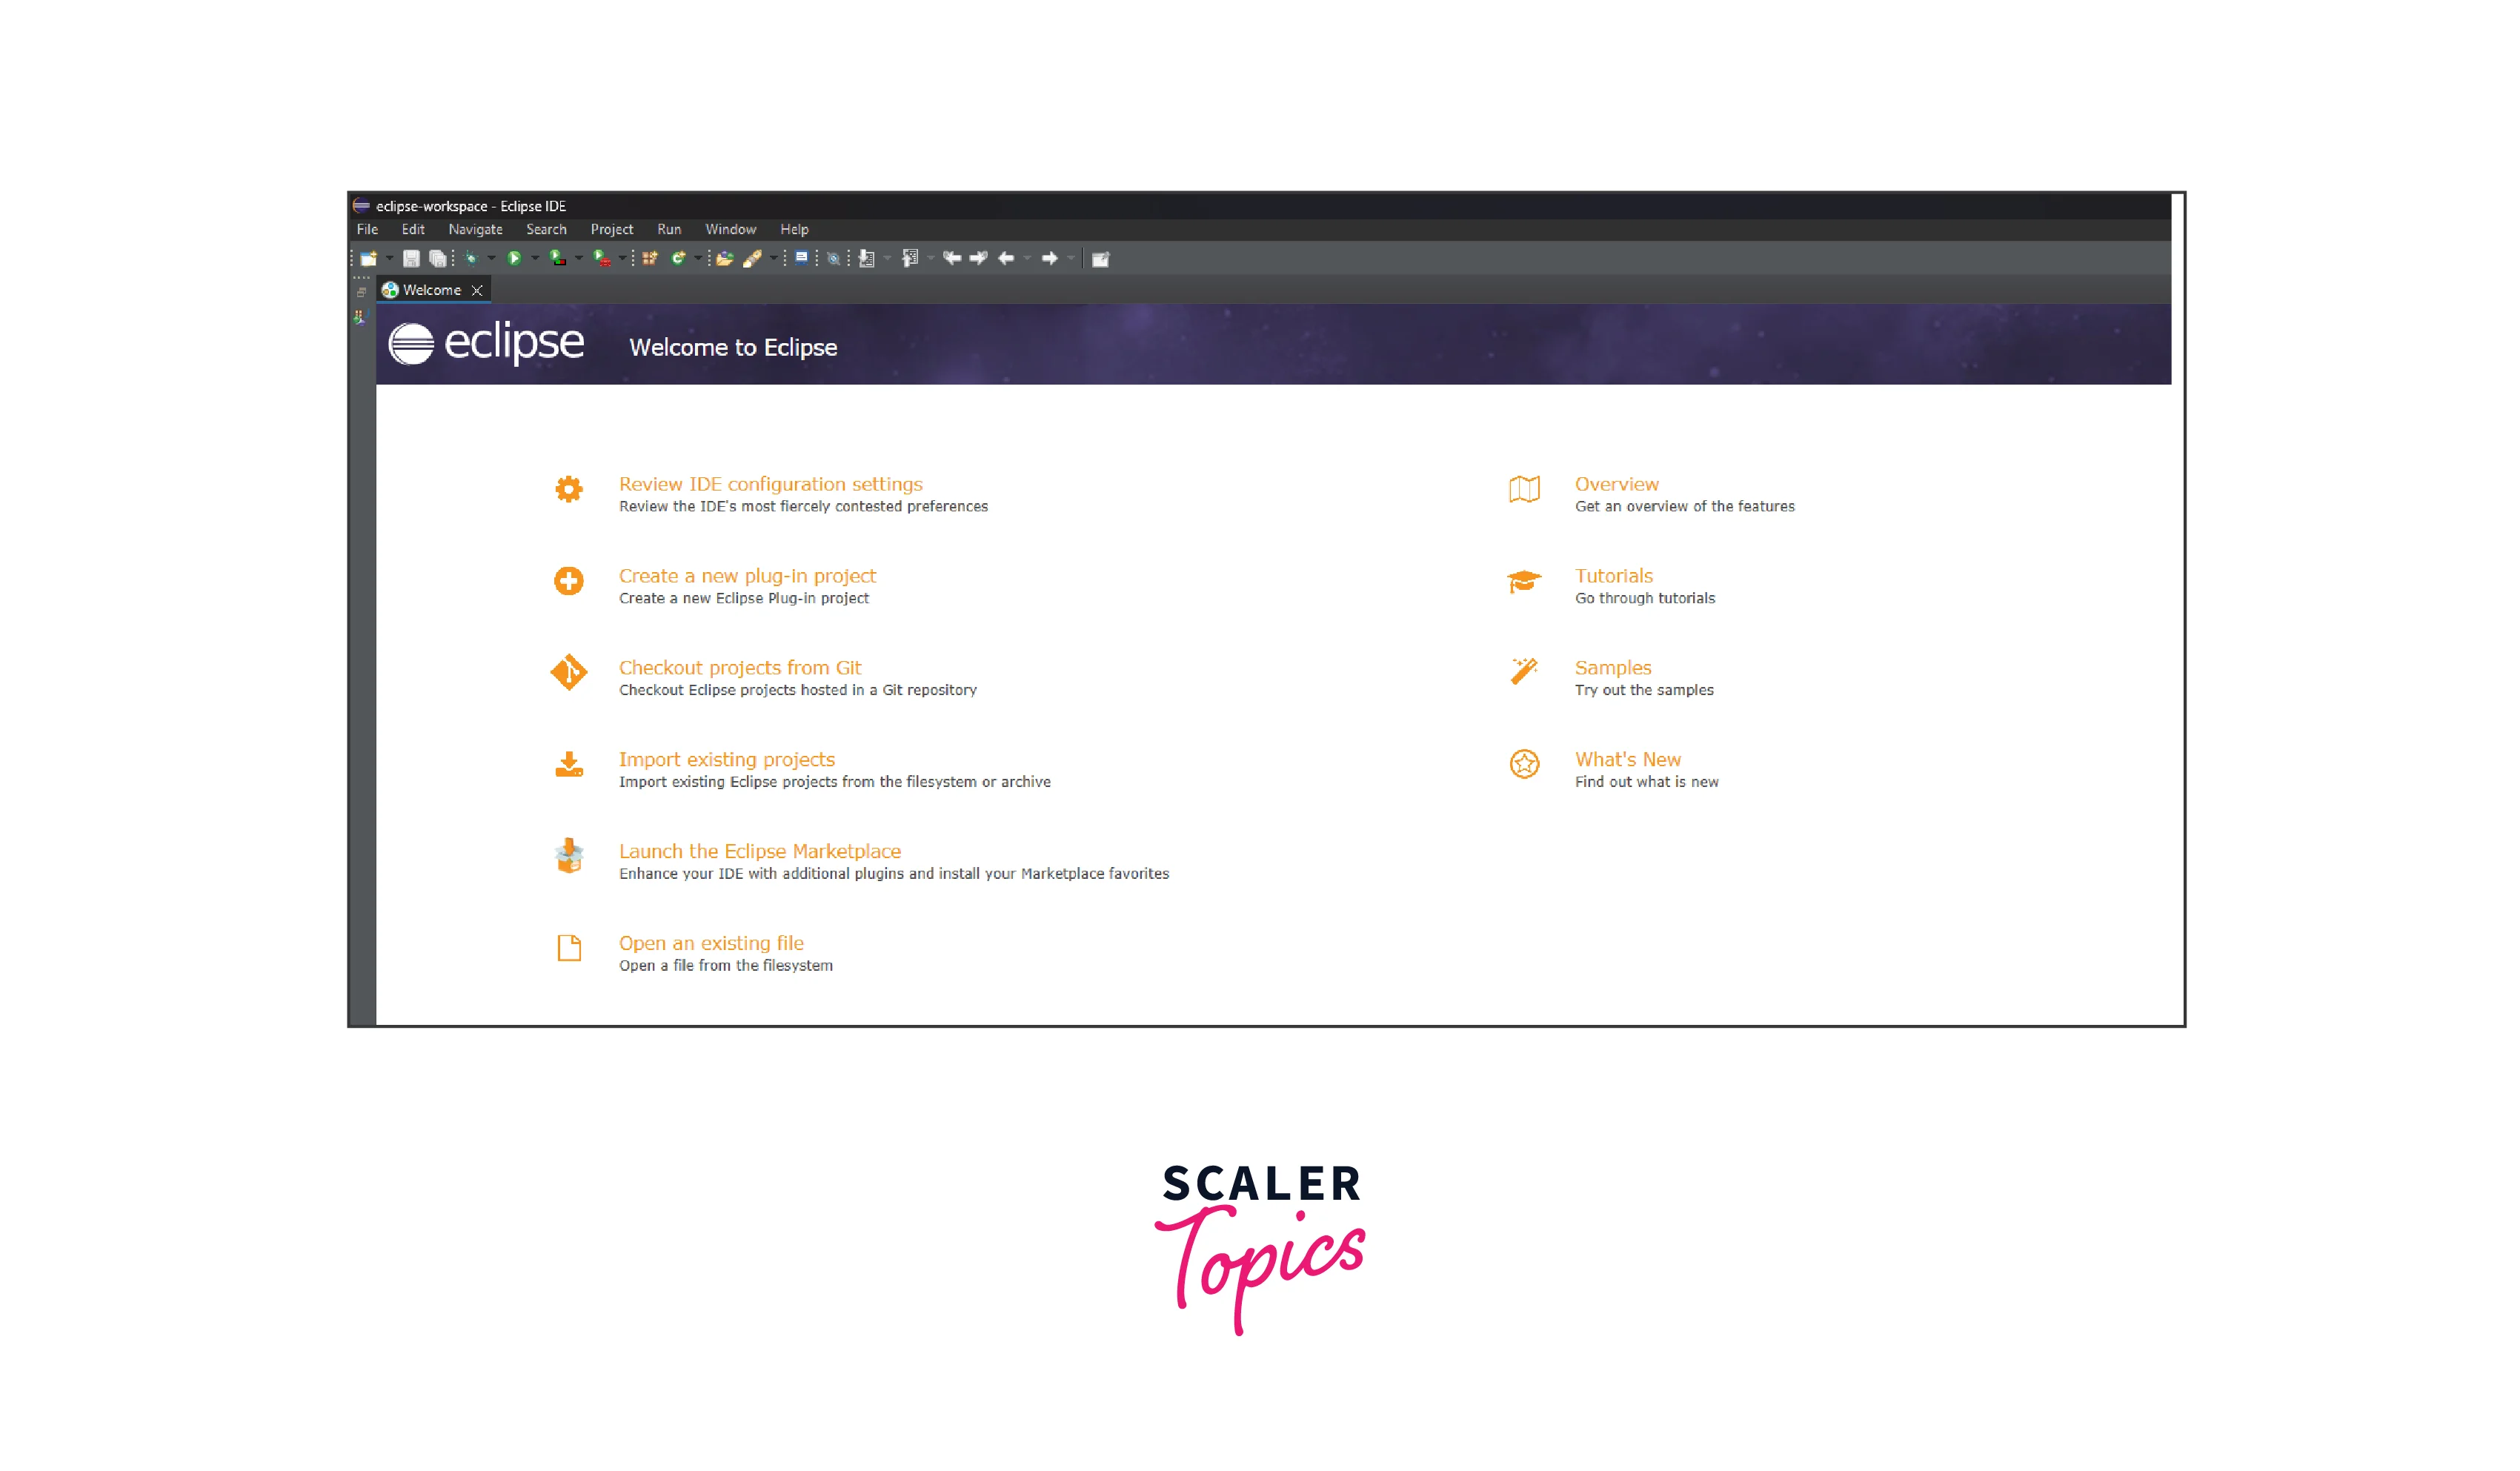
 5. Extract the zip folder and open Eclipse.
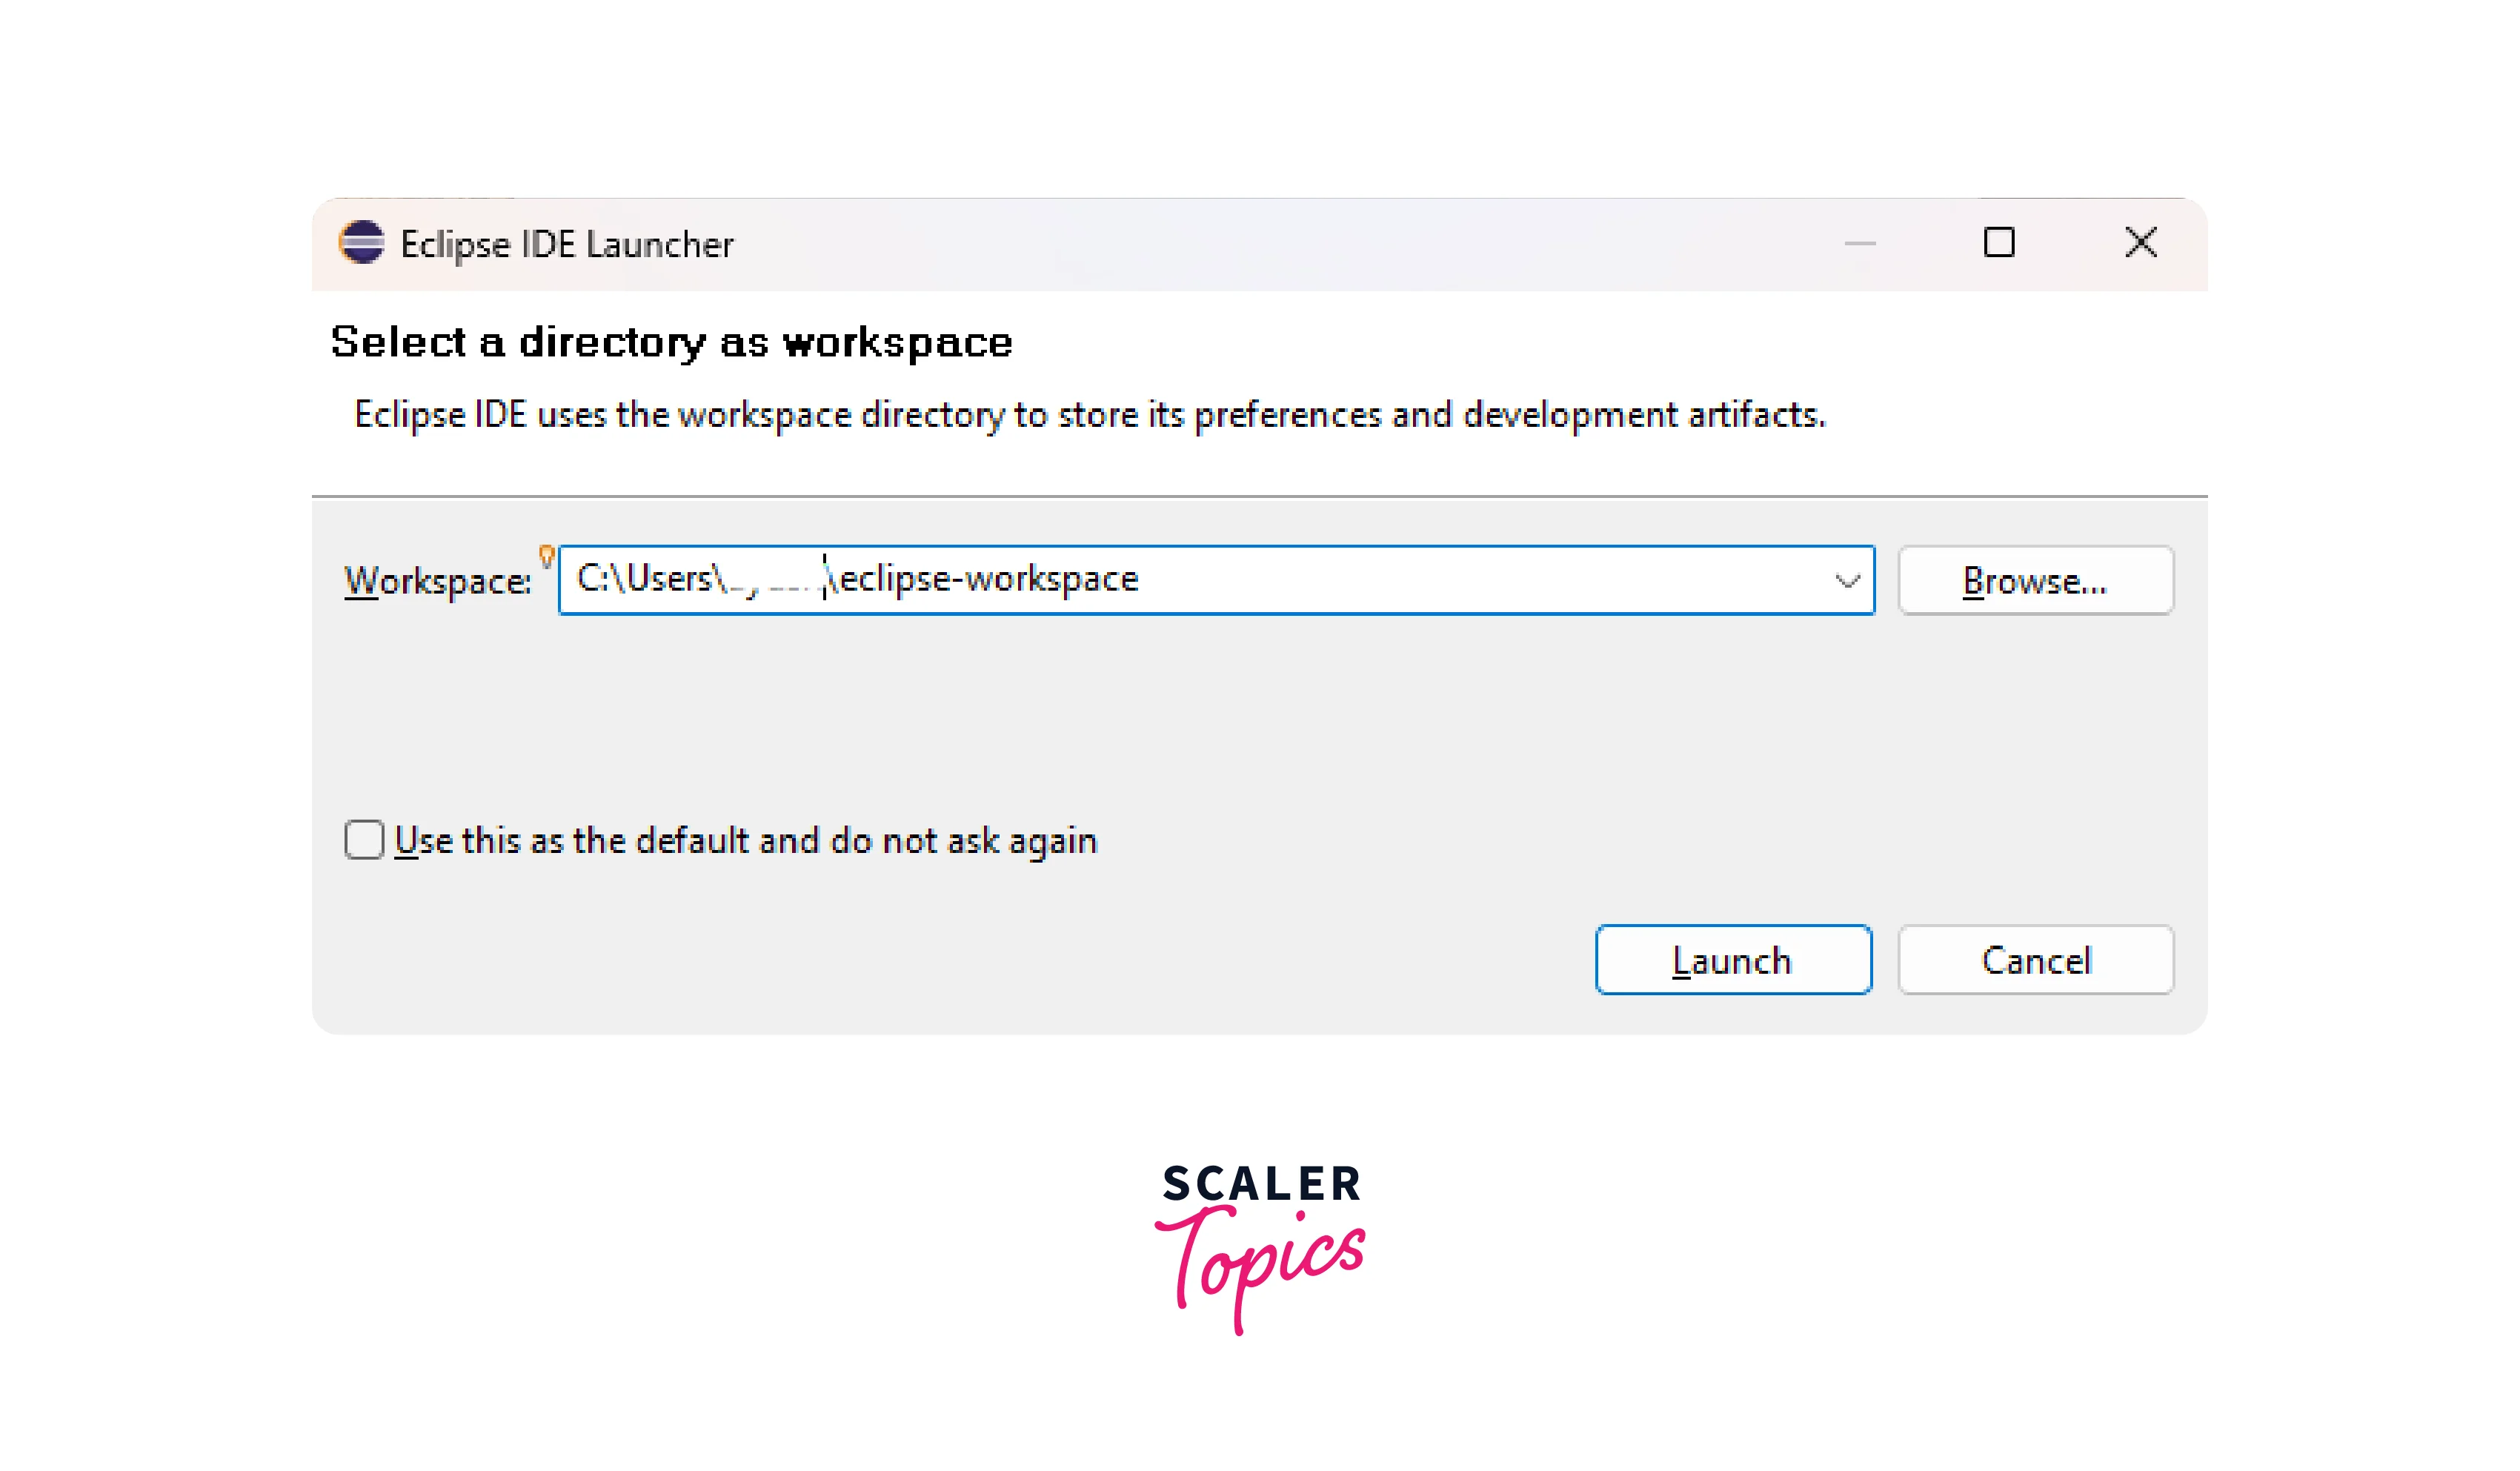
 6. It needs a workspace to store all the scripts and test results. Click on launch.
 7. The Eclipse installation is done.
How to Configure Selenium in Eclipse
Let’s configure Selenium in Eclipse. It involves creating a workspace for it, then creating new projects, creating a new package under the project, and new class under the packages.
Launch Eclipse and create a workspace
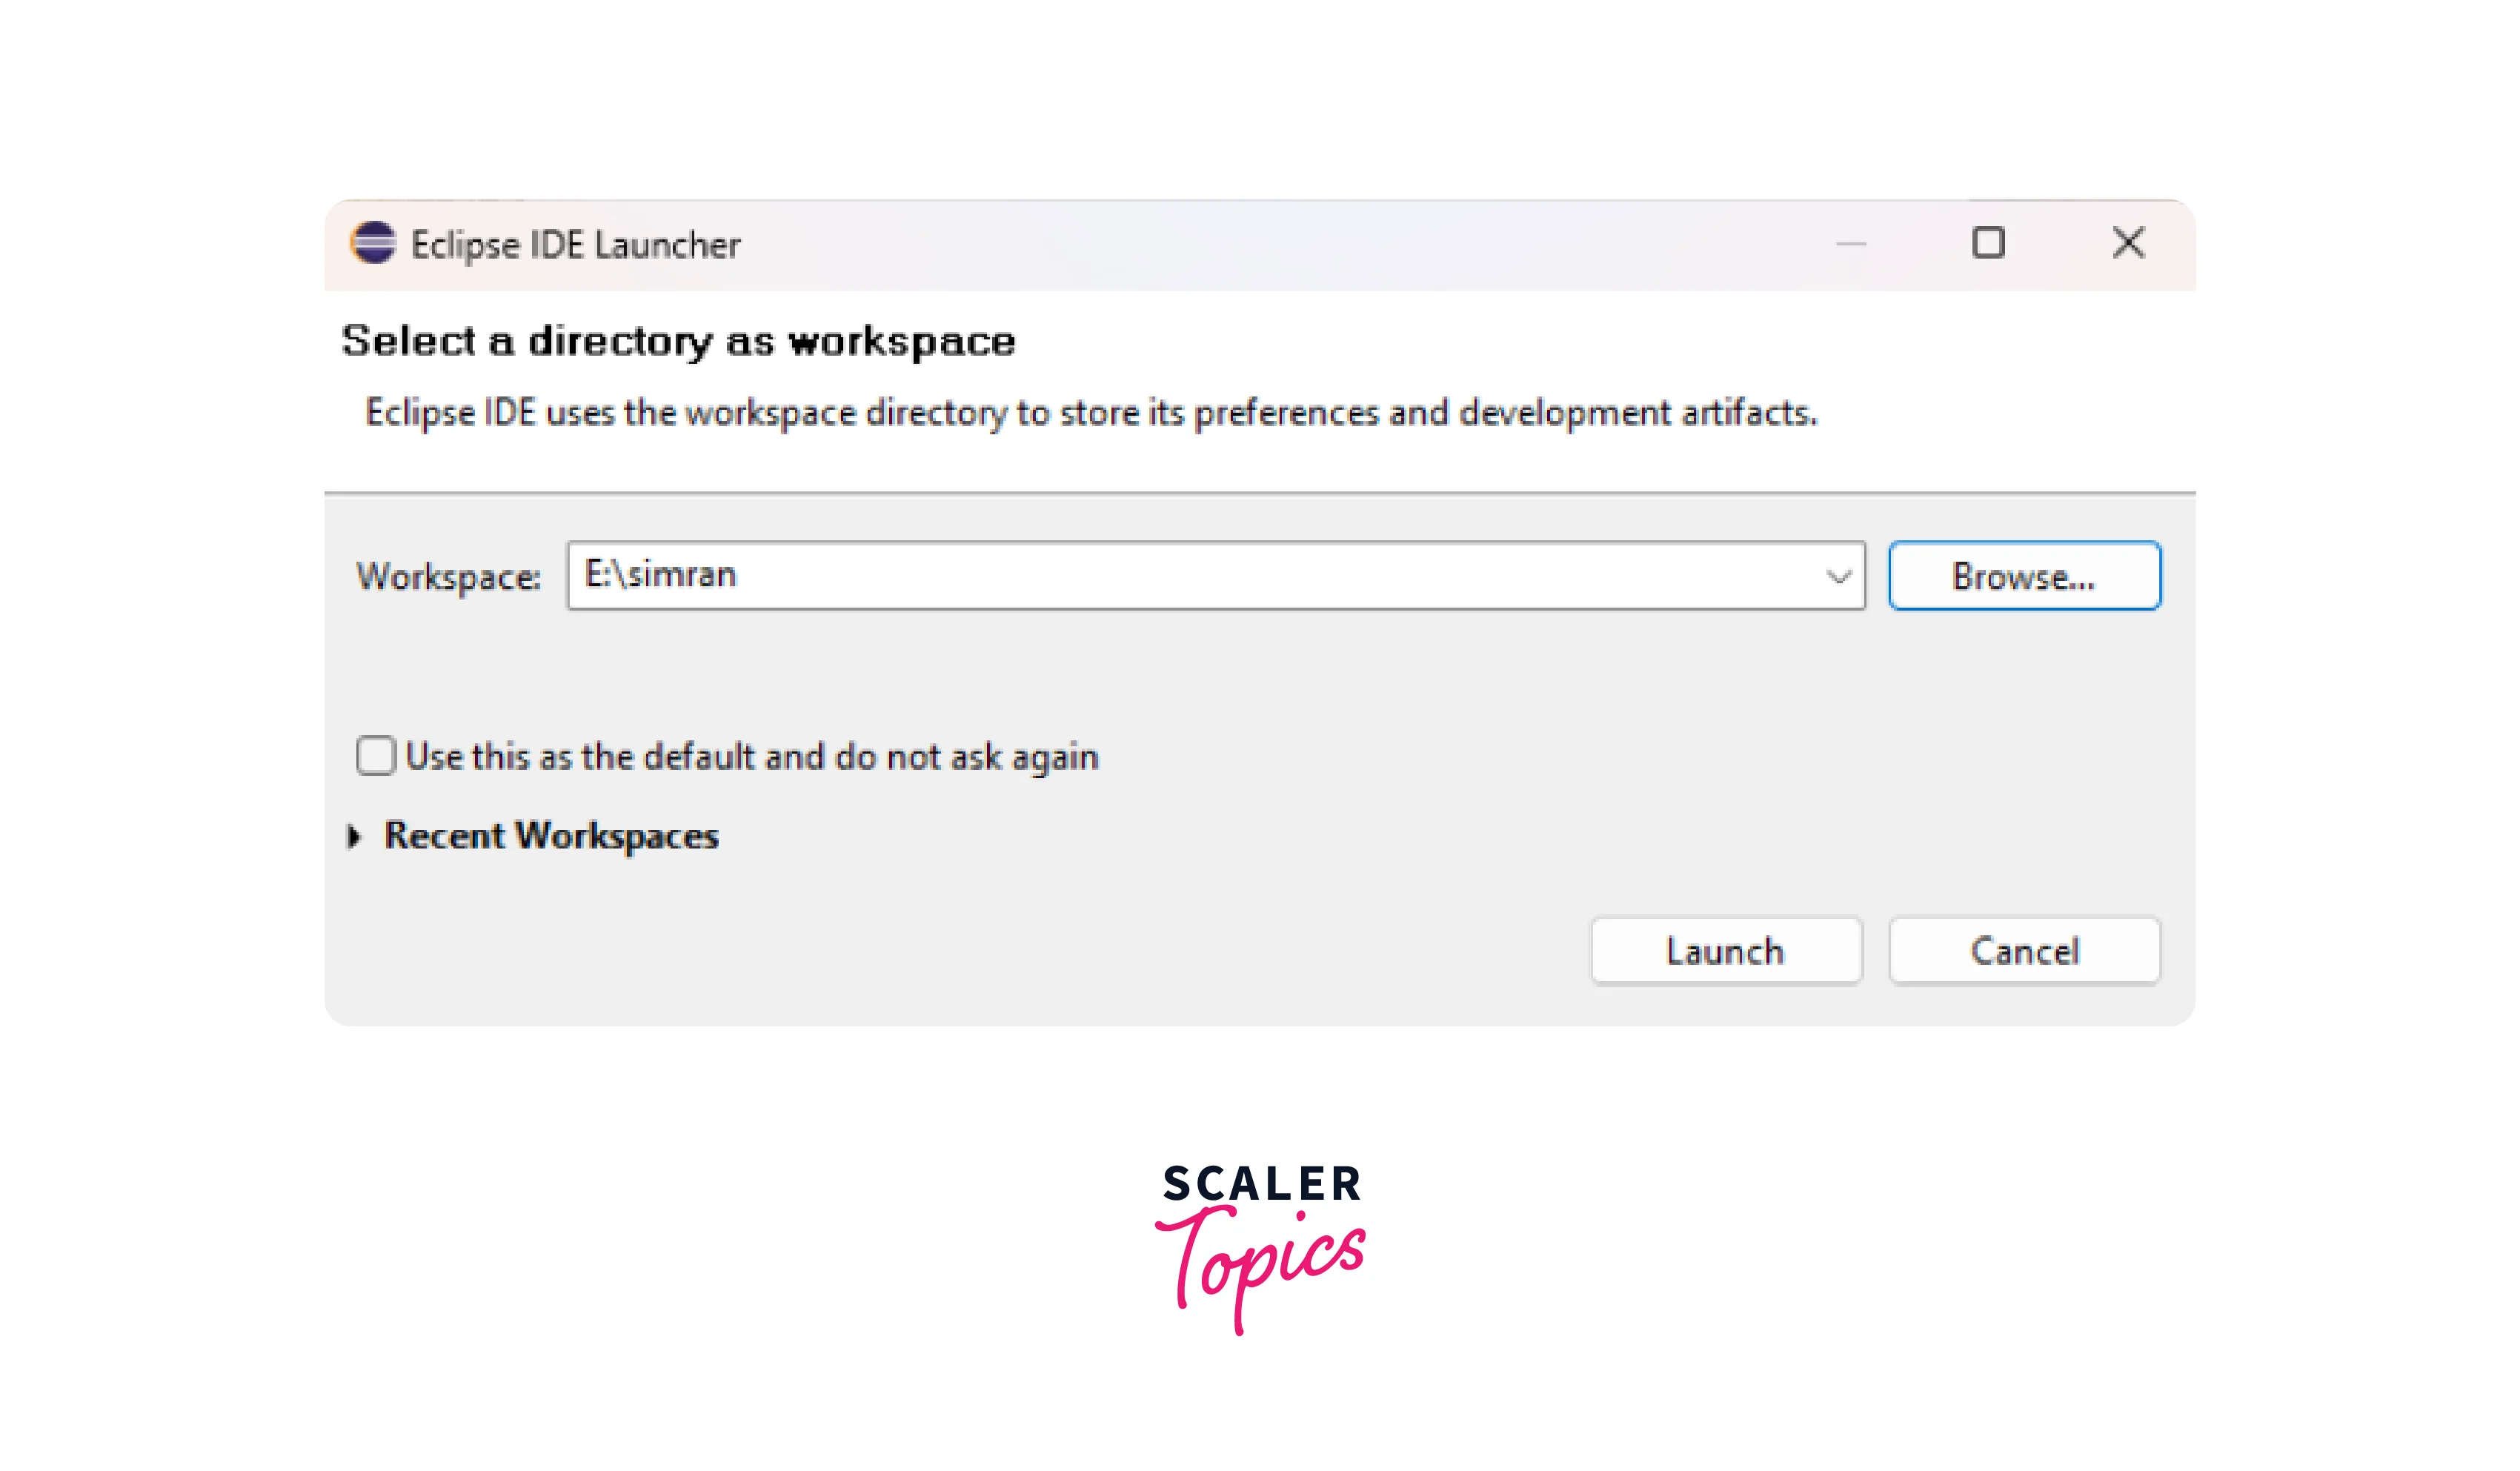
Launch Eclipse, and it will ask you to select a directory as a workspace. Specify the directory. [IMAGE_20 START SAMPLE]
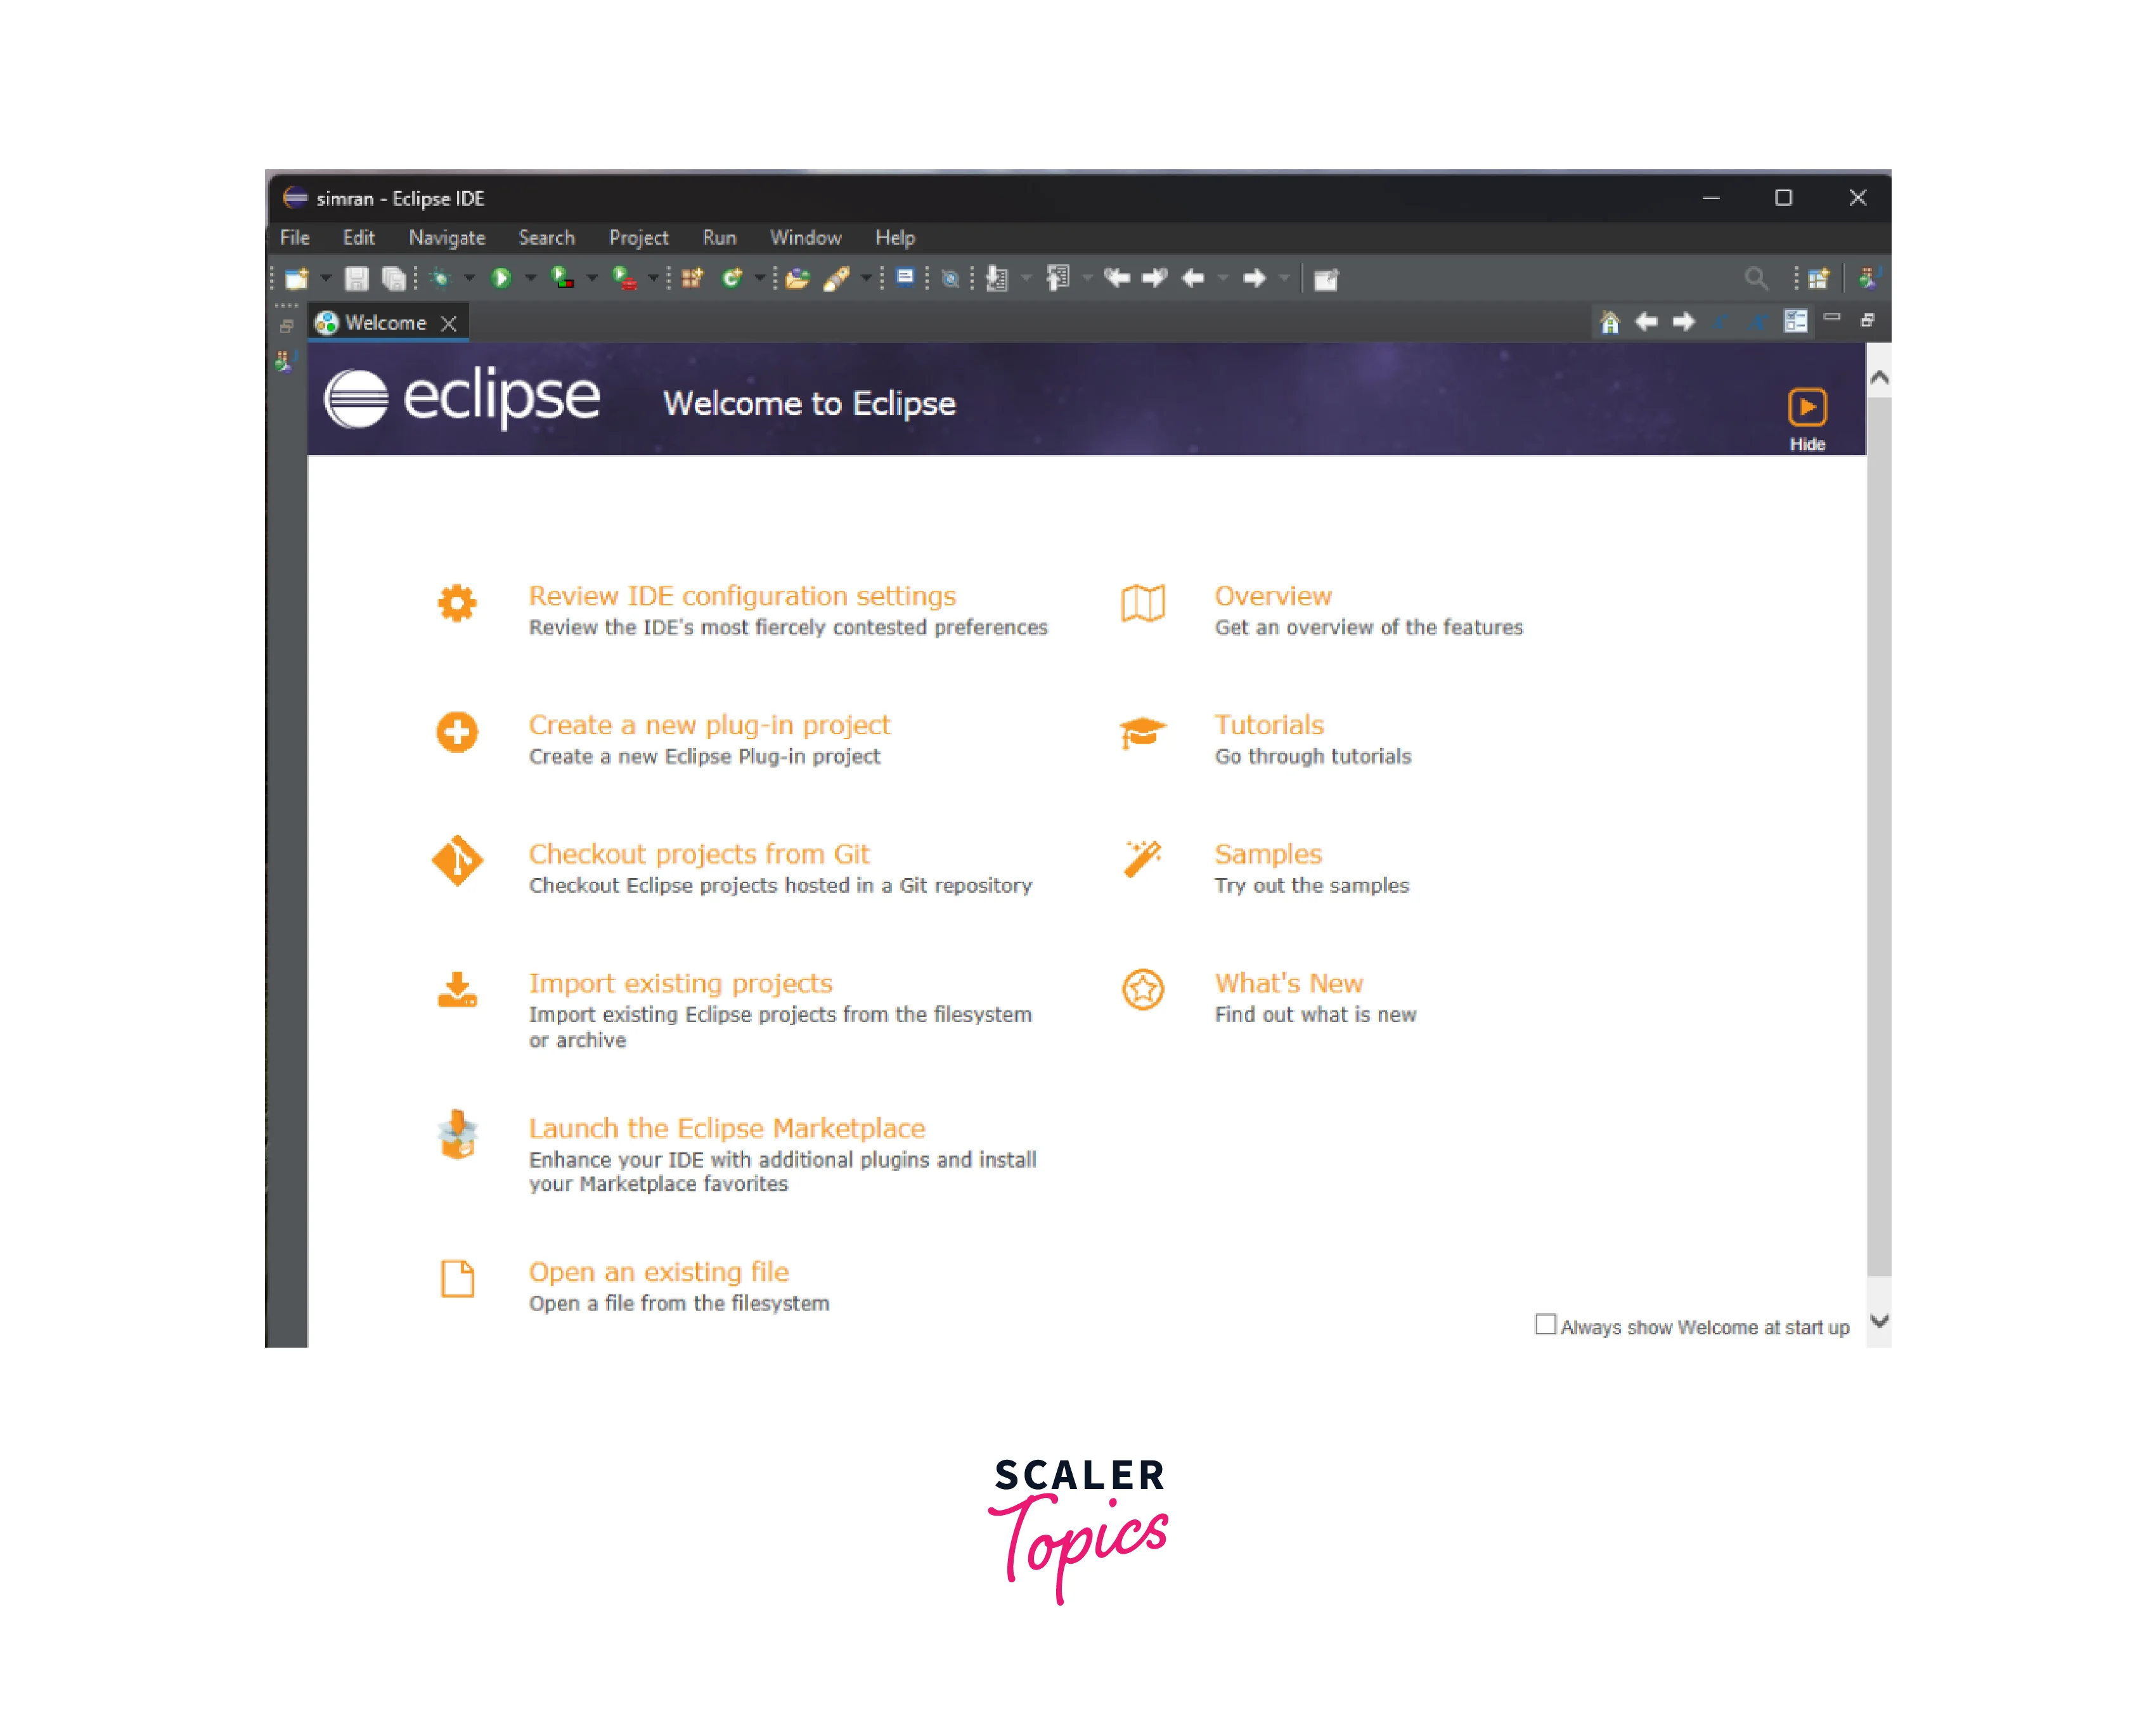
 The workspace gets created
Create a new project in Eclipse
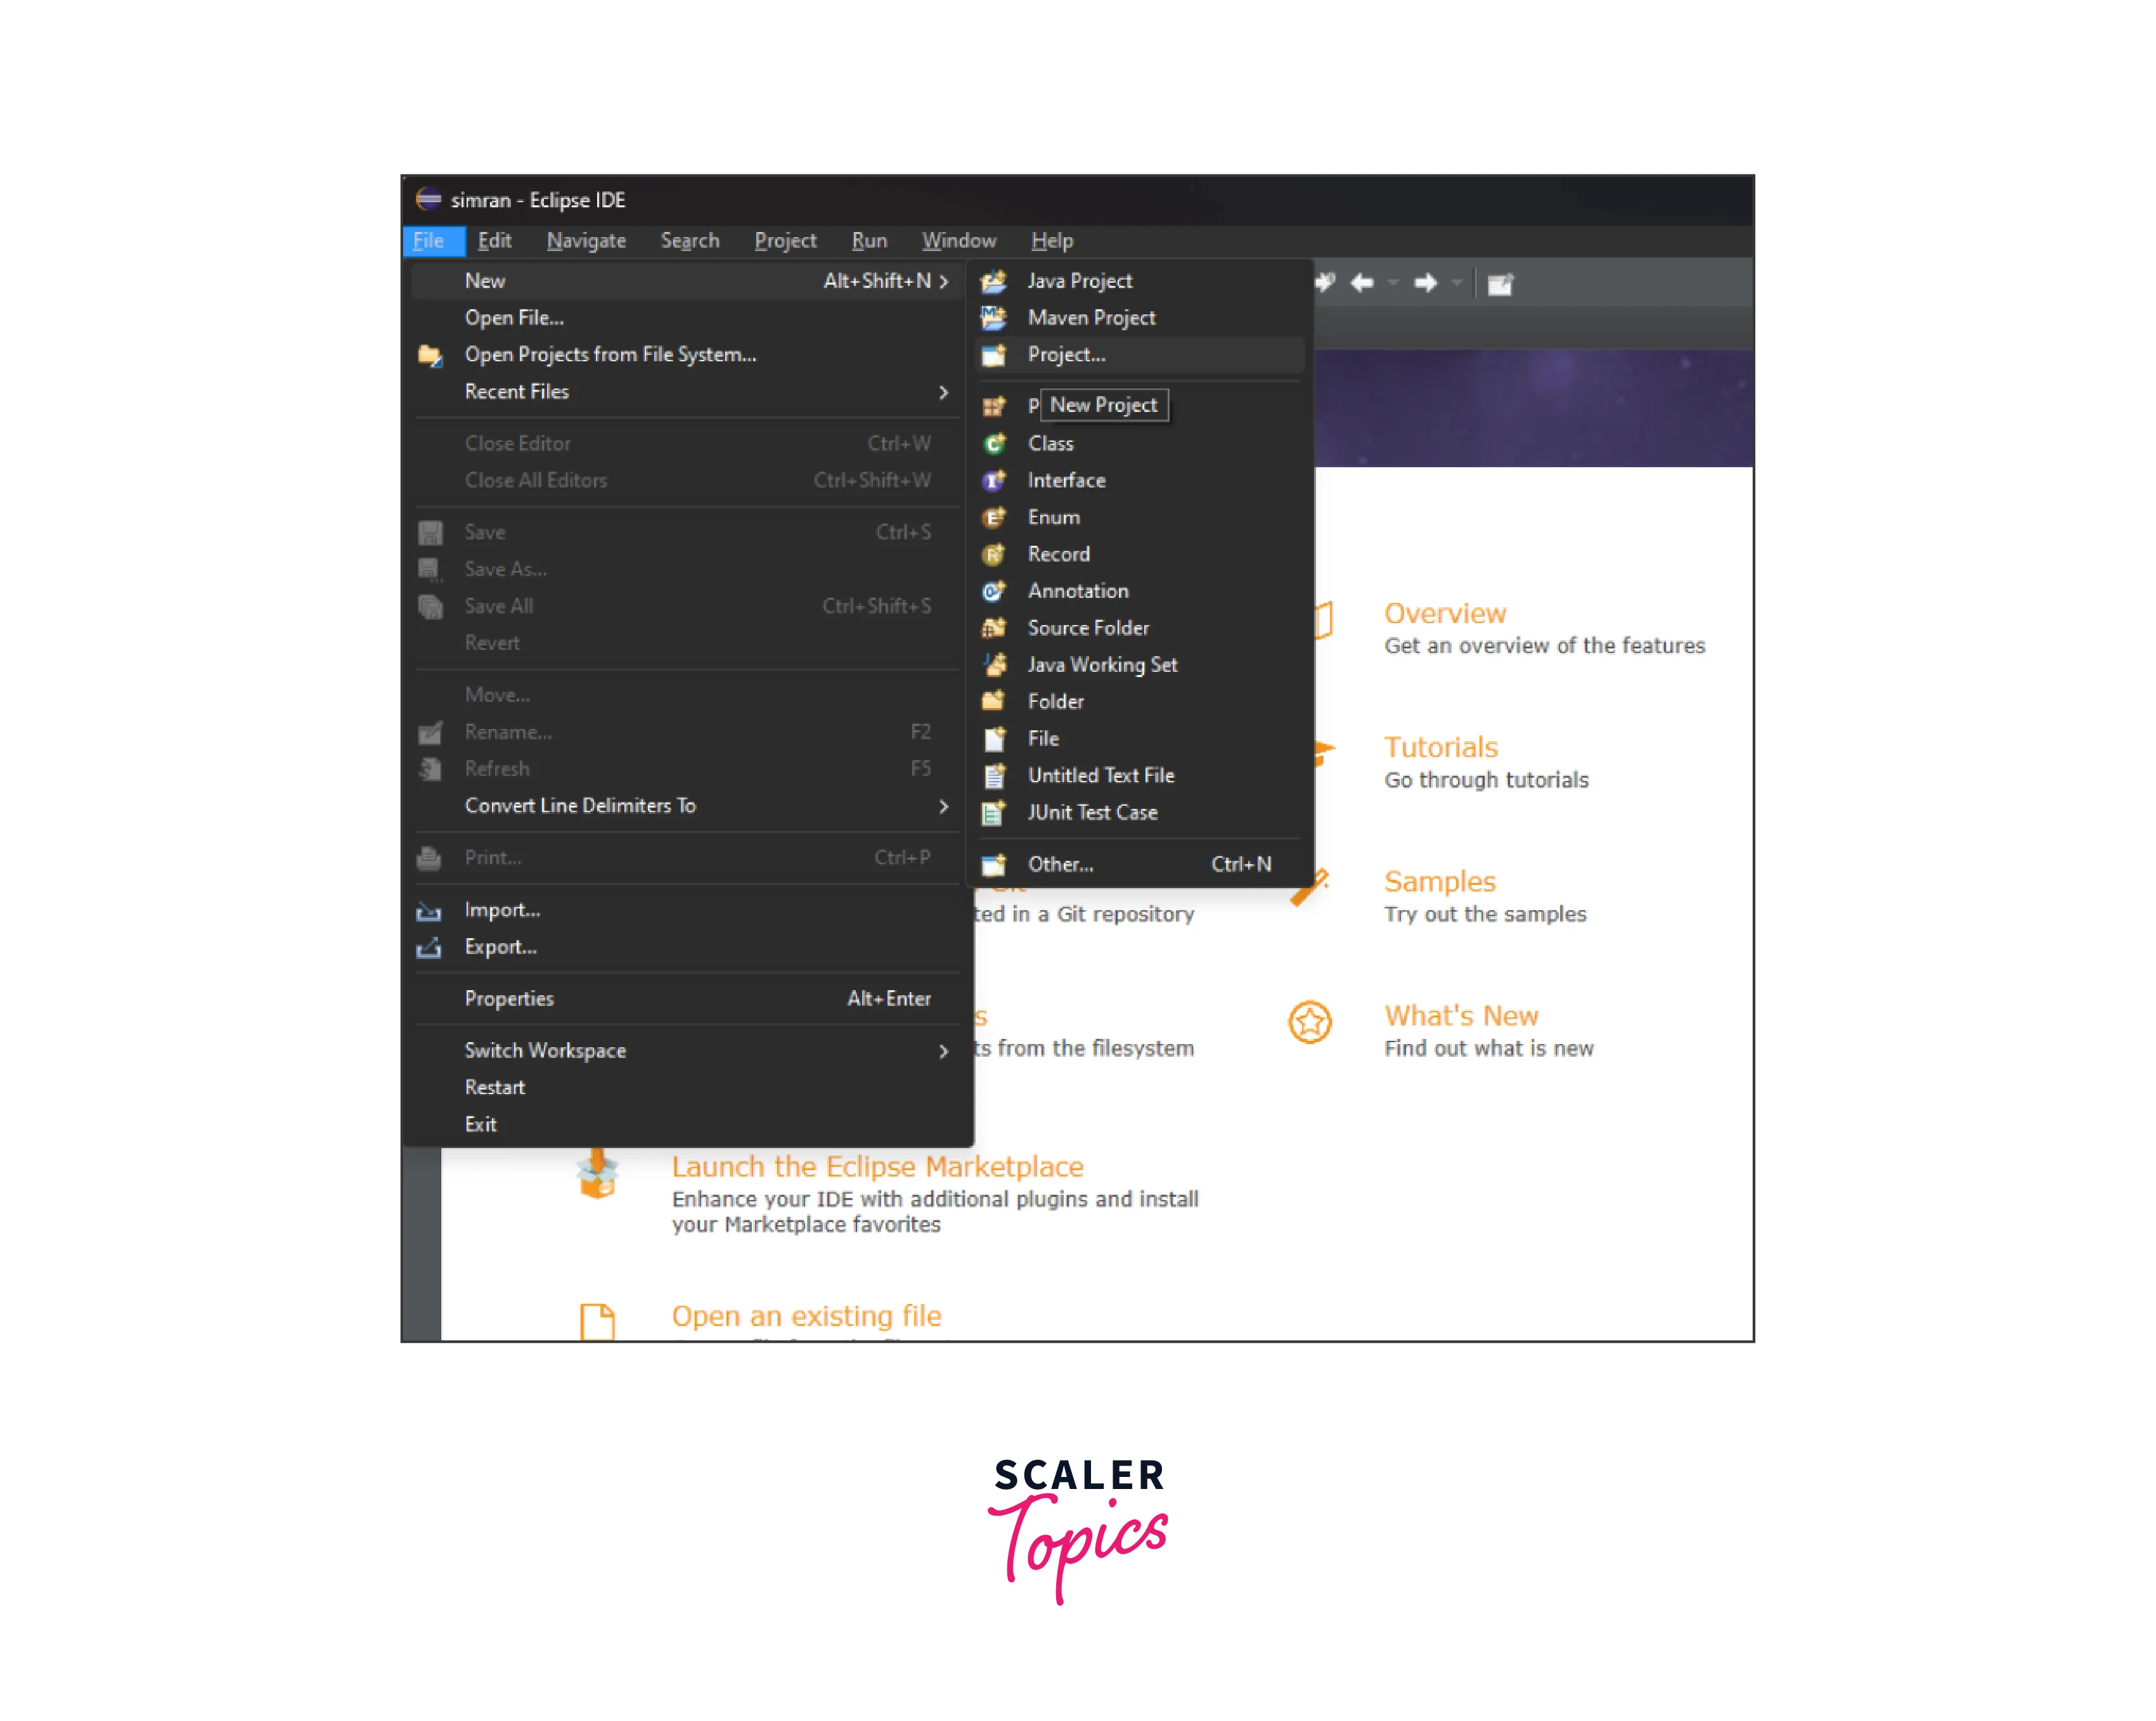
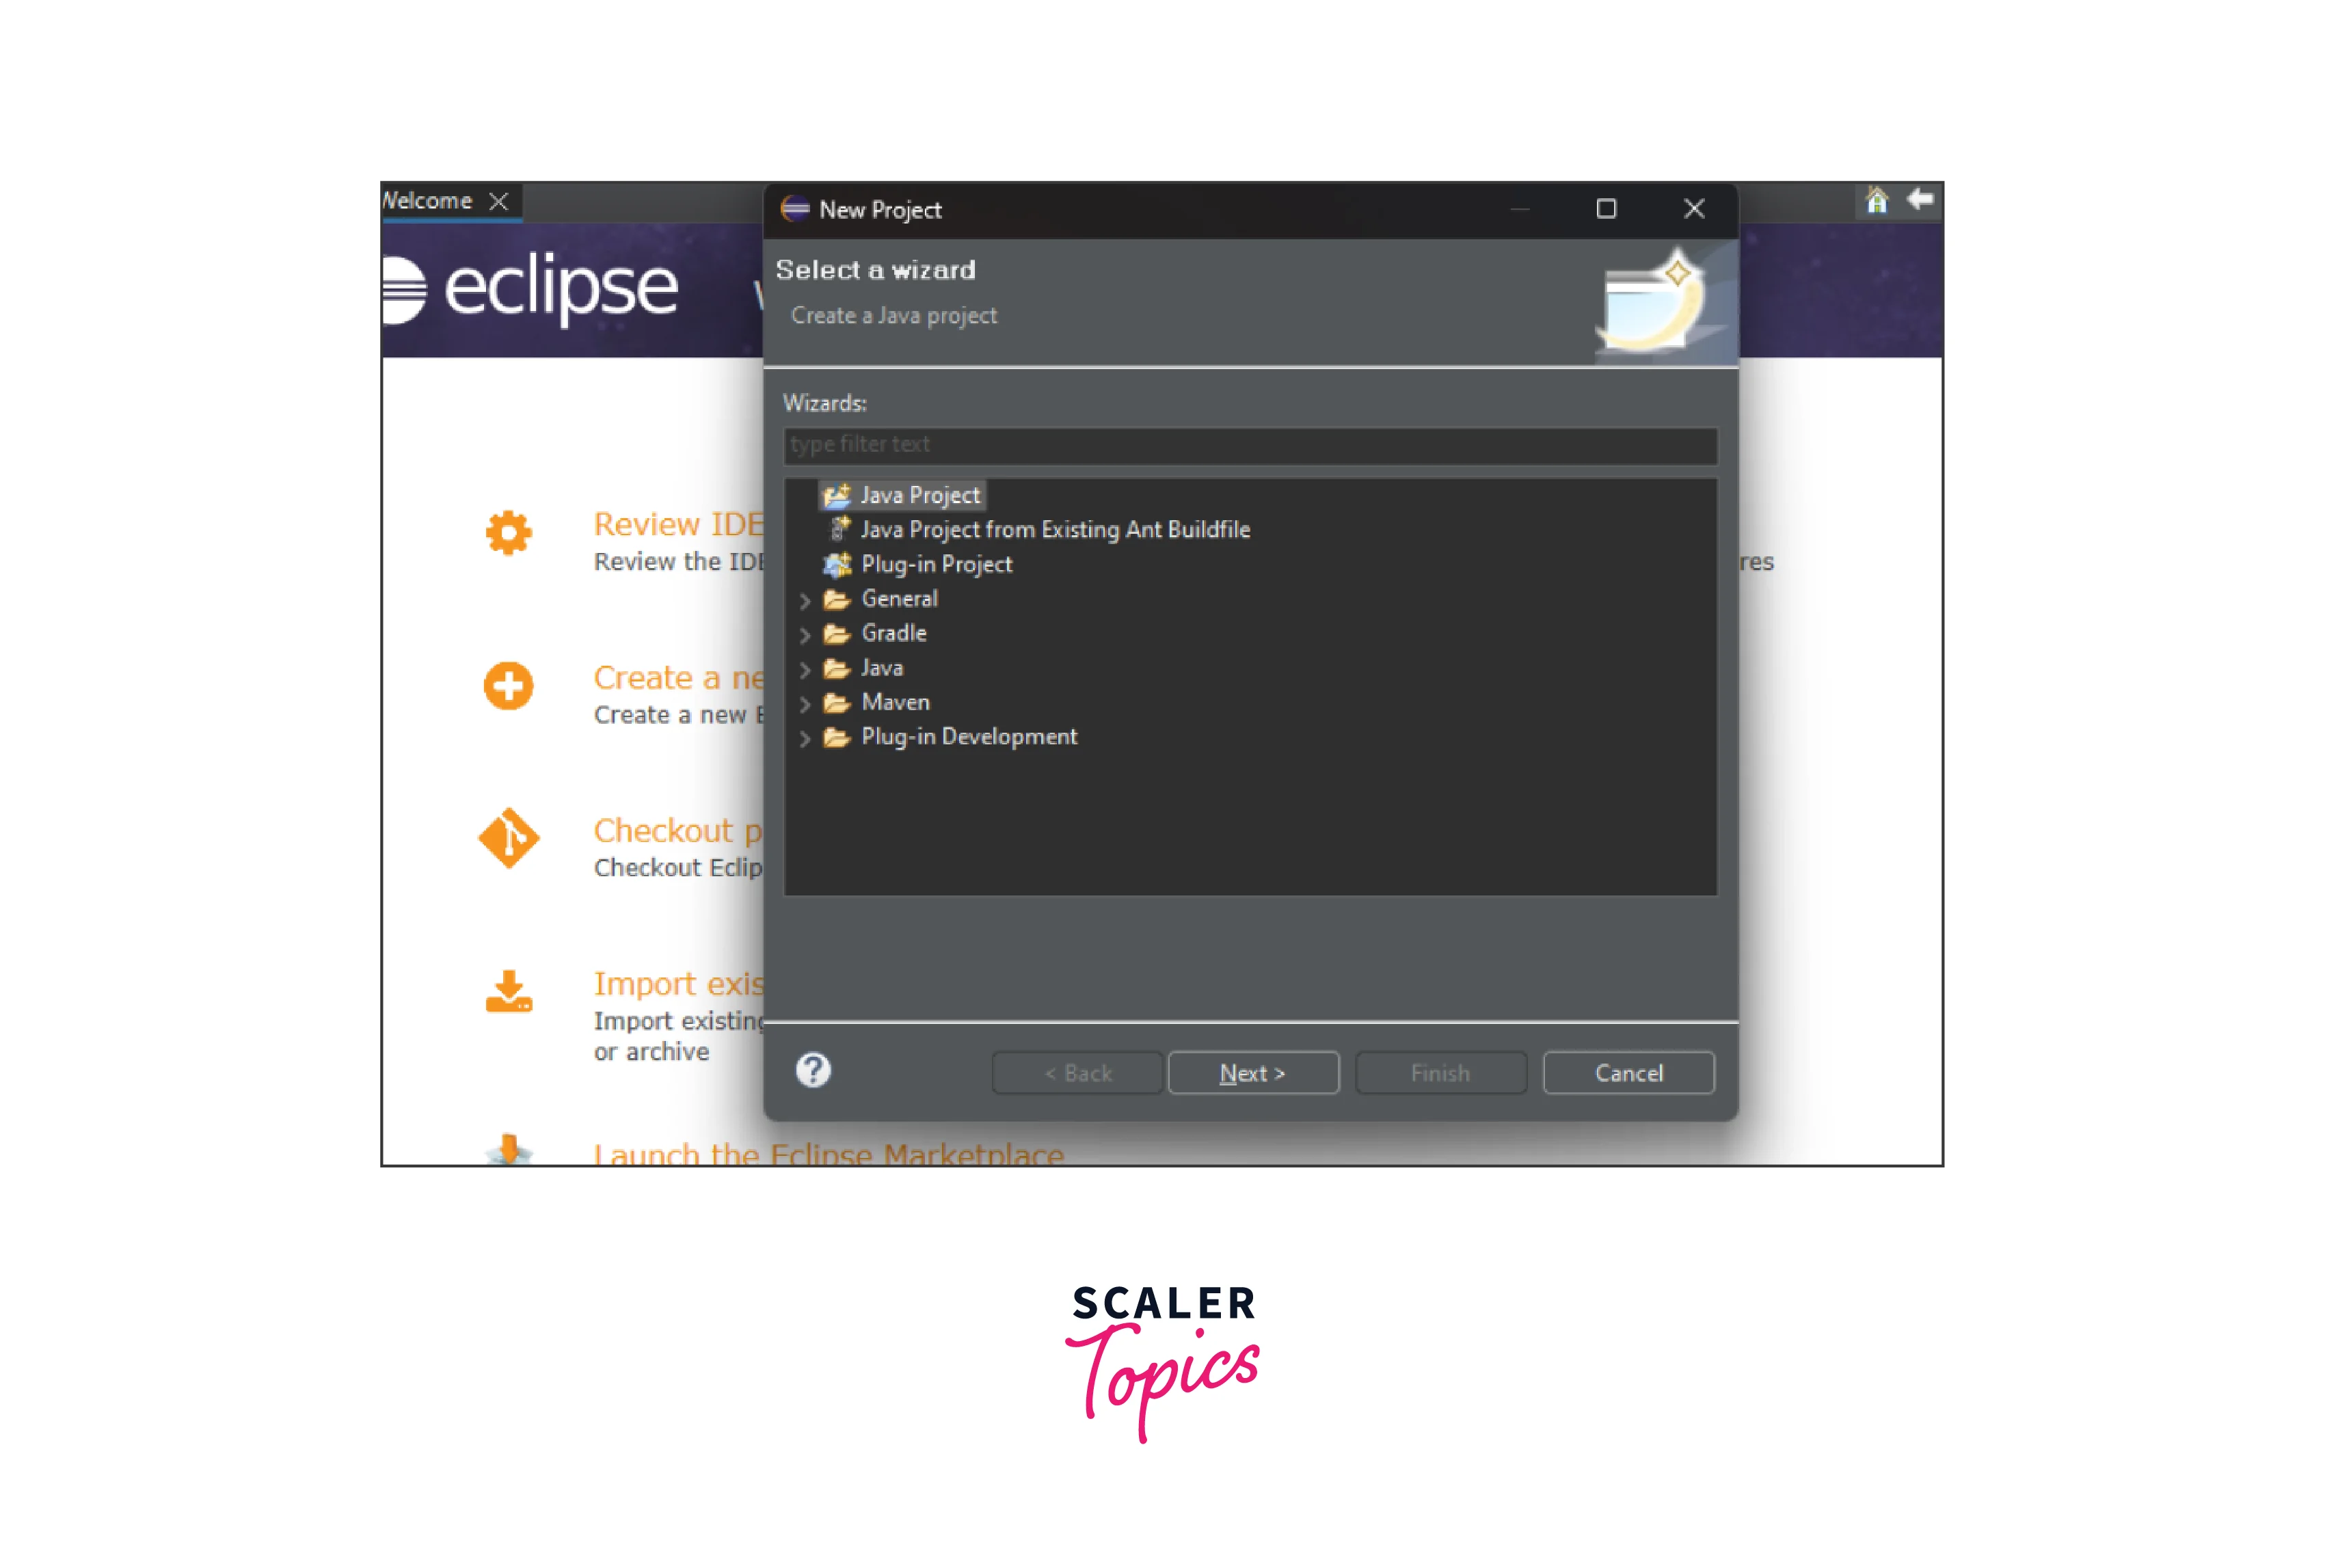
Next, we need to create a new project in Eclipse using the given steps:
- Click on the File => New => Project.
 2. Click on a Java project and click on Next.
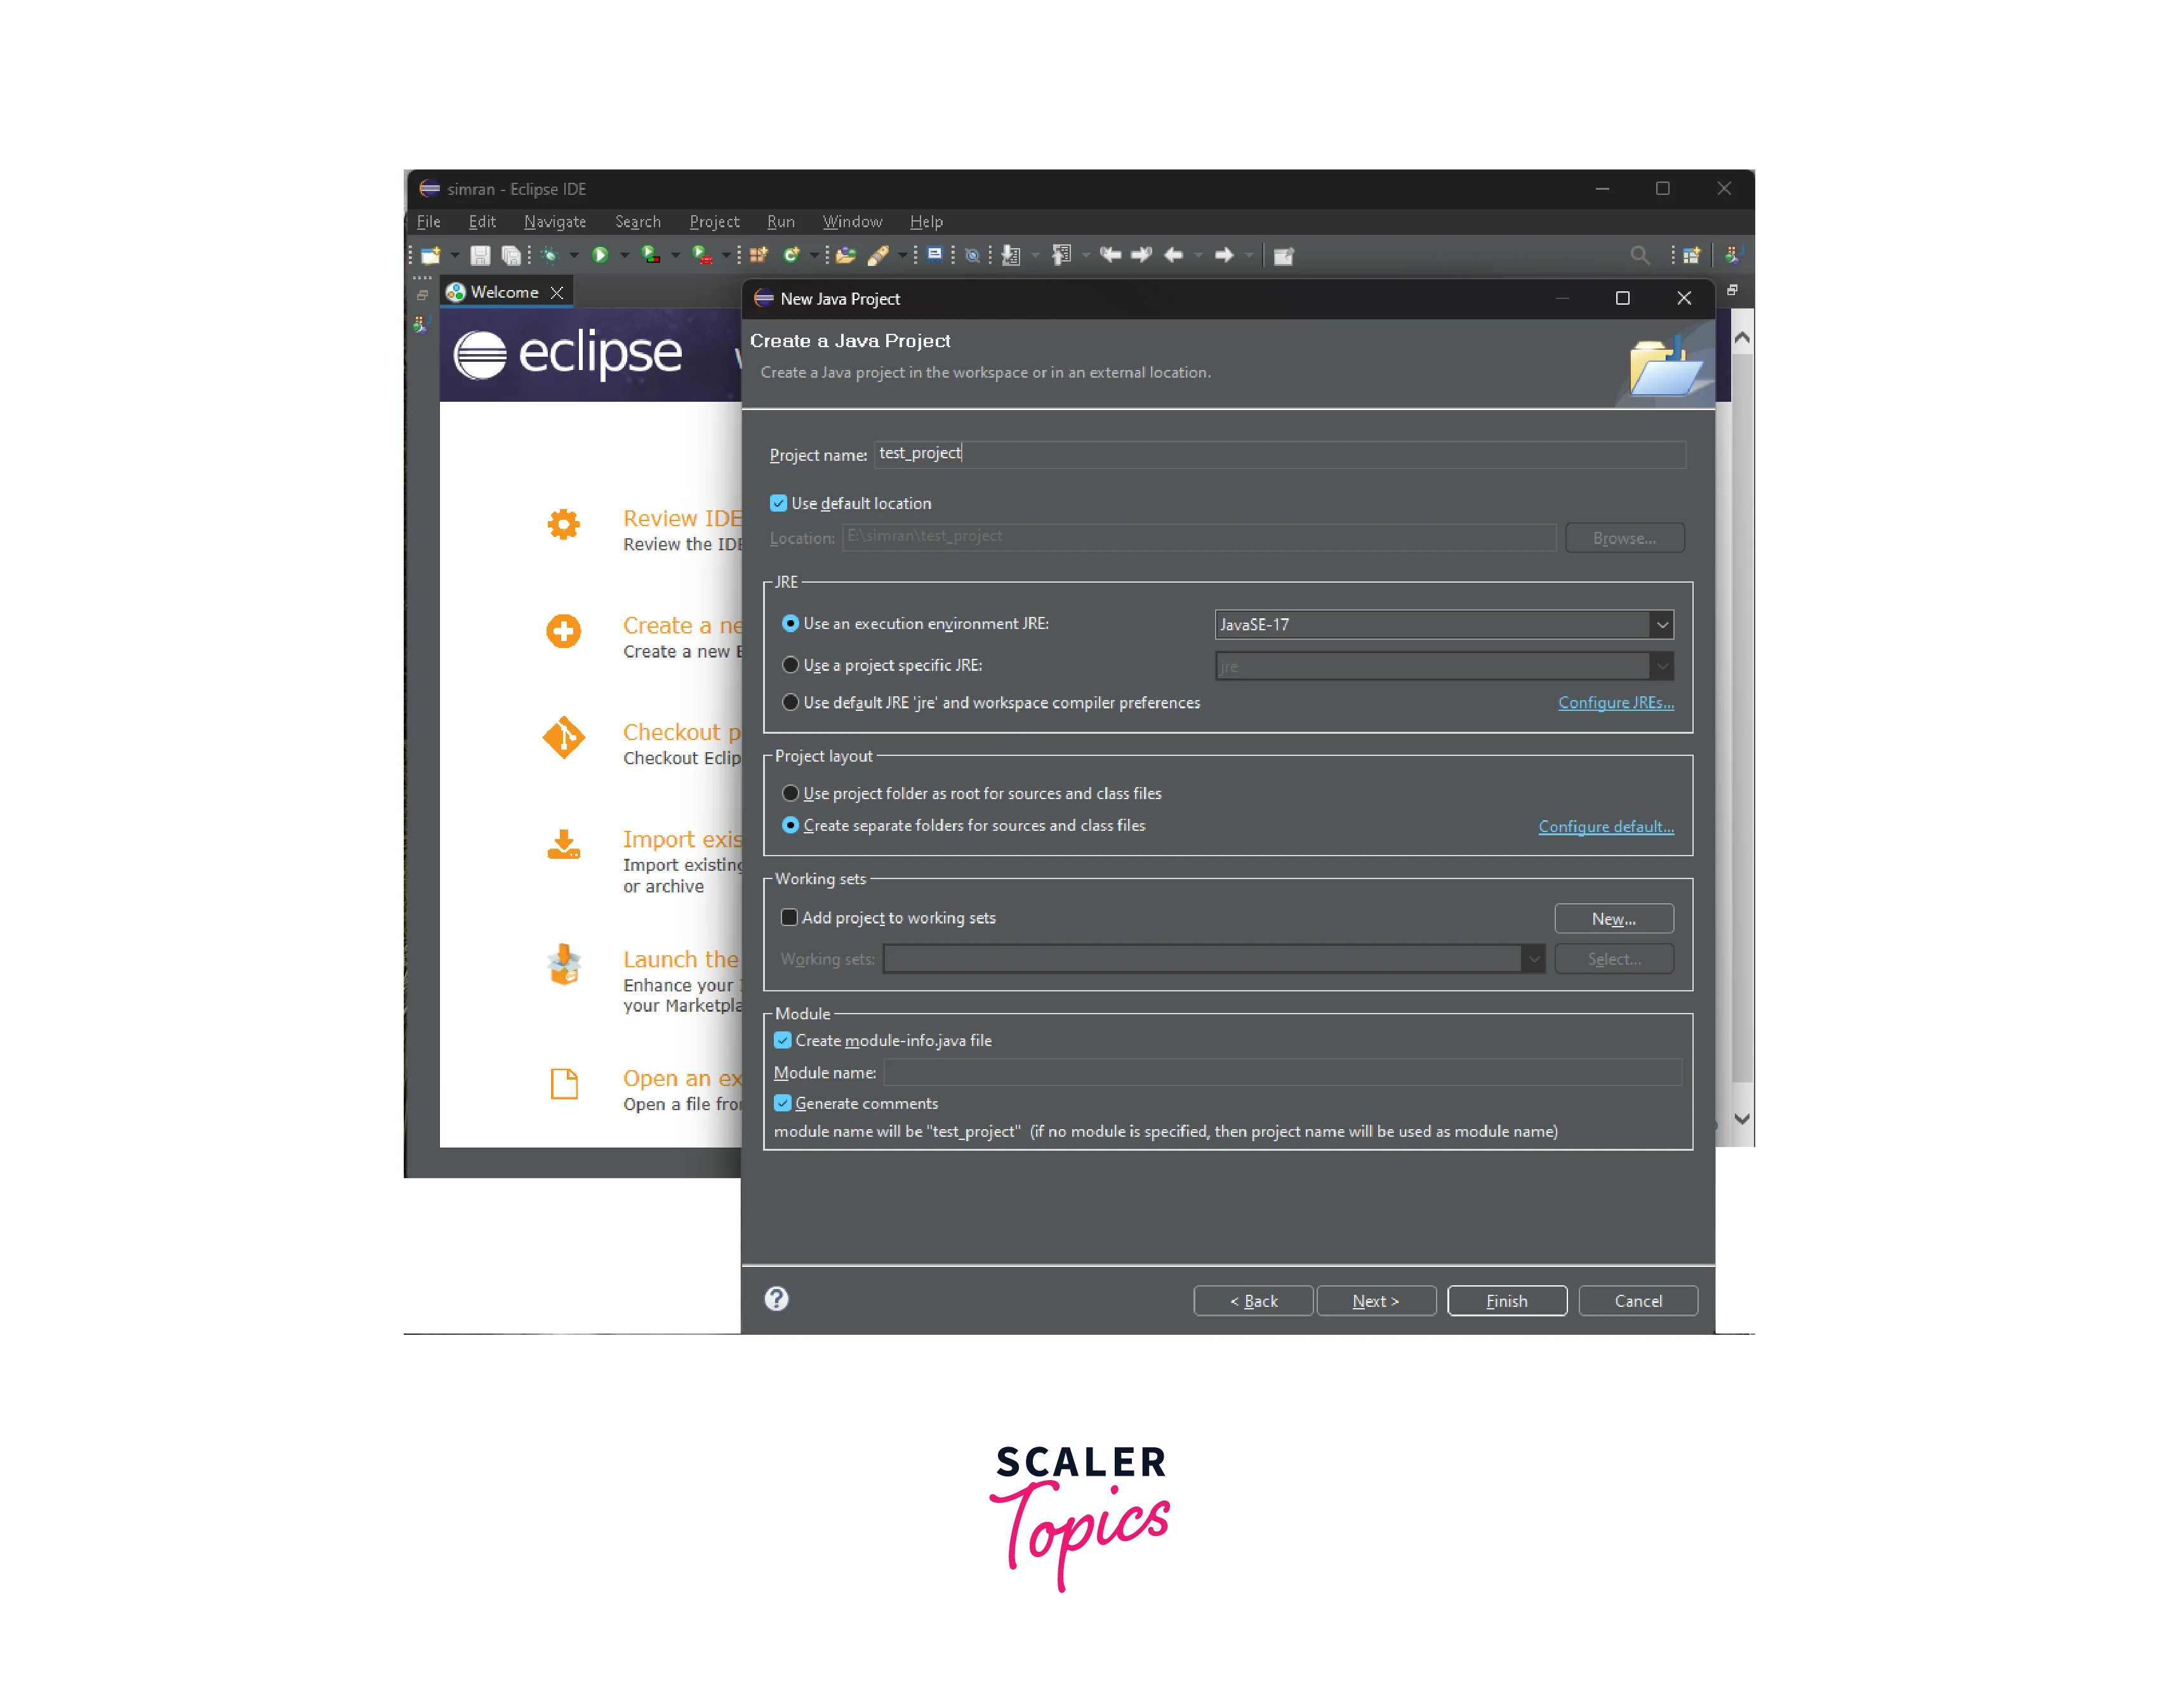
 3. Name the project and click on finish.
Create a new package under the project
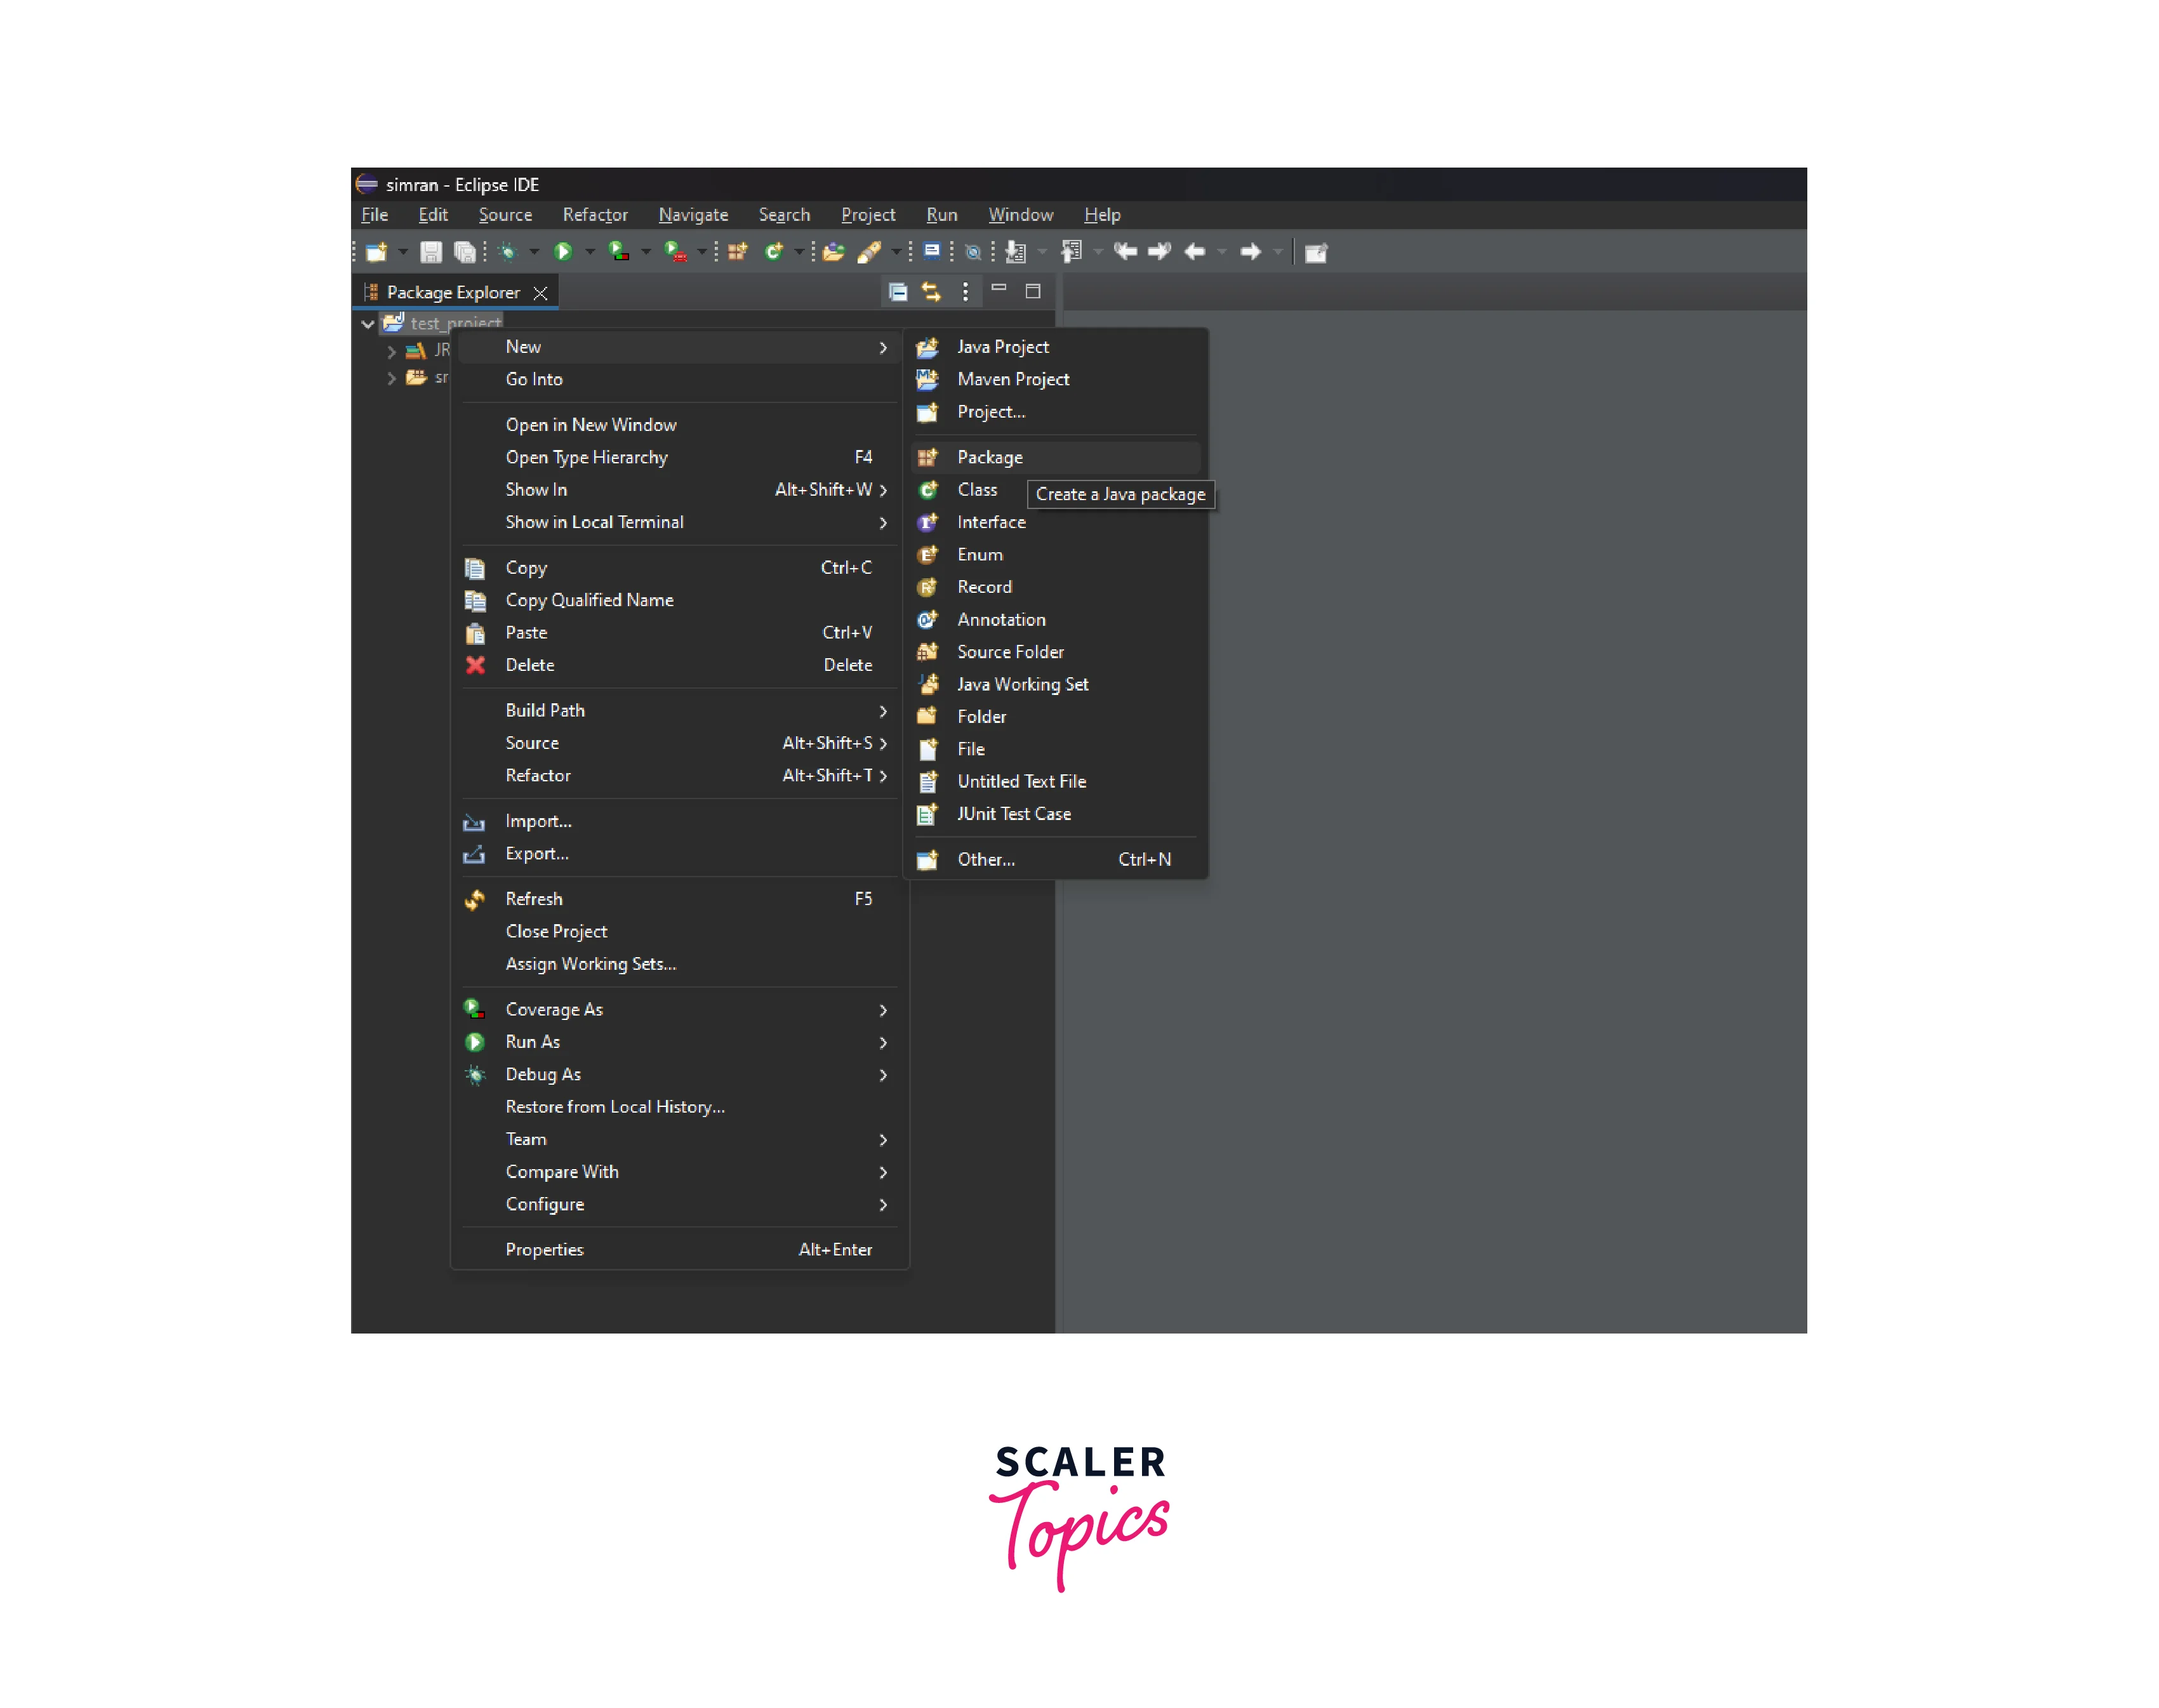
Next, we need to create a new package by following the given steps:
- Right-click on the created project and then click on New => Package.
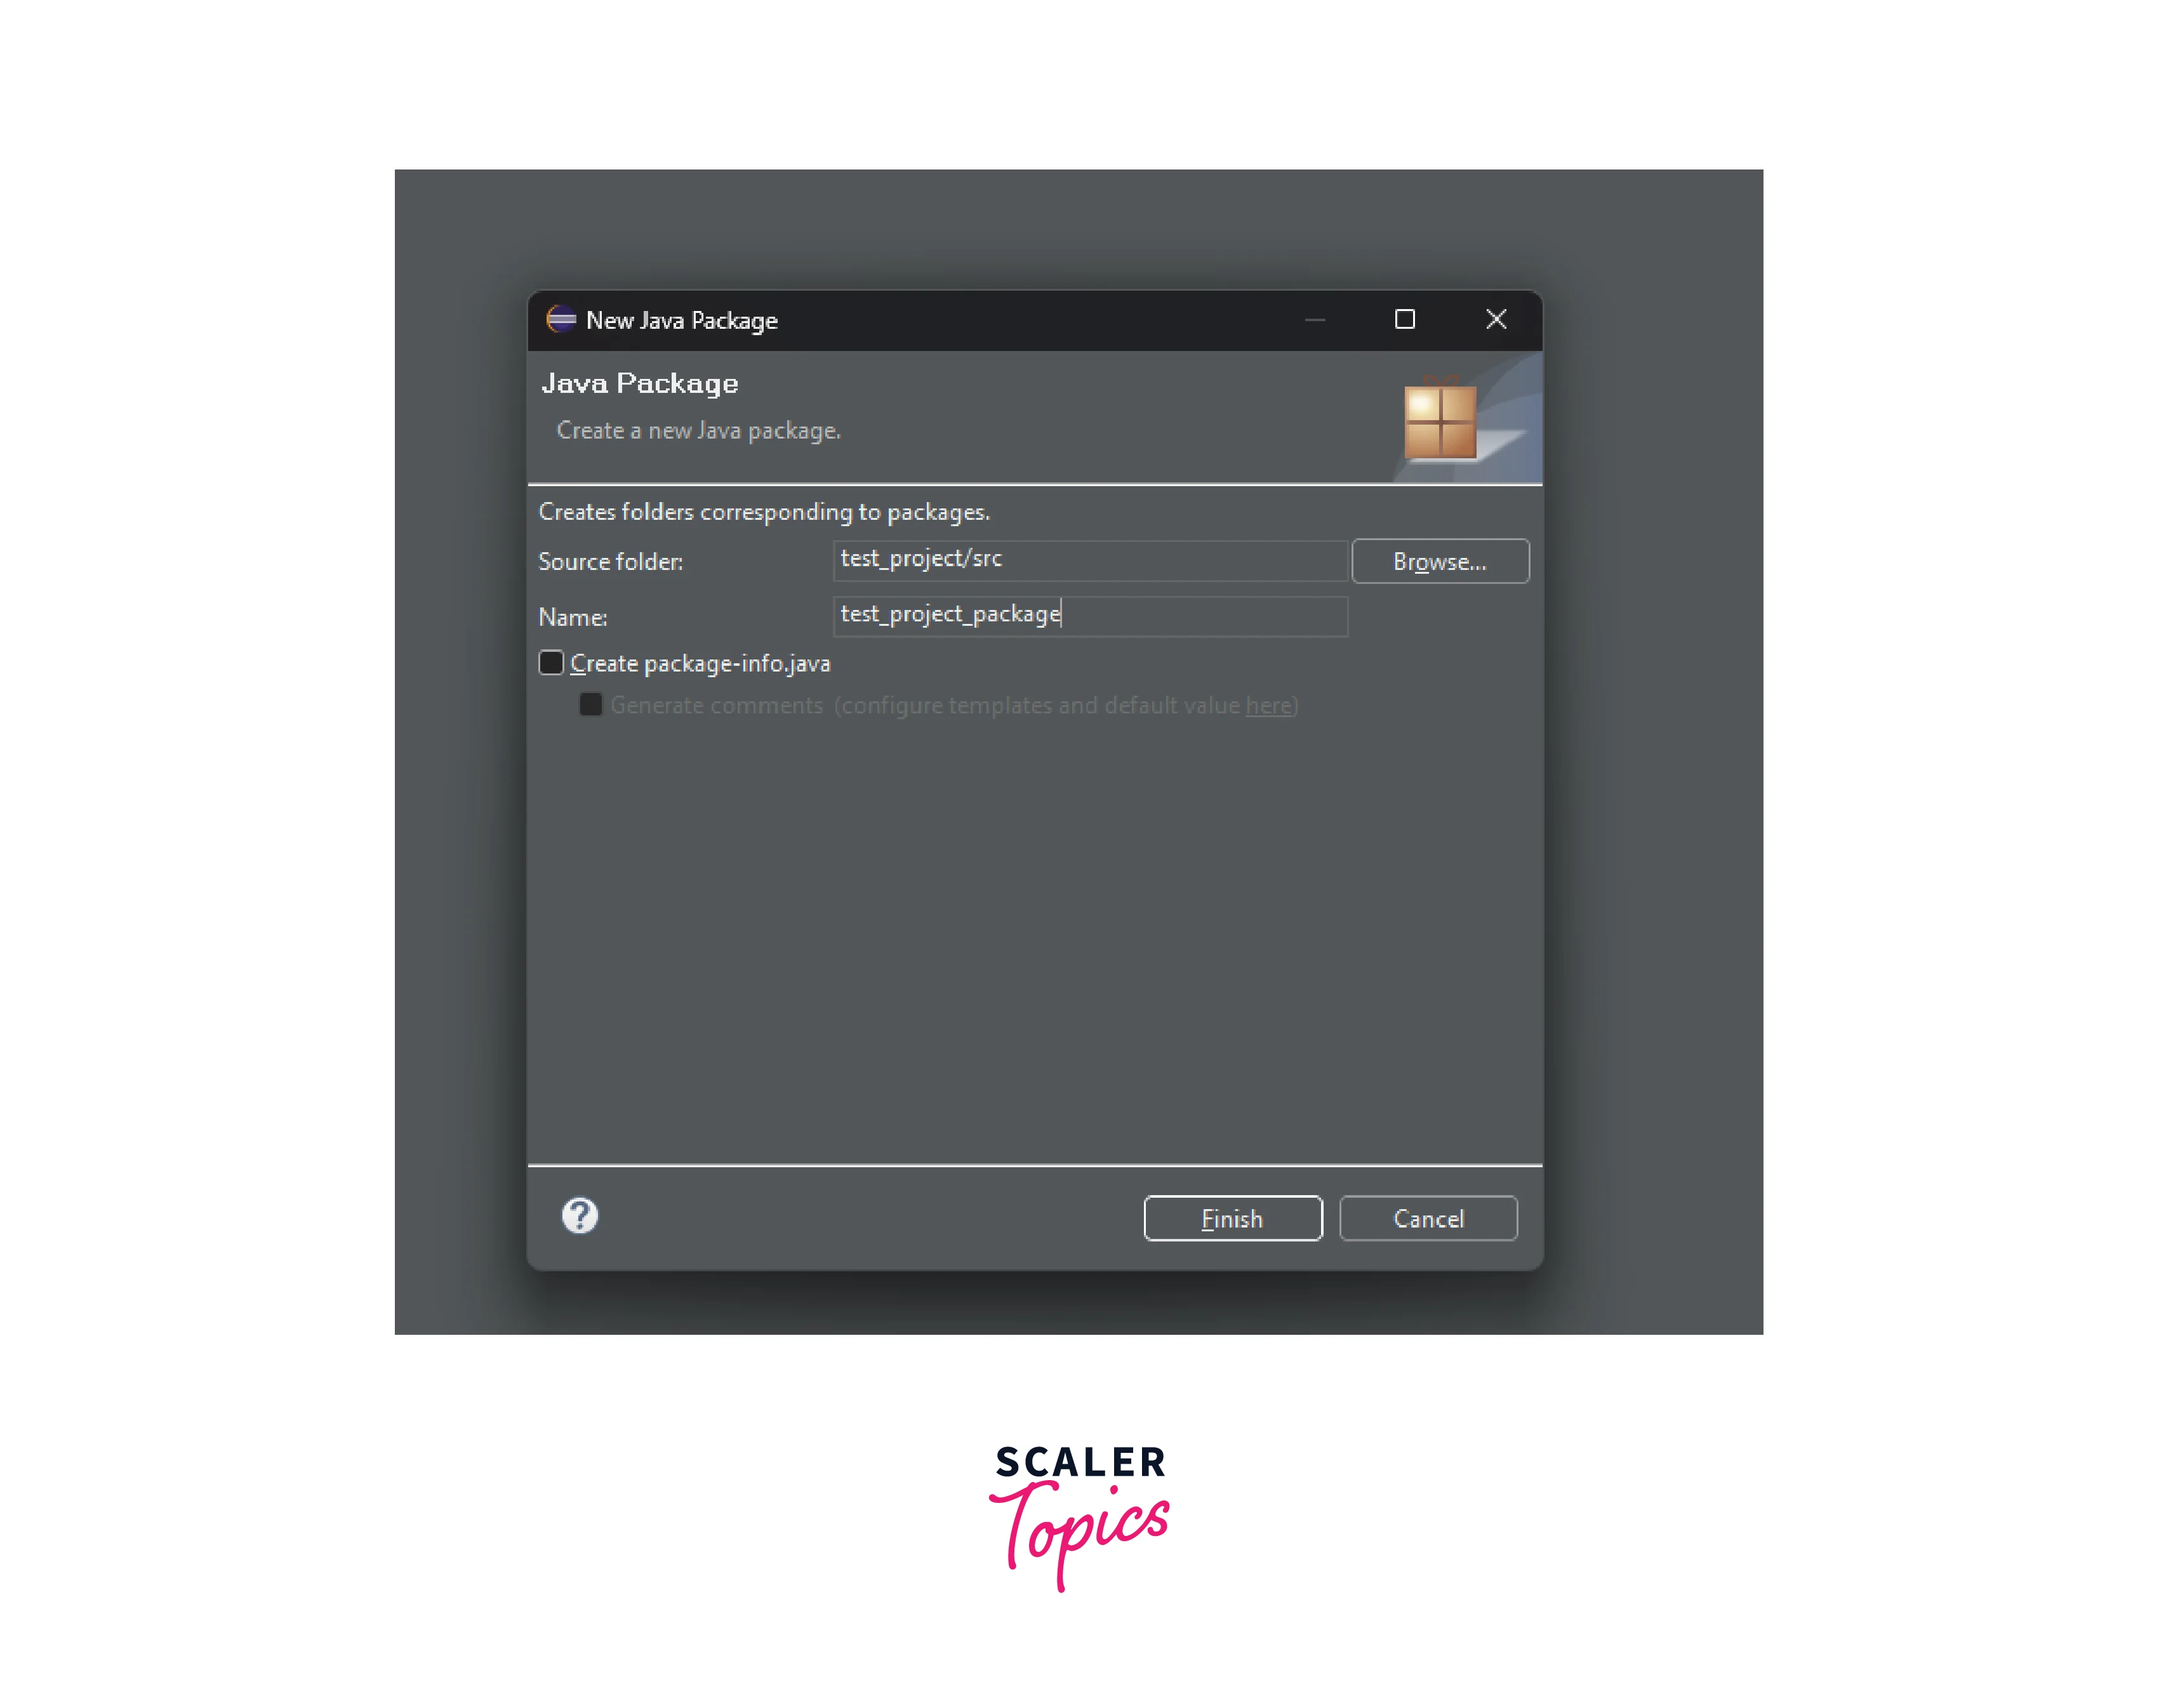
- Name the package and click on finish.
Create a new class under the package
Now we need to create a new class under the package using the following steps:
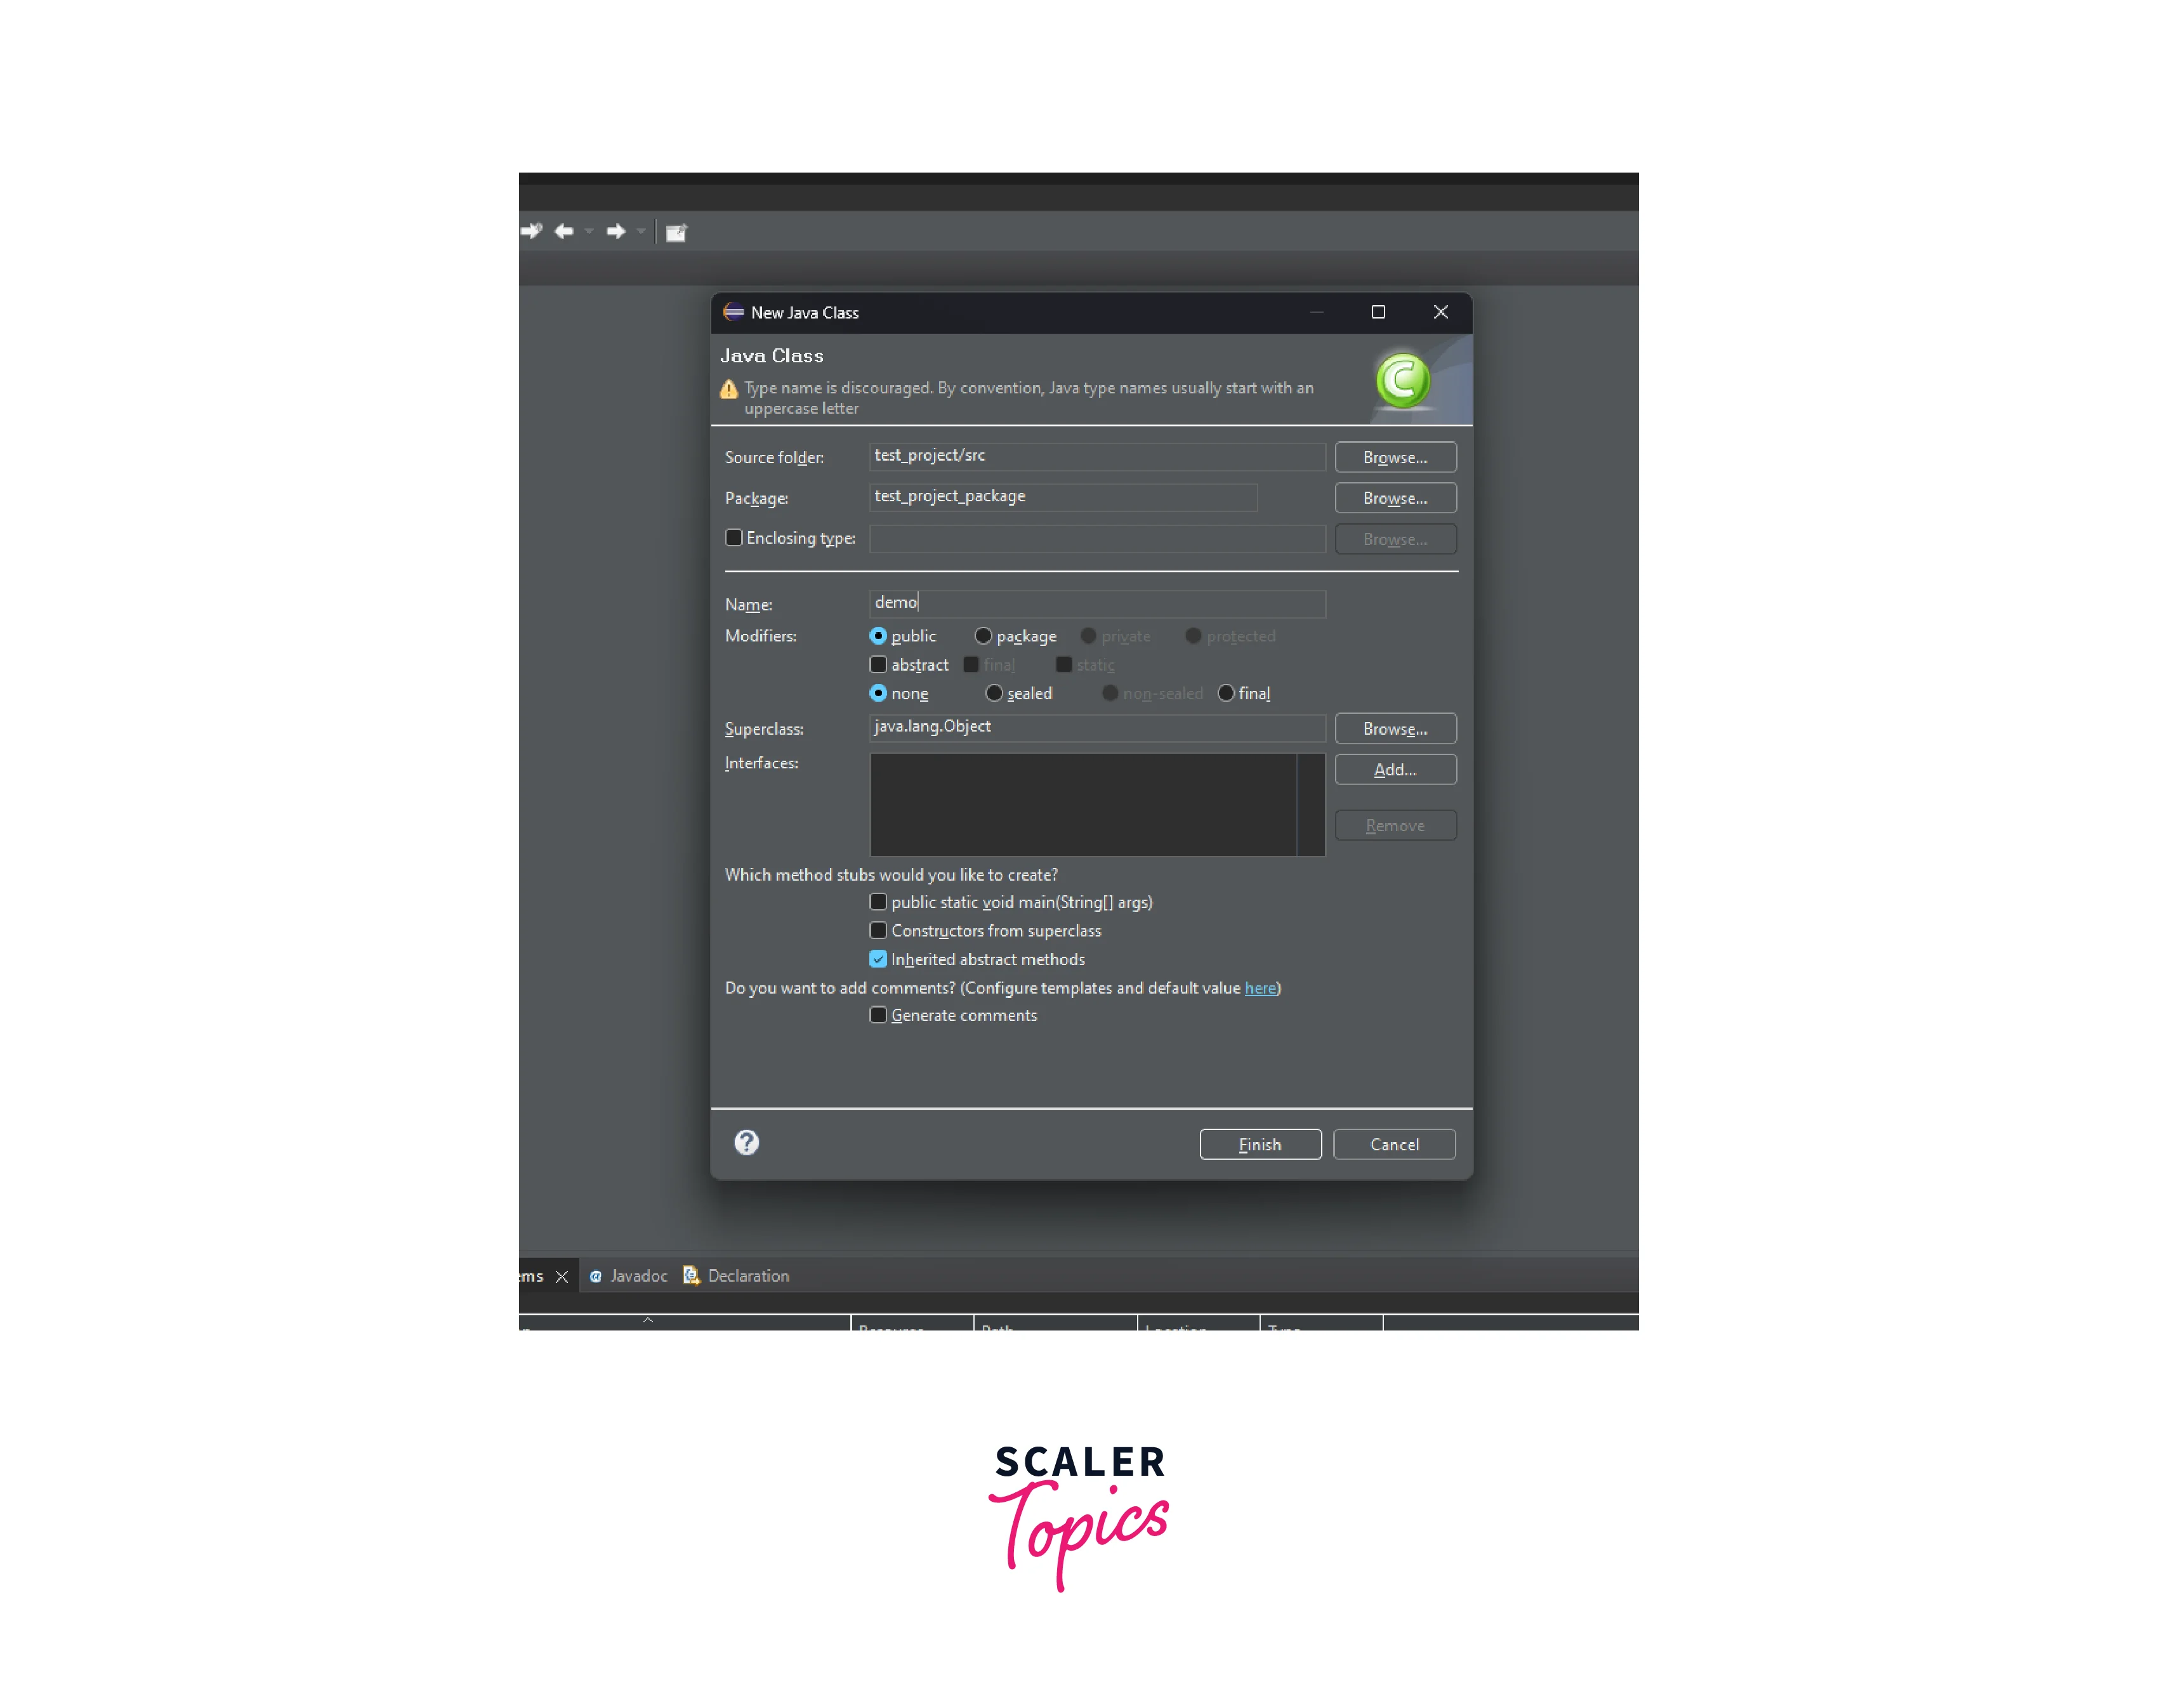
- Right-click on the created package and then click on New-> Class.
- Name the class and click on Finish.
 We have successfully configured Selenium in Eclipse.
How to add Selenium WebDriver Jars to the project?
Selenium WebDriver is a library or a set of APIs that allows you to automate web browsers for web testing. It provides a way to interact with web elements, perform actions like clicking buttons, filling forms, navigating between pages, and capturing data from web pages.
To use Selenium WebDriver in your project, you need to add the WebDriver Jars to your project's classpath. The WebDriver Jars contain the necessary Java classes and methods that allow you to write code to automate web browsers using Selenium WebDriver.
Here are the steps to add Selenium WebDriver Jars to an Eclipse project:
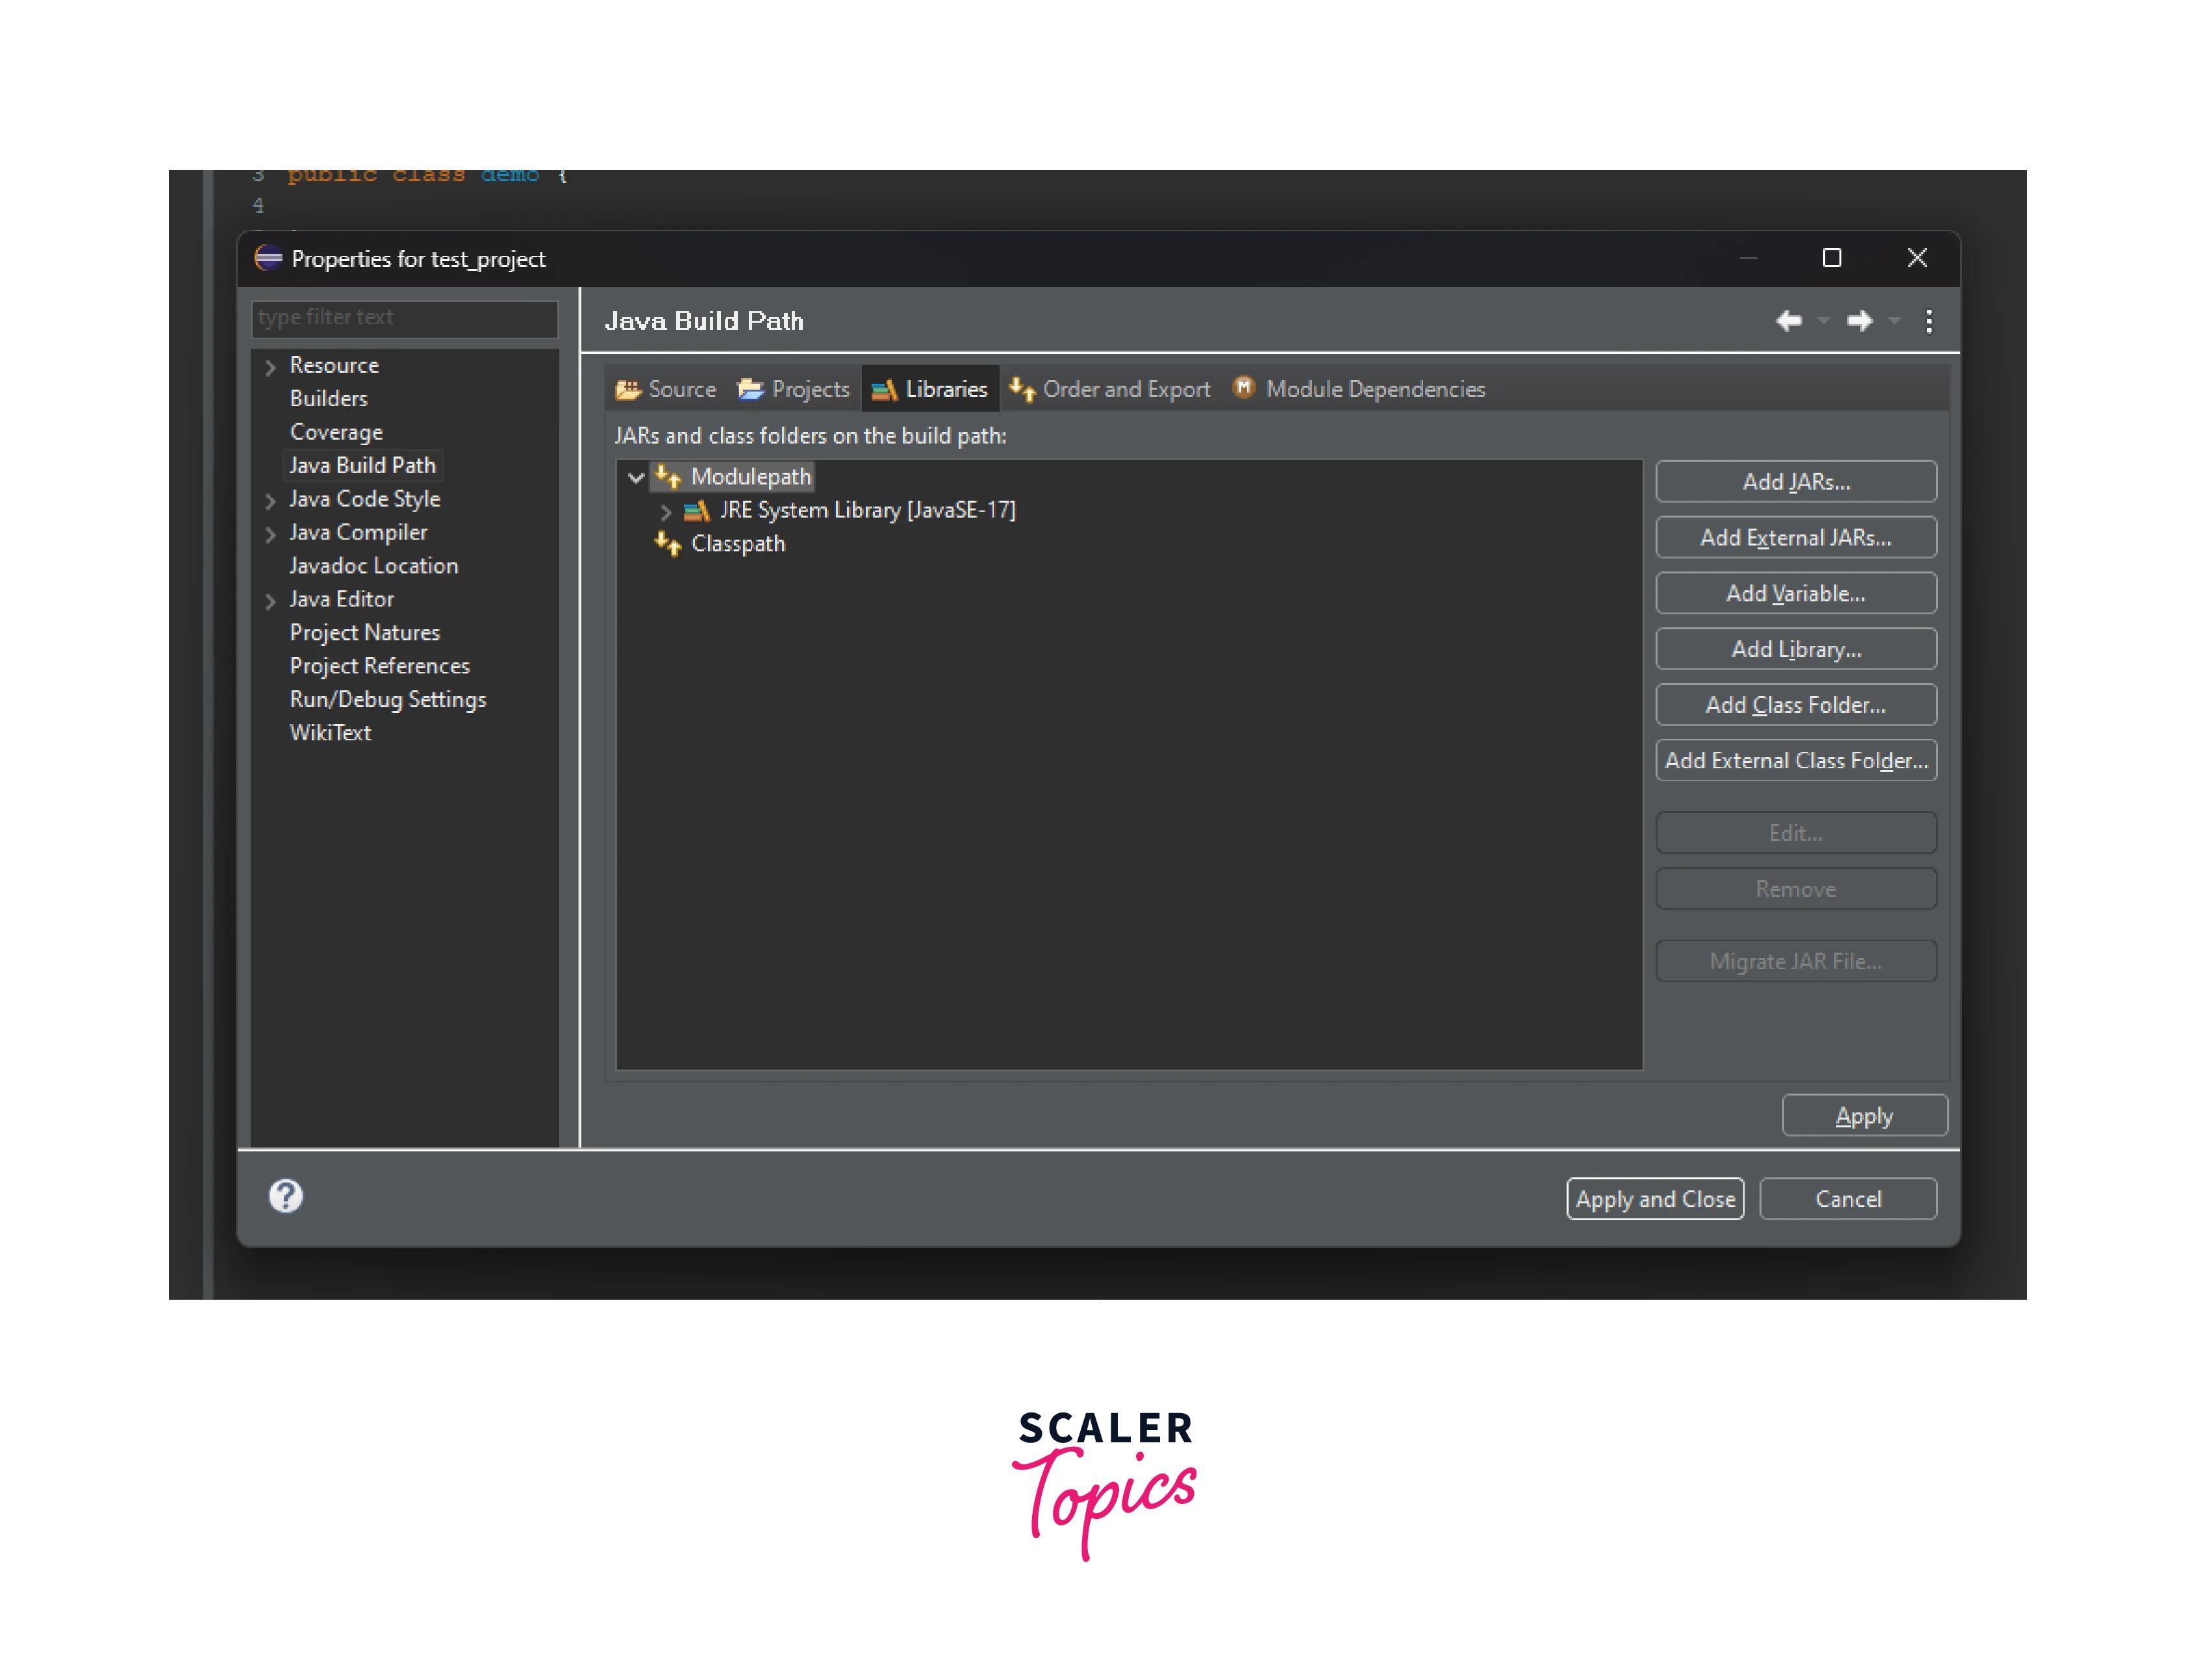
- Right-click on the project name and click on Properties.

- Go to the java Build path and click on libraries ->module path. Here we can add the External Jar files of Selenium and we are ready to execute the scripts.

Conclusion
- Selenium is an open-source automation testing framework, while Eclipse is a widely used integrated development environment (IDE) for Java development.
- Selenium WebDriver, which is the core component of Selenium that interacts with web browsers, needs to be installed to execute scripts.
- You can download the WebDriver for the specific browser you want to automate, such as Chrome, Firefox, or Edge.
- A Java project needs to be created in Eclipse where you can write your Selenium test scripts.
- Selenium WebDriver libraries need to be added to your Eclipse project.
- To use Selenium WebDriver in your project, you need to add the WebDriver Jars to your project's classpath that contains the necessary Java classes and methods
