How to write Test Cases in Jira?
Overview
When we are intobuildingcomplex projects, testing can become uneasy to handle. This is where test cases come into action as they make sure all things work as expected. By default, JIRA does not provide any feature for test case handling. So the question boils down to How to write test cases in JIRA. In 2013, this problem was tackled by the introduction of Xray as a Jira add-on which is now considered one of the most popular JIRA add-ons.
What is a test?
A test is a way of verifying if the application or component is working as it was expected from it according to requirements. It can be considered a type of check which focuses on checking the correctness or quality of a target.
A test typically consists of variables with some conditions, test inputs, and expected outcomes to maintain the required performance and quality of a software application.
A test is considered successful only if the expected outcome matches the real outcome for the component being tested. This is why every functional requirement is usually mapped to one or more test cases.
Test process in Xray
Xray allows us in planning, design, and execute` test cases and can also help in generating reports by using specific JIRA issue types. The testing phase is as follows :
- Plan phase: Test plan issues
- Design phase: Specification is generally defined using the pre-conditions and test issue types.
- Execute phase: Test execution issues
- Report phase: Built-in Reports generation in test execution issues
How to Write Test Cases in Jira (with steps)
To write test cases in JIRA, one can follow the following steps:
- Select the 'Create Issue' option.

- Click on any Project.
- Select 'Test' in the 'Issue type' option.
- Enter 'Summary' for the test case.
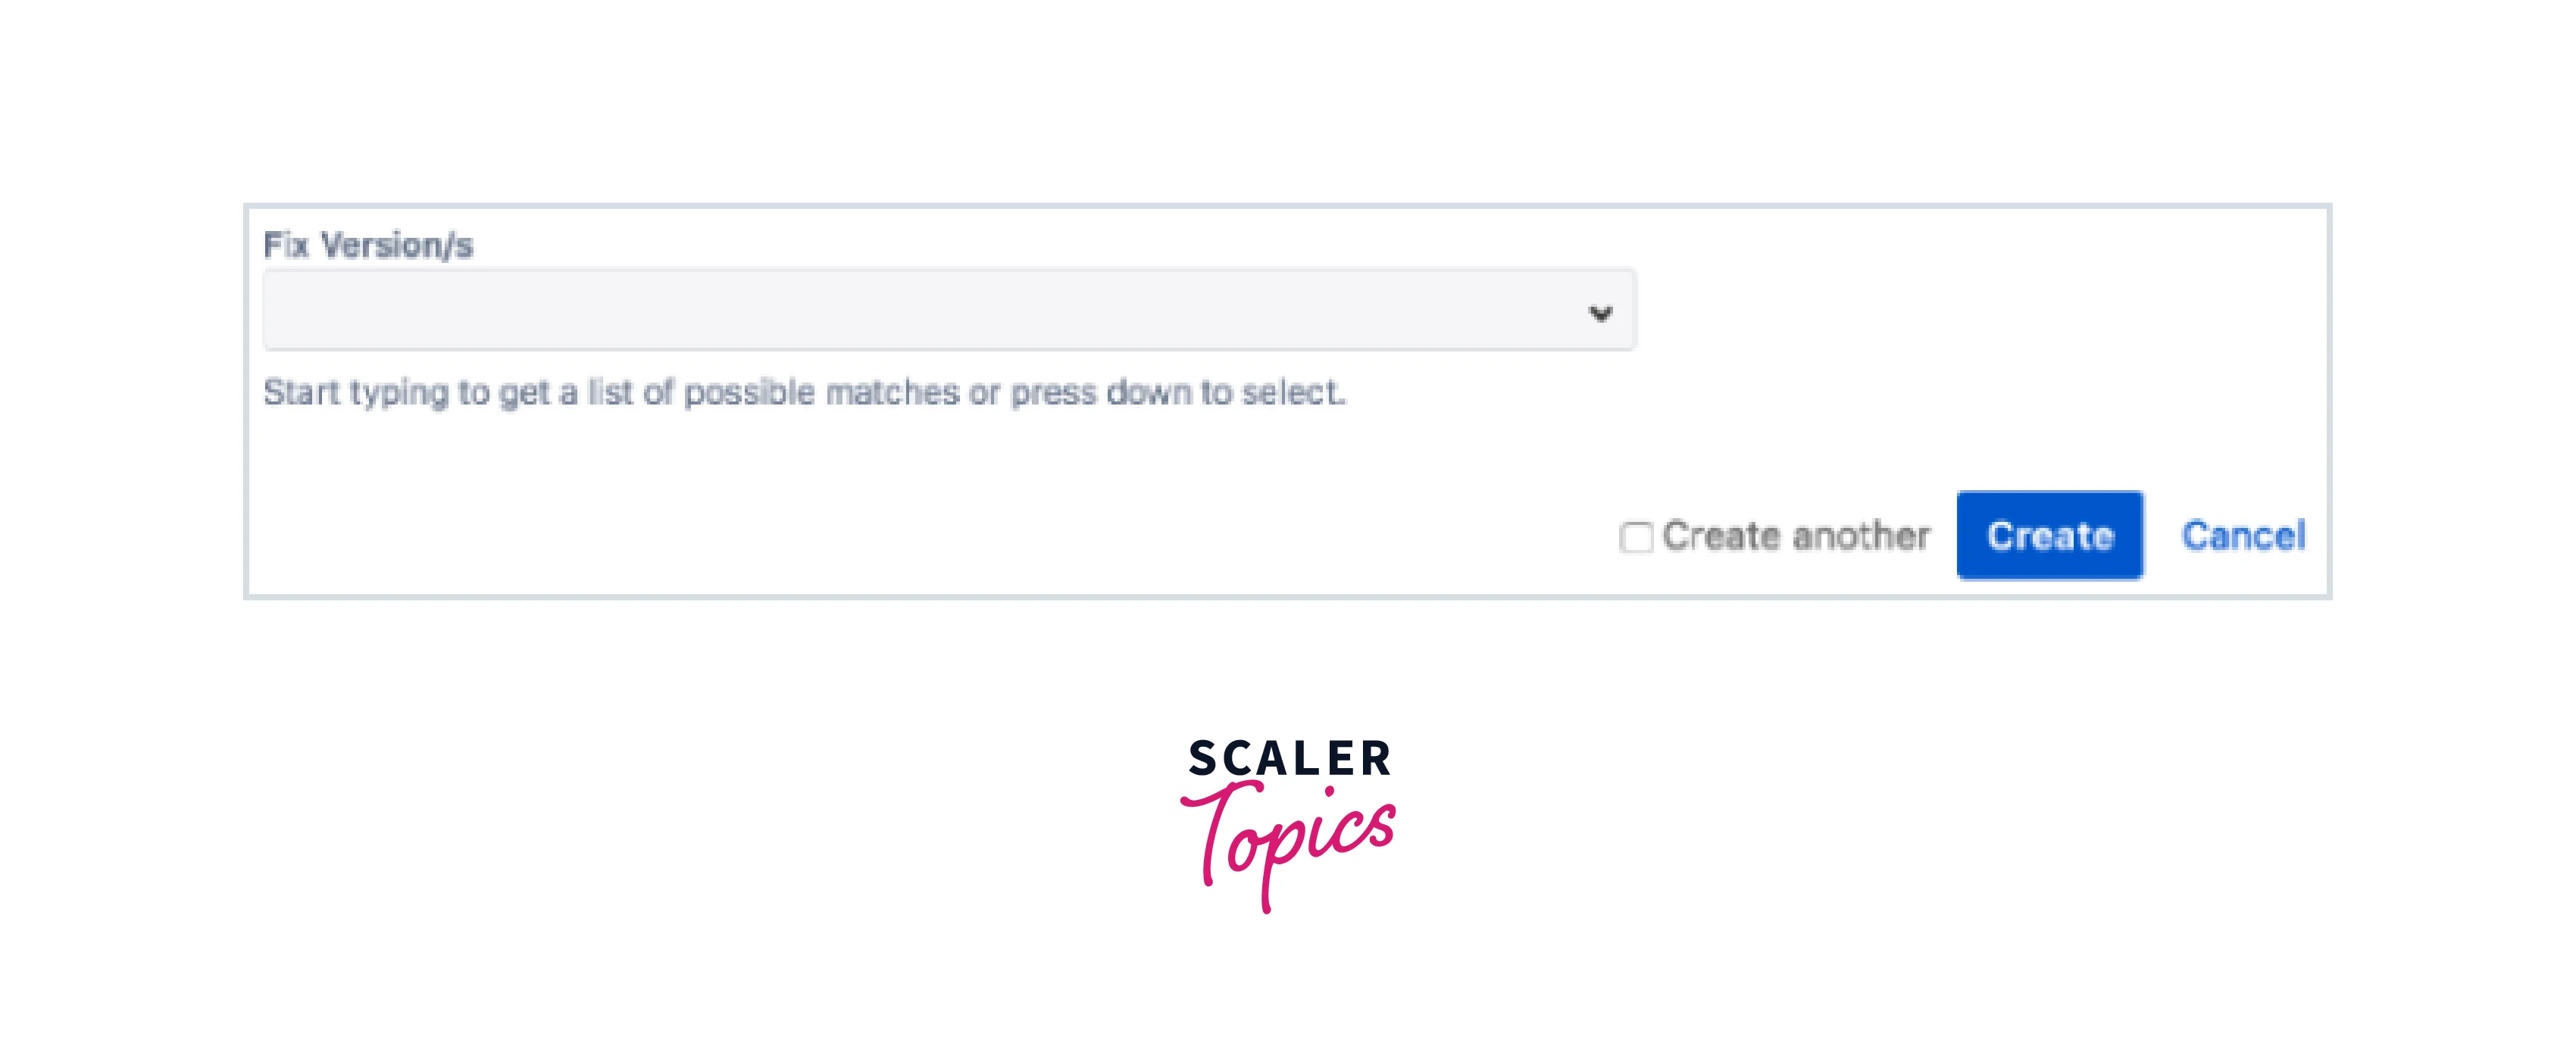
- Finally, Select the 'Create' button.
Configuring Jira to Accept Test Results for Your Cases (with steps)
Now that we are in the position of creating test cases in JIRA, we may want to assign the PASS/FAIL/SKIP status to each of them upon execution.
This functionality further requires some configurational steps in JIRA which are as follows:
1. Custom Issue Type
- In the main menu, Select 'Settings', then 'Issues', and then select 'Custom Fields'.
- Select 'Add custom field' and add 2 fields to it.
Name: "Test Case Result", Field Type: Radio Button, Field Options: Pass, Fail, Skip Name: "Test Case Actual Results", Field Type: Text field, Multiline
2. Create a Screen for the Result
Now, there is a need for a new screen for the test case's results which we will add as another sub-task.
- In the main menu, Select 'Settings', then 'Issues', and then 'Screens'
- Select 'Add Screen'
- Create an entry as follows:
Form field values: Name: "Test Result Screen"
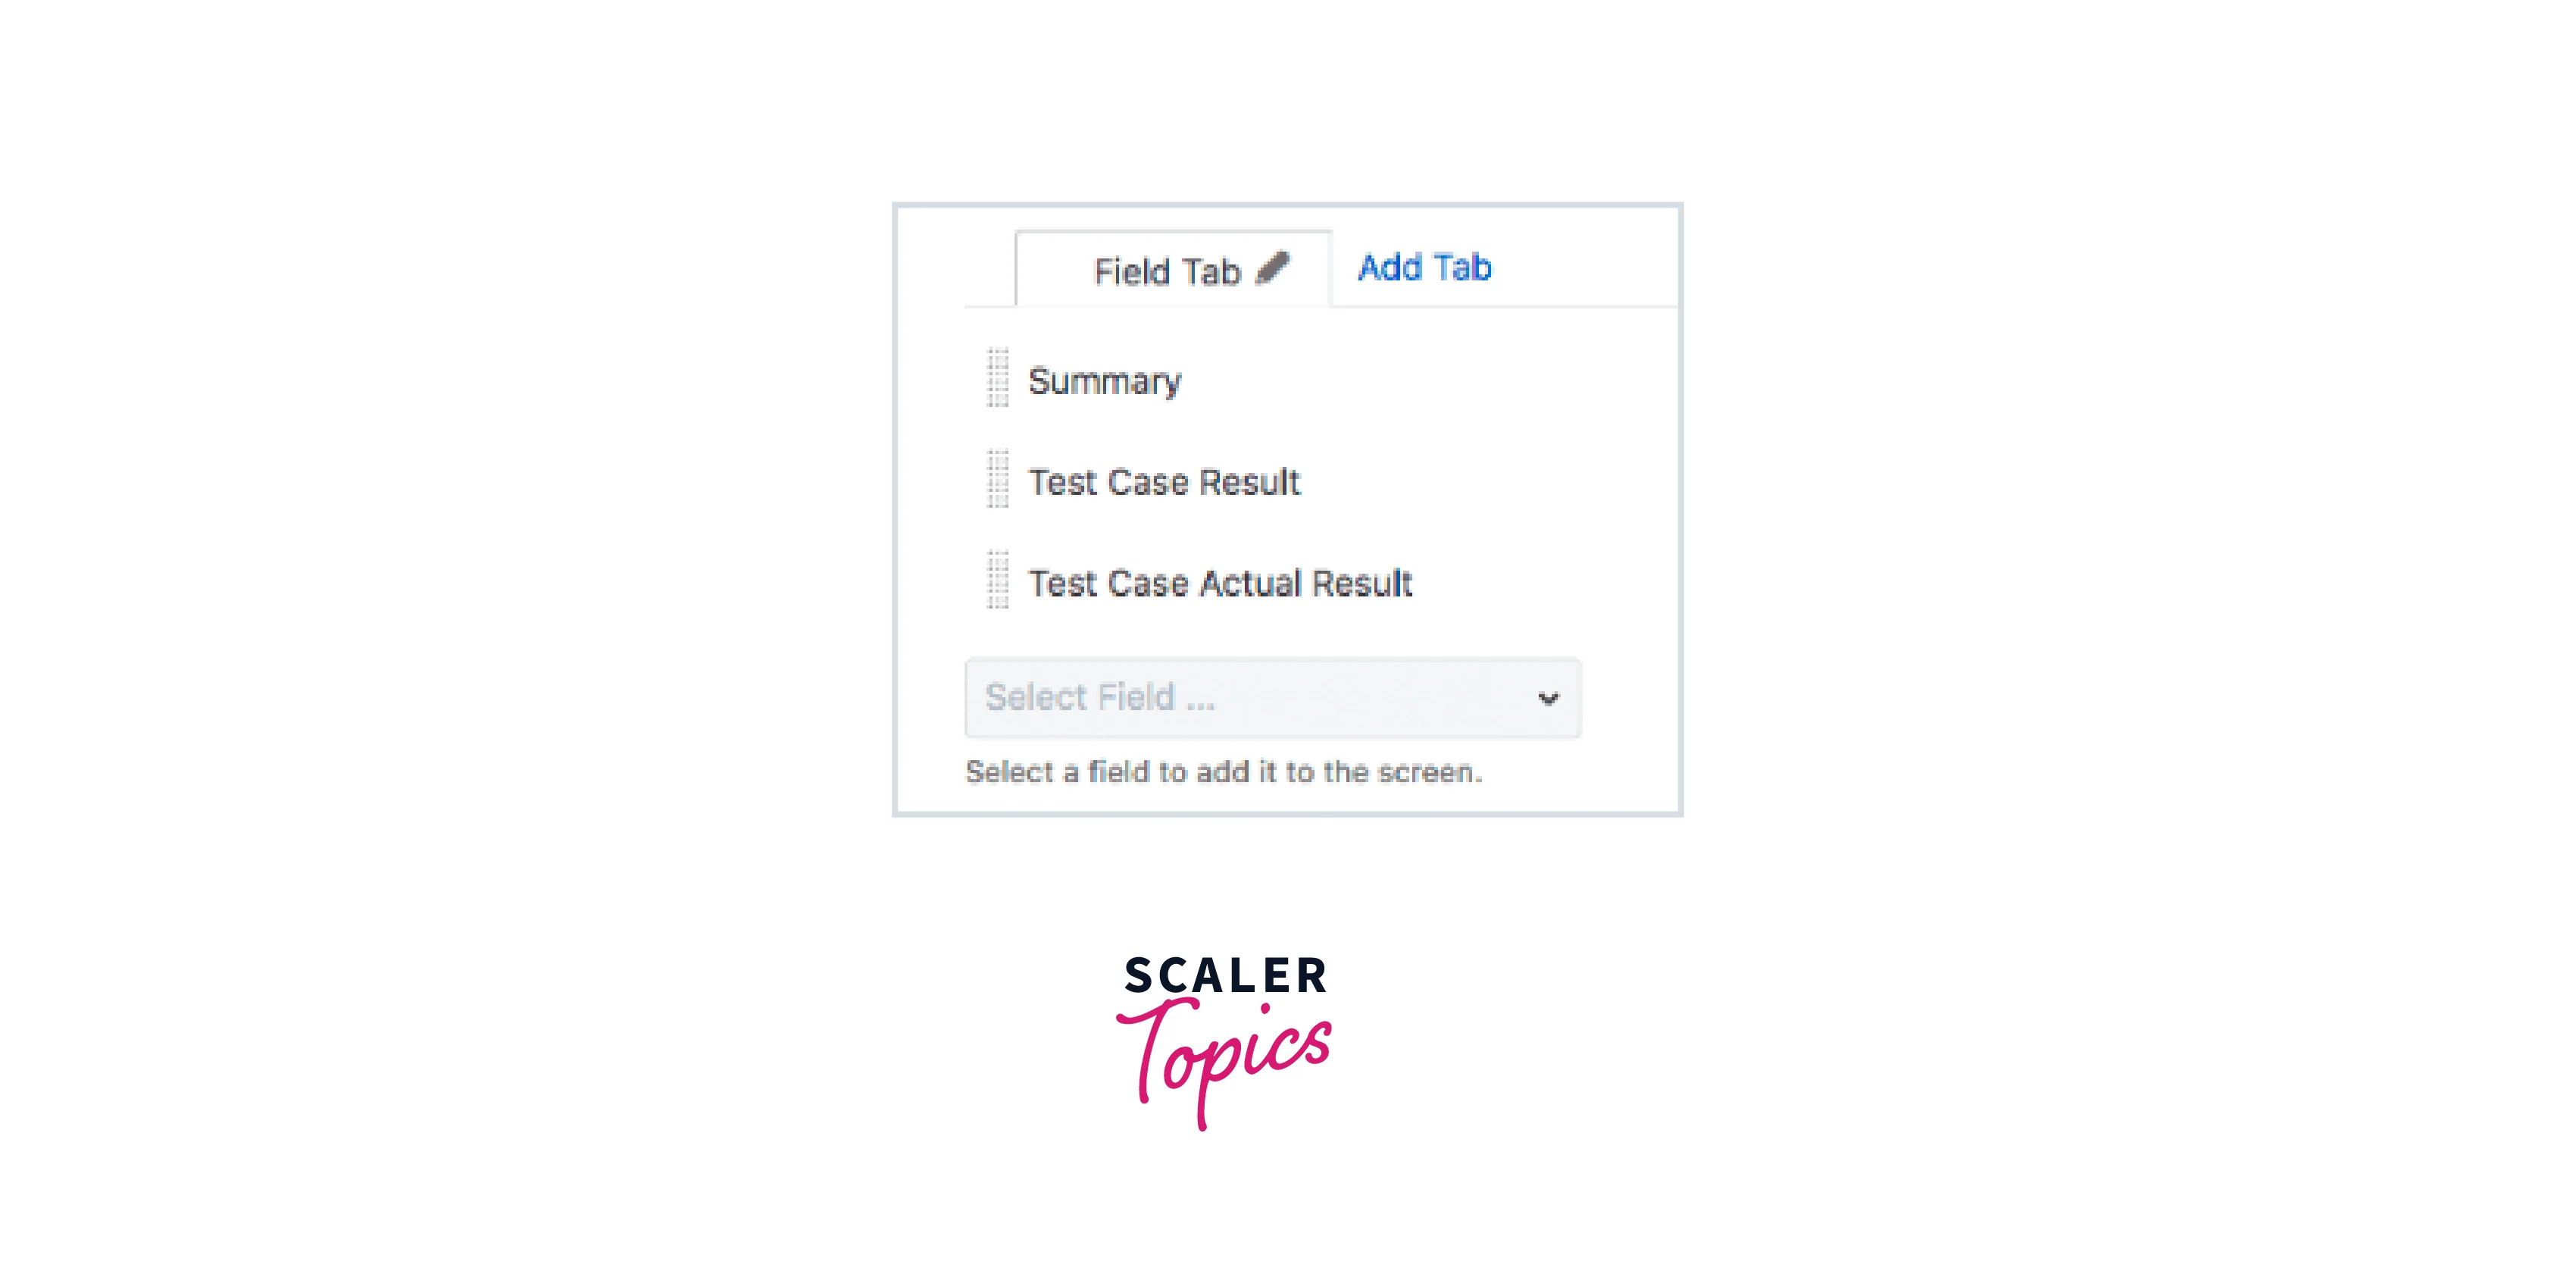
- Add these 3 fields to the screen just created: 'Summary', 'Test Case Result', and 'Test Case Actual Result'.
3. Create a Screen Schema for the Result
Now, we need to create a schema for the result by following the steps:
- In the main menu, Select 'Settings', then 'Issues', and then 'Screen Schemes'
- Select 'Add screen scheme'
- Create an entry as follows:
- Form field values: Name: "Test Result Scheme" Default Screen: "Test Result Screen"
4. Configure the Issue Type Screen Scheme
Finally, we need to link the newly created schema to a Jira sub-task.
- In the main menu, Select 'Settings', then 'Issues', and then 'Issue Type Screen Schemes'.
- Select 'Configure' beside the existing scheme created with the name "Test Case Screen Scheme".
- Select "Associate an issue type with a screen scheme".
- Create an entry as follows:
Form field values: Issue Type: "Sub-task" Default Screen: "Test Result Scheme"
5. Add a Test Case Result
Now, we need to add results to our test cases in the following way:
- Select any existing test cases and open the drop-down menu.
- Select the 'Create sub-task option.
- To enter a result, enter the following fields: Summary – Can either be a date/release number/test run name Test case result – Radio buttons for assigning PASS/FAIL/SKIP to a test case Test case actual result – If the actual result differs from the expected, use this box to provide further information.
Test Case Reporting
Test case reporting is not a simple thing in JIRA as it was not specifically designed for test case management. But, below are some tips to have reports and test cases in one list:
- 'All Issues' option enables us to view all things together
- We can select 'List View' using options present at the top
- Select the 'Type' filter and then select 'Test Case' to have only test cases in the view.
- In a similar way, we can only have the results in the view.
- Free text search field can also be used to enhance the search experience if some name was added to your test cases.

Problems with writing test cases in Jira
There are some problems associated with test cases in JIRA, some of them are listed below:
- Test cases management task in JIRA involved a lot of customization work.
- A good amount of time is needed to configure JIRA to work for test cases and also needs a good experience as a Jira administrator.
- Originally, JIRA was not built for test case management so the customization part takes up a lot of time.
- A lot of screens one needs to go through while preparing test cases and their results which results in low productivity.
- JIRA does not provide the count of how many times a test had run or had failed which further is a big disadvantage.
Quick Tips for Writing Test Cases in Jira
Following are some quick tips for efficient test case writing in JIRA:
- Use clear and concise language
Make sure your test cases are easy to understand and written in clear language. Using bullet points and headings can help organize the test steps.
- Be specific and detailed
The test cases should be clear and easy to follow so that testers can reproduce the steps described.
- Test cases should be independent of each other
Each test case should be executable on its own, without any dependencies on other test cases.
- Test cases should be testable
This means that there should be a way to measure whether or not the test case has passed or failed.
- Test cases should be up-to-date
We must make sure to update the test cases regularly to reflect the latest changes to the software under development.
- Include expected results
We must make sure that each test case includes the expected results to ensure the application is working correctly.
Conclusion
In this article, we learned about:
- How to write test cases in JIRA as JIRA doesn't have the native functionality
- How the test process in Xray while creating test cases looks like
- Configuring JIRA for accepting test cases for test case reporting functionality
- Some of the problems that may be encountered while dealing with tests in JIRA and how we can deal with them
- Quick tips on how to speed up the test case writing process.