Issues Types in JIRA
Overview
All the tasks in JIRA comes under issues like story, bug, epic etc. Having complete knowledge with working with issues and issues types in JIRA is primary. First user set up a project of desired framework scrum or Kanban. In case of Scrum, Sprint is created. Next step is add issues in JIRA, customize the fields and add an assignee.
What are the Issues Types in JIRA?
An issue is created of the work that needs to be done. Now, issues in JIRA also have types to them. These types helps to identify is it a bug or any sub-task. Below is the list of issues types in JIRA :
- Task: A task represents work that needs to be completed.
- Subtask: A subtask represents work that is linked to another parent task.
- Epic: A big user story that needs to done is Epic. Eg- Login form creation.
- Bug: A bug is a functionality in the code that is not working or not created. Eg some filters not working for specific condition is a bug in the software.
- Story: A task is broken down into multiple user storie. The smallest version is called story.
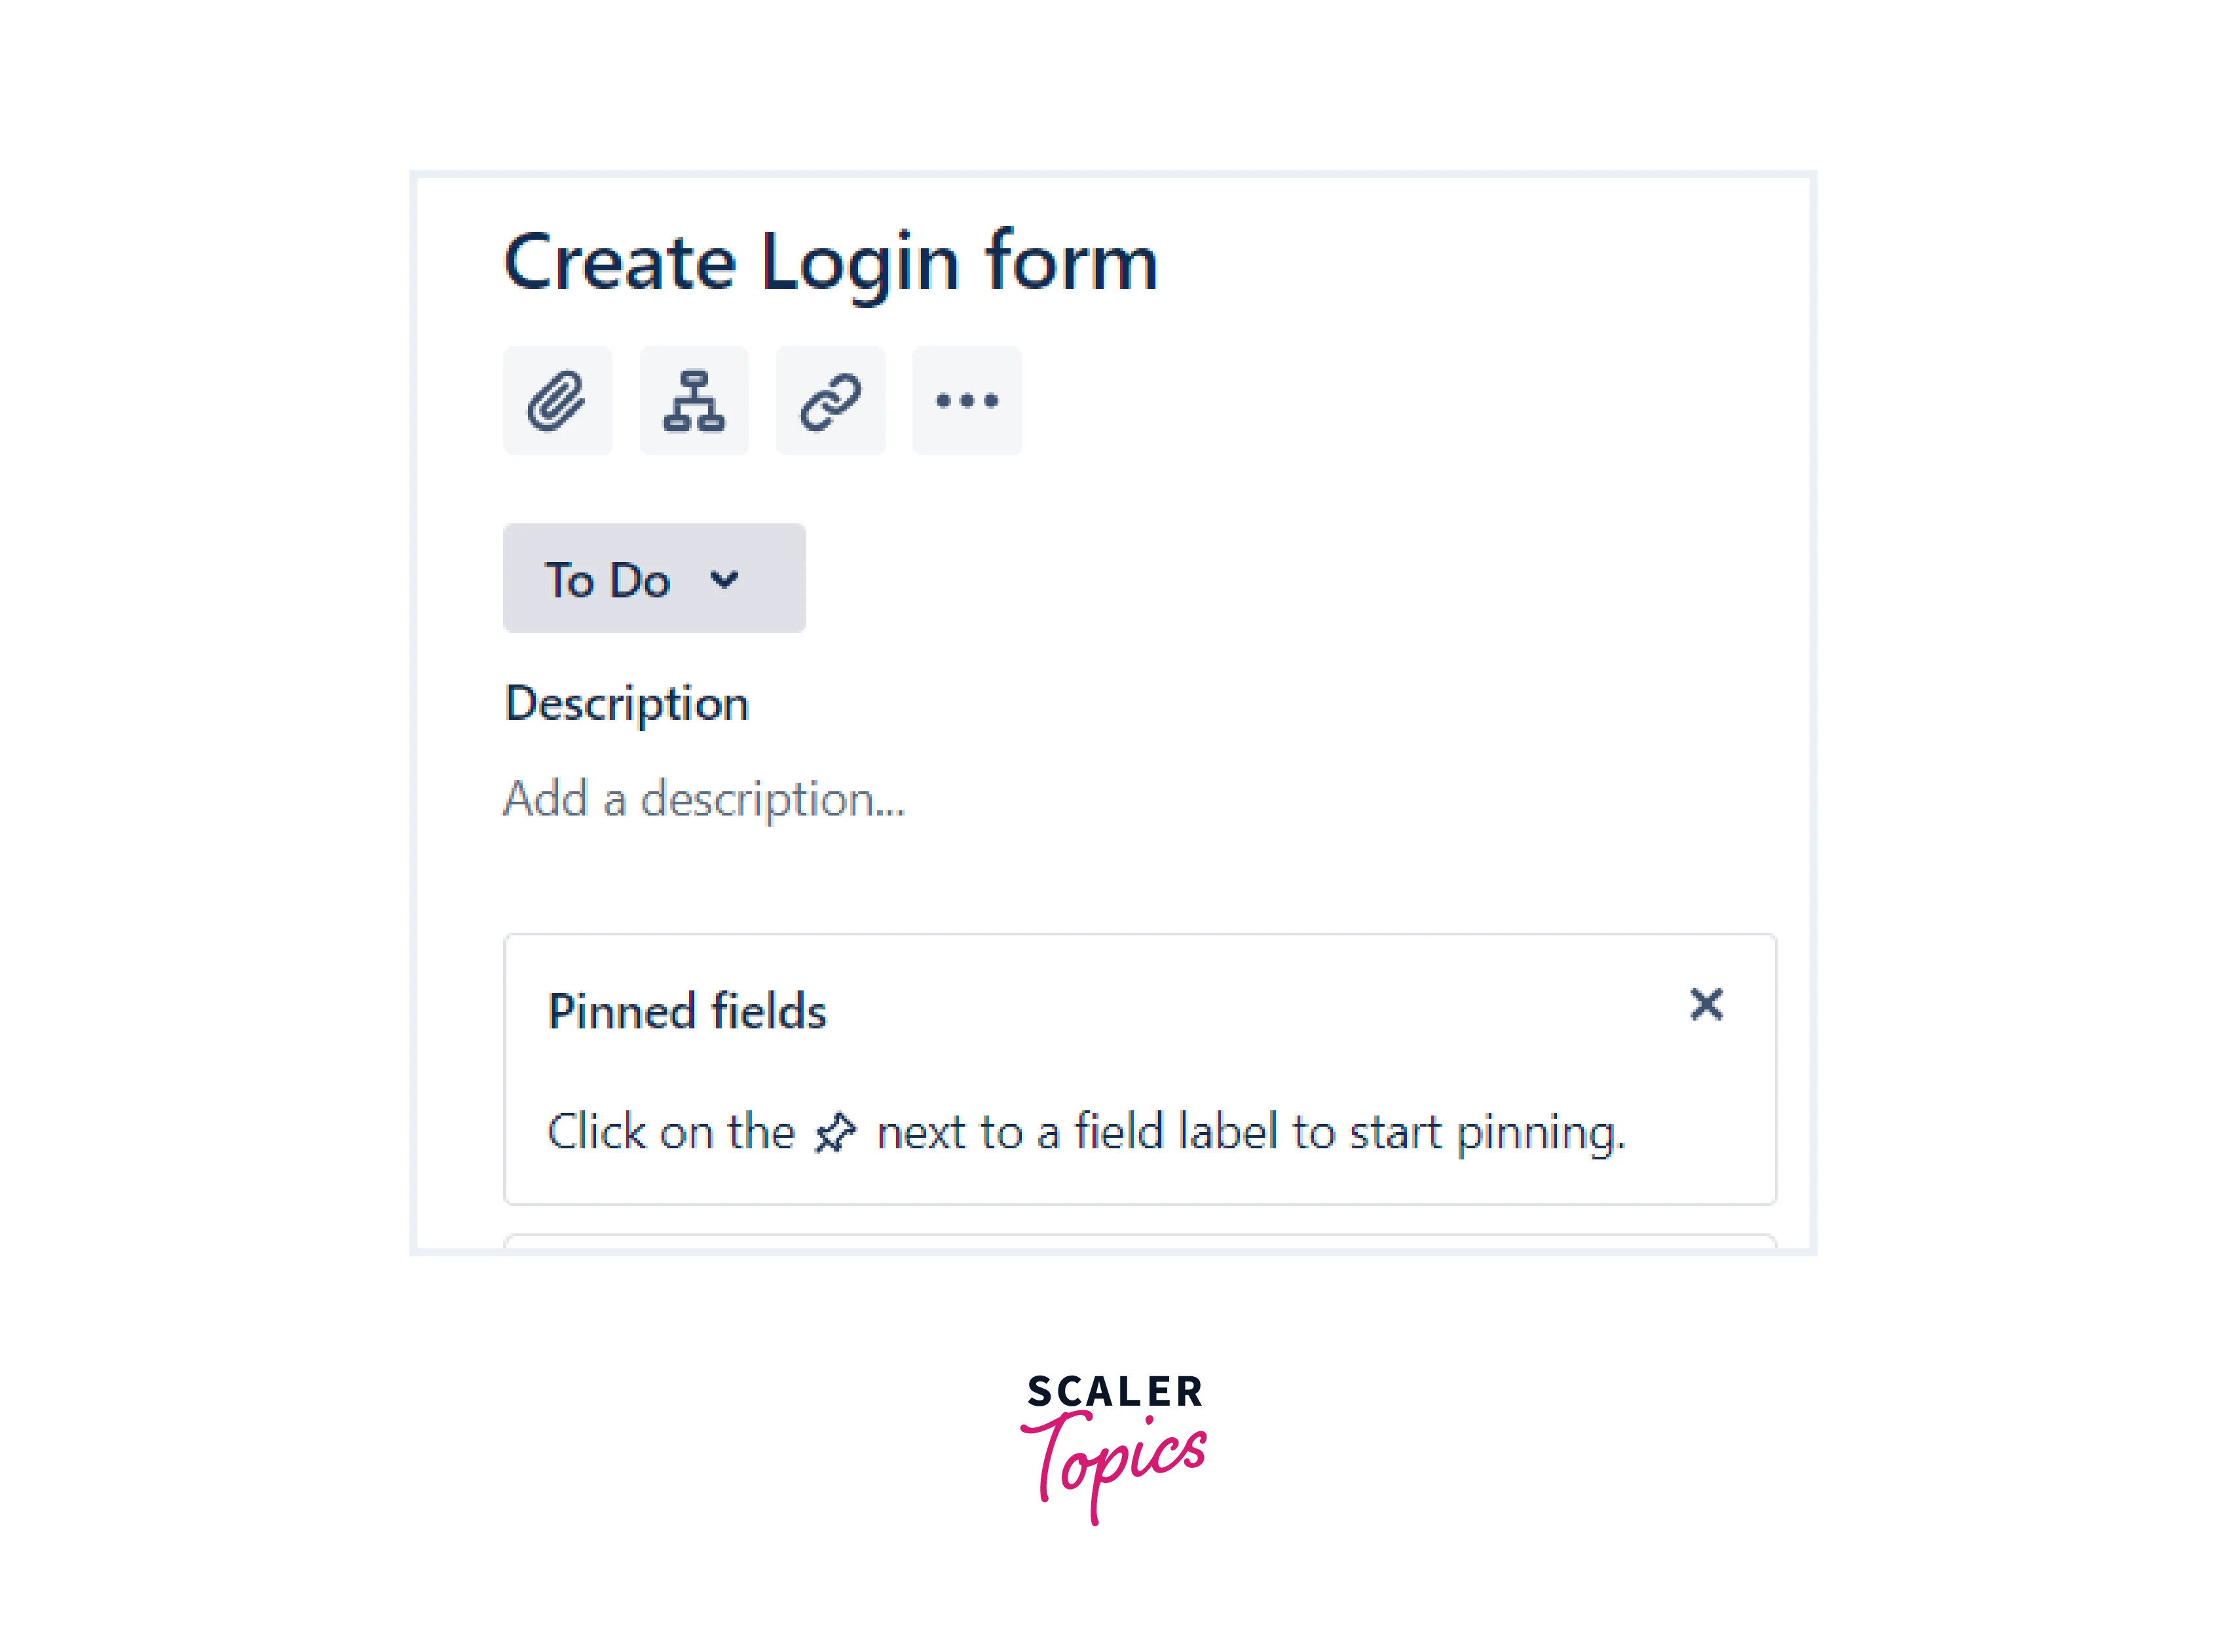
JIRA - Issue Creation
- Create a project using Scrum or Kanban template.
- Add an issue and select one of the issues types in JIRA.
- Fill the details in the description field. Assignee, assigned to, story points etc.
JIRA - Clone an Issue (Steps to Follow for Cloning)
When issues in JIRA are cloned, description and other fields like assignee, assigned are copied but not the time tracking of creation and who created the issue.The cloned issue is now a new issue. Cloning is done to use the existing data of an issue for other tasks as well.Let's have a look at the steps.
- Go to the issue created and select option clone.
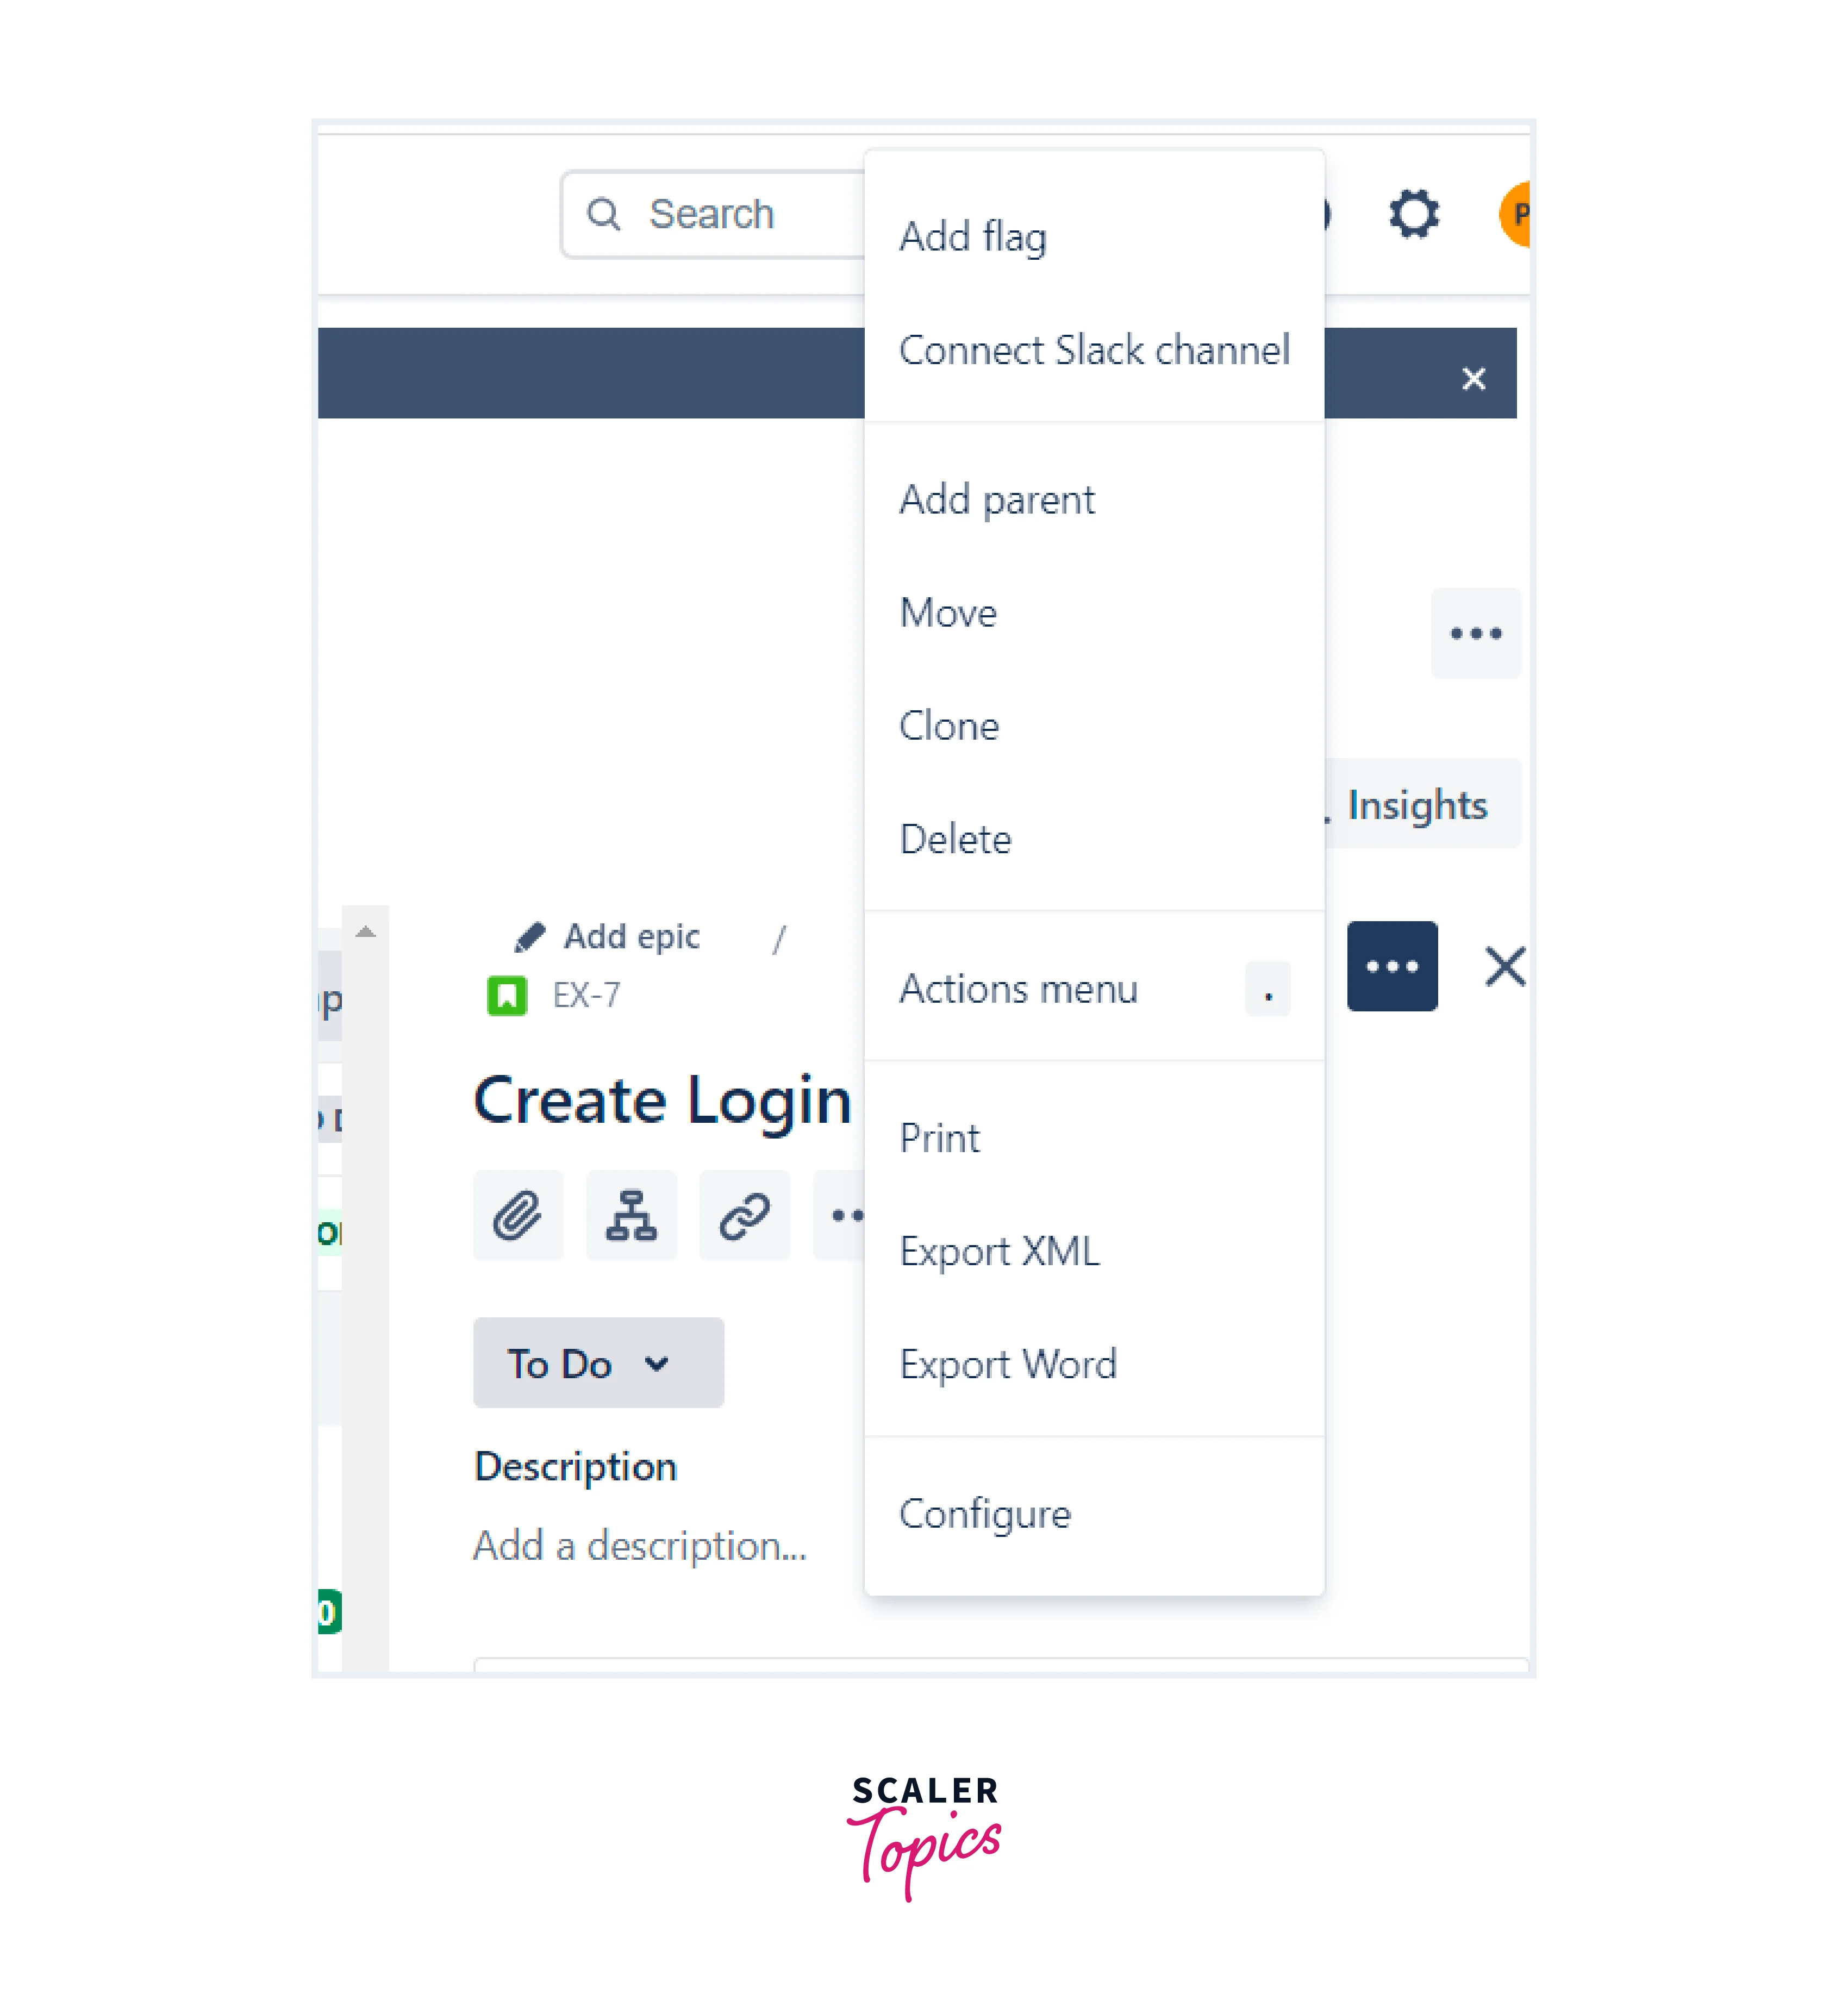
- This will open editable window to edit the summary and copy the contents in a clipboard.
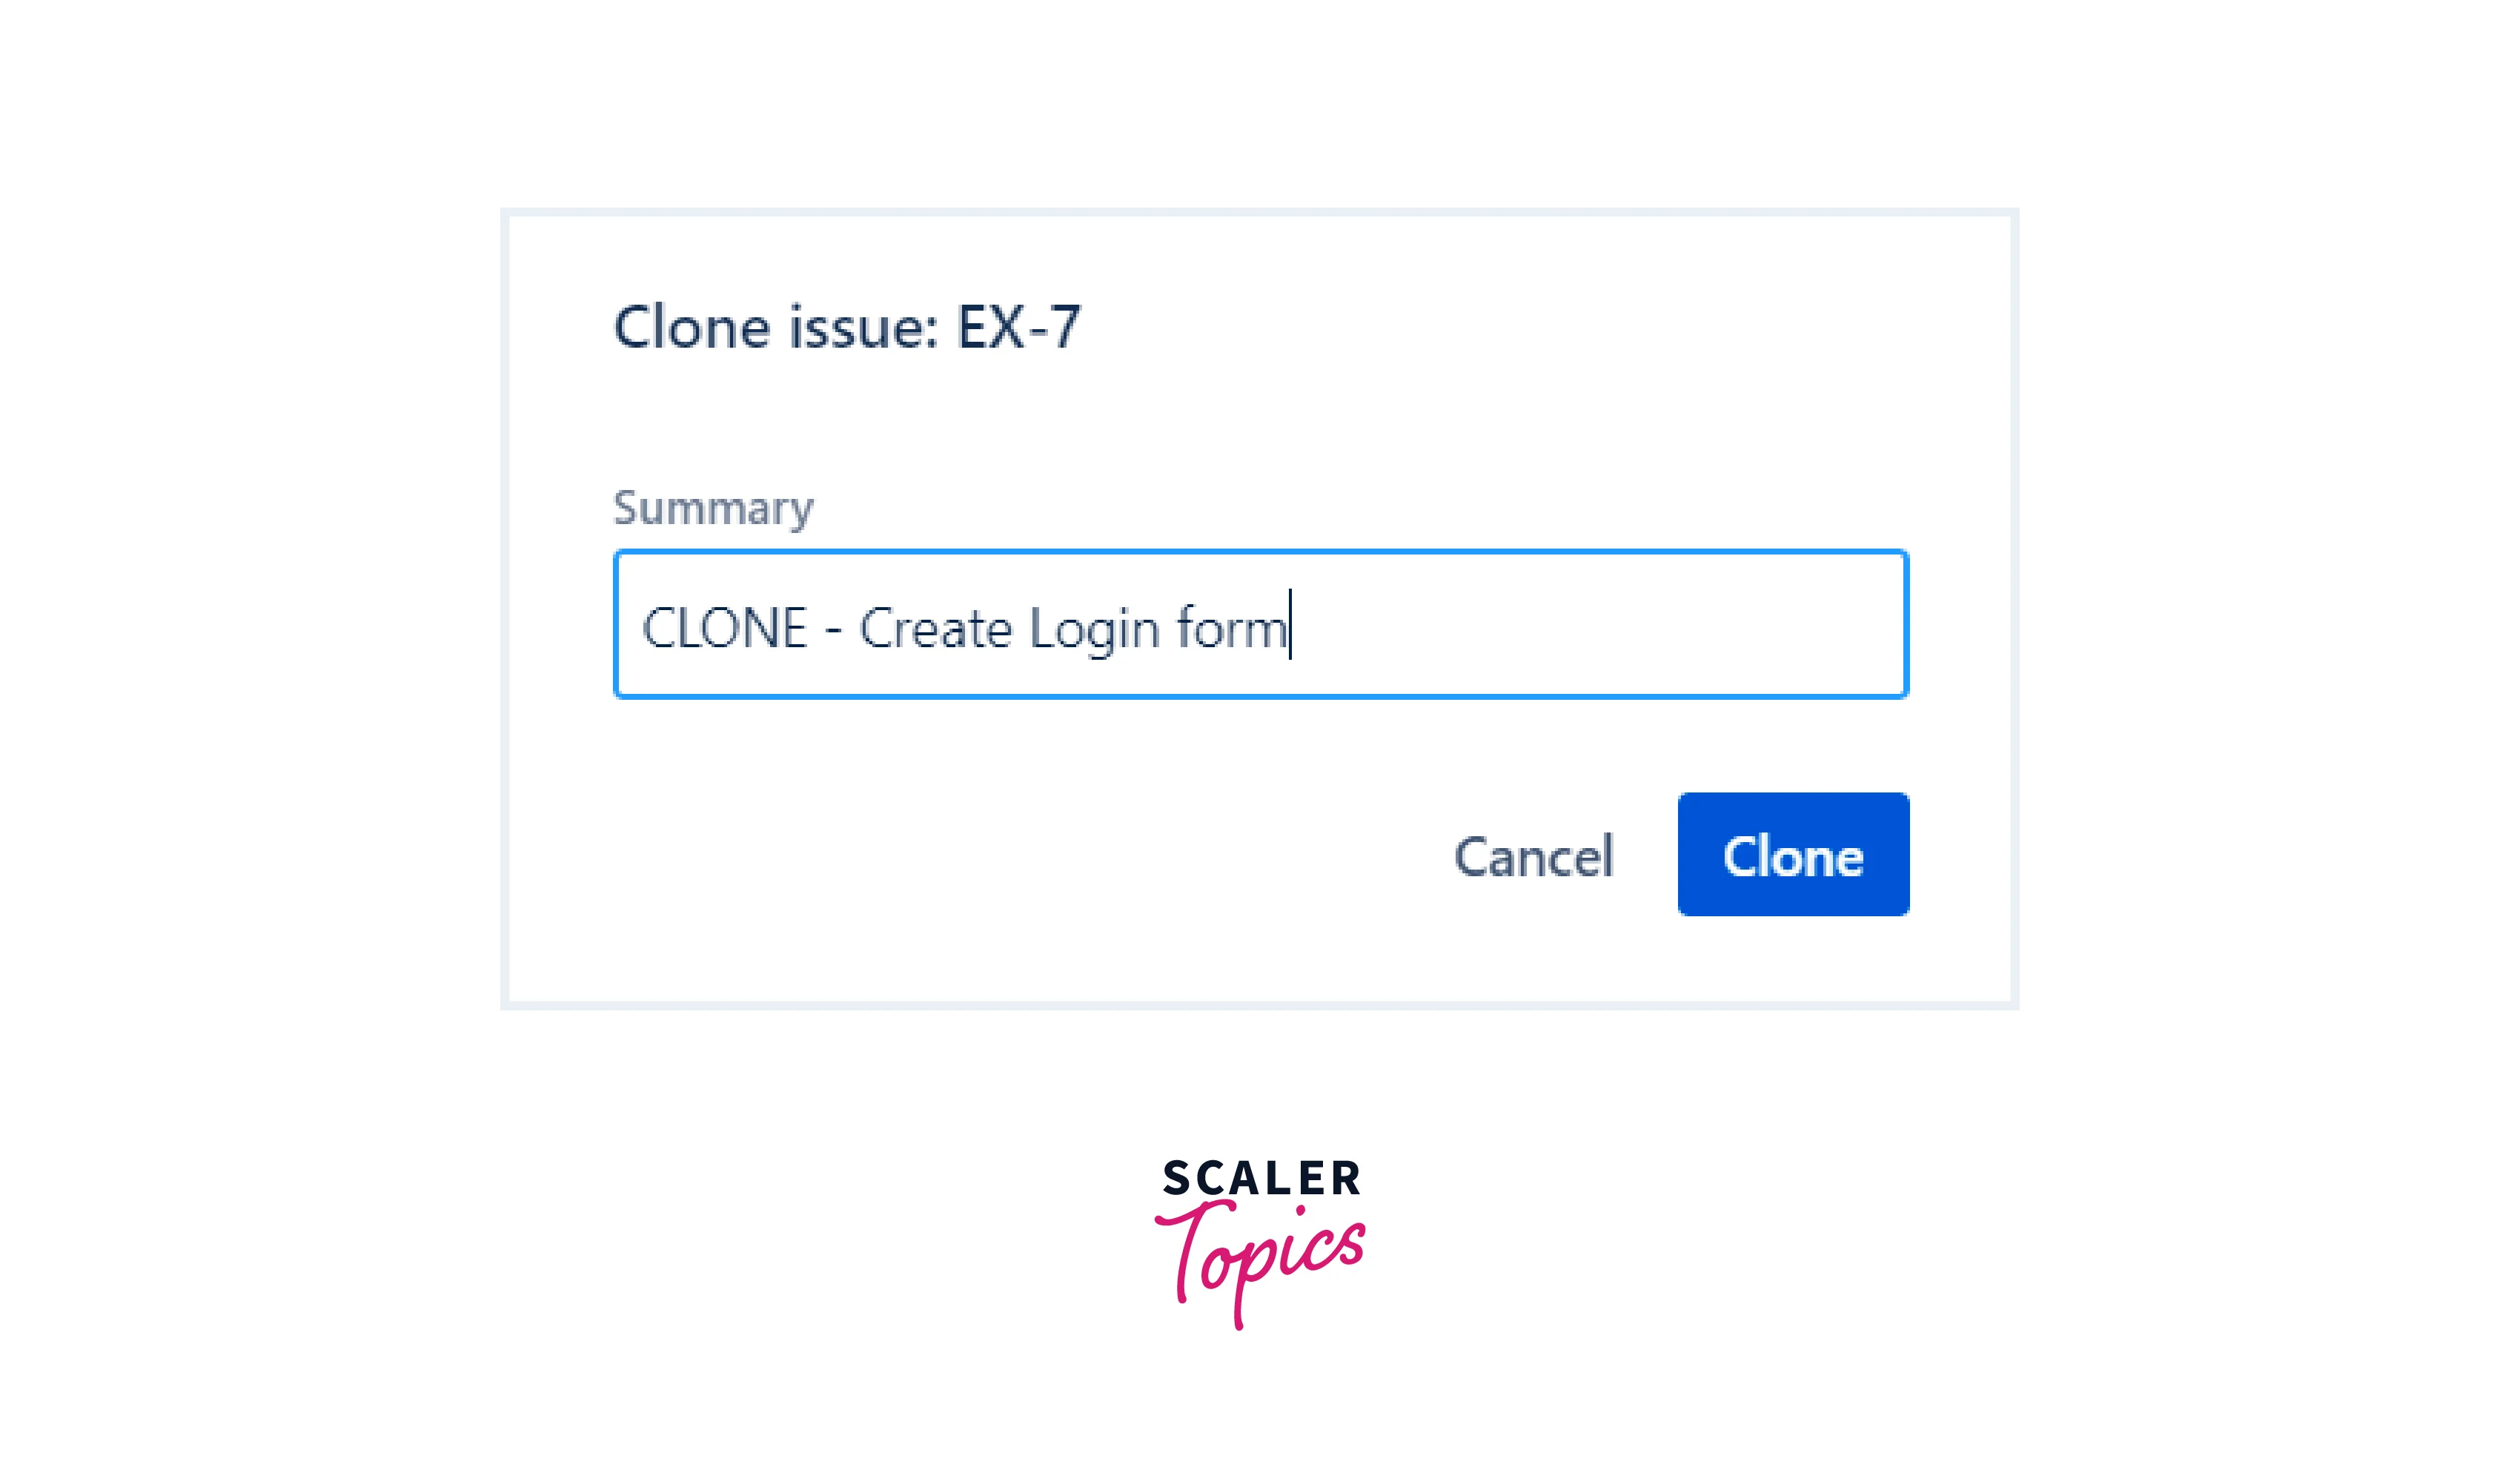
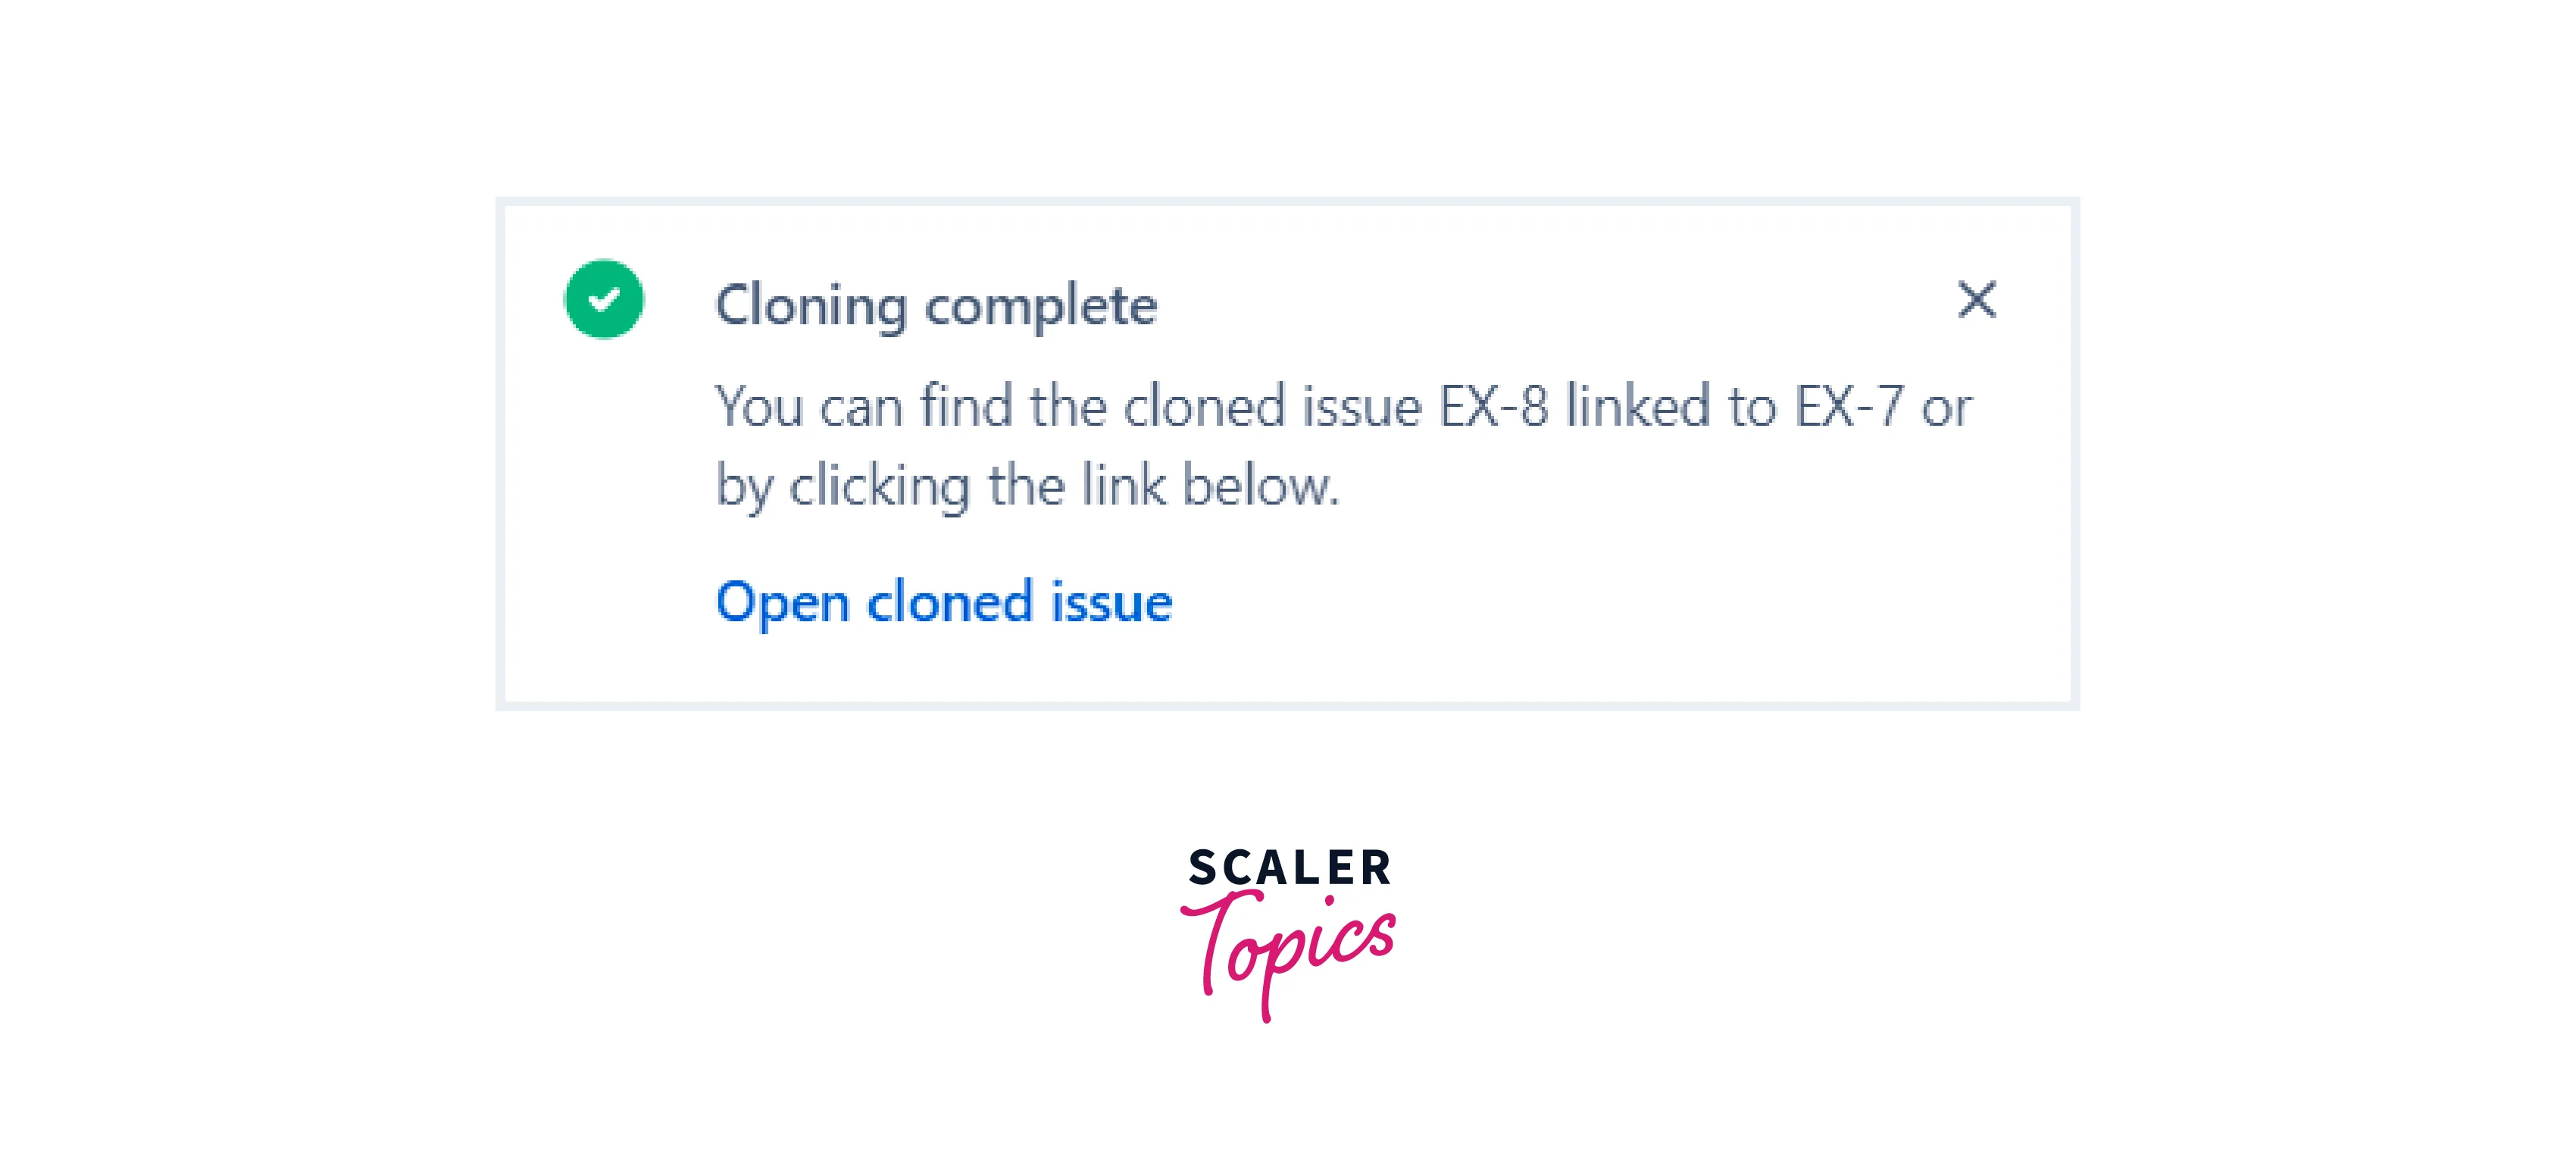
- The clipboard would have a link redirecting the clone link. all the details and fields are copied there.
Create an Issue Link
- To an issue in the same Jira site
- Open the issue that we have to link to.
- Select more (...) option on the right hand side.
- Select link from the menu.
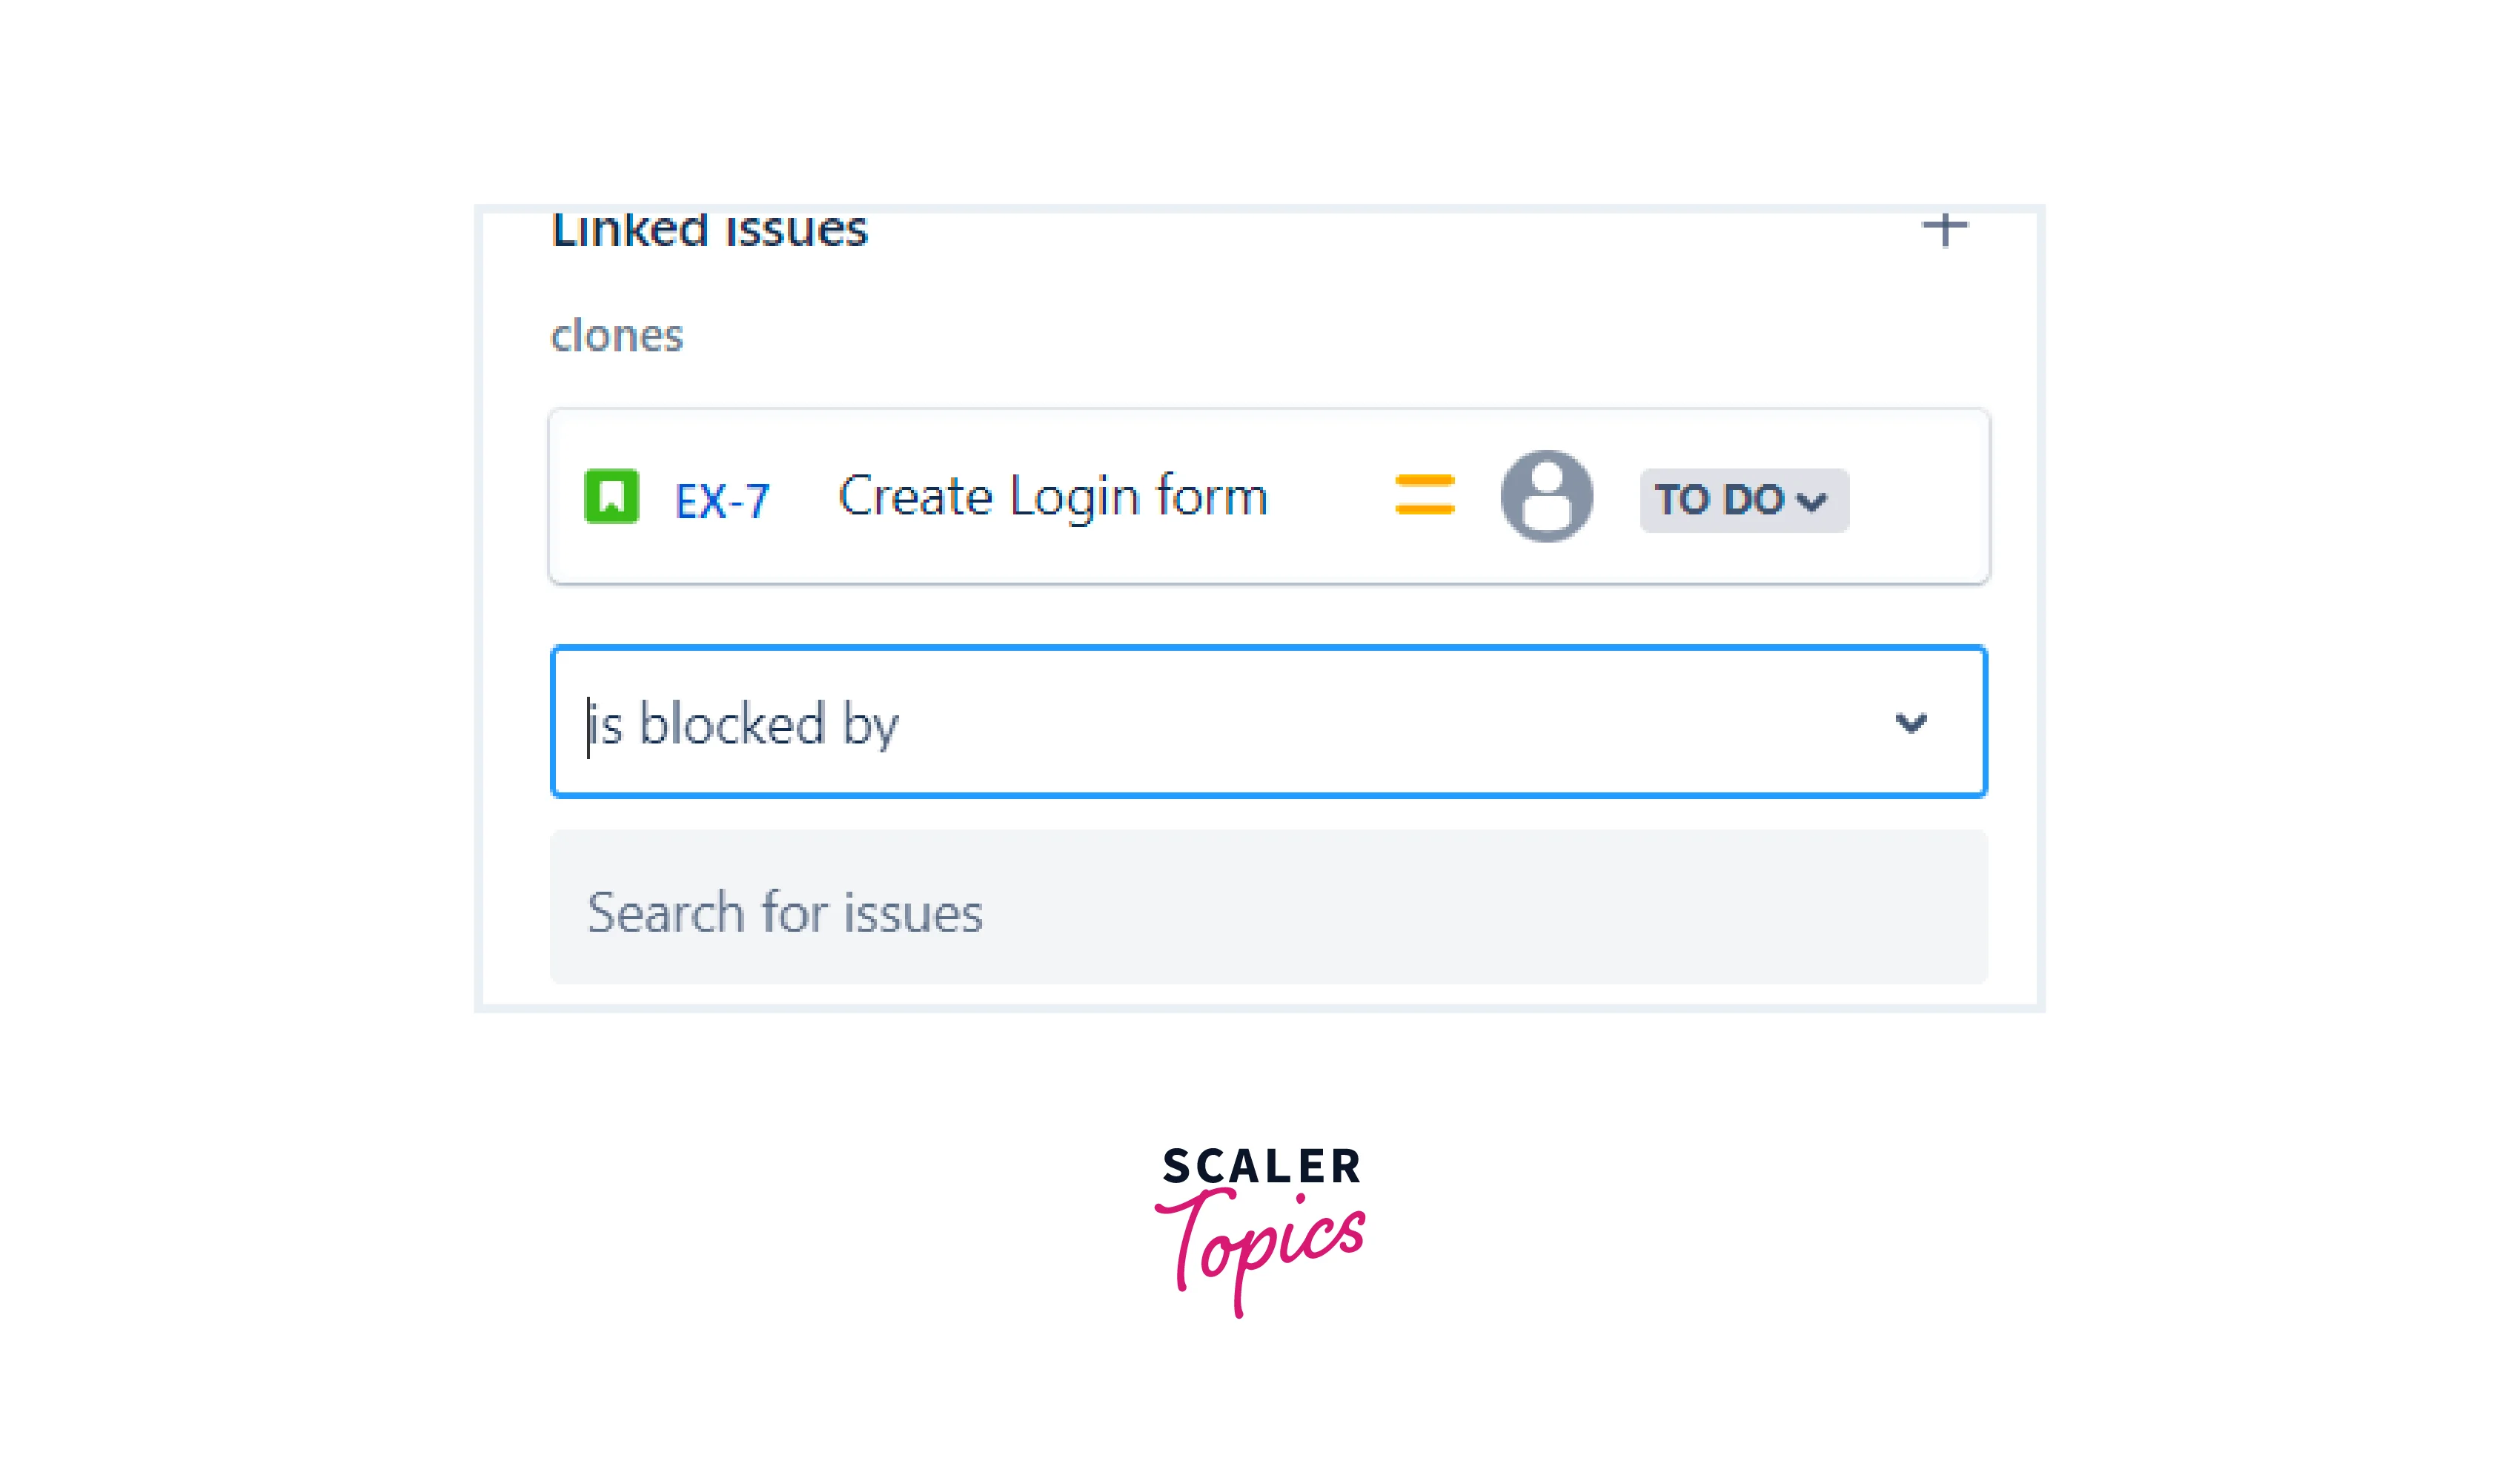
- Select Jira issue via searching.
- Select the type whether the new issue is blocked by/duplicate/clone of the linked issue.
- Add comments and link.
- To an issue on another Jira site
- Select more (...)
- Select link
- Select Jira issue
- Select the type whether the new issue is blocked by linked issue
- Add comments and link
- To a Confluence page
- Select more (•••)
- Select link
- Select confluence page
- Add comments and select link
- To a specific URL
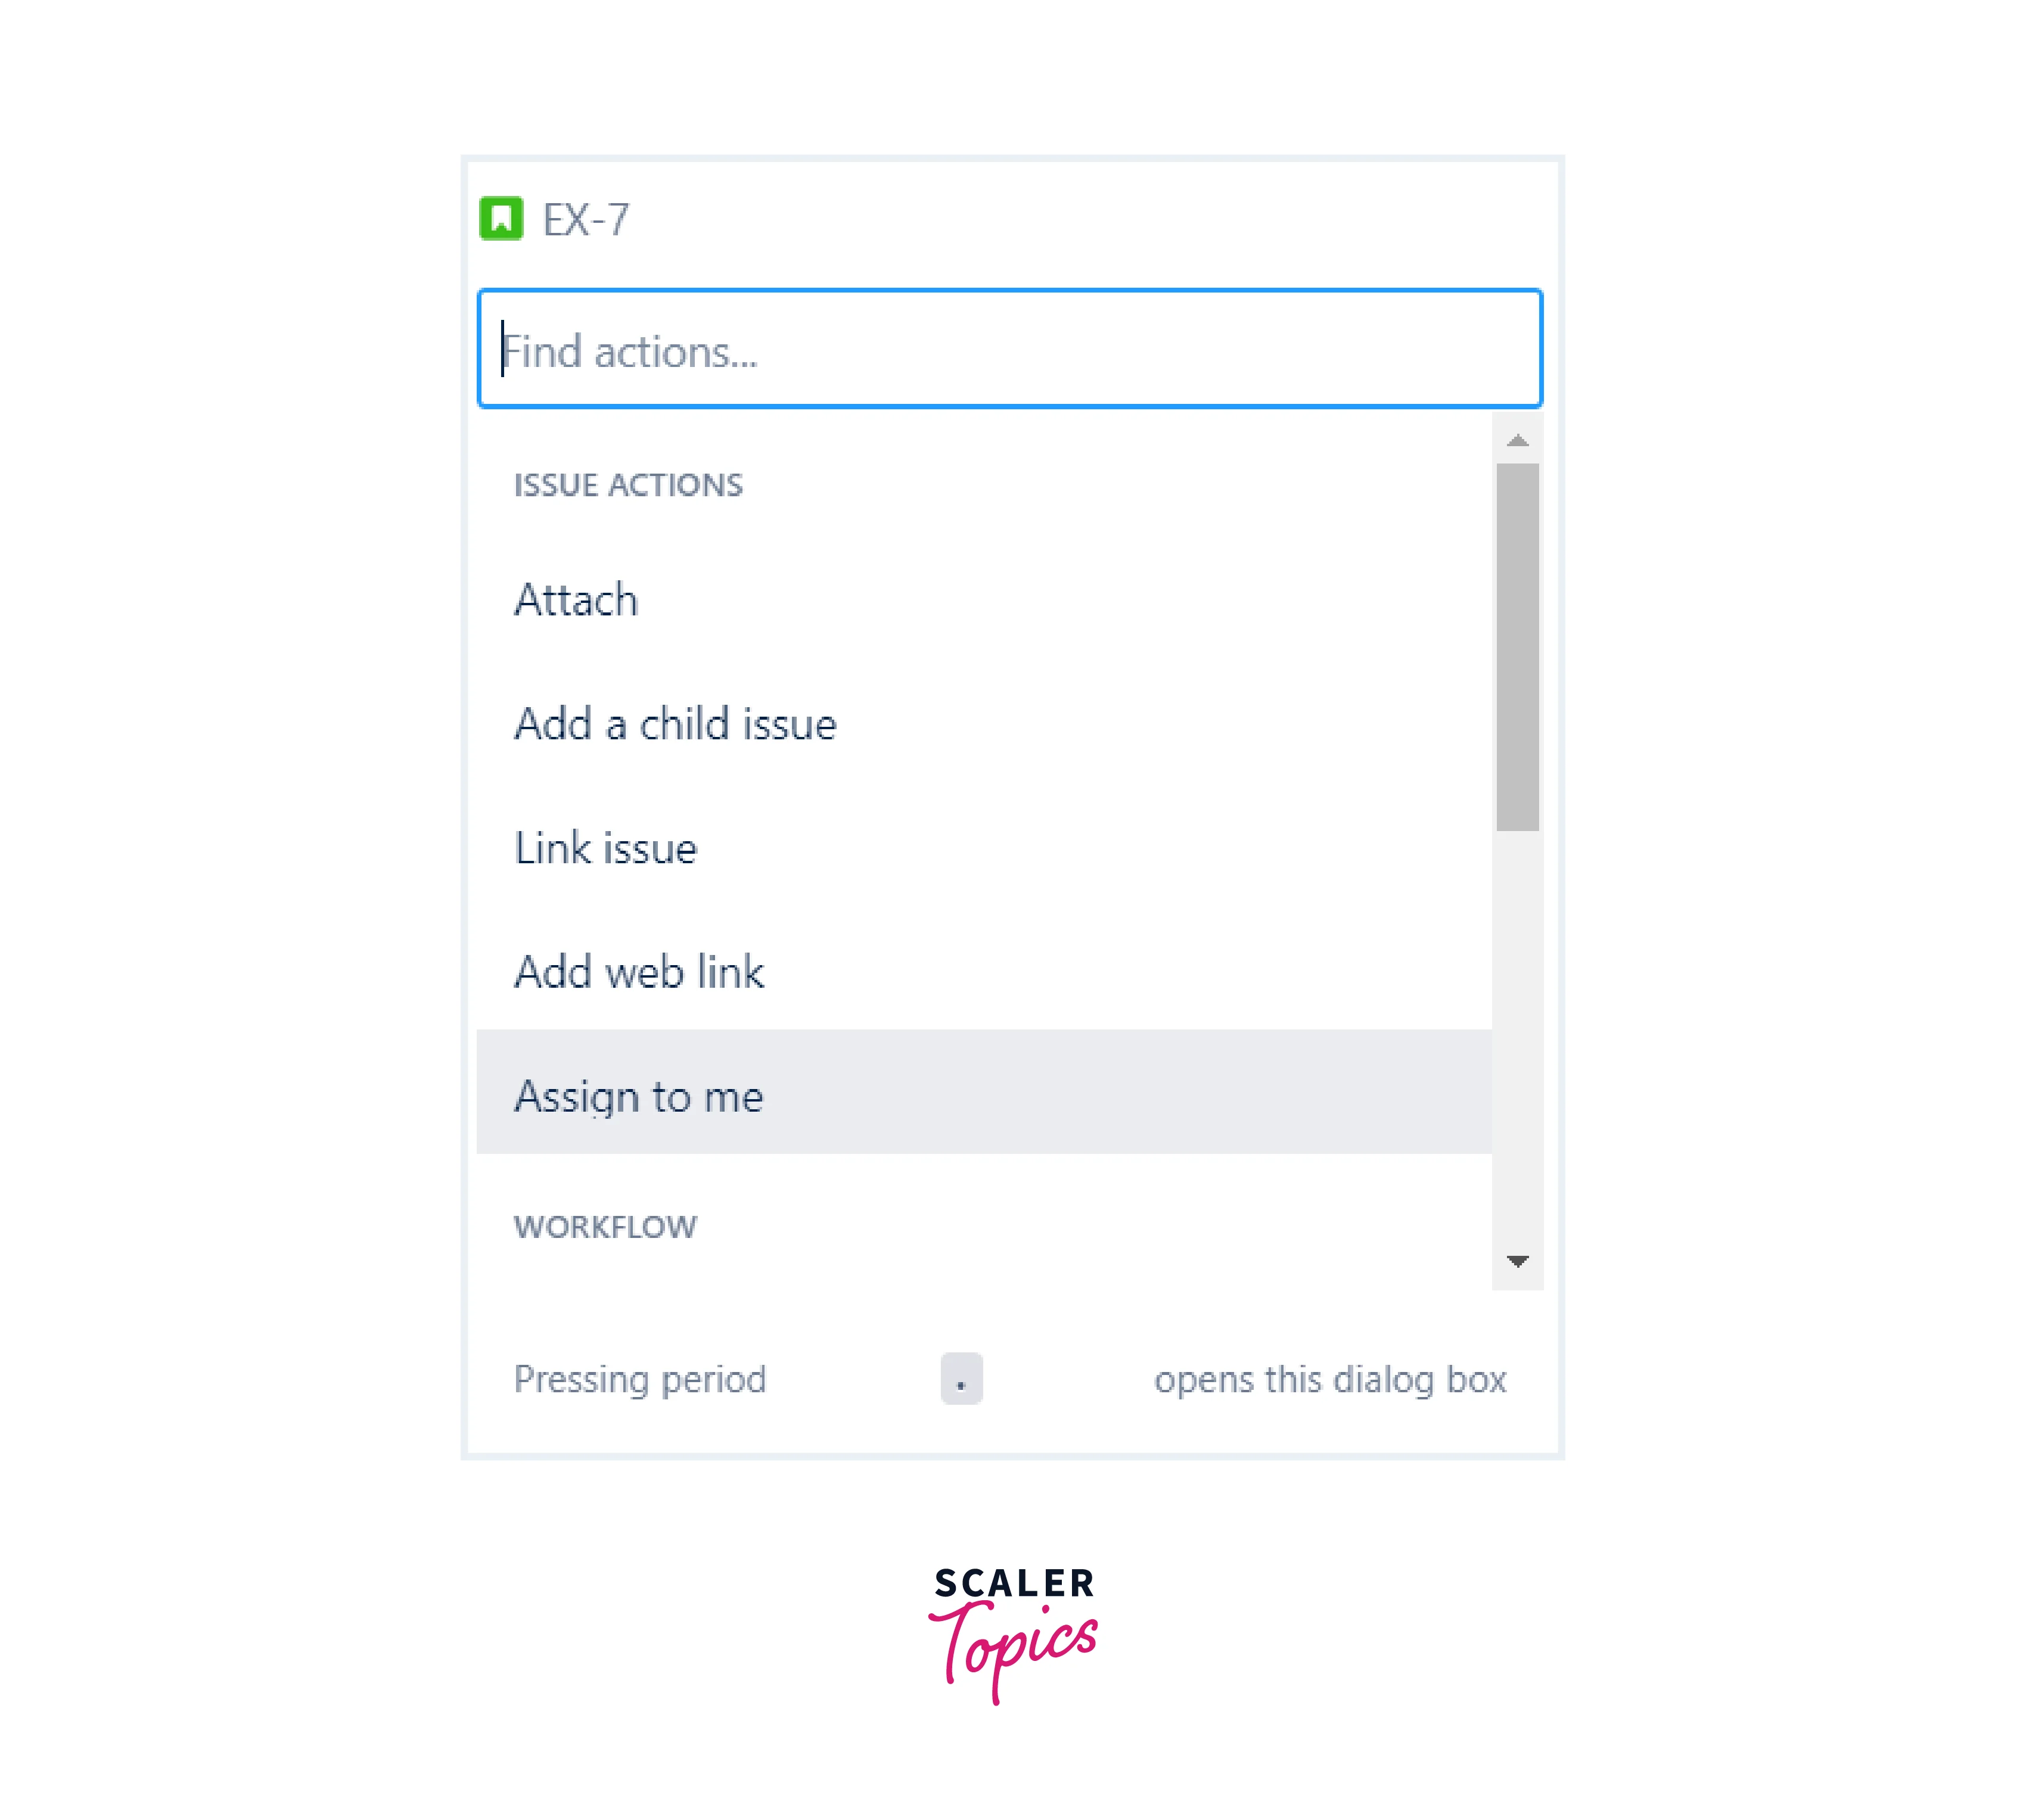
- Go to (...) menu on the right side
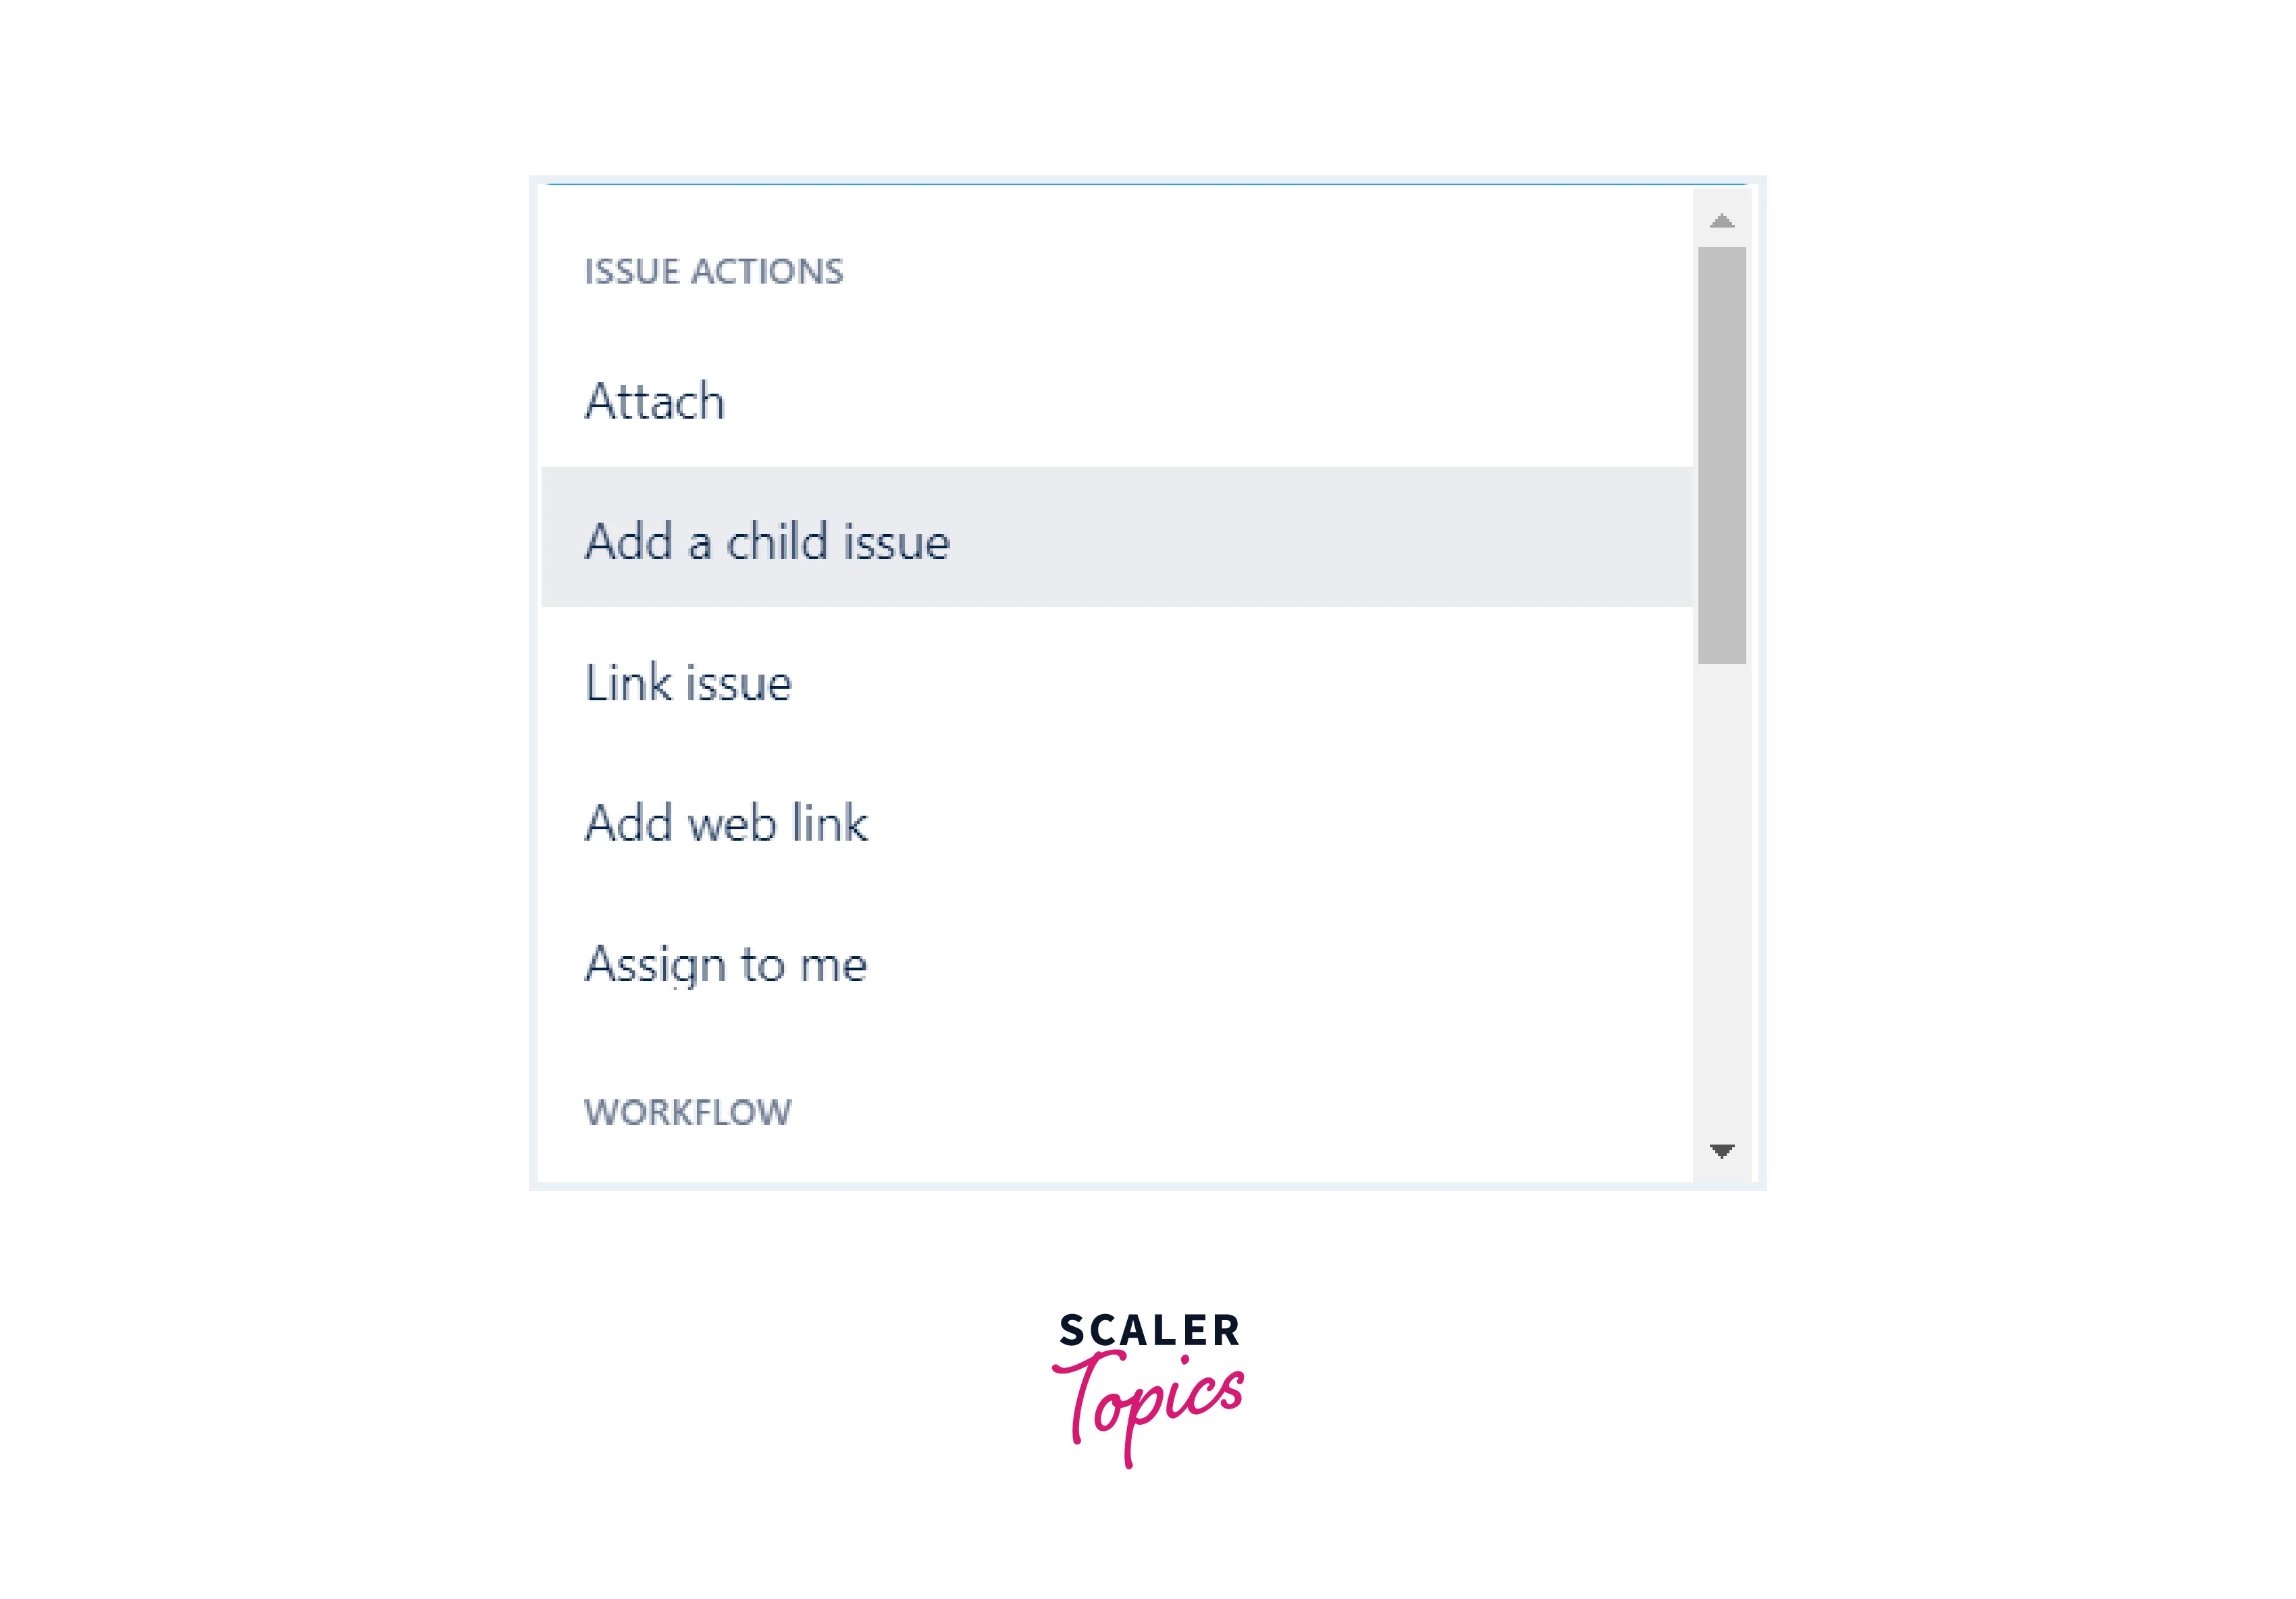
- Select actions from the list
- Select add web link
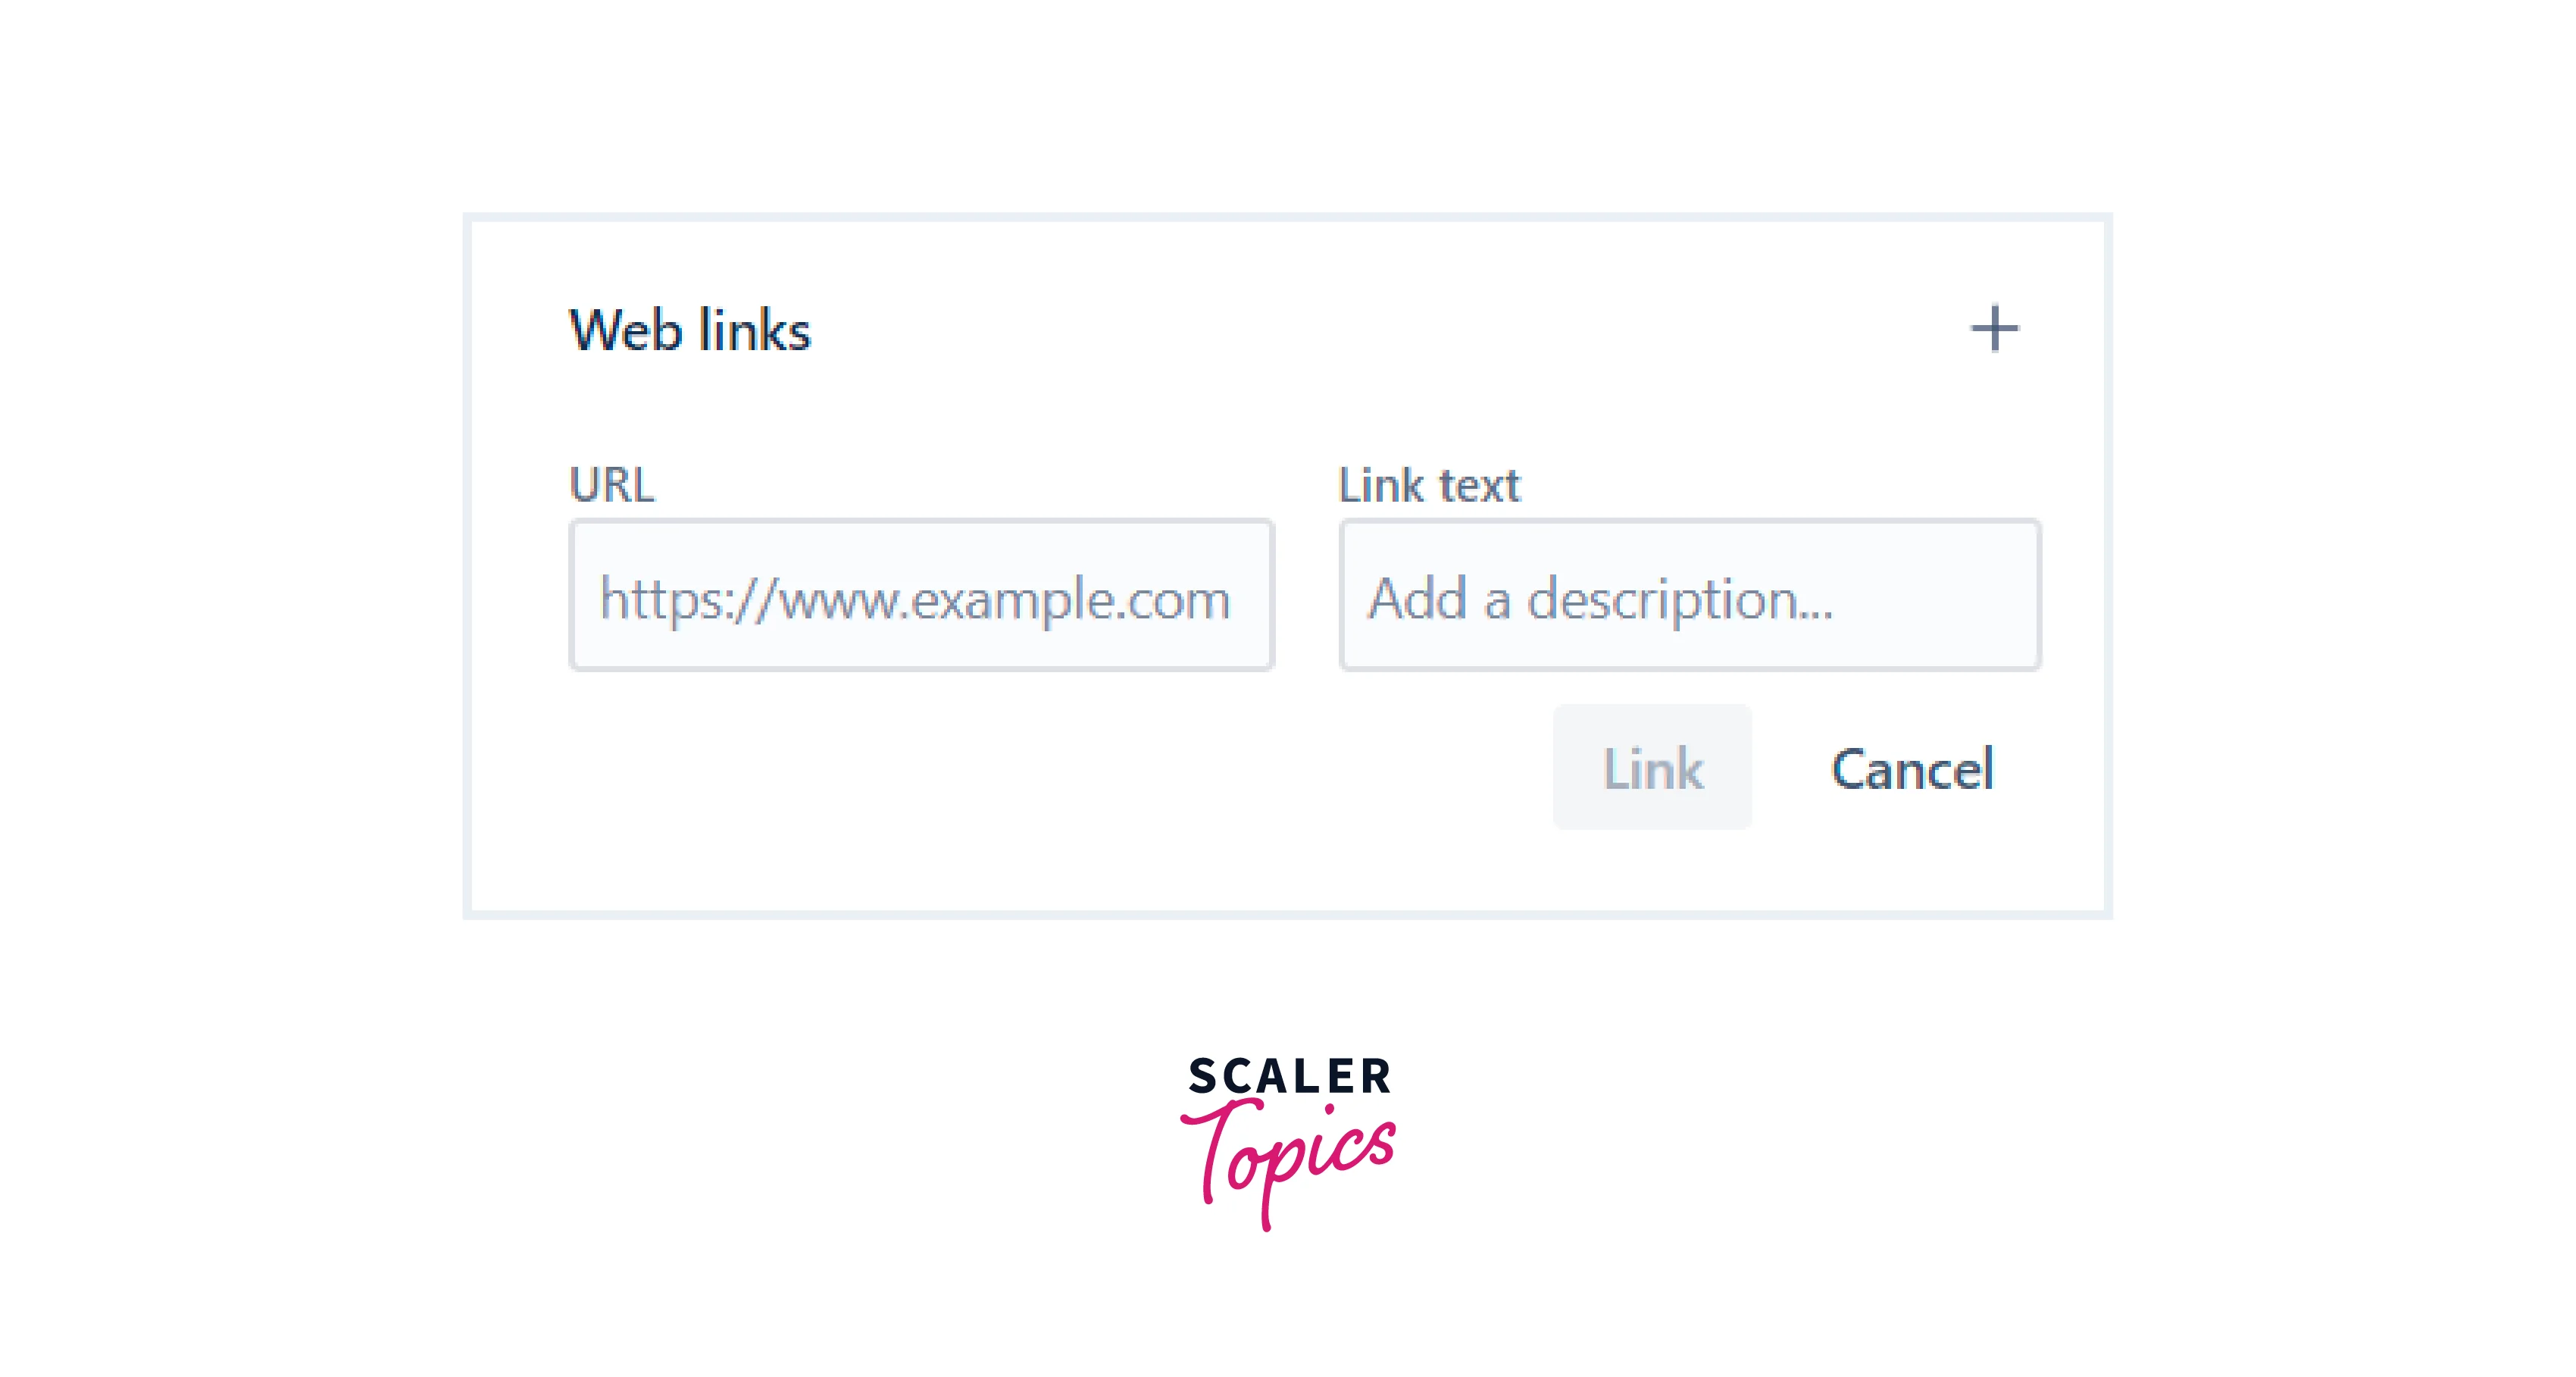
- It will add two fields of url and link text
- Click on link.
- Delete an issue link

- Go to (...) menu on the right side.
- Select delete option.
Conclusion
- In this article we discussed how to create a new issue. Issues in JIRA are used to create a new task that needs to be done.
- Multiple issues types in JIRA are there like bug, user story, epic, task, subtask etc.
- Cloning an issue means to create a new issue using existing and copying all the data expect date of creation.
- Issues in JIRA can be linked together and can be attached to a URL or confluence page.