Splash Screen in Flutter
Overview
A splash screen in Flutter is a page that shows for a few seconds after you run an application. As our Android app is loading, splash screens give a simple first experience. They establish the stage for your application while giving the app engine and your app time to load and start. Because splash screens are an important starting part of any program, we must understand how to effectively incorporate them. Hence, in this tutorial, We’ll see how to implement it in the Flutter environment. We’ll learn about splash screens in Flutter and look at the best practices for creating a Flutter splash screen.
Introduction
A splash screen in Flutter is a screen that appears momentarily when you launch a program. A splash screen, also known as a launch screen or startup screen, shows when you click on the app icon to activate it. A splash screen shows for two to four seconds before disappearing and launching the program's main screen. These are some examples of splash screens. When we launch our program, the first thing we see is the splash screen. It is often referred to as the Launch Screen.
What is a Splash Screen?
A splash screen in Flutter, also known as a launch screen, start screen, or boot screen, is a graphical control element that contains the image, logo, and current version of the software. It is the initial screen of the app that appears when the app is loaded. It may also be the app's welcome screen, which gives a simple first experience when a mobile game or a program is launched. The splash screen is just a display screen that allows users to look at anything while the hardware is loading to provide software to the user. The most popular type of splash screen is the Flutter logo when you launch the Flutter application or the Microsoft logo when you launch the Microsoft operating system. Splash screens in Flutter set the tone for the app's overall theme and user experience. They also assist in informing your users when there is a loading delay due to a network issue or other malfunction. Due to this, we as developers must understand how to incorporate a decent splash screen into our mobile applications.
However, before continuing, we’ll discuss why we employ a splash screen in Flutter?
- This screen might display basic information such as the logo, app name, version, and so on.
- The splash screen is typically used by developers to allow the program to prefetch data from external servers while it is being launched. Instead of presenting a blank screen while loading, a splash screen is the ideal option.
- As the splash screen expires, we are sent to the following screen, which is usually the home screen.
- Keeps the user engaged while the software does background operations.
Splash Screen Characteristics
The splash screen in Flutter must have the following characteristics:
- It is mostly used for application branding or identity identification, and it gives consumers a branding impression.
- Splash screen in Flutter may also be used to offer software to the user by displaying a loading progress indication while the hardware is loading.
- As the splash screen finishes loading, the user is sent to another functional screen, such as the home screen or dashboard, and then forgotten. Once the loading is complete, we cannot return to the splash screen by using the back button.
How to Create a Splash Screen in Flutter
In this section, we will go through three different ways to include a splash screen in Flutter in our program.
1. Splash Screen With the Help of the Timer() Function
The Timer() function will be used in the first method to produce a splash screen in Flutter. First, open the IDE and create a new project. Go to the lib folder and replace the following code in the main.dart file.
The function initState() in the above code is called once when the stateful widget is placed into the widget tree. This method invoked the super.initState() function first, and then the Timer() function. The timer function takes two parameters, the first of which is the period and the second of which is the action to be executed. We have set a timer for five seconds, after which the current screen will be replaced with the app's primary screen, i.e., HomeScreen().
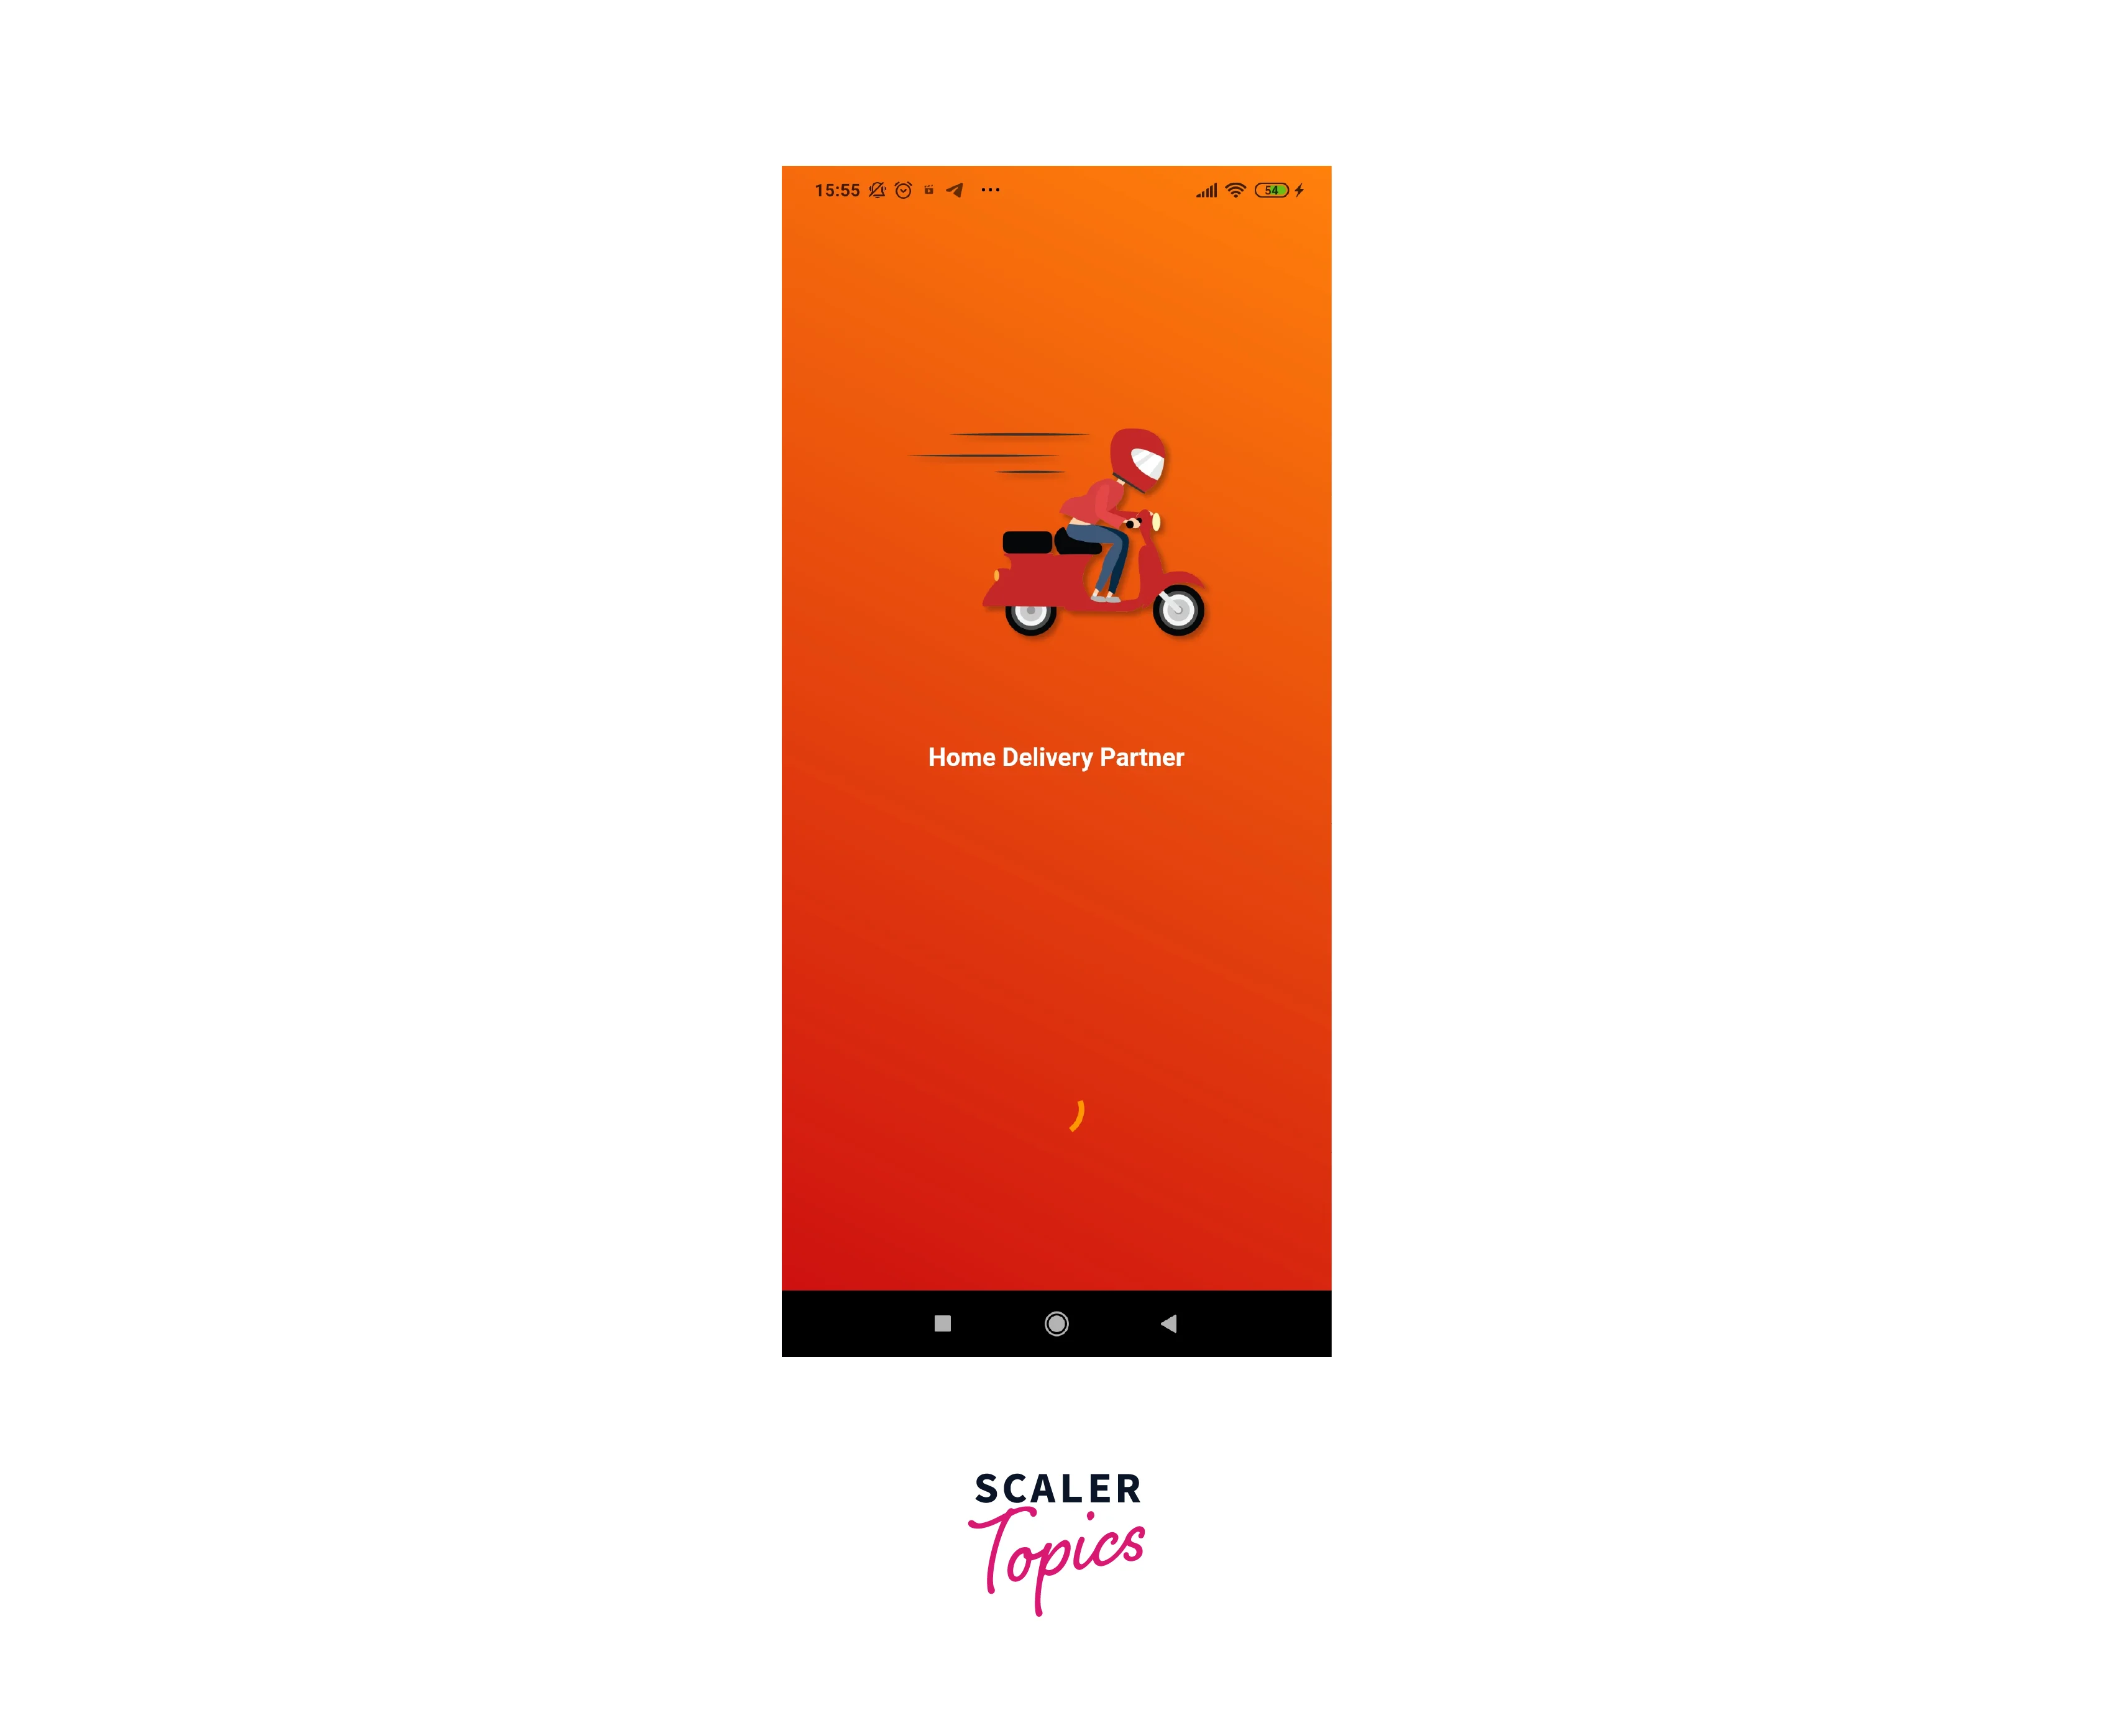
Output: As seen in the picture below, the flutter logo will appear first when the app is launched and will stay there for 3 seconds.
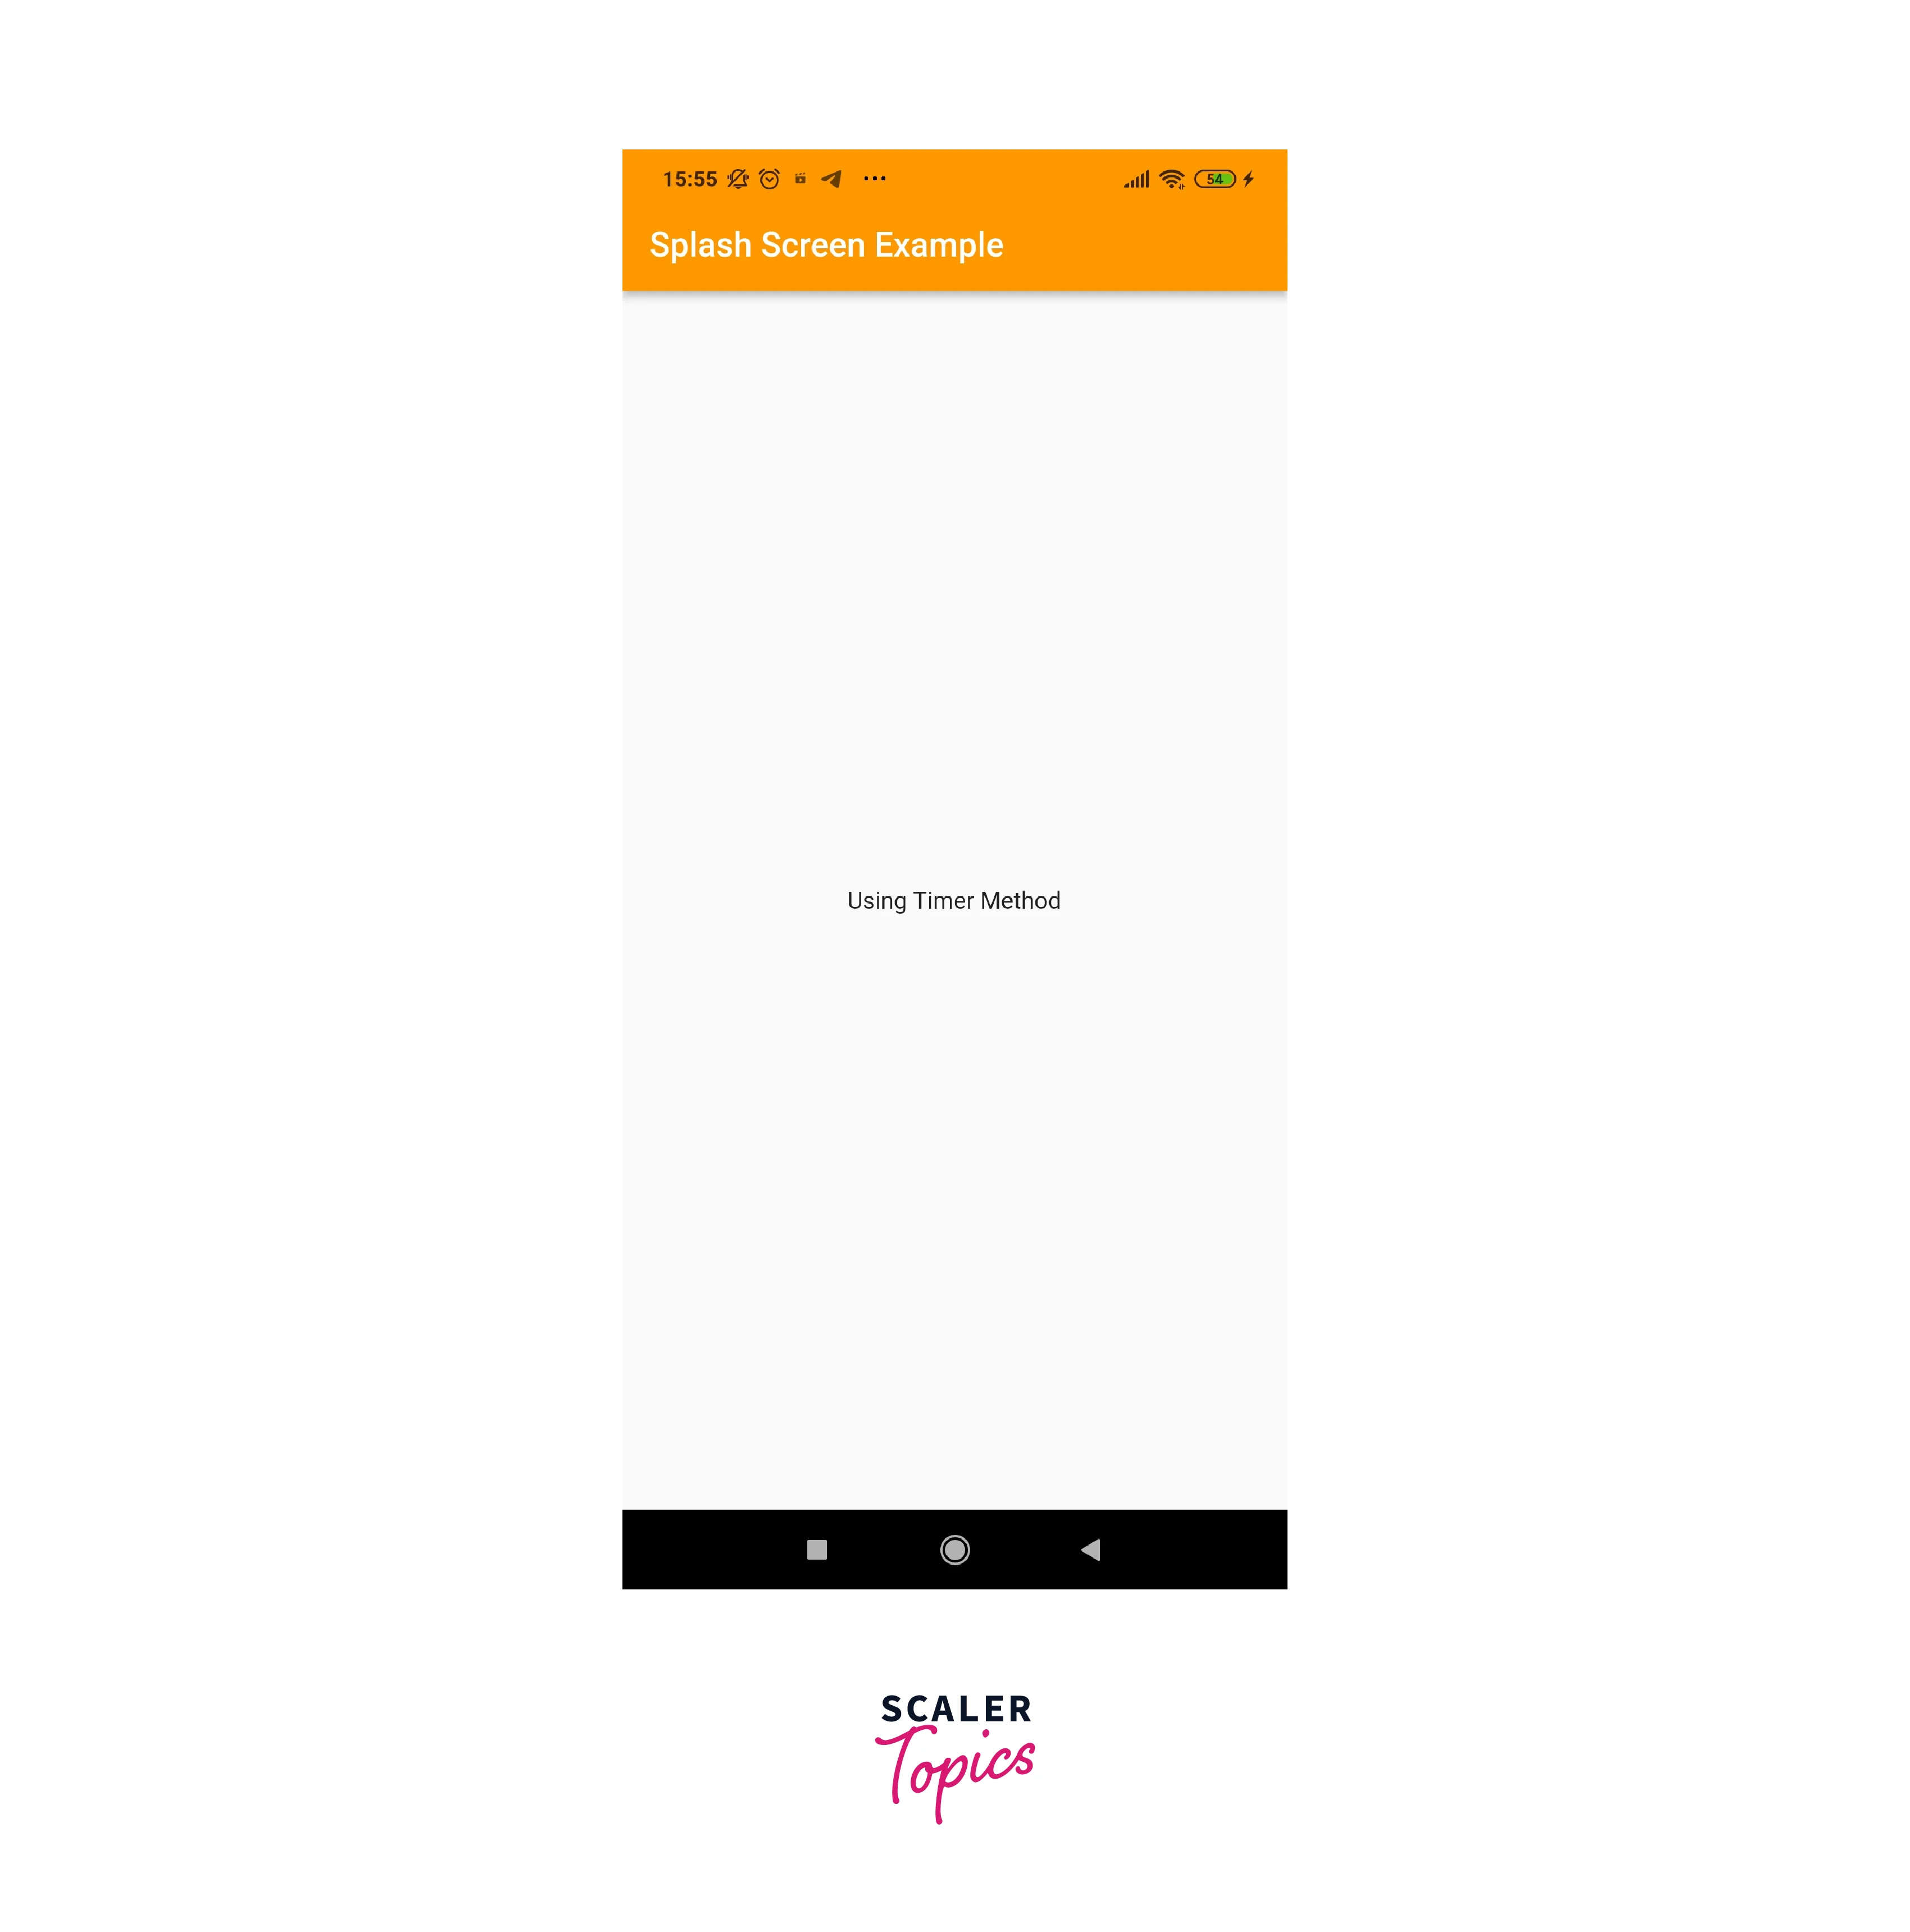
The home screen of our program, as seen in the picture below, will appear when the 3 seconds are up.
2. Splash Screen Using Splash Screen Package
In second method, we will construct a splash screen in Flutter using a splashscreen package. This package has numerous features, which are listed below:
| Attributes | Description |
|---|---|
| seconds | The second parameter controls how long the splash screen is displayed to the user. |
| photoSize | This attribute is used to change the size of the splash screen picture. |
| image | The image attribute is used to provide the picture that will appear on the splash screen. |
| loadingText | Loading text is used to display text beneath the splash screen's loader. |
| title | title is used to offer a small title below the splash screen's logo. |
| navigateAfterSeconds | After the splash screen's timer expires, this attribute redirects the user to a new screen. |
| backgroundColor | It is used to set the background color of the splash screen. |
| styleTextUnderTheLoader | This attribute allows the user to design the text under the loader. |
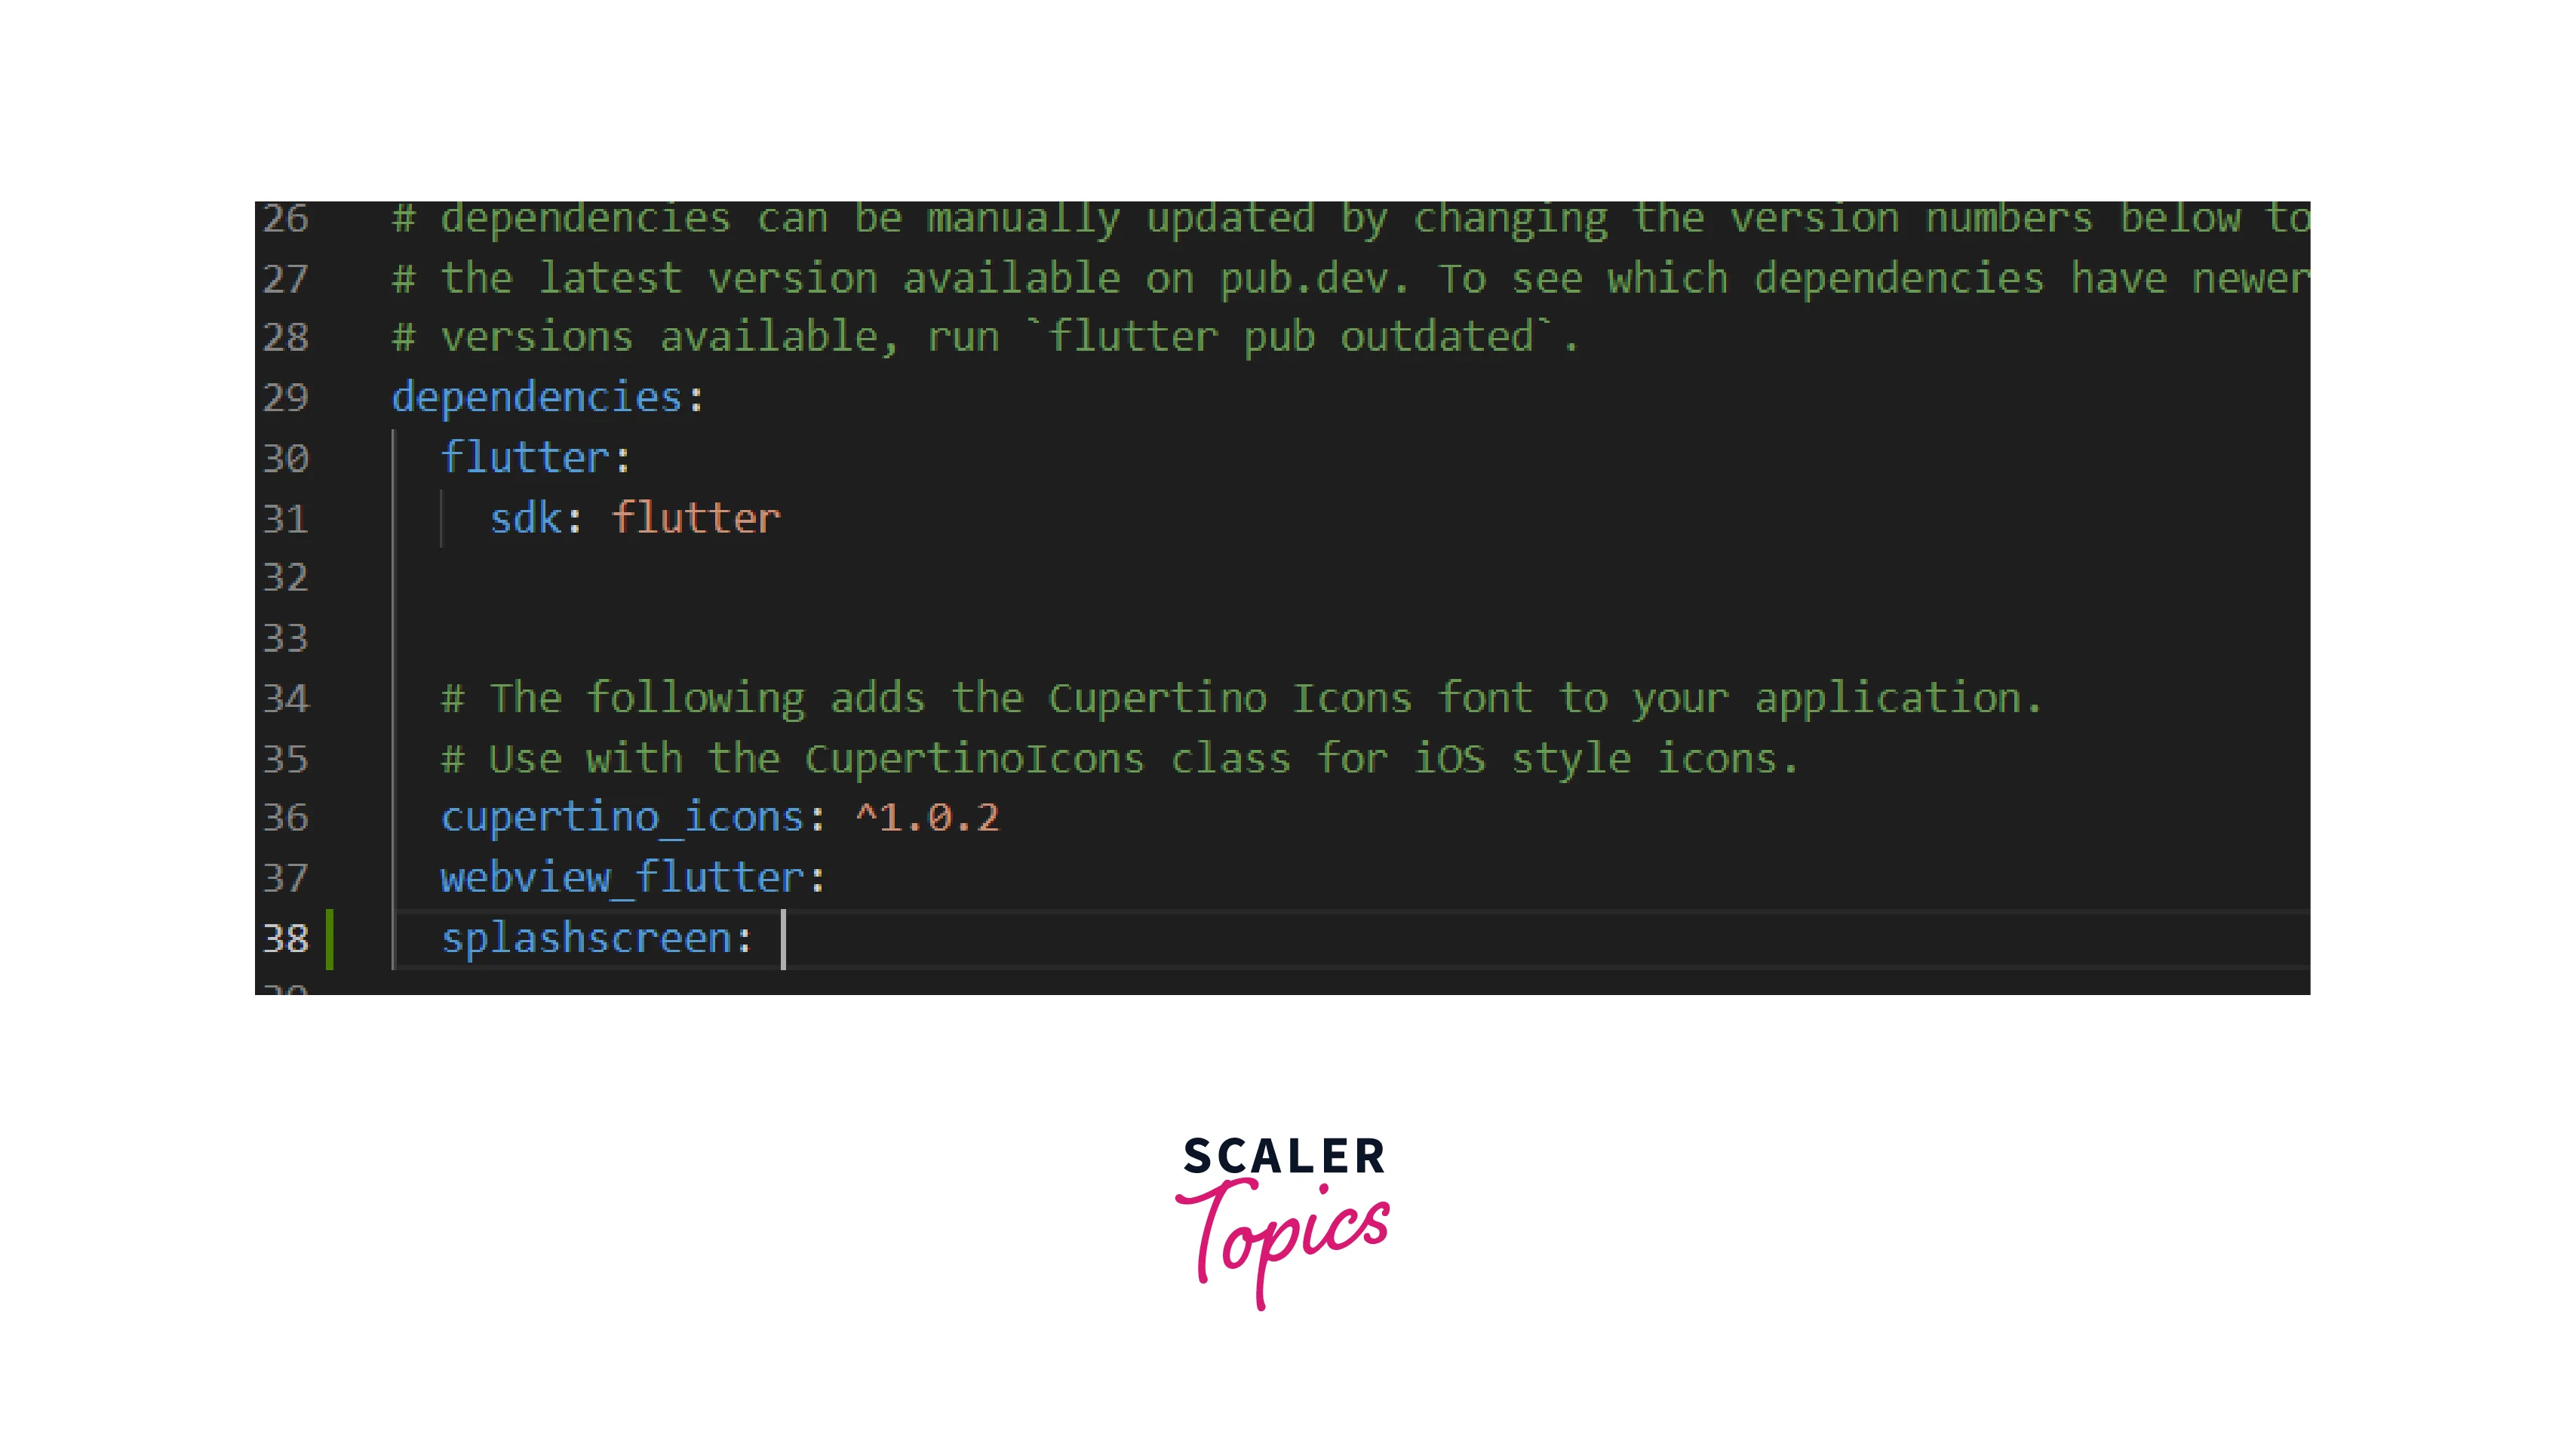
First, open the IDE and create a new project. Go to the lib folder and edit the pubspec.yaml file, where we need to add the splash screen in the Flutter package as seen below:
Go ahead and change the code in the main.dart file with the following by opening it.
In the preceding code, we have a home page called SplashScreenPage(), which returns the SplashScreen class. For showing the splash screen, this class provides numerous attributes such as title, picture, backgroundcolor, gradientBackground, seconds, loadingText, and so on. The second field specifies how long the splash screen in Flutter app shows to the user before navigating to a new screen, i.e., HomeScreen() in our app.
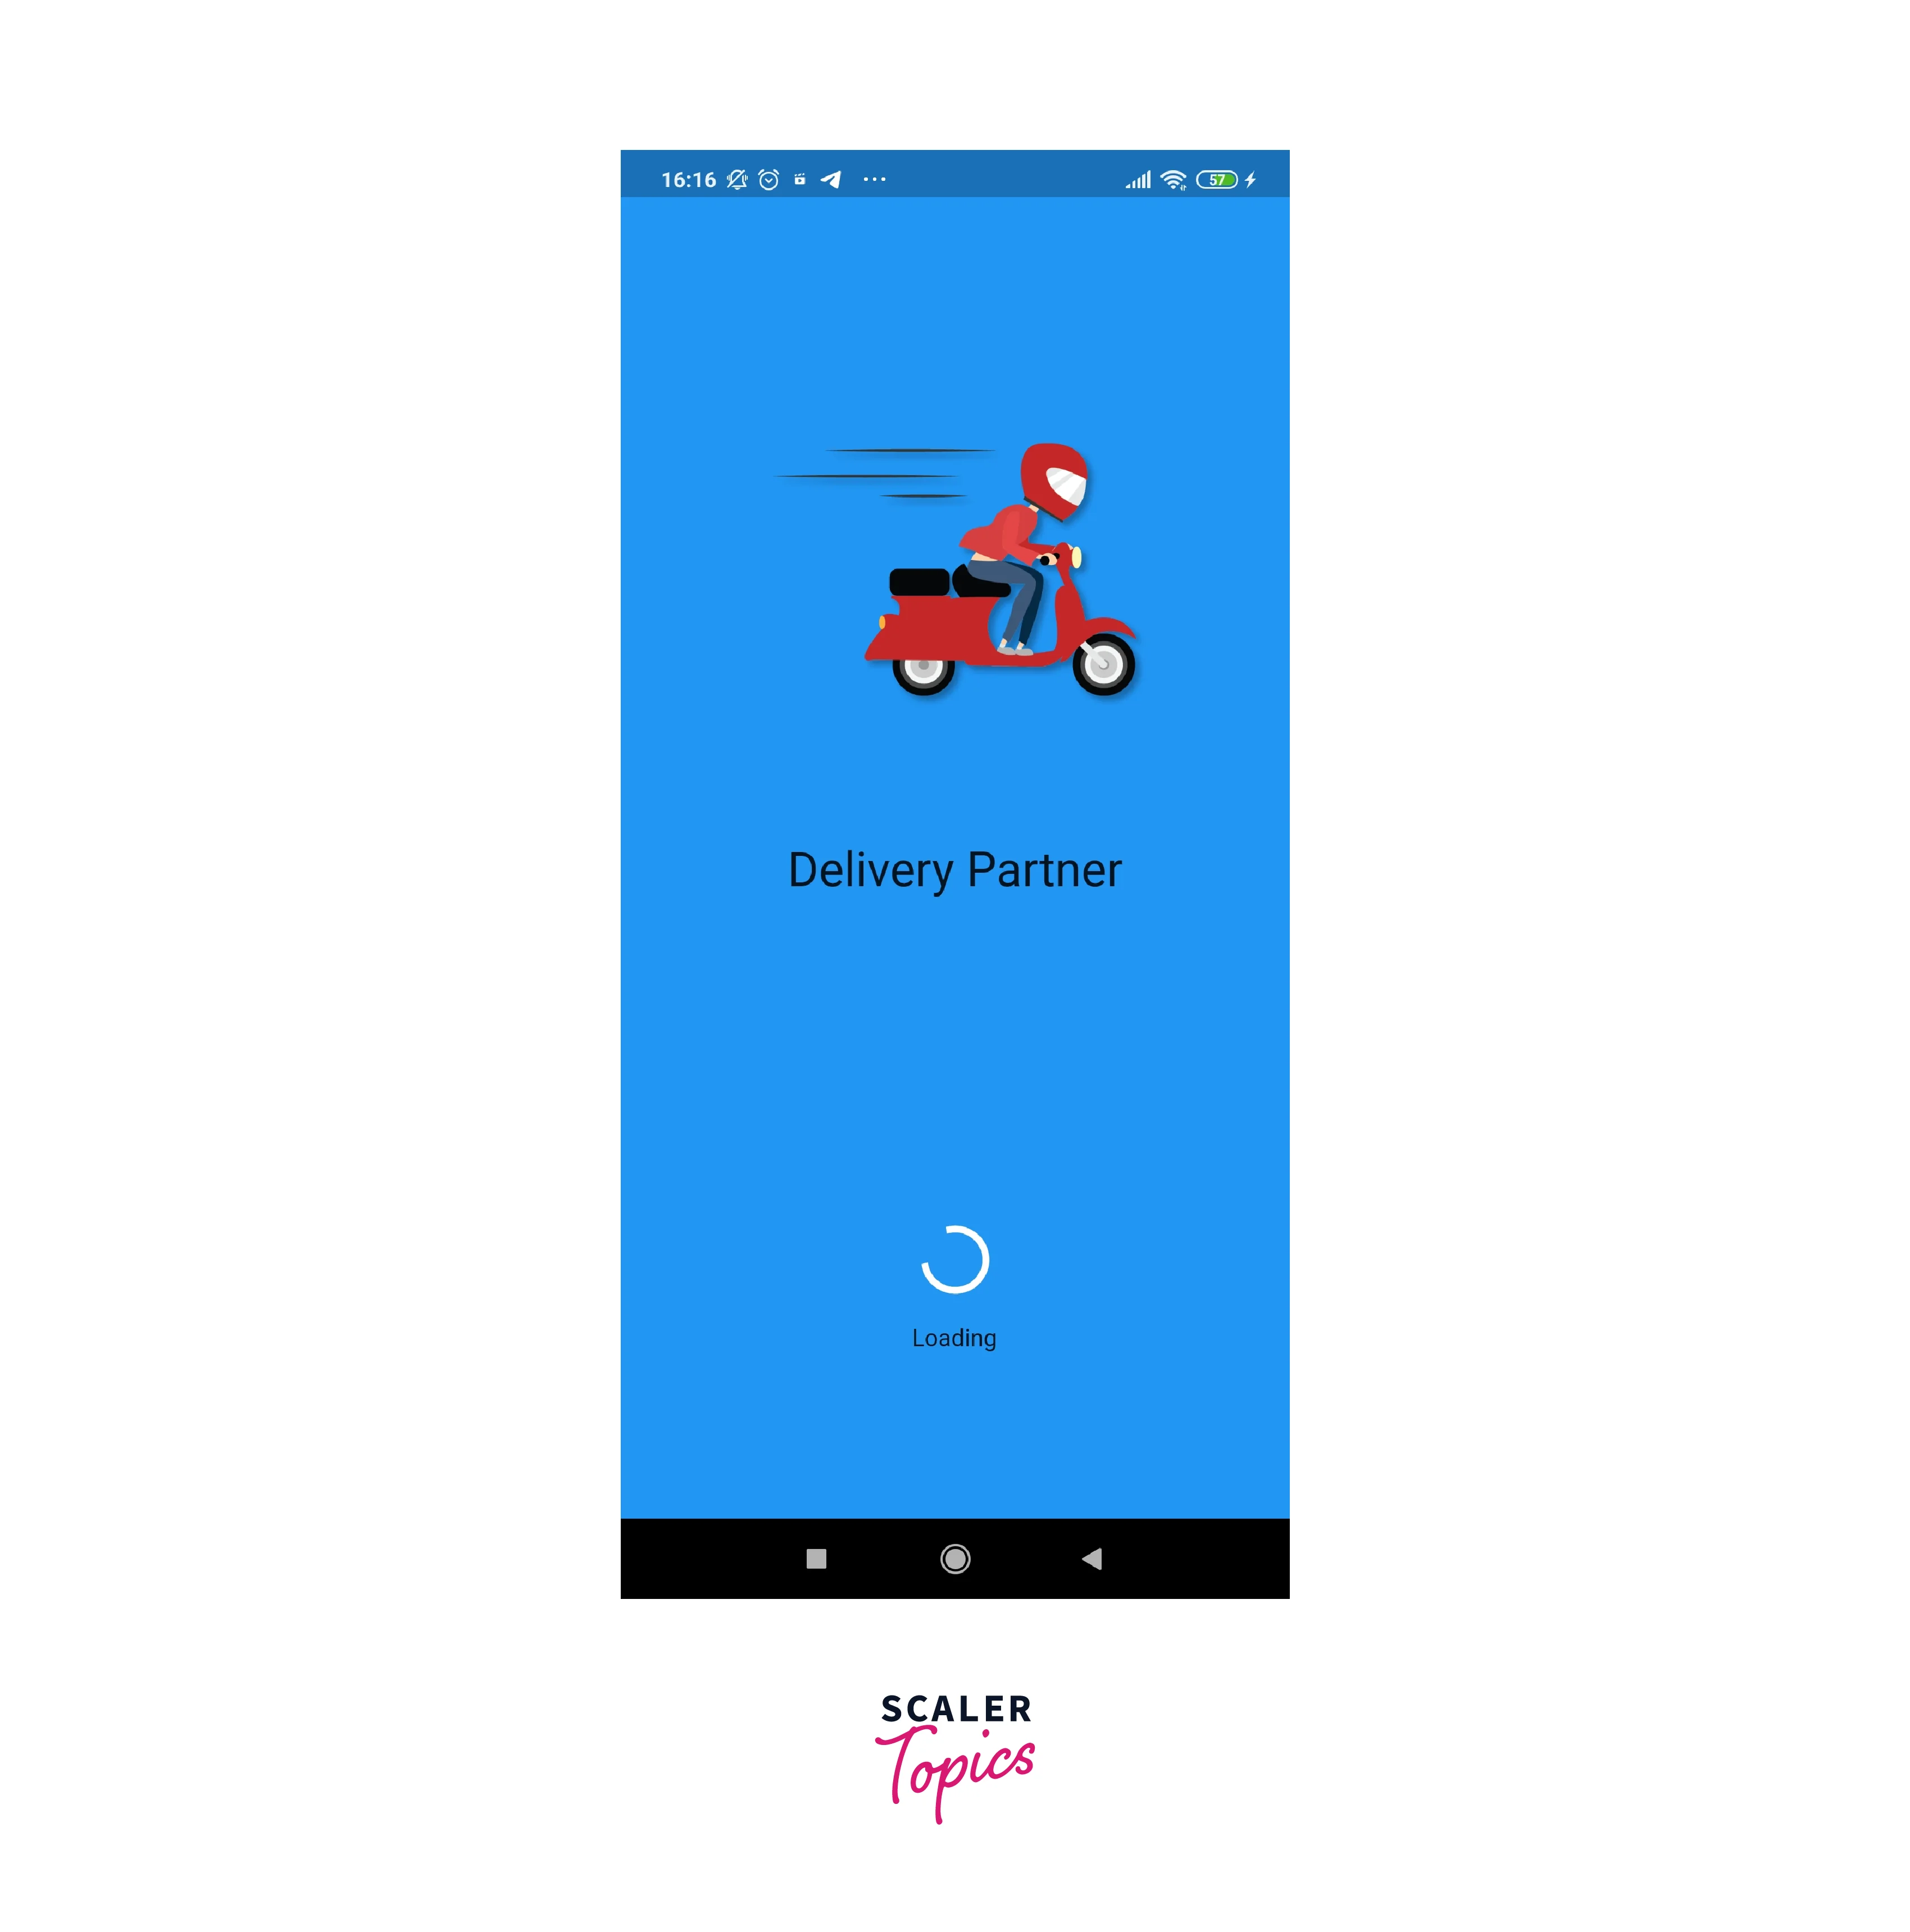
Output: When we initially launch the program, we will see the picture and loading symbol for 5 seconds, as seen in the screenshot below.
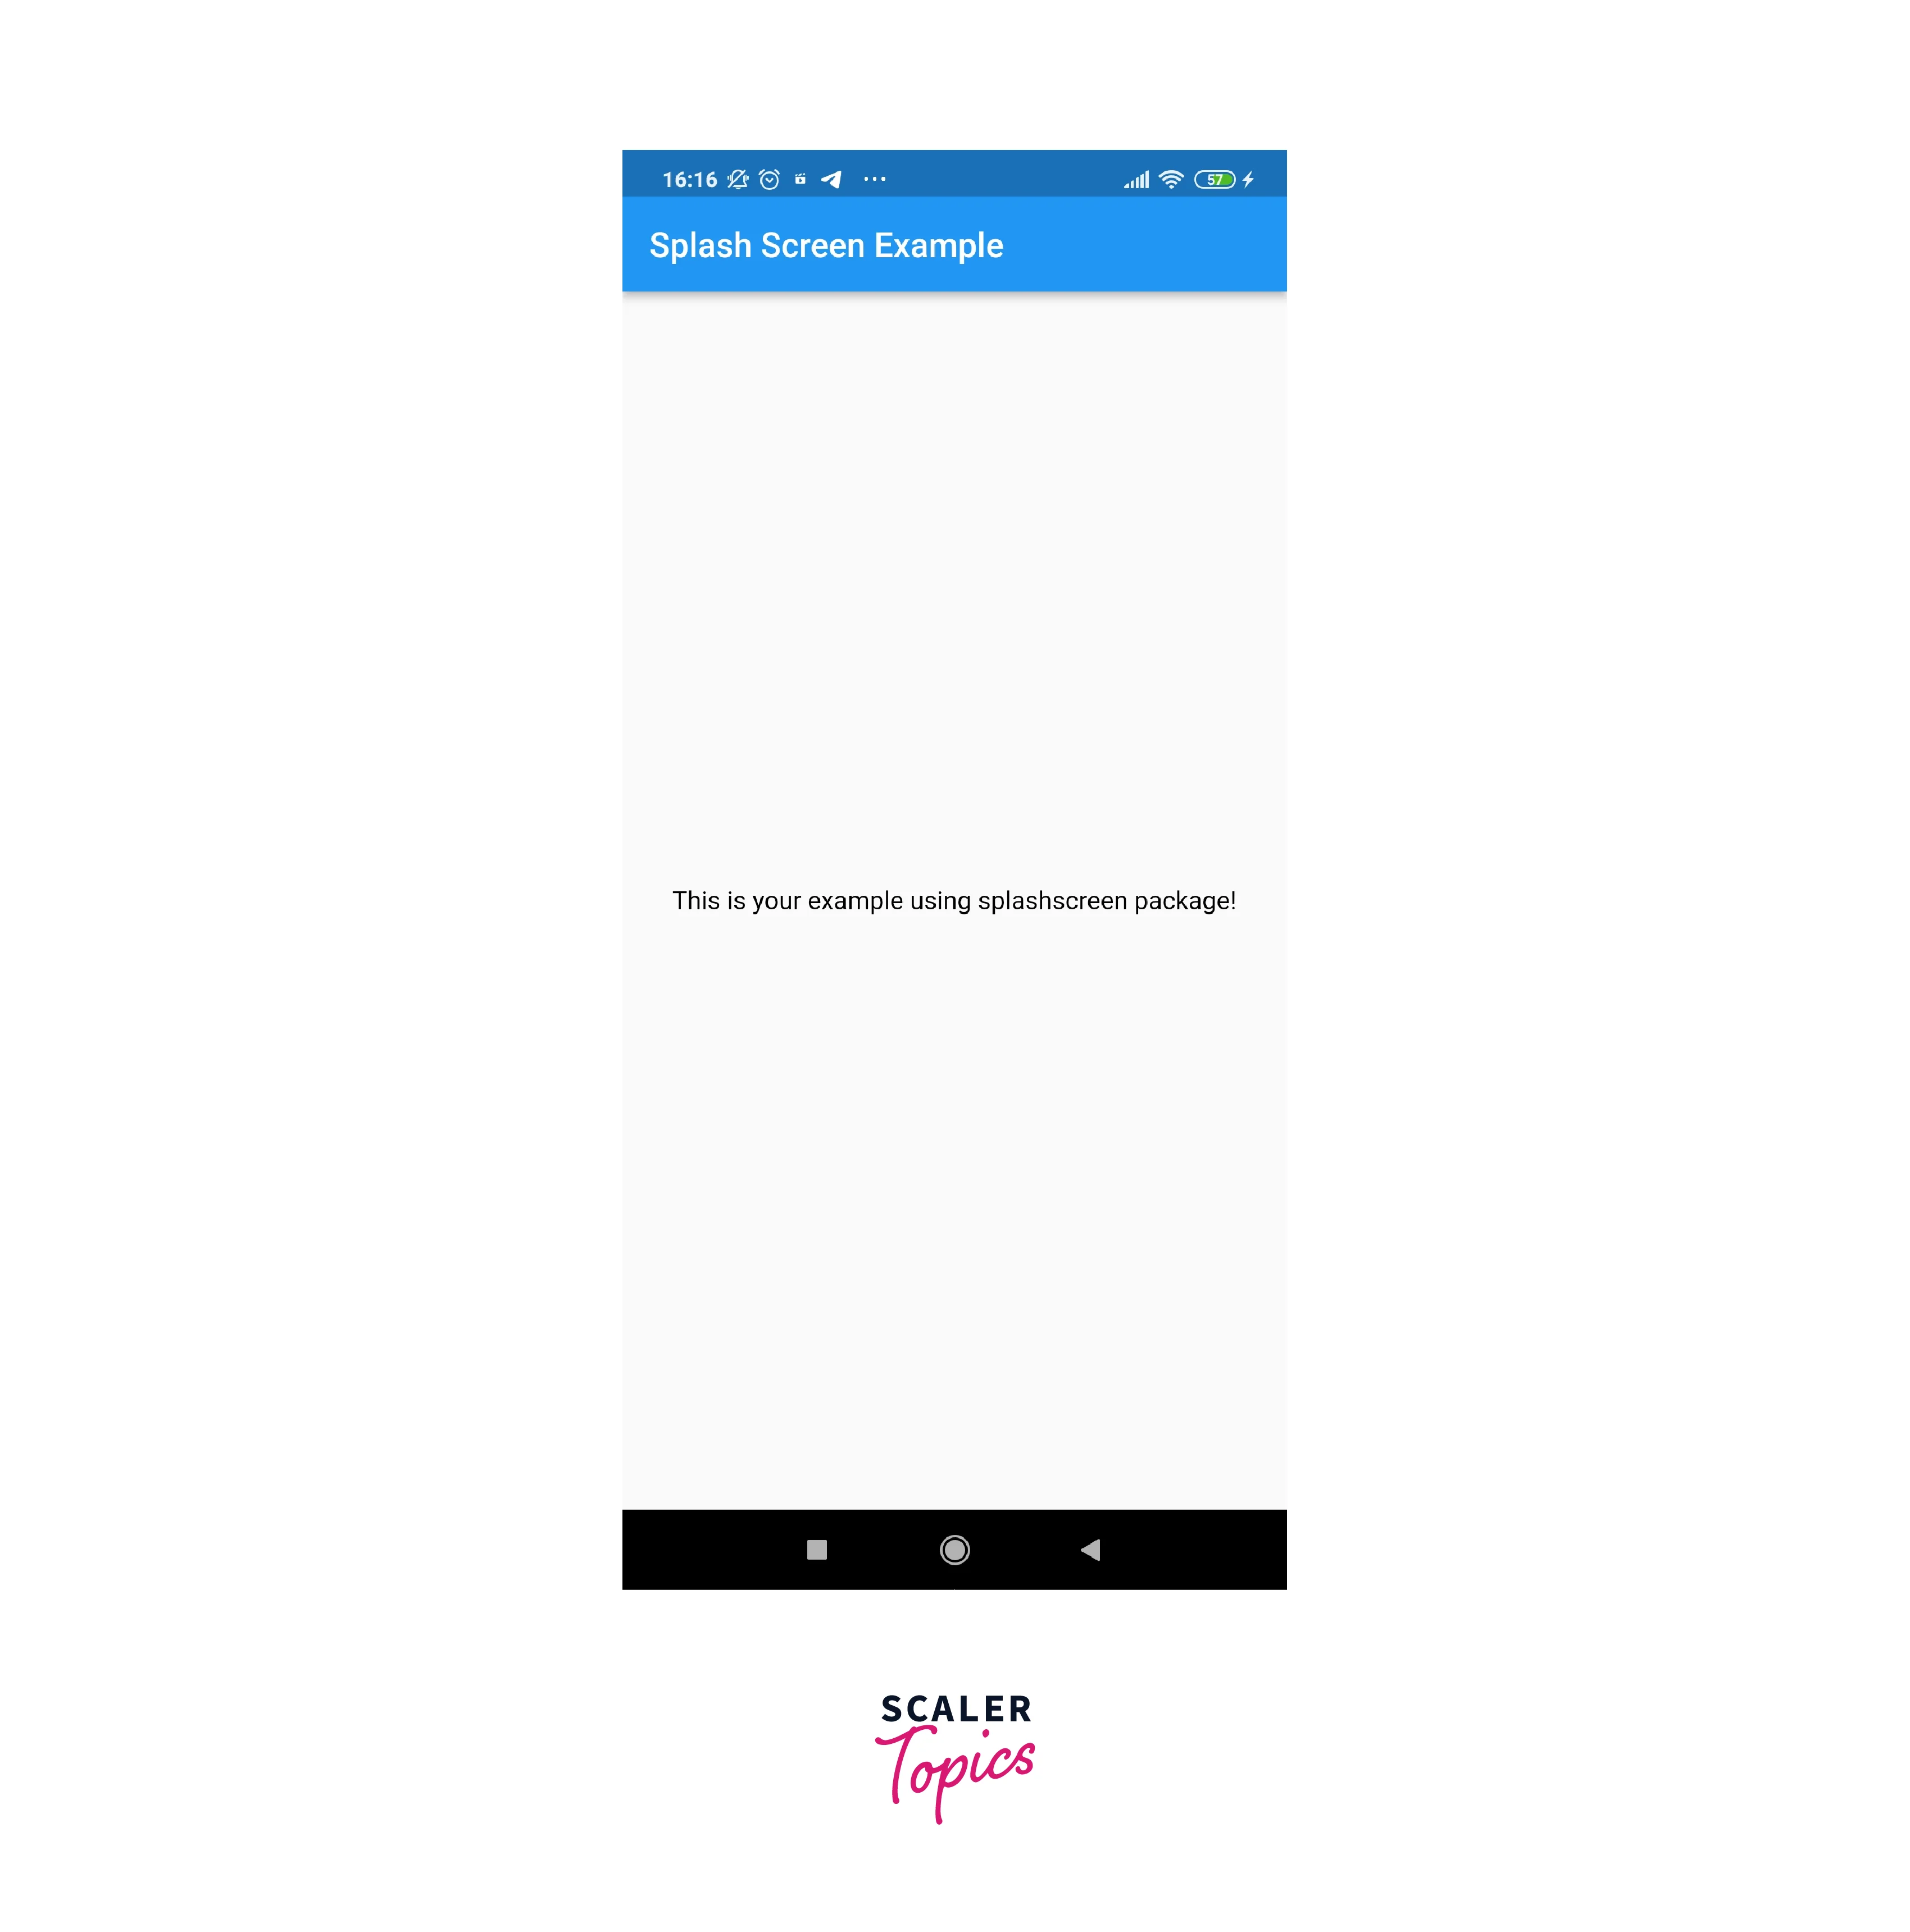
After the timer expires, we shall return to the main page of the programme.
3. Adding a Splash Screen from the Android Folder
We will add a splash screen in Flutter from the Android folder in this approach. Make a fresh flutter application. Remove all of the code from the main.dart file and replace it with your own. For illustration, consider the following code:
We currently do not have a splash screen. To create a splash screen, navigate to android -> app -> src -> main -> res.
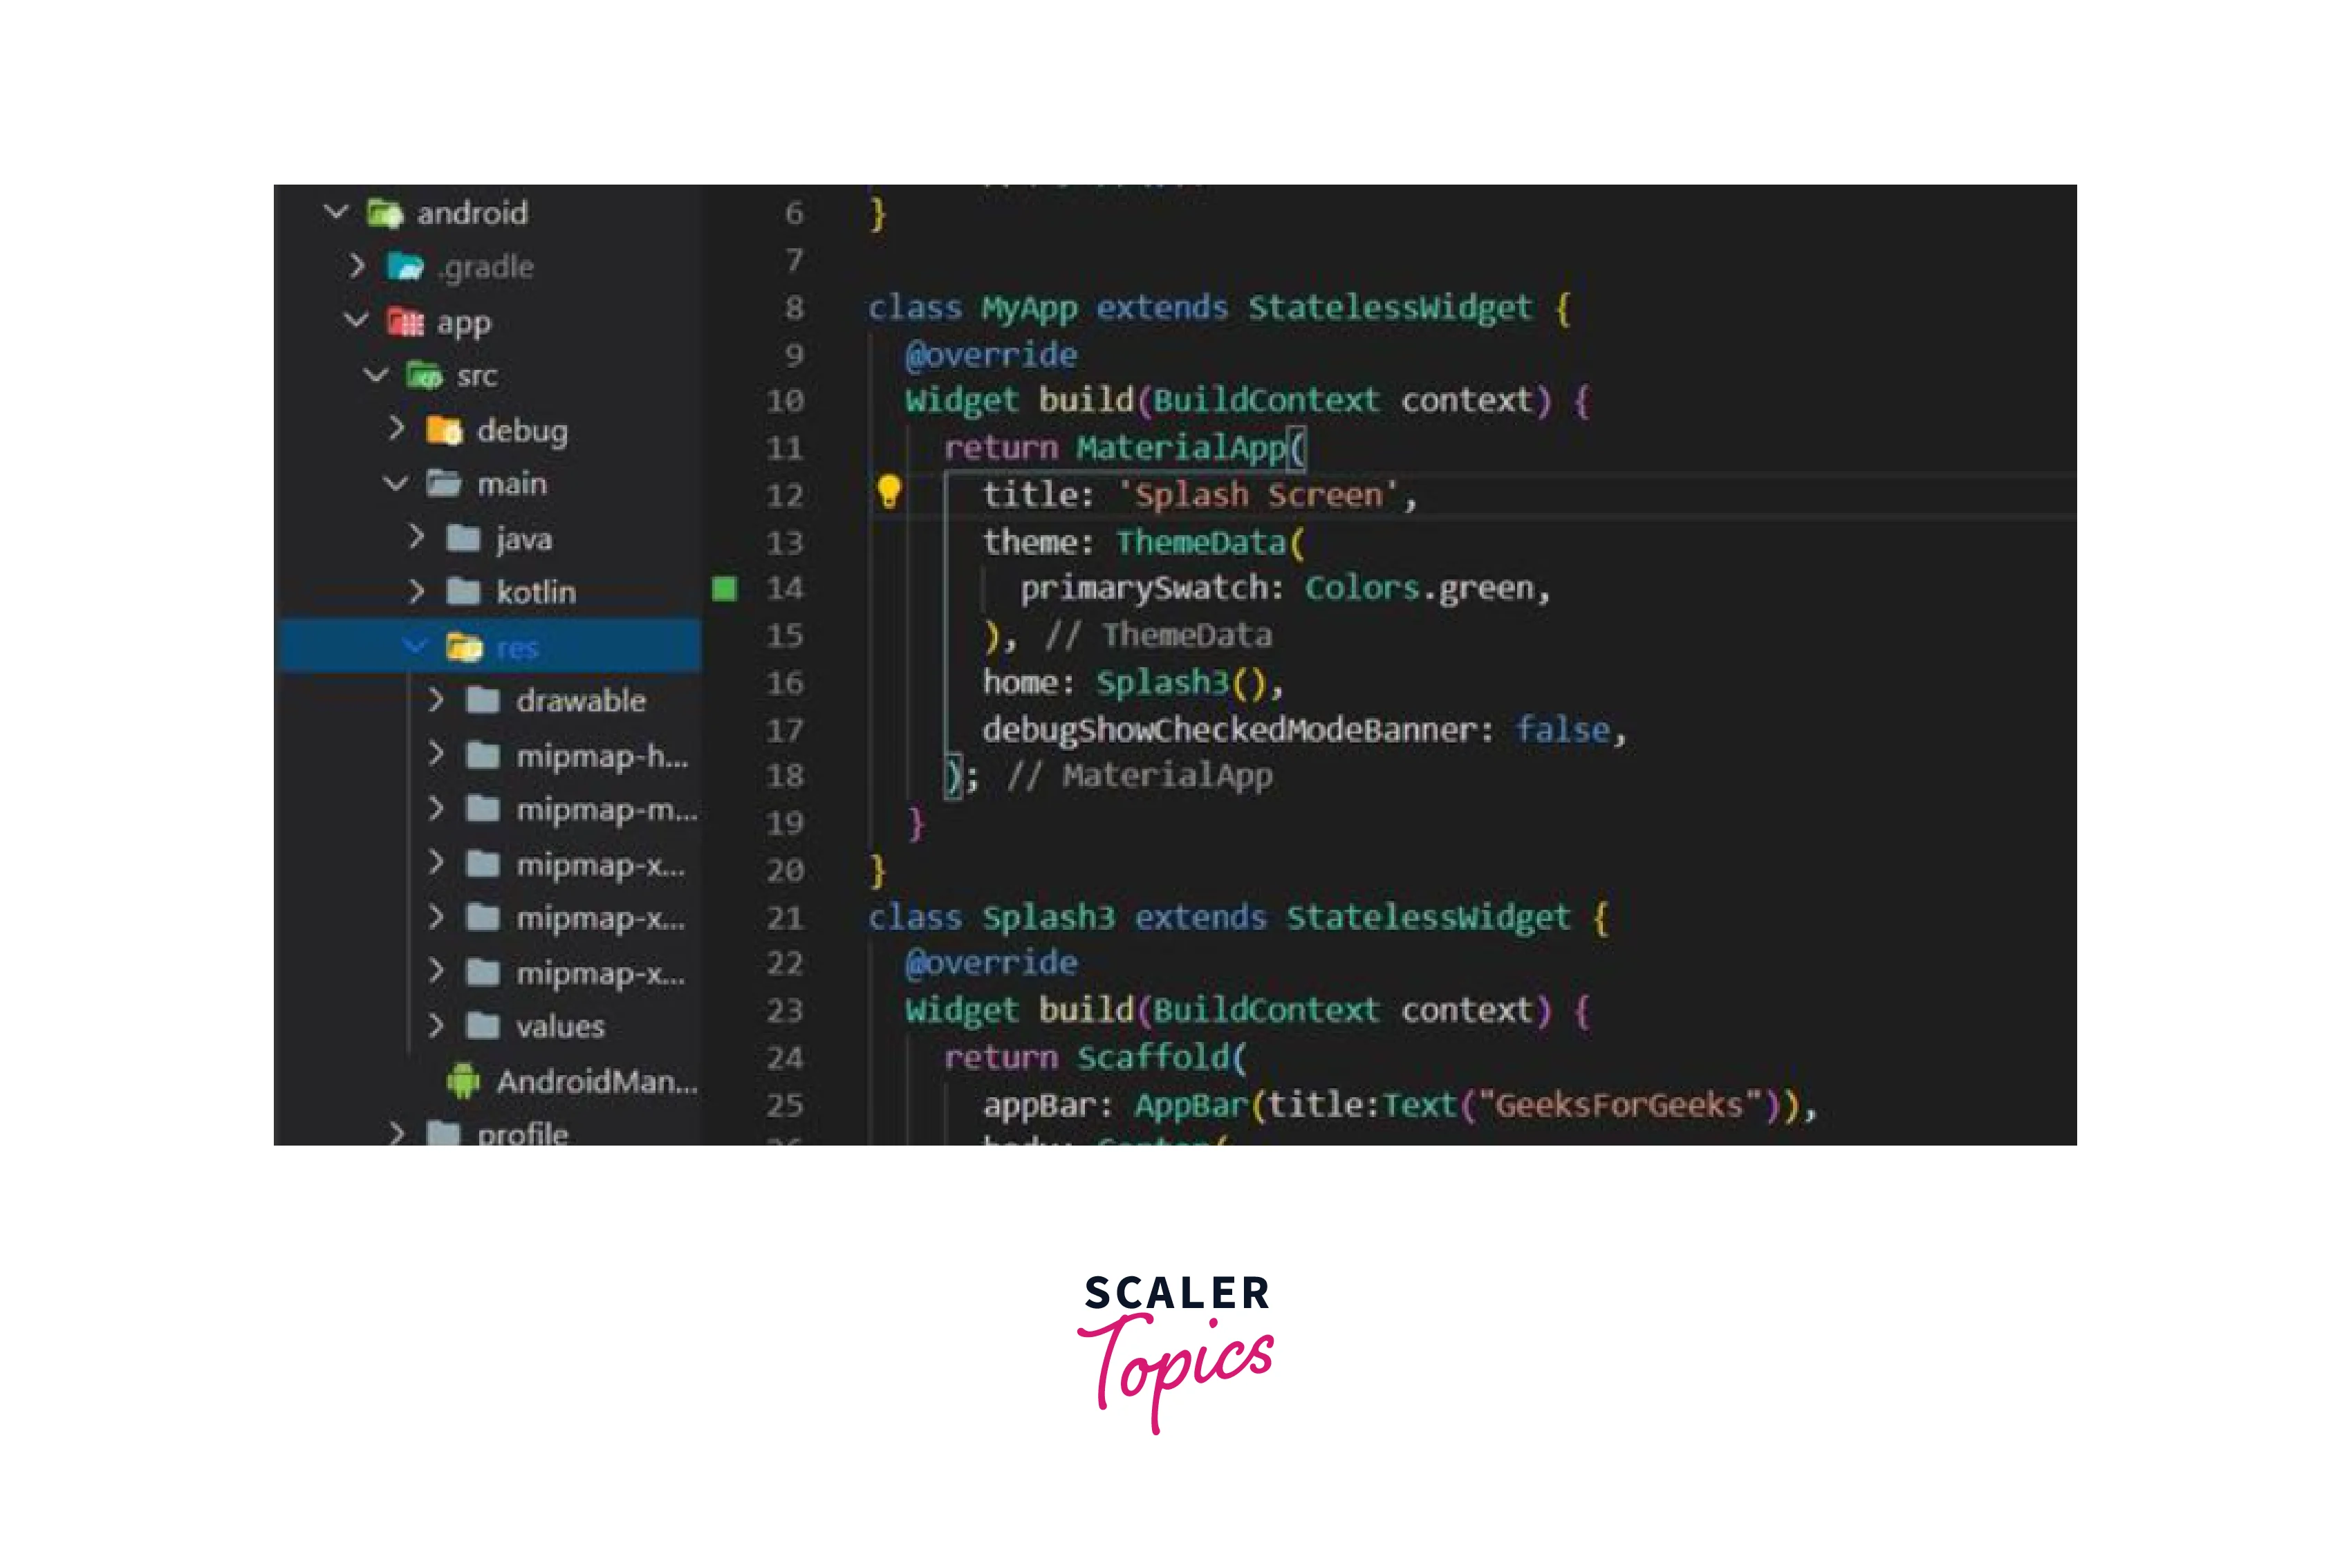
For the splash screen, paste your asset picture into a drawable folder. Open the Drawable folder and navigate to the launch_background.xml file. Uncomment the item tag and replace it with your asset image(android:src="@drawable/YOUR_ASSET_IMAGE"). Alternatively, you may copy the code below:
Now, navigate to the values folder and edit the styles.xml file. Remove the style tag with the name="NormalTheme." After that, the styles.xml file should look like this:
Create a new file called color.xml in the values folder.
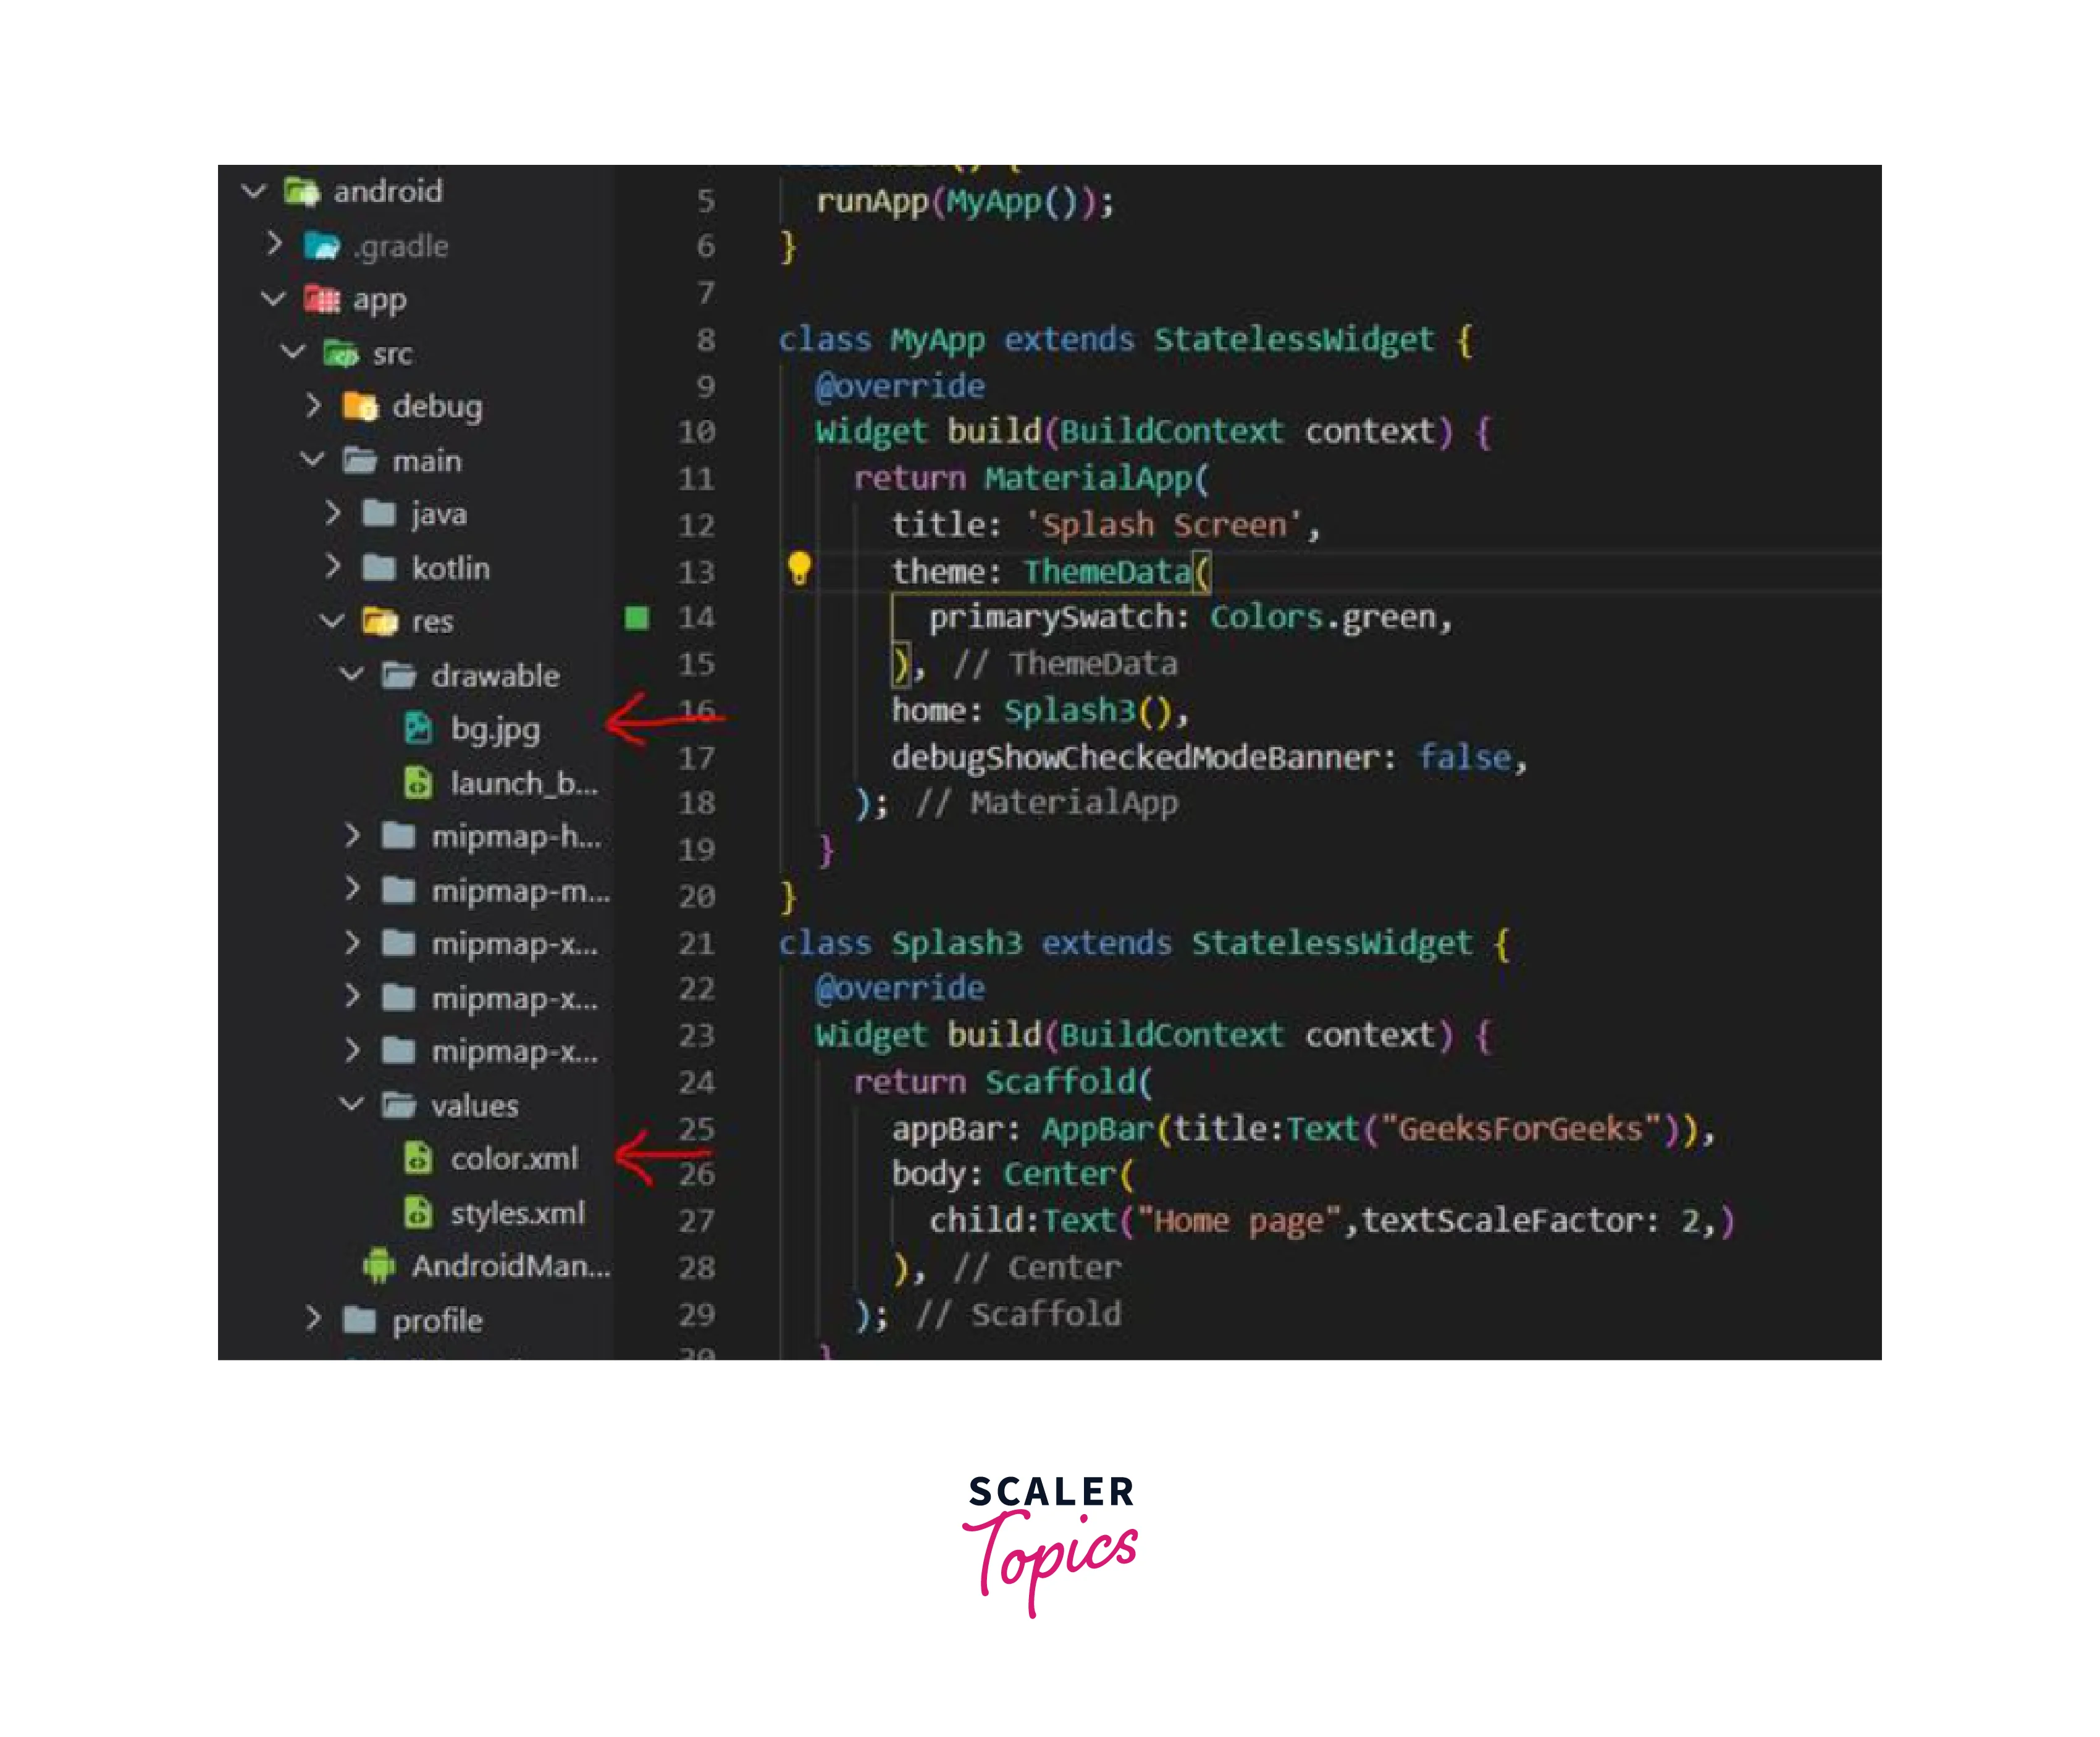
Copy and paste the following code:
Because we have done so many modifications, the final step is to edit the content of the AndroidManifest.xml file.
Note: Because our app is called splash_screen, our package name is com.example.scaler and our android:label="scaler" as a result, ensure that our package name and android are valid in AndroidManifest.xml.
We've done all of the necessary adjustments. Run the app now to view the results.
How to Add a Custom Loader to Your Splash Screen?
The loader is already installed by default. Yet, as seen in the code sample below, we may modify its color and styling by using the loaderColor options:
You should now obtain the result seen in the demo below:
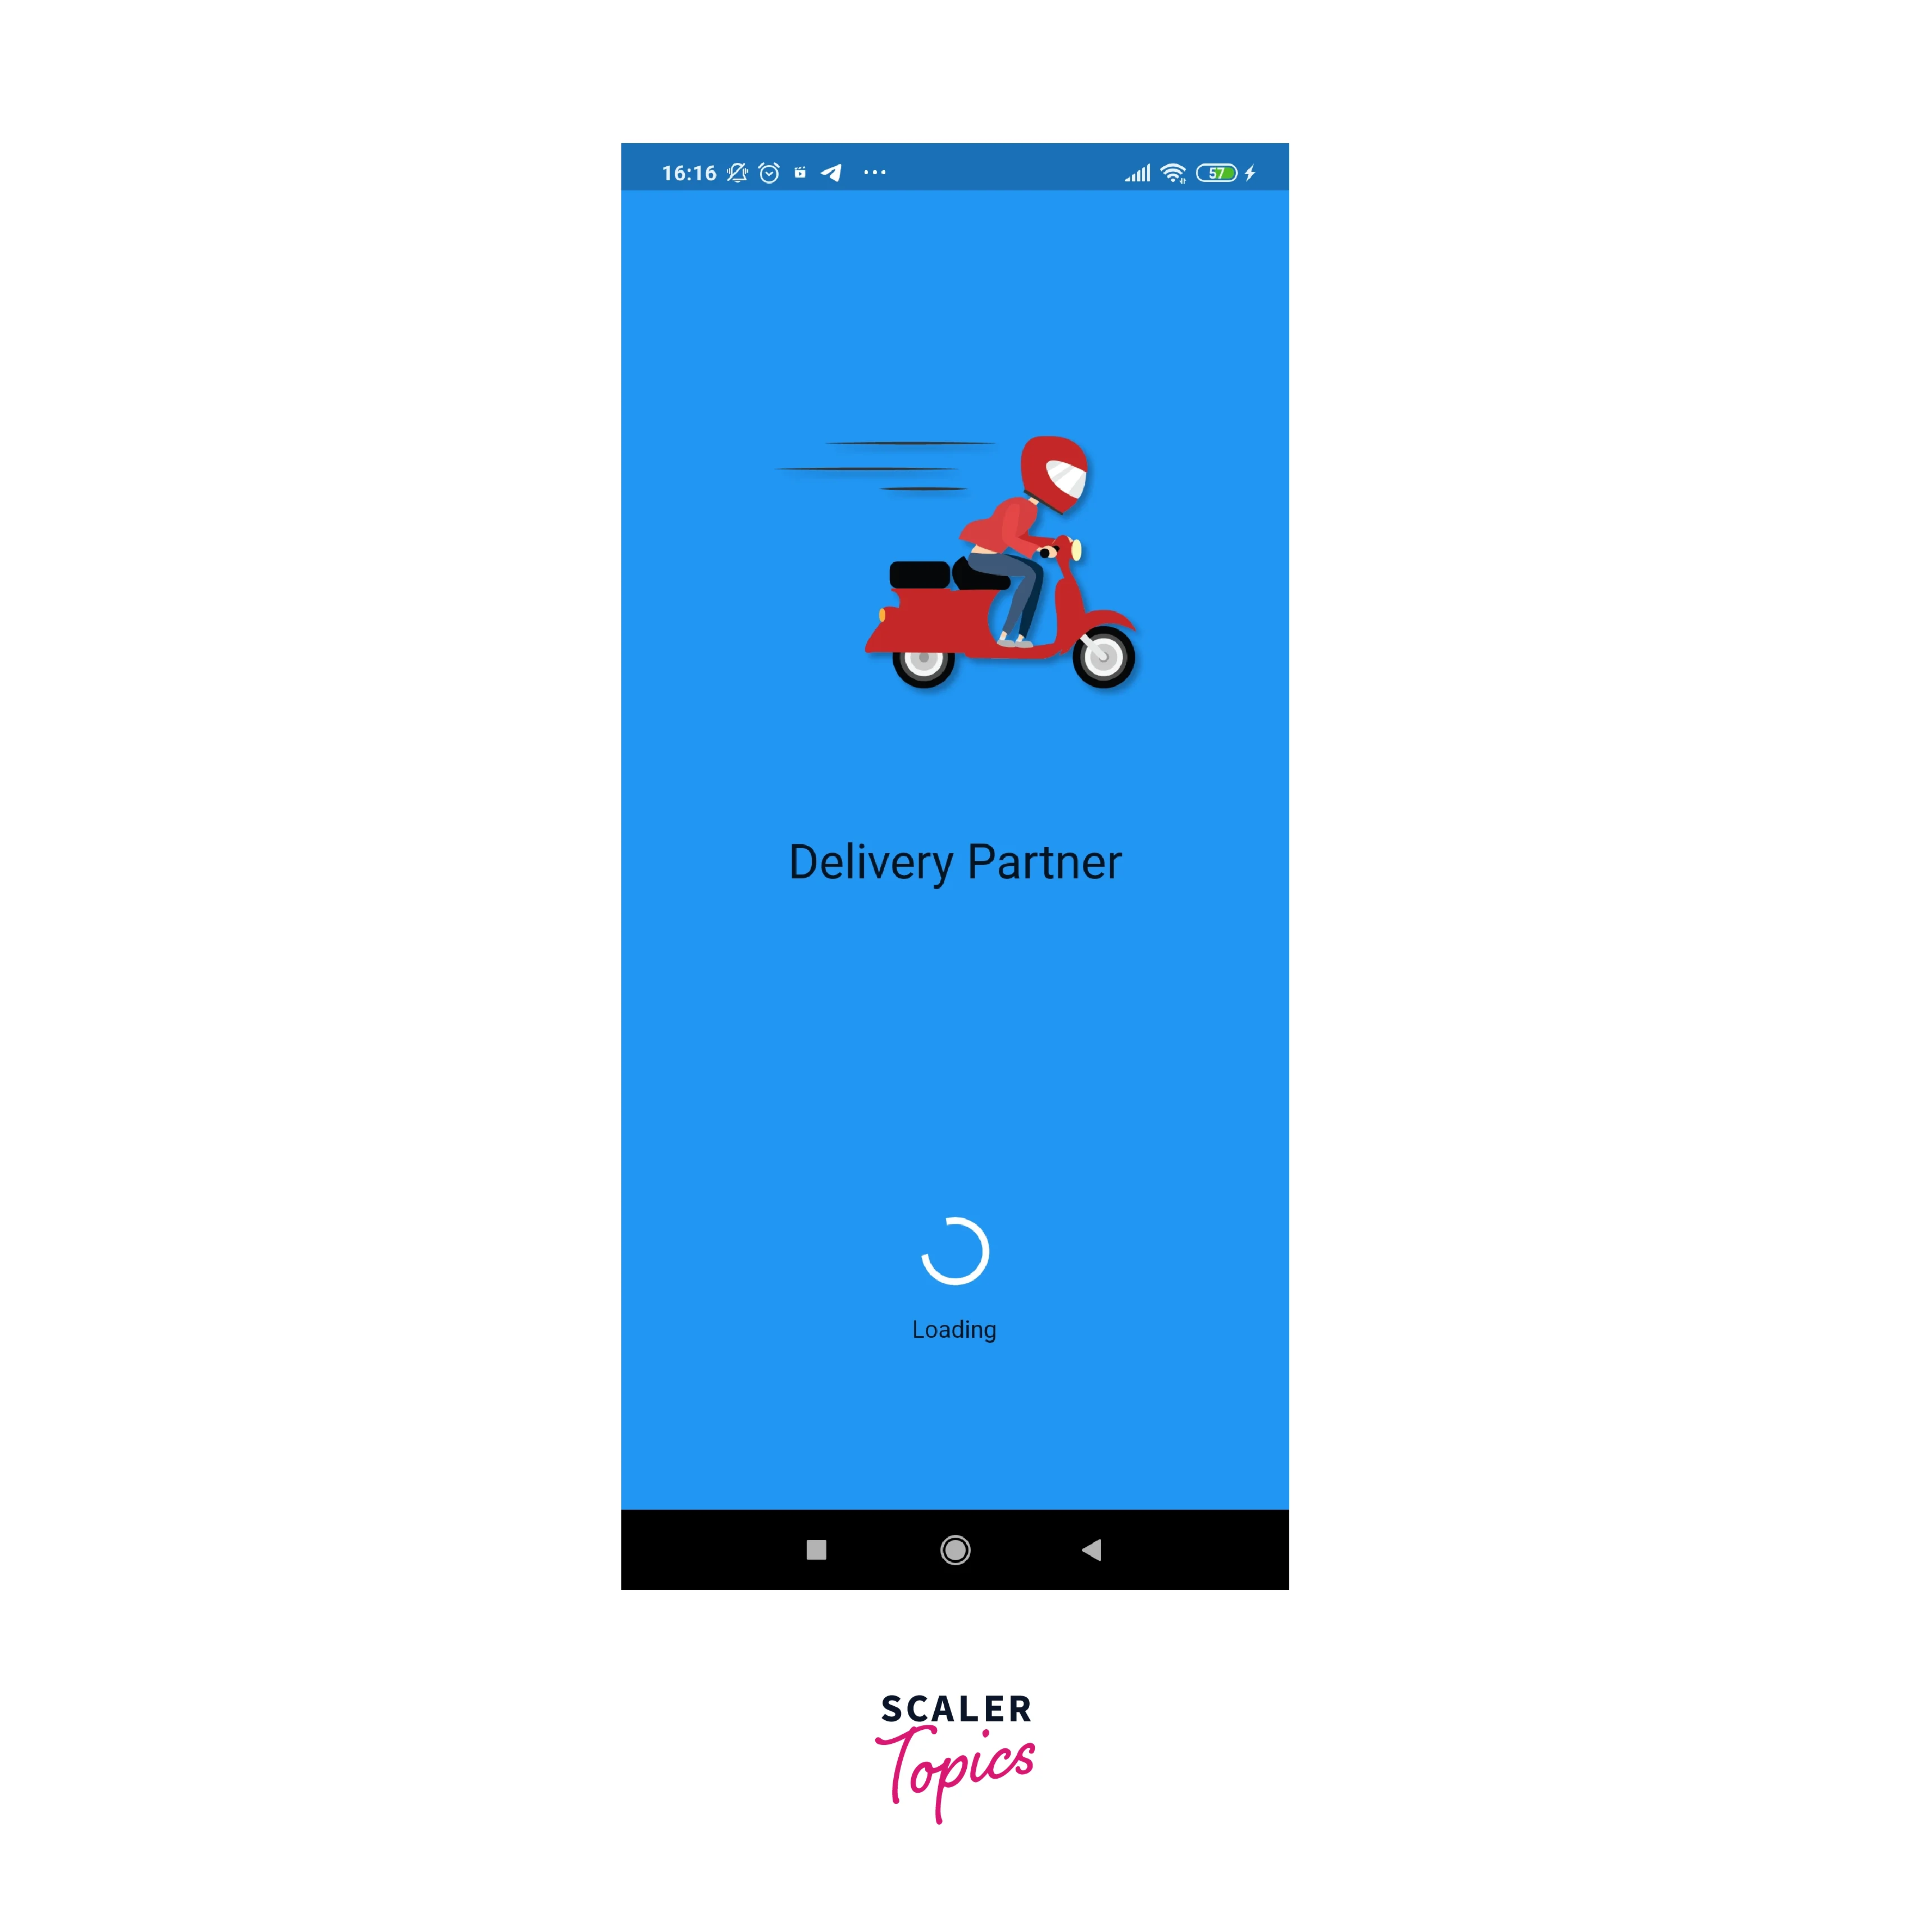
Here we have kept the color of the loader white.
Best Practices for Designing an Effective Splash Screen
- If the software takes longer to load, the splash screen in Flutter should keep users entertained.
- Use of fashionable colors, gradients, and quick and easy motion for the logo or another visual element to grab their attention quickly.
- It must display the present condition of the system since a recognized loading animation decreases anxiety by informing users how long they must wait.
- Advertising is a no-no when it comes to generating a good initial impression of a respectable organization.
- Load just the total minimal and essential data from the server required to show the next screen to decrease the splash screen in Flutter duration.
- It is usually preferable if the splash screen is an evident component of the overall software design rather than being isolated.
- When consumers have a poor internet connection and must view the splash screen for an extended period, it is preferable to offer them only one screen to view.
Conclusion
- A splash screen in Flutter is a graphical control element that contains the image, logo, and current version of the software.
- Splash screen in Flutter is the initial screen of the app that appears when the app is loaded and is used by developers to allow the program to prefetch data from external servers.
- Splash screens influence the user experience and set the tone for the app's overall theme and user experience.
- They are also used to keep the user engaged while the software does background operations.
- Splash screen is a branding icon used for application branding and identity identification, and can be used to offer software to the user by displaying a loading progress indication.
- Splash screens may be deployed in three ways: using the timer() function, utilizing the splash screen package, and finally by adding a splash screen from the Android folder.
