Storybook React Native
Overview
Storybook React Native is an essential tool for React Native developers to create and test UI components for their apps. It enables developers to create a library of reusable UI components and test them in various states or configurations through stories. By emphasizing modular and reusable UI components, Storybook promotes consistency and reusability, which can be easily shared across different parts of an app or multiple apps. In this article, we will explore how to set up Storybook and provide examples with code snippets to demonstrate its functionality.
What is Storybook in React Native?
Storybook React Native is a tool that helps developers create and test user interface (UI) components for their React Native apps. With Storybook, developers can create a library of reusable UI components and test them in isolation, without needing to run the entire app.
A story is just a visual representation of a component in different states or configurations. , For example,, a story for a button component might show the button in different colours or sizes.
Using Storybook React Native, developers can save time and make their UI components more consistent and reusable.
How to Setup Storybook?
- Run the following command to initialize a new React Native project
- Initialize Storybook React Native using this cmd. This will create the necessary configuration files for Storybook in your project.
- Install necessary packages using this cmd. This will install the necessary addons and theming for Storybook, as well as the Storybook loader for React Native.
- Add the following line to your index.js file. This will allow your app to use Storybook.
- Now to configure Storybook go to the ./.storybook/main.js file and add the following configuration:
This configuration specifies where to find your component stories, as well as which addons to use.
- Now, To configure React Native Story book Loader add the following configuration to your package.json file:
This configuration specifies the search directory for component stories, the file pattern for stories, and the output file for the Storybook loader.
- Update your ./.storybook/index.js file with the following code:
This code registers your app with the Storybook UI, loads the component stories using the Storybook loader, and sets up the Storybook UI.
- Run the following command to start the app:
This will start the app with Storybook enabled. You should be able to view your component stories in the Storybook UI.
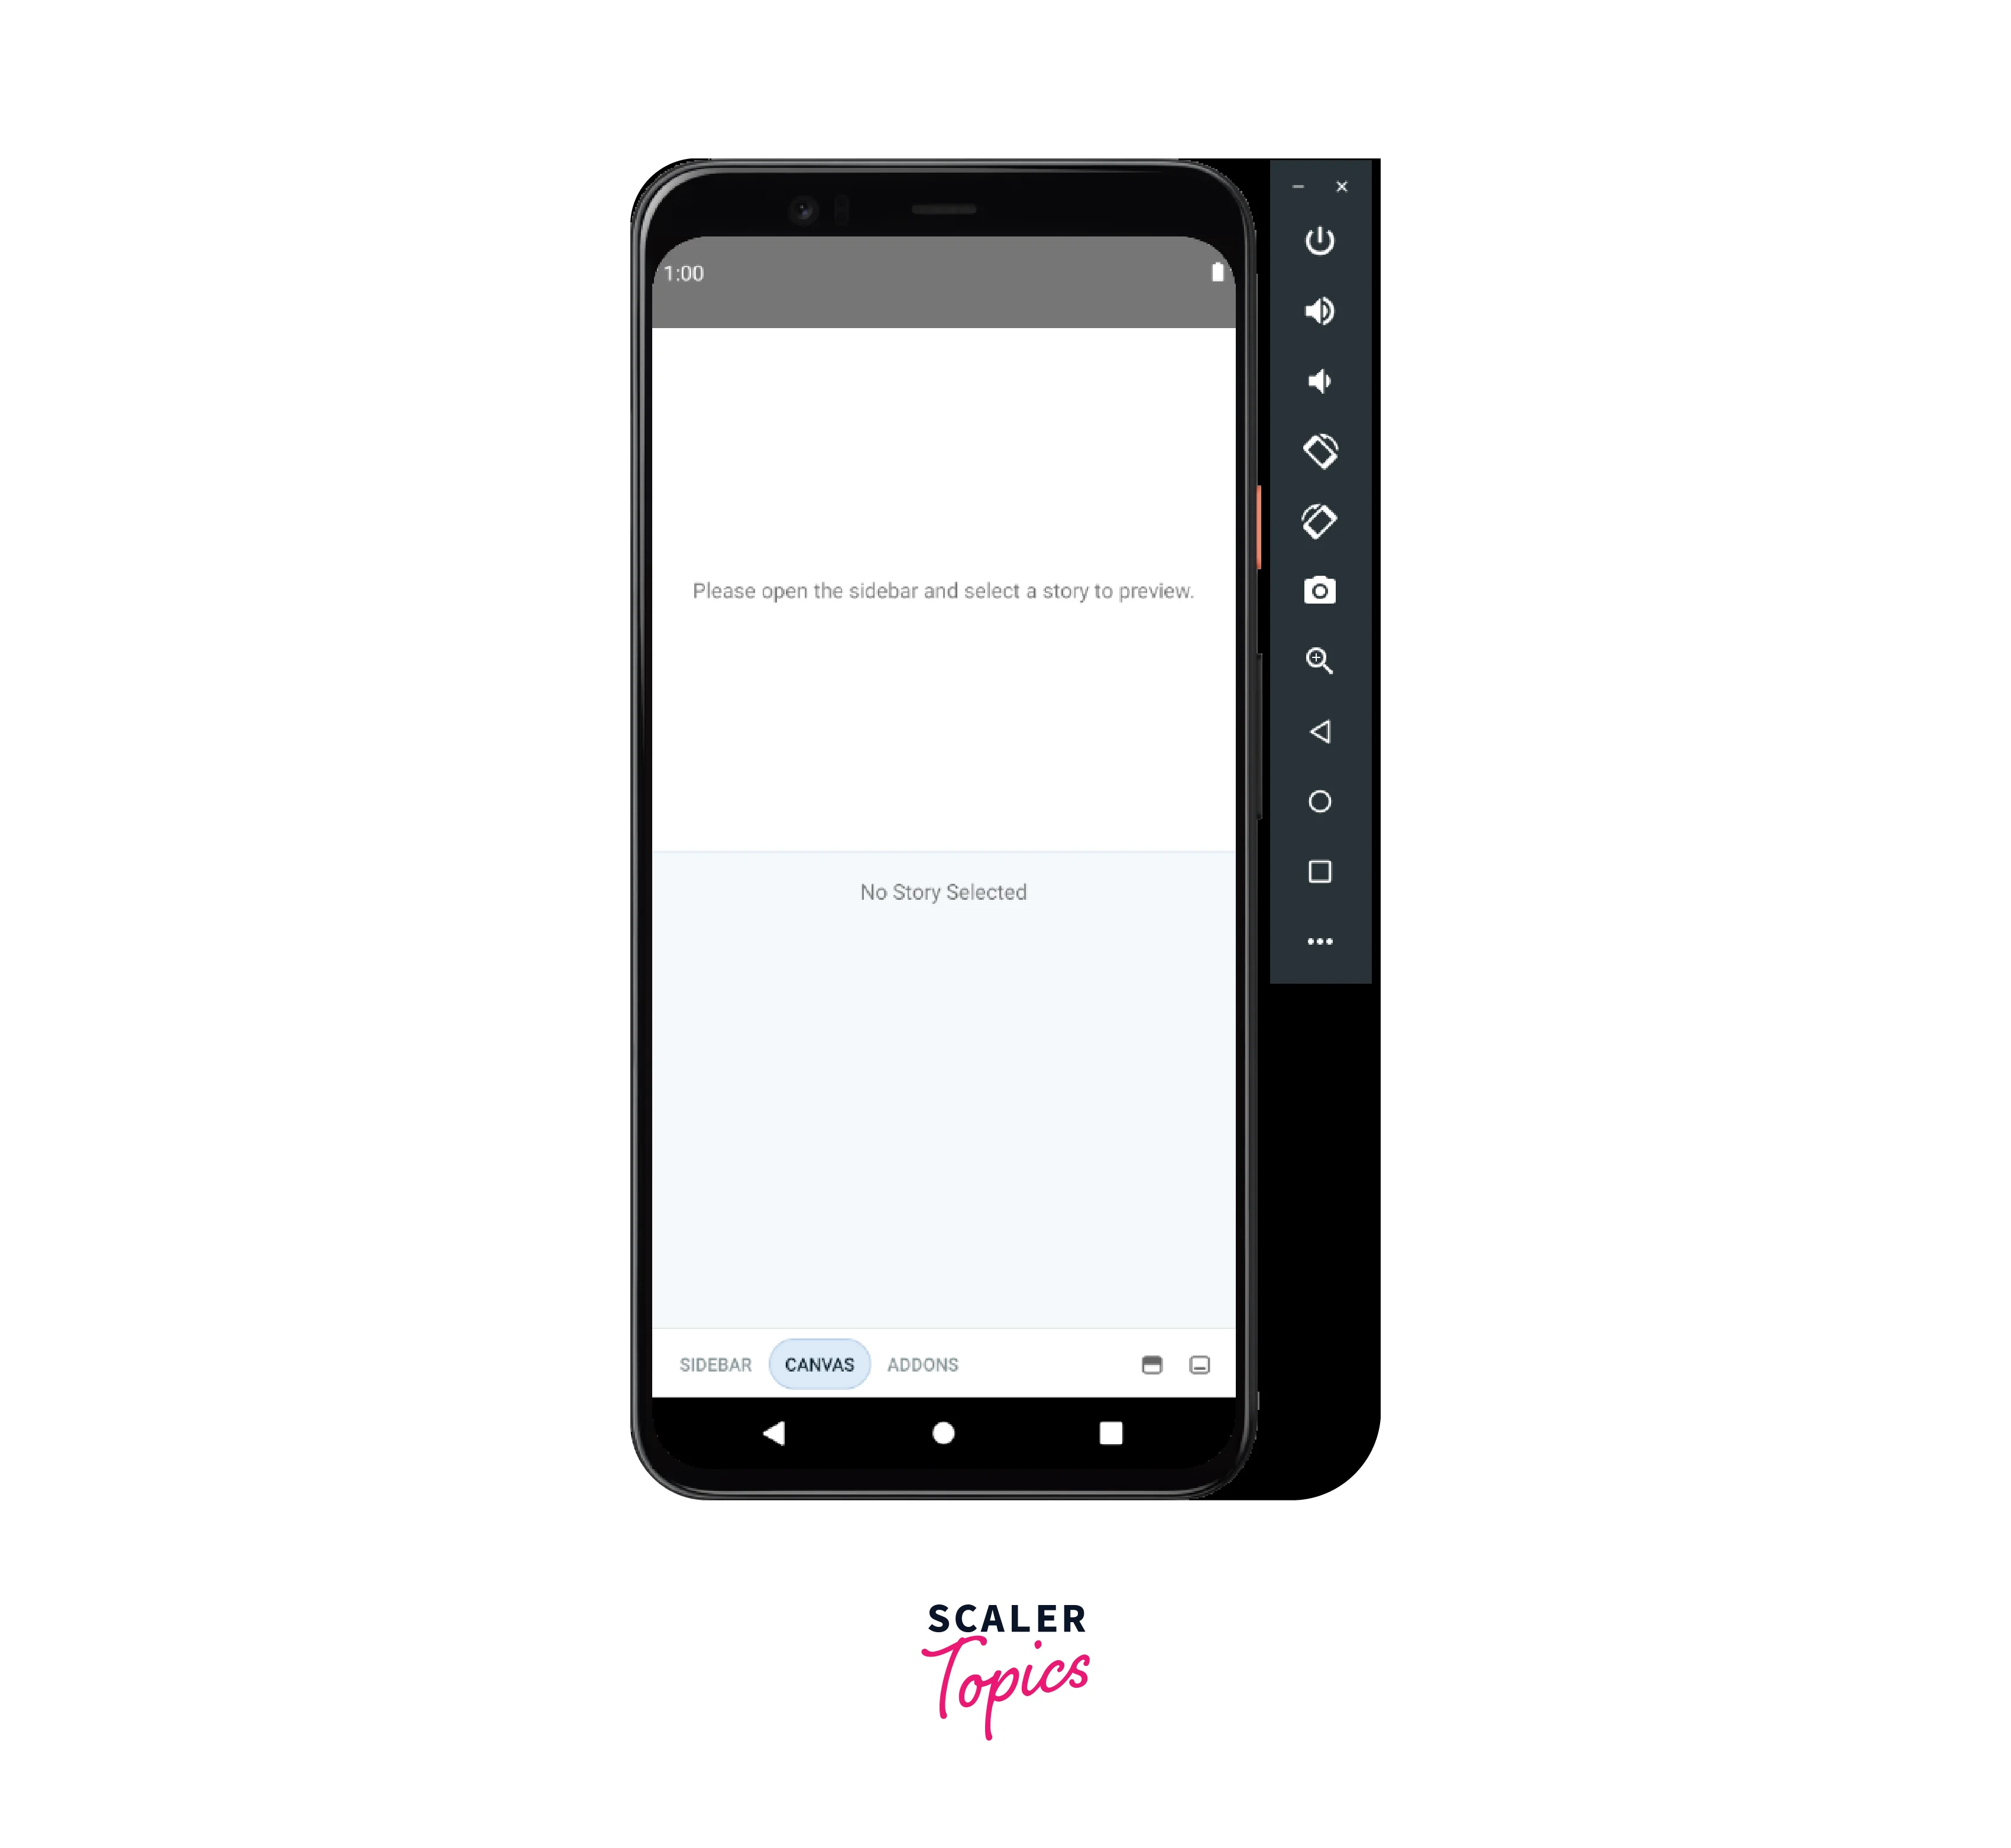
How does Storybook Work?
Storybook is a development tool that allows developers to create and view components in isolation. It acts as a sandbox for your UI components, allowing you to develop, test, and showcase them independently.
When a developer creates a UI component, they can use Storybook to create a story for that component. A story is a specific use case or scenario that the component might be used in. Each story consists of one or more states or variations of the component. , For example,, a button component might have stories for a primary button, a secondary button, and a disabled button.
The developer can use Storybook to preview and interact with the component in each of these states, making it easy to see how the component will look and behave under different conditions. They can also use Storybook to document the component's properties and behaviour, making it easier for other developers to understand how the component should be used.
Building Simple Component with Storybook React Native
Storybook React Native is a powerful tool that helps developers build, document, and test UI components in isolation. It provides a visual UI for testing components in various states and facilitates easy sharing and collaboration among team members. In this section, we will walk through the steps to build a simple component with Storybook in React Native.
-
Create a components folder in your root directory. Inside the components folder create a Label component and add these 2 files Label.jsx, and Label.stories.js.
-
Next, include the following code within the Label.jsx file:
- After creating the component, create a story for the Label component by including the following code inside the Label.stories.js file:
This code is an example of how to use the storiesOf function from the Storybook library to create a set of stories for a Label component in a React Native project.
Each add method call adds a new story to our set of stories. The first argument is a string that describes the name of the story, and the second argument is a function that returns the component to be rendered for that story. The component can be passed in any props that are required for the given story.
- Finally, reload the server, and you will see the Label component added to your Storybook.
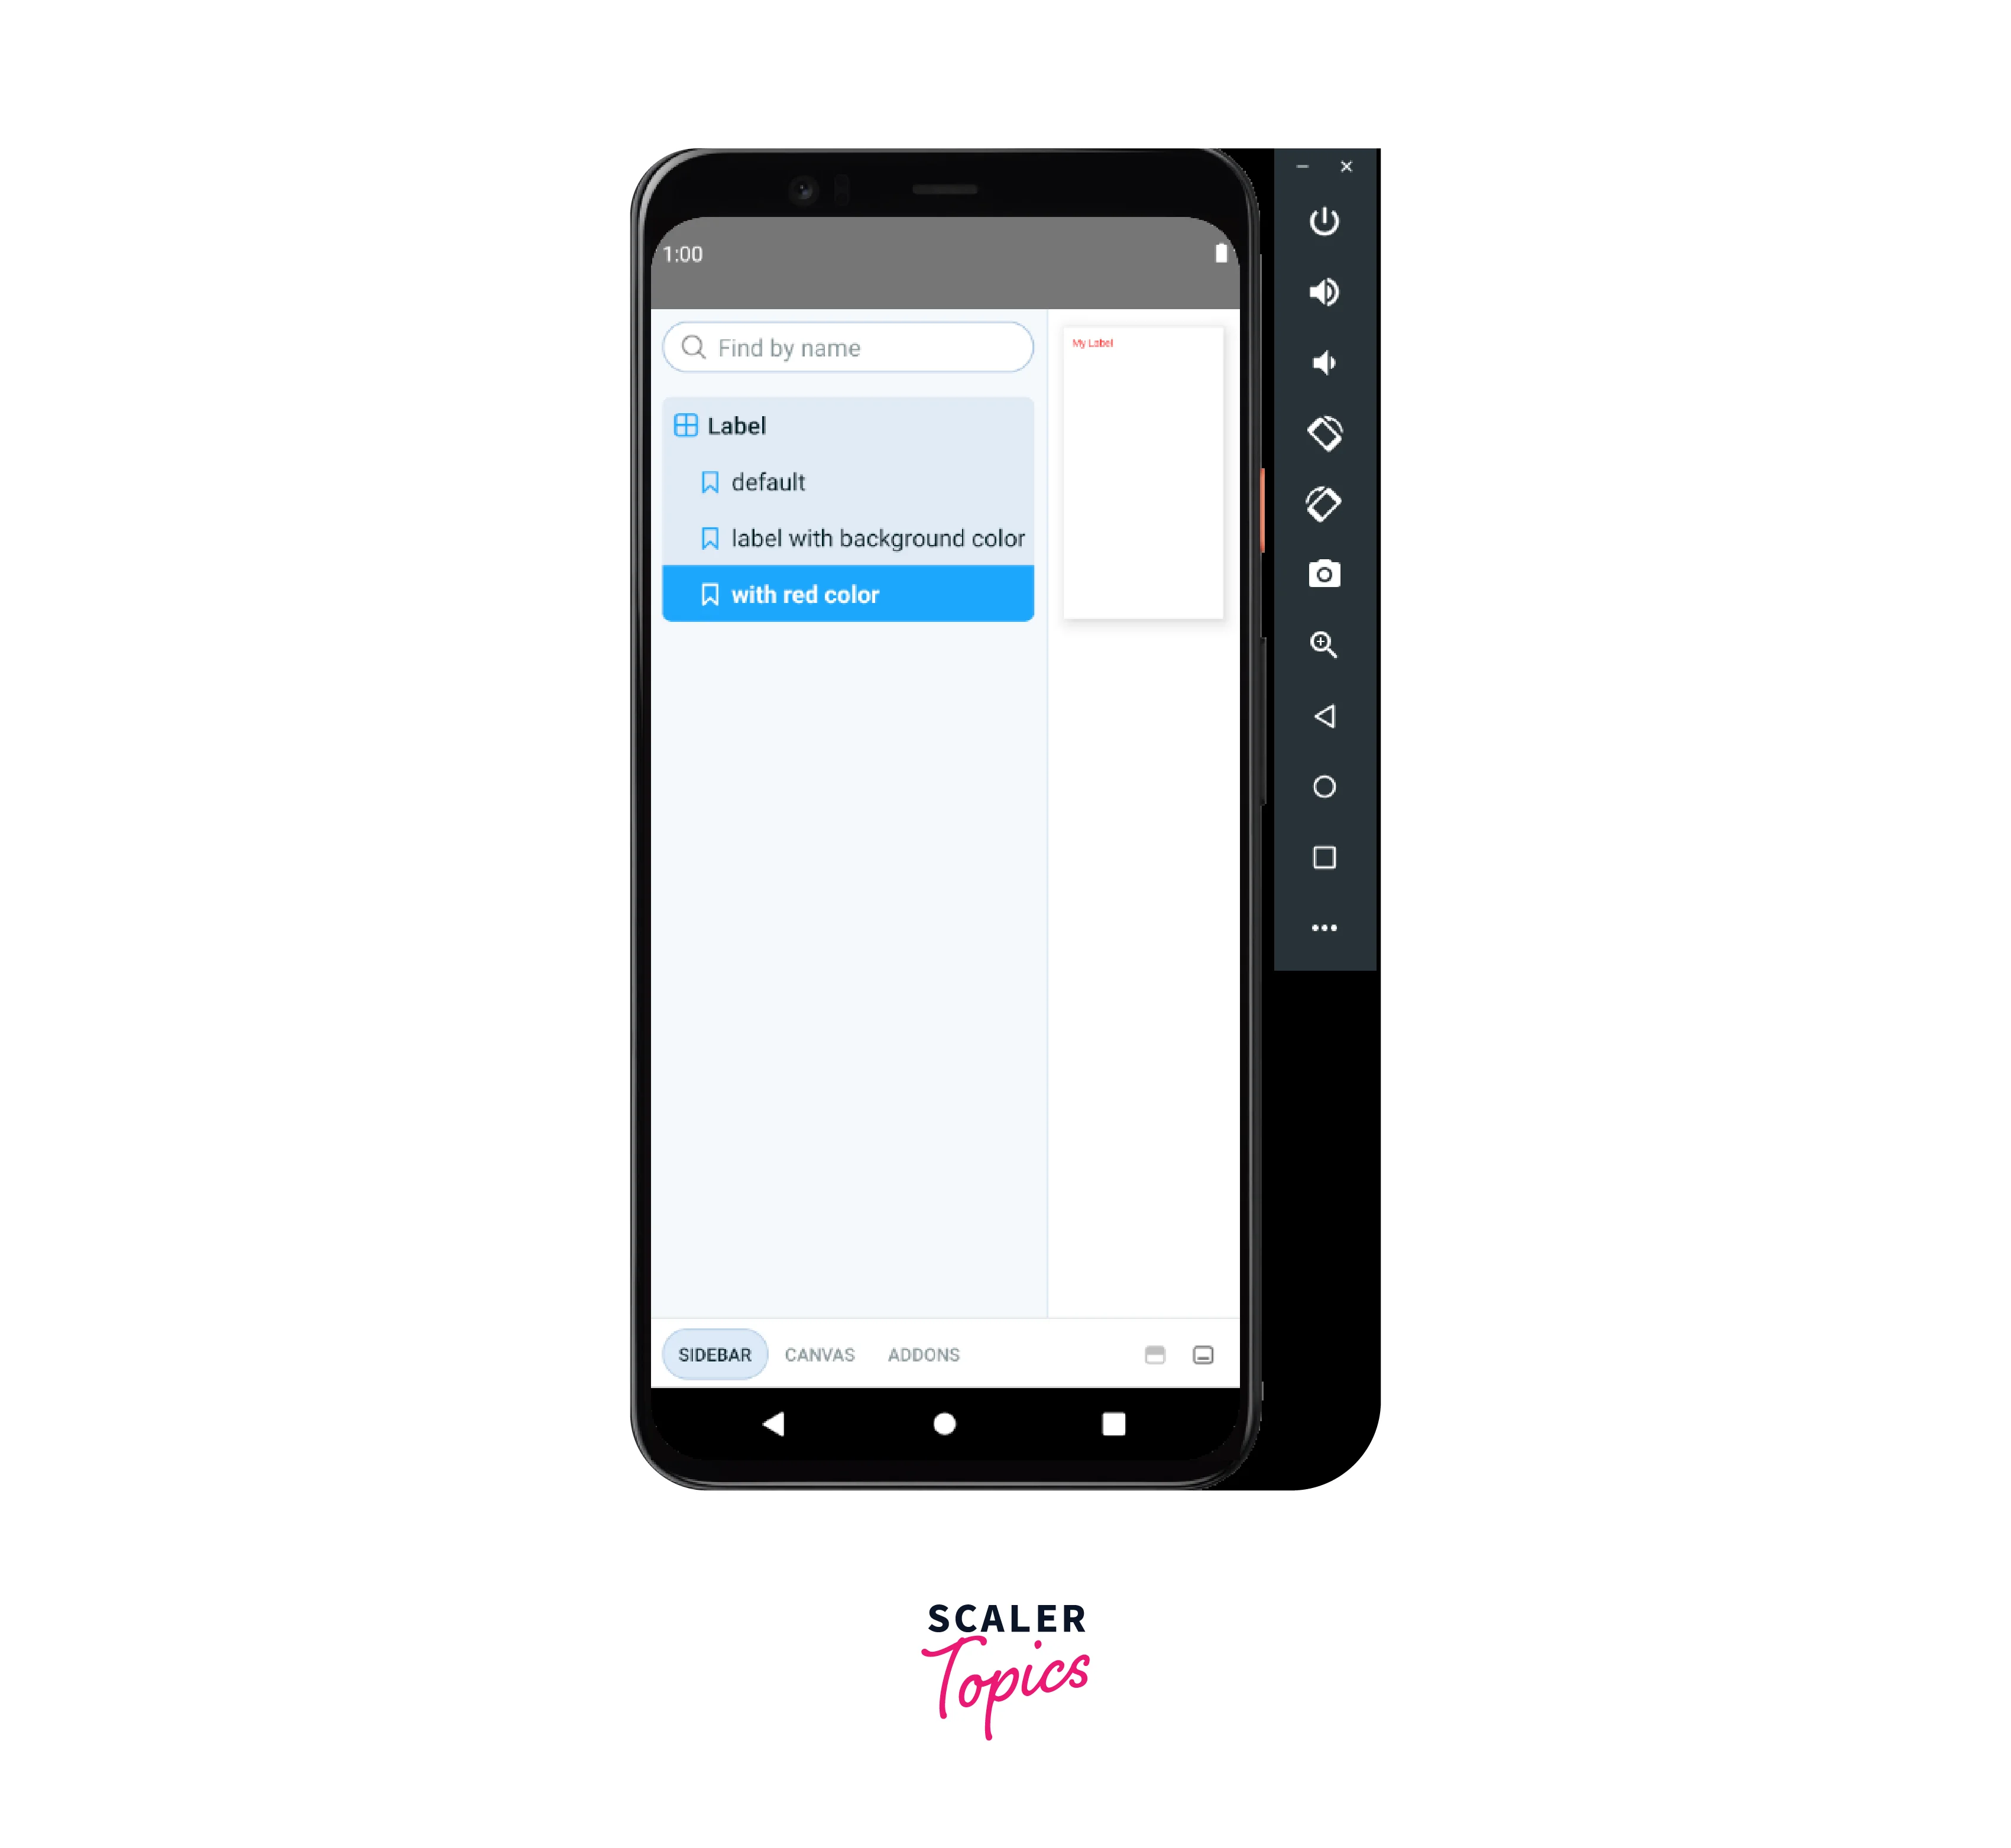
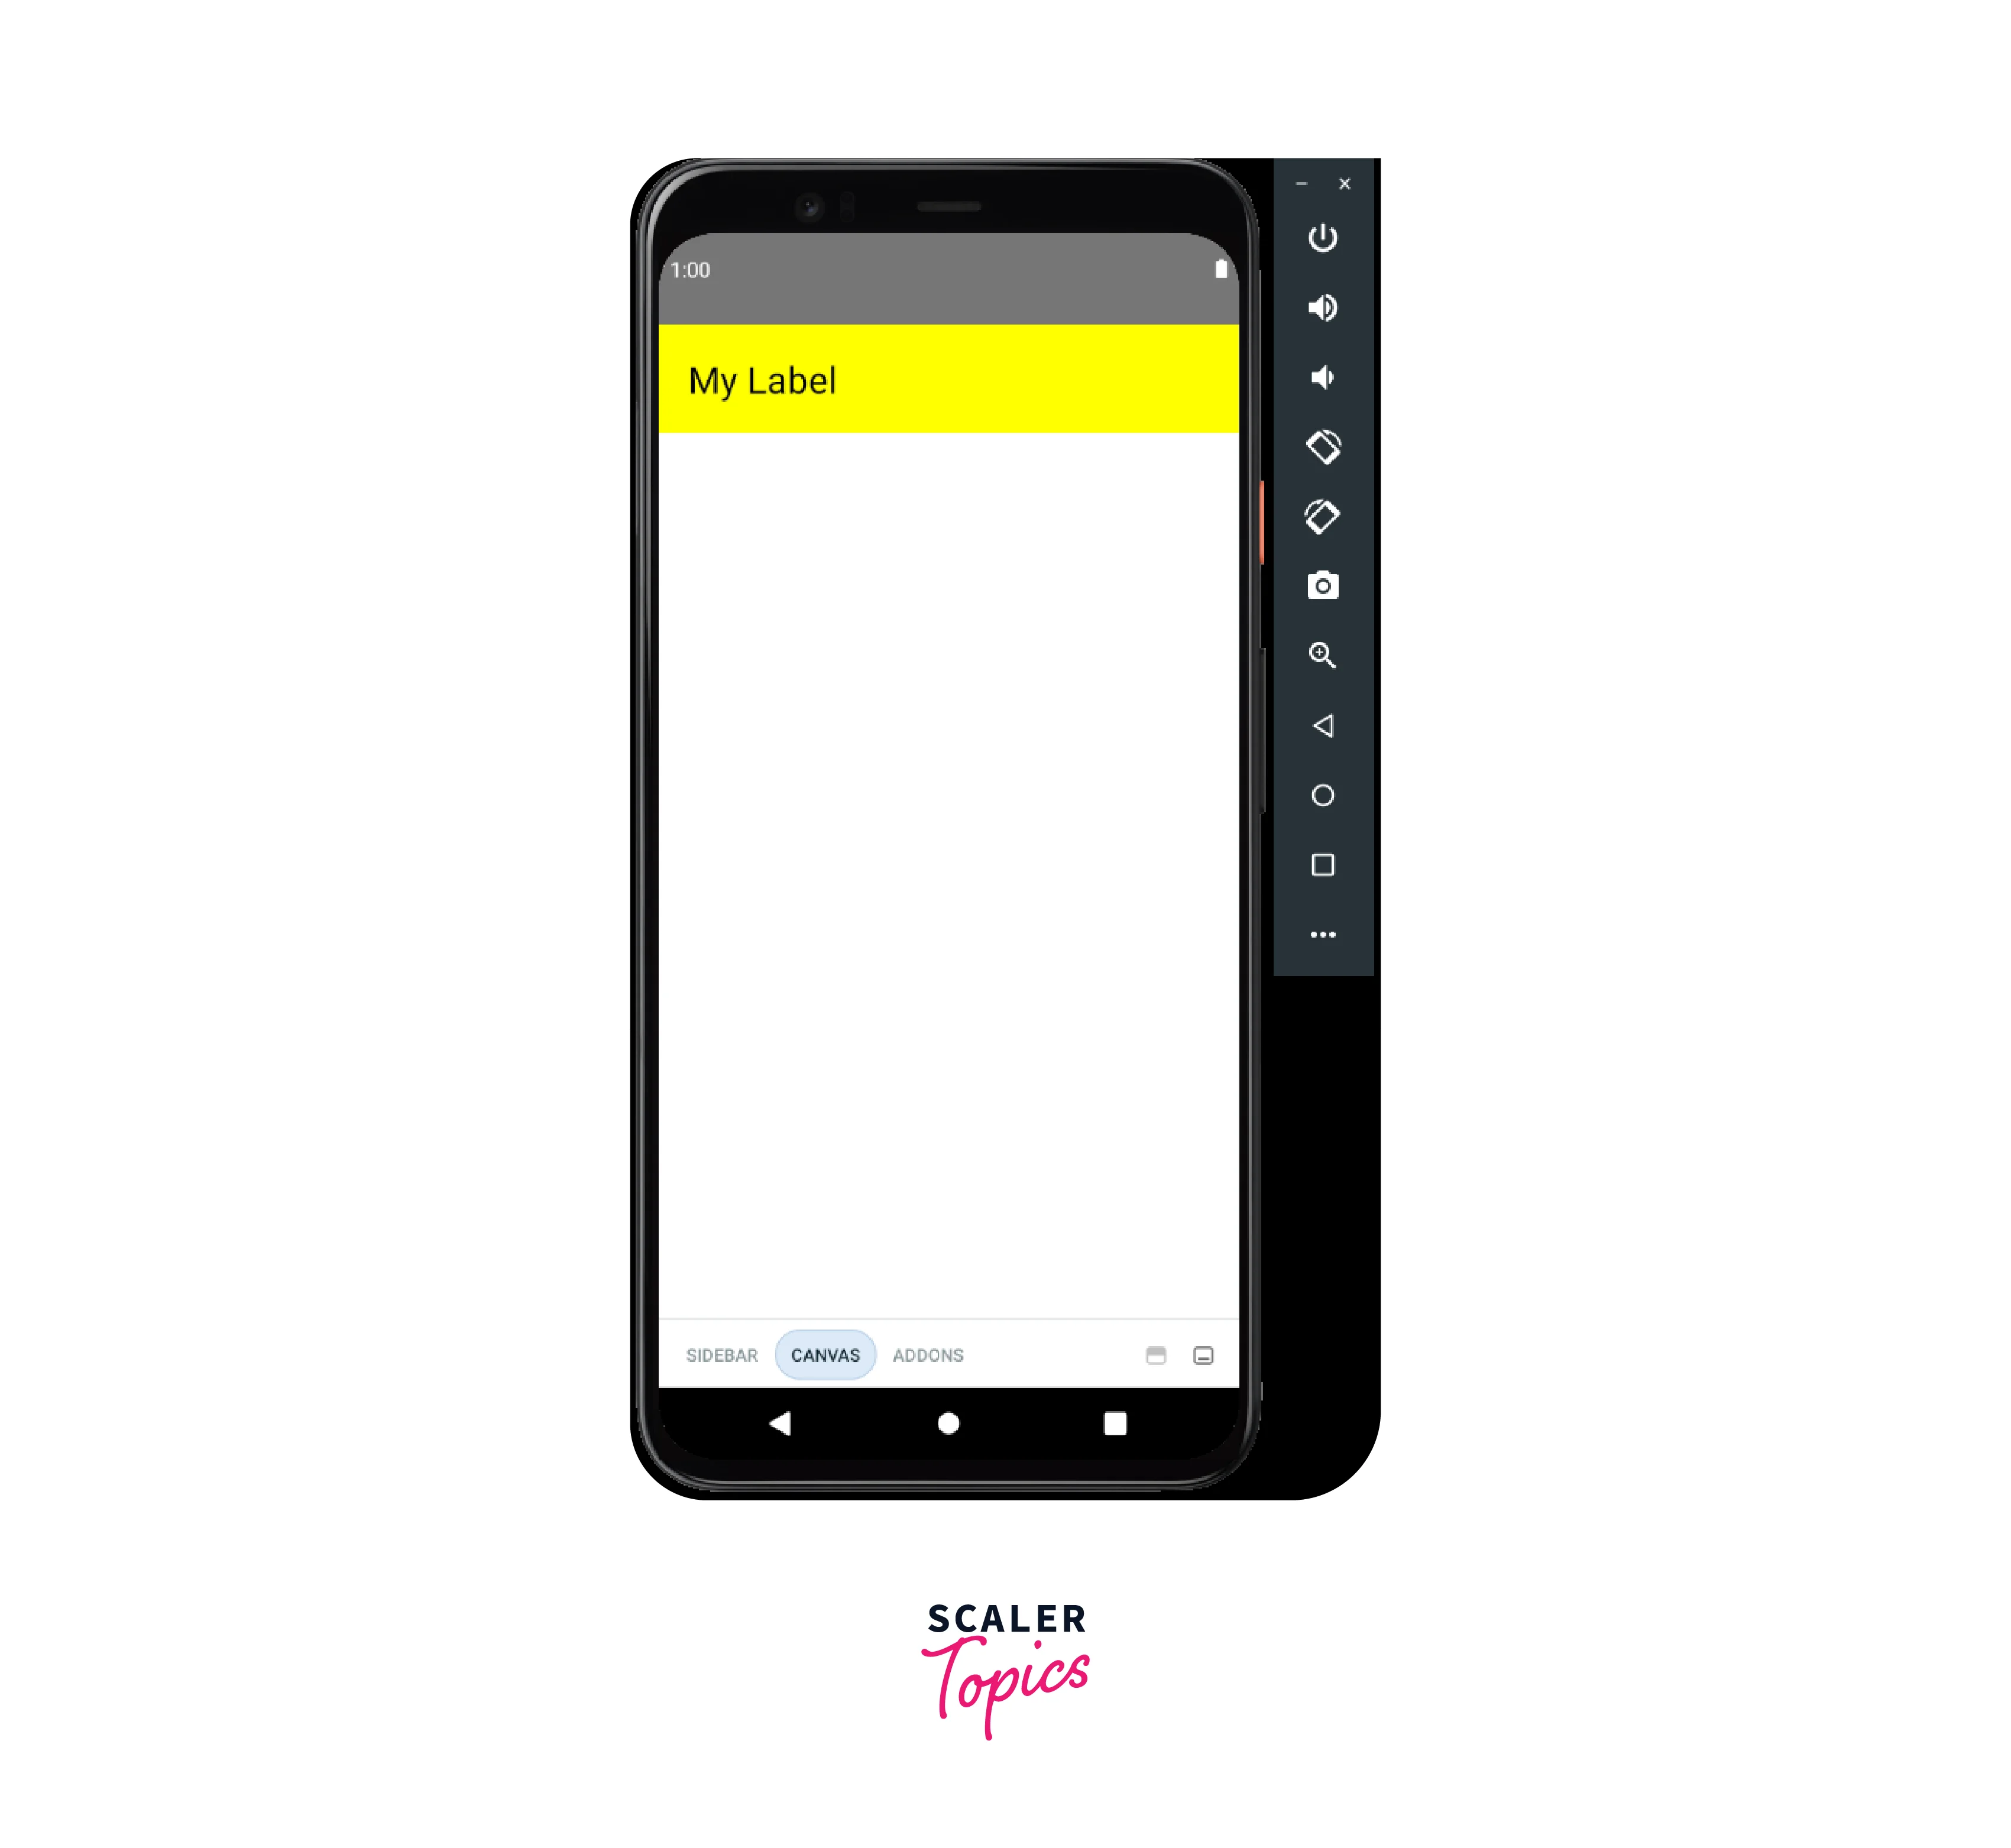
Building Composite Components with React Native Storybook
In this section, we will be building composite components with Storybook React Native. We'll start by creating a Task component that will display a single task with its title and state. We will also create a TaskList component that will use the Task component to render a list of tasks.
- We will first create the Task component and its story. The Task component takes a task object as a prop and renders the task title with a background colour based on its state. We use TextInput to render the task title, which is not editable.
- Next, we create a story for the Task component with two different tasks, one that is completed and another that is pending.
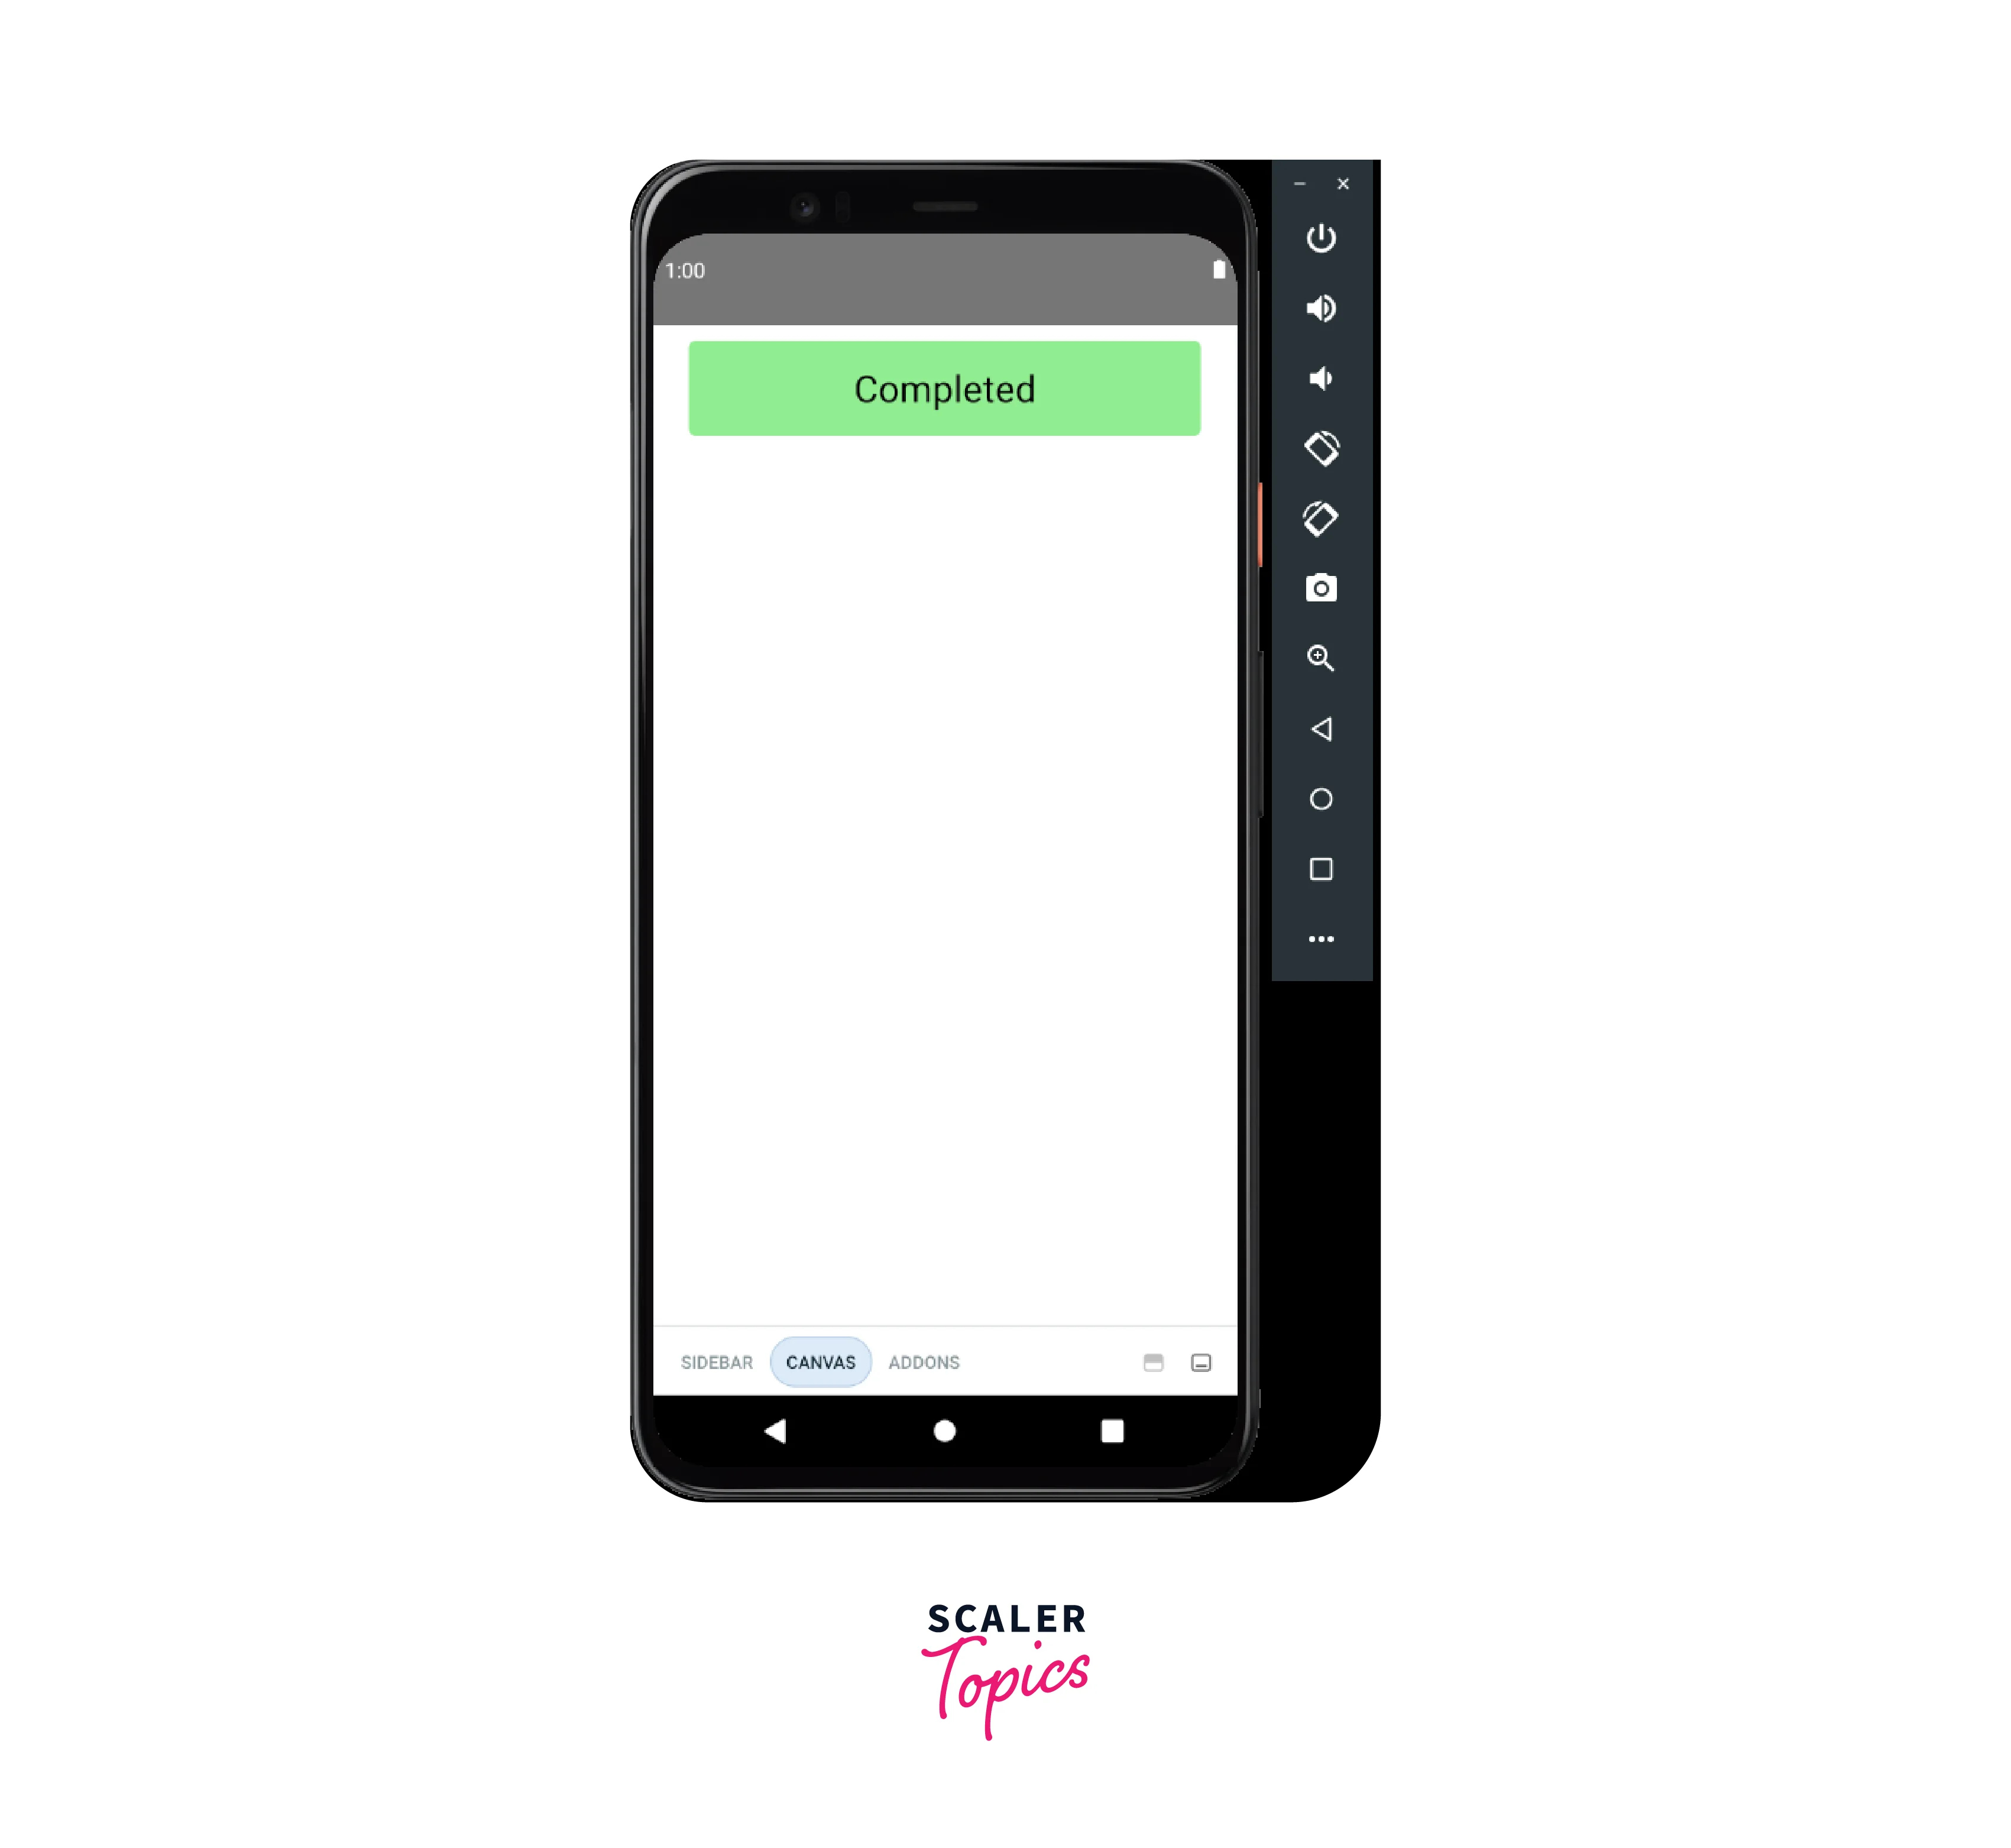
- Next, we we'll create the TaskList component, which takes loading, and tasks as props. It will show an activity indicator while loading, display a message if no tasks are found, and display a list of tasks otherwise. We use the FlatList component to render the list of tasks, and pass Task component as the renderItem prop.
- Finally, we create the story for the TaskList component with three different scenarios: one that shows a list of tasks, another that shows a loading indicator, and one that shows an empty message if there are no tasks.
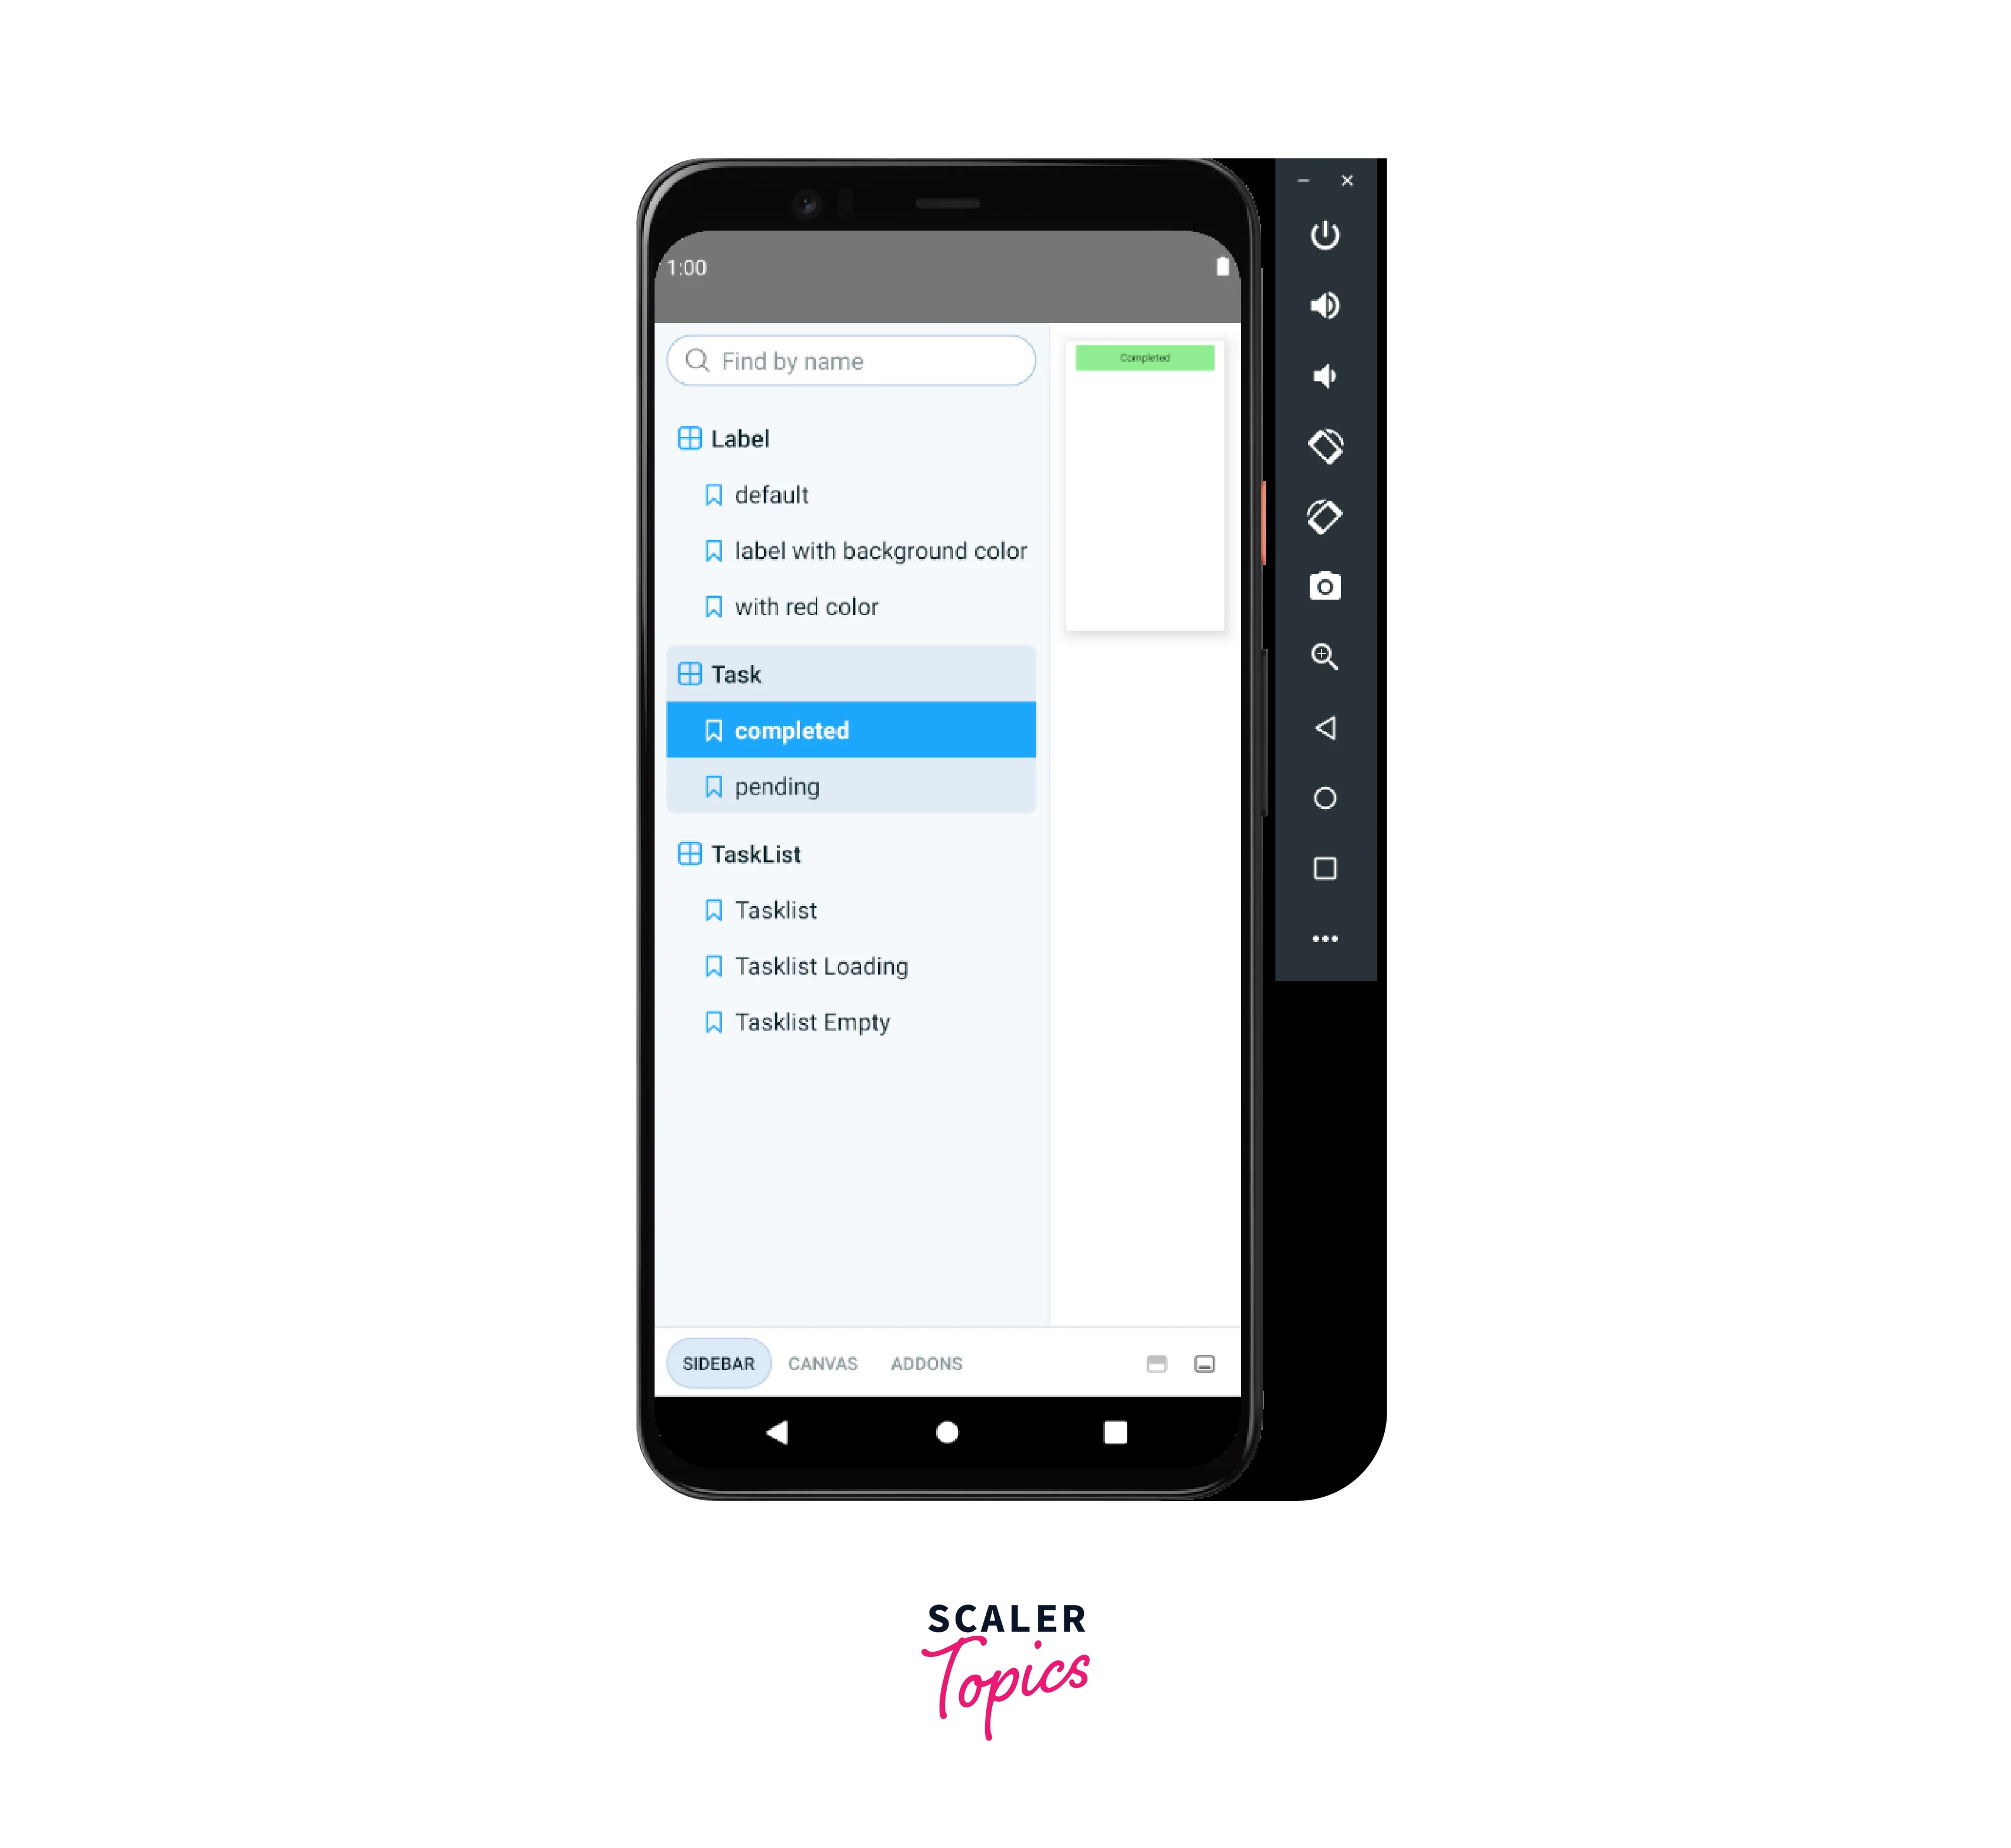
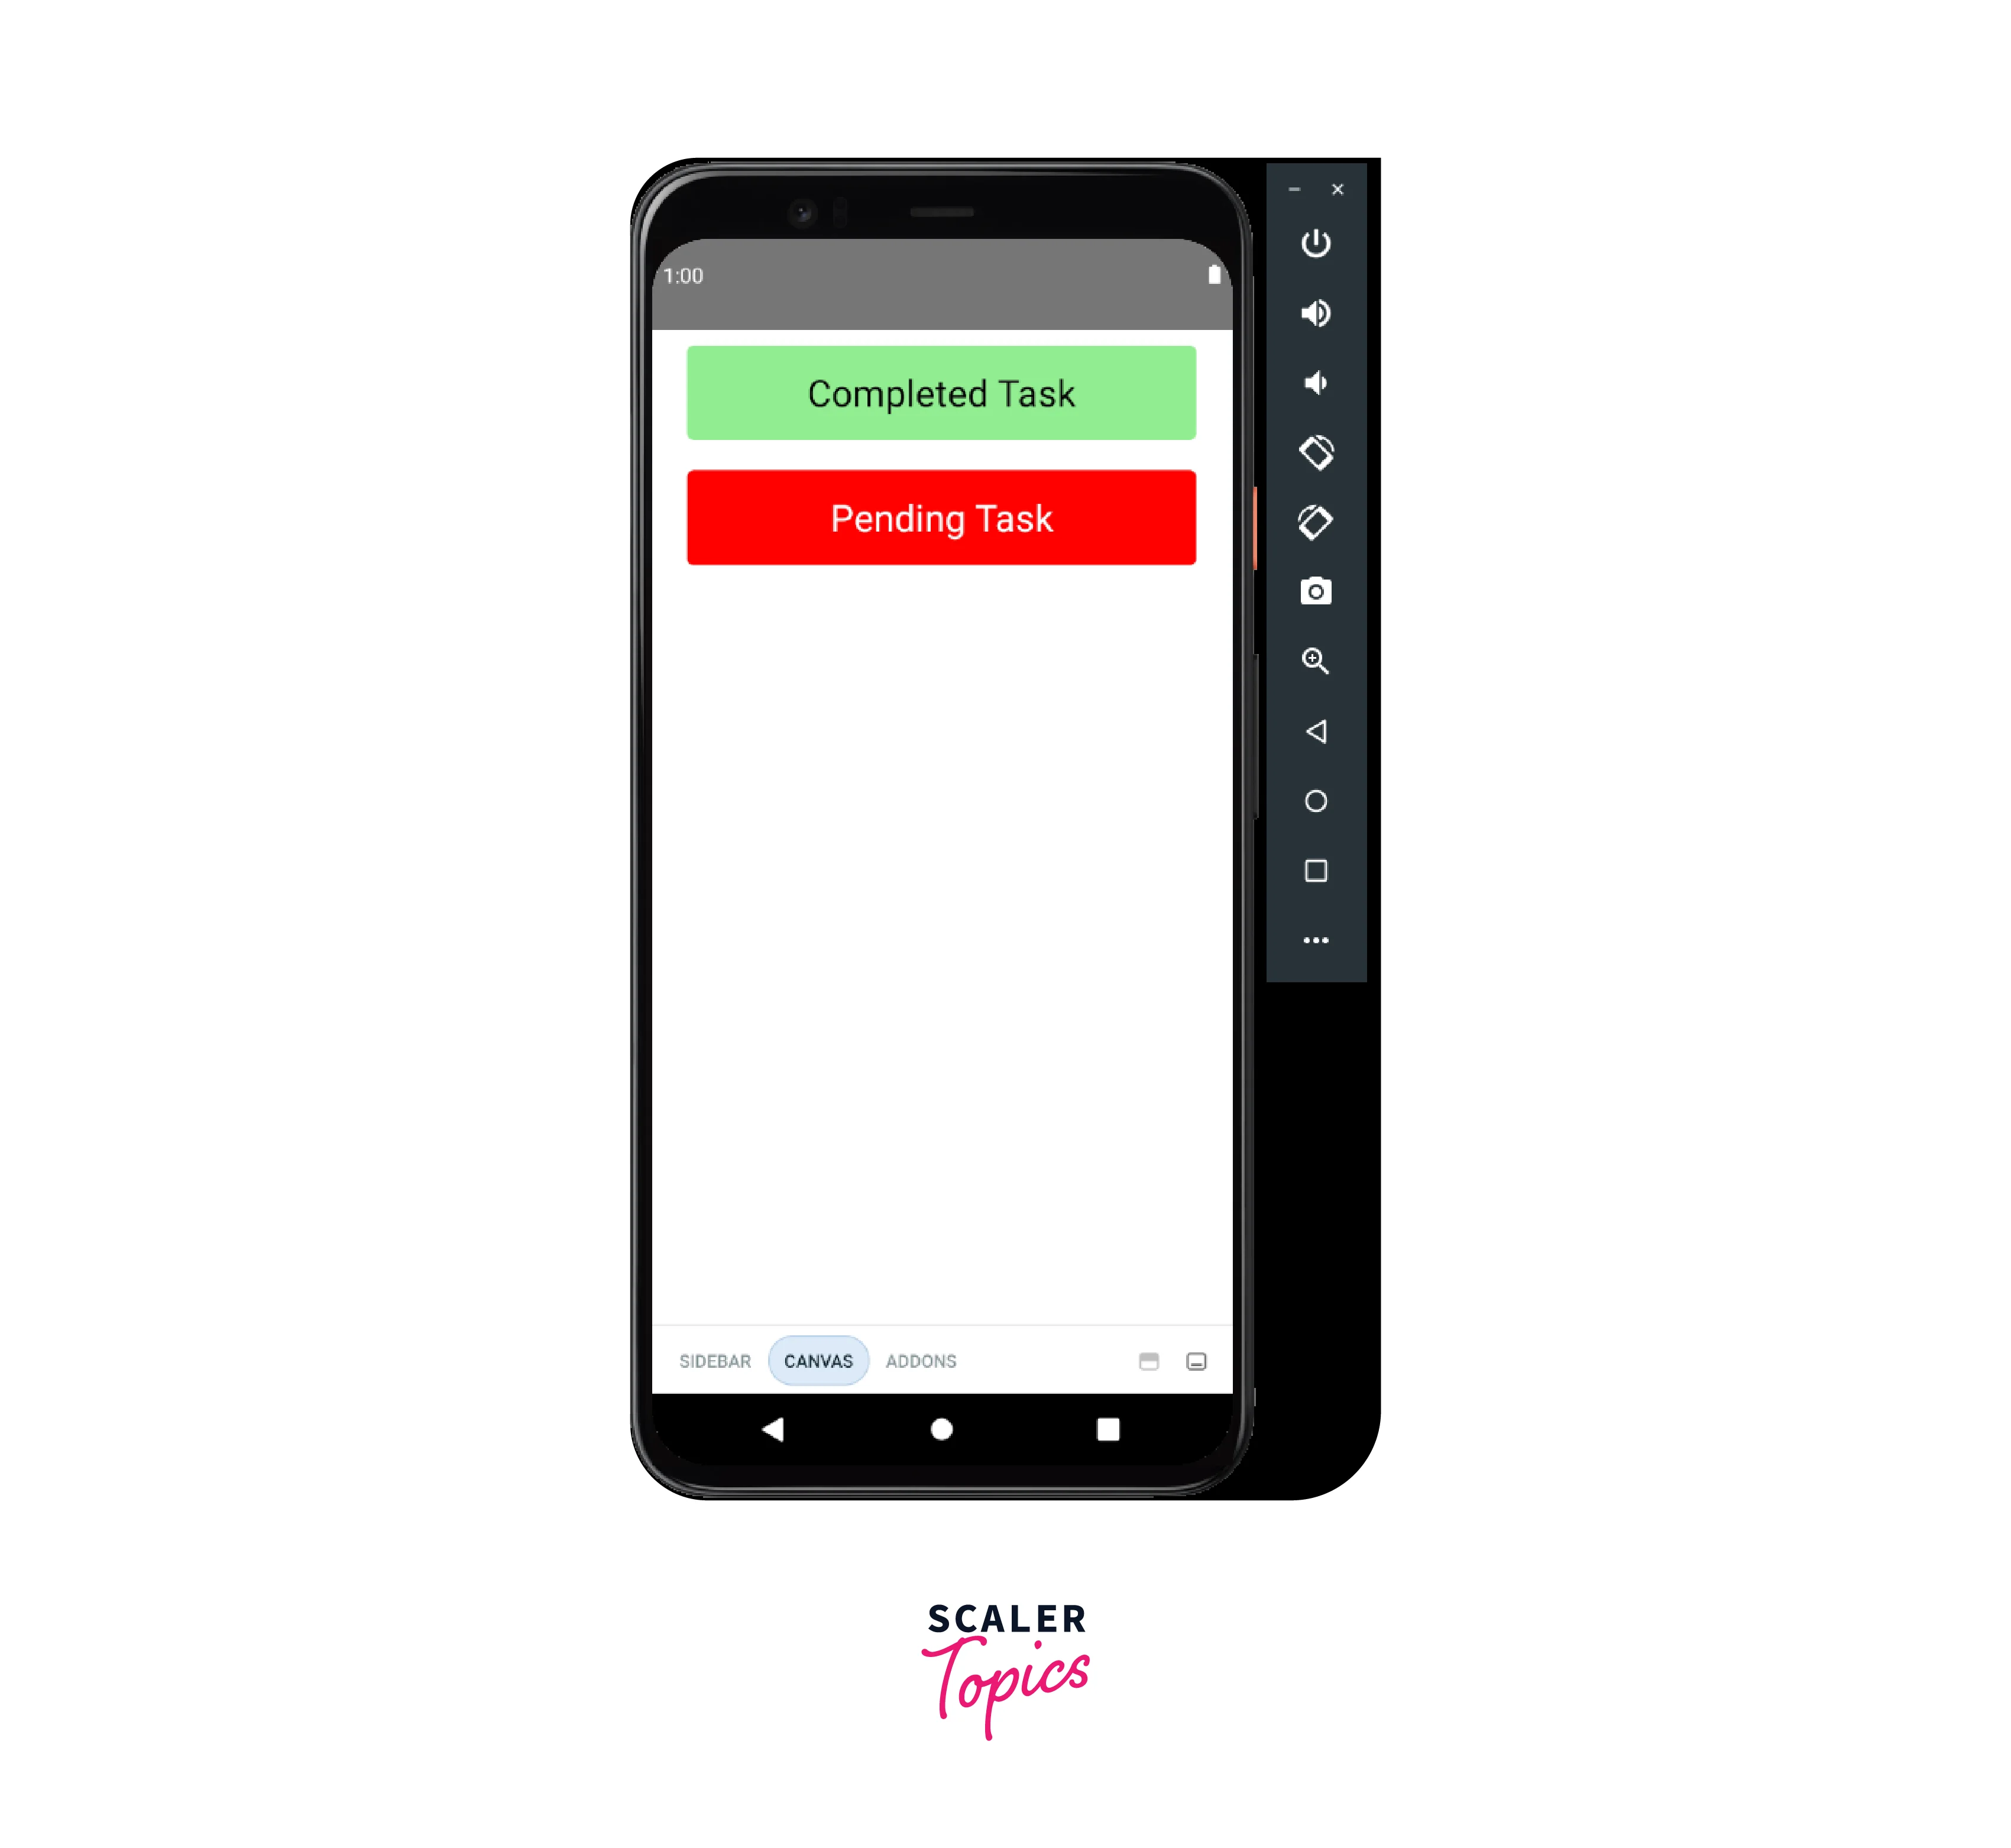


How to Wire in Data?
Wiring in data for Storybook React Native involves passing data to the components and ensuring that the components render the data properly. This can be done in several ways:
- Pass data through props: In React, data can be passed from a parent component to its child components using props. When building components for Storybook, you can pass data as props to the components being rendered. This allows you to test how your components render different data.
- Use mock data: If you don't have access to real data, you can use mock data to simulate different scenarios. Mock data can be created using libraries such as Faker or generated manually. By passing mock data to your components, you can test how they handle different types of data and ensure that they render as expected.
- Use a data source add-on: Storybook React Native provides data source addons that allow you to fetch data from external sources and pass it to your components. These add-ons can be used to test how your components render data from different sources, such as APIs or databases.
- Use a state management library: For more complex applications, you may want to use a state management library such as Redux or MobX to manage your application's data. These libraries can be integrated with Storybook React Native, allowing you to test how your components interact with the state.
Here's an example of how you can integrate Redux Toolkit with the TaskList component in React Native Story book:
- First, create a store.js file to define your Redux store and its initial state. You'll use createSlice to define a slice of your store for tasks, and export the necessary actions for use in your components.
- Next, modify your ./.storybook/index.js file to load your Redux store and pass it to the StorybookUI component via a Provider.
- Finally, modify the TaskList.jsx component to import the tasks data from your Redux store via the useSelector hook.
By following these steps, you can wire in your data from your Redux store to your React Native Story book components.
FAQs
Q. What is Storybook React Native?
A React Native Story book is a UI development environment for React Native components. It allows developers to build, test, and showcase UI components in isolation without the need for a full app.
Q. Why should I use React Native Storybook?
A. Using React Native Story book can save time and increase productivity by allowing developers to build and test components in isolation. It also helps catch UI bugs early in development, making it easier to maintain a consistent UI across the entire app.
Q. How do I set up React Native Storybook?
A. To set up React Native Story book, you need to install the @storybook/react-native package, create a storybook directory, and configure the .storybook directory. Then, you can create stories to showcase your components.
Q. Can I use React Native Storybook with Redux?
A. Yes, React Native Story book can be used with Redux. You can wire in data using Provider from react-redux and store from Redux. This allows you to showcase components with different data and states.
Q. Is React Native Storybook only for React Native?
A. No, React Native Story book can also be used with other React-based frameworks such as React, React Native Web, and React VR. It is a versatile tool for building and testing UI components in isolation.
Conclusion
- Storybook is a powerful tool for building, documenting, and testing UI components in React Native applications.
- It provides a platform to showcase the components in isolation and helps in detecting issues early on in the development process.
- With the help of addons, Storybook can be extended to provide functionalities like live reloading, accessibility testing, and integration with other tools like Redux.
- Setting up Storybook for React Native applications requires some additional configuration, but it can be easily achieved by following the steps outlined in this article.
- By using data wiring techniques like Redux and Context API in your React Native Story book, you can efficiently manage and maintain the state of your components. This can make it easier to debug, develop and test your UI components in isolation, without the need to navigate through multiple screens of your app.
